
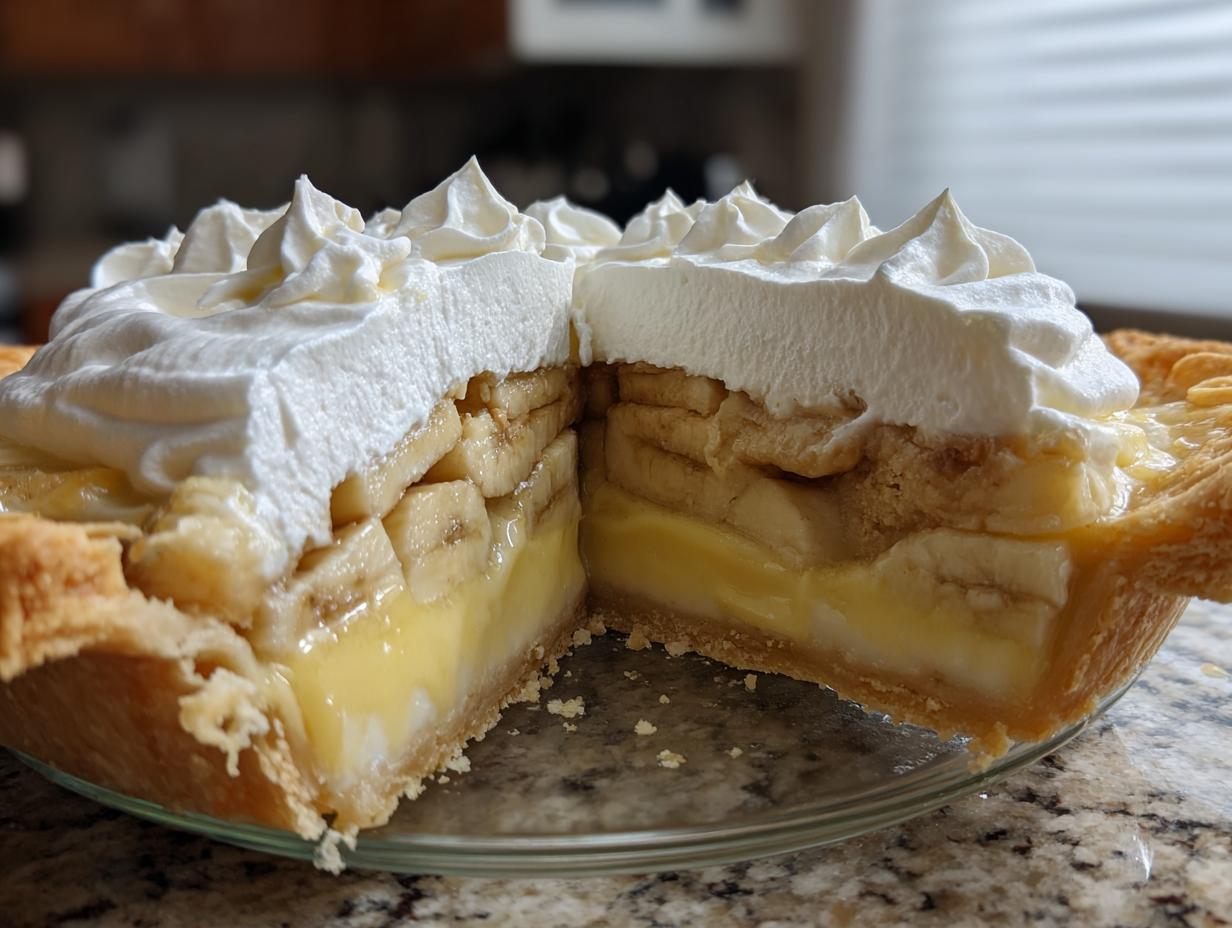
There’s nothing quite like the taste of true nostalgia, is there? For me, that means pulling out the flour and butter to bake something that tastes exactly like my grandmother Daisy used to make. If you’re searching for that perfect, comforting taste, you’ve found it in its ultimate form: The Ultimate Homemade Banana Cream Pie with Flaky Crust. This classic banana cream pie isn’t just sweet; it’s a tangible piece of my family’s history, patiently re-created in my little apartment kitchen so that you can share in that warmth, too. It’s such a special dessert, unlike even something simple like classic butterscotch pie, because the fresh banana flavor just sings.
- Why This is The Best banana cream pie recipe You Will Make
- Gathering Ingredients for Your Ultimate Dessert
- Step-by-Step Instructions to Make the Perfect banana cream pie
- Tips for Success with Your Creamy banana dessert
- Variations: Customizing Your banana cream pie
- Storage and Make Ahead banana dessert Tips
- Frequently Asked Questions About banana cream pie
- Nutritional Estimates for this banana cream pie
- Share Your Old Fashioned Pie Recipes Success
Why This is The Best banana cream pie recipe You Will Make
When I set out to recreate Grandma Daisy’s desserts, I wanted something that felt like being wrapped in a warm blanket—and this pie is exactly that. Forget those pale, overly sweet imposters you sometimes see! This is an old fashioned pie recipe through and through, centering the flavor around a truly velvety banana filling. It takes a bit more effort than grabbing a box mix, but trust me, that effort pays off tenfold. When you make this from scratch, you understand why some desserts are worth the time; they hold memories. If you love things like my classic custard pie, this is the next level up! It’s satisfying in the same way my rich flourless chocolate torte is, but lighter.
Key Features of Our Pie
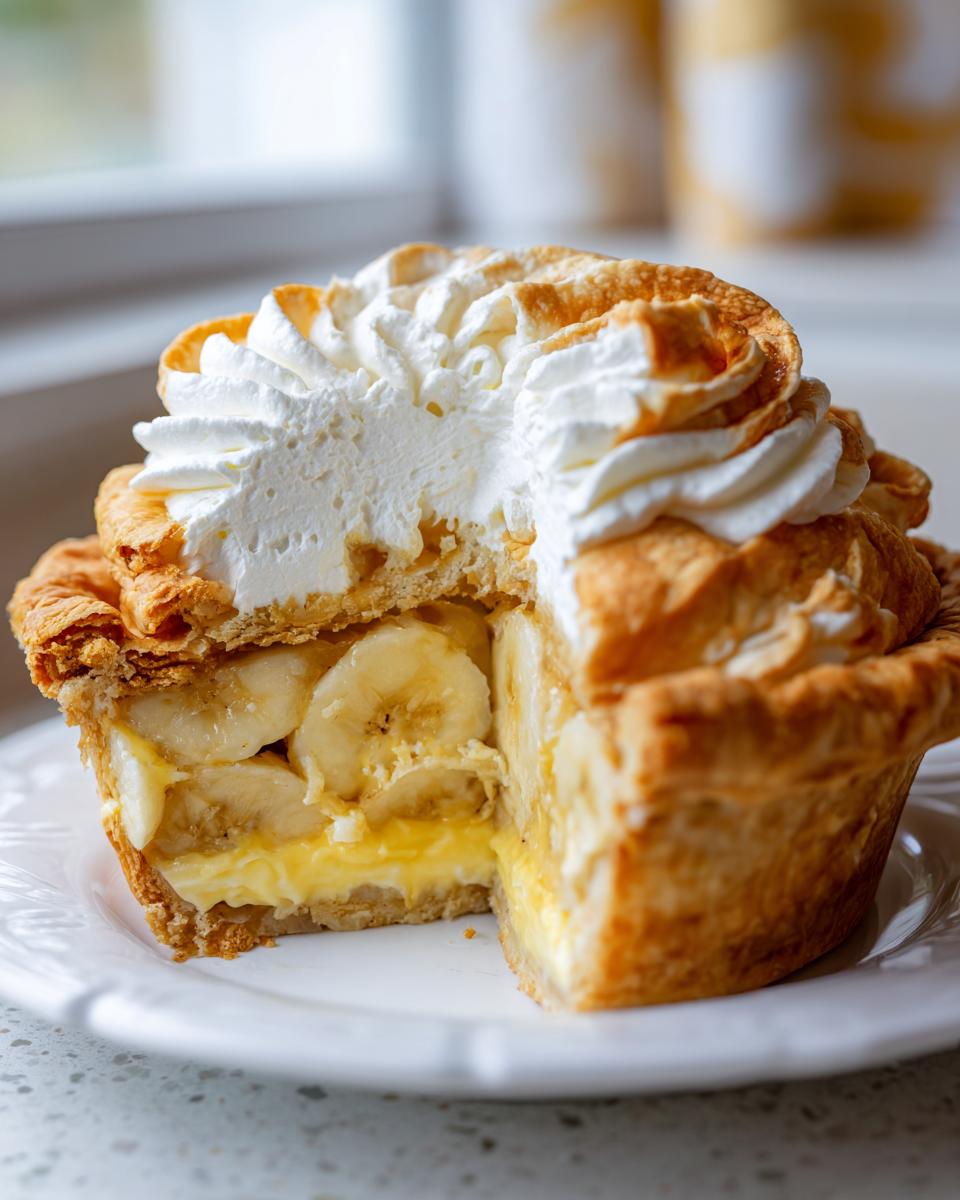
- The custard filling is unbelievably silky and smooth, never grainy or runny.
- It features a truly flaky pie crust that perfectly contrasts the soft filling.
- The ratio of fresh bananas to custard is dialed in for perfect flavor in every bite.
- It tastes exactly like the comforting, homemade desserts you remember from childhood.
Gathering Ingredients for Your Ultimate Dessert
When we commit to an old fashioned pie recipe like this, we have to respect the ingredients. Grandma Daisy always said that cheap ingredients give you cheap memories! For this pie, we are focusing on quality because our goal is that luscious, perfectly velvety banana filling. Don’t try to skimp here; the quality truly shines through in the final taste. It’s your chance to make something beautiful from scratch, which starts with having everything measured out and ready to go. Before you even turn the stove on, let’s organize our pantry essentials. If you already have a winner for your crust, fantastic! You can find my absolute favorite recipe for a tender flaky pie crust recipe if you need one.
For the Flaky Pie Crust
- 1 recipe Flaky Pie Crust (for a 9-inch pie shell) – *Must be fully baked and cooled!*
For the Velvety banana filling
- 1 1/2 cups granulated sugar
- 1/3 cup cornstarch – *This is crucial for structure, don’t skip it!*
- 1/4 teaspoon salt
- 1 1/2 cups whole milk
- 3 large egg yolks, lightly beaten – *Make sure these are tempered later!*
- 2 tablespoons unsalted butter
- 1 teaspoon vanilla extract
- 4 large ripe bananas, sliced – *Save about half for the topping later.*
For the Whipped Cream Topping and Garnish
- 1 1/2 cups heavy whipping cream – *Must be ice cold!*
- 2 tablespoons powdered sugar
- 1/2 teaspoon vanilla extract
Step-by-Step Instructions to Make the Perfect banana cream pie
Now that all our beautiful, high-quality components are ready, it’s time for assembly! This is where patience really pays off, especially regarding cooling and chilling times. Remember, rushing the process means risking a runny disaster, and we are aiming for that incredible, sliceable creamy banana dessert texture Grandma Daisy perfected.
Preparing the Crust and Bananas
First things first: your crust needs to be completely cooled. I mean *stone cold*. If you pour warm custard into a warm crust, the butter in the pastry will melt out, and you end up with a soggy bottom, which is a tragedy in any classic custard pie. Take your pre-baked 9-inch shell and let it sit on a wire rack until it’s no longer even slightly warm to the touch. Once it’s ready, go ahead and slice up those 4 ripe bananas. Spread about half of those gorgeous slices in a single, even layer across the base of the cooled crust.
Cooking the Classic Custard Pie Filling
This is the main event! Grab a medium saucepan. Whisk together the sugar, cornstarch, and salt really well before you add the milk. We need to get rid of those dry pockets of cornstarch now! Slowly whisk in the milk until it looks smooth. Now, put it over medium heat. You have to stir this *constantly*. I mean it—don’t walk away, or it will scorch on the bottom! Keep stirring until it thickens substantially and starts to bubble vigorously. Let it boil for a full minute while stirring hard, then pull it off the heat.
Here comes the tricky bit: tempering! Take those 3 beaten egg yolks into a small bowl. Slowly, I mean agonizingly slowly, drizzle about half a cup of that hot milk mixture into the yolks while whisking the yolks nonstop. If you dump it too fast, you’ll end up with scrambled eggs, and we need that beautiful, velvety banana filling! Once tempered, pour that yolk mixture right back into the main saucepan. Put it back on the heat and stir until it gets thick again and boils for one more minute. Once done, stir in your 2 tablespoons of butter and the teaspoon of vanilla until everything melts into that glossy finish.
Assembling and Chilling the banana cream pie
Carefully pour that warm, luxurious custard right over the bananas sitting in your pie shell. Now, here is a trick my mom taught me: take a large sheet of plastic wrap and gently press it directly onto the surface of the custard. This stops the top layer from drying out and forming that awful skin. Put the pie in the fridge. Listen, you must chill it for at least 4 hours. Honestly? If you can wait 6, even better, because that’s my personal secret for guaranteeing a truly firm, sliceable filling!
Finishing with the Pie with Whipped Cream Topping
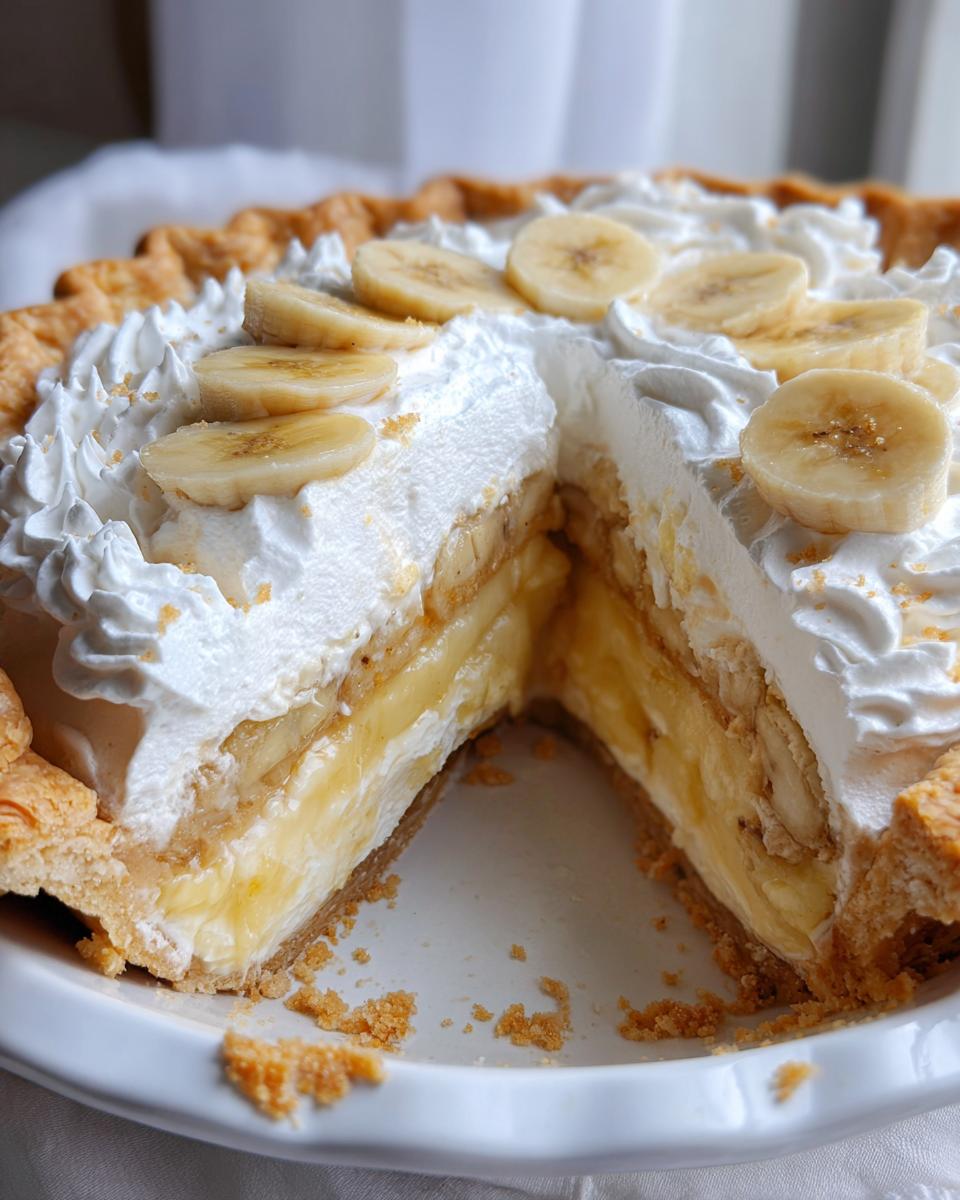
Once the filling is fully set and cold, we whip the topping. In a super cold bowl, beat the heavy cream, powdered sugar, and vanilla until you reach stiff peaks. You want it fluffy like a cloud! Gently spread or pipe that gorgeous topping over the cold custard layer. Finally, take the remaining sliced bananas and arrange them however you like—I usually fan them out in a circle or create neat rows. Chill the finished beauty for 30 minutes before slicing. If you want to try making a homemade frosting, check out my guide for making stable vanilla buttercream, although whipped cream really is the classic touch here!
Tips for Success with Your Creamy banana dessert
If you’ve ever had a runny filling, you know the heartbreak! Keeping this creamy banana dessert perfect relies on a few little secrets I picked up from watching Grandma Daisy.
First, that cornstarch ratio we used in the custard? Stick to it! That’s what stabilizes the whole thing once it chills. If you under-boil the custard, it will never hit that silky texture you want. Also, make sure your crust is *totally* cooled before the warm custard hits it. A little warmth from the crust leeches moisture right into the bottom layer.
And here’s a final note: Don’t slice those bananas until right before you layer them! The faster they sit exposed, the browner they get, and nobody wants a brown layer beneath their snowy topping. For more insight on achieving perfect texture, take a look at my tips for making a creamy rice pudding—the thickening principles are very similar!
Variations: Customizing Your banana cream pie
Sometimes you need a little wiggle room, right? While I absolutely adore the work that goes into our flaky crust, I know that for a quick weeknight dessert or a last-minute potluck, you might need an easier route. That’s why I love that this recipe for banana cream pie is so adaptable! We can easily switch up the base, or add an extra layer of flavor if we’re feeling ambitious. It’s all about making the dessert work for your schedule without losing that core comfort food feeling. I adore making a quick batch of banana pancakes on Saturdays, and this pie variation brings that same easy joy.
Crust Swaps: Graham Cracker Crust or Shortbread
If you’re looking to skip the rolling pin drama, swapping the crust is super simple. For an easy homemade pie that comes together in a snap, you can absolutely use a store-bought or simple homemade graham cracker crust instead of the flaky one. You just press the crumbs firmly into the 9-inch pie plate, maybe give it a quick 10-minute bake to set it—or skip the bake entirely if you’re doing a no-bake version!
A shortbread crust works beautifully too, offering a buttery, sturdy base that holds up well against that amazing custard. Just remember whatever crust you choose, it must be completely cool before you pour in the warm filling!
Making an Easy No Bake banana pie
If you want something genuinely fast, leaning into the no bake banana pie route is the perfect backup plan. The main difference here is ditching this cooked custard for something faster. Instead of cooking the milk, sugar, and egg yolks, you can whip up a batch of instant vanilla pudding using only half the required milk called for on the box. This makes it extra thick!
You’d layer your cool, unbaked crust (or graham cracker crust), then the bananas, then the thick instant pudding. Skip the stovetop entirely! Just make sure you chill this version for the full 4 hours so everything sets up firm before getting that beautiful whipped cream topping!
Now, if you want a real showstopper that still uses that flaky crust, you can try caramelizing your banana layer first! If you make my homemade caramel, cool it slightly, fold it gently into the sliced bananas, and pour that mixture over the bottom of your cooled crust. Then pour your custard on top. It’s a caramel twist that makes this the absolute dreamiest dessert!
Storage and Make Ahead banana dessert Tips
I know you’re excited to eat this pie, but remember, this is a make ahead banana dessert hero! The whole pie lasts best for about 2 to 3 days, stored tightly covered in the fridge. Now about those bananas—they will brown, even under the cream. My advice is to always add the topping and final banana garnish right before you plan on serving, no matter what. If you must prepare the crust and custard base a day ahead, that’s perfect; just keep them completely covered until assembly day. For wrapping those sliced bananas before layering, a tiny splash of lemon juice mixed into water works wonders to keep them looking fresh! You can find some cute tips for dealing with bananas in my cream cheese banana bread notes.
Frequently Asked Questions About banana cream pie
How do I prevent the bananas from turning brown in my banana cream pie?
Oh, the dreaded banana oxidation! It happens so fast, doesn’t it? Since we want this to be the best banana cream pie recipe and look perfect for hours, or even a day, you need to treat those slices right. The absolute best trick, if you have time, is to lightly brush the banana slices (the ones going into the filling AND the ones for the top) with a little bit of lemon juice mixed with water. A quick dip and pat dry works wonders! This stops that browning reaction. If you are making this as a make ahead banana dessert, just assemble the top layer right before serving for the absolute freshest look.
Can I use instant pudding instead of making the classic custard pie filling?
You totally can, especially if you need an easy homemade pie fast! That’s the great thing about this recipe—it’s adaptable. If you swap the cooked custard for instant pudding, you will be making a no bake banana pie, which saves you the tempering step entirely. Just make sure the pudding is mixed really thick—I often use slightly less milk than the package calls for to ensure it sets up nicely and doesn’t turn into soup in your crust. It won’t have that deep, rich flavor of the cooked custard base, but it’s certainly a fantastic, fast alternative!
What is the best way to slice this pie with whipped cream topping?
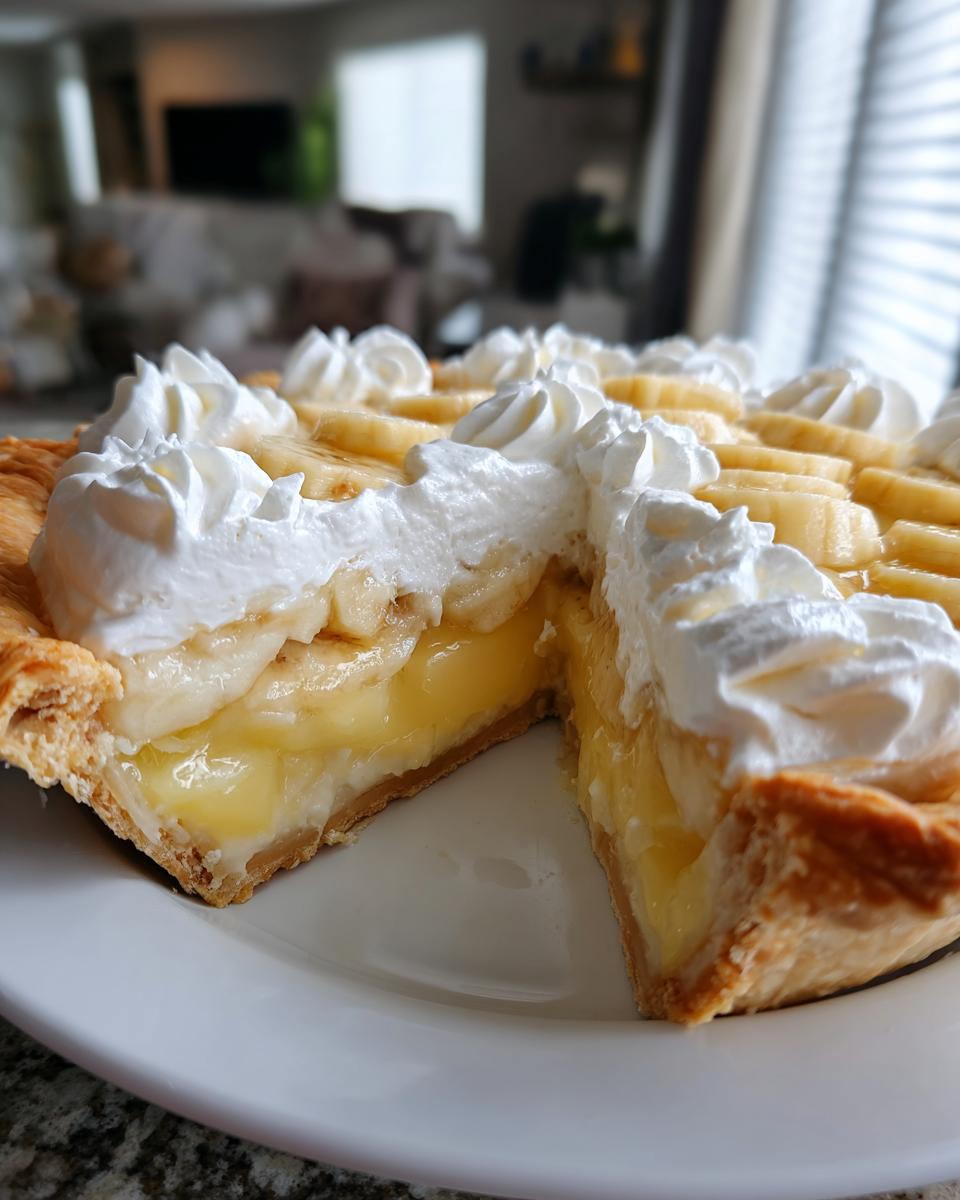
This pie is loaded—flaky crust, thick filling, and that beautiful fluffy topping! To get those picture-perfect slices you see on social media, you need two things: patience and a good, hot knife. Be sure the entire pie is completely chilled, preferably for the full 4 hours minimum. Then, run your sharpest, thinnest knife under hot water for about 10 seconds before making your first slice. Wipe the knife clean, then repeat the hot water dip before every single cut. This prevents the whipped cream topping from dragging and keeps your slices looking clean and neat. It makes serving this comfort dessert so much nicer!
If you’re looking for other easy, crowd-pleasing dessert ideas that are easier to manage than a traditional pie, you might enjoy my recipe for easy ice cream pies!
Nutritional Estimates for this banana cream pie
When we talk about making an amazing, from scratch banana pie, we also have to be realistic about what goes into something this rich and comforting. Since this recipe uses real butter, egg yolks, and a generous amount of sugar to create that perfect velvety banana filling, it is decidedly a treat!
Please know that these estimates are calculated for one generous slice based on the ingredients listed above, especially using a standard homemade flaky crust. Actual nutritional content can vary wildly depending on the brands you use, the type of milk, or if you swap out ingredients for a lighter version. Think of this as a general guide for your delicious indulgence!
- Serving Size: 1 slice
- Calories: Approximately 410
- Fat: About 22g (including 12g saturated fat)
- Carbohydrates: Around 50g
- Sugar: Approximately 35g
- Protein: About 5g
It’s a fantastic homemade treat that’s well worth the calories when you consider the freshness of the bananas and the rich flavor we get from making the custard ourselves. Enjoy every bite!
Share Your Old Fashioned Pie Recipes Success
Now the pie is chilled, the whipped cream is perfect, and you’ve had your first amazing slice. I genuinely hope this recipe brought a little bit of my Grandma Daisy’s love into your kitchen. That’s truly the whole point of this site—to keep that legacy of simple, honest, delicious cooking alive, far from any fancy culinary school.
I would absolutely love to hear how your homemade banana cream pie turned out! Did your crust flake just right? Did you manage to get that custard perfectly set? Please don’t keep it a secret! Jump down into the comments below and tell me all about it, and maybe even give this recipe a star rating so others know what a fantastic classic dessert this is.
Sharing your success is how we all learn and encourage each other to keep baking these wonderful, comforting desserts. If you enjoyed this, you can always find more treasured family recipes linked right here, like my collection of delicious dessert recipes that skip the fuss but never the flavor!
PrintThe Ultimate Homemade Banana Cream Pie with Flaky Crust

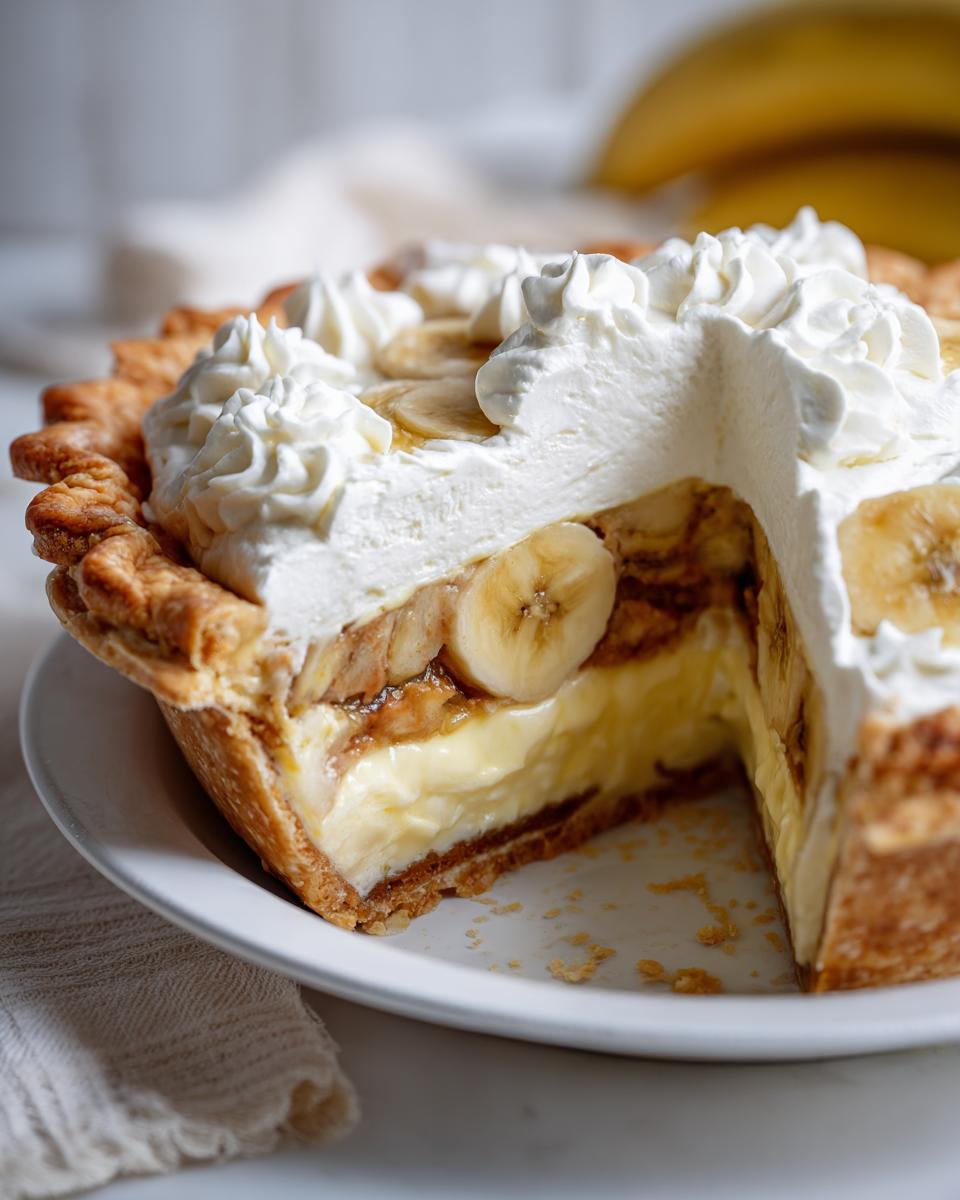
Make this classic banana cream pie featuring a flaky homemade crust, a velvety vanilla custard filling, fresh bananas, and a light whipped cream topping. This recipe delivers an old fashioned dessert experience.
- Prep Time: 35 min
- Cook Time: 15 min
- Total Time: 5 hours 50 min
- Yield: 8 servings 1x
- Category: Dessert
- Method: Stovetop Cooking and Chilling
- Cuisine: American
- Diet: Vegetarian
Ingredients
- 1 recipe Flaky Pie Crust (for a 9-inch pie shell)
- 4 large ripe bananas, sliced
- 1 1/2 cups granulated sugar
- 1/3 cup cornstarch
- 1/4 teaspoon salt
- 1 1/2 cups whole milk
- 3 large egg yolks, lightly beaten
- 2 tablespoons unsalted butter
- 1 teaspoon vanilla extract
- 1 1/2 cups heavy whipping cream
- 2 tablespoons powdered sugar
- 1/2 teaspoon vanilla extract
Instructions
- Prepare and bake your 9-inch flaky pie crust according to your preferred recipe until golden brown. Let the crust cool completely on a wire rack.
- Prepare the velvety banana filling: In a medium saucepan, whisk together the granulated sugar, cornstarch, and salt. Gradually whisk in the whole milk until smooth.
- Cook the custard base: Place the saucepan over medium heat. Cook, stirring constantly, until the mixture thickens significantly and comes to a boil. Boil for one minute, continuing to stir. Remove from heat.
- Temper the egg yolks: In a small bowl, whisk the egg yolks. Slowly pour about 1/2 cup of the hot milk mixture into the yolks while whisking constantly. This prevents the yolks from scrambling.
- Return the tempered yolk mixture to the saucepan with the remaining hot milk mixture. Cook over medium heat, stirring constantly, until the custard thickens again and reaches a gentle boil. Cook for one more minute. Remove from heat.
- Stir in the butter and vanilla extract until the butter is fully melted and incorporated into the custard.
- Assemble the pie base: Arrange half of the sliced bananas evenly over the bottom of the cooled pie crust. Pour the warm custard evenly over the bananas.
- Press plastic wrap directly onto the surface of the custard to prevent a skin from forming. Chill the pie in the refrigerator for at least 4 hours, or until the custard is completely set.
- Prepare the topping: In a chilled bowl, beat the heavy whipping cream, powdered sugar, and vanilla extract until stiff peaks form.
- Top the chilled pie: Spread or pipe the whipped cream topping over the set custard layer. Arrange the remaining banana slices decoratively on top of the whipped cream.
- Chill the finished pie for at least 30 minutes before slicing and serving.
Notes
- For the best flavor, use bananas that are ripe but still firm enough to slice neatly.
- If you prefer a quicker option, you can substitute the homemade custard with a high-quality instant vanilla pudding mix, following package directions for a thicker set.
- To make this a make ahead banana dessert, prepare the crust and filling one day ahead. Add the whipped cream topping just before serving.
Nutrition
- Serving Size: 1 slice
- Calories: 410
- Sugar: 35g
- Sodium: 250mg
- Fat: 22g
- Saturated Fat: 12g
- Unsaturated Fat: 10g
- Trans Fat: 0.5g
- Carbohydrates: 50g
- Fiber: 2g
- Protein: 5g
- Cholesterol: 110mg