
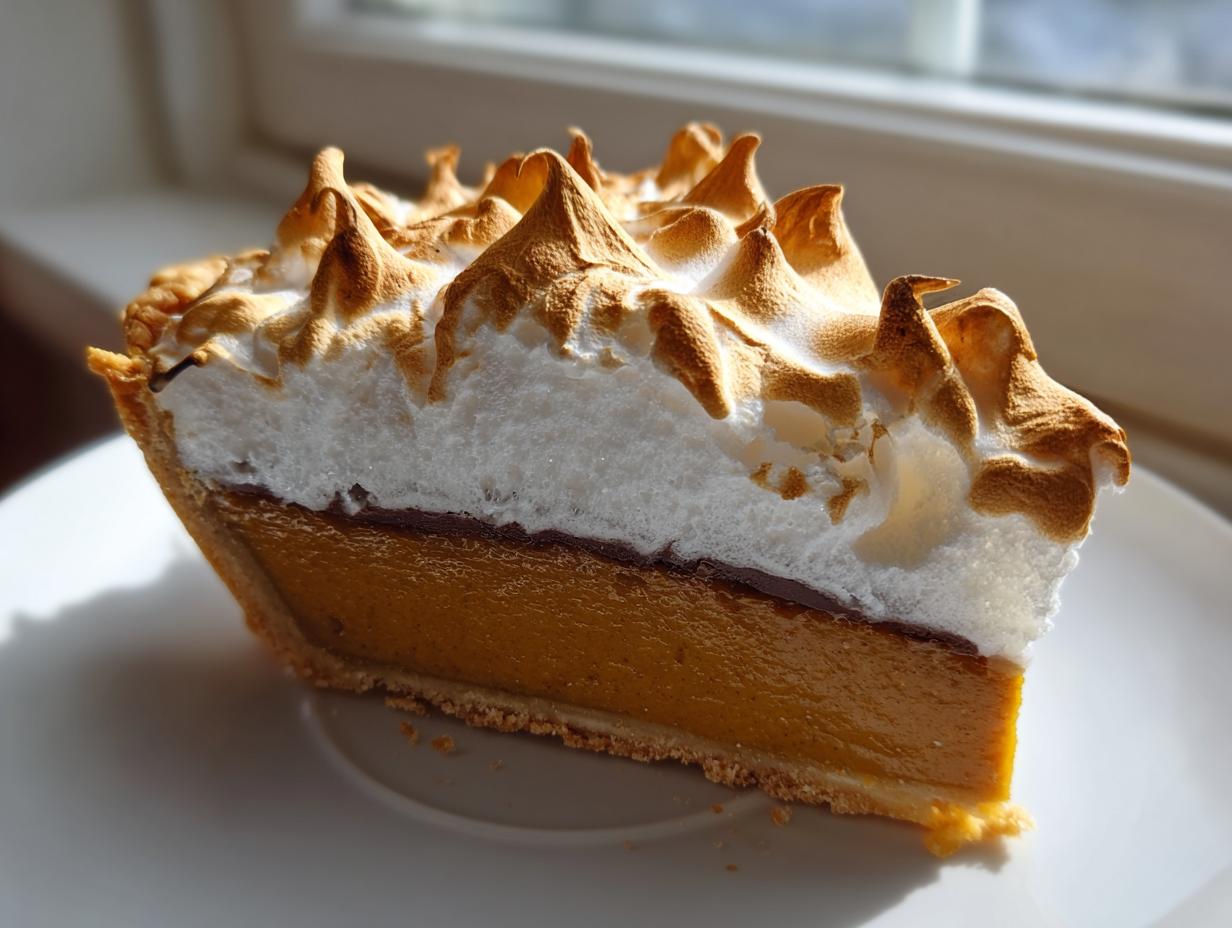
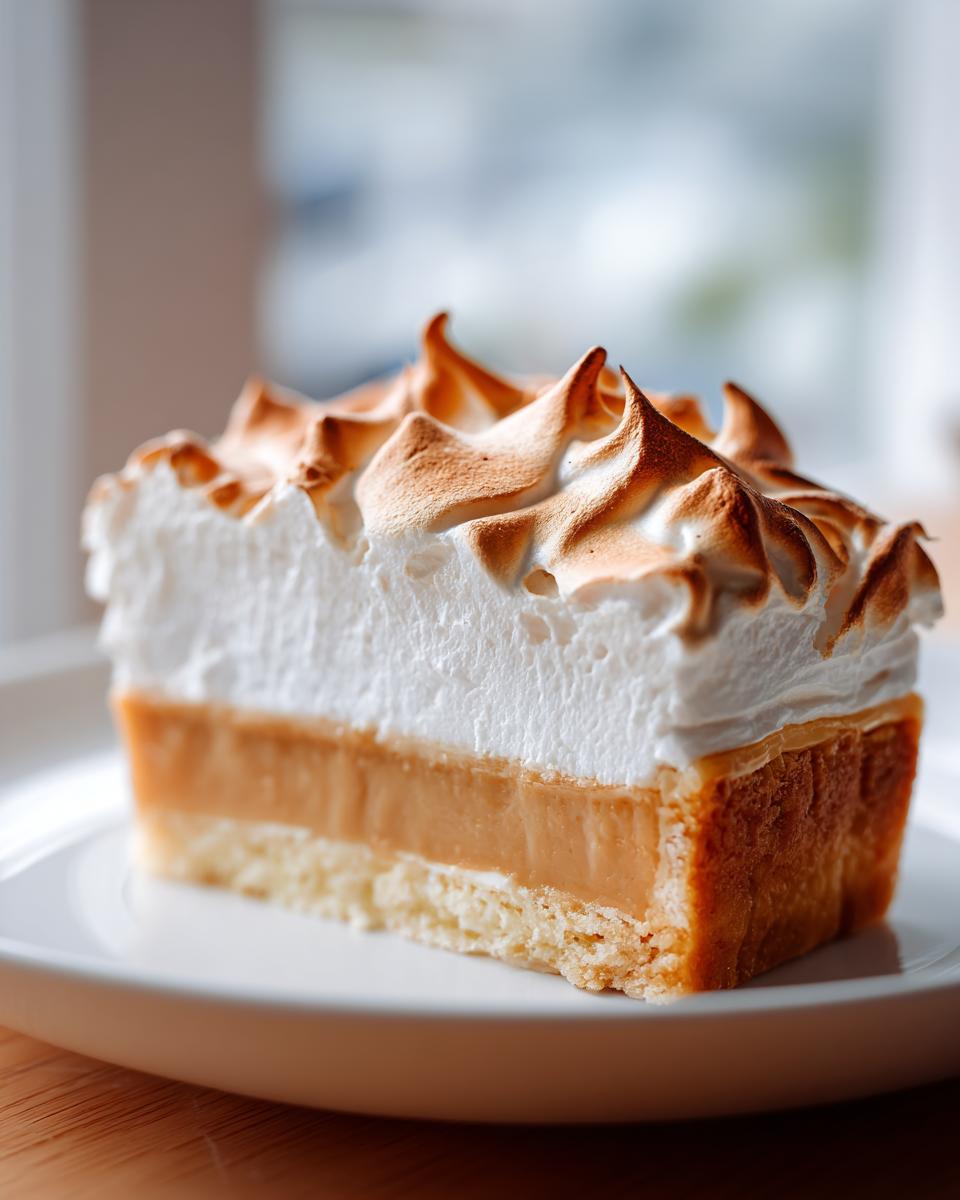
Oh, I have something truly special for you today, dear friends. If you, like me, live for those quiet, comforting moments that only a truly nostalgic dessert can bring, then settle in. I’m sharing the recipe that brought me right back to Grandma Daisy’s kitchen: the Classic Old-Fashioned butterscotch pie. Forget those overly sweet, plastic-tasting versions you find sometimes; this is the real deal. We’re talking about a filling so silky and rich—like a decadent caramel custard—that it practically melts before you can get your fork through it. It’s all about honoring the simple, honest cooking Daisy taught me, making something incredible from pantry staples, and ensuring that creamy texture is perfect every single time.
- Why This Classic butterscotch pie Recipe Is the Best butterscotch pie Ever
- Gathering Ingredients for Your Homemade butterscotch dessert
- Step-by-Step Instructions for the Perfect butterscotch pie
- Tips for Success with Your Creamy butterscotch pie Recipe
- Variations: Adapting Your butterscotch pie for Quick Homemade Pudding Pie
- Serving Suggestions for This Comfort Food Desserts Classic
- Storage and Reheating Instructions for Leftover butterscotch pie
- Frequently Asked Questions About Making butterscotch pie
- Share Your Homemade butterscotch dessert Experience
Why This Classic butterscotch pie Recipe Is the Best butterscotch pie Ever
I’ve tinkered with so many recipes over the years, but I always come back to this one. It just holds up! This is, without a doubt, the best butterscotch pie ever because it nails the texture—that smooth, creamy butterscotch pie recipe balance that feels like pure nostalgia. My grandmother, Daisy, never used a box, and I can see why now. The way we temper those yolks guarantees that silky, rich caramel custard filling sets beautifully, never curdling on you. It’s a technique passed down that I absolutely trust for every holiday gathering.
The Secret to Old Fashioned Pie Filling
The depth of flavor comes specifically from using both light brown sugar and plain white sugar. That molasses note in the brown sugar is what makes it taste truly old fashioned pie filling. We cook that mixture down perfectly before tempering, which locks in the buttery caramel flavor. Honestly, this method is simply fool-proof once you get the hang of it; it means you skip the grainy texture some homemade versions end up with. If you want to see how I make chewy caramel separately from time to time, check out my homemade caramel recipe!
Gathering Ingredients for Your Homemade butterscotch dessert
Okay, let’s get our supplies lined up! When I make this pie, I treat the ingredients list like a little treasure map because once you have everything ready, the rest is pure flow. This recipe relies on simple, good quality stuff to make that rich filling shine. Like my grandmother always said, “Mise en place keeps the panic out of the pie.”
For that perfect foundation, you’ll need your favorite pastry ready to go. I highly recommend making a double batch of my reliable flaky pie crust recipe so you only need to roll out one sheet for this single pie base!
Here is exactly what you need for the main event—the creamy filling and that amazing cloud of meringue:
- For the Flaky Crust: 1 recipe for a single 9-inch flaky pie crust (unbaked, chilled).
- For the Creamy butterscotch pie Filling and Meringue:
- 1/2 cup packed light brown sugar
- 1/4 cup granulated sugar
- 1/4 cup cornstarch
- 1/4 teaspoon salt
- 1 1/2 cups milk
- 1/2 cup heavy cream
- 4 large egg yolks, lightly beaten
- 4 tablespoons unsalted butter, cut into pieces
- 1 teaspoon vanilla extract
And for the topping, which makes this pie special for any gathering:
- For the Meringue:
- 4 large egg whites, room temperature
- 1/2 teaspoon cream of tartar
- 8 tablespoons granulated sugar
Make sure your butter is cut into those little pieces; it melts so much faster that way when we stir it in later. Having those egg yolks ready and your milk and cream measured out makes the next section—the cooking—so much less stressful!
Step-by-Step Instructions for the Perfect butterscotch pie
Alright, here’s where we turn that glorious lineup of ingredients into the pie of your dreams. We’re moving fast here, but precision is key, especially when dealing with custards. First things first: get your oven set to 350°F (175°C). Then, grab that chilled pie crust—make sure the edges are nicely crimped. Chilling it while you work on the filling keeps the butter happy and prevents a soggy bottom later on. If you want to dive deep into making incredible custard bases, I have a whole guide on my classic custard pie recipe that breaks down setting textures!
I still remember the first time I tried to temper eggs for Daisy. I added the hot liquid way too fast, and suddenly I had sweet, buttery scrambled eggs sitting in my saucepan! Ugh! But I learned that slow and steady wins this race. It’s vital for preventing lumps throughout the whole setup for what will become your stunning rich caramel custard pie.
Making the Silky butterscotch pie Filling
Start by whisking those sugars, cornstarch, and salt together well in a medium heavy-bottomed saucepan—no lumps allowed! Whisk in the milk and cream gradually until it’s perfectly smooth. Now, cook this over medium heat, but you can’t walk away! Stir constantly until it gets thick and starts to bubble gently. It must boil gently for a full minute to cook out that cornstarch taste. Turn off the heat.
Here comes the careful part, the tempering: take about a cup of that hot mixture and slowly, slowly drizzle it into your lightly beaten egg yolks while you whisk them like crazy. This wakes up those yolks gently! Once that’s incorporated, pour that yolk mixture right back into the saucepan with the rest of the hot base. Put it back on medium heat. Stir constantly until it thickens up again and comes to that gentle boil for one minute more. Once that minute is up, take it off the heat immediately! Stir in your chunks of butter until they melt completely, then the vanilla. Pour all that velvety filling into your chilled, unbaked crust right away.
Achieving Glossy Pie Recipes with Meringue Topping
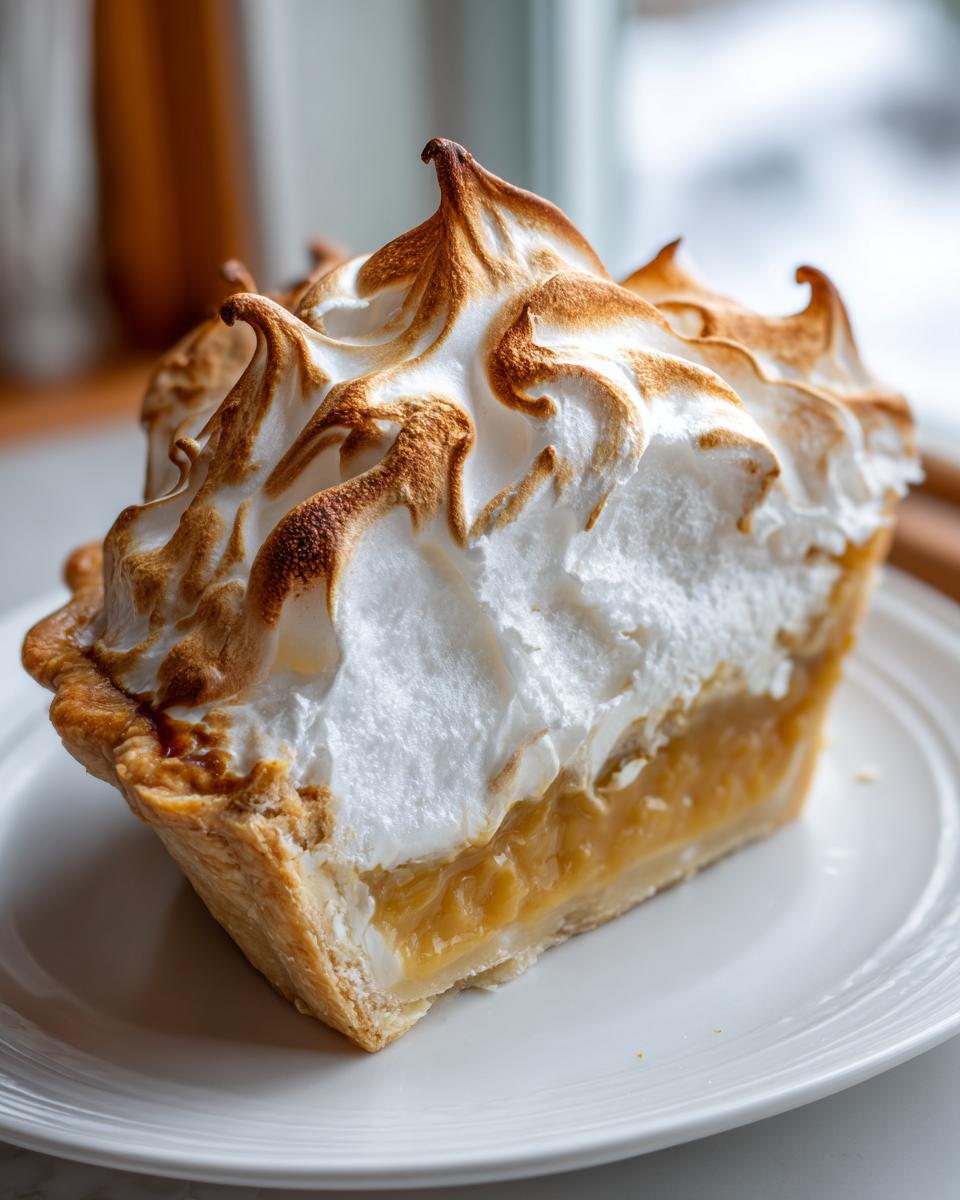
While the filling is piping hot, we move straight to the meringue. This is where using room-temperature egg whites and making absolutely sure your bowl is grease-free really pays off for glossy peaks! Beat those egg whites and cream of tartar until they just hold soft peaks. Start sprinkling in that sugar slowly, beating until you get those gorgeous, stiff, and glossy points. Don’t underbeat; you want structure!
The absolute secret to preventing weeping in these pie recipes with meringue topping? You must spread that freshly whipped meringue right over the hot filling. Seal it completely, making sure the meringue kisses the edges of the crust all the way around. This seals in the moisture so the filling doesn’t draw water up into the topping. Then, pop it into the 350°F oven for about 12 to 15 minutes until the peaks are beautifully golden brown. Watch it like a hawk!
Tips for Success with Your Creamy butterscotch pie Recipe
This creamy butterscotch pie recipe is worth the wait, which is why I want to share a few tricks I learned from Daisy to ensure you have success every time you make this for your easy pie recipes for gatherings. The two biggest worries are always a runny filling or meringue that starts to weep moisture down the sides. Trust me, if you follow these tips, you’re going to look like a dessert master! If you’ve ever struggled with a dessert that needed that extra jiggle instead of a solid slice, you might want to check out my guide on easy moist jello poke cake sometime!
We already talked about sealing the meringue to the hot filling, which handles most of the weeping problem. But the other crucial element happens after it comes out of the oven. This isn’t like a quick bread; this pie needs time to firm up its structure.
Setting and Cooling the butterscotch pie
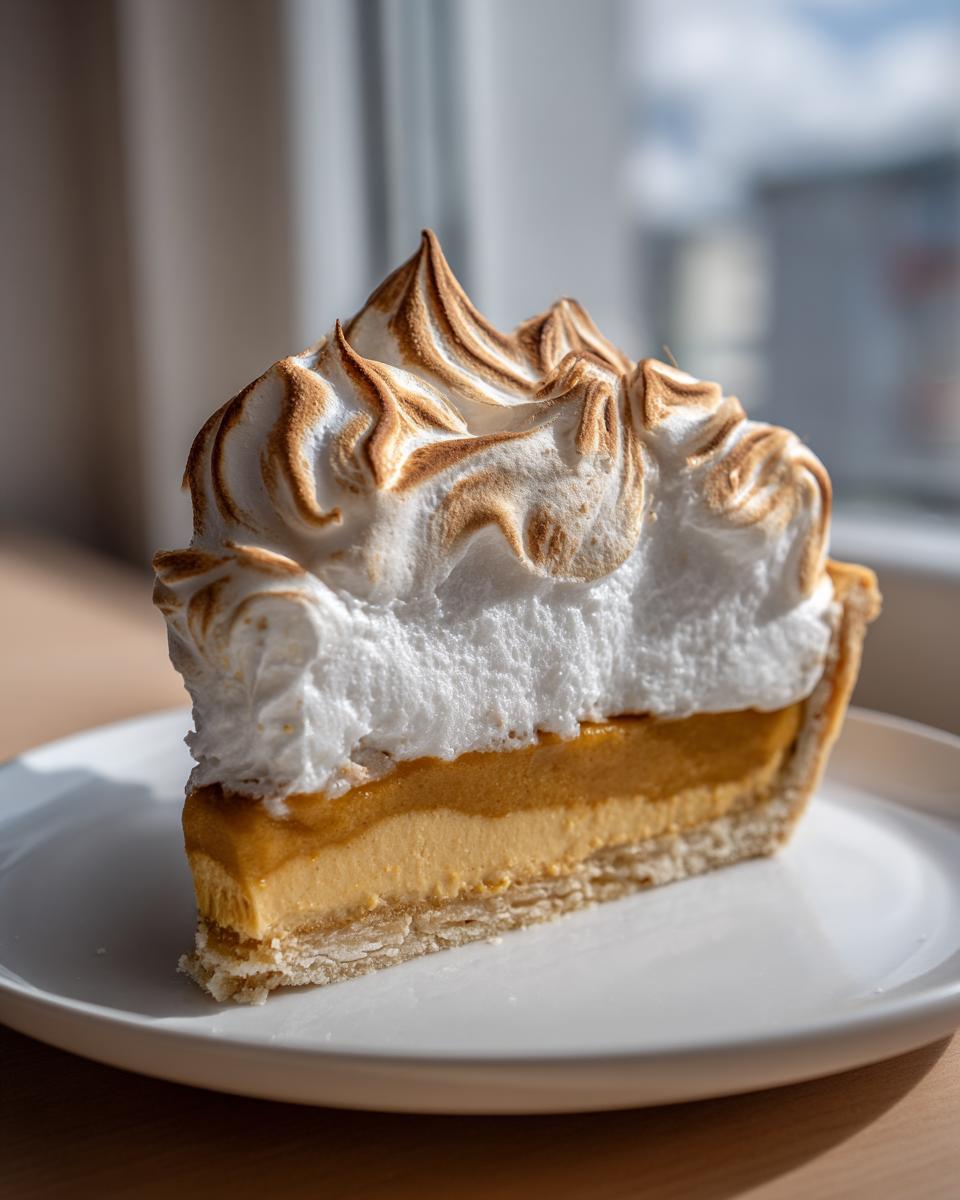
Step 13 isn’t just a suggestion; it’s the law for this pie! You absolutely must let this butterscotch pie cool completely on a wire rack for at least four full hours. If you cut into it sooner, the rich custard filling won’t have time to set properly. It will slump right out onto your plate, and while it will still taste good, it won’t look like the beautiful dessert from the photos. Plan ahead—this pie needs patience to achieve those stunning, clean slices everyone always admires!
Variations: Adapting Your butterscotch pie for Quick Homemade Pudding Pie
I know, sometimes life is moving too fast for a cooked custard and a seven-layer meringue, right? It happens! Even Daisy understood that sometimes you just need dessert on the table fast. If you’re craving that deep butterscotch flavor but need something fast, we can absolutely pivot this into a fantastic no bake butterscotch dessert. The main change here is ditching the baked starch-thickened filling.
For this super quick version, you’ll skip steps 1 through 12 completely. Instead, use a pre-made or graham cracker crust pie base—no baking needed! Then, you combine store-bought instant butterscotch pudding mix with heavy cream or milk, just following the package directions for a slightly thicker consistency. Fold in a tub of chilled whipped topping (Cool Whip works great here) for fluffiness. This is how you make a truly quick homemade pudding pie!
Since there’s no baking, you skip the meringue entirely (or top it with whipped cream just before serving). It sets up beautifully in the fridge, making it a fantastic option for last-minute potlucks. It’s not the exact same historic recipe, but wow, does it hit that crave for sweet, creamy comfort!
Serving Suggestions for This Comfort Food Desserts Classic
Now that your beautiful, towering butterscotch pie is perfectly chilled and set, we need to figure out how to present this showstopper! Because the filling is so intensely rich—it really is that comfort food desserts dream we were aiming for—you don’t need much else on the plate, honestly. If you have that gorgeous meringue glistening in the sun, that’s presentation enough!
But if you’re slicing this up for a big crowd or a formal dinner, a little bit of contrast in flavor and color always elevates things. I often find that a big, thick slice of this pie sits perfectly next to a small dollop of something bright. Fresh berries are my go-to accompaniment. A handful of slightly tart raspberries or even some thinly sliced strawberries cuts through the deep caramel sweetness perfectly. You can even whip up a quick strawberry syrup—I have a homemade fresh syrup recipe that takes minutes and looks elegant drizzled around the plate!
For coffee pairings, stick to something strong. A dark roasted black coffee or even a rich espresso cuts the richness wonderfully, turning that slice of pie into a truly luxurious afternoon treat. This truly shines as a classic holiday pie centerpiece because it feels old-fashioned and special, but it’s just as wonderful sitting on the table for a regular Tuesday night when you just need a little comfort!
Storage and Reheating Instructions for Leftover butterscotch pie
Nobody likes fighting over the last piece of pie, but if you do end up with leftovers of this incredible butterscotch pie, you need to know how to store it correctly. Because we made that gorgeous, glorious meringue topping, refrigeration is a must, sweetie. You cannot leave this pie sitting on the counter! The custard base and the eggs in that meringue need to stay chilled to stay firm.
If you have leftovers with the meringue, cover the top loosely with plastic wrap—don’t press it right onto the meringue, or you’ll squish all your pretty swirls! Tuck the whole thing into the fridge. It should hold up nicely for about three days. If you notice the meringue starting to look a little sad or ‘weepy,’ just gently scrape that top layer of moisture off before serving the next slice.
Now, here is a piece of important advice based on something I learned the hard way: Do not try to reheat your leftover custard pie! Seriously, don’t do it. Custard fillings just don’t respond well to heat after they’ve been chilled and set. If you warm it up, you risk melting the butterscotch base into a soupy mess and breaking the texture we worked so hard to achieve.
My advice? Enjoy this pie cold, straight from the fridge, or give it about 20 minutes on the counter to come to a very slight temperature just before serving. That cold, firm custard with the crisp, set meringue? That’s the best way to enjoy every last bit of your homemade butterscotch dessert.
Frequently Asked Questions About Making butterscotch pie
I always get messages after I post this, so I figured it’s easier if I just address the most common things that pop up while you’re gathering your supplies or heading into the final baking steps for this butterscotch pie. Don’t you worry if something feels tricky; we’ve all been there! Cooking should be fun, not frustrating.
Can I skip making my own pastry and use a store-bought pie crust?
Oh, absolutely! Daisy would have preferred the homemade stuff—she swore by it—but let’s be real, sometimes we need a shortcut. If you want to save about 45 minutes of prep time, go for a good quality, refrigerated, unbaked 9-inch pie shell. Just make sure it’s thoroughly chilled before you pour that hot filling in. It makes this pie one of the best easy pie recipes for gatherings!
What if I truly hate meringue? Can I still enjoy this pie?
Yes, you can definitely skip the meringue! If you’re not a huge fan of the fluffy topping, you have two great options. First, you can use the simple dusting of powdered sugar like Daisy sometimes did, but only once the pie is totally cool. Or, even better, follow the light substitution I mentioned in the variations section: skip the meringue completely and top the cooled filling with fresh, homemade whipped cream right before serving. That way you still get that decadent feel without the fuss of whipping egg whites!
I need this fast! Can I use butterscotch chips instead of making the filling from scratch?
That’s exactly what my quick variation section caters to! If you need a quick homemade pudding pie substitute, pulling out the chips is a smart move. If you want to bypass the whole cooking, tempering, and boiling process for the custard, just whip up the no-bake version I detailed earlier: swap the scratch filling for instant butterscotch pudding mixed with whipped topping and pour that into a graham cracker crust. It skips all the custard drama and still tastes heavenly, though it won’t have that deep caramel flavor of the cooked pie.
Why is tempering the egg yolks so incredibly important for this rich caramel custard pie?
This is the make-or-break moment for your silky texture! Tempering is just slowly raising the temperature of the egg yolks by whisking in a little bit of that hot milk/sugar mixture before adding the yolks to the main pot. If you dump the cold yolks straight into the hot pot, they seize up instantly, scrambling into tiny yellow bits throughout your beautiful rich caramel custard pie base. A slow drizzle and constant whisking keep them smooth and ready to thicken naturally!
If you’ve tried any of these tips or just want to tell me if you tried the Dolly Parton way (I hear hers is amazing too!), please let me know in the comments below! If you’re looking for other easy-to-manage baked goods, I have a fun beer bread recipe that is incredibly low effort.
Share Your Homemade butterscotch dessert Experience
Well, that’s it! We’ve tackled the classic bake, we’ve covered the no-bake sprint, and we’ve made sure that meringue is towering and gorgeous. Now comes my absolute favorite part: hearing about how this homemade butterscotch dessert turned out in your kitchen! Daisy always said the best part of cooking was the sharing afterward.
Did you manage to get that perfectly clean slice, or did you end up eating it straight out of the dish with a spoon (no judgment here, I do it all the time!)? I would love for you to give this recipe a star rating right here on the page so other home cooks know what to expect. You can even snap a photo of your pie and tag me on social media!
I’ve heard from so many of you who tried this because you were looking for that divine Southern hit—maybe you even pulled inspiration from famous Southern cooks. If you were channeling that legendary sweetness and tried making this pie as an homage to, say, Dolly Parton dessert recipe inspiration, please drop a note in the comments and tell me how you styled it!
And if you’re looking for another simple, cheerful bake to bring to your next gathering, I highly suggest trying my soft and chewy lemon crinkle cookies recipe. They are such a bright contrast to this rich pie!
If you want to see the direct inspiration that got some folks buzzing about their own takes on that famous Southern classic, you can check out this version for Dolly Parton’s Butterscotch Pie. Happy baking, and thank you for letting Daisy’s legacy live on in your kitchens!
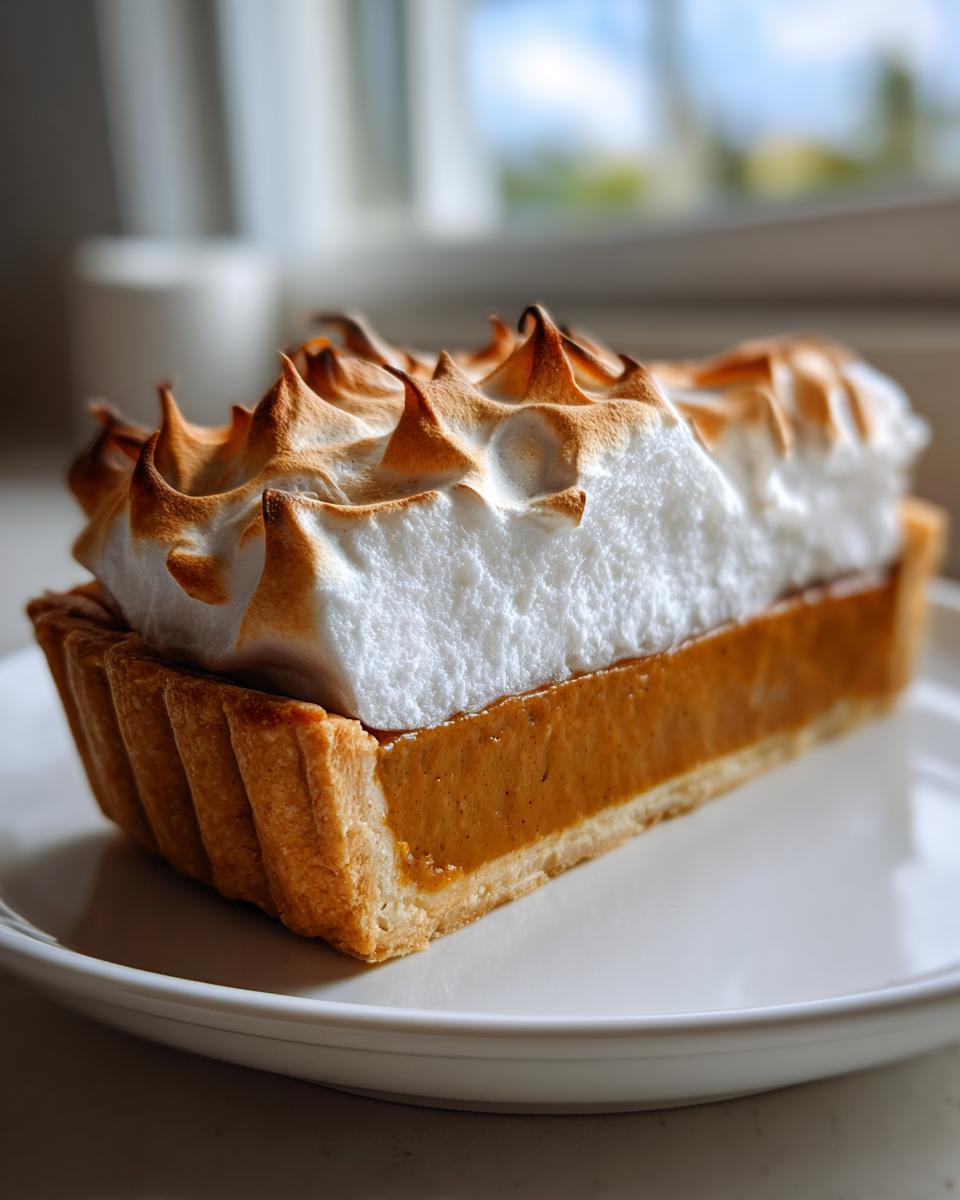
PrintClassic Old-Fashioned Butterscotch Pie with Dreamy Meringue

Make this rich, creamy butterscotch pie, a nostalgic comfort food dessert. This recipe delivers a silky, homemade butterscotch filling baked in a flaky crust and topped with sweet meringue.
- Prep Time: 25 min
- Cook Time: 30 min
- Total Time: 4 hours 55 min
- Yield: 8 servings 1x
- Category: Dessert
- Method: Baking
- Cuisine: American
- Diet: Vegetarian
Ingredients
- 1 recipe for a single 9-inch flaky pie crust (unbaked)
- 1/2 cup packed light brown sugar
- 1/4 cup granulated sugar
- 1/4 cup cornstarch
- 1/4 teaspoon salt
- 1 1/2 cups milk
- 1/2 cup heavy cream
- 4 large egg yolks, lightly beaten
- 4 tablespoons unsalted butter, cut into pieces
- 1 teaspoon vanilla extract
- For the Meringue:
- 4 large egg whites, room temperature
- 1/2 teaspoon cream of tartar
- 8 tablespoons granulated sugar
Instructions
- Prepare your 9-inch pie crust and place it in a pie plate. Crimp the edges and chill while you make the filling. Preheat your oven to 350°F (175°C).
- In a medium saucepan, whisk together the brown sugar, granulated sugar, cornstarch, and salt.
- Gradually whisk in the milk and heavy cream until smooth.
- Cook the mixture over medium heat, stirring constantly, until it thickens significantly and begins to bubble. Let it boil gently for one minute while stirring. Remove from heat.
- In a separate bowl, whisk the egg yolks. Slowly drizzle about 1 cup of the hot sugar mixture into the yolks while whisking constantly to temper them.
- Pour the tempered yolk mixture back into the saucepan with the remaining sugar mixture. Return the pan to medium heat.
- Cook, stirring constantly, until the filling thickens again and comes to a gentle boil. Cook for one minute more. Remove from heat.
- Stir in the butter pieces until fully melted and incorporated. Stir in the vanilla extract.
- Pour the hot butterscotch filling into the chilled, unbaked pie crust.
- Prepare the meringue: In a clean, grease-free bowl, beat the egg whites and cream of tartar with an electric mixer until soft peaks form. Gradually add the 8 tablespoons of sugar, beating until stiff, glossy peaks form.
- Spread the meringue evenly over the hot filling, making sure the meringue touches the edges of the crust all the way around to prevent shrinking. Create decorative swirls with the back of a spoon.
- Bake at 350°F (175°C) for 12 to 15 minutes, or until the meringue is lightly golden brown. Watch carefully to prevent burning.
- Cool the pie completely on a wire rack for at least 4 hours before slicing. This allows the custard to set properly.
Notes
- For a quicker, no-bake option, use a pre-made graham cracker crust and substitute the homemade filling with a mixture of instant butterscotch pudding and whipped topping (Cool Whip).
- If you prefer a less sweet topping, you can skip the meringue and top the cooled pie with lightly sweetened whipped cream just before serving.
- To prevent the meringue from weeping, ensure your mixing bowl and beaters are completely free of any grease or egg yolk residue.
Nutrition
- Serving Size: 1 slice
- Calories: 410
- Sugar: 45g
- Sodium: 250mg
- Fat: 22g
- Saturated Fat: 12g
- Unsaturated Fat: 10g
- Trans Fat: 0.5g
- Carbohydrates: 50g
- Fiber: 1g
- Protein: 6g
- Cholesterol: 130mg