
There’s just something magical about candy made in your own kitchen, isn’t there? It transports you right back to your happiest memories. When I was feeling disconnected from my roots, I came back to Grandma Daisy’s recipes, and the one I kept craving was her classic, soft, and chewy homemade caramel. Trust me when I say this is the recipe you need! It delivers that perfect buttery square that melts in your mouth, and I promise it’s completely achievable even if you’ve never made candy before. I’ve tested this recipe out dozens of times to ensure it’s foolproof for beginners. Making these brings me right back to her kitchen.
- Why This is the Best Homemade Caramel Recipe You Will Make
- Gathering Ingredients for Your Homemade Caramel From Scratch
- The Beginner Caramel Making Guide: Step-by-Step Instructions
- Tips for Perfect Melt in Your Mouth Caramels
- Making a Simple Caramel Topping Variation
- Storing Your Homemade Holiday Candy Ideas
- Frequently Asked Questions About DIY Caramel
- Nutritional Estimates for Homemade Caramel Squares
- Share Your Homemade Caramel Success
Why This is the Best Homemade Caramel Recipe You Will Make
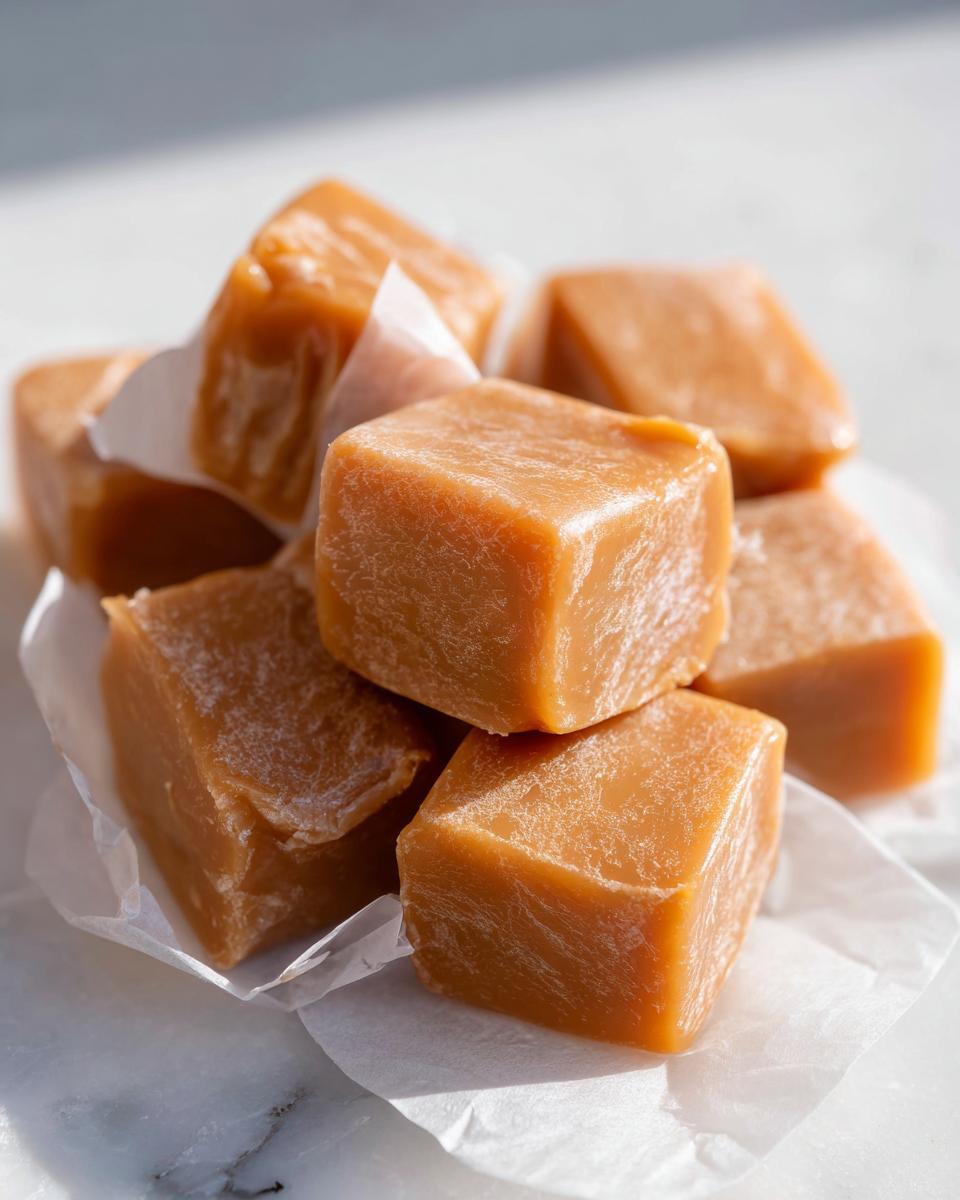
People often think making candy at home is complicated, but this gorgeous homemade caramel recipe proves them wrong. Daisy taught me that the secret to truly buttery homemade sweets isn’t fancy equipment; it’s sticking to the tried-and-true ratios she perfected. This old fashioned caramel candy method guarantees a texture that’s rich without being overly hard. It’s sweet, perfectly pliable, and so satisfying to eat. If you’ve been nervous about trying candymaking, give this a shot; it’s genuinely worth the effort! You can read more about my favorite recipes right here.
Achieving Soft Candy Making at Home Perfection
The non-negotiable piece of this recipe is the temperature, folks. We are aiming for 245 degrees Fahrenheit exactly—the firm-ball stage. If you go even slightly over, you risk getting a hard caramel chew, which never melts quite right in your mouth. If you pull it too early, it won’t set up! That thermometer is your best friend here because it guarantees that signature soft texture we want in our soft candy making at home. Don’t rush it; just watch that gauge closely!
Gathering Ingredients for Your Homemade Caramel From Scratch
Okay, let’s talk about what you need to pull off this amazing homemade caramel. I’ve listed everything out below because accuracy matters when you’re dealing with sugar—it’s chemistry! You need simple pantry staples, but quality counts. We’re using two full cups of granulated sugar, which is serious business for richness. We also need a full cup of heavy cream and those two sticks of butter. I promise you, that dairy amount is what makes these so unbelievably rich. If you’re ever looking for other rich sweet sides, check out my recipe for candied sweet potatoes!
Ingredient Notes and Substitutions for Buttery Homemade Sweets
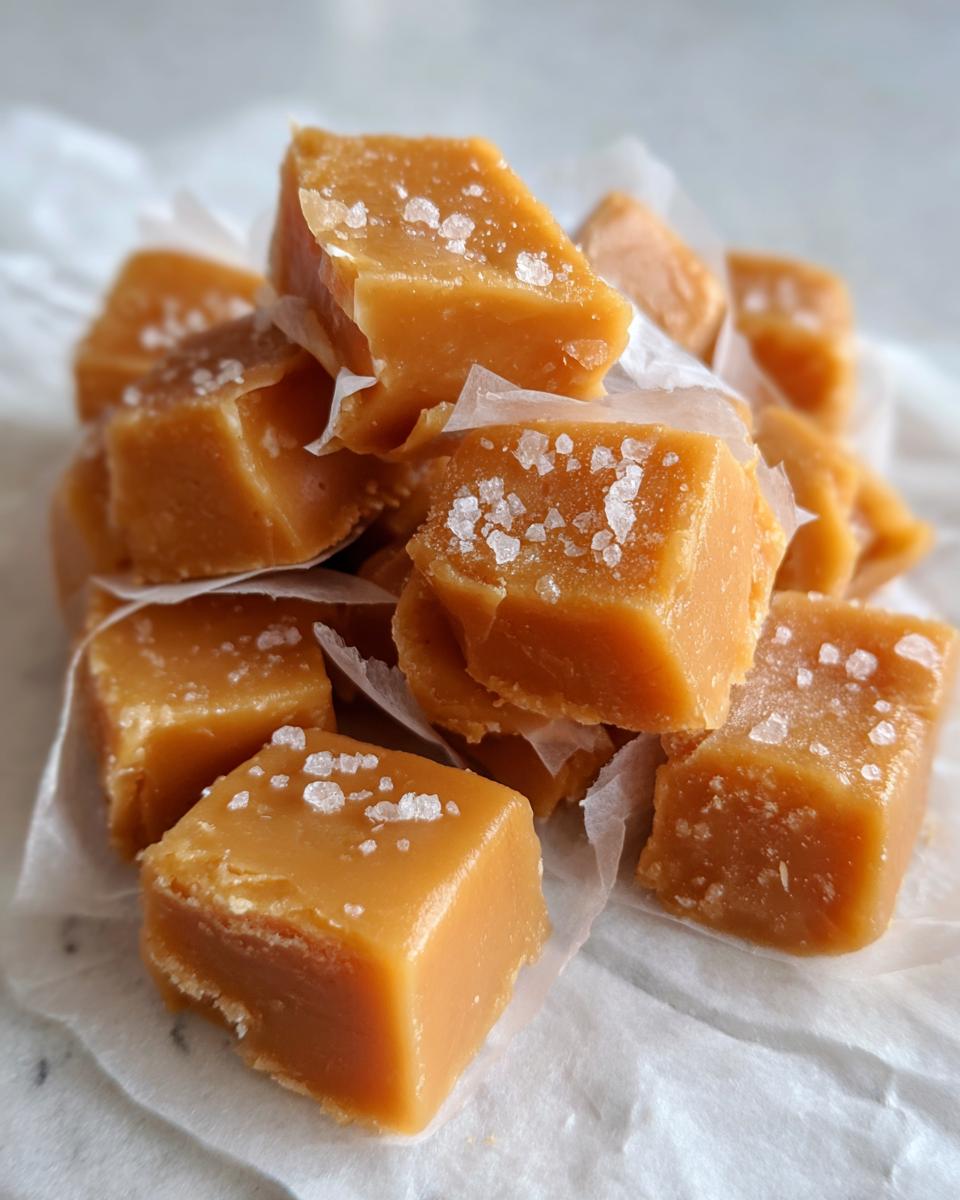
My biggest tip here is about the butter: make sure you cut the two sticks into pieces before you start melting. This helps it incorporate much more smoothly when the time comes. Also, don’t skip the corn syrup; it’s what keeps the sugar molecules from getting grainy on us—it keeps things smooth. If you want to turn this into the salted caramel recipe easy version, grab some flaky sea salt. Once you pour the mixture into the pan in step seven, just sprinkle it right on top before it cools! It really elevates these buttery homemade sweets.
The Beginner Caramel Making Guide: Step-by-Step Instructions
Now for the moment of truth! Don’t let the candy thermometer scare you; making your first batch of homemade caramel is truly thrilling once you get the rhythm down. Remember what Daisy always said: treat hot sugar with respect! We’re going to walk through this carefully together, and you’ll have soft squares ready for gifting soon. If you want to see some of the other amazing things you can make once you master this, check out my dessert category!
Preparation: Pan Setup and Initial Mixing
First up, get your 8×8 inch pan ready. You need to grease it lightly and line it with parchment paper, making sure you leave plenty of paper hanging over the sides like little handles—this is how we’ll lift the whole block out later! In your mixing bowl, you’ll combine the granulated sugar, corn syrup, heavy cream, and brown sugar. My most important tip here, which Daisy absolutely drilled into me, is to use a heavy-bottomed saucepan. If the bottom is too thin, the sugar scorches in spots, and we want that rich, even color, not burnt patches.
Cooking to Firm-Ball Stage for Homemade Caramel
Once everything is combined and the sugar is dissolved over medium heat, attach that candy thermometer. And listen closely: the second it starts boiling, stop stirring! Seriously, pull that spoon out! Stirring creates little sugar specks on the side of the pot that fall back in and cause the whole batch to crystallize. We keep the heat steady until that thermometer hits 245 degrees Fahrenheit. It takes time—maybe 15 to 20 minutes—so watch it like a hawk! If you go past 248°F, you’re heading toward peanut brittle territory, and we want soft and chewy here.
Finishing and Setting the Old Fashioned Caramel Candy
The second you hit that magic 245°F, take the pan off the heat! Now it’s safe to stir again. Gently whisk in the butter pieces until they melt into the mix, followed by the vanilla and salt. Pour that beautiful, thick liquid into your waiting pan—don’t scrape the sides of the saucepan, or you might bring in those unwanted sugar crystals! Now, we wait. Three hours minimum! When it’s completely firm, use those parchment paper handles to lift it out. To cut, grab a sharp knife, oil it up just a touch, and slice into squares. Voila! You’ve made old fashioned caramel candy!
Tips for Perfect Melt in Your Mouth Caramels
Even with the best homemade caramel recipe in hand, you sometimes face little challenges, right? That’s where the wisdom from Grandma Daisy really shines through. Her method guarantees those luxurious, melt in your mouth caramels instead of something tough or grainy. The biggest issue people run into is crystallization, which happens when stray sugar crystals get agitated during the cooking process. That’s why the rule is: stir only until dissolved, then let it boil in peace!
Another pro tip she taught me—and this is crucial—is to always use a heavy-bottomed pot. If you don’t have one, keep your heat slightly lower than you think you need to. Uneven heat leads to hot spots where the sugar burns before the rest is done cooking, and nobody wants that bitter taste sneaking into their sweet treats. If you use this method, your caramels will be perfect every time, ready for cutting or dipping into your favorite sugar cookies!
Making a Simple Caramel Topping Variation
Now, look, sometimes you don’t want to cut squares, right? You just want a drizzle of pure, buttery goodness to pour over ice cream or soak into some glorious bread pudding—I make mine using my caramel every time! The beauty of knowing how to make great homemade caramel is that you can easily pivot to a sauce.
The trick for a simple caramel topping variation is timing. Instead of taking the mixture all the way to 245°F for the chewy candies, you pull it right off the heat when it hits 235°F instead. That lower temperature leaves it much softer, ensuring it stays wonderfully pourable once it cools down a bit. If you’re looking for an even quicker sauce recipe or just want to see another take, Elizabeth has a great one over here. Either way, you’re ending up with liquid gold!
Storing Your Homemade Holiday Candy Ideas
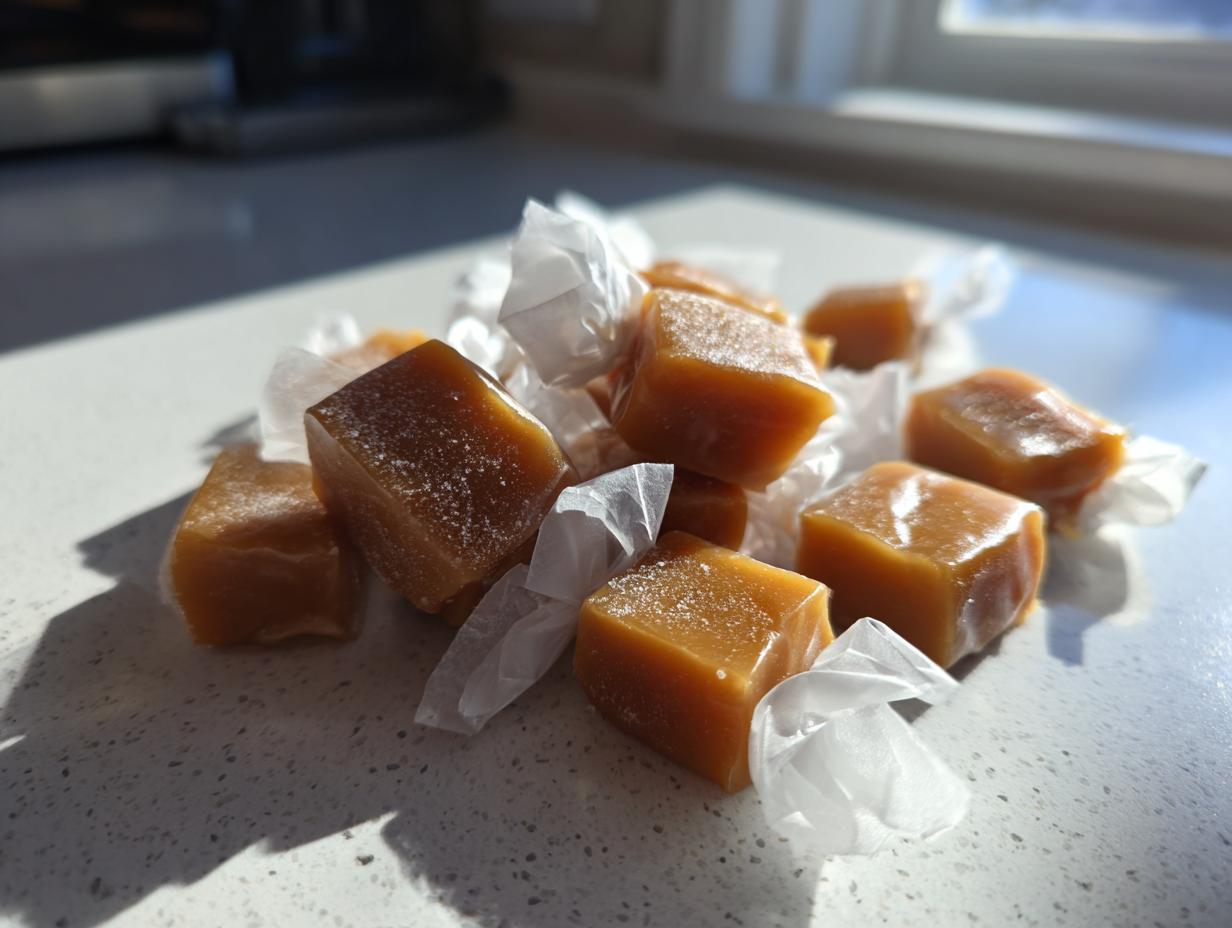
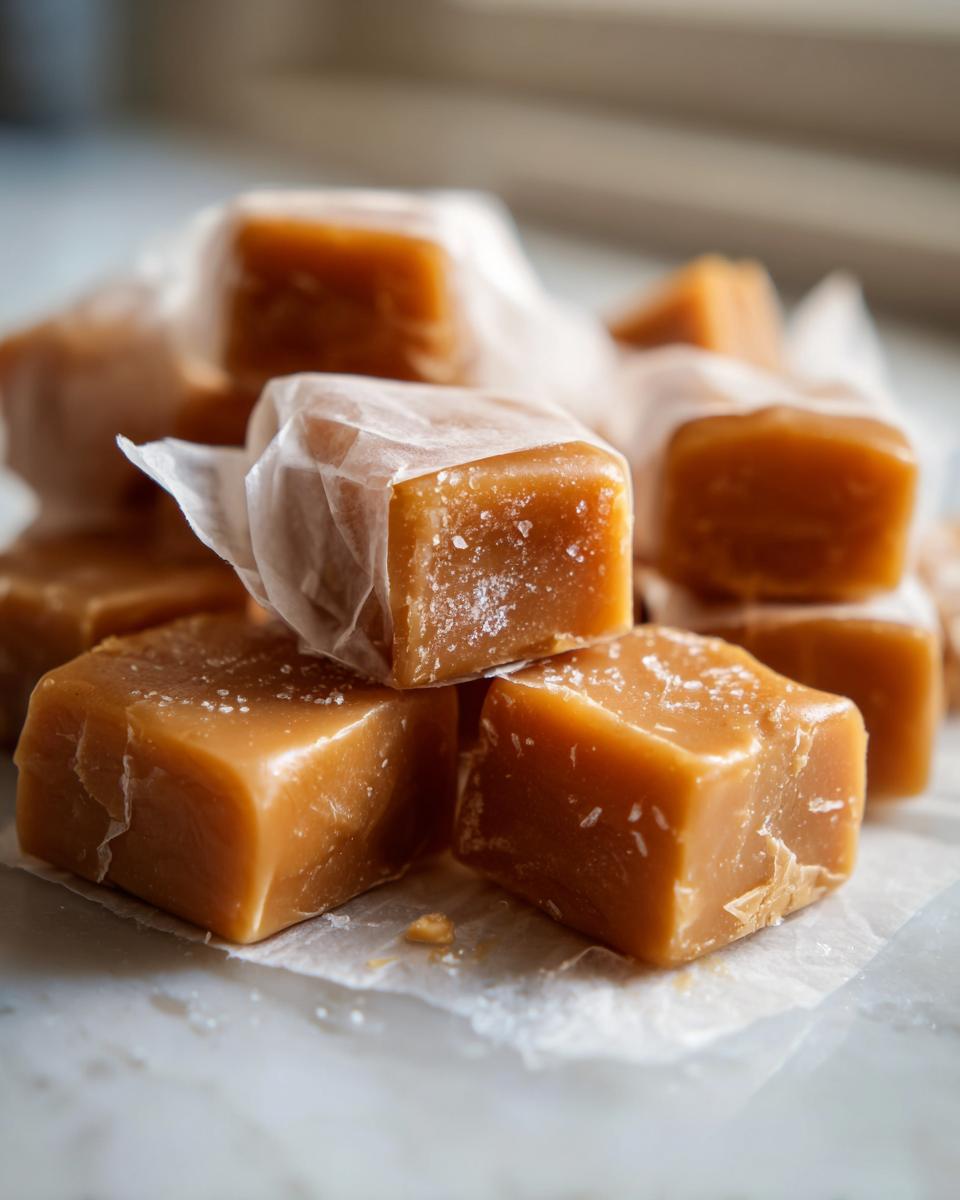
Once you’ve cut those gorgeous squares of homemade caramel, the next biggest hurdle is storage! If you plan on gifting these beauties—which you absolutely should, as they make fantastic homemade holiday candy ideas—you can’t just toss them in a container together. They’ll melt into one giant, sticky mess overnight, trust me, I learned that the hard way!
The instruction says to wrap each piece individually in wax paper or cellophane. This barrier is non-negotiable! It keeps them separated and stops them from sticking to each other or the container. If you’re making the salted version, you can check out how my friends do theirs for a great look over here. Stored properly in an airtight tin, these soft candies will stay perfectly chewy for about two weeks. They’re perfect to tuck right alongside those homemade sugar cookies!
Frequently Asked Questions About DIY Caramel
Whenever I first started tackling homemade caramel, I had a million questions bubbling up—almost as much as the sugar itself! It’s totally normal to worry about whether you’ll end up with a beautiful, soft candy or just a sticky mess in your pan. Here are a few things Daisy taught me that helped perfect my beginner batches of DIY caramel.
Why did my homemade caramel crystallize?
Oh, this is the number one headache! You did everything right, but instead of smooth, you got grainy. This almost always happens because stray sugar crystals contaminate the boiling syrup. Maybe you stirred after the boil started, or perhaps there was even one tiny undissolved crystal clinging to the side of your clean pot. Once that sugar dissolves, you have to promise yourself you won’t disturb it until it hits 245°F. Seriously, the temptation is real, but resist!
Can I use a different sweetener instead of corn syrup for DIY caramel?
For this specific recipe for soft, chewy squares, I highly advise sticking to the light corn syrup. It is essential because it acts as an invert sugar, which stabilizes the sucrose and prevents it from recrystallizing. If you switch it out entirely—say, for maple syrup—you’re changing the entire chemical reaction, and you might end up with a gooey puddle later. However, if you are making a quick sauce version like the one mentioned earlier, you might have a little more wiggle room, but for these precise homemade caramel candies, stick to the list!
If you want to try making some fudge next for a different kind of sweet treat, you should check out my recipe for Buckeye Fudge!
Nutritional Estimates for Homemade Caramel Squares
I know some of you are just as curious about what goes into these amazing squares as you are about how to make them. Daisy always focused on flavor over labels, but since we’re cooking in the modern world, here are the estimated nutritional values based on the recipe ingredients for one 1-inch square. Remember, this calculation is just an estimate, so what you end up with might shift slightly depending on the exact brands of butter or cream you use!
- Serving Size: 1 piece
- Calories: 105
- Sugar: 18g
- Sodium: 35mg (This can change a lot if you go heavy on the salt!)
- Fat: 3g
- Protein: 0g
When you’re making something this rich and wonderful, the most important thing is that you enjoy it, not stress over the details. These estimates show off how decadent these homemade caramel treats are! Just keep them stored correctly in their little wax paper wrappers.
Share Your Homemade Caramel Success
Well, that’s it! You’ve officially conquered the world of candy making, and I couldn’t be prouder of you for tackling this homemade caramel recipe. Whether you ended up with perfectly wrapped squares or just a really fantastic drizzle for your morning coffee, I want to hear all about it!
Please, please, please come back down here and leave a rating or a comment below. Tell me if you tried the salted variation or if you managed to get that perfect 245°F reading without a panic attack! Knowing that you succeeded in making these easy chewy caramels truly makes my day. You can check out my other easy sweets here if you’re already looking for your next kitchen adventure. Happy baking—or should I say, happy candymaking!
PrintSoft and Chewy Homemade Caramels: An Old Fashioned Recipe
Create classic, buttery soft and chewy homemade caramels from scratch. This easy recipe is perfect for beginners and makes a wonderful holiday gift or sweet treat.
- Prep Time: 15 min
- Cook Time: 25 min
- Total Time: 3 hours 40 min
- Yield: About 64 pieces 1x
- Category: Candy
- Method: Stovetop Cooking
- Cuisine: American
- Diet: Vegetarian
Ingredients
- 2 cups granulated sugar
- 1 cup light corn syrup
- 1 cup heavy cream
- 1 cup packed light brown sugar
- 1 cup (2 sticks) unsalted butter, cut into pieces
- 1 teaspoon vanilla extract
- 1/2 teaspoon salt (or more for salted caramel)
Instructions
- Lightly grease an 8×8 inch baking pan and line it with parchment paper, leaving an overhang on the sides for easy removal. Set aside.
- In a heavy-bottomed saucepan, combine the granulated sugar, corn syrup, heavy cream, and brown sugar.
- Stir the mixture constantly over medium heat until the sugar dissolves completely.
- Attach a candy thermometer to the side of the pan, making sure the tip does not touch the bottom.
- Stop stirring once the mixture boils. Continue to cook until the temperature reaches 245 degrees Fahrenheit (the firm-ball stage). This usually takes 15 to 20 minutes. Watch the mixture closely to prevent burning.
- Remove the pan from the heat immediately when it reaches 245 degrees Fahrenheit. Carefully stir in the butter until it is fully melted and incorporated. Stir in the vanilla extract and salt.
- Pour the hot caramel mixture into the prepared baking pan. Do not scrape the sides of the pan. Let it cool completely at room temperature for at least 3 hours, or until firm.
- Once firm, use the parchment paper overhang to lift the caramel block out of the pan. Peel off the paper.
- Use a sharp, oiled knife or kitchen shears to cut the block into 1-inch squares.
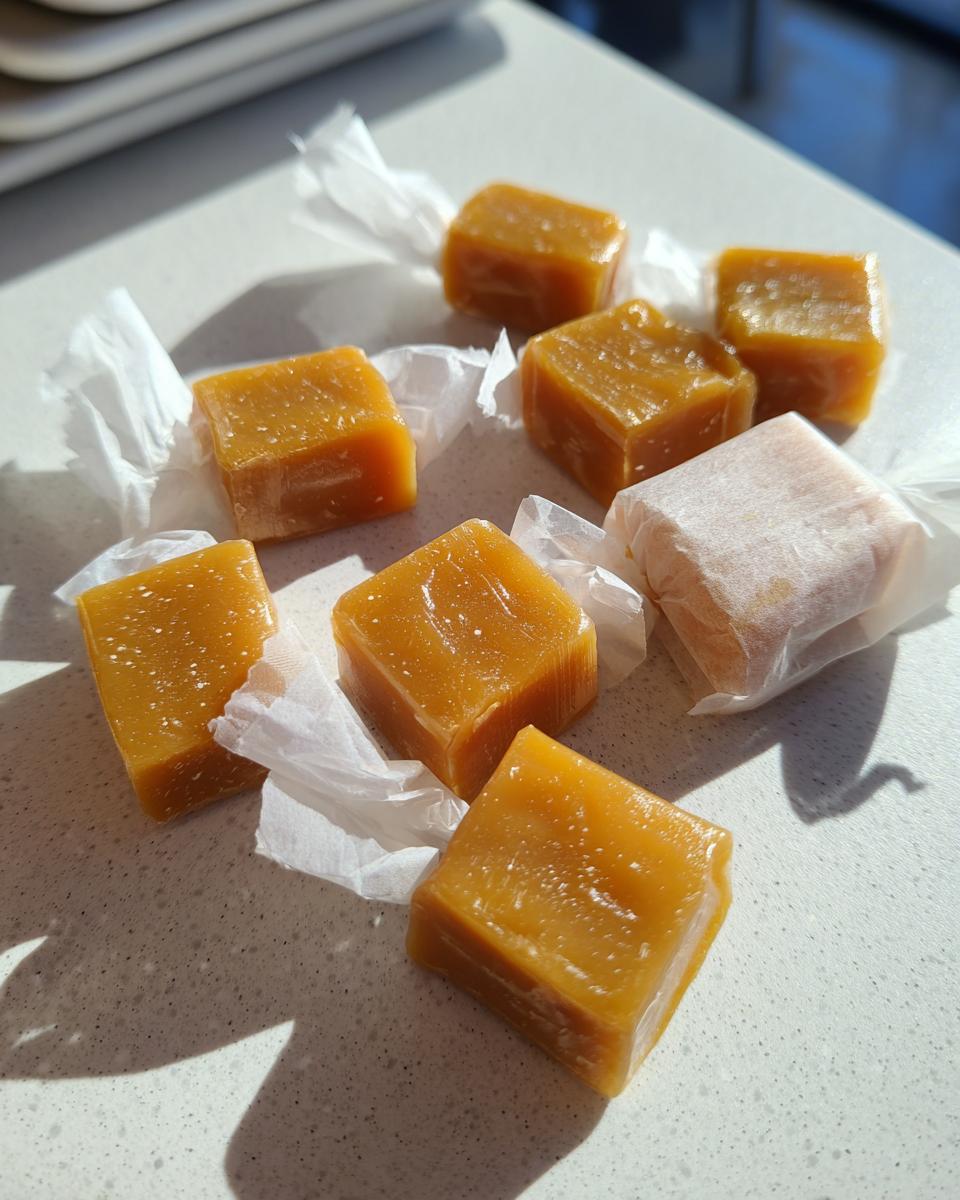
- Wrap each individual caramel in wax paper or cellophane for storage. Store in an airtight container.
Notes
- For the best results with this old fashioned caramel candy, use a heavy-bottomed pan to distribute heat evenly.
- If you want a salted caramel recipe easy version, sprinkle flaky sea salt over the top of the caramel immediately after pouring it into the pan.
- If you prefer a thicker caramel sauce, reduce the cooking time slightly, stopping when the mixture reaches 235 degrees Fahrenheit.
Nutrition
- Serving Size: 1 piece
- Calories: 105
- Sugar: 18g
- Sodium: 35mg
- Fat: 3g
- Saturated Fat: 2g
- Unsaturated Fat: 1g
- Trans Fat: 0g
- Carbohydrates: 19g
- Fiber: 0g
- Protein: 0g
- Cholesterol: 10mg