
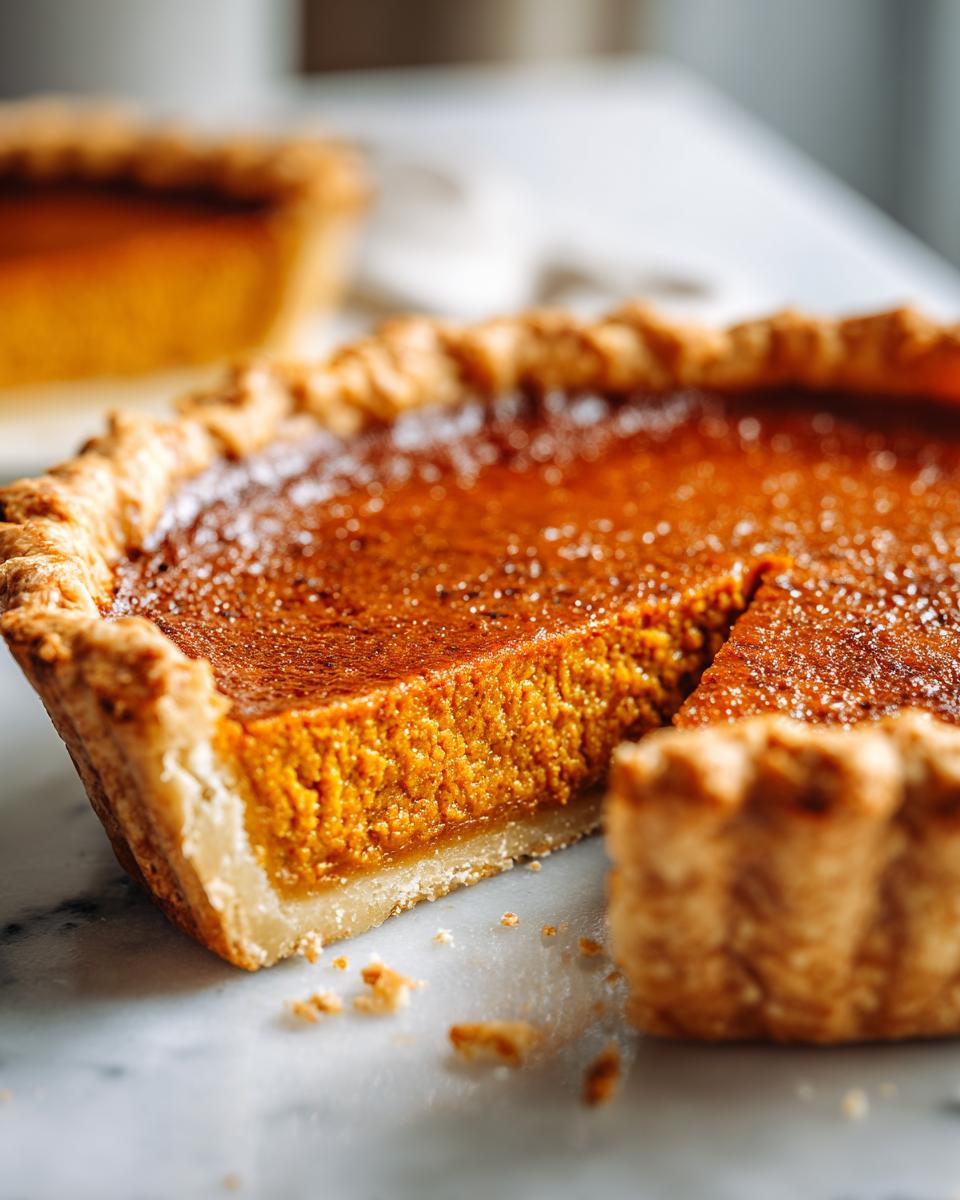
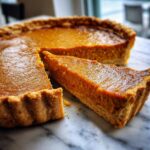
Oh, there is nothing that smells quite like genuine American holiday baking, is there? For me, the scent of cinnamon, nutmeg, and warm crust instantly brings me back to Grandma Daisy’s kitchen. She didn’t do fussy; she did honest, excellent food. And if you’re looking to nail that essential, time-tested dessert this year, I have the ultimate classic pumpkin pie recipe for you. Forget the overly sweet stuff or the ones that crack into a million pieces—this version, honed over decades in Daisy’s simple Midwest kitchen, guarantees that perfectly creamy filling inside a buttery, flaky pie crust. Trust me, this is the one that makes everyone ask for the recipe immediately. Want something savory to pair it with? You should absolutely try my sister’s easy creamy pumpkin soup recipe!
- Why This Classic Pumpkin Pie Recipe is the Best Pumpkin Pie Recipe
- Gathering Your Ingredients for the Classic Pumpkin Pie Recipe
- How to Prepare Your Easy Pumpkin Pie Instructions
- Expert Tips for Your Traditional Pumpkin Pie
- Serving Suggestions for Your Holiday Pies
- Storage and Make-Ahead for Your Classic Pumpkin Pie Recipe
- Frequently Asked Questions About This Classic Pumpkin Pie
- Nutritional Estimates for Your Classic Pumpkin Pie Recipe
- Share Your Classic Pumpkin Pie Success
Why This Classic Pumpkin Pie Recipe is the Best Pumpkin Pie Recipe
When people search for the classic pumpkin pie recipe, they usually want that deep, nostalgic flavor, not something that tastes like a spice explosion. This recipe cuts through all the clutter. It’s famous in our family because it never fails to deliver that smooth, just-right flavor profile. Plus, it’s surprisingly straightforward! You get the rich taste you expect from an old fashioned pie without all the tricky steps.
- The spice balance is pure tradition—cinnamon, ginger, nutmeg, and just a hint of clove.
- We nail the temperature control, which is key to avoiding that dreaded surface crack!
- It relies on simple pantry standards, making it the easiest delicious Thanksgiving dessert you’ll ever make.
Achieving a Perfectly Creamy Pumpkin Pie Filling
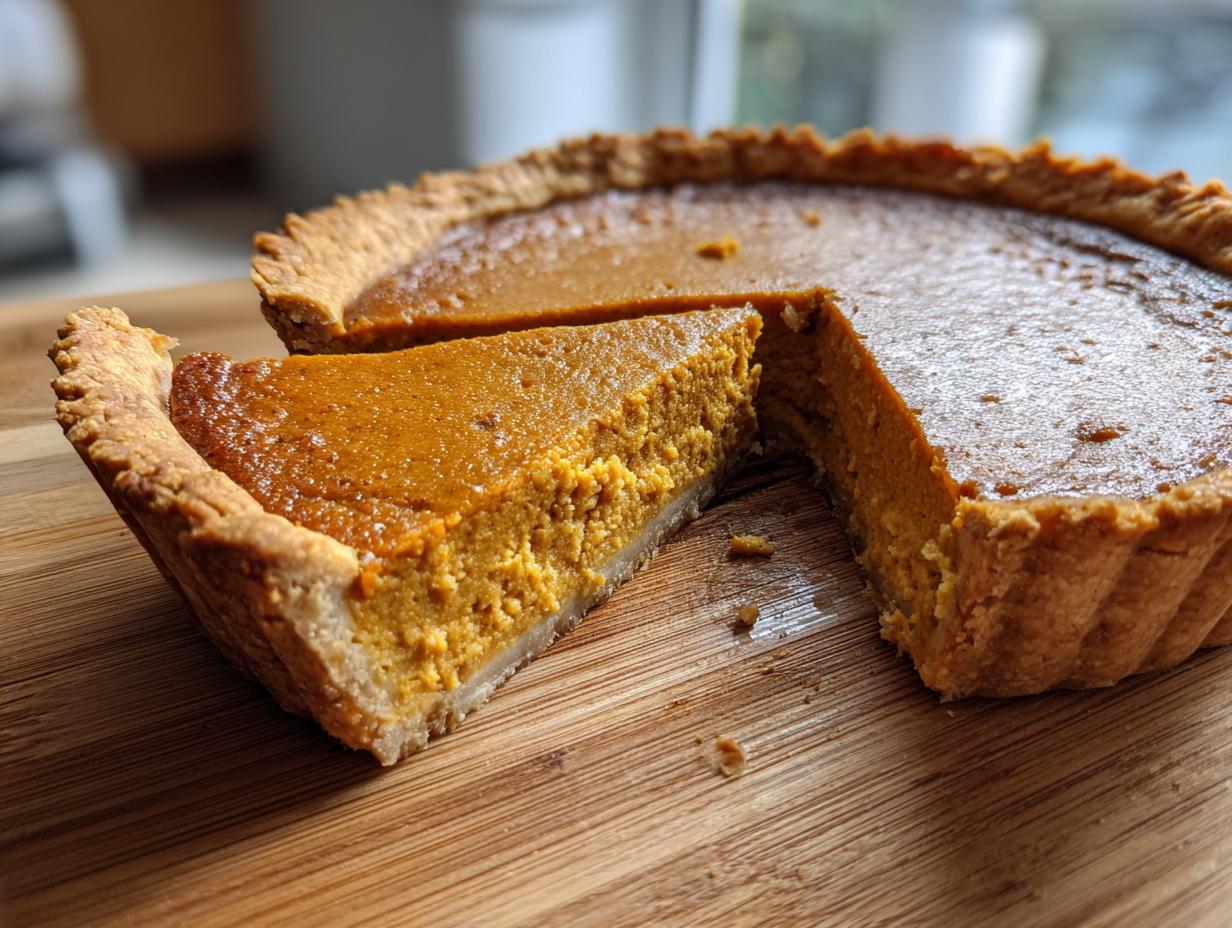
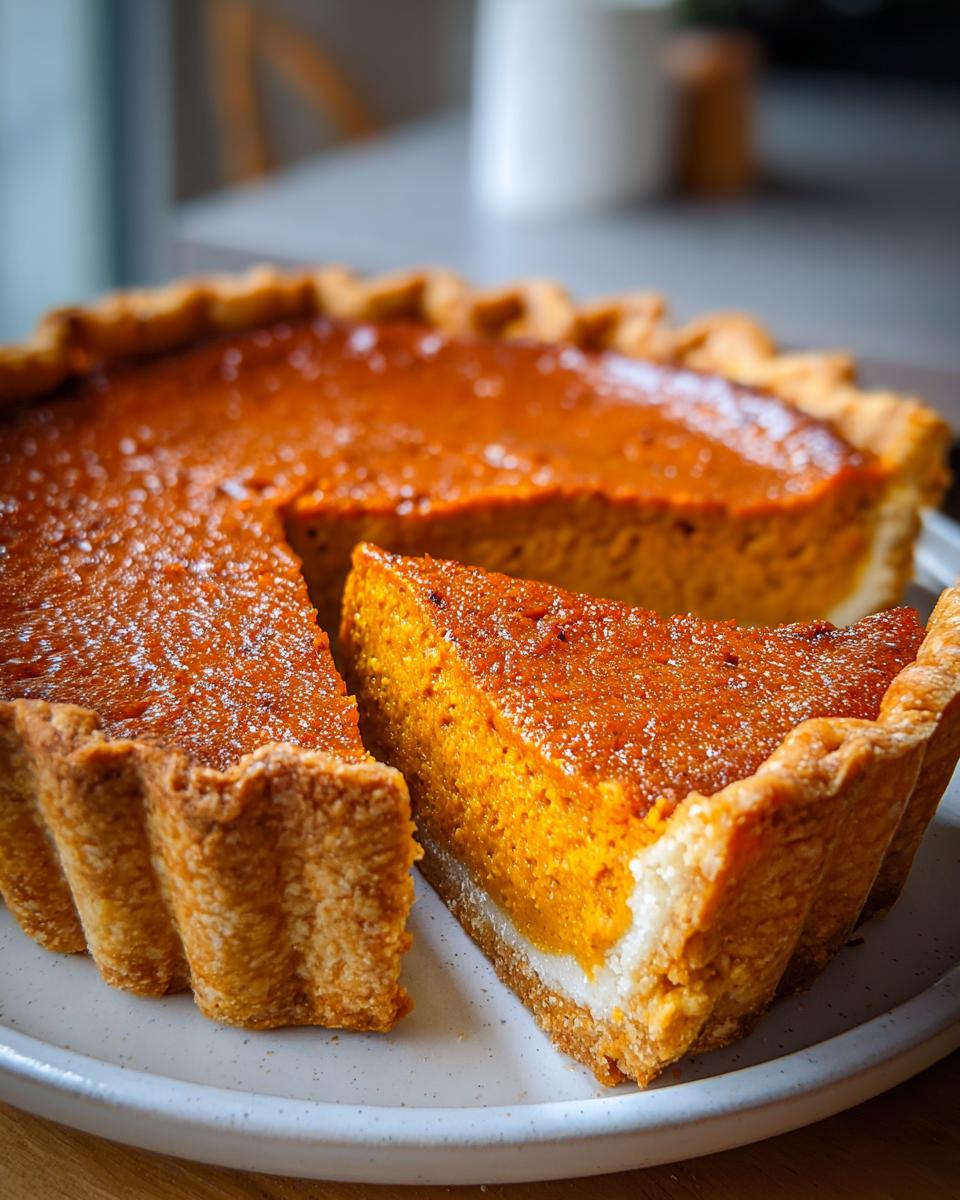
Honestly, the difference between a good filling and a spectacular one comes down to air. While we need to mix everything, we absolutely cannot over-whisk it once the eggs and milk are in! If you incorporate too much air, steam tries to escape during baking, and that’s what causes cracks. We are aiming for a truly creamy pumpkin pie filling, remember? Just fold those dry spices in gently until you see one color. That quiet mixing technique is how we ensure a beautifully smooth, no crack pumpkin pie surface every time.
Tips for the Ultimate Flaky Pie Crust
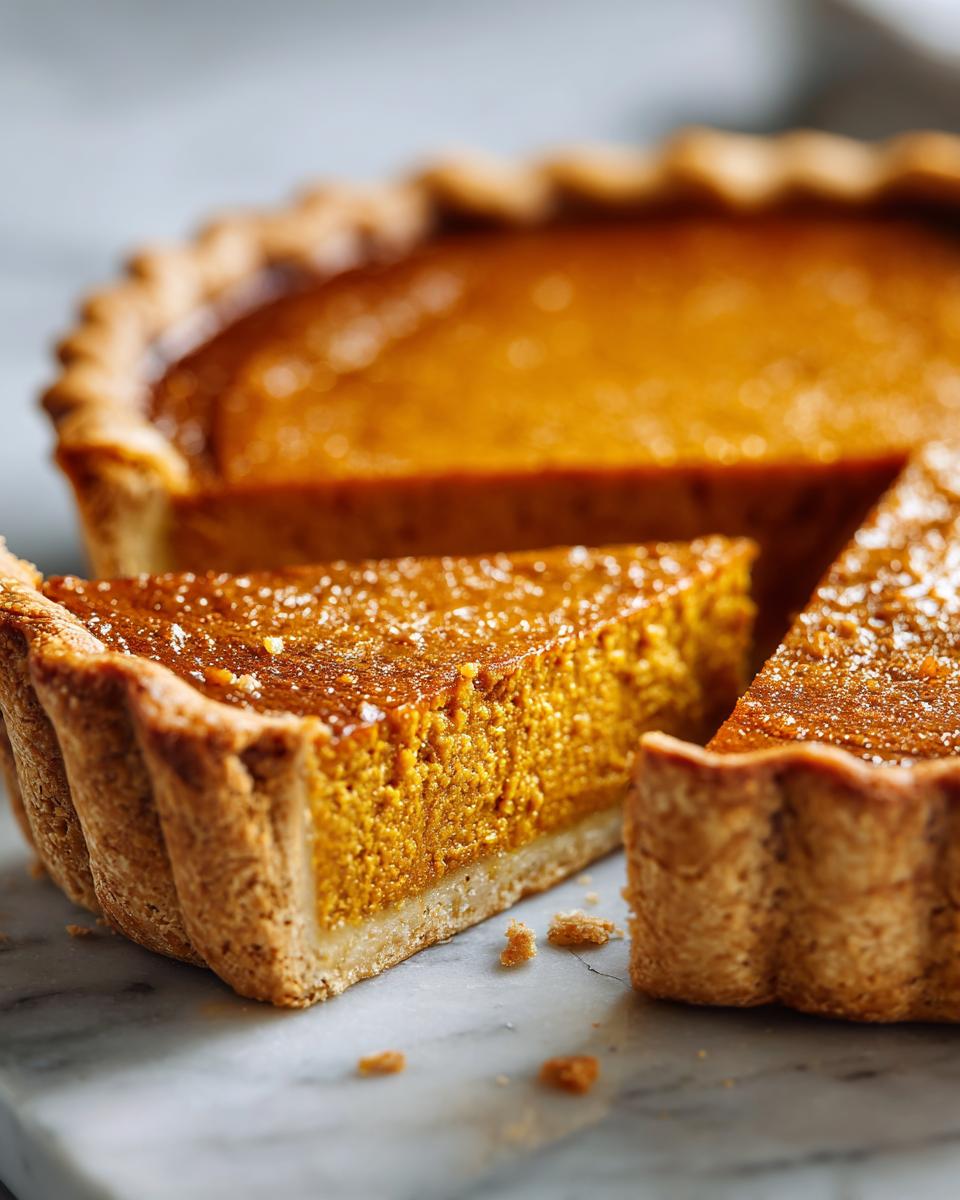
Now, while this recipe starts with an *unbaked* crust, that doesn’t mean you should skip the care needed for a wonderful flaky pie crust! Daisy always said the crust dictates the quality of your entire classic pumpkin pie. The number one rule? Keep everything cold when you’re making your dough from scratch. Cold butter pieces need to stay separate so they steam in the oven, creating those beautiful pockets of flakiness. If you’re looking for my secrets to a homemade shell worthy of this filling, check out my guide on classic custard pie recipe – smooth filling; the crust advice there perfectly applies here!
Gathering Your Ingredients for the Classic Pumpkin Pie Recipe
This is the beauty of the classic pumpkin pie recipe, folks—it takes items you already have in your pantry for the most wonderful, authentic fall dessert. We aren’t chasing down fancy sugars or rare extracts here. Just simple, quality components that Daisy trusted entirely to create the perfect flavor base for your holiday table.
Ingredient Clarity and Preparation Notes
Here is exactly what you need before you start mixing. The little notes on the preparation—like how to treat those eggs—make a massive difference in the final creamy texture, so pay attention!
- 1 (9-inch) unbaked flaky pie crust (Keep it cold!)
- 1 (15-ounce) can pure pumpkin puree (Remember, use pure pumpkin, not pre-spiced pie filling!)
- 1 (12-ounce) can evaporated milk
- 2 large eggs, lightly beaten
- 3/4 cup granulated sugar
- 1 teaspoon ground cinnamon
- 1/2 teaspoon ground ginger
- 1/4 teaspoon ground nutmeg
- 1/4 teaspoon ground cloves
- 1/2 teaspoon salt
If you want to try something truly different with cinnamon next time, you simply must check out my recipe for applesauce cookies with soft cinnamon and browned butter. It’s incredible!
How to Prepare Your Easy Pumpkin Pie Instructions
Making this classic pumpkin pie recipe feel easy is all about following the sequence exactly. Preheat your oven right away to 425°F and get your unbaked crust sitting on a baking sheet—I always do this first to make sure I don’t forget anything. In one bowl, you’ll just whisk the pumpkin, milk, and beaten eggs until they look like one happy family. Then, mix the sugar and all those warm spices—cinnamon, ginger, nutmeg, and clove—separately before adding them slowly to the wet stuff. Whisk until it’s smooth, pour it into the waiting crust, and we are ready for the oven!
The Two-Stage Baking Method for Perfect Results
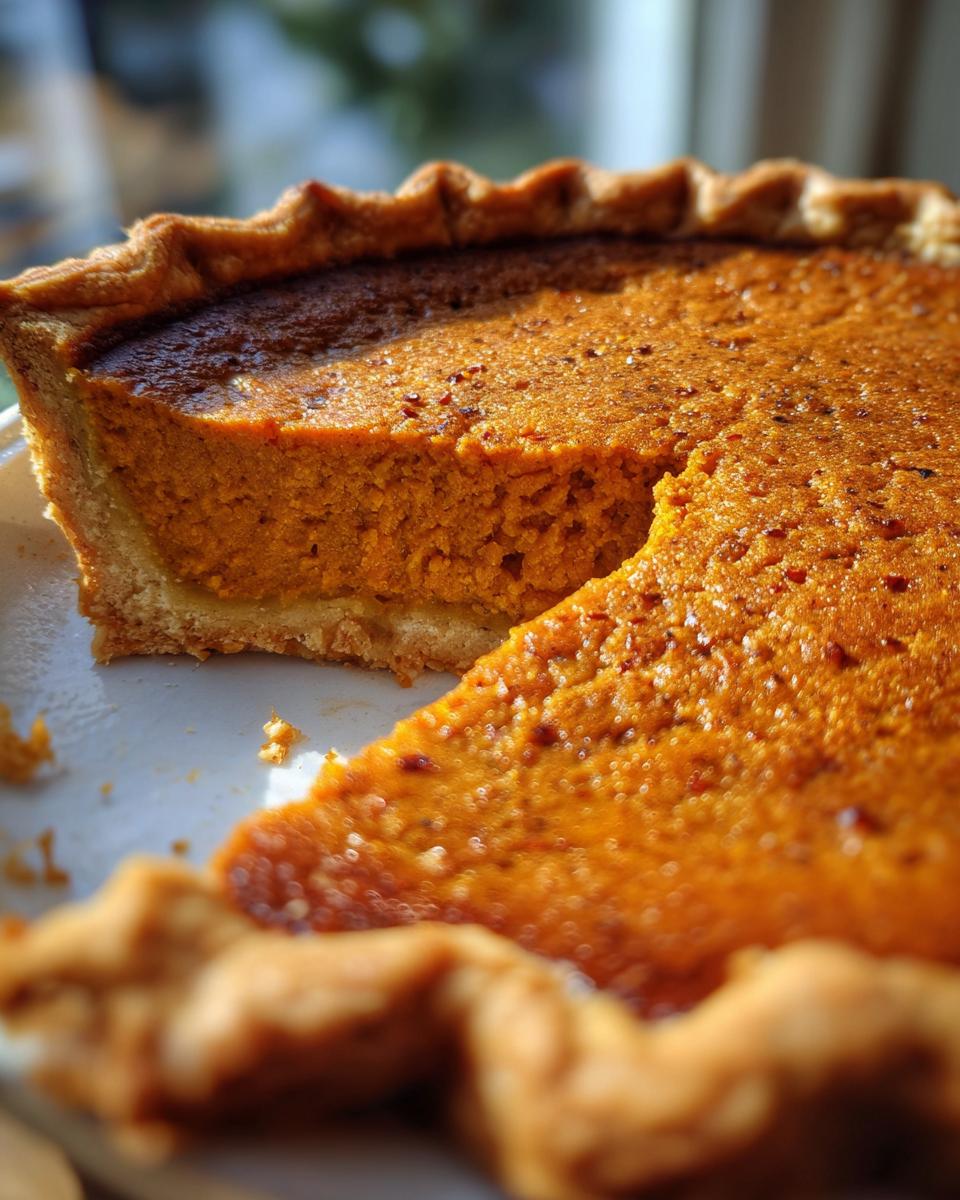
This is where we trick the pie into being perfect! We start hot at 425°F for exactly 15 minutes. That initial blast sets the bottom crust quickly, which is great for preventing a soggy bottom, believe me. After 15 minutes, *don’t open the door*—just turn the oven down to 350°F. This lower temp lets the creamy pumpkin pie filling cook slowly and evenly through the next 35 to 40 minutes. That temperature drop is the secret weapon against cracking because it stops the outside from setting too fast compared to the center.
Cooling Time: The Secret to a No Crack Pumpkin Pie
When a knife comes out clean near the center, pull that pie out! But here’s the hard part: you have to let it cool completely on a wire rack for at least two full hours. Seriously, walk away! This pie continues to cook slightly as it settles, and rushing the cooling process is the #1 reason for surface collapse or cracks. Patience here ensures you get that beautiful, smooth top indicative of a perfect no crack pumpkin pie. If you need some quick dinner ideas while you wait, check out my recipe for easy homemade soft naan bread on the skillet!
Expert Tips for Your Traditional Pumpkin Pie
I want this classic pumpkin pie to be the absolute star of your table, so let’s cover a few little details from Daisy’s notes that really make the difference. First, remember those crust edges? They brown much faster than the pumpkin filling is ready. About halfway through that lower 350°F bake, take a ring of aluminum foil, loosely tent it over the edges, and keep baking. This prevents scorched crust while the center sets perfectly.
My one extra piece of advice, thinking about that traditional pumpkin pie flavor? Invest in good whole spices. If your cinnamon or nutmeg has been sitting in the jar since last year, replace it! Freshly ground spices release so much more fragrant oil, pushing your classic pumpkin pie recipe flavor way beyond that basic can mix. You just wouldn’t believe the difference!
Also, remember that the texture relies on avoiding too much air. That velvety smooth result comes from gentle mixing, not aggressive whipping. If you want to see how other incredible bakers handle this classic, check out this recipe from a favorite site of mine: Libby’s Pumpkin Pie Recipe.
And hey, if you need another comforting treat to bake while your pie chills, you have to try my recipe for my best soft and gooey cinnamon buns recipe. They are dangerously delicious!
Serving Suggestions for Your Holiday Pies
Once your pie is perfectly chilled—and trust me, you need to practice that patience we talked about!—the real fun begins: the toppings! Since this is such an old fashioned pie with deep, warm spices, you don’t want anything too complicated fighting with the flavor profile. The ultimate companion is, of course, fresh whipped cream. I always make sure mine is slightly sweetened, maybe with just a hint of vanilla extract, or sometimes I even fold in a tablespoon of maple syrup for a deeper autumn note.
If you’re feeling ambitious and want to skip the store-bought can, making your own whipped topping is incredibly easy. You just need heavy cream, a little sweetener, and a good mixer. It whips up in literally three minutes. If you’re looking for a fancier frosting idea for another dessert entirely, I have a great vanilla buttercream frosting recipe, but for pumpkin pie, keep it light!
For those who love a little textural contrast on their Thanksgiving dessert plate, a light dusting of cocoa powder or cinnamon on top of the whipped cream looks gorgeous. Or, you can serve slices alongside a scoop of vanilla bean ice cream—that chill contrasts beautifully with the cool pie. Keep the pairings simple; the creamy pumpkin pie filling is the star of the show, after all!
Storage and Make-Ahead for Your Classic Pumpkin Pie Recipe
You’ve made the classic pumpkin pie recipe, and now you have leftovers—or maybe you want to get ahead of the holiday chaos! Good news: this pie is fantastic for making early. If you baked the pie completely, wrap it tightly once it’s totally cool and store it right in the fridge. It keeps beautifully for about three to four days, and honestly, I think it tastes even better on day two when those spices really deepen up. That makes it a wonderful Thanksgiving dessert prep item!
If you’re planning way ahead, you can definitely make your flaky pie crust dough days in advance, keeping it wrapped tight in the fridge until you’re ready to roll it out. I wouldn’t advise pre-baking the crust unless the recipe specifically calls for it, though, because we want that flaky texture marrying up perfectly with the creamy filling when it bakes!
If you do have slices leftover and want to warm them up slightly (though cold pie is my favorite!), just use the microwave in very short bursts—like 10 seconds at a time. Don’t try the oven; it dries out the filling too fast. For more easy make-ahead ideas, you might want to save my recipe for easy no-bake mini cheesecake bites!
Frequently Asked Questions About This Classic Pumpkin Pie
Even when you follow a recipe exactly, the brain starts ticking with questions, doesn’t it? That’s totally normal, especially during hectic holiday baking! I gathered up the most common things people ask about achieving that perfect traditional pumpkin pie so you can feel confident walking into your kitchen. Don’t worry if you need to swap something small; we can usually make it work!
Can I substitute evaporated milk in this traditional pumpkin pie?
You certainly can, though I always lean toward evaporated milk because it gives that specific rich body Daisy loved. If you don’t have it on hand, you can definitely use whole milk or heavy cream. Now, if you use whole milk, the filling might turn out a little looser, so you might need to bake it for about five extra minutes just to make sure it sets nicely. If you use heavy cream, it will be super decadent, but you might need to cut the bake time down slightly because the fat content is higher. It’s all about checking that knife insertion, honestly!
How do I ensure my homemade pumpkin pie is creamy?
This is the secret sauce to achieving the creamy pumpkin pie filling everyone raves about! First, and I can’t stress this enough, use pure pumpkin puree, not the pre-mixed pumpkin pie filling that already has spices and sweeteners added. Second, remember what I said about patience? When you whisk the wet ingredients with the dry ingredients, be gentle. We are mixing, not churning butter! Too much aggressive whisking whips in air, and air creates bubbles that turn into cracks or a puffy, less-creamy texture on top. Light hands equal incredible creaminess.
Is this an easy pumpkin pie recipe for beginners?
Absolutely, yes! If you can handle opening three cans and measuring spices, you can nail this. The reason I call it an easy pumpkin pie recipe is because we start you off with a pre-made, unbaked crust. If you make the crust from scratch, it adds time, but the filling itself is pure dump-and-whisk. The two-stage baking method sounds fancy, but it’s just you turning the dial down on the oven—it’s designed precisely to take the guesswork out of timing. For more ideas when you’re trying to keep things simple, check out my easy no-bake peanut butter protein balls for a quick snack later!
If you want to see how one of my favorite food bloggers handles a similar recipe, Natasha’s Kitchen has a fantastic version you might want to compare notes with: Pumpkin Pie Recipe.
And if you want some more easy treats to save for later, check out my collection of easy no-bake peanut butter protein balls!
Nutritional Estimates for Your Classic Pumpkin Pie Recipe
Okay, so while Daisy never worried about calorie counts—her philosophy was nourishing the soul first!—I know many of you want to see the estimates. I plugged the ingredients for this classic pumpkin pie into a standard calculator, and here is what we found. Please remember, these are just my best guesses based on the generic items listed, and they can change wildly depending on your crust recipe and exact product sizes, okay?
This is just a guide for those tracking their intake, but don’t let numbers overshadow the joy of making this incredible fall baking recipe. For more inspiration when you’re planning out your meals, take a peek at my ideas for weeknight dinner ideas!
- Serving Size: 1 slice
- Calories: 310
- Sugar: 28g
- Sodium: 350mg
- Fat: 15g
- Saturated Fat: 7g
- Carbohydrates: 38g
- Protein: 7g
- Cholesterol: 75mg
If you want to lighten this up a little bit without sacrificing that amazing texture, you could always try a crustless version! It’s a popular variation for those trying to cut down on the fat content while still enjoying that spiced flavor profile.
Share Your Classic Pumpkin Pie Success
Now that your kitchen smells like pure autumn magic, I truly want to hear how it went! Daisy always said that baking was a conversation, and I feel the same way about sharing these memories with you online. Did that two-stage baking method work perfectly? Did you manage to resist eating the whole pie before Thanksgiving dinner?
Don’t just leave me hanging! Please take a moment to leave a quick star rating right here on the recipe card—it really helps other home cooks know this is a reliable, homemade pumpkin pie worth making.
And if you have a moment, drop a comment down below telling me what you served alongside it! Are you a strict whipped cream-only purist, or do you go all out with caramel? I love reading all your beautiful baking stories and seeing how you bring these holiday pies to your own tables. It keeps Daisy’s legacy alive across the country!
If you’re already thinking about your next baking adventure, you should browse my full list of delicious dessert recipes when you have a minute. Happy baking, everyone!
PrintThe Ultimate Flaky Crust Classic Pumpkin Pie Recipe (Perfect Every Time)
Make the best homemade pumpkin pie with this traditional recipe. You get a creamy, perfectly spiced filling inside a flaky, buttery crust. This is the essential Thanksgiving dessert.
- Prep Time: 15 min
- Cook Time: 55 min
- Total Time: 70 min
- Yield: 8 servings 1x
- Category: Dessert
- Method: Baking
- Cuisine: American
- Diet: Vegetarian
Ingredients
- 1 (9-inch) unbaked flaky pie crust
- 1 (15-ounce) can pure pumpkin puree
- 1 (12-ounce) can evaporated milk
- 2 large eggs, lightly beaten
- 3/4 cup granulated sugar
- 1 teaspoon ground cinnamon
- 1/2 teaspoon ground ginger
- 1/4 teaspoon ground nutmeg
- 1/4 teaspoon ground cloves
- 1/2 teaspoon salt
Instructions
- Preheat your oven to 425 degrees F (220 degrees C). Place your unbaked pie crust on a baking sheet.
- In a large bowl, whisk together the pumpkin puree, evaporated milk, and eggs until fully combined.
- In a separate small bowl, mix the sugar, cinnamon, ginger, nutmeg, cloves, and salt.
- Gradually add the dry spice mixture to the wet ingredients, whisking until the filling is smooth and uniform. Do not overmix.
- Pour the pumpkin filling into the unbaked pie crust.
- Bake at 425 degrees F (220 degrees C) for 15 minutes.
- Reduce the oven temperature to 350 degrees F (175 degrees C). Continue baking for 35 to 40 minutes, or until a knife inserted near the center comes out clean.
- Cool the pie completely on a wire rack for at least two hours before slicing. This helps prevent cracking.
- Serve chilled or at room temperature, optionally topped with fresh whipped cream.
Notes
- For the flakiest crust, keep all ingredients cold when preparing the dough.
- To prevent the edges of the crust from burning, cover them loosely with aluminum foil halfway through the 350 degree F baking time.
- If you want a truly creamy pumpkin pie filling, avoid whipping too much air into the mixture when combining ingredients.
- This recipe makes a perfect holiday pie for your Thanksgiving dessert table.
Nutrition
- Serving Size: 1 slice
- Calories: 310
- Sugar: 28
- Sodium: 350
- Fat: 15
- Saturated Fat: 7
- Unsaturated Fat: 8
- Trans Fat: 0
- Carbohydrates: 38
- Fiber: 2
- Protein: 7
- Cholesterol: 75