
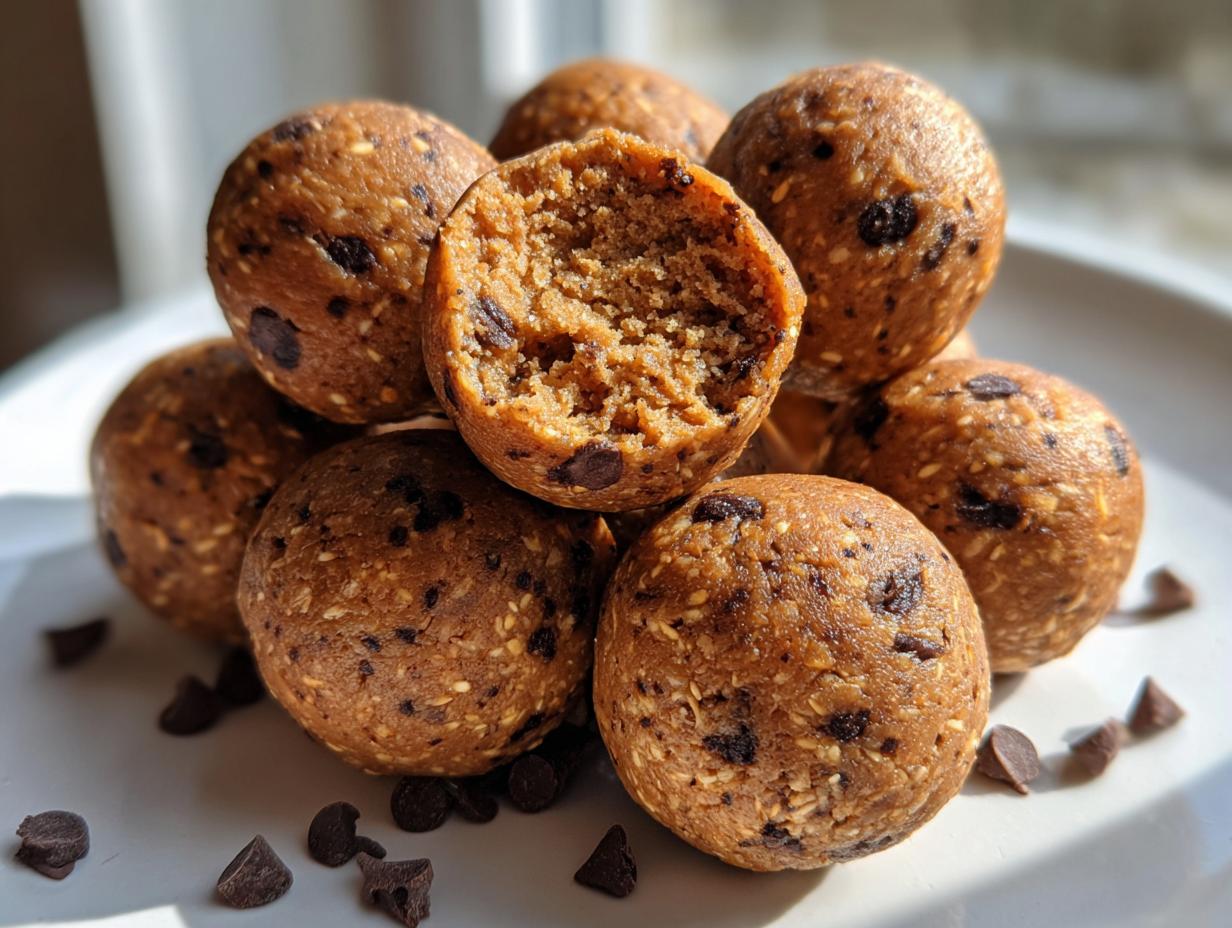
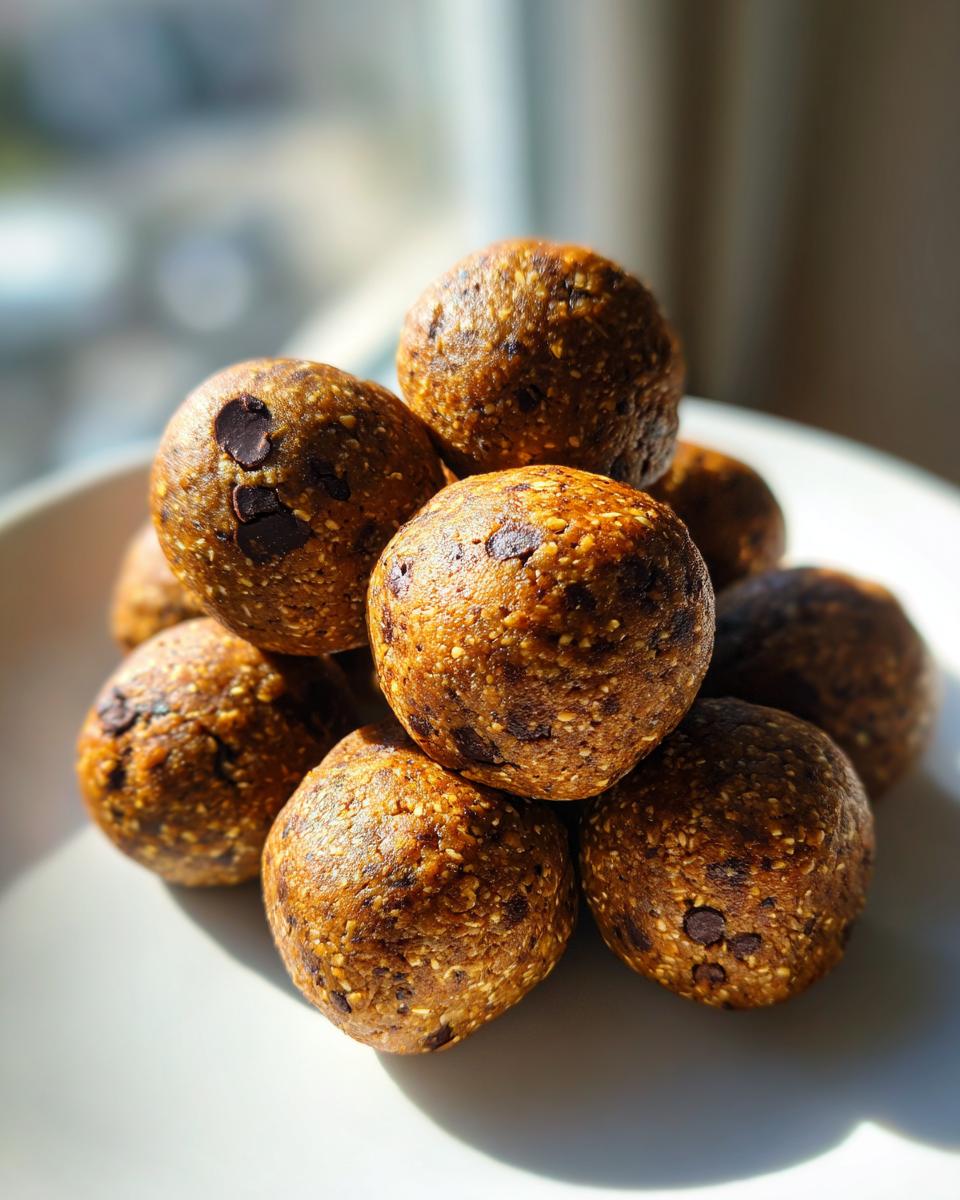
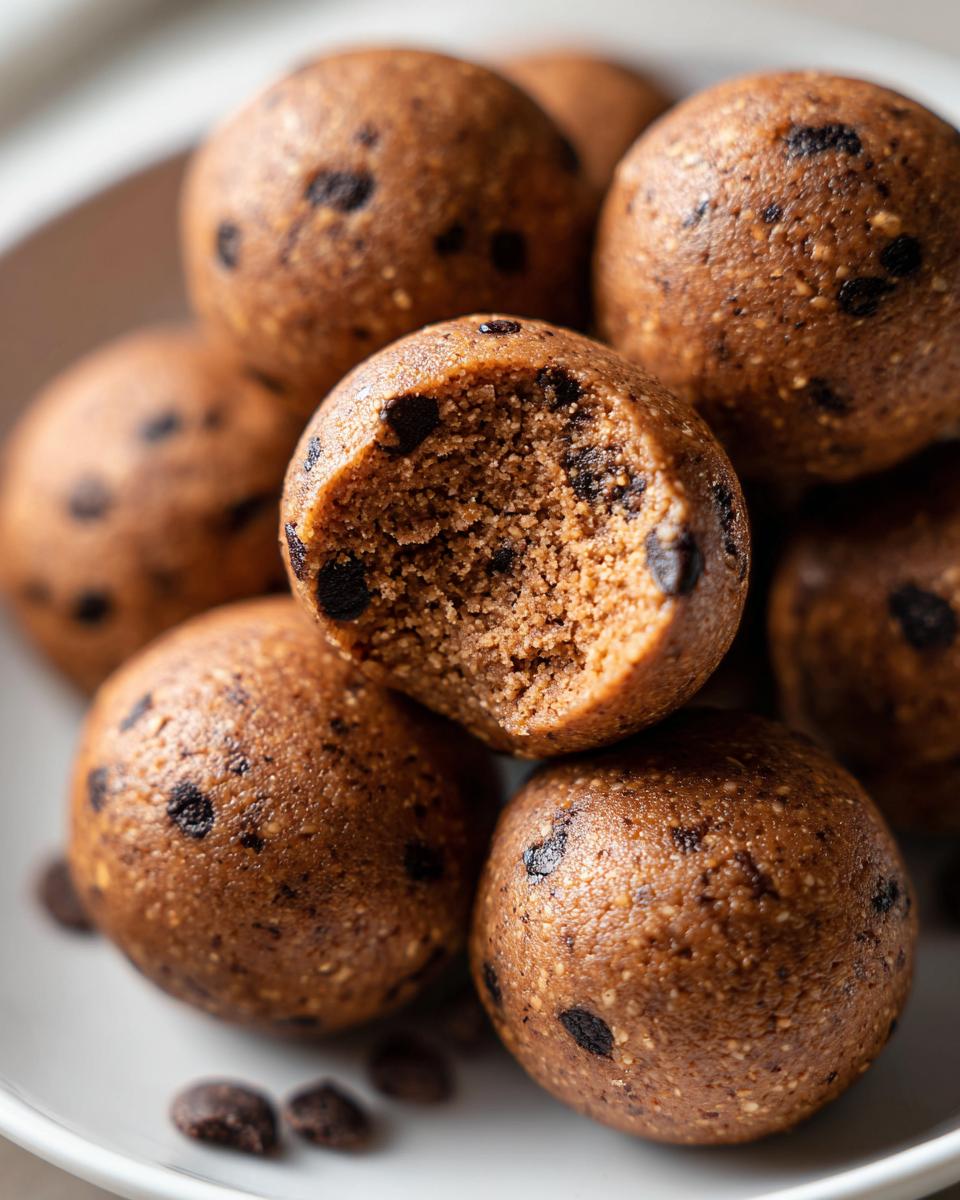
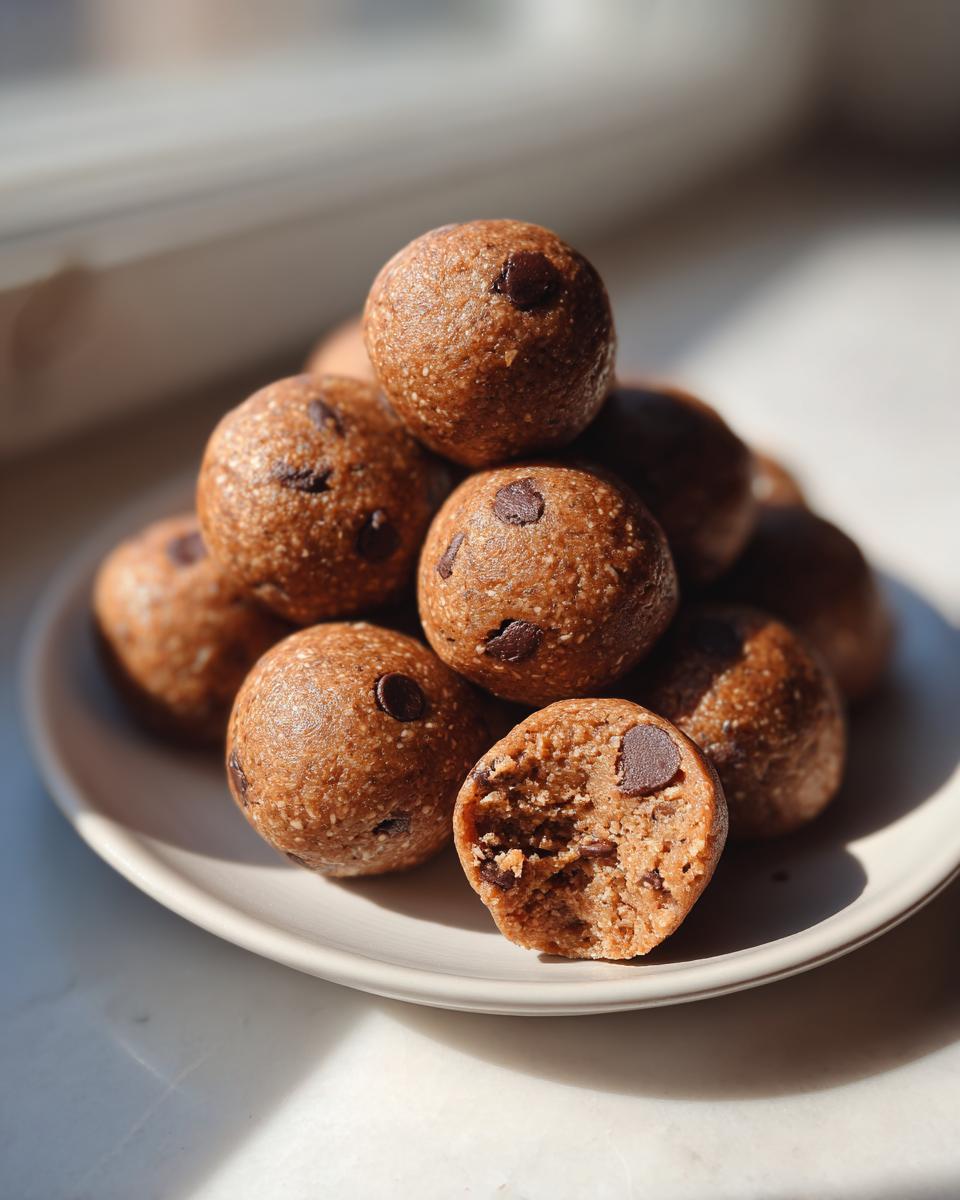
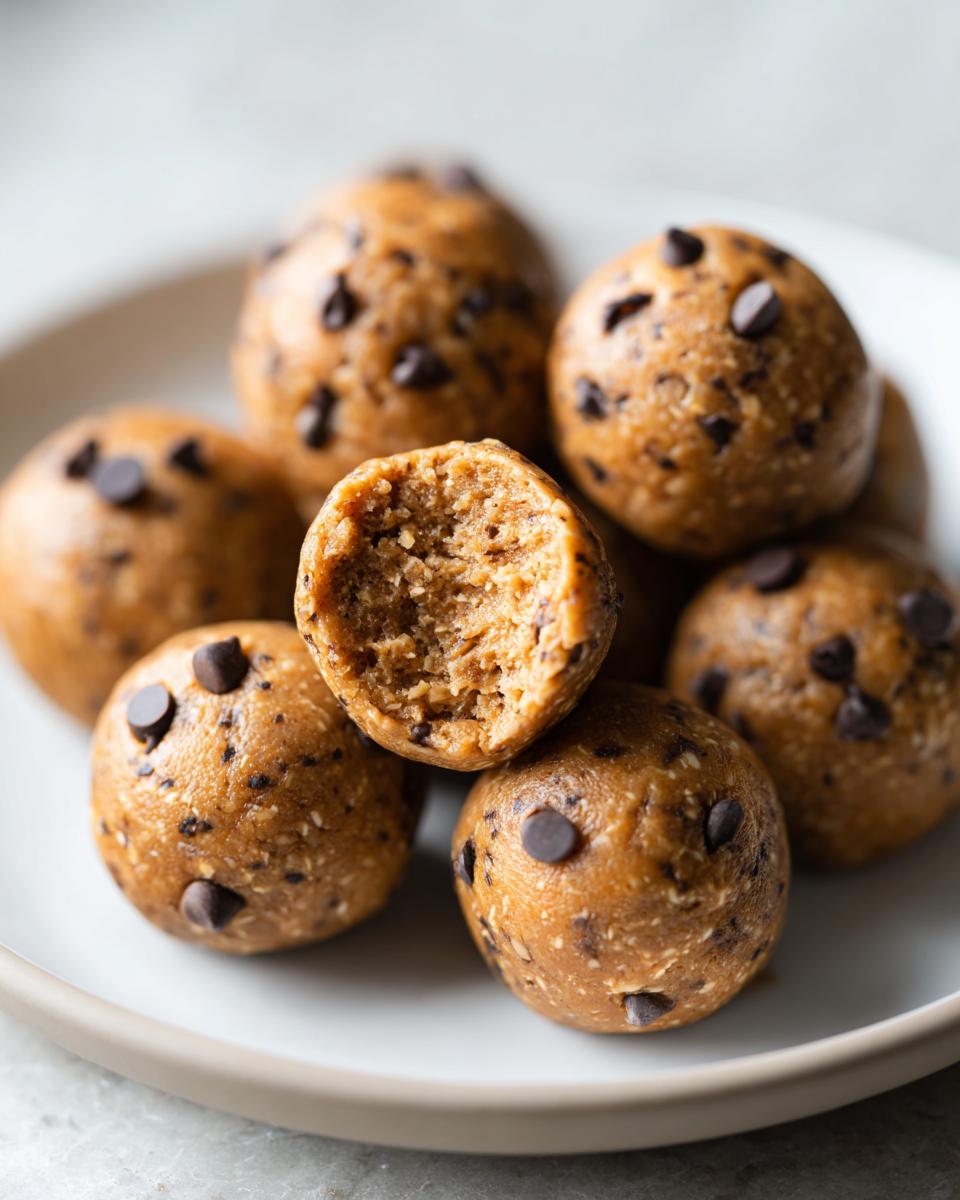
Okay, seriously, are you running on fumes by 3 PM? I totally get it. Back when Amelia—that’s me—was trying to juggle city life, I forgot how important it was to actually *eat* real food instead of grabbing whatever processed junk was staring at me. That’s why I’m bringing you a simple solution straight from Grandma Daisy’s book: the ultimate **protein balls**!
These aren’t complicated, fussy things. They are the perfect marriage of old-school wisdom—simple, honest ingredients—and modern speed. We’re making the Ultimate No-Bake Peanut Butter Oatmeal **Protein Balls**, and trust me, they are ready in under ten minutes. Seriously, faster than ordering something online! If you need **healthy snack recipes** that actually keep you full, you’ve found your new best friend.
I’ve included a link for more amazing ideas for when you need quick fuel in the morning, too, like these healthy breakfast ideas. But first, let’s roll these beauties!
- Why These Peanut Butter Oatmeal Protein Balls Are Your New Go-To Healthy Snack Recipes
- Essential Ingredients for Perfect No Bake Protein Balls
- Equipment Needed for Making Protein Balls
- Step-by-Step Instructions for Ultimate No-Bake Protein Balls
- Tips for Success When Making Protein Balls
- Make Ahead Snacks: Storing Your Protein Balls
- Variations for Customizable Protein Treats
- Frequently Asked Questions About Protein Balls
- Estimated Nutritional Information for Protein Balls
- Share Your Experience with These Easy Protein Balls
Why These Peanut Butter Oatmeal Protein Balls Are Your New Go-To Healthy Snack Recipes
I know you’re busy, so let me tell you why these little nuggets are going to change your snack game forever. They fit right into that sweet spot between super fast and genuinely good for you. No baking means zero fuss!
- They take maybe ten minutes, hands-on time. That’s it!
- They deliver real fuel, not just empty sugar hits that leave you crashing an hour later.
- You can make a giant batch on Sunday, and you’re set for the entire week.
Speed and Convenience: Making Quick Energy Bites
If you need something *right now*, these are for you. We don’t even turn the oven on! That’s the beauty of **no bake snacks**. You literally mix a few things, roll them up, and stick them in the fridge. They behave like the best kind of **quick energy bites**—grab-and-go perfection for when your day totally blows up.
Fueling Your Day with High Protein Treats
We load these up so they actually work for you. Each one packs a surprising punch of protein, making them fantastic **post workout fuel** when you’re sweaty and starving. Since they hold up so well in the fridge, they slot right into your **easy meal prep snacks** rotation without needing any extra steps during the week.
Guilt Free Indulgence and Customization
Because we use oats and real peanut butter, these are totally a **guilt free indulgence**. They taste like a cookie, but they’re doing good things for your body! And the best part about making your own **protein balls** is that these are just the baseline. You can change them up endlessly!
Essential Ingredients for Perfect No Bake Protein Balls
Alright, let’s talk about what goes into these fantastic little fuel packs. Remember, since we aren’t baking these, the quality of the binder ingredients really shines through! Everything here is designed to be something you probably already have, keeping things simple just like Grandma Daisy always insisted upon.
For this base batch, you’ll need:
- 1 cup rolled oats
- 1/2 cup vanilla or unflavored protein powder
- 1/2 cup creamy peanut butter
- 1/4 cup honey or maple syrup
- 1 tablespoon chia seeds
- 1 teaspoon vanilla extract
- 1/4 cup mini chocolate chips (if you decide to toss some in!)
Ingredient Notes and Substitutions
A couple of quick notes! If you use vanilla protein powder, you might want to skip adding extra vanilla extract, or just use half a teaspoon. If you go with unflavored powder, then that full teaspoon of extract really helps wake up the flavor. Don’t skip the chia seeds—they absorb just enough liquid to help everything stick together nicely when rolling!
For the binder part, peanut butter is king here because of how it holds up, but feel free to swap it for almond butter if you have a preference. Just know that the texture might be slightly drier, so be ready to add a tiny splash of water if needed. And if you use maple syrup instead of honey, your final product might be a *tiny* bit looser. That’s why we chill them!`
Equipment Needed for Making Protein Balls
You know how much I love recipes that don’t require hauling out every single gadget we own, right? Well, thankfully, these **protein balls** are super straightforward. You really only need basic stuff you definitely already have kicking around your kitchen. This is why they are such excellent **no bake snacks**!
Here’s what you’ll need to get rolling:
- A sturdy medium bowl. Nothing fancy, just something big enough to let you really mix things up.
- A reliable spoon or even just your clean hands! Sometimes you just have to get in there and feel when the dough is right.
- A baking sheet or plate lined with parchment paper. This is non-negotiable because it stops your sticky little creations from gluing themselves to the tray while they chill.
See? Nothing complicated! The less equipment, the faster you can get these into your mouth, which is really what matters when you need **quick energy bites**.
Step-by-Step Instructions for Ultimate No-Bake Protein Balls
Okay, here’s where the magic happens! Since we aren’t using the oven, success really hinges on how you mix things—and patience during the chill time. Don’t rush these two parts, and you’ll end up with perfect **oatmeal energy bites** every single time.
Combining Dry Ingredients for Protein Balls
First things first: we have to mix all the dry stuff until it’s perfectly happy together. Grab your bowl and toss in the rolled oats, your protein powder, and those handy chia seeds. Give it a good stir with a spoon. This initial mix is super important! If you skip this and just throw everything in at once, you risk pockets of straight-up protein powder, and nobody wants that weird chalky bite in their delicious **protein balls**, right?
Mixing and Rolling Your Energy Balls No Bake
Now we add the wet ingredients: the sticky peanut butter, the honey or maple syrup, and the vanilla. Start stirring, but honestly, you’ll probably need to switch to your hands here. You’re looking for a uniform, thick dough—it shouldn’t be crumbly, but it definitely shouldn’t be sloppy. If you’re adding those mini chocolate chips, fold them in gently so you don’t smash them all up. Once it all holds together easily when you squeeze it, it’s time to roll! Aim for little balls about one inch wide.
Pro tip: If for some reason your mixture is fighting you and won’t stick, just add a teaspoon of water—one at a time! Don’t overdo it, or you’ll be back to a sticky mess. When you’re ready for more ideas on these tasty snacks, you can check out this great resource on no-bake protein balls.
Chilling for Firm Protein Balls
This is the step that makes these **no bake snacks** winners, so don’t cheat it! Line a baking sheet with parchment paper—this makes cleanup a breeze—and arrange your rolled **protein balls** on it. They need a firming up session in the fridge for at least 30 minutes. This cooling time is crucial because it allows the oats and chia seeds to fully absorb any extra stickiness and makes them hold their shape perfectly when you grab them later. After 30 minutes, they are ready to go. But before putting them away, check out this easy homemade soft naan bread skillet recipe for ideas for your next hands-on project!
Tips for Success When Making Protein Balls
Even though these are wonderfully simple, there are a few little tricks I’ve picked up over the years that take your **protein balls** from “good” to “I need to make three more batches immediately.” It’s all about managing the moisture balance, which is the biggest challenge with any **no bake snack**!
If you’re following the recipe but things aren’t quite sticking together right, don’t panic! This happens all the time, usually depending on how humid it is that day or how oily your specific peanut butter is.
Here are my best little pieces of advice to make sure you get those perfect, chewy bites:
- If it’s too dry: This is the most common issue, especially if you used a powdered peanut butter or a drier protein powder. Add liquid in half-teaspoon increments—water works totally fine, but whole milk or almond milk works too. Mix it in slowly until that dough just starts to clump when you squeeze it. You want it sticky, not wet.
- If it’s too sticky: Often this is due to very runny honey or a runnier nut butter. The fridge often fixes a lot of stickiness, so chill it for 45 minutes instead of 30. If it *still* won’t roll cleanly after chilling, add a tablespoon of dry rolled oats. That extra bulk will soak up the excess moisture beautifully.
- Don’t overmix after adding chips: If you’re incorporating chocolate chips or dried fruit, mix them in last and be gentle! We want whole chips, not chocolate shavings glued all over the outside of your **protein balls**.
For more inspiration on how to handle peanut butter goodness in other ways, check out my easy peanut butter cookies recipe. And if you want to see another fantastic take on these satisfying peanut butter treats, this recipe from Savory Craving is super helpful for understanding binder consistency: Peanut Butter Protein Balls.
Make Ahead Snacks: Storing Your Protein Balls
One of the best things about these **protein balls**—besides tasting amazing, of course—is that they are absolutely champions when it comes to storing well. This is why I love them as **easy meal prep snacks**!
Since these are no-bake, they rely on those fats (like peanut butter) and chilling to stay firm. If you don’t eat them all in one sitting (which is a real danger, trust me), you need to store them correctly so they don’t get weird or dry out.
For short-term storage, keep them right in the fridge. Put them into a good airtight container—make sure that lid seals tight! They should hold up beautifully for about a week that way. I’ve found that they actually seem to taste even better on day three when all those flavors have really married together.
But here is the real secret weapon for busy weeks: Freezing! These freeze like a dream. If you want to make a huge double batch, layer them separated by parchment paper in a freezer-safe container. You can pop them in the freezer for up to three months.
When you need a quick, healthy snack later, just pull out as many as you want and let them thaw on the counter for maybe 15 minutes before eating. They soften up perfectly. It’s the best way to guarantee you always have these fantastic **make ahead snacks** ready to go when that 3 PM slump hits. If you need another amazing make-ahead treat recipe, you absolutely must try my easy chocolate mousse, three-ingredient recipe!
Variations for Customizable Protein Treats
The base recipe I gave you is wonderful, but honestly, it’s just the starting point! The real fun comes when you start tailoring these **protein balls** to whatever you’re craving that week. Think of it as your own little edible playground. Since these are so easy to make, you can create a whole rotation of **customizable protein treats**!
This is great because it keeps things interesting and stops you from getting totally bored with snacks. Plus, you can tailor them for different moods or nutritional goals.
Let’s talk about switching things up:
- Nut Butter Swap: As I mentioned, swapping peanut butter out for almond butter or sunflower seed butter is simple. If you use something naturally thinner, like cashew butter, you might need an extra tablespoon of oats to keep things rolling smoothly.
- Sweetener Adjustments: Honey and maple syrup work great, but if you want a richer flavor, try using a touch of date paste instead! Just know that date paste is thicker, so you might need a splash of water to get that perfect dough consistency.
- Spice it Up: Don’t stop at plain vanilla! A tiny dash of espresso powder makes these taste like little mocha bites. A pinch of cayenne pepper turns them into a surprisingly delicious Mexican chocolate inspired treat. You could even add a little cinnamon or nutmeg for a warmer feel.
- Mix-Ins Galore: Chocolate chips are easy, but why stop there? Try toasted, shredded coconut for texture, dried cranberries for a tart element, or chopped dried apricots. For a different kind of crunch, I love adding finely chopped nuts like pecans or walnuts.
If you want to see another way people customize simple recipes, you should check out my easy melt-in-your-mouth butter cookie recipe—it proves that even the simplest things can have endless twists!
For even more inspiration on making a bunch of different flavor profiles, this guide on 12 Ways to Make Protein Balls from Life Made Sweeter is fantastic validation that we shouldn’t be sticking to just one version!
Frequently Asked Questions About Protein Balls
When you start making **protein balls** every week, you are going to have questions! That’s totally normal. My grandmother Amelia learned best by experimenting in the kitchen, and I’ve tried to answer the questions I get asked most often about these **healthy snack recipes**. Keep them coming, though—I love hearing what you’re working on!
Can I make these protein balls low carb?
That’s a great question if you’re trying to watch your carb count! The original recipe uses oats and honey, which obviously aren’t low carb, but you can absolutely adjust them to be **low carb protein bites**. My go-to swap is replacing the rolled oats with almond flour or coconut flour—start with about 3/4 cup. And instead of honey, use a monk fruit sweetener or erythritol blend. You have to watch the liquid content closely, though; almond flour soaks up liquid differently, so you might need to add a tiny bit of almond butter or even a splash of water until the dough feels right for rolling.
What is the best protein powder to use in these no bake snacks?
This really depends on your own dietary needs and taste! For most people, whey protein powder works wonderfully because it blends smoothly and has a pretty neutral flavor, which is great for these **protein powder recipes**. If you use a plant-based powder—like pea or brown rice protein—you might find the mixture gets a little drier faster. Plant proteins tend to absorb moisture more aggressively than whey. If you notice that happening, just treat it like you would the mixture being too dry: add that liquid teaspoon by teaspoon until it comes together into a perfect ball. Seriously, never dump liquid in all at once!
How long can I store these healthy dessert recipes?
Even though these are packed with protein and healthy fats, they still need a cool place to hang out! If you plan on eating them within a week, the refrigerator is the place to be. Store them in an airtight container, yes, but treat them like you would any other treat that tastes amazing—keep them hidden! If you can’t get to them within seven days, they freeze beautifully. Pop them in a freezer bag, and they’re perfect for grabbing when you suddenly need a fix of **healthy dessert recipes** that won’t derail your day. Thaw them on the counter for about twenty minutes, and they’re like fresh-baked again!
If you’re looking for more ideas on quick, healthy meals to pair with these snacks, check out my guide on healthy lunch ideas!
Estimated Nutritional Information for Protein Balls
Now, before you start counting every single macro—remember, this is real food made in a real kitchen, not a lab! The nutrition breakdown for these **protein balls** is based on the core recipe ingredients I listed above, using standard vanilla protein powder and honey. Because we are using pantry staples, your results might vary slightly depending on your brand of peanut butter or the type of protein powder you choose.
But here is a very good estimate for our standard tablespoon-sized **high protein treats**:
- Serving Size: 1 ball
- Calories: 130
- Protein: 8g (That’s a fantastic return for a snack!)
- Fat: 7g (Mostly those good fats from the peanut butter and chia seeds!)
- Carbohydrates: 12g
- Sugar: 6g
- Fiber: 2g
- Sodium: 50mg
I always advise folks to treat these numbers as a guideline. If you use sugar-free syrup or switch to a lower-fat nut butter, those numbers will shift! The most important takeaway is that you are getting eight grams of protein and satisfying fiber in one easy, **chewy protein snack**. That’s what matters most when you’re aiming for those **clean eating snacks**!
Share Your Experience with These Easy Protein Balls
I am so eager for you to try these! Honestly, once you whip up that first batch of **protein balls**, you’ll wonder how you ever got through your busy week without them. They are my little secret weapon for staying energized and not falling into the vending machine trap!
Once you’ve made them, though, that’s not where the fun ends! Remember how I said they’re so customizable? I really want to know what you tried!
Did you use almond butter instead? Did you add cinnamon or maybe some dried coconut flakes? Seriously, drop a comment below and tell me what mix-ins you experimented with!
If you loved this recipe, please take a moment to leave a star rating right on the page—that really helps other busy folks find these great **quick energy bites**.
And hey, if you have fit questions about the recipe, or just want to share a kitchen story of your own, skip over to my contact page. Happy rolling!
PrintEasy No-Bake Peanut Butter Protein Balls
Make these simple, no-bake protein balls using pantry staples for a quick, healthy snack perfect for meal prep or post-workout fuel.
- Prep Time: 10 min
- Cook Time: 0 min
- Total Time: 10 min
- Yield: 16 servings 1x
- Category: Snack
- Method: No Bake
- Cuisine: American
- Diet: Vegetarian
Ingredients
- 1 cup rolled oats
- 1/2 cup vanilla or unflavored protein powder
- 1/2 cup creamy peanut butter
- 1/4 cup honey or maple syrup
- 1 tablespoon chia seeds
- 1 teaspoon vanilla extract
- 1/4 cup mini chocolate chips (optional mix-in)
Instructions
- Combine the rolled oats, protein powder, and chia seeds in a medium bowl. Mix them well.
- Add the peanut butter, honey (or maple syrup), and vanilla extract to the dry ingredients.
- Mix everything together using a sturdy spoon or your hands until a uniform, thick dough forms.
- If using, fold in the mini chocolate chips.
- Roll the mixture into small, uniform balls, about 1 inch in diameter.
- Place the finished protein balls on a baking sheet lined with parchment paper.
- Refrigerate for at least 30 minutes to firm up before serving.
Notes
- Store these protein balls in an airtight container in the refrigerator for up to one week.
- For a different flavor, swap peanut butter for almond butter or sunflower seed butter.
- If the mixture seems too dry, add one teaspoon of water or milk at a time until it holds together.
Nutrition
- Serving Size: 1 ball
- Calories: 130
- Sugar: 6g
- Sodium: 50mg
- Fat: 7g
- Saturated Fat: 1.5g
- Unsaturated Fat: 5.5g
- Trans Fat: 0g
- Carbohydrates: 12g
- Fiber: 2g
- Protein: 8g
- Cholesterol: 0mg