
Honestly, who has time for fussy, egg-white heavy French desserts when you’re trying to manage a busy week? I always craved that restaurant-quality, impossibly rich **chocolate mousse**, but I thought it took hours of precise work. Well, I was wrong! This recipe I found—or maybe Amelia re-discovered it, channeling Grandma Daisy’s knack for making magic out of little—is the ultimate **easy chocolate mousse recipe**. It delivers that deep, decadent flavor and that dreamy, velvety smooth texture using only THREE ingredients. It’s proof that the best things in the kitchen are often the simplest ones. Trust me, this is the kind of dessert that feels super fancy but takes barely any effort!
- Why This 3 Ingredient Mousse is Your New Favorite Decadent Chocolate Dessert
- Gathering What You Need for Easy Chocolate Mousse Recipe
- Step-by-Step Guide to Making Mousse Au Chocolat Recipe
- Presentation: Creating Elegant Chocolate Dessert Cups Individual Portions
- Tips for Success with Your Silky Chocolate Dessert
- Storage and Making Ahead for Your Make Ahead Dessert Chocolate
- Frequently Asked Questions About Easy Chocolate Mousse Recipe
- Understanding the Nutrition of This Chocolate Mousse
- Share Your Velvety Smooth Mousse Creations
Why This 3 Ingredient Mousse is Your New Favorite Decadent Chocolate Dessert
When I tell people this rich, luxurious treat only takes three things—plus about fifteen minutes of actual work—they usually don’t believe me! This is the kind of simple dessert that makes you look like a kitchen genius without any of the fuss. It’s perfect for those nights when you realize you forgot to plan a dessert, or just when you need a serious chocolate fix, stat.
- It is completely no-bake, meaning zero time standing over a hot stove!
- The prep time is ridiculously fast—we’re talking under 20 minutes for all the heavy lifting.
- It tastes like a labor of love, even though it’s honestly just easy cream and chocolate coming together.
The elegance comes from the texture, which is what really sets this apart from just eating chocolate pudding from the container. Learn about why it works so well below!
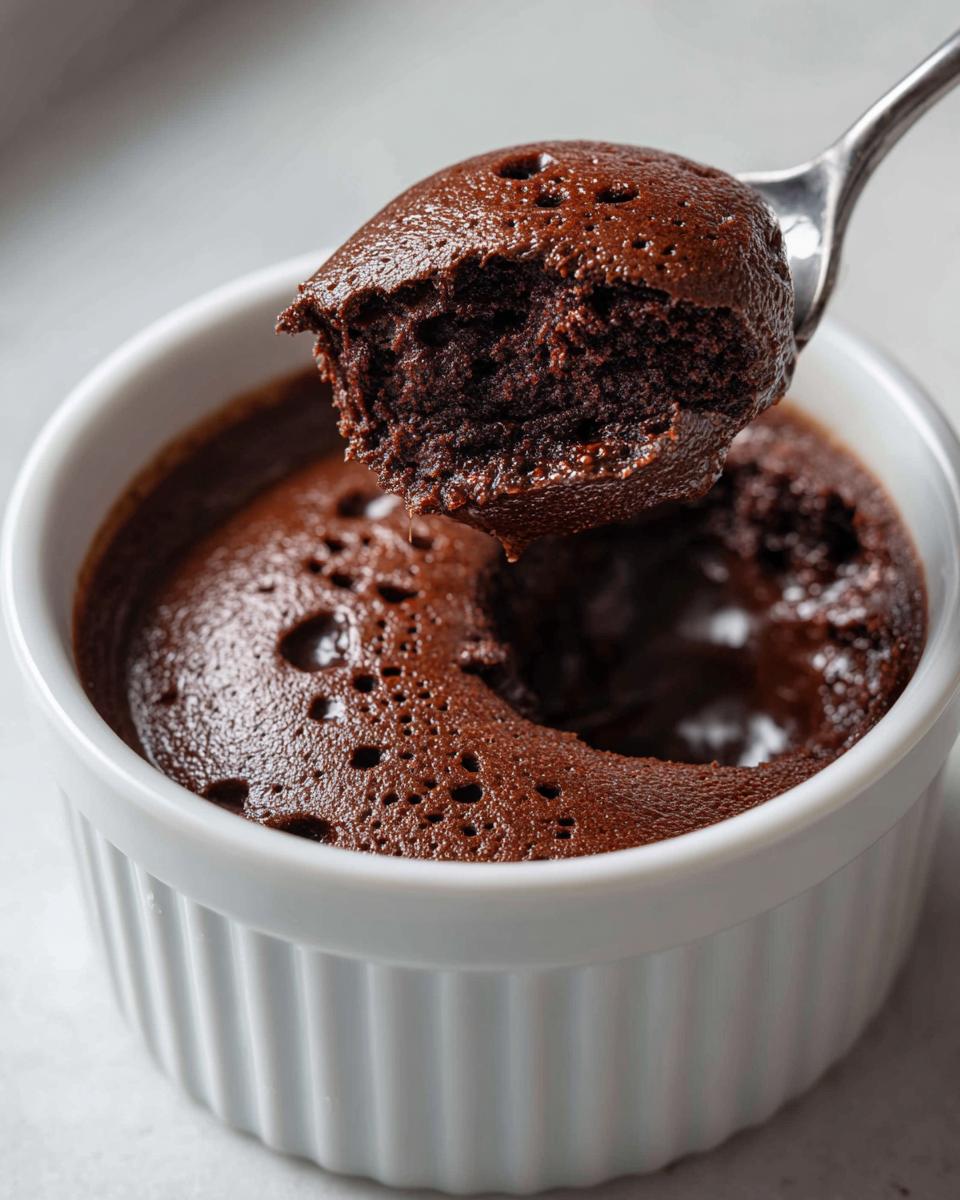
Achieving a Velvety Smooth Mousse Texture
The secret sauce here, if you can even call it that, is relying on quality dark chocolate and heavy cream. We heat just a bit of that cream to properly melt the chocolate into a glossy ganache. That hot, melted chocolate base is what sets up the structure. When we gently fold in the rest of the whipped cream, that fat content keeps everything incredibly stable and prevents any graininess. It’s all about getting that perfect, light-as-air yet deeply chocolatey result. You can see how elegant this style is when you check out other popular 3 ingredient recipes online!
Gathering What You Need for Easy Chocolate Mousse Recipe
Okay, this is the best part because you probably already have everything hiding in your fridge and pantry! Since this is a true **creamy mousse no bake** method, we aren’t messing around with gelatin or egg whites—it’s pure elegance from just three things. We need the dark chocolate, the heavy cream, and a little bit of sugar if your chocolate is leaning towards the bitter side. I always tell people that when you simplify a recipe this much, the quality of what you put in really shows!
Make sure you grab those ingredients so the next step is just as quick. If you want to see how other folks are keeping their ingredient lists short and sweet, check out this quick chocolate whip guide!
Ingredient Notes and Substitution Guidance
Listen, the chocolate is the main character here. You really want at least 70% cocoa. If you go lower, like using standard milk chocolate, you’ll find it’s way too sweet and it won’t set up quite right because the structure needs that higher cocoa butter content. Don’t skip that higher percentage!
As for the sugar? It’s totally optional! I usually leave it out because I like that intense, almost bitter dark chocolate flavor to shine through. If you’re serving this to folks who like things sweeter, add those two tablespoons when you whip the cream—it dissolves right in easily. Remember, this entire rich experience is achieved completely no bake!
Step-by-Step Guide to Making Mousse Au Chocolat Recipe
Alright, let’s get down to business! This is where the magic happens for your authentic yet wonderfully easy **chocolate mousse**. Following these steps precisely is how we move from simple ingredients to that incredible, airy texture. Don’t rush the waiting part later on—that chilling time is almost as important as the mixing!
We are mimicking that classic mousse au chocolat recette feeling, but without any of the fuss Amelia usually associates with traditional French desserts. If you want to see how others achieve that classic look, check out this French chocolate mousse recipe for inspiration!
Melting the Chocolate Base for Rich Chocolate Mousse
First things first: chop your dark chocolate super fine—the smaller the pieces, the faster they melt perfectly! Put that chopped chocolate into a nice sturdy bowl.
Next, grab half of your heavy cream—that’s about half a cup. Heat it up in a little saucepan until you see those tiny bubbles forming right around the edges. It needs to be hot, but please, don’t let it boil over; we don’t want scorched cream!
Pour that shimmering hot cream right over your bowl of chocolate. Now, here is the non-negotiable part: walk away! Let it sit there, totally untouched, for a full five full minutes. This resting time allows the heat to melt everything evenly. After five minutes, whisk it gently but thoroughly until that mixture is completely smooth and has a beautiful, glossy shine. Let this chocolate base cool down to room temperature before we move on. It should feel cool to the touch.
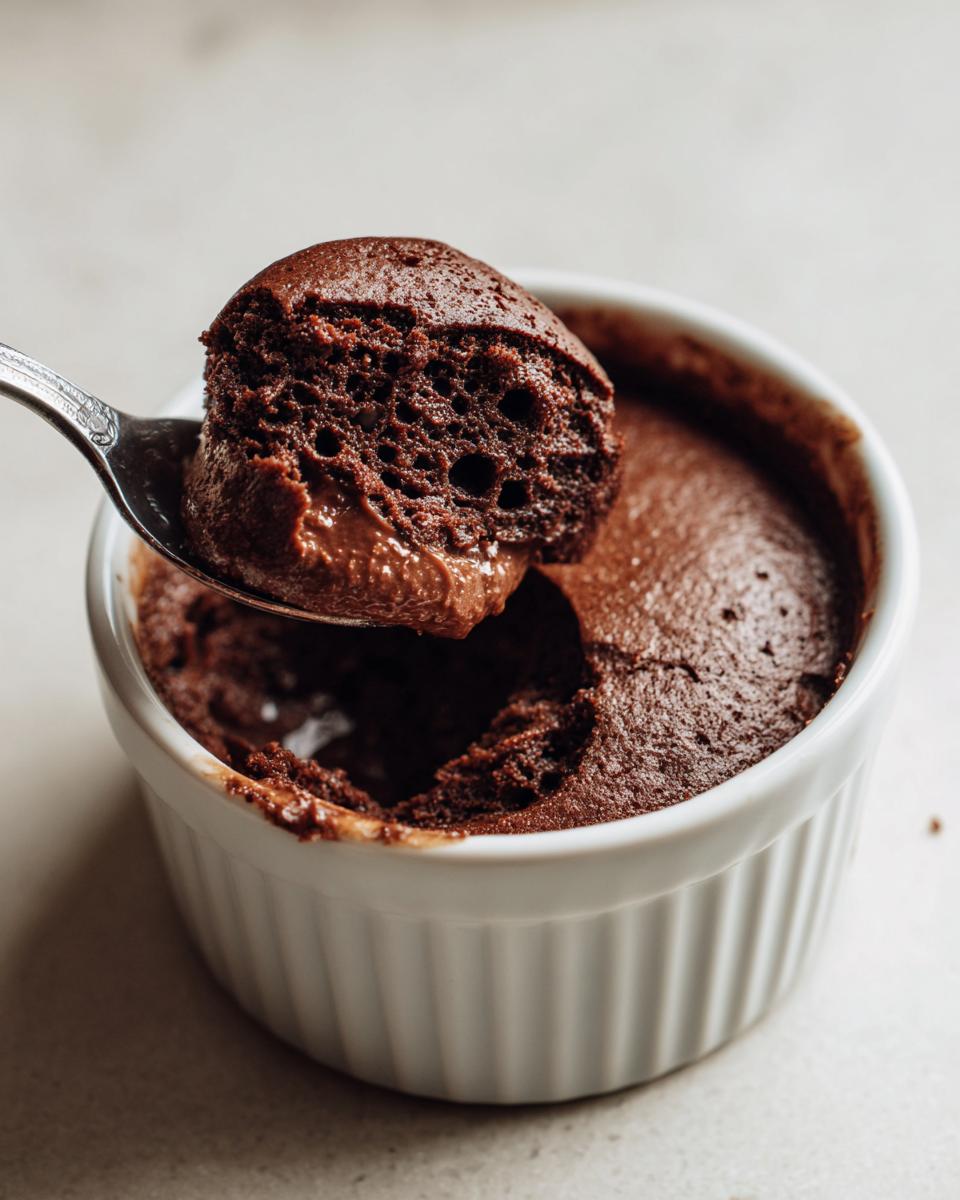
Whipping Cream and Folding for a Quick Chocolate Whip
While your chocolate is cooling, use a separate, *chilled* bowl to whip the remaining half cup of cold cream. If you’re adding that optional sugar, toss it in now. Whip it until you get stiff peaks—you know, when you lift the whisk and the cream keeps its shape nicely but isn’t dry or grainy!
This next step is crucial for that light, **quick chocolate whip** texture. Take about one-third of your whipped cream and fold it *vigorously* but quickly into your cooled chocolate base. Don’t worry about deflating this first batch; we are just lightening the heavy chocolate mixture so it can accept the rest of the air.
Now, take the last two-thirds of the whipped cream and fold it in gently, almost lovingly! Use a spatula to scrape down the sides and cut through the middle. Keep folding just until you see no more white streaks. Overmixing here is how you kill all the lovely air we just whipped in. Once combined, get it quickly into your serving cups!
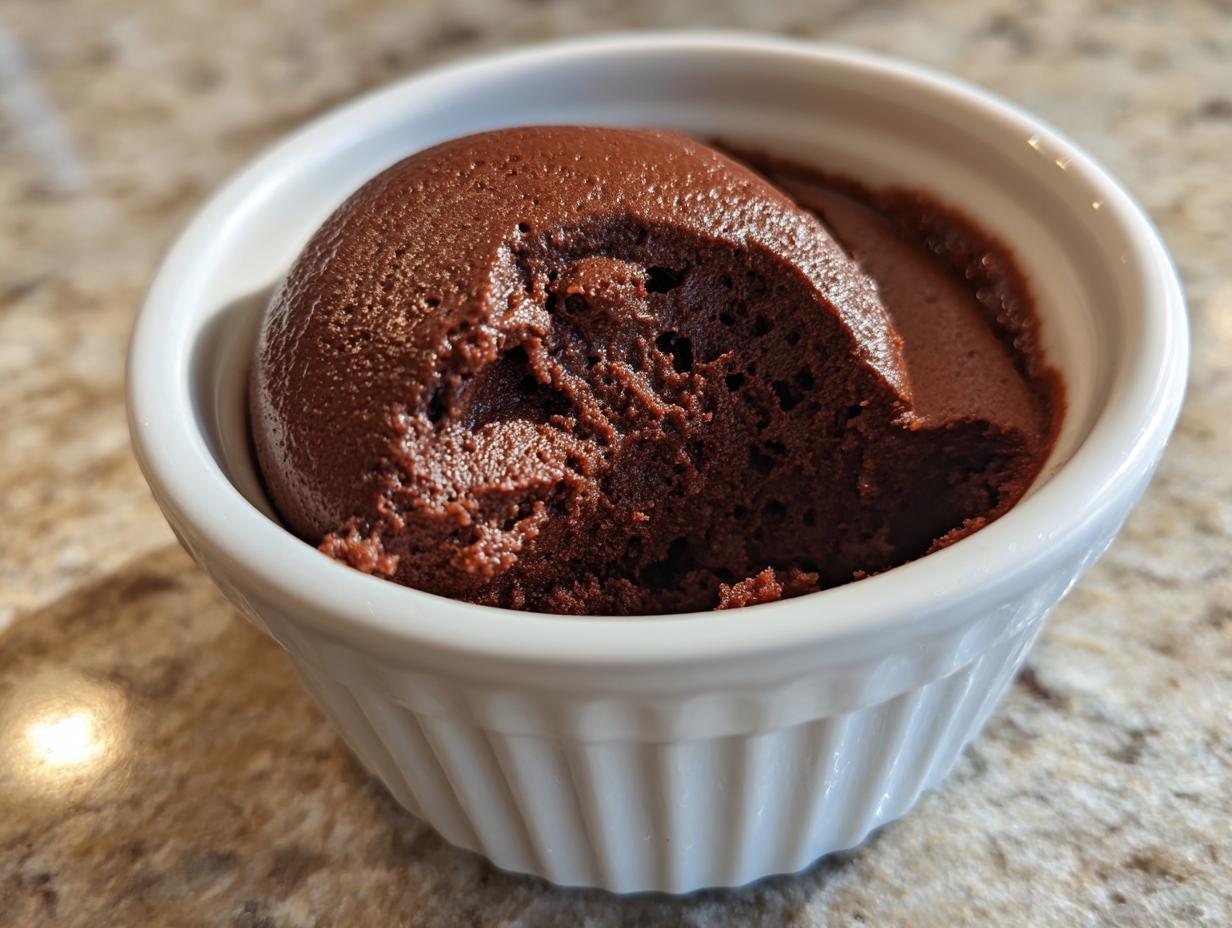
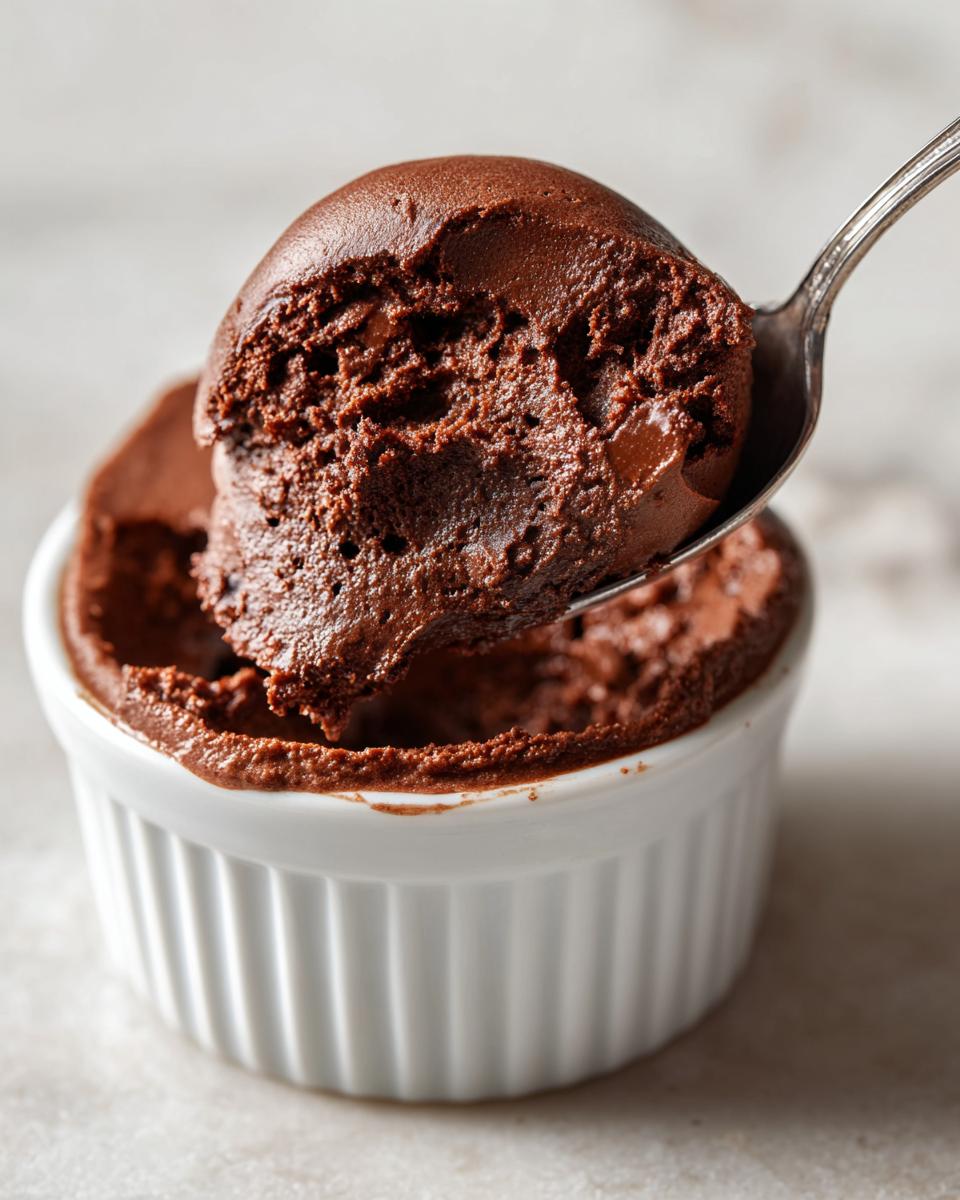
Presentation: Creating Elegant Chocolate Dessert Cups Individual Portions
My Grandma Daisy always said that even the simplest food tastes better when you take the time to present it right. She never had fancy piping bags, but she always served things on her best little crystal saucers!
For this **chocolate mousse**, serving it in individual glass dessert cups is an excellent way to make it feel special, perfect for a last-minute dinner party when you don’t want to fuss with slicing a huge dish. You can just scoop the **silky chocolate dessert** right into the glasses using a spoon or, if you want to feel extra professional, spoon it into a piping bag with a star tip.
Remember Step 8 from the instructions? That’s where this happens. Just get it into those cups and let it chill! For presentation ideas and to see how beautiful these individual desserts can look, check out some inspiration!
Tips for Success with Your Silky Chocolate Dessert
Even though this is a super simple chocolate mousse recipe, a few little tricks can take it from great to absolutely unforgettable! I’ve learned that paying attention to the ingredients you use truly shines through because there aren’t many things hiding behind complicated steps.
First off, use the best dark chocolate you can find. I cannot stress this enough! If you use cheap stuff, your **silky chocolate dessert** will taste cheap. We’re talking high-quality stuff, ideally 70% cocoa or higher, like the recipe says. It gives you that rich backbone flavor we are looking for.
Also, don’t skimp on chilling time. While you *can* eat it after an hour in a pinch (making it a great quick chocolate whip!), the proper two hours, or even letting it sit overnight, lets those flavors really meld together and ensures that perfect, creamy set. Visit this site if you want more hints on achieving ultimate creaminess!
And finally, presentation matters! Before serving your **decadent chocolate dessert**, give it a beautiful finish. Fresh raspberries or a little dusting of cocoa powder or finely shaved chocolate on top makes it look like you pulled it straight from a fancy pastry case.
Storage and Making Ahead for Your Make Ahead Dessert Chocolate
This is the secret weapon for anyone planning an **easy dinner party dessert**! Because this is a naturally stabilized mousse—no egg whites to worry about—it is fantastic for making ahead of time. You can whip this up the day before your guests arrive and completely take dessert off your plate on the big night!
Just spoon it into those pretty individual dessert cups, cover them gently with plastic wrap (try not to let the wrap touch the surface if you can help it), and pop them in the fridge. The instructions noted that this **make ahead dessert chocolate** holds up wonderfully for up to two full days in the refrigerator. That gives you plenty of wiggle room!
Frequently Asked Questions About Easy Chocolate Mousse Recipe
I get so many fantastic questions once folks try to whip up their own **easy chocolate mousse recipe**! It’s totally normal when you’re used to more complicated methods to wonder about swapping things out. I’ve gathered the ones I hear most often right here. Remember, we’re aiming for that beautiful, **decadent chocolate dessert** in the simplest way possible!
If you want a little peek into the philosophy behind keeping things simple, you can always read up on our story here.
Can I make this chocolate mousse without sugar?
Absolutely you can! That’s what I often do for my own **silky chocolate dessert** batches. If you skip that optional granulated sugar, the overall sweetness is totally determined by the dark chocolate you use. If you use a 75% or 80% dark bar, it will be less sweet and slightly more intense, which I love. If you use 60%, it might taste a little flat without that little boost of sugar. Go by your taste preference!
How do I ensure my **creamy mousse no bake** sets correctly?
Getting that perfect set for this **creamy mousse no bake** treat comes down to two things: temperature and time! First, make sure your whipped cream is *cold* when you whip it—cold fat whips up into stable peaks so much faster and better. Second, don’t skimp on the chill time listed in the instructions. It needs at least two hours in the fridge for the melted chocolate base to firm up enough to hold all that lovely air from the whipped cream. If you rush it, it’ll be looser than you want!
Understanding the Nutrition of This Chocolate Mousse
Now, I know when we’re making something this rich and **decadent chocolate dessert**, we aren’t exactly aiming for a low-calorie snack! But for those of you who like to keep track, I pulled together the average nutritional estimates for our simple batch. Remember that since we rely on high-quality ingredients like dark chocolate and heavy cream, these numbers reflect a genuinely **creamy mousse no bake** treat.
Here’s what we are usually looking at per serving (that’s about one cup, or one of those cute cups you made):
- Calories: Approximately 350
- Fat: Around 28g
- Sugar: About 20g (this changes if you skip the optional sugar!)
- Protein: Around 6g
Just keep in mind these are estimates based on 70% cocoa chocolate and the amounts listed in the recipe. I always say, enjoy the moment; that’s what Grandma Daisy would want! If you want to read over the site details regarding how we handle data, you can check out our privacy policy here.
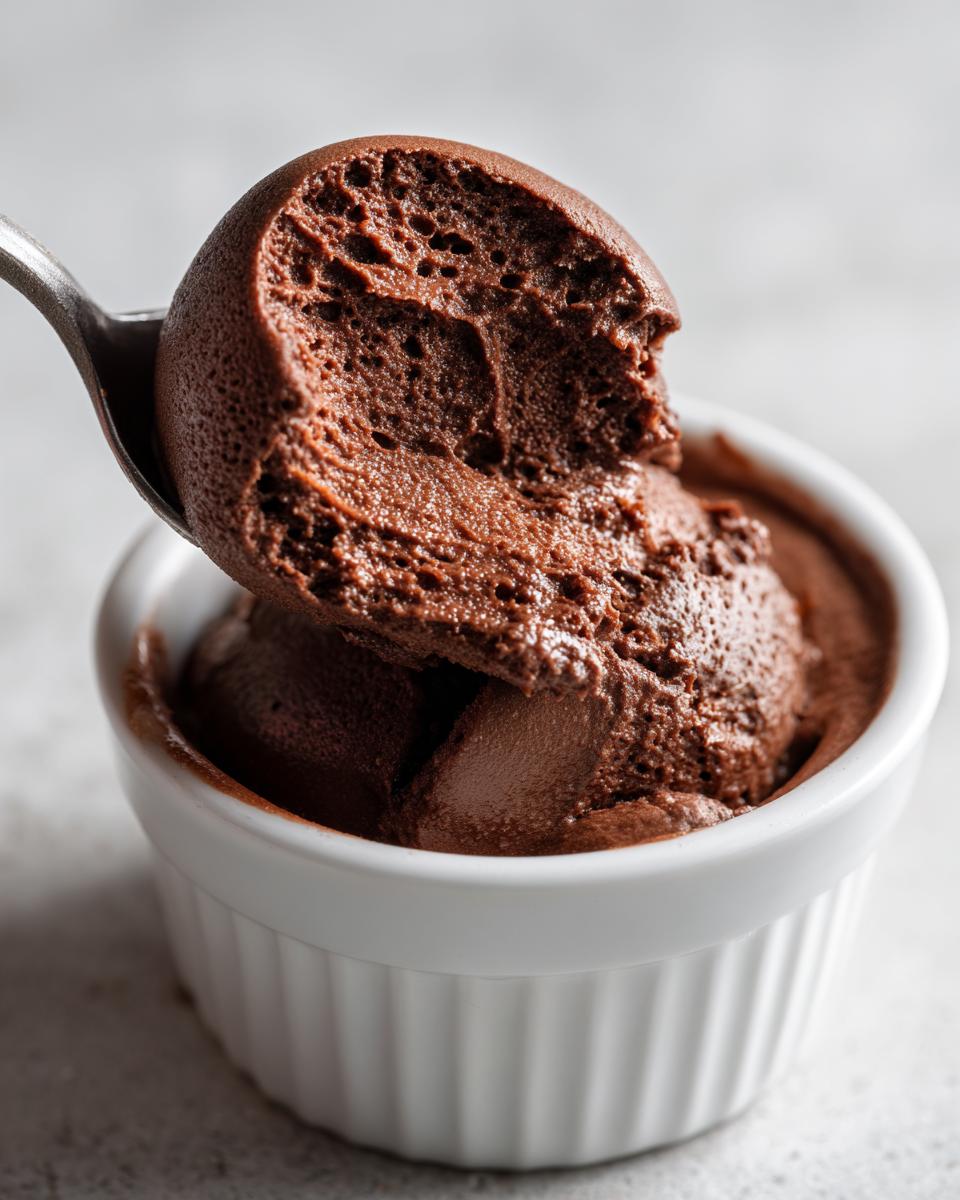
Share Your Velvety Smooth Mousse Creations
Wow, I really hope you loved making this **velvety smooth mousse** as much as I love sharing it! When you make something this simple yet this delicious, you have to tell someone about it, right?
Please leave a quick star rating below so I know how it turned out for you! Seeing your beautiful **chocolate dessert cups individual** creations really keeps Amelia’s connection to Grandma Daisy’s simple kitchen alive for me.
Send me a quick note through the contact page if you have any questions, or just want to share that sweet moment of enjoying your incredible **decadent chocolate dessert**!
PrintEasy 3-Ingredient Silky Chocolate Mousse
Make a rich, velvety chocolate mousse using only three simple ingredients. This no-bake dessert is quick to prepare and perfect for an elegant, yet easy, dinner party treat.
- Prep Time: 15 min
- Cook Time: 0 min
- Total Time: 2 hours 15 min
- Yield: 4 servings 1x
- Category: Dessert
- Method: No Bake
- Cuisine: French
- Diet: Vegetarian
Ingredients
- 200g dark chocolate (70% cocoa minimum)
- 1 cup heavy whipping cream, cold
- 2 tablespoons granulated sugar (optional, adjust to taste)
Instructions
- Chop the dark chocolate finely and place it in a heatproof bowl.
- Heat half of the heavy whipping cream (1/2 cup) in a small saucepan until it just begins to simmer around the edges. Do not boil.
- Pour the hot cream over the chopped chocolate. Let it sit undisturbed for five minutes to melt the chocolate completely.
- Whisk the chocolate and cream mixture until it is completely smooth and glossy. Set this mixture aside to cool to room temperature.
- In a separate, chilled bowl, whip the remaining 1/2 cup of cold heavy cream and the sugar (if using) until medium-stiff peaks form.
- Gently fold about one-third of the whipped cream into the cooled chocolate mixture to lighten it.
- Carefully fold the remaining whipped cream into the chocolate mixture until just combined. Avoid overmixing to keep the mousse airy.
- Spoon the mousse into individual dessert cups or ramekins.
- Chill the mousse in the refrigerator for at least two hours, or until firm and set. Serve cold.
Notes
- For an extra decadent texture, use a high-quality chocolate.
- If you skip the added sugar, the mousse relies on the sweetness of your dark chocolate.
- You can prepare this dessert ahead of time; it holds well in the refrigerator for up to two days.
- Garnish with fresh raspberries or chocolate shavings before serving.
Nutrition
- Serving Size: 1 cup
- Calories: 350
- Sugar: 20
- Sodium: 30
- Fat: 28
- Saturated Fat: 17
- Unsaturated Fat: 11
- Trans Fat: 0.5
- Carbohydrates: 25
- Fiber: 3
- Protein: 6
- Cholesterol: 95