
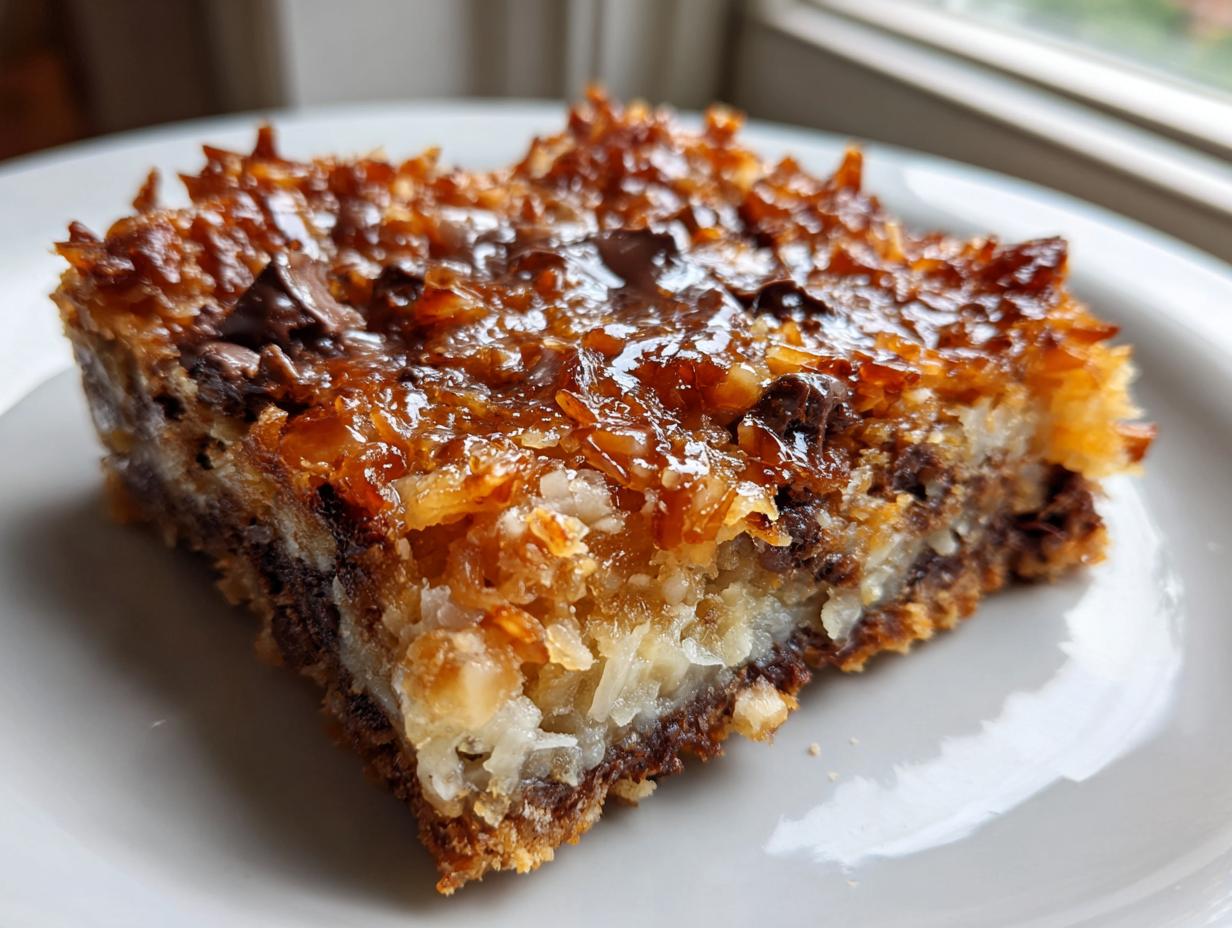
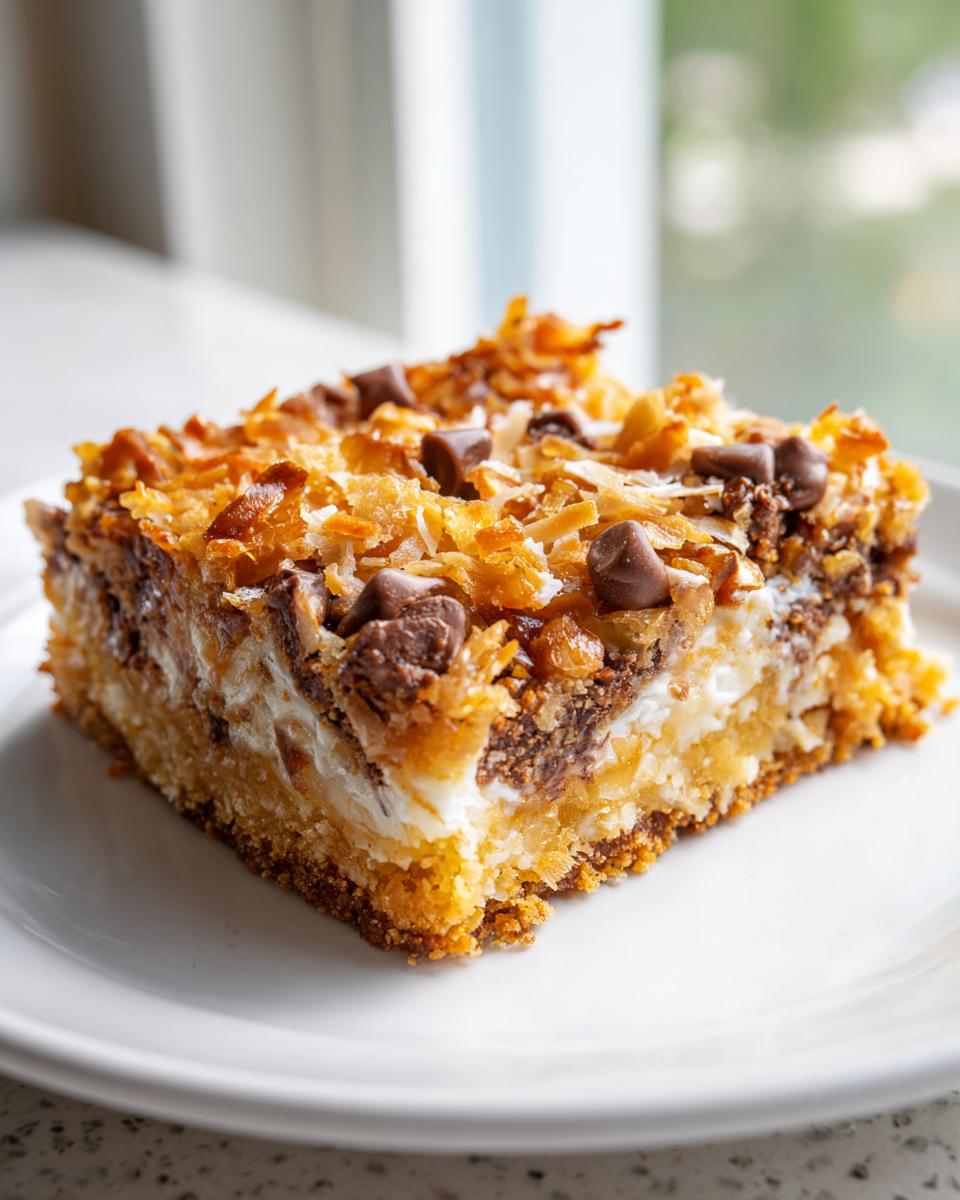
There’s just something magical about a bar cookie that pulls together layers like that, isn’t there? It feels like cheating because it tastes like you spent all day creating a masterpiece, but honestly, these Ultimate Easy Magic Cookie Bars (The Classic 7-Layer Recipe) are pure baking genius. When I finally got back to Grandma Daisy’s style of straightforward, honest baking, these bars were one of the first things I tackled. My connection to that heritage, which you can read a little more about over on the About page, really solidified when I realized how simple it was to get that perfect gooey texture. Trust me, these are wonderfully easy, insanely delicious, and guaranteed to make everyone happy.
- Why You Will Love These Easy Magic Cookie Bars
- Gathering Ingredients for Your Magic Cookie Bars
- Step-by-Step Instructions for Classic 7 Layer Bars Recipe
- Baking and Cooling Tips for Perfect Magic Cookie Bars
- Expert Tips for Making the Best Magic Cookie Bars
- Storage and Serving Suggestions for Your Ultimate Dessert Bars
- Frequently Asked Questions About Magic Cookie Bars
- Estimated Nutritional Data for Magic Cookie Bars
- Share Your Experience Making These Crowd Pleasing Treats
Why You Will Love These Easy Magic Cookie Bars
Honestly, these bars are my go-to when I need a huge batch of something amazing in almost no time. People rave about them constantly! They are truly some of the best crowd pleasing treats you can serve.
- They’re incredibly simple to assemble – no challenging recipes here!
- The texture is pure perfection: chewy, crunchy, and totally gooey.
- Everyone asks for this Easy Magic Cookie Bars recipe.
Simple Assembly for Classic 7 Layer Bars Recipe
When I say easy, I mean it. You just mix the base and then sprinkle the other six things right on top! It’s practically foolproof, which is why this Classic 7 Layer Bars Recipe became so famous decades ago. They are genuinely quick bar cookies that look like you sweated over them.
The Gooey Dessert Bars Texture You Crave
This is where the real magic happens, and it’s all thanks to that can of sweetened condensed milk! It seeps down through all those layers, and when it bakes, it becomes this unbelievably rich, chewy binder. It creates the ultimate gooey dessert bars that stick together perfectly when you cut them.
Gathering Ingredients for Your Magic Cookie Bars
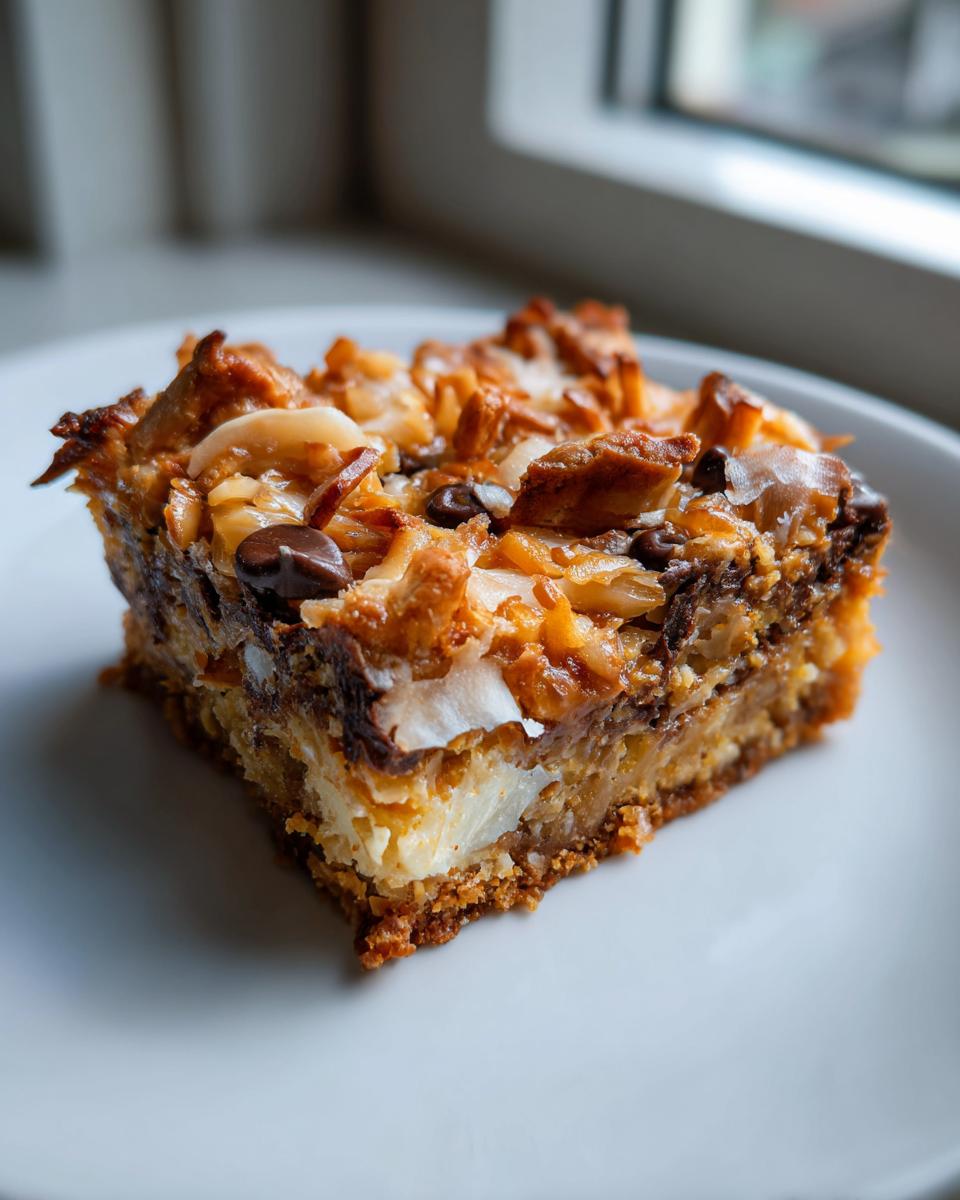
When you’re making something this truly easy, the quality of your ingredients is what shines through—it’s honestly that simple! I always try to have everything measured out before I even turn the oven on. Since this recipe has so many distinct layers, being organized means you can just sprinkle and pour without any drama or mess. Remember, we are aiming for those perfect Pecan Chocolate Coconut Bars!
Buttery Graham Cracker Crust Components
The base has to be perfect; it’s what holds up all that gooey goodness! For the crust, grab exactly one and a half cups of graham cracker crumbs. You want them fine, but not powdered dust. Then, you need exactly half a cup of unsalted butter, and it absolutely has to be melted so it soaks into the crumbs like magic.
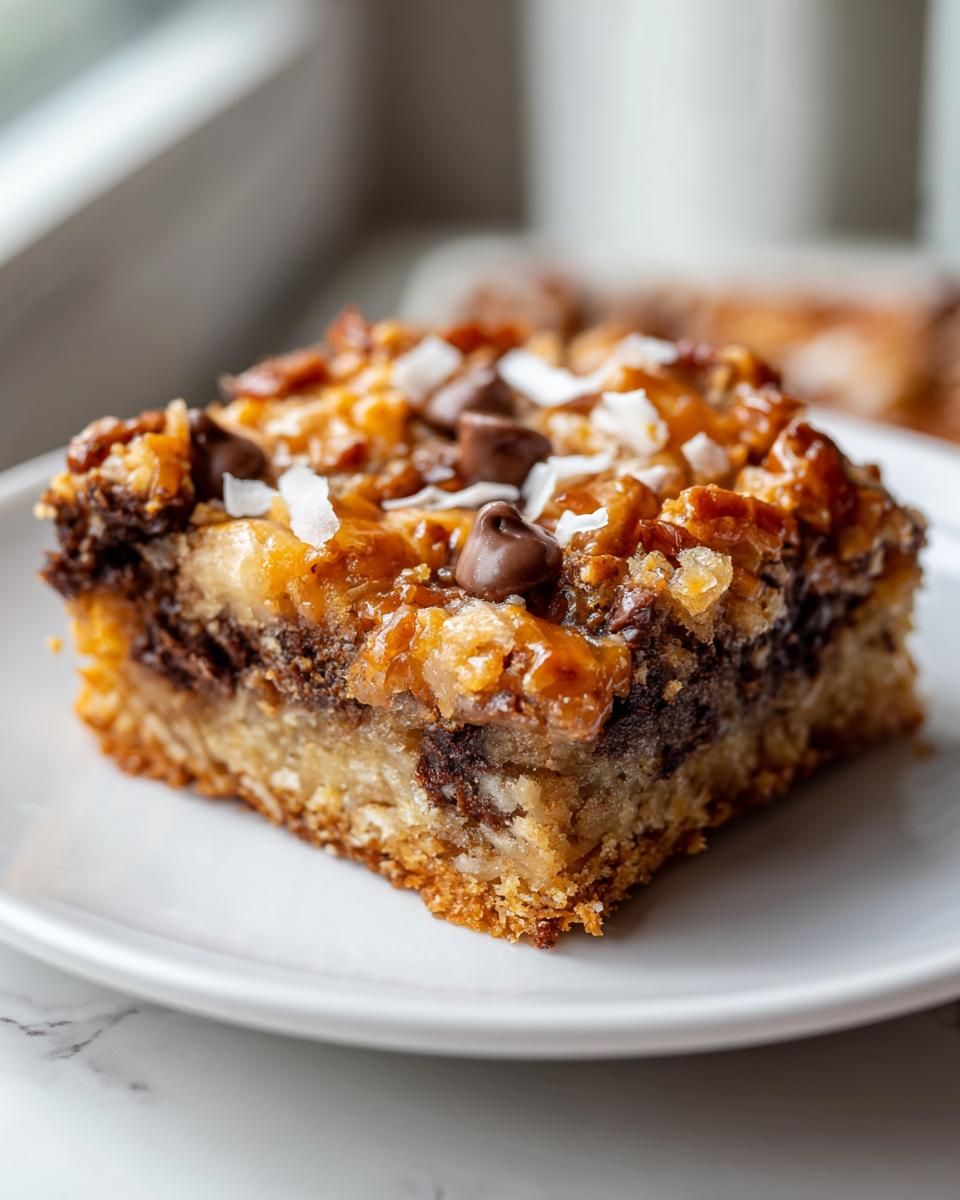
Layering Ingredients for Pecan Chocolate Coconut Bars
Now for the fun stuff! You’ll need one cup each of semi-sweet chocolate chips and butterscotch chips—don’t skip the butterscotch, seriously! Then measure out one cup of sweetened shredded coconut and one cup of chopped pecans or walnuts; either nut works just fine. But the true binder, the key to everything, is that 14-ounce can of sweetened condensed milk, poured over the top last.
Step-by-Step Instructions for Classic 7 Layer Bars Recipe
Okay, let’s get these layers stacked! This is where the term Magical Layered Dessert really comes to life. You don’t need a fancy mixer; maybe just a spatula and some muscle for pressing. We’re going to take this slow, just like my grandmother taught me about building any great foundation.
Preparing the Buttery Graham Cracker Crust
First things first: get that oven preheated to 350 degrees Fahrenheit. And listen closely about the pan—grab a 9×13 inch pan and line it completely with parchment paper, making sure you leave a good overhang on two sides. That overhang is your handle for lifting the whole thing out later, trust me, you’ll thank me when they’re cooled!
In a bowl, mix those graham cracker crumbs and your melted butter until everything is nice and damp. Then, grab the bottom of your measuring cup or just use your clean fingers and press that buttery mixture down firmly into the bottom of your waiting pan. Get it tight!
Assembling and Pouring the Magic Cookie Bars
Now for the stacking! Sprinkle your chocolate chips evenly over that crust. Don’t glob them in one spot; spread them out! Next, we dust on the butterscotch chips, followed by the shredded coconut, and finally, scatter those chopped pecans or walnuts right on top of everything.
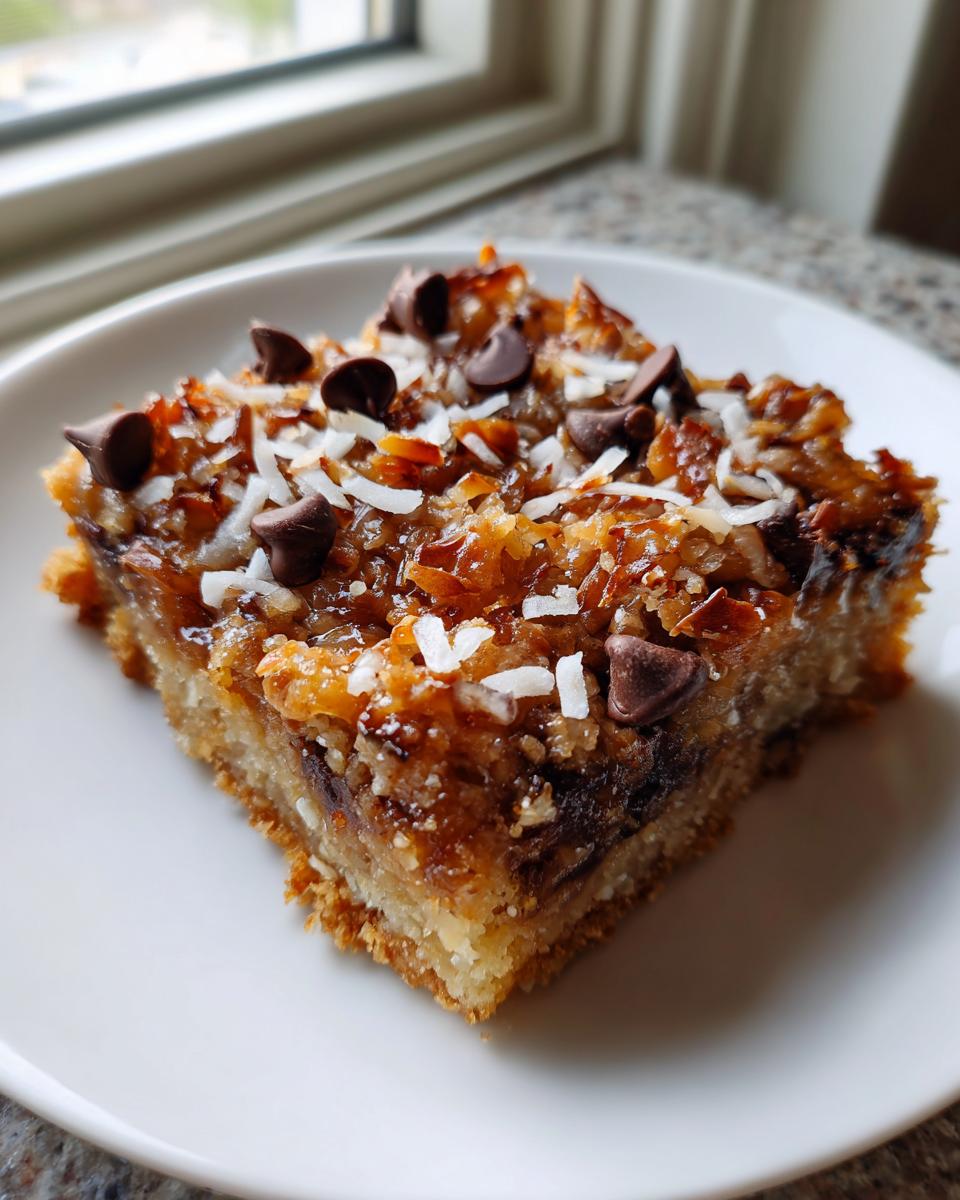
This is the moment of truth for your Magic Cookie Bars. Slowly, carefully, pour the entire can of sweetened condensed milk right over all those dry layers. Try to pour it in a slow, sweeping motion so it dribbles down and starts binding everything together. Don’t worry if it sinks a little; that’s exactly what it’s supposed to do!
Baking and Cooling Tips for Perfect Magic Cookie Bars
If you rushed my grandmother’s creations, you ended up with a puddle, not a perfect square! The baking step is short, but the cooling time is where patience comes in. You want that beautiful golden edge, but you need the center to set up just right so you don’t end up with a mess.
Make sure your oven is sitting right at 350 degrees Fahrenheit before anything goes in. We bake these bars for about 25 to 30 minutes. You’ll know they are done when the edges are starting to look nicely golden brown, and the condensed milk binder looks set—it shouldn’t be watery if you gently rock the pan.
But here is the single most important thing if you want those picture-perfect squares, especially when making these Gooey Dessert Bars: You have to let them cool completely. I mean it! If you try to cut these while they are warm, they will stretch and stick to the knife, believe me, I’ve learned this the hard way. Leave them in the pan on a wire rack until they are totally room temperature, maybe even chilling them for an hour or two after that if your kitchen is warm. That cooling period is what firms up that wonderful gooey texture so you can lift them out cleanly using that parchment paper handle we put in earlier!
If you try rushing this step, all that wonderful melted chocolate and coconut will just ooze everywhere, and you won’t get those fantastic defined layers you see in pictures online, like that great article I saw over at Weeknight Recipes. Just walk away for a few hours; these are worth the wait!
Expert Tips for Making the Best Magic Cookie Bars
These bars are such a beloved classic—a true piece of Retro Dessert Recipes history, right? But just because they’re easy doesn’t mean we can’t tweak them to make them absolutely perfect for *our* table. Grandma Daisy always said a cook should know when to follow the rules and when to bend them a little. When you are making these, think about what you love most; sometimes a little substitution makes all the difference!
I got a good look at some gorgeous variations while researching online, especially over at Love From The Oven, and realized how versatile these layered beauties really are. Don’t feel tied down to only pecans!
Ingredient Swaps for Hello Dolly Bars
The recipe calls for pecans or walnuts, and honestly, if you don’t have pecans, walnuts are a fantastic substitute. They give you that needed crunch! But you know what else works surprisingly well? Toffee bits! If you swap out the butterscotch chips for toffee bits, you get a deeper, almost caramel-like flavor instead.
Also, I know sometimes people worry about gluten. If you need to make these Hello Dolly Bars gluten-free, you can absolutely stand in for the graham cracker crumbs. Just crush up some gluten-free shortbread cookies or use a certified gluten-free version of graham crackers. Works like a charm, and nobody will ever know the difference!
Storage and Serving Suggestions for Your Ultimate Dessert Bars
Once you manage to get these amazing Magic Cookie Bars cooled long enough to slice them—which, believe me, is the hardest part—you need to know how to keep them fresh. These bars are so rich, mostly because of that glorious condensed milk, that they actually keep really well!
If you aren’t planning on devouring them all right away (good luck with that!), you can store them right on the counter at room temperature. Just make sure they are in an airtight container. They usually stay perfectly chewy and delicious for about three to four days stored this way. I find that keeping them room temperature ensures that gooey texture stays soft.
Now, if your kitchen is super warm, or if you made a gigantic batch for a party, you can definitely stick them in the fridge. They firm up a bit more when chilled, which some people actually prefer—it makes them chewier, almost like a dense fudge consistency. If you chill them, just let them sit on the counter for about 15 or 20 minutes before serving so they soften up just slightly. That takes them right back to that dreamy, soft texture!
Don’t even think about reheating these in the microwave unless you want them to turn into a hot, sticky puddle! They are meant to be eaten at room temperature or slightly cool.
When it comes to serving, these bars are already so indulgent, but if you want to dress them up a little for company, a tiny scoop of vanilla bean ice cream on the side cuts through that rich sweetness perfectly. Or, if you’re feeling fancy, drizzle just a touch of melted caramel sauce over the plate. It really elevates them from a simple bar to something special, just like that decadent recipe featured over at Snackin Style!
Frequently Asked Questions About Magic Cookie Bars
I get so many messages asking about tweaks and issues, and honestly, that’s wonderful because it means you all are baking! These bars are super forgiving, but there are a few things people often wonder about when they bite into that perfect slice. Don’t hesitate to reach out if you need more help through the contact page!
Can I make these Magic Cookie Bars without nuts?
Absolutely, you can skip the nuts if someone has an allergy or just isn’t a fan! If you leave out the pecans or walnuts, you might want to slightly increase the amount of chocolate chips or coconut you use. This keeps the layers nice and full so you don’t end up with plain patches in your otherwise perfect Pecan Chocolate Coconut Bars. You’ll still get that amazing chewiness!
What is the difference between Magic Cookie Bars and Sweetened Condensed Milk Recipes?
That’s a great question because the two terms are practically inseparable when it comes to this particular dessert! The difference is that “Magic Cookie Bars” is the specific name for this layered bar cookie. The reason they work so well and turn out so gooey is because they rely almost entirely on sweetened condensed milk as the binder and sweetener above the crust. So, basically, this recipe is the *best* example of what happens when you make great Sweetened Condensed Milk Recipes!
Why are my bars always soggy in the middle?
Nine times out of ten, sogginess happens because you cut them too soon! I know it’s hard to wait, but you must let them cool completely, sometimes even chilling them slightly, as I mentioned before. If they seem soggy right out of the oven, it might mean your condensed milk didn’t quite cook through. Give them another five minutes in the oven, or just let them cool much longer. They firm up as they rest!
Estimated Nutritional Data for Magic Cookie Bars
Now, I’m not a dietician by any stretch of the imagination—I’m just a home cook sharing something delicious! But since people always ask, I pulled up the common estimates for these rich, layered treats. Remember that this is just an approximation based on the standard ingredients we used, like graham crackers and sweetened condensed milk. Since everyone customizes their layers, feel free to adjust based on what chips and nuts you throw in!
Here is what you can generally expect for one delicious, satisfying square of these Ultimate Easy Magic Cookie Bars:
- Calories: Around 220 per bar
- Fat: Approximately 13g
- Carbohydrates: About 24g
- Sugar: Roughly 18g (That’s where the magic comes from!)
- Protein: Around 3g
This is definitely meant to be a treat, not an everyday snack, but wow, is it worth every calorie! Enjoy them responsibly!
Share Your Experience Making These Crowd Pleasing Treats
Well, that’s it! You now have the secrets to making the absolute best, no-fuss Magic Cookie Bars. I hope they bring as much joy to your kitchen as they do to mine. Honestly, knowing that someone else out there is making these nostalgic treats just makes my day.
I really, really want to know what you think! Did you stick to the classic seven layers? Or did you throw in something wild instead of butterscotch chips? Did you add a festive twist for the holidays? Please, drop a comment below and tell me how they turned out. I read every single one, and your feedback helps me keep these family recipes perfect.
Take a moment to rate this recipe using those little stars right below this section—is it a solid five-star showstopper for you? Sharing your results and letting me know if this became one of your new favorite crowd pleasing treats helps bring more simple, honest recipes like Grandma Daisy’s to other home cooks!
PrintUltimate Easy Magic Cookie Bars (The Classic 7-Layer Recipe)
Make these classic Magic Cookie Bars, also known as 7-Layer Bars, for a simple, gooey dessert. This recipe uses sweetened condensed milk for rich flavor and requires minimal effort.
- Prep Time: 15 min
- Cook Time: 30 min
- Total Time: 45 min
- Yield: 24 servings 1x
- Category: Dessert
- Method: Baking
- Cuisine: American
- Diet: Vegetarian
Ingredients
- 1 1/2 cups graham cracker crumbs
- 1/2 cup unsalted butter, melted
- 1 cup semi-sweet chocolate chips
- 1 cup butterscotch chips
- 1 cup shredded sweetened coconut
- 1 cup chopped pecans or walnuts
- 1 can (14 ounces) sweetened condensed milk
Instructions
- Preheat your oven to 350 degrees Fahrenheit. Prepare a 9×13 inch baking pan by lining it with parchment paper, leaving an overhang for easy removal.
- In a medium bowl, combine the graham cracker crumbs and melted butter. Press this mixture firmly into the bottom of the prepared pan to form the crust.
- Sprinkle the chocolate chips evenly over the crust.
- Sprinkle the butterscotch chips over the chocolate layer.
- Distribute the shredded coconut over the chips.
- Scatter the chopped nuts over the coconut layer.
- Pour the entire can of sweetened condensed milk slowly and evenly over all the layers. This binds the bars together.
- Bake for 25 to 30 minutes, or until the edges are golden brown and the milk layer is set.
- Let the bars cool completely in the pan on a wire rack before lifting them out using the parchment paper overhang.
- Cut into squares. These are best served once fully cooled for a chewy texture.
Notes
- For a richer flavor, use high-quality chocolate chips.
- If you do not have pecans, you can substitute them with walnuts or omit the nuts entirely.
- To make this recipe gluten free, substitute the graham cracker crumbs with gluten free graham cracker crumbs or crushed gluten free shortbread cookies.
- Cooling the bars completely before cutting prevents them from falling apart.
Nutrition
- Serving Size: 1 bar
- Calories: 220
- Sugar: 18g
- Sodium: 110mg
- Fat: 13g
- Saturated Fat: 7g
- Unsaturated Fat: 6g
- Trans Fat: 0.1g
- Carbohydrates: 24g
- Fiber: 1g
- Protein: 3g
- Cholesterol: 15mg