

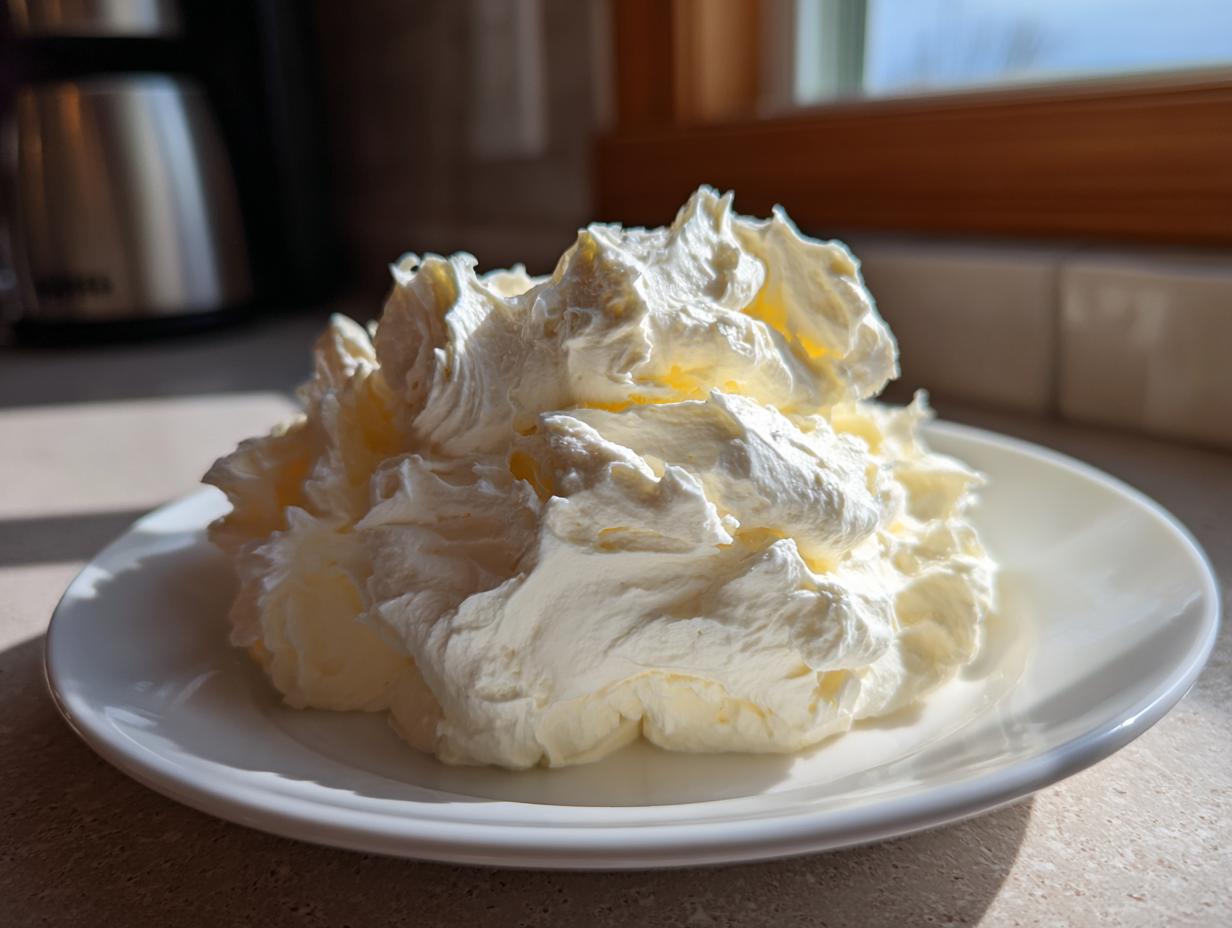
Oh, you simply cannot underestimate the power of a truly perfect frosting! If the cake is the star, the topping is the show-stopping costume, and for my kitchen, that costume is always the vanilla buttercream frosting. I’m Amelia, and trust me when I say I’ve tried every variation under the sun, but nothing beats this simple, classic American version. It comes together in about 10 minutes—no cooking required whatsoever! This reliable recipe comes straight from my grandmother Daisy’s philosophy: use basic, good ingredients and let the mixing do the real magic. It’s creamy, it’s fluffy, and it’s the only topping I trust when I’m decorating for big celebrations.
- Why This Vanilla Buttercream Frosting is Your New Baking Essential
- Ingredients for the Best Classic Vanilla Buttercream Frosting
- How to Prepare Perfect Vanilla Buttercream Frosting Instructions
- Tips for Success with Your American Buttercream Tutorial
- Piping Buttercream Guide: Making Your Vanilla Buttercream Frosting Hold Shape
- Storage and Reheating Instructions for Homemade Vanilla Icing
- Frequently Asked Questions About Creamy Dessert Topping
- Estimated Nutritional Data for Rich Vanilla Flavor Frosting
- Share Your Experience with This Classic Cake Frosting
Why This Vanilla Buttercream Frosting is Your New Baking Essential
This isn’t just any topping; this vanilla buttercream frosting is the base layer for every great dessert I make now. It’s the one recipe I know I can rely on when company shows up unexpectedly or when I need something sturdy for piping designs. It’s unbelievably versatile, too!
- It’s the absolute best for spreading smoothly on layer cakes.
- It whips up light enough to pile high on cupcakes.
- It sets up beautifully so those piped stars and borders don’t droop.
Achieving Creamy and Fluffy Texture
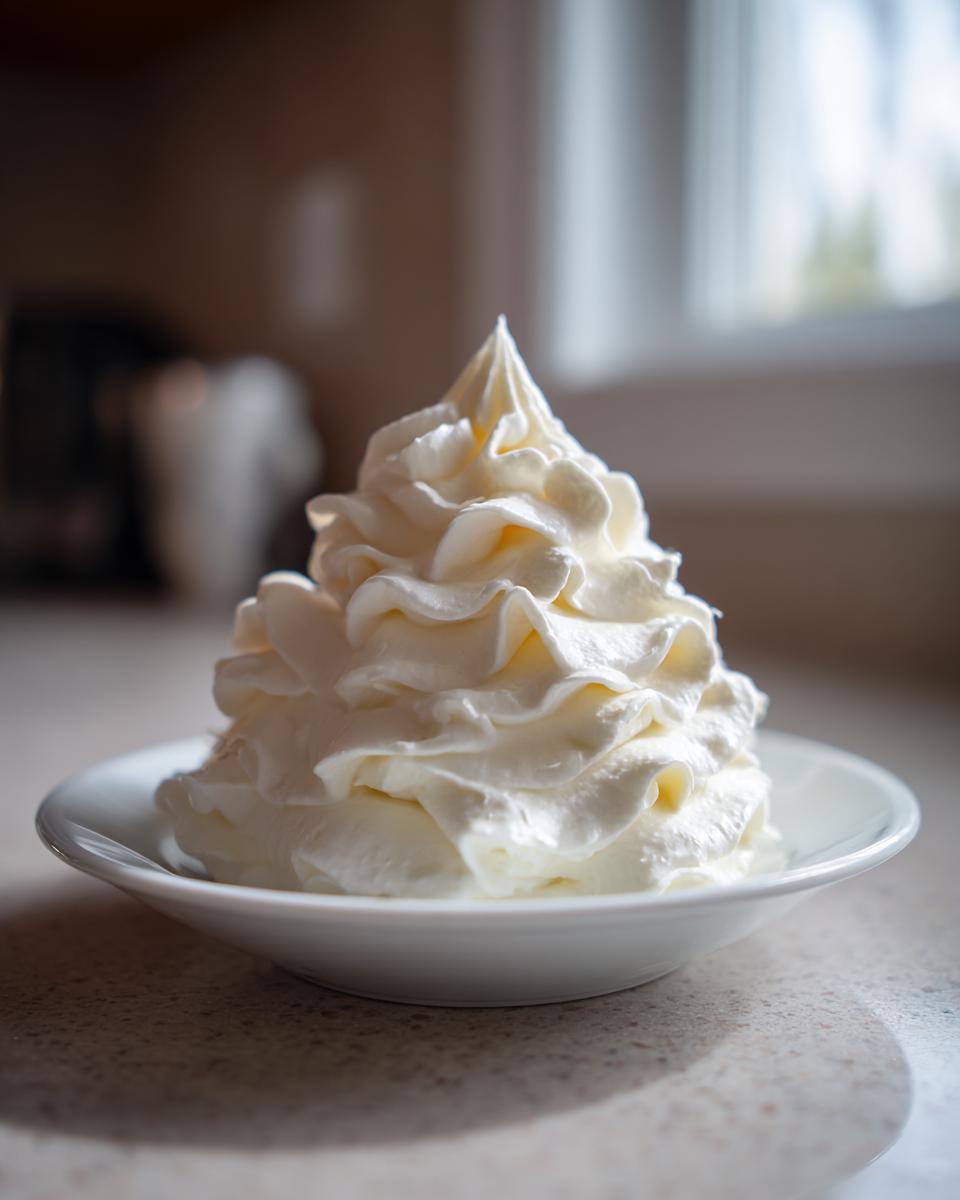
The secret here is patience during the beating stage, just like Grandma taught me. Getting your butter perfectly room temperature—soft but not melty—is non-negotiable. When you beat the butter until it’s pale and then beat it again after the sugar goes in, you are trapping air. That trapped air is what gives you that cloud-like texture instead of a dense, sugary paste.
Quick Buttercream Recipe: Ready in 10 Minutes
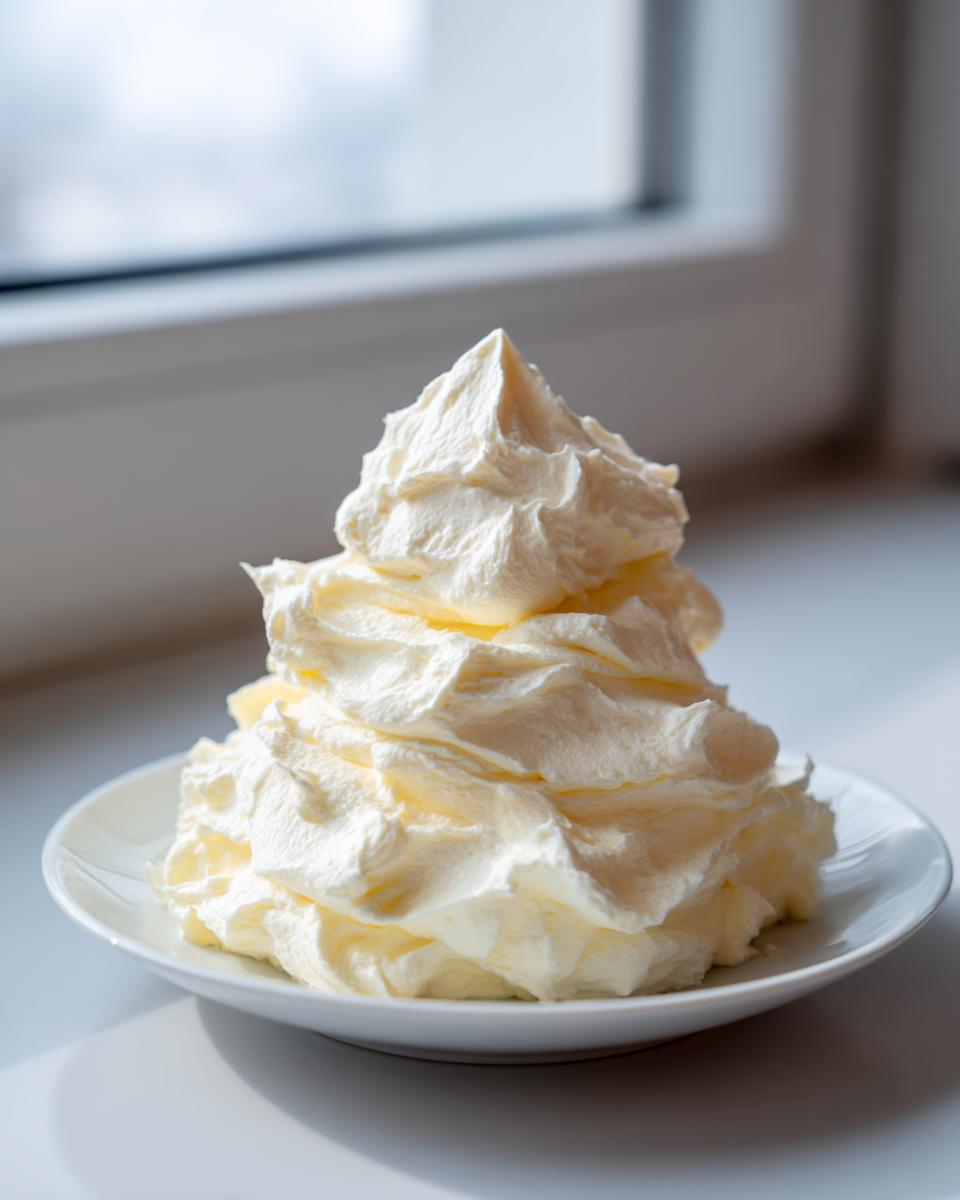
Seriously, stop buying the stuff in the can! This Quick Buttercream Recipe takes about 10 minutes total—start to finish. Since we aren’t cooking anything, you can whip this up while your cupcakes cool the last few minutes, meaning you spend less time waiting and more time decorating. It’s pure speed and deliciousness.
Ingredients for the Best Classic Vanilla Buttercream Frosting
Getting this Vanilla Buttercream Frosting right starts with respecting a very short list of ingredients. There’s no hiding behind extracts or fancy stabilizers here; it’s all about making these five things work together beautifully. Make sure everything is measured accurately before you plug in that mixer!
- One cup of good quality unsalted butter—it must be softened completely.
- Four full cups of powdered sugar, but you absolutely must sift it first, trust me on this one.
- One teaspoon of pure vanilla extract. If you use imitation, the flavor falls flat, and that’s a shame!
- Two to four tablespoons of liquid—I prefer heavy cream, but milk works too.
- Just a tiny pinch of salt to cut through the sweetness.
Ingredient Notes and Substitutions for Vanilla Buttercream Frosting
The temperature of your butter is the difference between smooth frosting and a lumpy mess. It needs to be soft enough that if you press your finger into it, it leaves a dent, but it should not look greasy or melted. If your butter is cold, your frosting will have little hard flecks of butter in it—a total texture fail!
When it comes to the liquid, heavy cream gives you a richer, denser topping that is amazing for filling cakes. If you want a slightly lighter, airier look for dollops on top of a cupcake, start with milk. Remember, two tablespoons gets you stiff frosting, and four tablespoons makes it softer for spreading across the top of a cake.
How to Prepare Perfect Vanilla Buttercream Frosting Instructions
This is where the hard work happens, but honestly, it’s so fast! Since this is a No Cook Frosting, the entire process relies on mechanical action—whipping all that sugar and fat into something gorgeous. Follow these steps exactly if you want that professional, smooth outcome for your vanilla buttercream frosting!
Step 1: Creaming the Butter for Smoothness
First up, your softened butter goes into that mixing bowl. Speed things up by using your electric mixer on medium speed. You need to beat that butter until it loses its yellow stiffness and becomes noticeably pale, fluffy, and lighter in color—it takes about two full minutes. Don’t rush this! This whipping action starts incorporating the air needed to keep the whole batch light.
Step 2: Incorporating Powdered Sugar Gradually
Now, the sugar. This is crucial: only add the sifted powdered sugar one cup at a time, and keep that mixer on low speed to start. If you dump it all in at once, you’ll end up with a white cloud explosion all over your kitchen, and that’s just messy! Be sure to stop and scrape down the sides of the bowl after every cup so that sugar doesn’t cling anywhere it shouldn’t.
Step 3: Achieving Fluffy Cupcake Icing Consistency
Once the sugar is incorporated, throw in that teaspoon of vanilla and a tiny pinch of salt. Then, we kick the speed up to medium-high for a full three minutes without stopping. This is what magically transforms it into Fluffy Cupcake Icing. Finally, add your heavy cream or milk, one tablespoon at a time. This liquid loosens the mix up exactly how you need it—use less liquid for stiff piping, or a bit more if you want it soft enough to spread easily right away. Grandma always said the final minute of beating on high speed is what sets the texture right!
Tips for Success with Your American Buttercream Tutorial
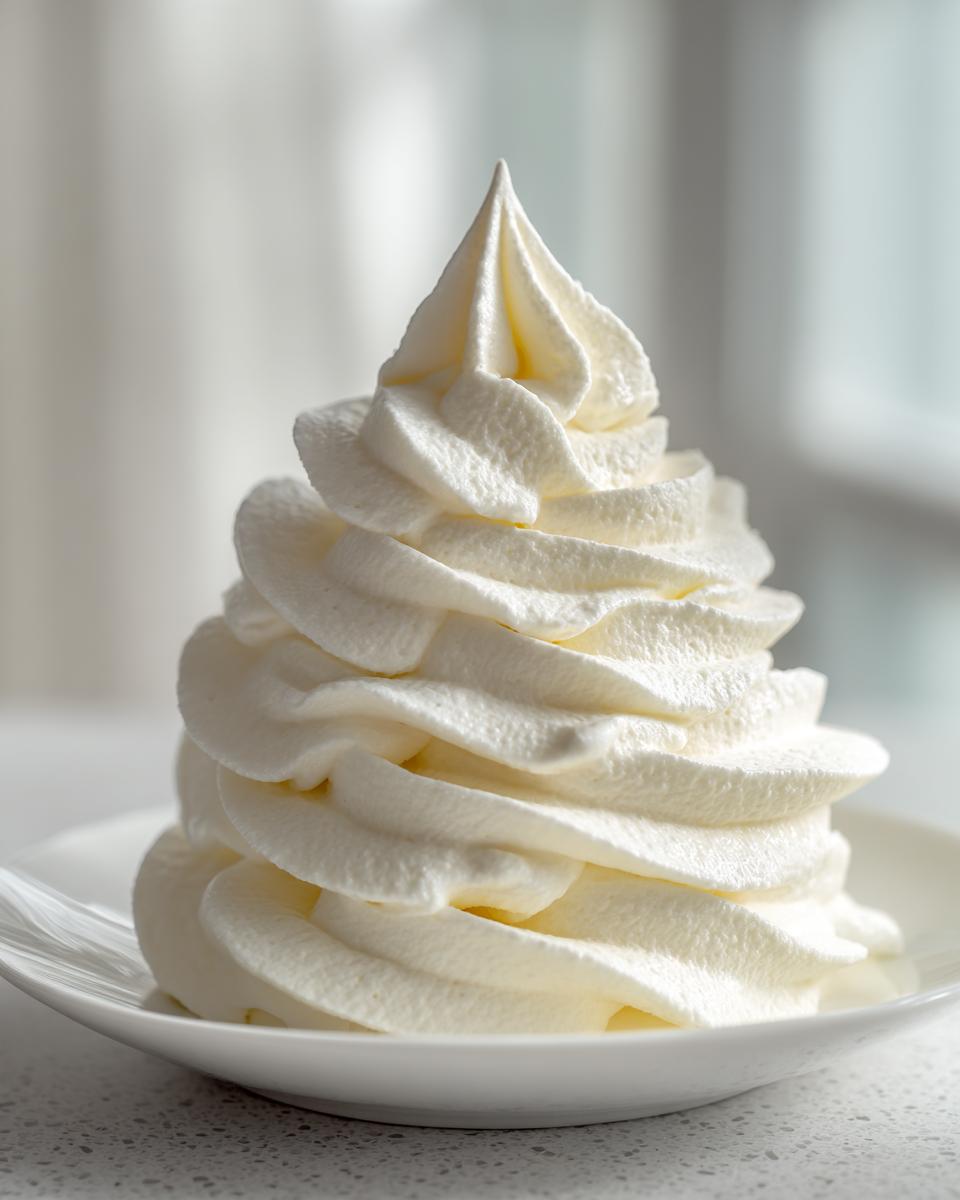
Even with the best American Buttercream Tutorial, things can occasionally go a little sideways in the kitchen! I’ve learned from my mistakes, and I want to save you the trouble. Remember those notes I had scrawled on the back of Grandma Daisy’s recipe card? They were all about avoiding disaster.
The number one problem I hear about is greasiness. If your frosting looks oily or separated, it almost always means your butter got too warm before you started mixing. Margarine usually flops here, too, which is why using real butter matters!
If you end up with a lumpy texture, don’t panic; it just means your butter was too cold when you began creaming. The solution is simple: just keep beating it! Give it another minute or two on medium speed, and the friction from the mixer blades will gently warm it up enough to smooth out those stubborn lumps. You can see some great advice over at Flavoritic about keeping things just right.
If your batch turns out too thin after adding all the liquid, just stir in another half cup of sifted powdered sugar by hand until it firms up. It’s surprisingly easy to fix!
Piping Buttercream Guide: Making Your Vanilla Buttercream Frosting Hold Shape
If you skipped a few tablespoons of cream—or maybe you added too much!—getting the perfect stiffness for a Piping Buttercream Guide is essential. This frosting is wonderfully responsive, which is why I adore making this Vanilla Buttercream Frosting for decorating.
Remember when we added the heavy cream or milk? That’s your main dial for consistency! If you made the batch for spreading on a cake, and now you realize you want to use a star tip for a beautiful border, it might feel too soft. No problem!
To stiffen it up for sharp ridges and details, just turn the mixer back on low and slowly add more sifted powdered sugar, one quarter-cup at a time, until you see it pulling away from the bowl sides slightly more. For detailed work, you want it stiff enough that if you stop mixing, the peaks stand up straight, resisting gravity.
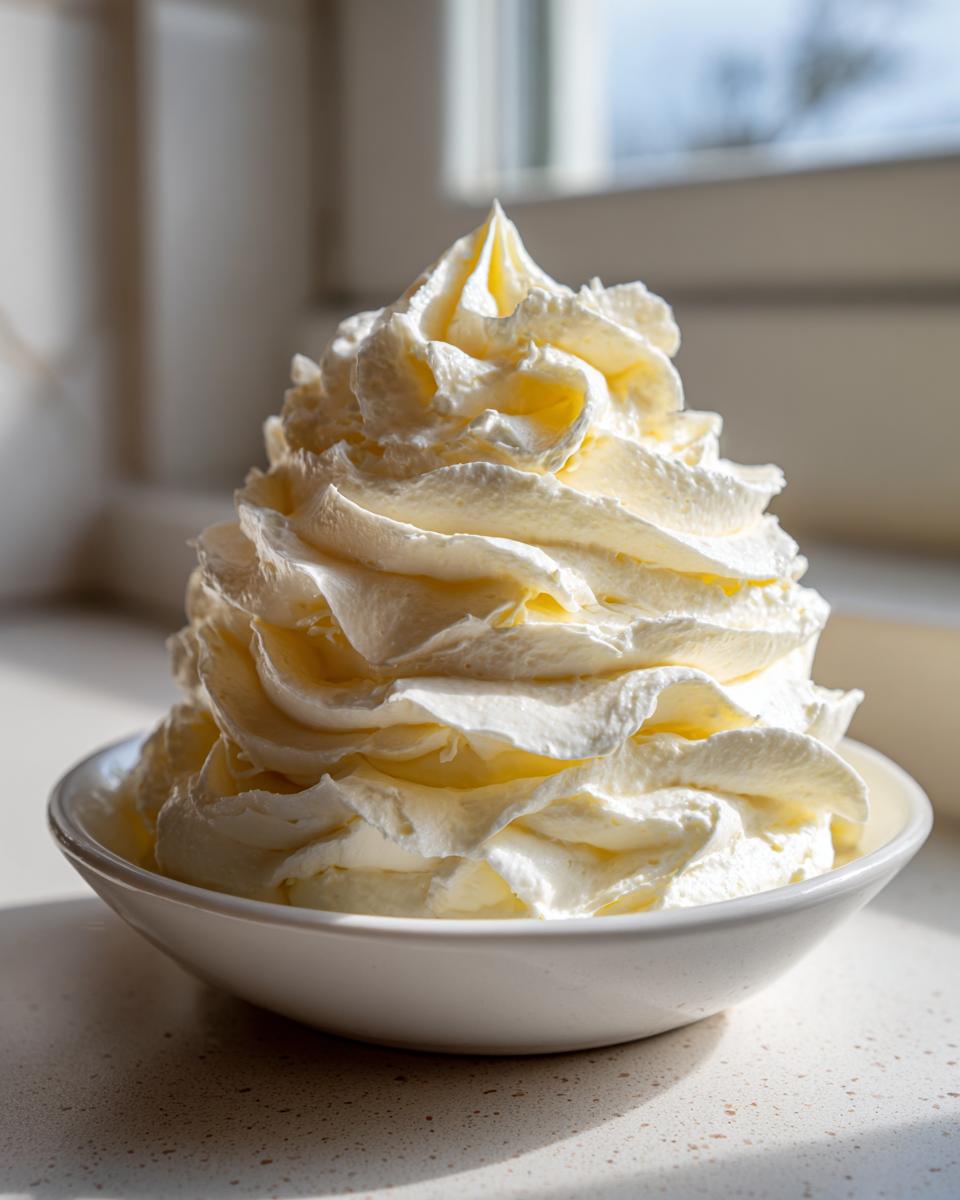
Conversely, if you did use only two tablespoons of liquid and now it’s rock solid and won’t spread, add half a teaspoon of milk back in while mixing slowly. A quick visit over to Scoop and Sprinkle shows tons of piping inspiration! Keep mixing until you get that perfectly creamy texture that holds its shape when piped.
Storage and Reheating Instructions for Homemade Vanilla Icing
Once you’ve made this gorgeous Homemade Vanilla Icing, you need to know how to keep it perfect for later. If you have leftovers—which never happens in my house, by the way!—you’ve got options. If you are using it within a day or two, an airtight container on the counter is usually fine, especially if your kitchen isn’t too warm. But for longer storage, the fridge is your friend.
When you pull it out of the fridge, it will be rock hard, which is normal because of all that butter! Don’t even think about trying to spread it straight away. You need to let it warm up on the counter for at least an hour until it’s soft again. Then, just put it back in the mixer and whip it vigorously for another minute or two. That re-whipping is what redistributes the air and makes it smooth and creamy again, ready to top your next batch of treats!
Frequently Asked Questions About Creamy Dessert Topping
I know you might have a few lingering worries before diving into making your own Creamy Dessert Topping. Everyone gets nervous about getting the texture just right, especially when you need Fluffy Cupcake Icing that holds its shape. Here are the few things people ask me most often about this Simple Vanilla Frosting!
Can I use margarine instead of butter in this Easy Buttercream Frosting?
Oh, honey, I strongly advise against it if you are aiming for creamy and fluffy! While you *can* technically substitute margarine in this Easy Buttercream Frosting, the results are just sad. Margarine has a much higher water content than real butter, and that extra water prevents the frosting from whipping up properly. It usually ends up tasting artificial and often turns greasy or weeping pretty quickly. For the texture you see here, you really need the fat content and the specific melting point of real, unsalted butter. If you’re set on a dairy-free option, look into vegetable shortening instead, though the flavor won’t be as rich.
How do I make this frosting less sweet?
That’s the classic American buttercream complaint! Since the sugar forms the structure, you can’t cut it down too drastically without affecting the stiffness required for piping. My secret is boosting the other flavors. Make sure you use high-quality, pure vanilla extract—the better the vanilla, the less you notice the sugar sting. Another trick for this Homemade Vanilla Icing is adding a bigger pinch of salt than you think you need—it really balances the sweetness. You can also substitute about half a cup of the powdered sugar with powdered freeze-dried fruit (like raspberries) mixed in at the end for a nice counterbalance.
Can I color this frosting for decorating?
Absolutely! This recipe is a perfect canvas for color. You can add gel food coloring easily when you add the vanilla in Step 3. Gel colors are best because they are highly concentrated and won’t thin out your beautiful Baking Essential Frosting like liquid dyes will. Just add a tiny dab at a time until you reach your desired hue for your Decorating Frosting Ideas!
If you have more questions about getting the perfect consistency, I wrote a bit more about troubleshooting right here on the site.
Estimated Nutritional Data for Rich Vanilla Flavor Frosting
Okay, let’s talk numbers for a second. I know when you’re whipping up a batch of this glorious Rich Vanilla Flavor Frosting, you usually aren’t thinking about macros, but it’s good to have a general idea! Remember, since this is a homemade recipe, these values are just estimates based on standard measurements for the butter, sugar, and cream. If you use different brands or slightly adjust your liquid, the numbers will shift a tiny bit, so take this as a good guideline.
This data is calculated per serving size, which we set at about 1/4 cup of the finished frosting. It’s definitely decadent—lots of sugar and fat because, well, that’s what makes it taste like the best frosting you’ve ever made!
- Serving Size: 1/4 cup
- Calories: Approximately 350 per serving
- Fat: About 16g (with 10g being saturated fat—that’s the butter talking!)
- Carbohydrates: Around 52g
- Sugar: Heavily concentrated at 50g (that’s naturally where most of the carb count comes from!)
- Protein: Just about 1g
- Sodium: Very low, around 35mg
It’s certainly a treat, meant to go on top of your already delicious baked goods! If you ever have any questions about substitutions or need to get in touch about a recipe, feel free to reach out to us through the contact page. We love hearing from fellow bakers!
Share Your Experience with This Classic Cake Frosting
Now that you’ve mastered this Classic Cake Frosting and made something truly fabulous, I’d love to hear all about it! Did you use it on cupcakes or a big birthday cake? Head down to the comments and leave a rating—it really helps other home cooks trust this recipe. If you’ve got a stunning photo, tag us on social media!
I’m always learning, and seeing your successes reminds me why Grandma passed this down. If you have any thoughts or want to check out the site’s guidelines, you can read our Terms of Use. Happy decorating, and don’t forget to check out what Natasha is up to over at her spot for extra inspiration!
PrintThe Best Classic Vanilla Buttercream Frosting
Make creamy, smooth, and fluffy American vanilla buttercream frosting that holds its shape perfectly for piping cakes and cupcakes. This quick, no-cook recipe is a baking essential.
- Prep Time: 10 min
- Cook Time: 0 min
- Total Time: 10 min
- Yield: About 3 cups 1x
- Category: Dessert Topping
- Method: Mixing
- Cuisine: American
- Diet: Vegetarian
Ingredients
- 1 cup unsalted butter, softened to room temperature
- 4 cups powdered sugar, sifted
- 1 teaspoon pure vanilla extract
- 2 to 4 tablespoons heavy cream or milk
- Pinch of salt
Instructions
- Place the softened butter in a large mixing bowl. Beat the butter with an electric mixer on medium speed until it is light and creamy, about 2 minutes.
- Gradually add the sifted powdered sugar, one cup at a time, mixing on low speed until just combined after each addition. Scrape down the sides of the bowl as needed.
- Add the vanilla extract and a pinch of salt. Increase the mixer speed to medium-high and beat for 3 minutes until the frosting is light and fluffy.
- Add the heavy cream or milk, one tablespoon at a time, beating well after each addition until you reach your desired consistency. If the frosting is too thick, add more liquid; if it is too thin, add more powdered sugar.
- Beat on high speed for 1 more minute to incorporate air, making the frosting smooth and ready for decorating.
Notes
- For a stiffer frosting suitable for detailed piping, use only 2 tablespoons of cream initially.
- If your butter is too warm, the frosting will be greasy. If the butter is too cold, the frosting will be lumpy.
- To achieve a very smooth texture, beat the frosting for a full 5 minutes on medium-high speed after all ingredients are incorporated.
Nutrition
- Serving Size: 1/4 cup
- Calories: 350
- Sugar: 50
- Sodium: 35
- Fat: 16
- Saturated Fat: 10
- Unsaturated Fat: 6
- Trans Fat: 0.5
- Carbohydrates: 52
- Fiber: 0
- Protein: 1
- Cholesterol: 50