

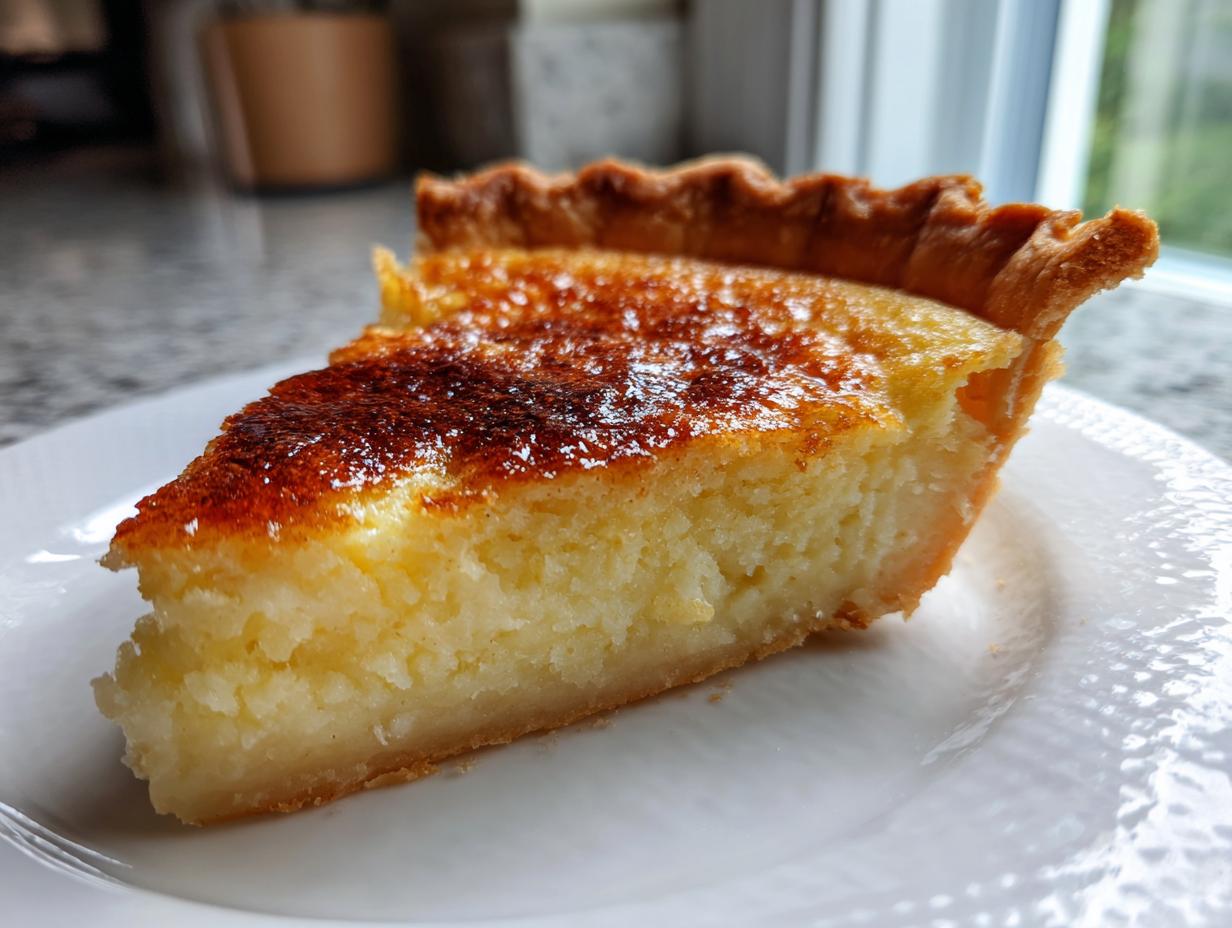
You know, sometimes life gets so loud and complicated, right? That’s what happened to me in the city—I forgot how good simple, honest baking felt. Finding my way back to Grandma Daisy’s lessons meant finding my way back home, even when I was miles away. That’s why I am so excited to share this Classic Old-Fashioned Southern Buttermilk Pie recipe with you. There’s nothing fussy here, just pure, tangy flavor and a custard that sets up like silk. This is the first recipe I truly nailed when I started cooking like Daisy again. It reminds us that the best things—like a perfect slice of buttermilk pie—are born from just a few good ingredients handled with care.
If you want to read more about my journey from city life back to the kitchen, you can check out our story here. Trust me, this pie captures that comforting, uncomplicated feeling perfectly.
- Why This Classic Buttermilk Pie Recipe is Southern Comfort Baking
- Ingredients for Your Homemade Buttermilk Pie
- How to Prepare Your Old Fashioned Pie Recipe
- Tips for Success Making a No-Fail Southern Pie
- Serving Suggestions for Your Buttermilk Pie with Whipped Cream
- Storage and Reheating Instructions for Classic Buttermilk Pie
- Frequently Asked Questions about Buttermilk Pie
- Nutritional Estimates for This Tangy Sweet Pie
- Share Your Grandma's Pie Recipe Experience
Why This Classic Buttermilk Pie Recipe is Southern Comfort Baking
When folks talk about authentic Southern cooking, they’re talking about recipes like this. This isn’t some complicated dessert; it’s true Comfort Food Baking that tastes like nostalgia sealed in a crust. What makes this better than other recipes? It’s the balance. That beautiful interplay between the sweetness and just enough tang from the buttermilk makes this a genuine Southern Custard Pie experience.
It’s foolproof if you follow the mixing order, which I learned the hard way! You can whip up the filling while the oven preheats. If you’re looking for other quick, satisfying meals, check out my list of great weeknight dinner ideas.
The Perfect Tangy Sweet Pie Texture
Listen, the goal here is a custard that laughs in the face of rubbery fillings. We want smooth, we want silky, and we want just that slight wobble in the very middle when you pull it out. That’s the sign of a perfect Tangy Sweet Pie.
A little insider tip from me: once you add the buttermilk mixture to the sugar base, whisk gently! We’re just combining things here. If you beat those eggs too vigorously while incorporating the wet ingredients, you incorporate too much air, and that’s how you end up with cracks or a weird texture on top. Slow and steady wins this custard race, trust me!
Ingredients for Your Homemade Buttermilk Pie
You won’t believe how few things you need for this incredible Homemade Buttermilk Pie! It really drives home how powerful simple, traditional ingredients can be when Baking with Buttermilk. Everything here combines to make that classic, slightly sharp custard filling.
Make sure your butter is melted, but definitely not hot! We don’t want to scramble those eggs later. And please, please use good quality buttermilk if you can—it makes a difference in the final tanginess.
- 1 (9-inch) unbaked pie crust (I prefer an all-butter one!)
- 1 1/2 cups granulated sugar
- 3 tablespoons all-purpose flour
- 1/4 teaspoon salt
- 1/2 cup (1 stick) unsalted butter, melted
- 3 large eggs, lightly beaten
- 1 cup buttermilk
- 1 teaspoon vanilla extract
Ingredient Notes and Buttermilk Substitutions
Let’s talk crust first. I listed an unbaked crust, but if you’re feeling ambitious, go for a really buttery, flaky crust pie recipe. The flavor contrast between that crust and the smooth filling is everything!
Now, if your fridge is empty of buttermilk—don’t panic! Daisy taught me this little trick for situations just like this. You can easily make your own substitute here. Just take 1 cup of whole milk and stir in 1 tablespoon of white vinegar or fresh lemon juice. Let it sit on the counter for about five minutes. It’ll look sort of curdled, but that’s exactly what we need to mimic that necessary acidity for the pie!
How to Prepare Your Old Fashioned Pie Recipe
Making this Old Fashioned Pie Recipe should feel relaxing, not rushed. It’s truly a Simple Custard Pie once you get the rhythm down. First things first—get that oven warmed up to 350 degrees Fahrenheit. While it’s preheating, go ahead and press your unbaked crust into your plate. You want it snug!
Next, grab a bowl and mix your dry things: sugar, flour, and salt. Then, pour in that melted butter and work it through until it looks like wet sand. Don’t overwork it; we just want it coated. In a different bowl, give those eggs a quick, gentle whisk with the buttermilk and vanilla. Now, pour that buttermilk liquid slowly into the sugar mixture while whisking constantly. That slow pour is key to keeping the custard smooth!
If you’re looking for more tips on getting perfect custards (especially my go-to classic custard pie recipe), I break down the science of the egg structure in that post!
Achieving the Golden Brown Pie Top Dessert Finish
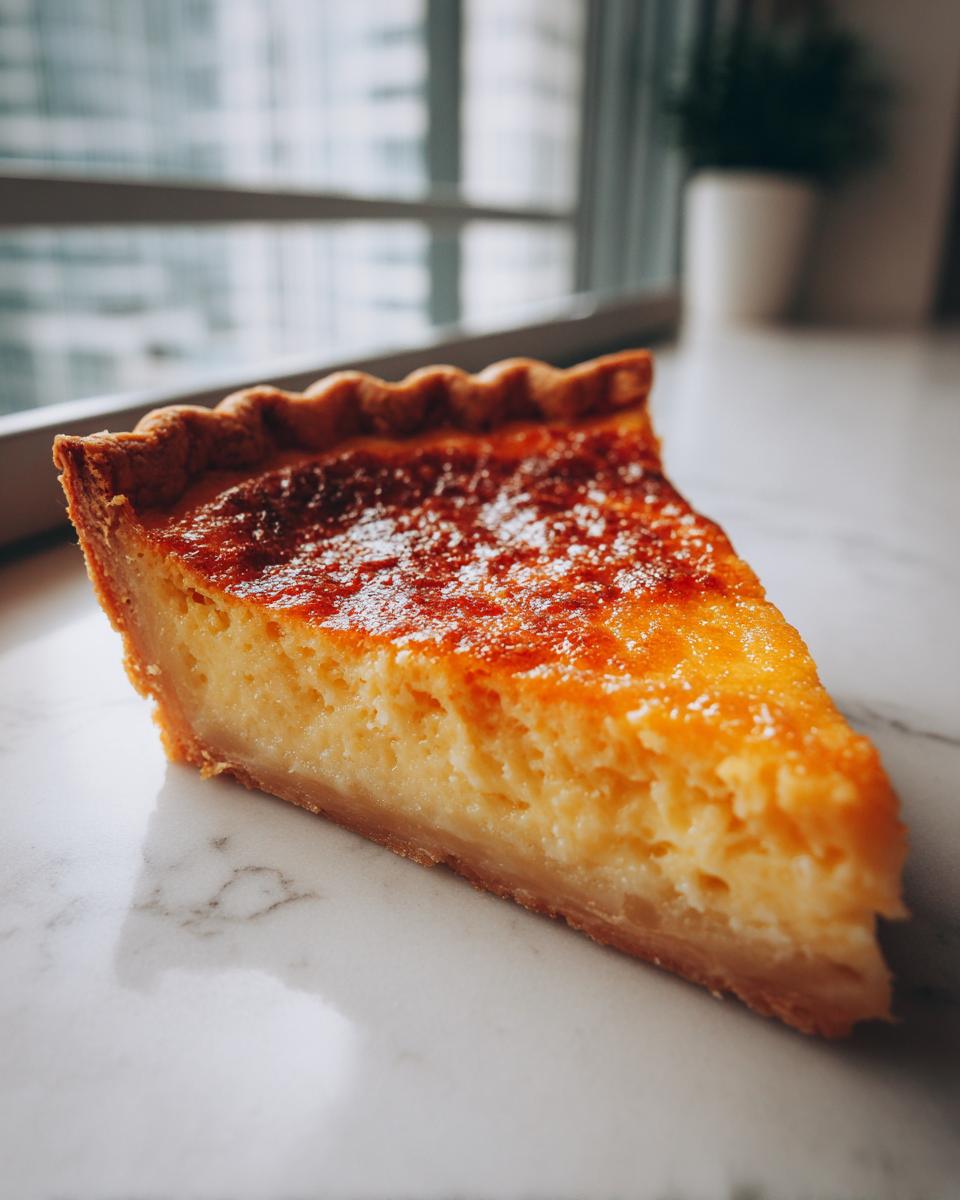
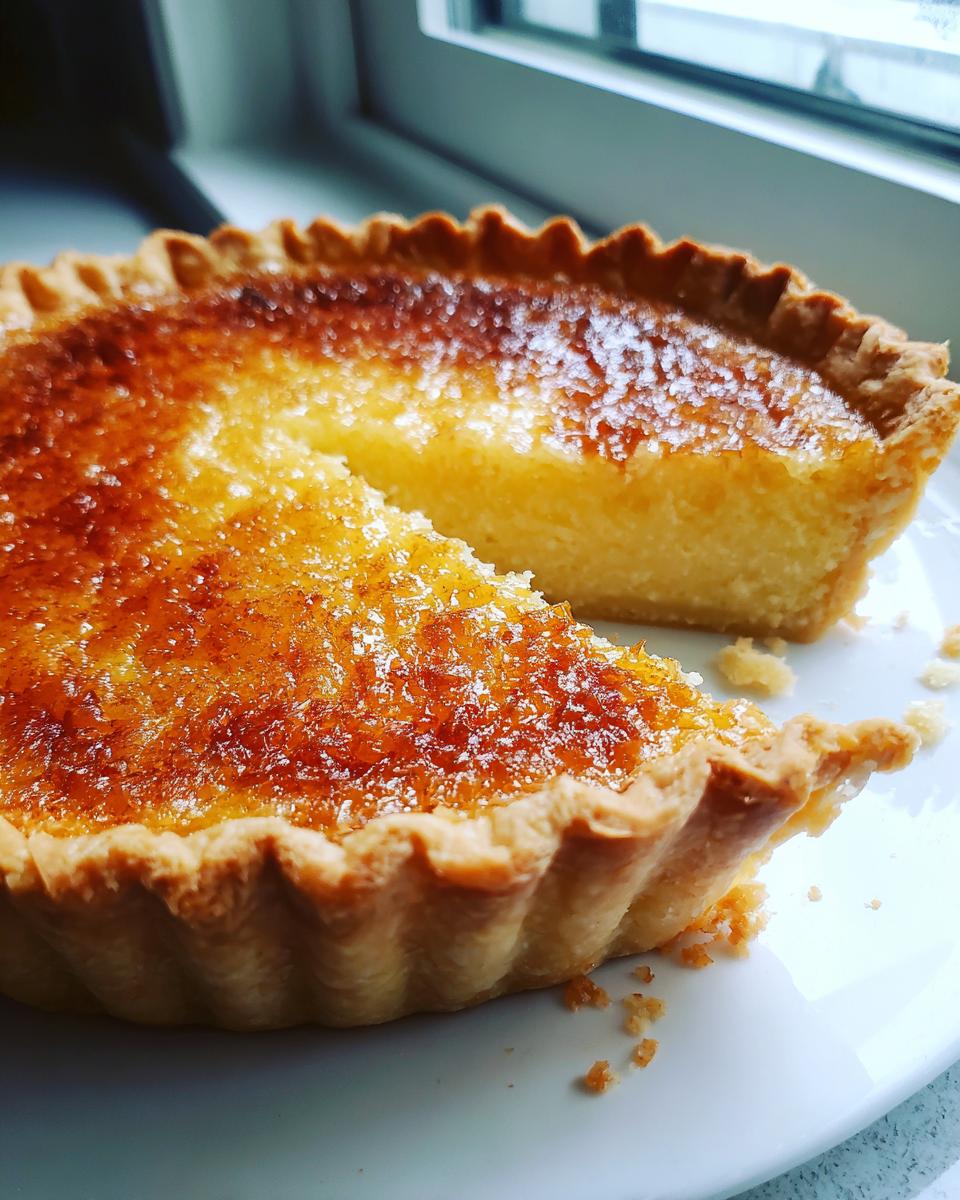
Into the oven it goes for about 45 to 55 minutes. You are looking for that beautiful, deep amber color; think Golden Brown Pie Top Dessert. You shouldn’t see liquid sloshing around, but if you gently nudge the pan, the very center should still have a slight, nervous jiggle. That’s how you know it’s nearly done.
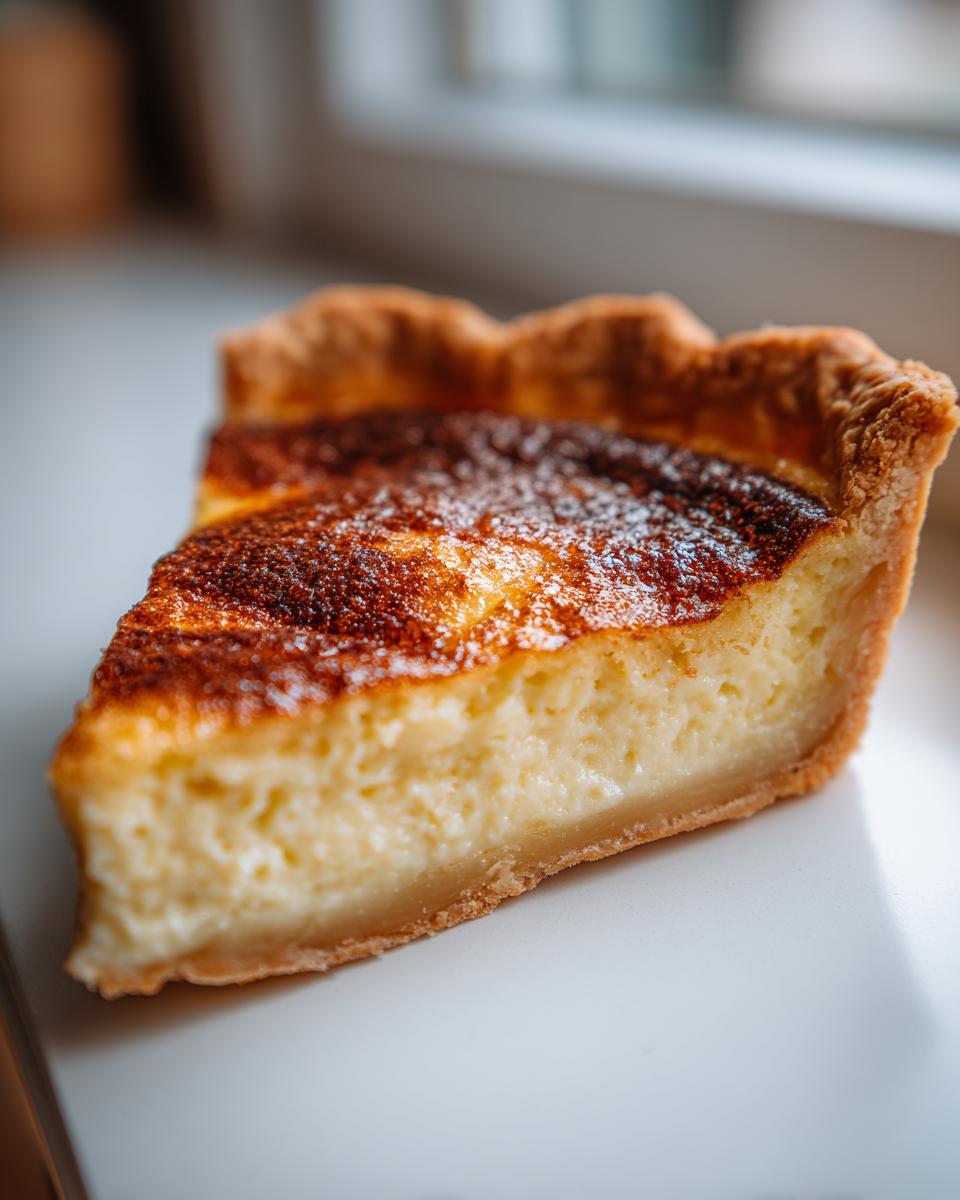
Here is the hardest part: cooling! You absolutely must let this pie cool completely on a wire rack. If you try to slice it warm, it melts right back into soup. Patience here transforms that jiggly center into a beautifully set, creamy slice. It usually takes me three hours minimum before I even think about cutting into it!
Tips for Success Making a No-Fail Southern Pie
I’ve ruined enough custards in my time to know exactly how to help you make a truly No-Fail Southern Pie. The magic isn’t just in the ingredients; it’s in how you treat them!
My biggest tip, which I learned from watching Daisy, relates to temperature. Even though this particular recipe calls for cold buttermilk, make sure your eggs are still just sitting out for about 30 minutes before you start mixing. Room temperature eggs incorporate much more smoothly into the batter, cutting down on the mixing time required.
And please, when you combine the wet and dry ingredients, you must stop mixing the second everything looks uniform. That’s it. Over-mixing custard is the quickest way to create tiny tunnels in the filling when it bakes. If you need some inspiration for other comforting baked goods that rely on gentle technique, take a look at my recipe for best soft, gooey cinnamon buns—it requires a similar gentle touch!
Serving Suggestions for Your Buttermilk Pie with Whipped Cream
Once that pie is completely set—and remember, patience is a virtue here—it’s time for the best part: serving! While this pie tastes divine at true room temperature, many folks down South prefer it slightly warm. Just let it sit on the counter for about an hour before cutting after the initial cool-down.
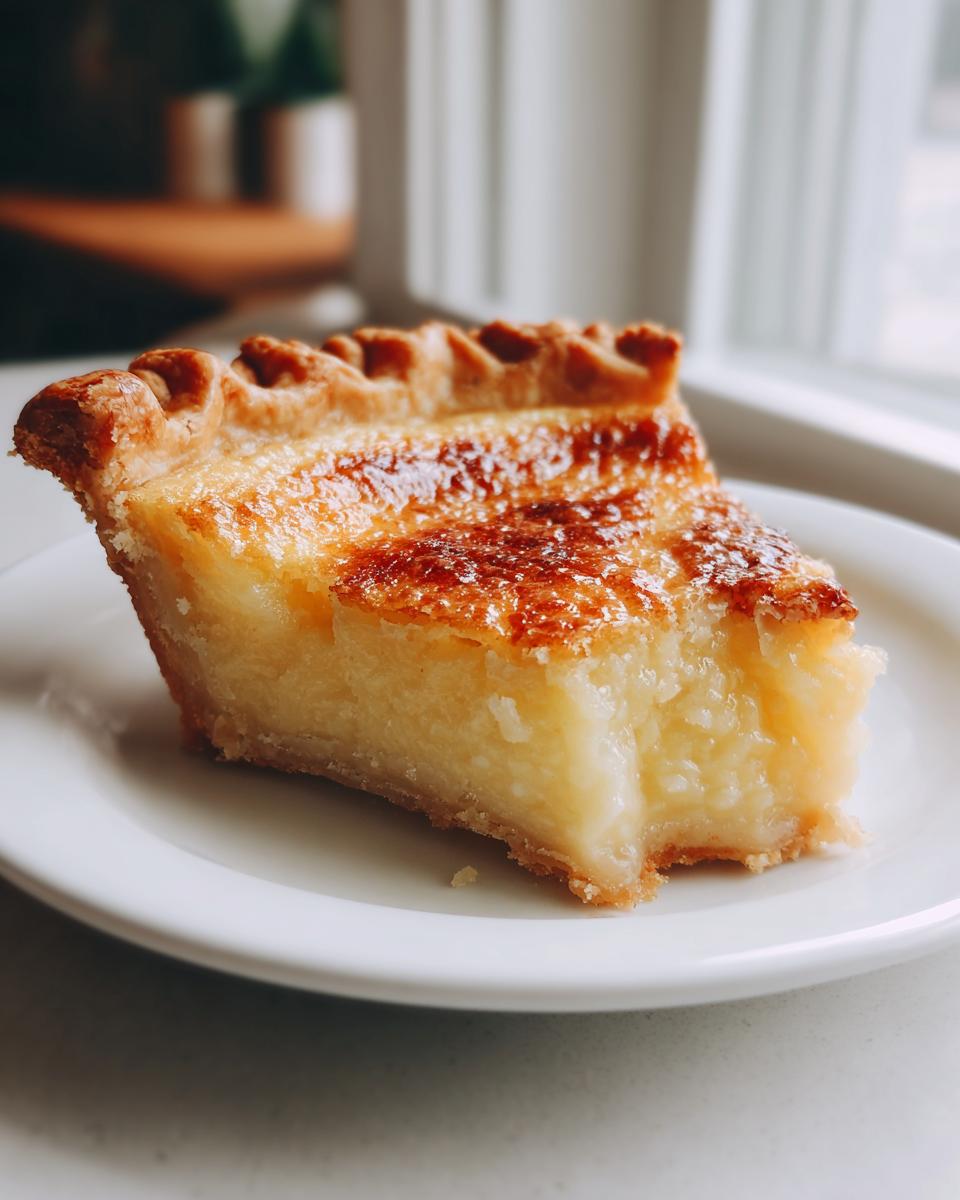
There’s just no better match than a dollop of homemade, freshly whipped cream right on top. The cool, airy cream cuts through the rich, tangy filling so beautifully. Honestly, this makes for the most satisfying Dessert for Sunday Dinner. If you’re looking for other amazing toppings, I have a wonderful recipe for vanilla buttercream frosting that works wonders on non-pie desserts, too!
Storage and Reheating Instructions for Classic Buttermilk Pie
Since this is a glorious, creamy custard pie, we must treat it right once it’s fully set. You absolutely have to cover leftover Classic Buttermilk Pie tightly with plastic wrap and pop it into the refrigerator. It keeps wonderfully for about three or four days, which is great because it means you don’t have to stress about baking it the day of a big dinner!
When you want to serve it, I find that slicing is much easier when the pie is still slightly chilled, but if you want that warm, comforting feel Daisy loved, take a slice out about 30 minutes before serving. It softens up just enough without turning soupy. Never microwave a slice; that just ruins the lovely texture we worked so hard to achieve!
Frequently Asked Questions about Buttermilk Pie
I always get so many questions about this recipe, which just tells me how much everyone loves a good, cozy dessert! Here are some of the things I hear most often from fellow home bakers.
Is my pie supposed to look exactly like that copycat dessert from specialty restaurants? Well, that’s a great question! Many people ask about that comparison. While this buttermilk pie aims for that wonderful smooth, tangy center everyone loves—think of that Cracker Barrel copycat vibe—my recipe focuses on pure, **Old Fashioned Pie Recipe** tradition. My focus is always the perfect balance of tang and sweetness without any unnecessary stabilizers. If your top browns beautifully, you’ve done it right!
My filling set with a little crack on top. What happened? Don’t fret! That happens when the oven is just a tiny bit too hot, or if you bake it just a few minutes too long. It means the outside cooked faster than the inside. For your next attempt, try dropping the oven temperature by 25 degrees next time, relying on that slight jiggle in the center. If you want more tips on handling fussy custards, I have a whole section of baking wisdom collected here.
If you want to read a few more opinions on how this pie stacks up, I came across this great discussion on another site!
Can I make the buttermilk pie filling ahead of time?
Yes, you absolutely can! I often make mine the night before a big gathering. Just ensure you let it cool completely on the counter after baking before covering it tightly and chilling it. The longer it chills, the firmer and smoother that custard gets for slicing!
Nutritional Estimates for This Tangy Sweet Pie
Now, I know that when we’re baking heritage recipes like this, we’re usually cooking with love, not tracking macros! But for those of you who need a general idea, here are the estimates for one generous slice of this Tangy Sweet Pie. Remember, these numbers are my best guess based on standard, whole ingredients, so yours might vary depending on your crust!
- Calories: 350
- Fat: 18g
- Protein: 6g
- Carbohydrates: 45g
- Sugar: 35g
It’s a delightful treat, so enjoy it fully—that sweet, creamy goodness is what baking is all about!
Share Your Grandma’s Pie Recipe Experience
I truly hope making this Grandma’s Pie Recipe brought you as much peace and flavor as it brings me every time I bake it. Daisy would be absolutely thrilled to know this simple custard pie is making its way onto your tables now!
Now, I’d love to hear all about it! Did you use a homemade crust? Did any of your family members have a story about a favorite buttermilk dessert? Please take a moment and drop a comment below. Let me know how your pie set—was that center perfectly creamy?
Feel free to share pictures of your beautiful, golden-topped pies! If you’re ever stuck or have a question about swapping out ingredients, don’t hesitate to reach out to me directly; you can always find a way to connect on my contact page. Happy baking, and thank you for helping me keep Daisy’s legacy of simple, wonderful food alive!
PrintClassic Old-Fashioned Southern Buttermilk Pie

Make this traditional Southern Buttermilk Pie for a creamy, tangy, and sweet dessert with a perfectly flaky crust. This recipe captures the comfort of Grandma’s baking.
- Prep Time: 15 min
- Cook Time: 50 min
- Total Time: 65 min
- Yield: 8 servings 1x
- Category: Dessert
- Method: Baking
- Cuisine: American
- Diet: Vegetarian
Ingredients
- 1 (9-inch) unbaked pie crust
- 1 1/2 cups granulated sugar
- 3 tablespoons all-purpose flour
- 1/4 teaspoon salt
- 1/2 cup (1 stick) unsalted butter, melted
- 3 large eggs, lightly beaten
- 1 cup buttermilk
- 1 teaspoon vanilla extract
Instructions
- Preheat your oven to 350 degrees Fahrenheit. Place your unbaked pie crust into a 9-inch pie plate.
- In a medium bowl, whisk together the sugar, flour, and salt until combined.
- Pour the melted butter into the dry ingredients and mix until the mixture resembles wet sand.
- In a separate bowl, whisk the eggs, buttermilk, and vanilla extract together until smooth.
- Slowly pour the buttermilk mixture into the sugar mixture, whisking constantly until the filling is smooth and uniform. Do not overmix.
- Carefully pour the filling into the unbaked pie crust.
- Bake for 45 to 55 minutes. The center should be mostly set but still have a slight jiggle when gently shaken. The top should be golden brown.
- Remove the pie from the oven and let it cool completely on a wire rack. This pie needs time to fully set.
- Serve at room temperature or slightly warm with fresh whipped cream.
Notes
- For a truly flaky crust, use an all-butter crust recipe.
- If you do not have buttermilk, you can make a substitute by adding 1 tablespoon of white vinegar or lemon juice to 1 cup of whole milk and letting it sit for 5 minutes.
- This pie tastes best after it has cooled for at least 3 hours, allowing the custard to firm up completely.
Nutrition
- Serving Size: 1 slice
- Calories: 350
- Sugar: 35
- Sodium: 250
- Fat: 18
- Saturated Fat: 10
- Unsaturated Fat: 8
- Trans Fat: 0
- Carbohydrates: 45
- Fiber: 1
- Protein: 6
- Cholesterol: 110