
Oh, you know that feeling, right? That deep, almost desperate craving for fried chicken that isn’t just greasy, but has that thin, shatteringly crisp shell that screams pure indulgence? For years, I thought that level of crunch was locked behind the doors of those amazing late-night spots downtown. Back when I was caught up in the city hustle, cooking felt like a drain, but then I started remembering my Grandma Daisy’s kitchen. She believed simple, honest food could fix anything. Reconnecting with her philosophy meant tackling one of the biggest texture challenges: mastering the ultimate double-fried korean fried chicken at home. Trust me when I say that once you nail the double-fry technique, you’ll never settle for takeout again.
- Why This Double-Fried Korean Fried Chicken Recipe Delivers Restaurant Style Fried Chicken At Home
- Essential Ingredients for Perfect Korean Fried Chicken
- The Double Fried Chicken Technique: How to Make Crunchy Fried Chicken
- Preparing the Authentic Korean Fried Chicken Glazes
- Assembly and Serving Your Korean Fried Chicken
- Tips for Success with Your Homemade Korean Fried Food
- Storage and Reheating Instructions for Leftover Korean Fried Chicken
- Frequently Asked Questions About Making Korean Fried Chicken
- Estimated Nutritional Data for This Korean Fried Chicken
Why This Double-Fried Korean Fried Chicken Recipe Delivers Restaurant Style Fried Chicken At Home
This isn’t just another Sunday recipe; this is the one that finally cracks the code on true, shatteringly crisp chicken. We keep things straightforward, focusing only on what gets you that perfect result. Look, if you’re going to dedicate the time to frying, you deserve that amazing crunch!
- The double-fried chicken technique guarantees insulation against sogginess.
- You get a beautifully thin crust that stays ultra crispy chicken even coated in sauce.
- We give you the freedom to choose your flavor profile—spicy Gochujang or savory Soy Garlic!
Check out our favorite easy weeknight dinner ideas if you want to make something simpler another night!
Achieving Ultra Crispy Chicken Texture
The secret weapon here isn’t just the frying, it’s what goes into the batter. That specific blend of flour and starch sets up a protective shield around the meat. Then, when we fry it not once, but twice, we lock in all the juiciness while making sure that exterior shell is pure, satisfying crunch. It’s the only way to get that glorious ultra crispy chicken texture.
Two Authentic Korean Fried Chicken Glaze Options
No one wants boring chicken, right? That’s why I developed two completely different but equally delicious glazes. You get the fire of the spicy sticky chicken with the Gochujang glaze, or you can go for the deeply savory, garlicky flavor of the Soy Garlic option. You decide what kind of amazing mess you want to make on your kitchen counter!
Essential Ingredients for Perfect Korean Fried Chicken
Okay, Amelia here. Now that you know *why* this method works—and trust me, the double-fry is non-negotiable for the best crunch—we need to talk about the building blocks. Having the right stuff for your coating is crucial because this chicken needs to handle a high-heat second bath without falling apart. I’ve listed everything you need below. Make sure you double-check you have both starches, they are key players here!
For the Crispy Chicken and Batter
This section is where we create that light, airy shield around the meat. Remember, the chicken must come out of the fridge bone-dry before it even sees this batter—that’s how you get that amazing adherence!
- 3 lbs chicken pieces (I usually use wings and drumettes, but thighs work great too!)
- 1 cup all-purpose flour
- 1/2 cup potato starch or cornstarch (Don’t skip the starch; it’s mandatory for that ultra crispy chicken shell!)
- 1 teaspoon salt
- 1/2 teaspoon black pepper
- 1/2 teaspoon garlic powder
- 1 cup cold water (Keep it cold, it helps the batter texture!)
For the Gochujang Glaze (Spicy Sticky Chicken)
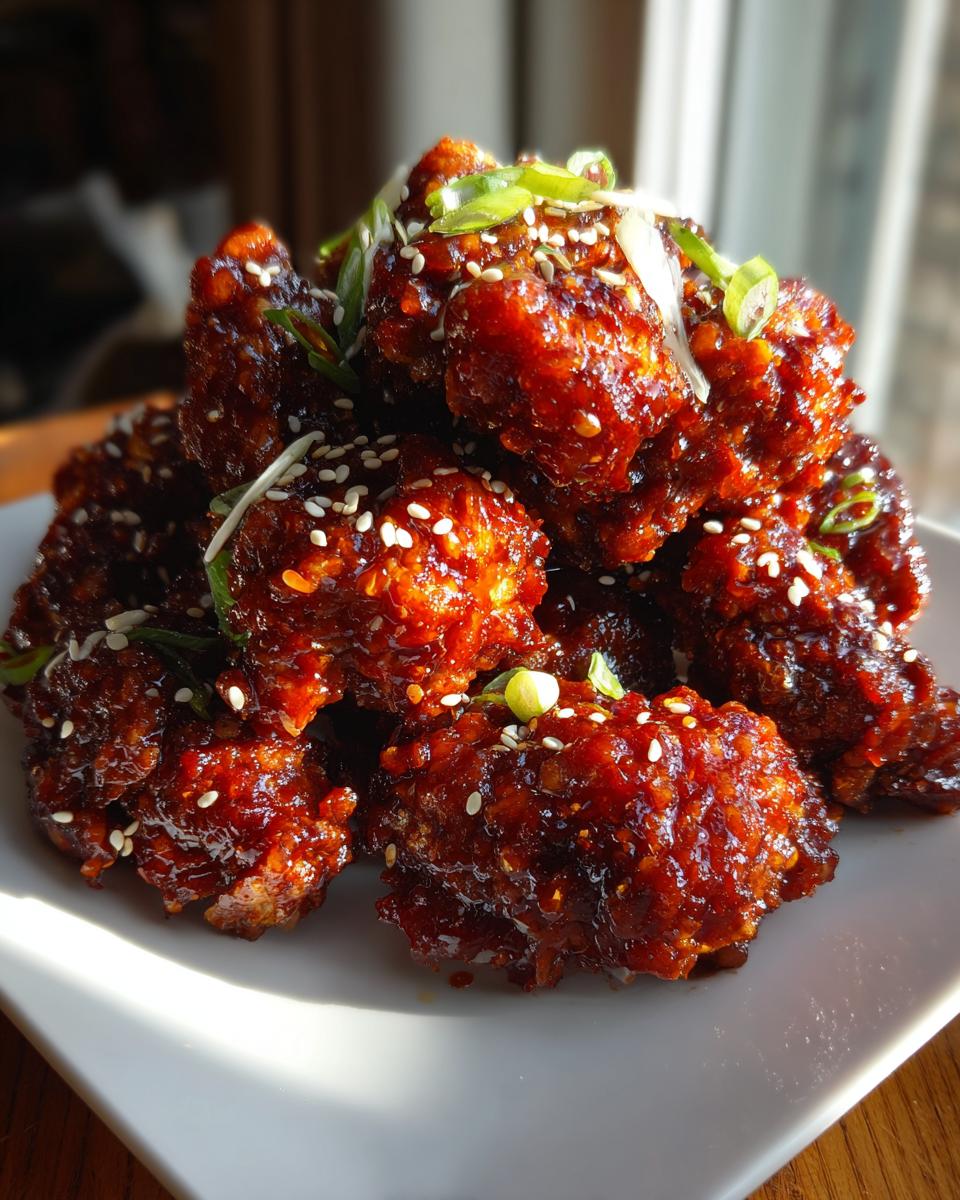
This is your classic, fire-house, sweet-and-spicy sticky chicken glaze. It’s bold, vibrant, and gets that satisfying pull when you bite into it. It hits all those sweet and spicy notes perfectly.
- 1/4 cup gochujang (Korean chili paste—find a good quality one!)
- 3 tablespoons honey
- 2 tablespoons soy sauce
- 1 tablespoon rice vinegar
- 1 tablespoon brown sugar
- 1 clove garlic (minced really fine is best)
For the Soy Garlic Glaze (Soy Garlic Chicken Recipe)
If the spice isn’t your thing, or you just want that incredible savory depth, this is your go-to. The fresh ginger makes such a difference in elevating this soy garlic chicken recipe beyond simple stir-fry sauce.
- 1/4 cup soy sauce
- 3 tablespoons honey
- 2 tablespoons water
- 1 tablespoon rice vinegar
- 2 cloves garlic (minced)
- 1 teaspoon grated ginger
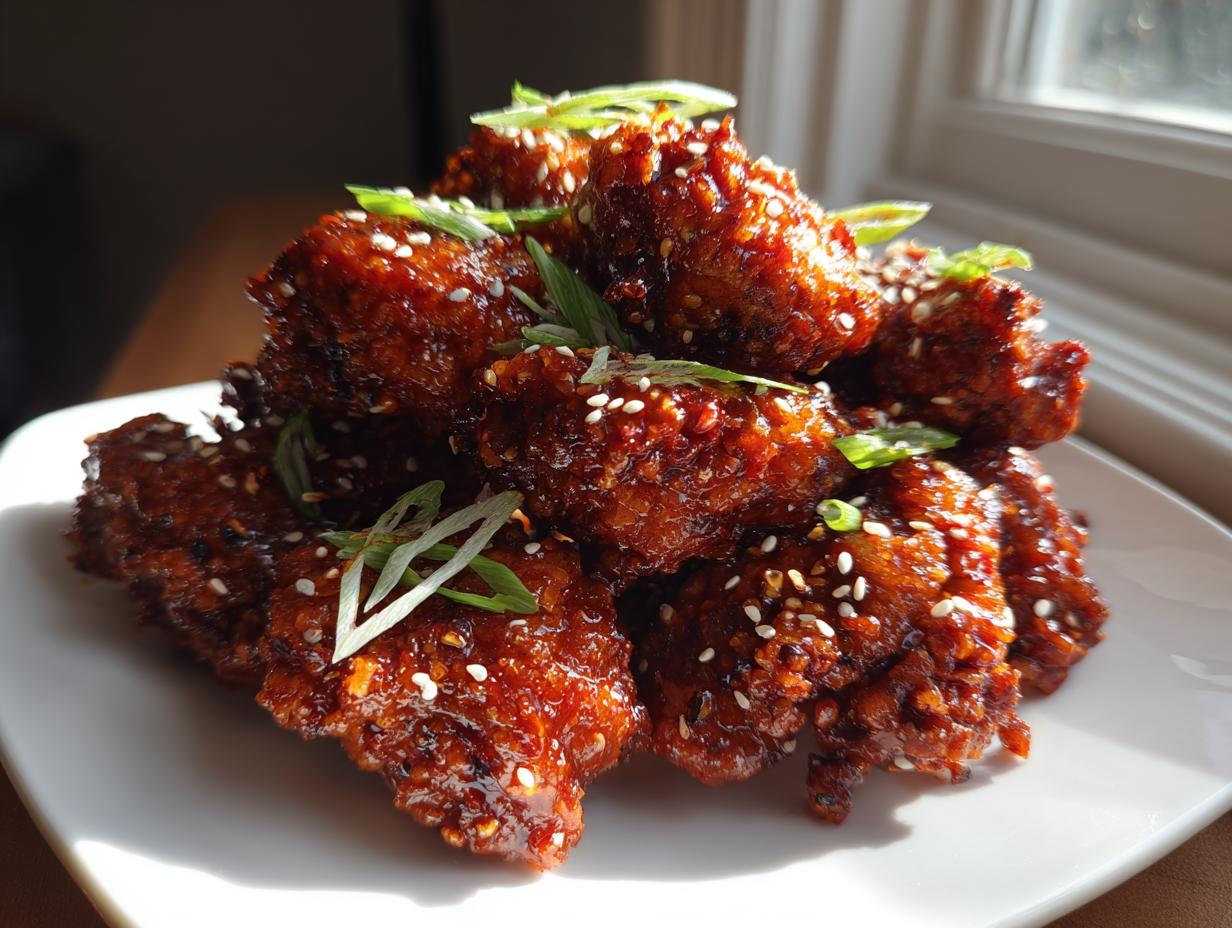
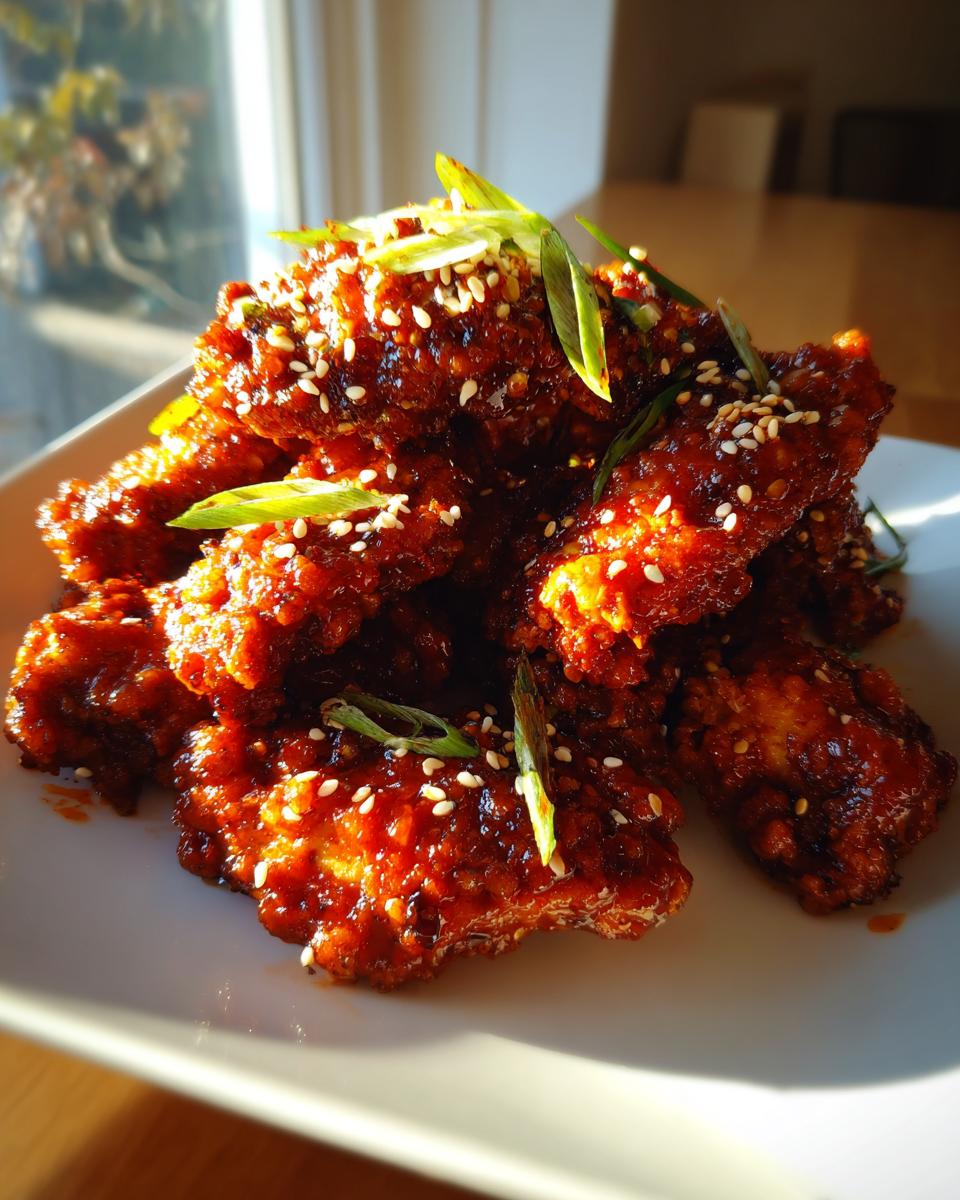
Don’t forget the finishing touches! A sprinkle of toasted sesame seeds and some sliced green onions on top makes these look just like they came from a Korean street food stall.
The Double Fried Chicken Technique: How to Make Crunchy Fried Chicken
Alright, deep breath. This is the moment of truth, the part that separates passable fried chicken from the glorious, shatteringly crisp korean fried chicken you dream about. Grandma Daisy didn’t rush anything, and frankly, this technique requires a little bit of planning ahead, but trust me, it’s worth every single minute. Mastering this dual-fry process is truly how you learn how to make crunchy fried chicken that stays perfect even under a thick sauce.
Coating and Resting for Adhesion
First things first: take those super dry chicken pieces and get them into your thin, watery batter. You only want a light, almost translucent coating. Don’t try to make it thick like traditional American fried chicken batter—that’s not our goal here! Once everything is lightly coated, place the pieces on a wire rack and just walk away. You absolutely must let them sit for a solid 15 minutes. This resting time is critical; it lets that thin coating set up so it doesn’t dissolve or break off when it hits the hot oil.
The First Fry: Cooking the Juicy Tender Chicken Fry
Now we cook the inside without burning the outside. Set your oil temperature right around 325°F (160°C). Fry your chicken in small batches so you don’t shock the oil temperature. You’ll cook them for about 7 to 8 minutes. They should be lightly golden but definitely not dark brown yet. Pull them out and drain them on the rack again. This rest period is just as important as the first one; it lets the internal moisture redistribute, leading to that spectacular juicy tender chicken fry. If you’re looking for some inspiration on other crispy dishes, sometimes I whip up these baked wings as a lighter appetizer!
The Second Fry: Maximizing the Crispiness of Your Korean Fried Chicken
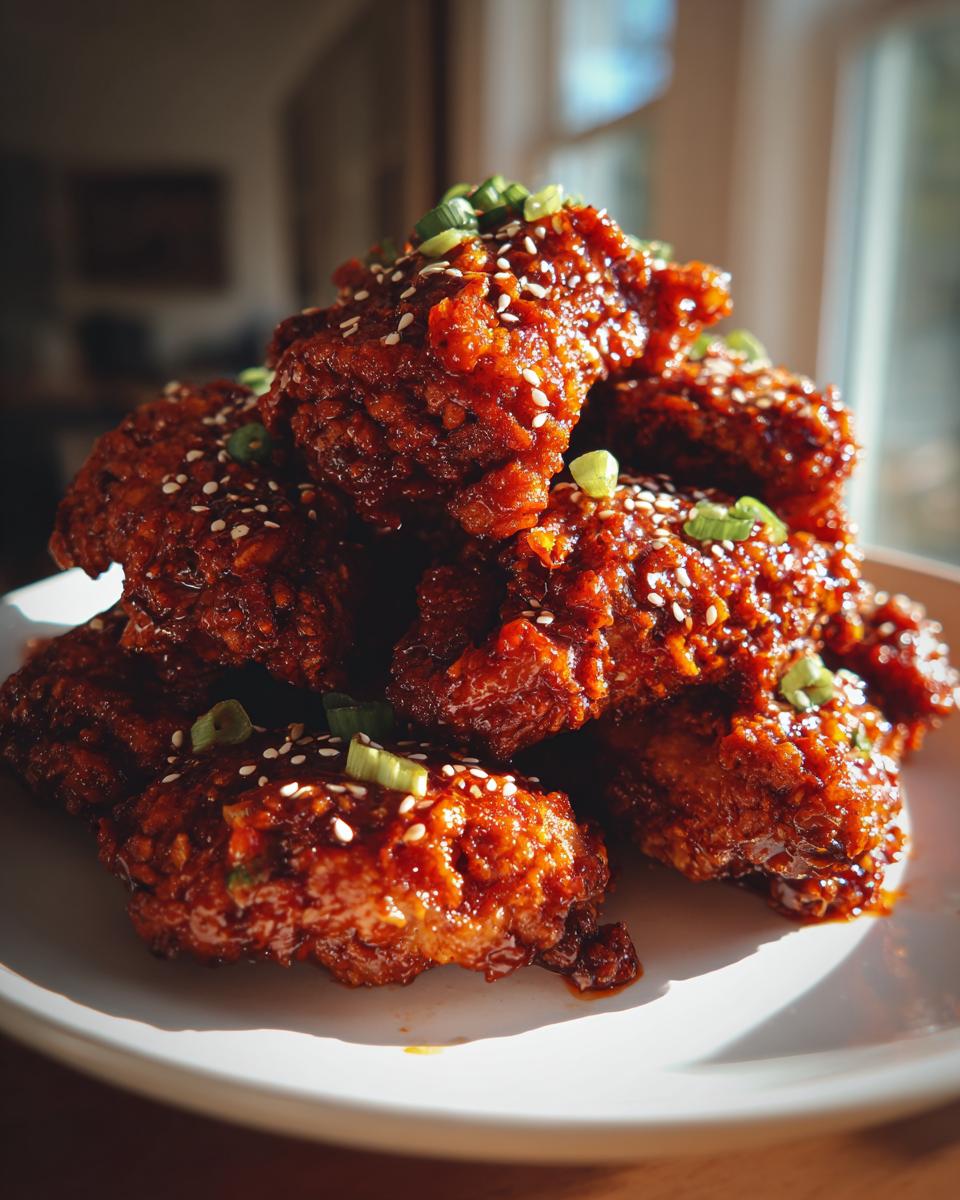
Time for the payoff! Crank that oil up now to a higher heat—aim for 375°F (190°C). This second dip is quick, usually just 2 to 3 minutes per batch. We aren’t cooking the chicken more; we are crisping that already set coating up until it’s deeply golden and practically crackles when you touch it. This final blast of heat is what guarantees that ultra crispy chicken texture that holds up beautifully until the very last bite of your korean fried chicken. To learn even more about that crucial crunch moment, check out this fantastic breakdown on why the double-fry works so well.
Preparing the Authentic Korean Fried Chicken Glazes
Now that your chicken is resting between its two glorious fries, we need to get our sauces ready. This is where the flavor profiles really shine! You need to have these ready to go right when the chicken comes out of that second, super-hot bath. If your glaze cools down too much, it won’t cling properly, and we definitely want that perfect sticky coating hitting the crust right away. Keep these simmering gently on a back burner while you finish the frying process. This flexibility—having two totally authentic Korean recipe options—is what makes this recipe so fun for game days!
Making the Sweet and Spicy Chicken Glaze
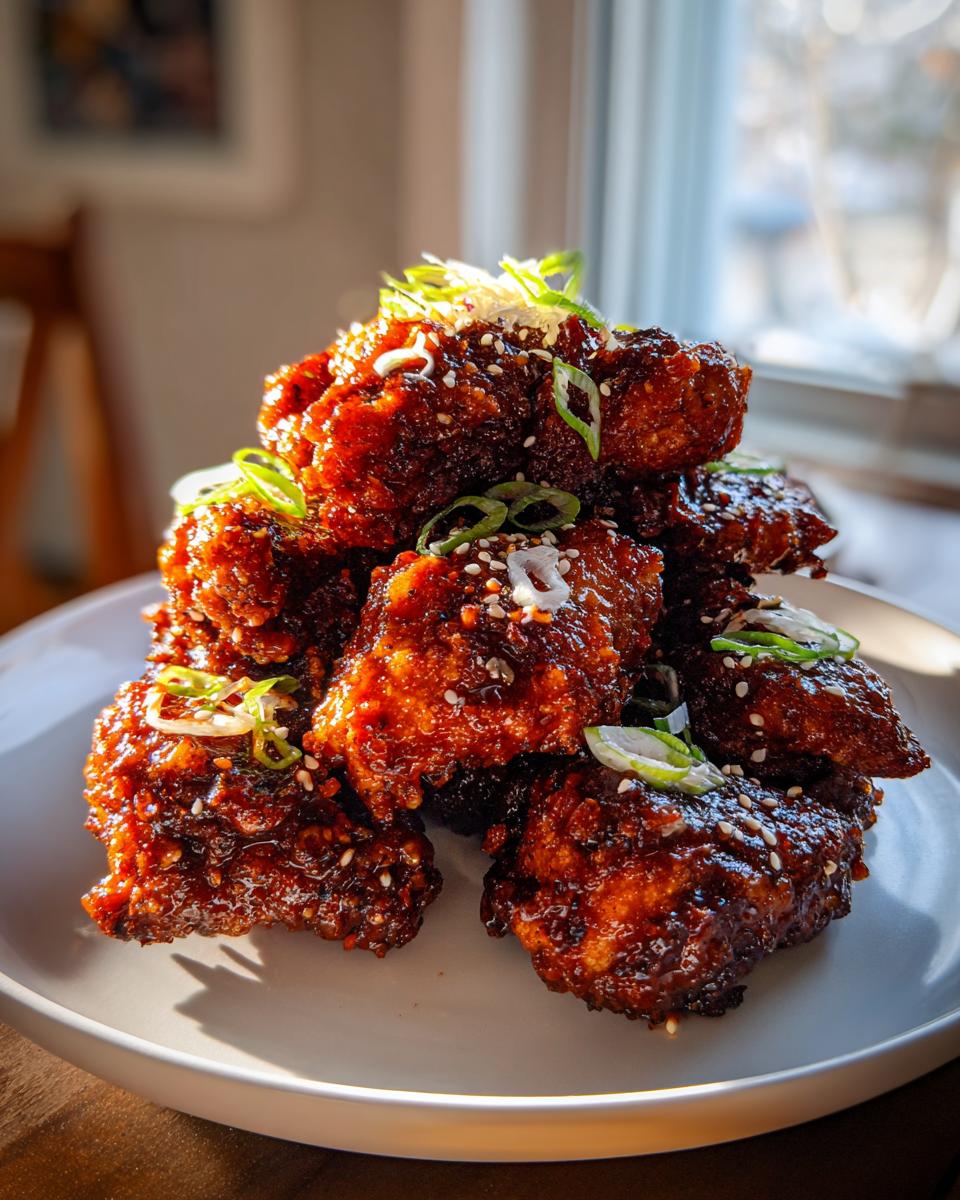
If you want that classic, bright red, fiery chicken, this is the one. It’s truly a spicy sticky chicken experience. You just need one small saucepan for this. Combine your gochujang, honey, soy sauce, rice vinegar, brown sugar, and that minced garlic. Put it over medium heat and just let it bubble gently for about three minutes. I watch it carefully; you want it to thicken just enough so it coats the back of your spoon before you kill the heat. If you’re serving this to kids or folks who aren’t huge on heat, don’t be shy—cut that gochujang down to just one tablespoon and make up the rest with a little extra honey. It still gives you that flavor without the intense burn!
Creating the Savory Soy Garlic Chicken Recipe Glaze
This glaze is probably my favorite for a weeknight meal—it’s deeply savory, super garlicky, and just perfectly balanced. It really shows off in a simple easy weeknight Asian dinner setting. Just like the spicy version, everything goes into a small saucepan: soy sauce, honey, water, vinegar, lots of minced garlic, and that tiny bit of fresh ginger. Ginger is the secret handshake here; it wakes everything up! Let this simmer gently for those three minutes until it reduces slightly. It should be syrupy but still thin enough to toss everything evenly with. Once it coats the back of a spoon, it’s done. Make sure it’s warm when the chicken emerges!
Assembly and Serving Your Korean Fried Chicken
We are at the absolute best part! Your chicken is perfectly cooked, crispy golden armor encased around that juicy tender meat, and your chosen glaze is warm and ready. Time is of the essence here, friends. You cannot let that crispy crust suffer! You need to move fast to get the sauce on before the steam does any damage.
Take those piping hot, double-fried pieces and immediately transfer them into the large bowl where you mixed your glaze—and I mean immediately! You want to toss them quickly, like you’re tossing a salad, making sure every single piece of korean fried chicken gets coated in that spicy sticky chicken goodness or the savory soy garlic sauce.
Once they are glistening, you should get them straight onto your serving platter. I garnish mine generously with toasted sesame seeds and freshly sliced green onions—the green cuts through the richness perfectly. If you wait even five minutes to glaze them, you’ll lose that beautiful texture we worked so hard for in the fryer. To keep the sides simple, I often pair this with these cheesy potatoes as a satisfying comfort side, but honestly, this chicken should be the star!
Tips for Success with Your Homemade Korean Fried Food
Whew! We made it through the frying marathon. Now that you have that restaurant style fried chicken experience dominating your plate, I want to share a few little nuggets of wisdom I picked up wrestling with this recipe over the years. Grandma Daisy always said that the difference between “good” and “amazing” is paying attention to the tiny details. These tips are all about consistency—making sure batch one tastes just as incredible as batch four!
Oil Temperature Management for Crispy Chicken Recipe
Please, please, please do not eyeball the oil temperature for this korean fried chicken. I know, I know, the thermometer feels fussy, but this is exactly where the magic happens! If your oil is too cool for the first fry (the 325°F/160°C bath), the batter absorbs too much grease, and you get heavy, soggy chicken. If it’s too hot, the outside turns dark before the inside cooks through, giving you raw pockets. Then, for the second fry, you *need* that jump up to 375°F (190°C) to flash-fry that coating into oblivion—I mean, into shatteringly crisp perfection. It’s this precise dual-temperature system that ensures you get the best crispy chicken recipe results every single time.
Serving Suggestions for Your Korean Chicken Wings
These wings are rich, they are sticky, and they are intense—in the best way possible! Because of that intensity, you need thoughtful accompaniments to balance everything out. My absolute favorite pairing, which you’ll see in authentic spots all over Seoul, is quick-pickled daikon radish. The sharp, vinegary crunch cuts right through the fattiness so nicely. If you don’t want to pickle, however, a simple mound of perfectly steamed white rice works wonders to soak up any extra glaze. It immediately turns this amazing appetizer into a complete korean chicken meal idea.
If you’re not feeling up to making a full meal, these make the best game day chicken appetizer ever, but remember, they are best eaten immediately after glazing. Don’t let them sit around cooling on the counter—they deserve to be enjoyed while they are screaming hot and crunchy!
Storage and Reheating Instructions for Leftover Korean Fried Chicken
Okay, let’s be real. If you’re lucky enough to have any of this spectacular korean fried chicken left over—which I doubt, because the smell alone clears the room—you need to know how to treat it kindly. You have to understand that the magic of that ultra crispy chicken shell is fleeting. Once the sauce hits it and it sits overnight, that perfect crackle is going to soften up a little. That’s just physics, sweetie; the moisture eventually wins!
But don’t toss it! We can resurrect it. The microwave is your mortal enemy here; it turns everything soft and sad instantly. Instead, we need dry heat to coax some of that original crispiness back out. You want to use the oven or, even better, an air fryer.
For the oven method, spread the cold chicken pieces out in a single layer on a baking sheet. Don’t crowd them, or they’ll steam! Set your oven to about 375°F (190°C). Let them bake for about 8 to 10 minutes. You’re looking for them to get hot all the way through and for the sauce to look a little caramelized again.
If you have an air fryer, this is even faster! I just put mine in there at 350°F (175°C) for about 4 to 6 minutes. It does a fantastic job of re-crisping the crust without drying out the tender inside. It won’t be EXACTLY like the fresh fry, but it gets shockingly close!
When you’re thinking about dinner the next night, maybe skip the chicken and try out my recipe for easy chicken, broccoli, and rice casserole instead. It’s cozy and simple!
Frequently Asked Questions About Making Korean Fried Chicken
I know we covered the deep-frying method in detail, but sometimes the reader just has one last burning question before they commit to that oil bath! It’s totally normal, especially when you’re chasing that specific, light, crunchy layer. I’ve gathered the most common things people ask me about achieving the perfect korean fried chicken at home. Hopefully, this covers anything you might still be wondering about!
Can I use the air fryer for this crispy chicken recipe?
Oh, you absolutely *can* use the air fryer, and it’s a great way to make a slightly lighter version of these wings! However, I have to be honest: nothing beats the texture you get from the classic double-fry method when you are aiming for restaurant style fried chicken at home. The air fryer makes a great crispy chicken recipe, but it develops a different kind of crust compared to submerging it in oil. If you go that route, skip the battering steps entirely, toss your chicken pieces in the starch/flour mix, and air fry around 370°F (188°C) for about 20–25 minutes, flipping halfway. You’ll still get good crunch, just not the classic shatter!
What is the role of potato starch in the batter for Korean Fried Chicken?
This is such a great question! Potato starch—or cornstarch if you’re out—is the real MVP when you’re trying to create that signature, ultra crispy chicken shell. See, regular flour absorbs moisture like a sponge when it fries, which leads to a thicker, doughier crust. Potato starch, on the other hand, is fantastic at creating a light, almost translucent coating that fries up incredibly crisp and stays that way longer, even once you toss it in the glaze! It’s what gives you the light, thin texture that is miles away from heavy, breaded fried chicken. It’s the secret weapon for anyone making korean chicken wings!
If you are looking for some alternatives to serving this, check out my notes on making a full easy weeknight Asian dinner that might use some of the same lovely sauces!
Estimated Nutritional Data for This Korean Fried Chicken
Now, I know we spend all our time talking about flavor and that magnificent, shatter-inducing crunch, but sometimes—just sometimes—you want a rough idea of what you’re getting into. Since this involves deep-frying and sugary glazes, this isn’t exactly a low-cal meal, but you’ve earned this treat! I pulled these numbers straight from the recipe calculations, but please remember that these are just estimates.
My Grandma Daisy always taught me that you bake/cook with your heart, not by the numbers, but for folks like me who sometimes need a ballpark figure, here they are! If you’re looking for something lighter next time, maybe check out my keto pumpkin cheesecake recipe instead!
- Serving Size: 4 pieces
- Calories: 650
- Fat: 38g
- Saturated Fat: 8g
- Unsaturated Fat: 30g
- Trans Fat: 0g
- Carbohydrates: 40g
- Fiber: 1g
- Sugar: 18g
- Sodium: 850mg
- Protein: 35g
- Cholesterol: 110mg
I need to be super upfront here, because this is Grandma Daisy’s way: The nutritional data listed above is an estimate based on the standard measurements in the recipe. If you use thicker cuts of chicken, double the glaze, or switch out honey for maple syrup, those numbers are going to jump around. This is purely a guideline for your homemade korean fried chicken, so use it as such!
PrintThe Ultimate Double-Fried Korean Fried Chicken with Choice of Glaze
Make restaurant-style Korean fried chicken at home. This recipe uses the double-fry technique for ultra-crispy texture and includes instructions for both a spicy Gochujang glaze and a savory Soy Garlic glaze.
- Prep Time: 25 min
- Cook Time: 20 min
- Total Time: 55 min
- Yield: 4 servings 1x
- Category: Dinner
- Method: Deep Frying
- Cuisine: Korean
- Diet: Low Fat
Ingredients
- 3 lbs chicken pieces (wings, drumettes, or thighs)
- 1 cup all-purpose flour
- 1/2 cup potato starch or cornstarch
- 1 teaspoon salt
- 1/2 teaspoon black pepper
- 1/2 teaspoon garlic powder
- 1 cup cold water
- Vegetable oil, for frying
- For Gochujang Glaze: 1/4 cup gochujang, 3 tablespoons honey, 2 tablespoons soy sauce, 1 tablespoon rice vinegar, 1 tablespoon brown sugar, 1 clove garlic (minced)
- For Soy Garlic Glaze: 1/4 cup soy sauce, 3 tablespoons honey, 2 tablespoons water, 1 tablespoon rice vinegar, 2 cloves garlic (minced), 1 teaspoon grated ginger
- Garnish: Toasted sesame seeds, sliced green onions
Instructions
- Prepare the Chicken: Pat the chicken pieces completely dry with paper towels. In a large bowl, whisk together the flour, potato starch, salt, pepper, and garlic powder.
- Make the Batter: Slowly whisk in the cold water until you have a thin, smooth batter, similar to pancake batter. Do not overmix.
- Coat the Chicken: Dip each piece of chicken into the batter, allowing excess to drip off. Place coated pieces on a wire rack set over a baking sheet. Let the chicken rest for 15 minutes. This resting period helps the coating adhere.
- First Fry (Cooking the Interior): Heat 2 inches of oil in a deep, heavy-bottomed pot or Dutch oven to 325°F (160°C). Fry the chicken in batches, ensuring not to overcrowd the pot, for 7 to 8 minutes until lightly golden and cooked through. Remove and drain on a clean wire rack. Let the chicken rest for at least 10 minutes.
- Prepare the Glazes: While the chicken rests, prepare your chosen glaze. For Gochujang Glaze, combine all ingredients in a small saucepan over medium heat. Simmer for 3 minutes until slightly thickened. For Soy Garlic Glaze, combine all ingredients in a small saucepan and simmer for 3 minutes until slightly reduced. Keep warm.
- Second Fry (Achieving Crispiness): Increase the oil temperature to 375°F (190°C). Return the rested chicken to the hot oil in batches. Fry for an additional 2 to 3 minutes until the crust is deep golden brown and extremely crispy. This is the key to ultra crispy chicken.
- Toss and Serve: Transfer the hot, double-fried chicken to a large bowl. Immediately pour the warm glaze over the chicken and toss quickly to coat every piece evenly.
- Garnish with sesame seeds and green onions. Serve immediately for the best texture.
Notes
- For the best results in achieving that restaurant style fried chicken crunch, use a mix of potato starch and flour in your dredge.
- If you prefer a less spicy flavor, reduce the amount of gochujang in the sweet and spicy glaze by half.
- Serving this with quick-pickled daikon radish cuts through the richness of the fried chicken beautifully.
Nutrition
- Serving Size: 4 pieces
- Calories: 650
- Sugar: 18g
- Sodium: 850mg
- Fat: 38g
- Saturated Fat: 8g
- Unsaturated Fat: 30g
- Trans Fat: 0g
- Carbohydrates: 40g
- Fiber: 1g
- Protein: 35g
- Cholesterol: 110mg