
If you think making a dessert look absolutely professional means spending hours fussing over complicated components, I have a secret to share that will change your life: it’s all about mastering the basics! My journey back to simple cooking, inspired by my grandma Daisy, taught me that complexity isn’t always necessary for incredible flavor. That’s why I’m sharing my absolute favorite, foolproof recipe for **chocolate ganache**. Using just two ingredients—real chocolate and cream—you get a rich, velvety topping that is unbelievably versatile. You can pour it on as a glossy glaze, chill it for a decadent filling, or whip it up into a fluffy frosting. When you’re looking for another quick win, check out my easy 3-ingredient chocolate fudge recipe. This ganache, right here, is the foundation of simple, quality baking that Daisy always stood for.
- Why This Easy Chocolate Ganache Recipe Is Your New Baking Essential
- Gathering Ingredients for Perfect Chocolate Ganache
- How to Make Chocolate Ganache: Step-by-Step Instructions
- Mastering Ganache Ratios for Different Uses
- Tips for Success When Making Chocolate Ganache
- Creative Ways to Use Your Homemade Chocolate Ganache
- Storage and Reheating Instructions for Chocolate Ganache
- Frequently Asked Questions About Chocolate Ganache
- Share Your Perfect Chocolate Ganache Creations
Why This Easy Chocolate Ganache Recipe Is Your New Baking Essential
Seriously, if you’re looking for a showstopper that barely requires any effort, this is it. You need this **chocolate ganache** in your baking arsenal. It’s what I turn to when I need a last-minute, elegant finish for brownies or a quick dessert sauce that tastes like it came from a fancy bakery box.
- You get that incredible, rich flavor of real chocolate with almost no fuss—it’s genuinely a delicious dessert upgrade.
- It handles whatever you throw at it, from thick fillings to beautiful shiny toppings.
Speed and Simplicity: The 2 Ingredient Ganache
This is not a drill: you only need two things! That’s it! You can have this mixed up and ready to go in about ten minutes total, including the crucial resting time. I measure this out constantly now because it’s my go-to for adding a professional touch to anything I bake on a weeknight.
Achieving Silky Ganache Glaze Consistency
When we use the 1:1 ratio—equal parts chocolate and cream—that’s where the magic for the shine happens! It cools up into the most perfect, silky ganache glaze, the kind that looks like glass when it hits your cake. Don’t worry, we’ll go over adjusting that ratio later if you need something thicker for piping or dipping!
Gathering Ingredients for Perfect Chocolate Ganache
Okay, if you’re going to only use two things, you absolutely must use the right two things! This is where we separate the good from the truly spectacular, and frankly, where we honor my grandmother Daisy’s legacy of not cutting corners on the essentials. When I started making this at home, I learned quickly that the quality of your starting materials makes all the difference in achieving that professional looking dessert finish.
For this basic, but powerful, **chocolate ganache**, we only need two players on the field: chocolate and heavy whipping cream. That’s it. No corn syrup, no stabilizers, just pure dairy and cocoa goodness.
- The Cream: You must use **heavy whipping cream**. Don’t substitute with half-and-half or even standard milk. We need that high fat content—usually 36% or higher—to properly emulsify with the melted chocolate. This high-fat content is what gives you that rich texture and helps it set up correctly, whether you’re using it for a **silky ganache glaze** or chilling it later.
- The Chocolate: This is where you decide the flavor profile. I usually stick to semi-sweet or dark chocolate chips or baking bars when making this. If you use chips, make sure they are ones you actually like the taste of standalone!
Choosing the Right Chocolate for Your Chocolate Ganache
Now, this is my personal hang-up, but trust me on this **baking tip and trick**! While chocolate chips are super convenient—and I’ve absolutely used them when I was in a rush—they often have stabilizers added to keep them from melting out of shape in the bag. Those stabilizers can sometimes fight with the cream a little and make your final mixture slightly less smooth than it should be.
If you really want that restaurant-quality gloss, take the extra two minutes to buy a good quality baking bar—like a 60% cacao bar—and chop it up really finely first. Fine pieces melt much more evenly and quickly when the hot cream hits them. You’ll get that incredibly smooth texture that makes everyone think you spent hours getting this **homemade chocolate topping** just right!
For richer notes, look for a good dark chocolate ganache bar. It just reads differently on the tongue, don’t you think?
How to Make Chocolate Ganache: Step-by-Step Instructions
Now for the fun part! This is honestly the quickest thing you’ll ever make, but it requires just a little bit of patience, especially during the resting phase. We aren’t scrambling eggs here or wrestling with stiff dough; it’s mostly waiting, which is my favorite kind of cooking! Remember, the secret to turning these two simple ingredients into that professional-looking, unbelievably rich **chocolate ganache** is paying close attention to the heat.
I remember the very first time I tried this. I got impatient during the 5-minute rest and started whisking like crazy, thinking I was helping it along faster. Oops! It ended up looking grainy and broken. My grandmother would have sighed deeply over that. Once I learned to trust the process and wait those full five minutes without touching it, wow! That’s when the silky, glossy texture finally appeared. It was like learning a magic trick!
Here are the steps you need to follow to make sure your **homemade chocolate topping** is perfect every single time. You can find the full recipe details, but I want to walk you through the “why” behind these key moments.
Heating the Cream for Smooth Chocolate Ganache
Grab the cream and put it in a saucepan—medium heat is my sweet spot. You are watching for a very specific moment here. We want the cream hot enough to immediately melt all the chocolate, but NOT boiling! As soon as you see those tiny little bubbles just starting to gather around the edges of the pan, take it off the heat *immediately*.
If you let it boil, the high heat can actually break the structure of the chocolate when you pour it in. This causes the cocoa solids to separate from the butterfat—we call that seizing—and suddenly your smooth sauce turns into grainy, chunky chocolate. Nobody wants that sad situation, especially when you’re aiming for that gorgeous **velvety chocolate topping**!
The Gentle Whisking Technique for Silky Ganache Glaze
Once you pour that hot cream over your chocolate, now you absolutely must let it sit. Set a timer for five full minutes. Don’t peek, don’t stir, just let the heat work its magic. This is crucial for a uniform melt.
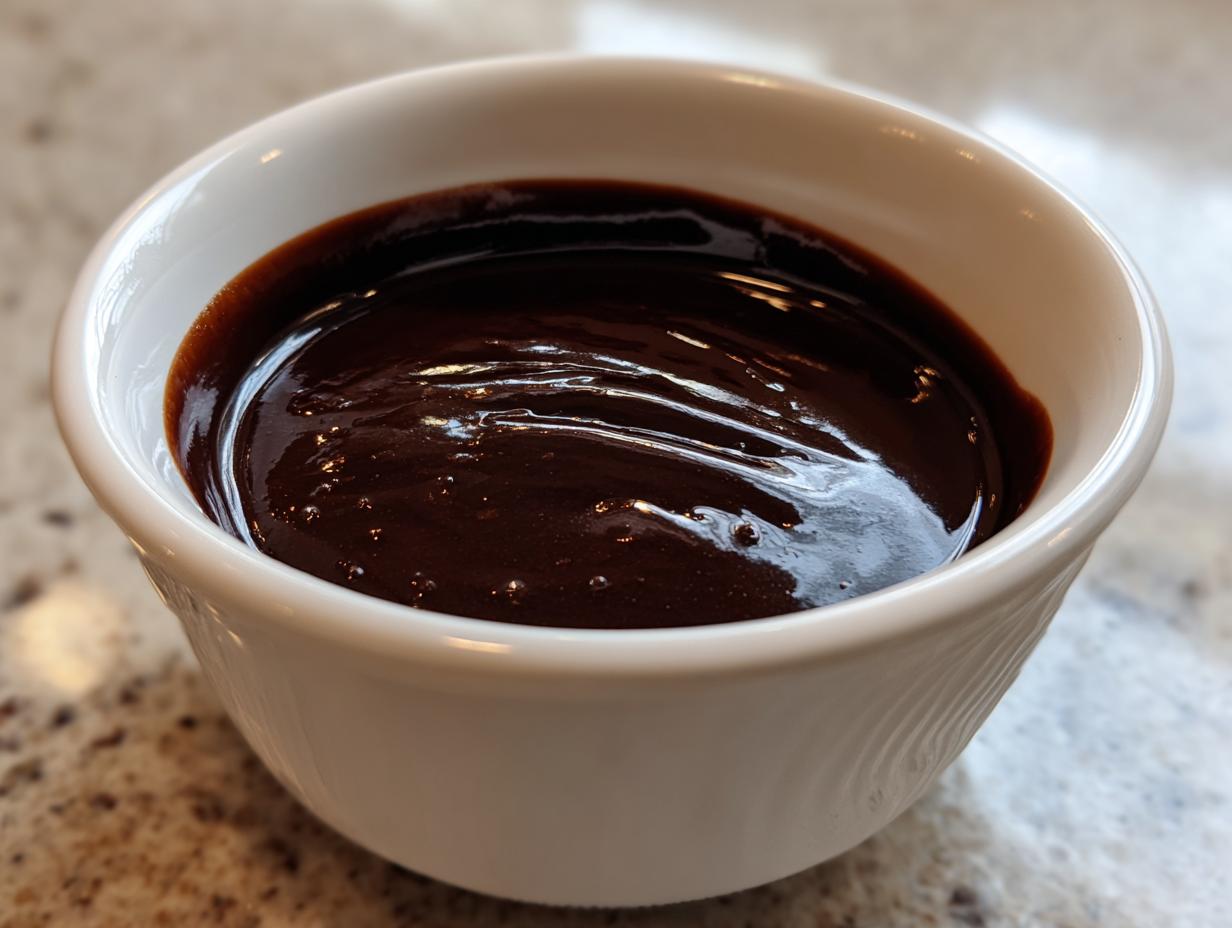
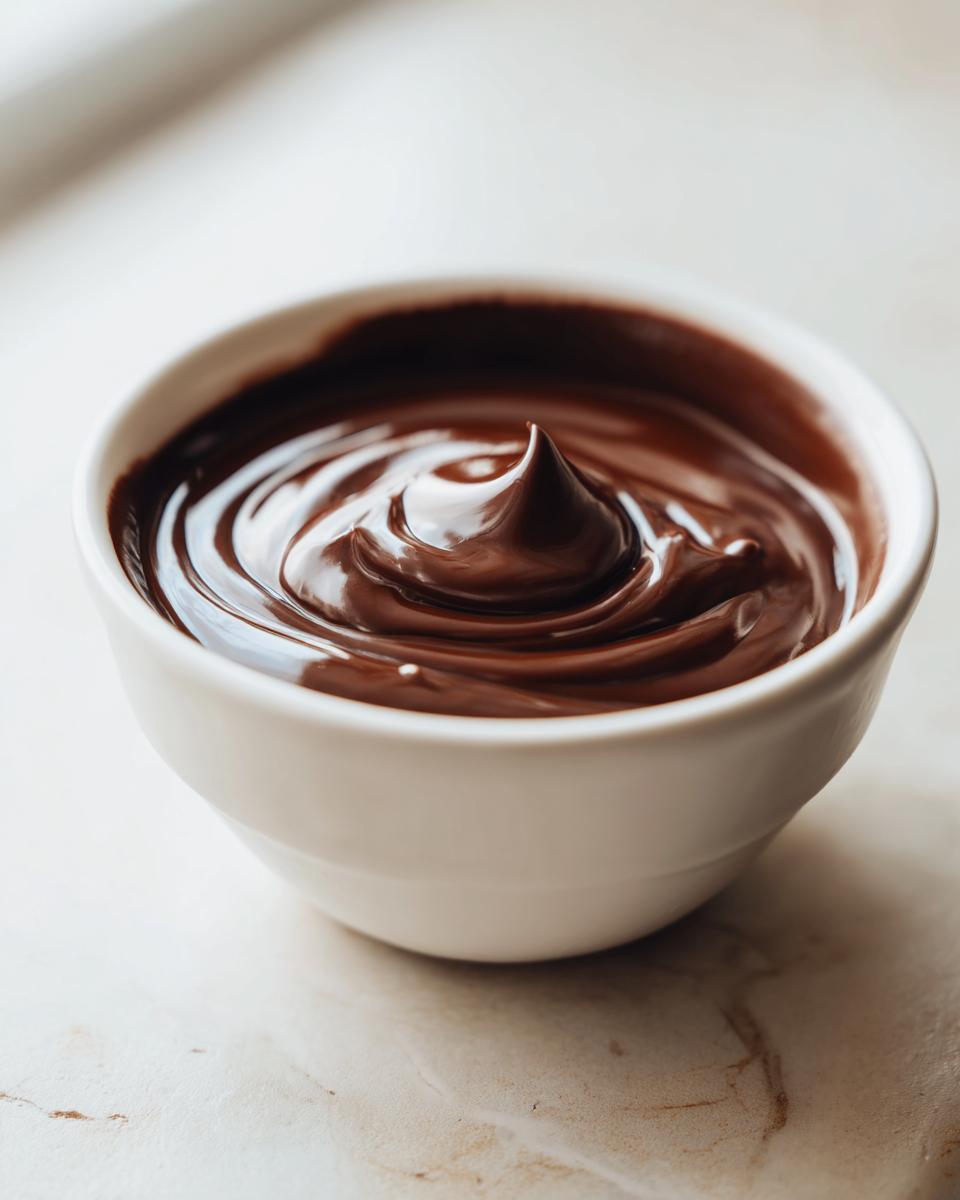
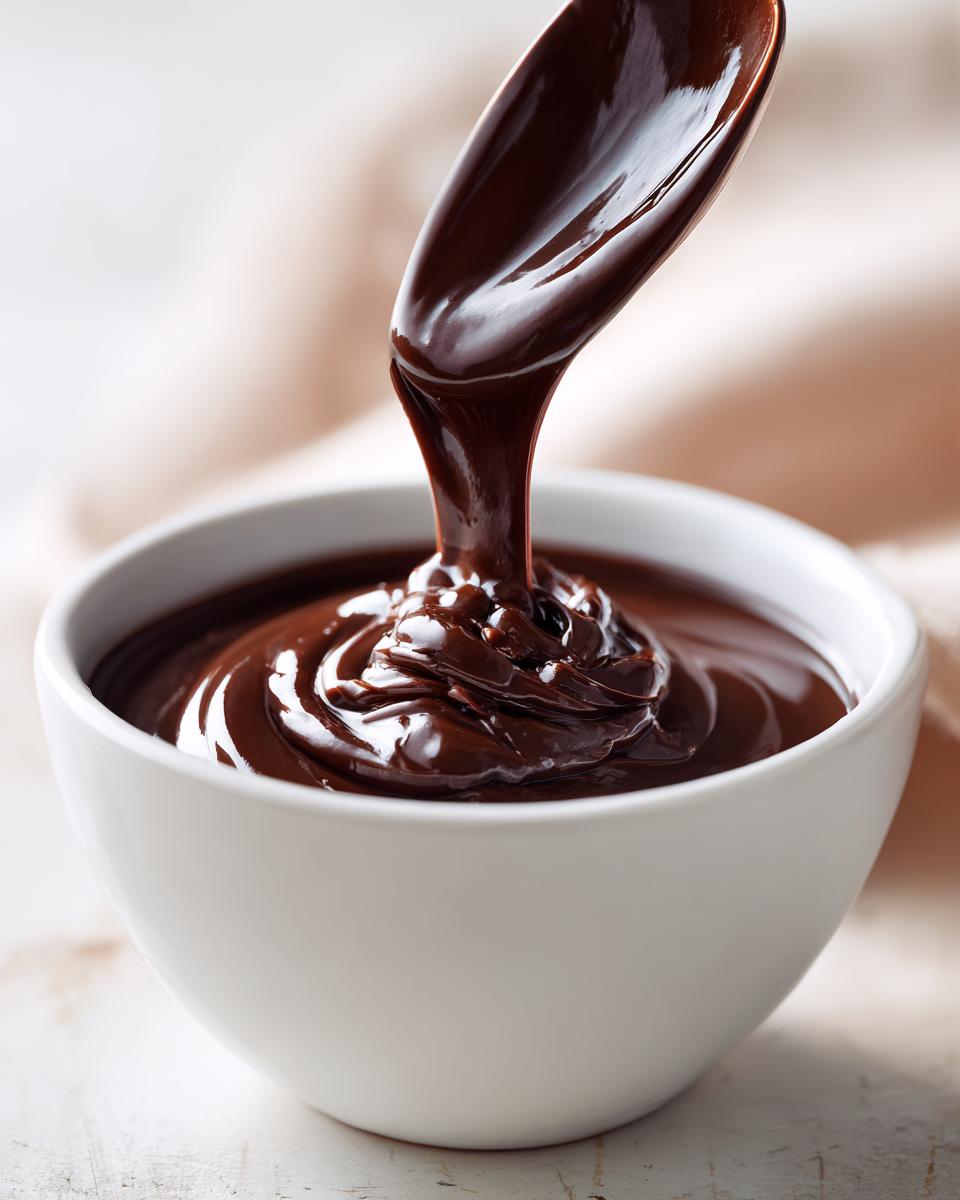
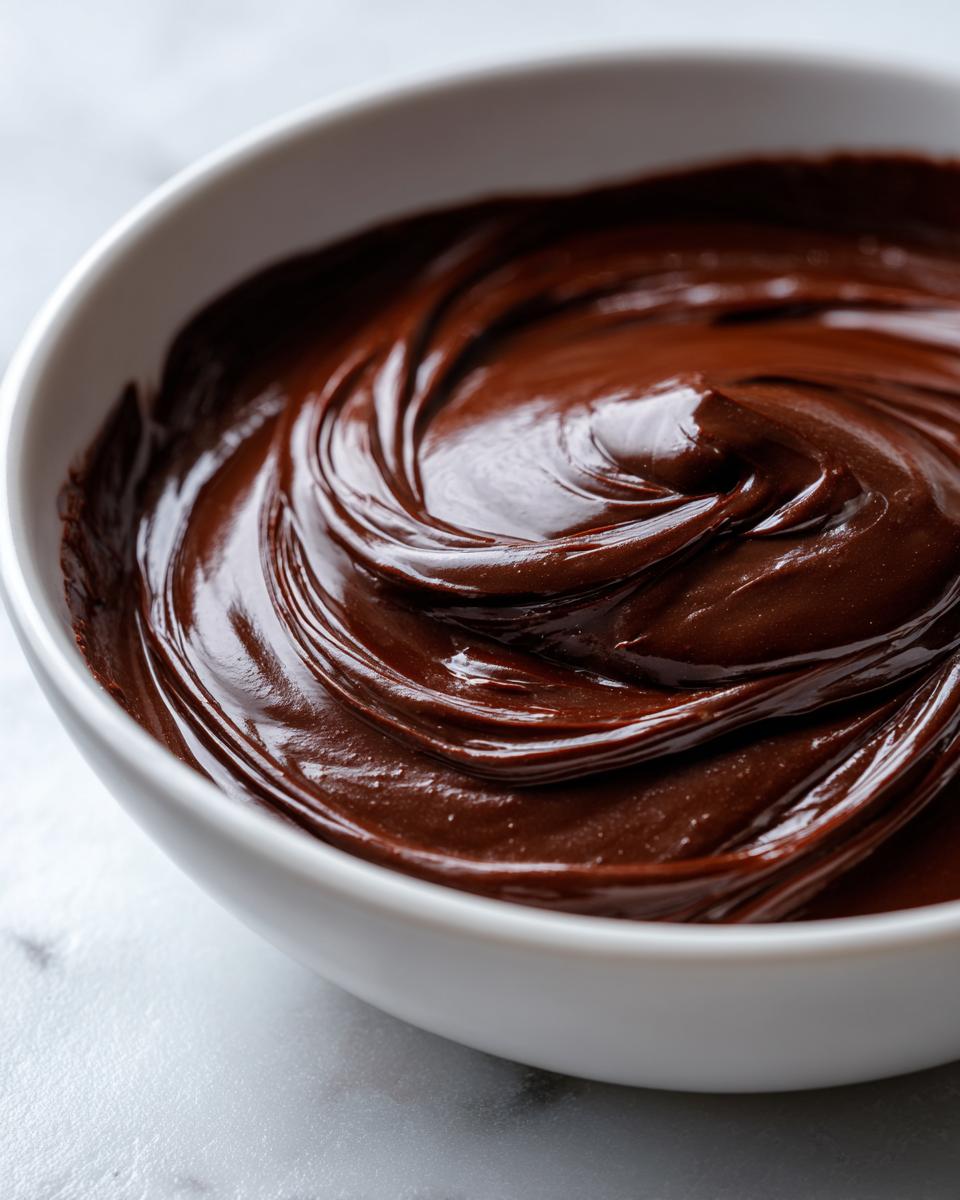
When the timer goes off, grab your whisk—I prefer a silicone one—and start gently moving the mixture from the very center of the bowl outward in slow circles. You’ll see the chocolate start to melt into a dark, thick sludge in the middle, but keep going slowly. As those creamy ribbons start to spread toward the edges, you’ll notice everything comes together into one unified, impossibly smooth, gorgeous mixture. That’s your indication that you’ve nailed that perfect, pourable silky ganache glaze!
Mastering Ganache Ratios for Different Uses
This is the part where we move from just making a nice sauce to being a total pro! Honestly, once you understand the ratio game, you realize that this recipe for **chocolate ganache** is like an ingredient chameleon. You’re not just making one thing; you’re making a whole set of dessert toppings depending on what you need.
My grandmother Daisy never used measuring cups for this; she just knew by sight! But since I don’t have her magic touch yet, I stick strictly to these ratios. Knowing this takes you from a novice baker to someone who knows how to troubleshoot and create what they need, helping you nail those chocolate truffle filling ideas!
Creating the Perfect Chocolate Drip Recipe
If you’ve ever seen a cake with those perfect, shiny chocolate tears running down the side, you know you need a specific consistency for that **chocolate drip recipe**. For that picture-perfect moment, you want to stick to a 1-to-1 ratio—one part chocolate chips to one part heavy cream. That 1:1 ratio creates what I think of as the ‘sweet spot’ for pouring.
Crucially, you want to use it when it’s still slightly warm, but not hot. If it’s too hot, it runs right down the sides and pools at the bottom. If it cools too much, it’s too thick and gloppy. So, right after you whisk it smooth, let it hang out on the counter for about 10 to 15 minutes, testing it on the side of a chilled glass until it flows nicely off the whisk but doesn’t run too fast. That’s how you get that professional sheen!
Thickening Chocolate Ganache Frosting
Now, if you want that sturdy, lighter-than-air topping we talked about—the whipped ganache—you change the ratio *and* the temperature!
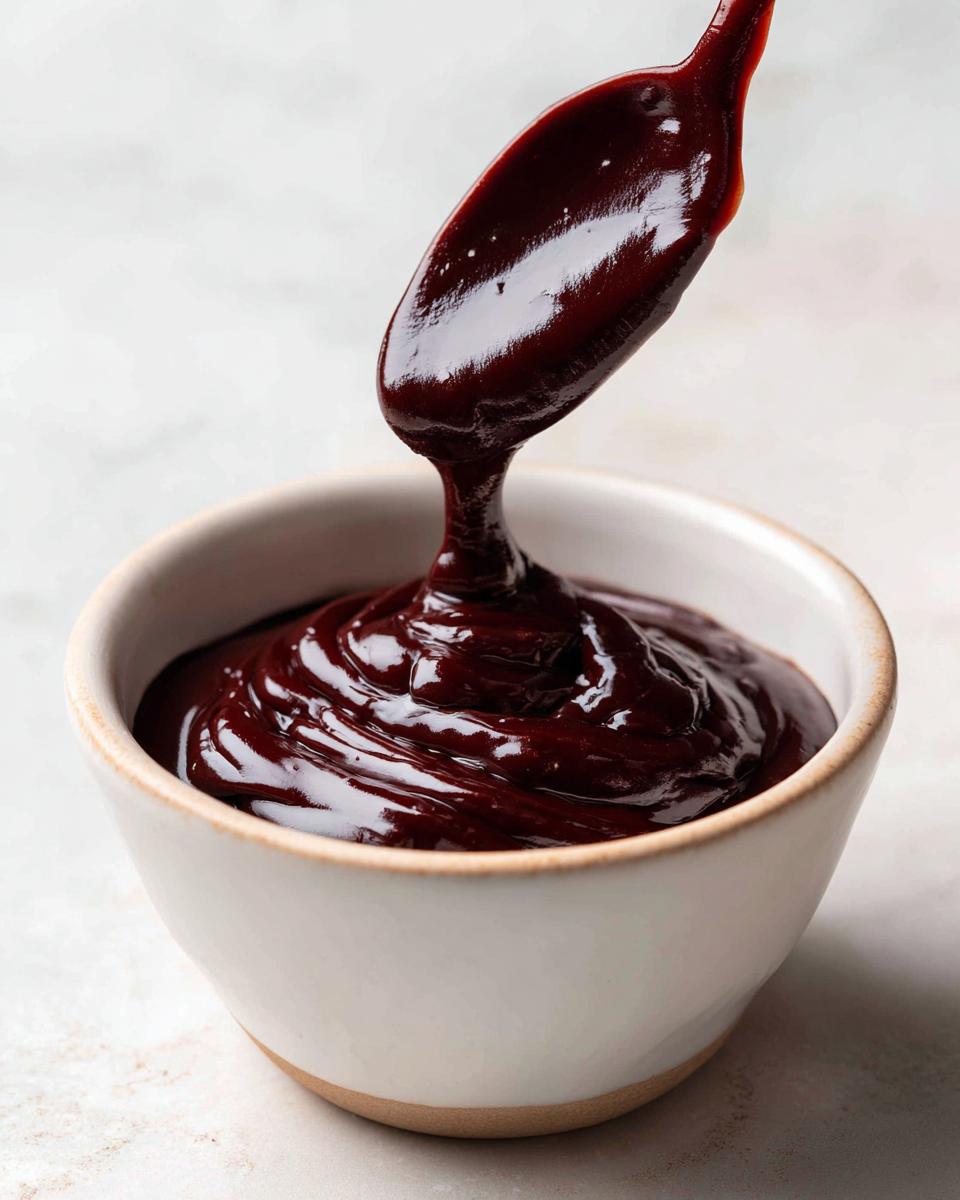
For a very firm filling, like what you’d use inside a sturdy cookie or piped border, we go for a 2:1 ratio—two parts chocolate to one part cream. This mixture will be barely pourable when hot, but once it firms up, it’s perfect for folding or cutting. However, if you take that 1:1 ratio ganache, chill it completely until it’s rock solid, and then whip it with your mixer, you’ve successfully turned your basic **chocolate ganache** into a stable, glorious **chocolate ganache frosting**. It pipes like a dream; it’s honestly my favorite way to top a cake!
Tips for Success When Making Chocolate Ganache
Even the simplest recipes can trip you up if you don’t know the little secrets, right? Don’t sweat it if your first batch isn’t perfectly glossy. I’ve learned a few things over the years, especially when I’m trying to adapt this recipe for different types of chocolate. Trust me, a little foreknowledge goes a long way in keeping your chocolate smooth and your spirits high! For all my favorite ways to upgrade everyday treats, check out my general baking tips and tricks collection.
Adjusting Ratios for Dark Chocolate Ganache and Milk Chocolate Ganache
The standard 1:1 ratio is perfect if you’re using semi-sweet or good quality dark chocolate. But the moment you switch to milk chocolate, you need to adjust things slightly. Milk chocolate has more sugar and, yes, more milk solids than dark chocolate, which means it’s naturally softer!
If you use the full cup of cream with milk chocolate, you might end up with a sauce that never stiffens enough to truly frost a cake—it just wants to stay runny. My trick—and this comes from trial and error, believe me—is to reduce the cream just a tiny bit when I use milk chocolate. Maybe use 3/4 cup of cream to 1 cup of milk chocolate. This helps balance out that extra softness and gives you a much more reliable texture, whether you want a drizzle or a sturdy ganache base.
Fixing Separated Chocolate Ganache
Now, let’s talk panic mode. You whisked everything, and instead of a smooth, unified bowl of shiny goodness, you have little oily patches floating around in a slightly separated mess. Don’t throw it out! This happens often, usually when the cream was too hot or your chocolate wasn’t melted evenly.
The fix is amazingly simple, and honestly makes me feel like a wizard every time I do it. Take about one teaspoon of water that is room temperature (or even better, a teaspoon of neutral oil if you have it), and whisk it right into the broken ganache vigorously. I know adding water sounds wrong, but this little bit of extra liquid helps bring the fats and the cocoa solids back into perfect harmony. Keep whisking, and within about 30 seconds, that messy bowl will magically smooth out into the beautiful **velvety chocolate topping** you wanted!
Creative Ways to Use Your Homemade Chocolate Ganache
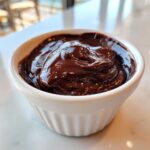
See? That wasn’t hard at all! You just mastered the most versatile chocolate topping out there. Now that you have this perfect, rich **chocolate ganache**, the world of desserts truly opens up, and you don’t have to worry about scraping together clumpy icing mixes. This stuff is instant upgrade material, whether you’re looking for a drizzle or a serious coating.
I love treating it as a quick dessert sauce. Just pour a little bit over vanilla ice cream or fresh strawberries—it feels so decadent, but it took you literally five minutes! It’s incredible how something so simple elevates even the most basic end to a meal. And if you are looking for a showstopper cake to put it on, you absolutely have to try my rich chocolate cake recipe.
But let’s talk structure, because that’s where the real fun begins and where those ratio lessons pay off. If you keep it warm and pourable (that 1:1 ratio), it’s the ultimate gloss for a simple sheet cake or even your no-bake cake. It sets up beautifully shiny, just begging to be admired.
For those layering days, this is where you rely on those slightly thicker versions we discussed. If you cool that 2:1 batch until it’s thick yet pliable, it makes the most amazing **chocolate cake filling ideas**. It cuts cleanly between layers, it’s fudgy when you bite into it, and it holds its shape perfectly, even if the cake sits out for a little while. No more runny fillings leaking out the sides!
And of course, my personal weakness: truffles! If you chill the 2:1 ratio mixture firmly, you can scoop it, roll it, dust it in cocoa powder, and you’ve made homemade chocolate truffles. It’s the definition of a **baking essential** that does triple duty!
Storage and Reheating Instructions for Chocolate Ganache
So, you’ve made a huge batch because you know you’ll need it later, or maybe you made a beautiful cake and have leftover topping. Excellent planning! What you do next totally depends on how you want to use that leftover **chocolate ganache**. It’s really important not to just stick it in the fridge if you plan to use it as a drip glaze later, so listen up!
If you made a thinner batch—say, a 1:1 ratio for a **silky ganache glaze**—and you want to use it again soon, you can actually keep it okay at room temperature for maybe a day, provided your kitchen isn’t super hot. It might get a little thicker, but it’ll still be pourable. If you do put it away, just make sure it’s covered tightly so nothing dusty or smelly gets into that beautiful surface!
When to Refrigerate Your Ganache
If you know you won’t use your ganache within 24 hours, or if you made a thicker batch (like that 2:1 mixture for *chocolate truffle filling*), you absolutely need to refrigerate it. Once chilled, it will become rock hard—it’s basically a block of chocolate fudge at that point! This is what you want if your plan is eventually to whip it up into that lovely whipped ganache later on, but it’s not usable for drizzling.
When you store it in the fridge, try to keep it in a shallow, airtight container. It will absorb any funky smells floating around in there, and we certainly don’t want our decadent treat tasting like day-old onions! It keeps well for about two weeks this way, maybe longer, but honestly, mine never lasts that long.
Gently Reheating Chilled Ganache
Okay, here’s the trick for bringing that rock-hard ganache back to life delicately. You can’t just zap it in the microwave for a minute and expect things to go smoothly, at least not unless you want to risk separating it all over again. We need a gentle warmth.
If you need it pourable again, take a small amount out and microwave it in 10-second bursts, stirring well after every single burst. I mean it—really stir it between each zap! This helps the residual heat distribute evenly and melts it slowly from the inside out. If you are patient, it comes back beautifully smooth, ready for another pour or glaze application. If you are re-whipping it for frosting, it’s actually better to let a chilled piece sit on the counter for about an hour first before attempting to beat it—it helps the texture whip up lighter and faster!
Frequently Asked Questions About Chocolate Ganache
Okay, sweet bakers, I know you might have a few lingering questions about using this **easy chocolate ganache recipe**—it’s a game-changer, and I want you to nail it! Dealing with chocolate can sometimes feel intimidating, but remember, we are keeping this simple, just like Daisy taught me. These are the things people ask me most often when they’re trying to make that first batch of shiny, beautiful chocolate topping for their desserts. For ideas on quick meals that let you get back to baking faster, check out my ideas for weeknight dinner ideas!
Can I use milk instead of heavy cream in my chocolate ganache?
Oh, I wish you could! But no, darling, you really can’t swap out the heavy whipping cream for regular milk here. Milk just doesn’t have the fat content we need to create that stable, rich emulsion with the chocolate. If you use milk, you’ll end up with a thin, watery sauce that won’t set up properly, whether you want a **silky ganache glaze** or a firm filling. Stick to that heavy cream; it’s the backbone of this recipe!
How long does it take for the ganache to set up for frosting?
If you’re planning to use your 1:1 batch as a thick topping or if you are going to whip it later into that gorgeous **chocolate ganache frosting**, patience is key! Left on the counter at a cool room temperature, it usually takes about an hour to become thick enough to spread easily, but that depends a lot on how warm your kitchen is. If you chill it, it firms up much faster—maybe 30 to 45 minutes. Just feel it gently; you want it to be just barely pliable, not rock hard, before starting up your mixer!
Can I make white chocolate ganache using this method?
Yes, you absolutely can! White chocolate is wonderful, but it behaves a bit differently. Since white chocolate doesn’t have the same cocoa solids, it’s naturally softer. If you use the standard 1:1 ratio, you might find it stays too soft, even when cool. For **white chocolate ganache**, I highly recommend bumping up the chocolate a bit. Try a 2:1 ratio—that’s two parts white chocolate to one part cream. Also, and this is important, make sure you are using a good quality white chocolate, because some cheaper versions may contain vegetable fats that do not melt cleanly into the cream, and that leads to separation!
Share Your Perfect Chocolate Ganache Creations
I truly hope this little guide helps you feel confident tackling homemade **chocolate ganache**! Honestly, knowing you can whip up something this luxurious in five minutes flat with just two ingredients is like having a secret weapon hidden in your pantry. It’s the kind of recipe Daisy would have loved because it looks impressive but requires zero fuss.
I absolutely live to hear how you all use this fantastic topping! Did you use the 1:1 for a **silky ganache glaze** over a simple loaf cake? Did you successfully whip it up into a fluffy **chocolate ganache frosting** to pipe onto cupcakes? Or maybe you just ate it with a spoon while standing over the sink? (I won’t tell if you don’t!)
Please, if you loved this **easy chocolate ganache recipe**, stop by and give it a rating right below. It helps other home cooks find these reliable, foundational recipes. And feel free to send me photos or drop a comment telling me what you topped! I love knowing that my little corner of the internet is bringing a little more homemade sweetness into your busy life. Whether it’s a **quick dessert sauce** or the centerpiece of a huge party, let me know how your cocoa creation turned out! If you ever need to reach out with questions, you know where to find me on the contact page!
PrintEasy Chocolate Ganache Recipe: Smooth, Silky Topping for Any Dessert
Make rich, velvety chocolate ganache with just two ingredients. This guide shows you the simple steps for a perfect, glossy finish, ideal for frosting, filling, or creating a beautiful chocolate drip.
- Prep Time: 5 min
- Cook Time: 5 min
- Total Time: 10 min
- Yield: About 1.5 cups 1x
- Category: Dessert Component
- Method: Stovetop/Melting
- Cuisine: American
- Diet: Vegetarian
Ingredients
- 1 cup (170g) semi-sweet or dark chocolate chips or finely chopped baking chocolate
- 1 cup (240ml) heavy whipping cream
Instructions
- Place the chocolate chips or chopped chocolate into a medium, heat-safe bowl.
- Pour the heavy whipping cream into a small saucepan. Heat the cream over medium heat until it just begins to simmer around the edges. Do not let it boil.
- Immediately remove the cream from the heat and pour it directly over the chocolate in the bowl.
- Let the mixture sit undisturbed for 5 minutes. This allows the heat from the cream to melt the chocolate completely.
- After 5 minutes, gently whisk the mixture starting from the center and working outward until the ganache is completely smooth, glossy, and uniform.
- Allow the ganache to cool slightly at room temperature to reach your desired consistency. For a pourable glaze, use it warm. For a thicker filling or frosting, let it cool until it thickens, stirring occasionally.
Notes
- For a thinner chocolate drip recipe, use a 1:1 ratio of chocolate to cream. For a thicker filling or truffle base, use a 2:1 ratio (e.g., 2 parts chocolate to 1 part cream).
- If you use milk chocolate, reduce the cream slightly to prevent the ganache from being too soft.
- If the ganache separates, add a teaspoon of room-temperature water or neutral oil and whisk vigorously until it comes back together.
- To make whipped ganache frosting, chill the cooled ganache completely (at least 2 hours) until firm, then beat it with an electric mixer until light and fluffy.
Nutrition
- Serving Size: 1/4 cup
- Calories: 450
- Sugar: 30g
- Sodium: 15mg
- Fat: 35g
- Saturated Fat: 20g
- Unsaturated Fat: 15g
- Trans Fat: 0g
- Carbohydrates: 35g
- Fiber: 3g
- Protein: 5g
- Cholesterol: 100mg