
Oh, my dears, let’s talk about comfort. When the day feels long and you just need something deeply satisfying, nothing beats a piece of truly good, rich chocolate. Forget those complicated, fussy baked goods—I’ve got the secret to the *best* homemade fudge you’ll ever see. This is my Grandma Daisy’s approach distilled down to its purest, quickest form: the **Easy 3-Ingredient Chocolate Fudge**.
This isn’t some grainy, disappointing candy. This sets up perfectly, giving you that decadent, melt in your mouth experience every single time. When I first moved to the city and missed her kitchen the most, this recipe became my lifeline. It proves you don’t need complicated steps or weird tools to create something phenomenal. Trust me, simplicity is flavor, and this treat proves it!
- Why This Is the Easiest Fudge Recipe You Will Ever Make
- Ingredients for Your Creamy Chocolate Fudge
- Step-by-Step Instructions for No Bake Fudge
- Tips for Achieving Melt in Your Mouth Fudge Texture
- Variations on This Classic Fudge Recipe
- Serving Suggestions and Making Fudge for Gifting
- Storage and Reheating Instructions for Homemade Fudge
- Frequently Asked Questions About Making Fudge
- Nutritional Estimates for This Decadent Dessert Idea
Why This Is the Easiest Fudge Recipe You Will Ever Make
Honestly, when I first started making candy, I was terrified of pulling out that candy thermometer. They always seemed so fussy, and boiling sugar felt like a straight path to disaster! That’s why I love this version so much; it fits perfectly into my busy schedule while still delivering that high-end, decadent feel. This is pure No Bake Fudge.
When you need a truly quick dessert, this checks every box. You aren’t even using a stovetop for the main cooking part! It’s proof that you can skip the complex traditional methods without sacrificing that signature smooth texture.
Key Benefits of This Simple Fudge
- You only need three core ingredients. Yes, seriously, just three!
- It’s essentially instant—the microwave does the heavy lifting, making this one of the fastest No Candy Thermometer Desserts around.
- The texture is guaranteed creamy and smooth, avoiding that dreaded grainy crunch.
- It cuts beautifully, making it ideal for homemade presents or Fudge for Gifting during the holidays or just because.
Ingredients for Your Creamy Chocolate Fudge
This is where the magic happens with minimal effort! Because this recipe is so streamlined, every ingredient has to pull its weight. We aren’t masking anything with fancy steps, so grabbing good quality items really does make a massive difference in achieving that beautiful Melt in your Mouth Fudge texture.
Here is what you’ll need—that’s it! Just three simple items to make the best chocolate candy of your life.
- 1 (14 ounce) can sweetened condensed milk
- 1 (12 ounce) package semi-sweet chocolate chips
- 1 teaspoon vanilla extract
Ingredient Notes and Substitutions for Perfect Fudge
Trust me on the chocolate chips. Since this is essentially all flavor, don’t skimp! High-quality chips are the secret to the *best* homemade Homemade Fudge. If you happen to be out of vanilla (oops, I’ve done that!), you can skip it, but it adds a nice rounding note to the deep chocolate flavor.
Also, feel free to fold in about half a cup of chopped pecans or walnuts right at the very end. It adds a lovely little crunch against that smooth base, which I love for holiday treats!
Step-by-Step Instructions for No Bake Fudge
Okay, friends, this is where we go from ingredients to magic. Forget standing over a double boiler like some kind of candy wizard. We’re keeping this incredibly straightforward. Because this is a short-cook recipe, precision—especially with the microwave—is key to getting that beautiful, smooth texture we all crave in our Easy Fudge Recipe.
Just follow my lead, and you’ll have this done before your coffee cools down. This whole process is about gentle heating and patient stirring.
Preparing the Pan and Melting the Fudge Base
First things first, grab your 8×8 inch pan. You absolutely must line it with parchment paper, making sure you leave an overhang on two sides. This little overhang is your handle later, trust me! Lightly grease that paper too, just for good measure.
Next, combine your sweetened condensed milk and the chocolate chips right in a microwave-safe bowl. Now, here’s the trick: we microwave this on just 50% power. Set it for 30-second bursts. After each 30 seconds, pull it out and stir it like you mean it! Keep doing this until it looks smooth—usually only 1 to 2 minutes total. Do not, I repeat, *do not* overheat the chocolate, or it will seize up on you!
Mixing and Setting Your Creamy Chocolate Fudge
Once it’s all glossy and stirred together, take it off the heat and quickly stir in that splash of vanilla extract until it disappears. Pour that gorgeous, thick mixture into your prepared pan and use a spatula to spread it evenly. Don’t fuss over it too much; it should settle nicely.
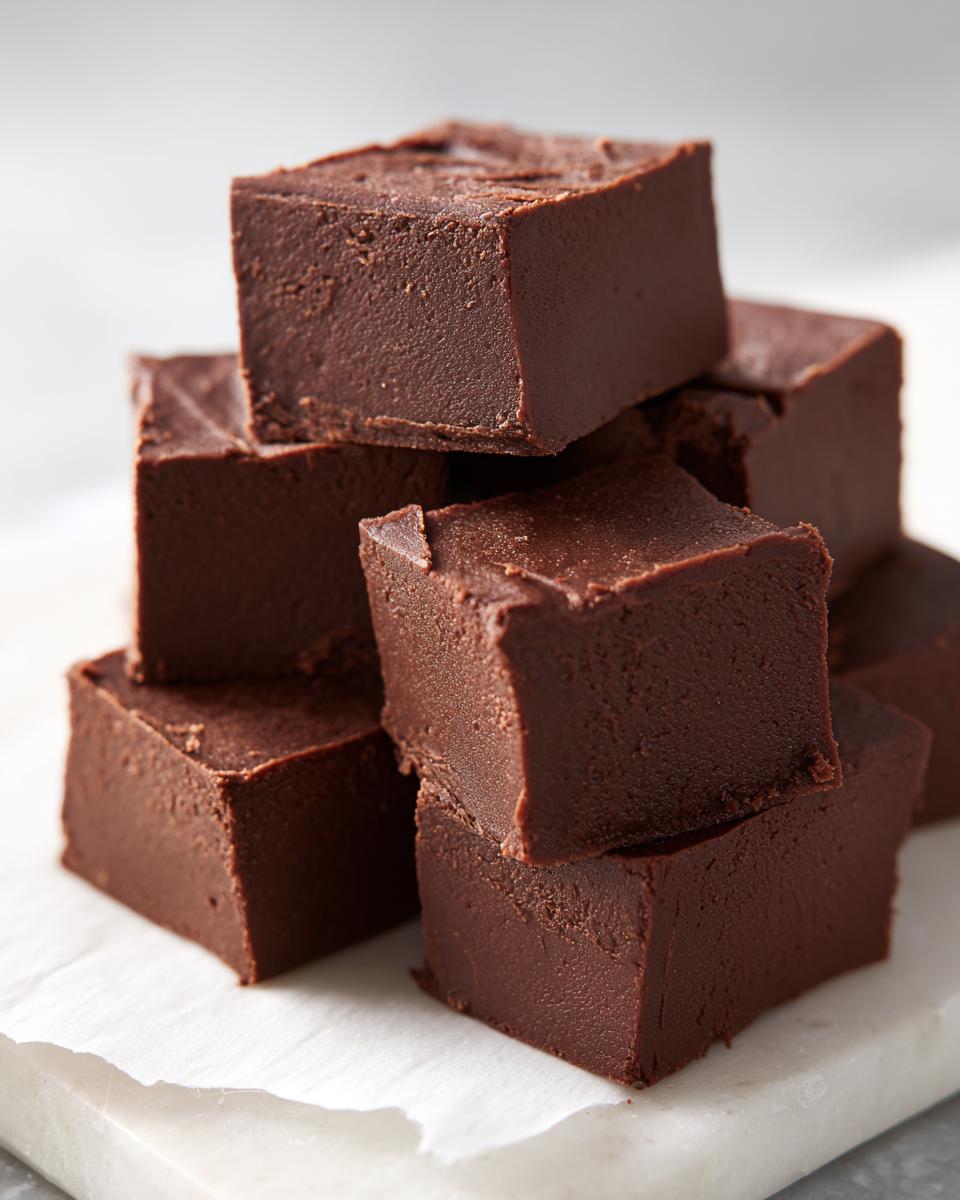
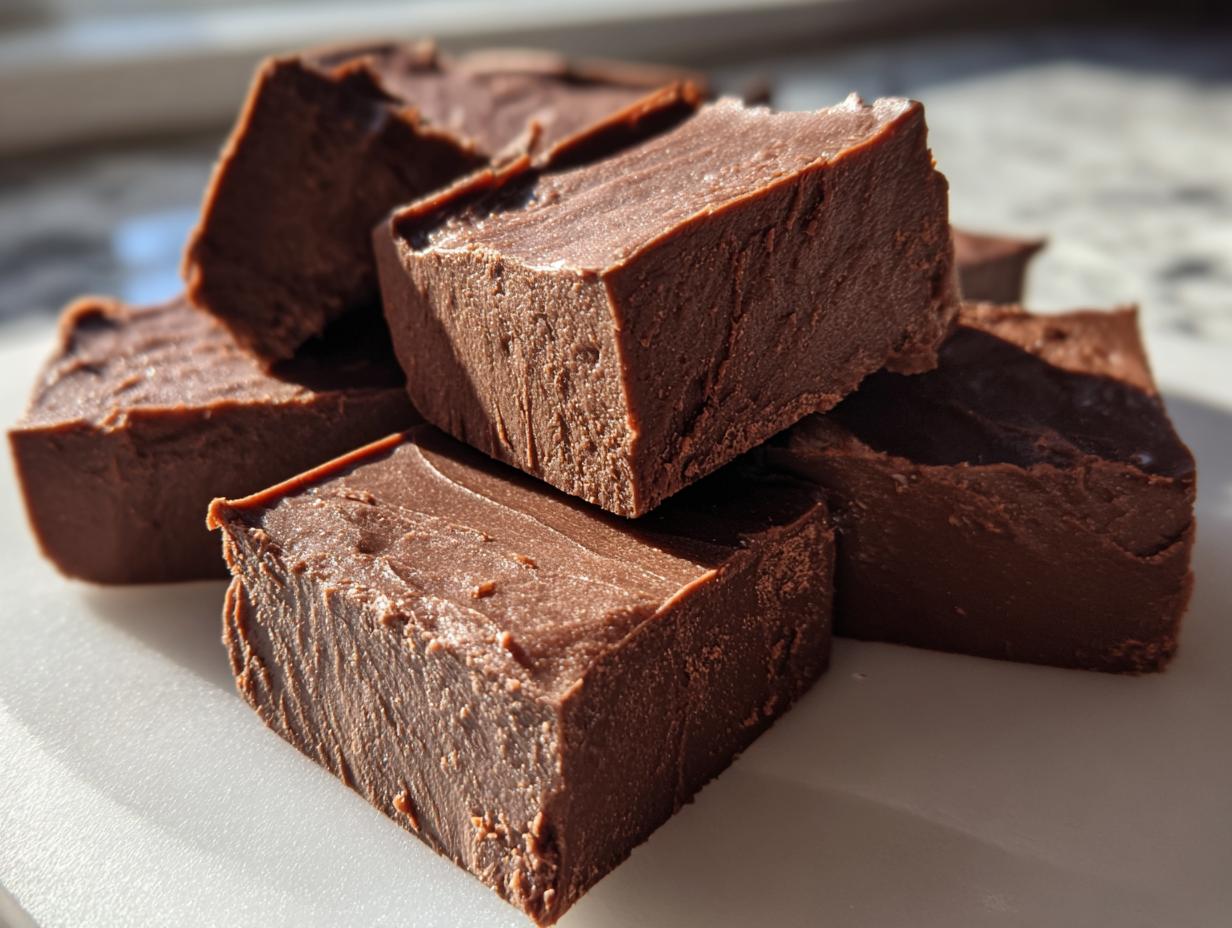
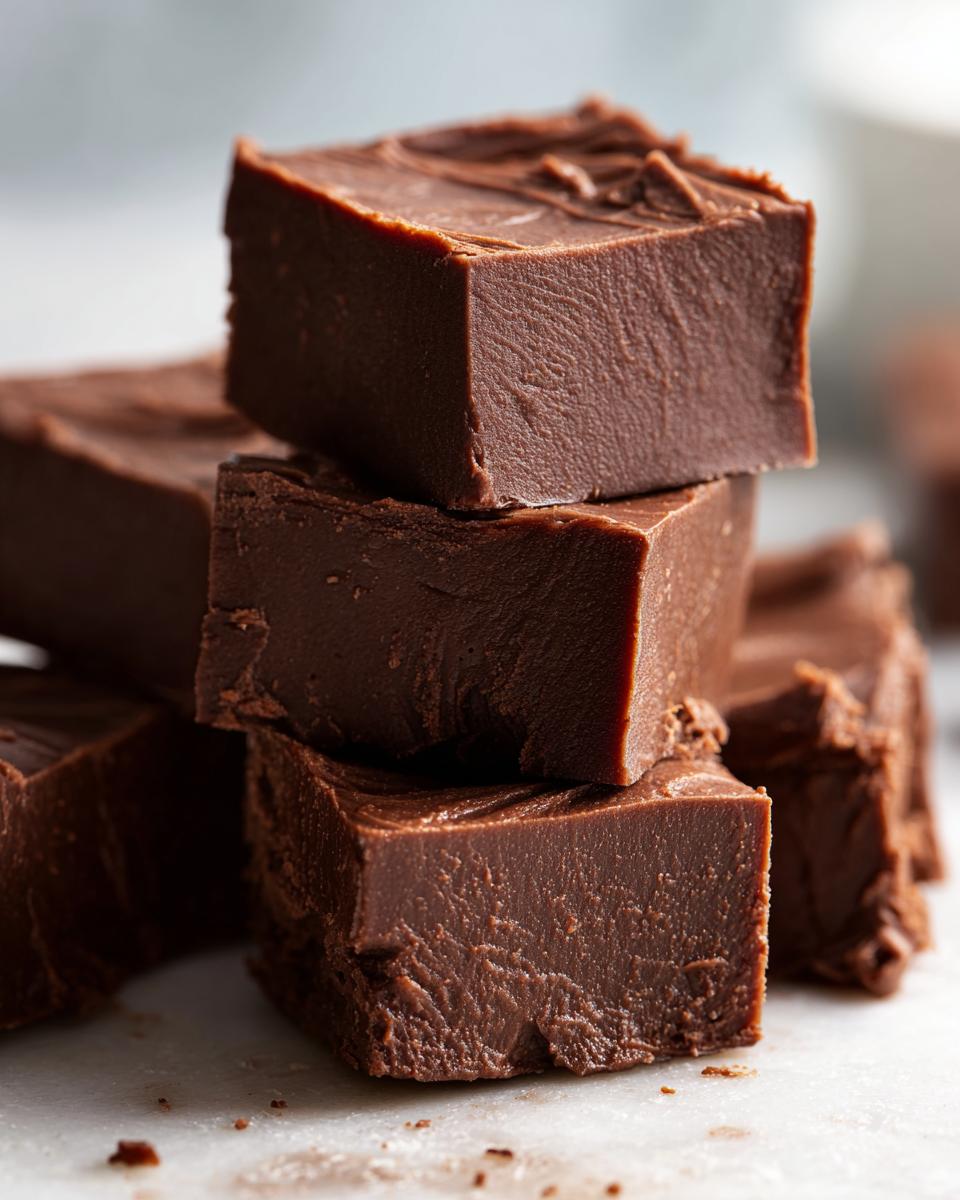
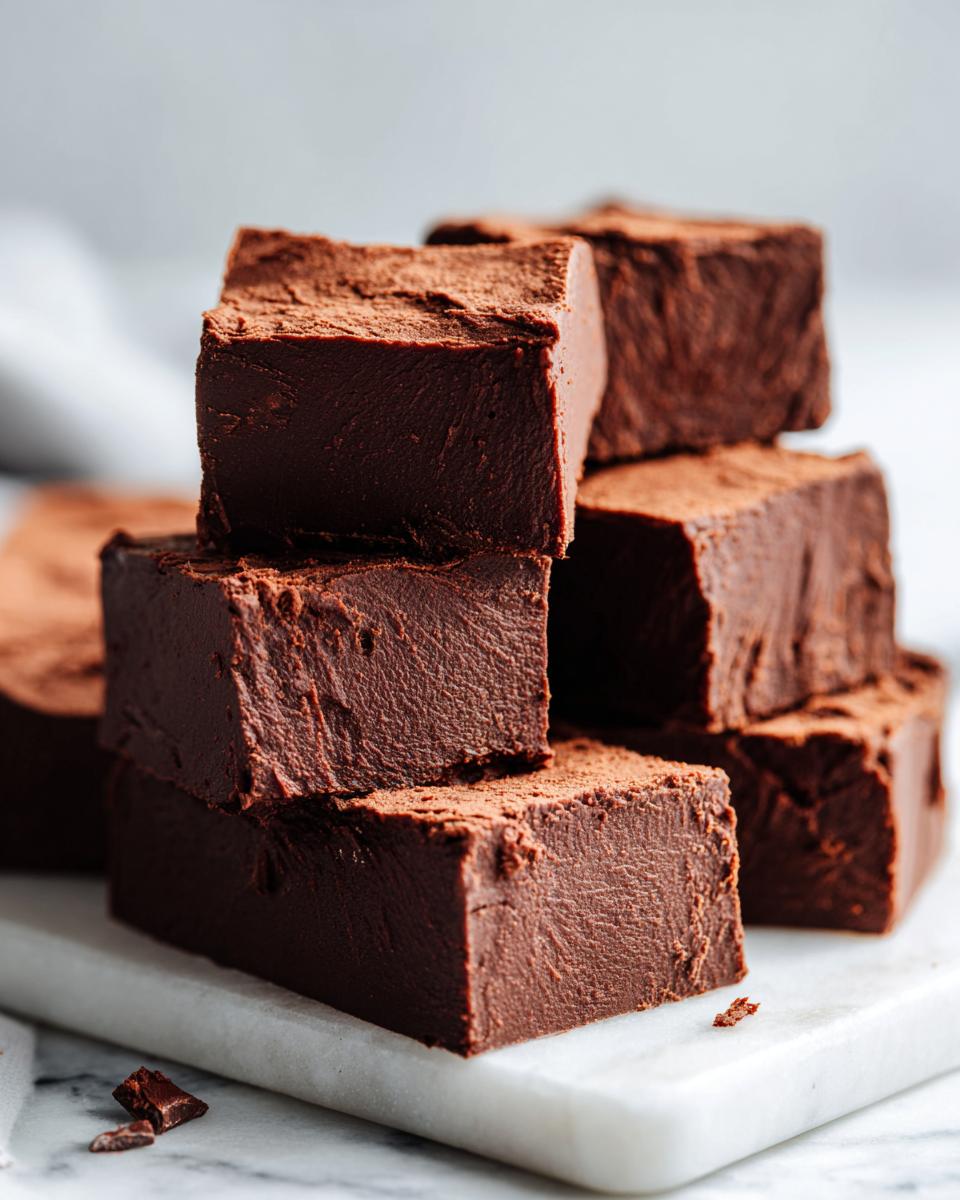
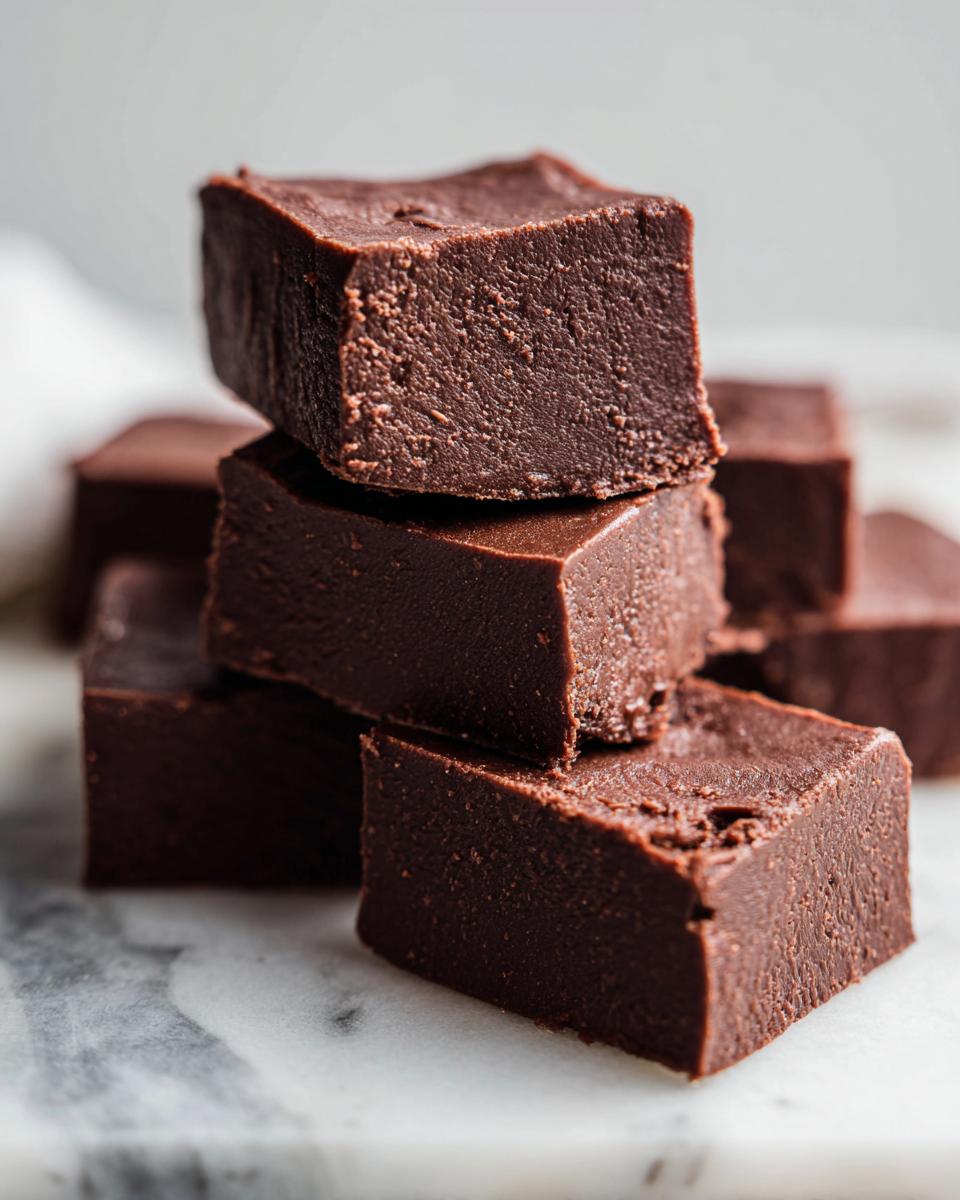
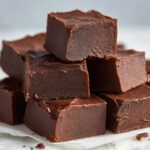
Now comes the hardest part: waiting! Pop the pan into the fridge for a minimum of 2 hours. If you can hold off longer, maybe 4 hours, it ensures it’s super firm for clean cutting. Once it’s set, use those parchment overhangs to lift the whole slab out, and then slice it into small squares. Perfect little chunks of chocolate bliss!
Tips for Achieving Melt in Your Mouth Fudge Texture
The number one complaint I hear about making candy is that it gets grainy—that horrible sandy texture that just ruins the whole thing! If you’re making this fudge, though, we can skip that headache entirely. Because this recipe skips the old sugar-boiling stage, your main job is just gentle mixing.
When you microwave the chips and condensed milk, the key is low power and patience. If you blast that chocolate on high for 60 seconds, you risk scorching the sugar crystals in the milk, and suddenly, your smooth dream turns into crunchy reality. Stirring really well between those short bursts ensures everything melts evenly without getting too hot in one specific spot.
Even with the vanilla, make sure you incorporate it fully before chilling. A fully incorporated, uniform mixture sets up perfectly smooth. It’s amazing how a little heat control can turn simple ingredients into something as luxurious as your favorite caramel treat—only richer and chocolatey!
Variations on This Classic Fudge Recipe
The beauty of this 3-ingredient base is how wonderfully adaptable it is! While my heart belongs to this pure, rich chocolate version, I know sometimes you need a peanut butter fix or maybe a bit of mint flavor in your life. Since we aren’t messing with temperamental sugar temperatures, changing the flavor profile is super easy!
For example, if you’re craving something nutty, this is the perfect canvas for a Peanut Butter Fudge vibe. When you stir in that vanilla extract at the end, just drop in half a cup of smooth peanut butter right along with it. Mix quickly until it’s totally incorporated. You might need to stir a little longer, but the result is pure heaven!
If you want to switch up the chocolate itself, try swapping those semi-sweet chips for white chocolate chips—though you might want to cut the vanilla back to just a half teaspoon if you go that route. White chocolate is a great way to introduce flavors like lemon extract or to toss in some dried cranberries after the fudge has set in the pan.
Remember those little mix-ins I mentioned earlier? They fit right here! Once you pour the fudge into the pan (before chilling, of course!), you can sprinkle the top with flaky sea salt for a salted caramel effect, or maybe crush up some Oreos for a delightful crunchy topping. It’s your kitchen, so feel free to experiment with any of your favorite Simple Candy Recipes additions!
Serving Suggestions and Making Fudge for Gifting
Honestly, once you taste this creamy chocolate fudge, you’re going to want to immediately make ten times the batch, because it is impossible to share *just* one piece! This recipe yields about 36 perfect little squares, making it one of the best Holiday Fudge Treats for neighbors, teachers, or just thanking a friend.
The slicing is the best part, right after waiting for it to chill! When you lift that slab out using the parchment overhang, place it on a big cutting board. For those perfect, professional-looking squares, wipe a large knife with a little hot water between each cut—it keeps the knife clean and ensures sharp edges. Aim for about 1.5-inch squares.
For Fudge for Gifting, presentation matters! You don’t need fancy molds; just simple touches make all the difference. I love setting the pieces into little paper candy cups. You can find these everywhere, and they make everything look instantly polished.
If I’m making a platter for a party, I’ll sprinkle a few squares with a tiny pinch of flaky sea salt right before they fully set, or maybe some festive holiday sanding sugar. For packaging them up to take somewhere, layer the squares between sheets of wax paper inside festive cellophane bags or tie them up with a bright ribbon around a clear box. They look so charming, and everyone is always so impressed that you made them from scratch when it was actually so easy!
Storage and Reheating Instructions for Homemade Fudge
Once you manage to cut this delightful chocolate fudge, the next question is always, “How long does this last?” Because this is such an incredibly rich and simple confection—one of my favorite Simple Candy Recipes—it keeps quite well, though keeping it around for too long is rarely an issue in my house!
Since there is no candy thermometer involved and we are using sweetened condensed milk, the chilling time is really just to firm it up for cutting. Once cut, you have a couple of options for storage.
For short-term enjoyment—say, the next few days—you can definitely keep these squares in an airtight container right on the counter at cool room temperature. Try to keep them out of direct sunlight or any really warm spots, though, because that high fat content means they can get a little too soft and start sticking together if it gets warm.
If you are making a huge batch for Fudge for Gifting or know you won’t devour it within four days, the refrigerator is your best friend. Stored in a sturdy airtight container, these treats will stay wonderfully fresh for up to two weeks. They come out of the fridge quite firm, so if you want that lovely soft texture back, just pull them out about 30 minutes before you plan to serve them.
Now, for reheating—don’t worry about it! These are designed to be eaten cold or at room temperature. You never need to reheat fudge because you aren’t trying to soften a baked crust or melt a frosting layer; reheating will just melt the entire square back into a puddle! If they seem too hard straight from the fridge, a quick ten minutes on the counter usually softens them up just enough for that perfect soft bite.
Frequently Asked Questions About Making Fudge
I always get so many questions when I share this recipe because folks can’t believe how simple it is! People want to know if they can swap things out or if they are going to end up with crumbly candy instead of that gorgeous, smooth fudge. Let’s clear up a few common queries so you can feel confident whipping up this incredibly Easy Fudge Recipe!
Can I substitute the sweetened condensed milk in this fudge?
Oh, please don’t try it! For this specific, magical 3 Ingredient Fudge recipe, sweetened condensed milk is absolutely non-negotiable. It’s not the same as evaporated milk, not by a long shot! The condensed milk is sweetened and has had much of its water cooked out, which gives this mixture the density, sweetness, and structure it needs to set up into a perfect, fudgy square without any cooking or stirring of sugar crystals. It’s truly the foundation holding this whole simple dream together.
How do I avoid grainy fudge?
This is the fear that keeps people away from making candy, but with this recipe, we’ve already done half the battle by skipping the stage where traditional fudge goes wrong! To ensure you get that wonderfully Creamy Chocolate Fudge texture, your main focus during the microwave phase must be gentle heating. Remember, low power settings and constant stirring prevents any one spot from getting too hot. If the mixture gets too hot, those sugars crystallize, and *that’s* when you end up with rough, grainy fudge instead of melt-in-your-mouth goodness.
It’s all about keeping it moving and keeping the heat low. If you compare this to an Old Fashioned Fudge recipe that requires careful temperature monitoring, ours is so much calmer. Just stir until it looks perfectly smooth, and you’ll be golden!
Nutritional Estimates for This Decadent Dessert Idea
Look, friends, I’m Amelia, not a registered dietitian, so take these numbers with a grain of salt—or maybe just a few extra flakes of sea salt on top of your fudge! Since this is one of my simplest Decadent Dessert Ideas, the nutrition facts are also wonderfully straightforward, based on the yield of 36 small squares.
We are using simple grocery store staples here, so nothing too wild. If you are tracking macros or watching sugar intake, this gives you a good baseline. But honestly, when you make something this delicious, calories are just a suggestion, right?
Here is the breakdown for one little square:
- Serving Size: 1 square
- Calories: 130
- Sugar: 18g
- Fat: 6g (4g saturated)
- Carbohydrates: 20g
- Protein: 2g
Just remember that these estimates are based on the core three ingredients listed in the recipe. If you decide to add a half-cup of pecans or maybe some extra caramel swirl—which you absolutely should if you’re feeling ambitious—those numbers will change slightly. Enjoy every bite!
PrintEasy 3-Ingredient Chocolate Fudge: Quick and Creamy
Make rich, creamy chocolate fudge without a candy thermometer. This simple, no-bake recipe uses only three ingredients for a melt-in-your-mouth treat perfect for gifting or quick desserts.
- Prep Time: 10 min
- Cook Time: 2 min
- Total Time: 2 hours 12 min
- Yield: 36 small squares 1x
- Category: Dessert
- Method: No-Bake
- Cuisine: American
- Diet: Vegetarian
Ingredients
- 1 (14 ounce) can sweetened condensed milk
- 1 (12 ounce) package semi-sweet chocolate chips
- 1 teaspoon vanilla extract
Instructions
- Line an 8×8 inch baking pan with parchment paper, leaving an overhang on the sides for easy removal. Lightly grease the paper.
- In a medium, microwave-safe bowl, combine the sweetened condensed milk and chocolate chips.
- Microwave on 50% power for 30-second intervals, stirring well after each interval, until the chocolate is completely melted and the mixture is smooth. This usually takes 1 to 2 minutes total. Do not overheat.
- Stir in the vanilla extract until fully combined.
- Pour the fudge mixture into the prepared baking pan and spread evenly.
- Refrigerate for at least 2 hours, or until the fudge is firm enough to cut.
- Use the parchment paper overhang to lift the fudge from the pan. Cut into small squares.
Notes
- For a richer flavor, use high-quality chocolate chips.
- If you prefer a firmer fudge, chill it for 4 hours or overnight.
- You can add 1/2 cup of chopped nuts or mini marshmallows during the final stirring step for variation.
Nutrition
- Serving Size: 1 square
- Calories: 130
- Sugar: 18g
- Sodium: 35mg
- Fat: 6g
- Saturated Fat: 4g
- Unsaturated Fat: 2g
- Trans Fat: 0g
- Carbohydrates: 20g
- Fiber: 1g
- Protein: 2g
- Cholesterol: 10mg