
Oh, you know those days? The ones where only the unmistakable tropical crunch of a candy bar will do, but you’d rather not leave the house? I totally get it! That craving was exactly what pulled me back into the kitchen recently. I’m so excited to share my absolute favorite recipe for almond joy truffles. Trust me when I say these taste more decadent than the store-bought version, but the best part? They’re incredibly easy and require zero baking time.
When I first started cooking again, trying to recapture the simple, honest joy my Grandma Daisy brought to baking, candy making felt intimidating. But these little bites changed everything. They are wonderfully creamy, perfectly almond-studded, and totally satisfying. You’re going to love making these quick dessert ideas for yourself, or honestly, making an extra batch to hide away for later!
If you’re looking for more simple joy-filled bakes, you should definitely check out my collection of delicious dessert recipes. But for now, let’s get rolling!
- Why Our Easy No-Bake Almond Joy Truffles Recipe Works
- Gathering Your Ingredients for Almond Joy Truffles
- Step-by-Step Instructions for No Bake Almond Joy Truffles
- Tips for Success Making Homemade Almond Joy Truffles
- Storage and Serving Suggestions for Almond Joy Truffles
- Variations on Classic Almond Joy Truffles
- Frequently Asked Questions About Almond Joy Truffles
- Quick Facts About Your Almond Joy Truffles
- Nutritional Estimates for Homemade Candy Bites
Why Our Easy No-Bake Almond Joy Truffles Recipe Works
Honestly, there are so many copycat candy bars out there, but this one truly nails that nostalgic flavor without turning on the oven. That’s a huge win in my book, especially during busy weeks when I need quick dessert ideas. We keep things straightforward so you can enjoy them faster.
- It’s completely no-bake, which keeps things wonderfully simple and less messy.
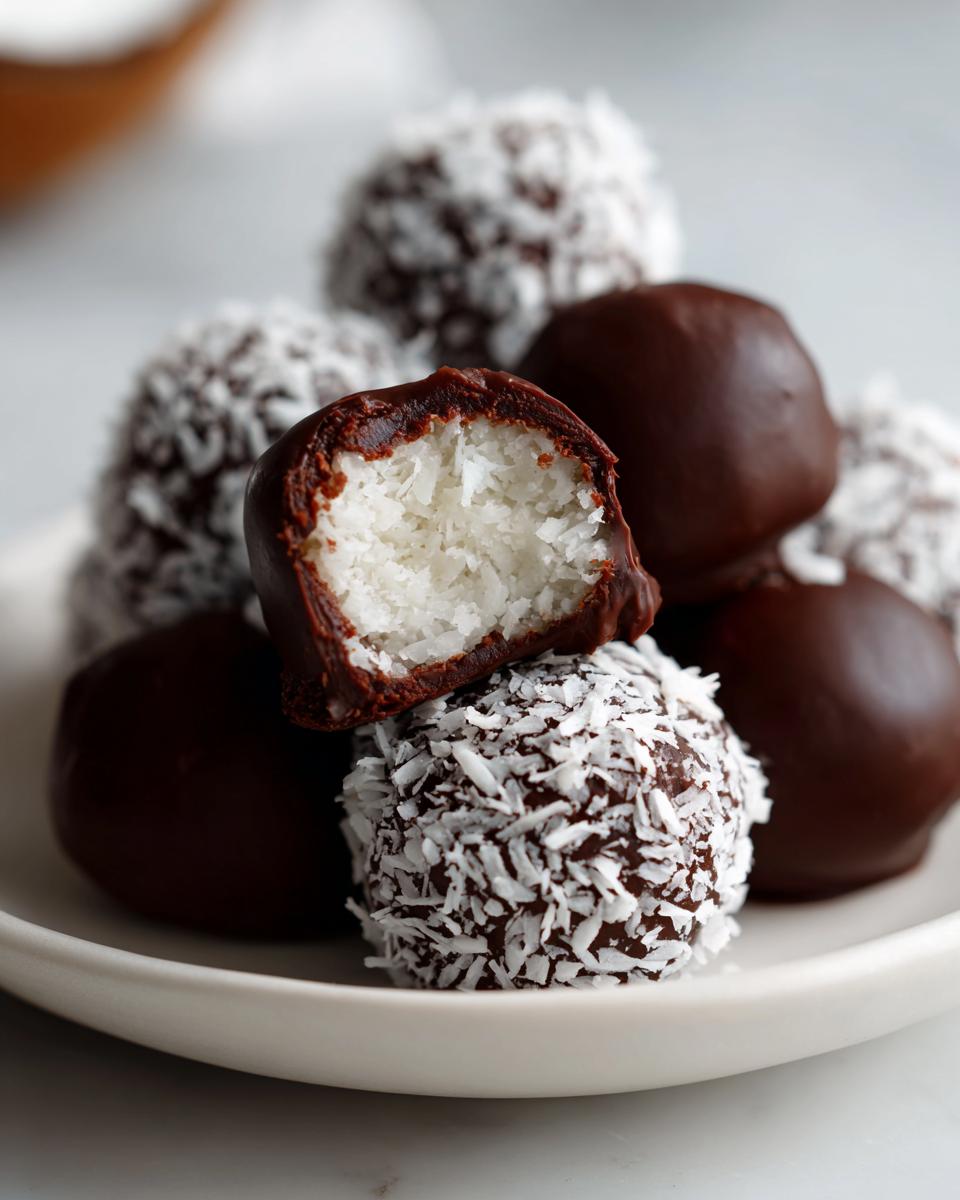
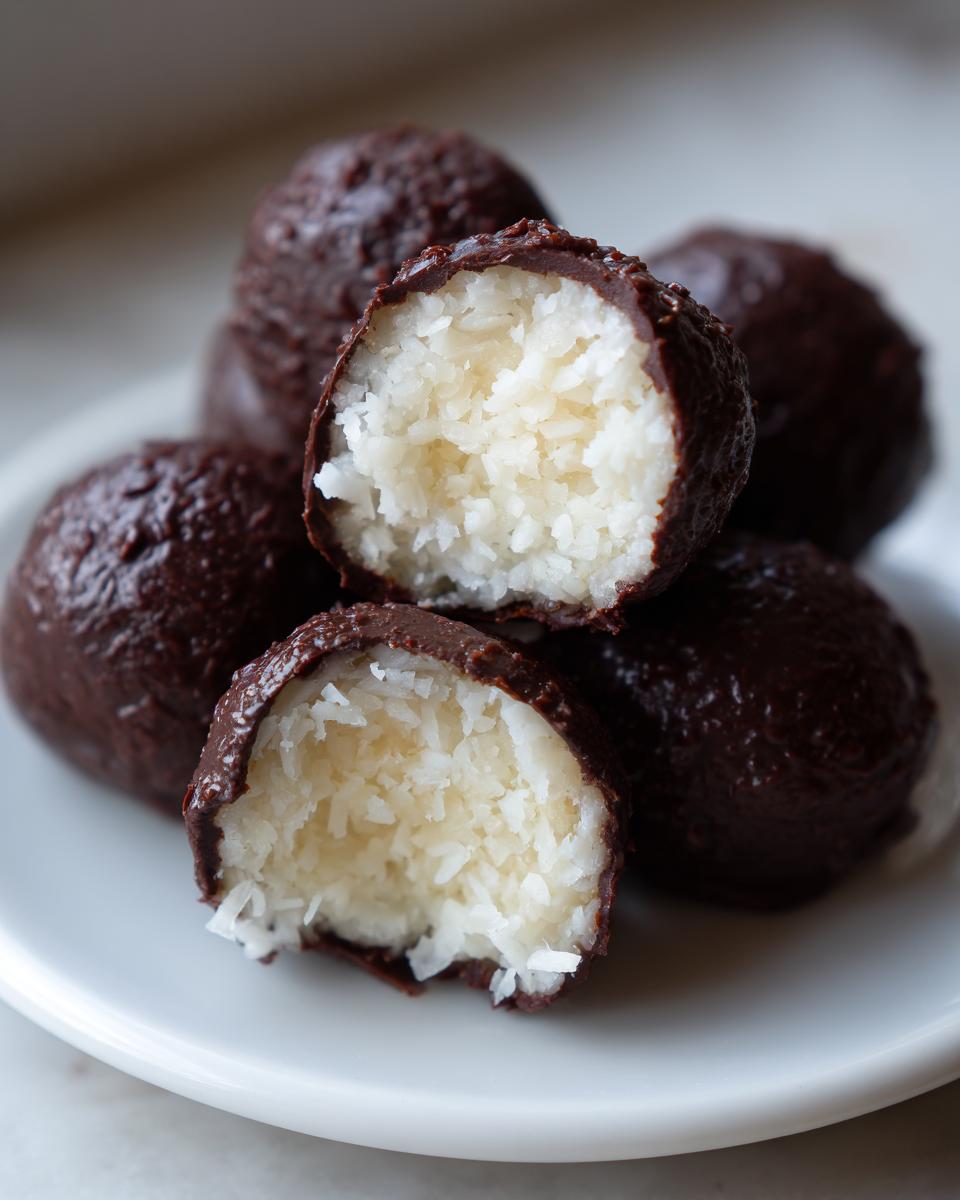
- The texture is spot on: that signature creamy coconut center balances perfectly with the crisp chocolate shell.
- We use just enough binder to keep them perfectly shaped—no crumbling allowed!
This method ensures you get that genuine store-bought taste, but fresher, right in your own kitchen. My grandmother Daisy would approve of how little fuss we make! If you’re looking for other simple favorites, you can see my guide on easy copycat Olive Garden minestrone soup recipe, but today is all about chocolate and coconut!
Simple Ingredients for Perfect Almond Joy Truffles
When a recipe is this short, every single ingredient has to pull its weight, and these almond joy truffles really deliver. We’re leaning heavily into the spirit of those rumored 4 ingredient truffles recipes, but I add one extra little thing for that mandatory almond crunch on top!
That means coconut, almond butter, a touch of maple syrup for binding and sweetness, and the dark chocolate coating. You don’t need fancy extracts or a ton of work. Just quality components that sing together. See? Simple candy making can be delightful!
Gathering Your Ingredients for Almond Joy Truffles
Okay, gathering supplies for these almond joy truffles is probably the fastest part of the whole process. I want to make sure you have exactly what you need so everything goes smoothly when it’s time to mix. Since this is a no bake truffle situation, the quality of what we put in really shines through!
Here is the short list for your shopping trip or pantry raid. Remember, we are using unsweetened coconut to control the sweetness ourselves—it makes a huge difference!
- Two cups of unsweetened shredded coconut. Make sure it’s shredded, not flaked!
- Half a cup of almond butter. This is important: use room temperature almond butter, not one that’s been sitting in the cold fridge. If it’s too hard, your coconut mixture won’t combine properly.
- Three tablespoons of maple syrup. This is our natural binder here.
- One cup of dark chocolate chips for that signature coating.
- And finally, a half cup of whole almonds to press right into the center!
That’s it! Can you believe it? This is why these are some of the best easy candy recipes floating around.
Step-by-Step Instructions for No Bake Almond Joy Truffles
I know you’re jumping ahead in your mind to the eating part, but hold tight for just a few minutes! Because these are no bake truffles, the structure we create now is everything. We need that firm coconut center so the chocolate coat doesn’t get messy when we dip them. Follow these steps carefully, and you’ll have perfect almond joy truffles every single time. We’re moving fast, so keep your freezer door ready!
For the best chilling, I love that you can find recipes like this one for easy no-bake Oreo pie that also rely on a good, cold set time. It makes all the difference!
Creating the Creamy Coconut Centers for Your Almond Joy Truffles
First things first: you’re going to toss the shredded coconut, the room-temperature almond butter, and that maple syrup into a sturdy mixing bowl. Now, you need to mix until you genuinely have a sticky dough—it won’t look like much at first, but keep working it. I usually use my hands here toward the end because that’s the best way to feel when it’s perfectly combined.
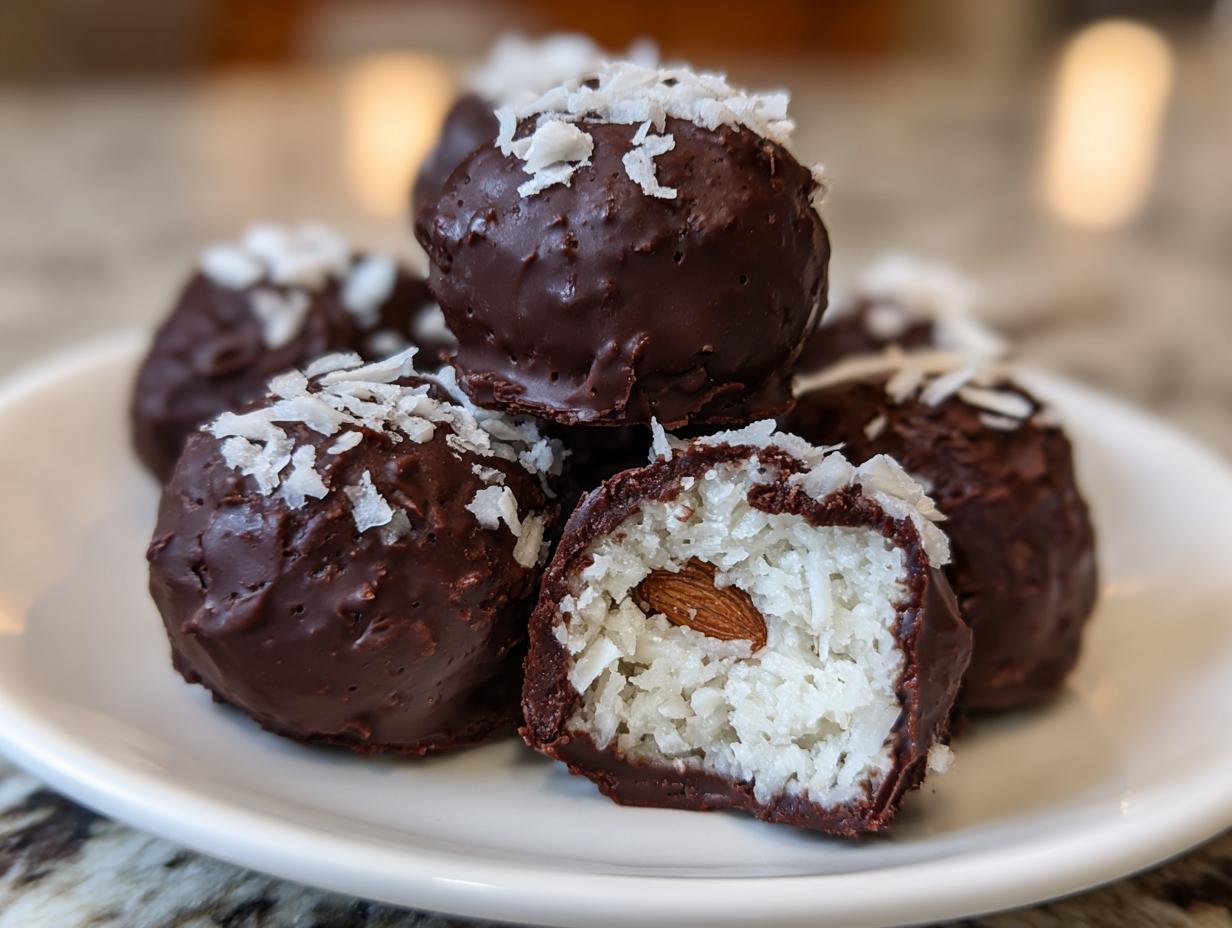
Once mixed, it’s time for the fun part of making our almond joy truffles: roll them into little balls, about an inch across. For that authentic candy bar feel, take one whole almond and really press it right into the center before you set the ball on parchment paper. My tip here is to try and roll them to the same size so they all finish coating evenly!
Chilling and Preparing for the Chocolate Coating
This step is non-negotiable if you want easy dipping. Take that sheet pan full of your gorgeous coconut balls and slide them straight into the freezer. You must let them freeze for a solid 30 minutes. If you try to dip them warm, the coconut mixture will just melt into your chocolate, and you’ll have a gooey mess instead of firm almond joy truffles.
While they are chilling, go ahead and get your chocolate ready. Thirty minutes is just enough time to get your setup sorted!
Mastering the Chocolate Dip for Your Almond Joy Truffles
Now for the chocolate! Put your dark chocolate chips in a microwave-safe bowl. Microwave them in short bursts—30 seconds at a time is plenty—stirring really well in between each round. Trust me, chocolate looks solid one minute and completely scorched the next if you rush it. Stir until it’s silky smooth.
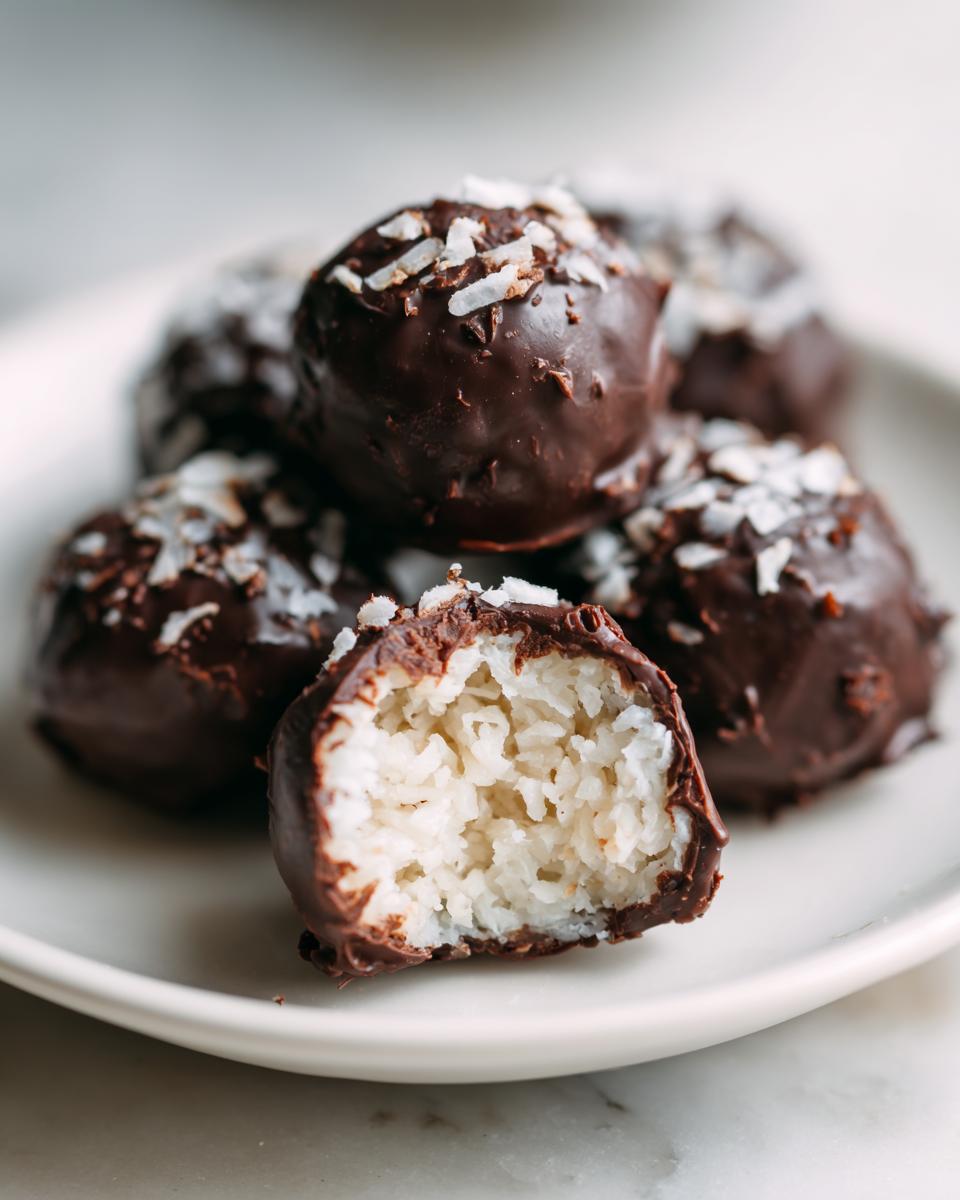
Pull those hardened centers out of the freezer. Working quickly, dip each one completely into the melted chocolate. Use a fork to lift it out, letting the excess drizzle back into the bowl. If you want that extra fancy touch like the original candy bar, gently press a tiny sliver of almond on top before the chocolate sets. You want these almond joy truffles to look as good as they taste!
Tips for Success Making Homemade Almond Joy Truffles
When you’re keeping a recipe this simple, like our almond joy truffles, every little trick for success is gold. My biggest piece of advice, which I mentioned when we talked about ingredients, is the consistency of your almond butter. If it’s rock hard from the fridge, the mixture won’t bind right, and you’ll end up trying to add extra ingredients, which defeats the purpose of this simple candy making!
If you aren’t a fan of dark chocolate, don’t worry about it! My mother always preferred a sweeter approach, so she would swap in semi-sweet or even milk chocolate chips for the coating. It changes the profile slightly, but it’s still absolutely divine. Just be mindful that milk chocolate melts a bit softer, so you might need a little extra chill time after dipping them.
Remember, getting a nice, smooth chocolate coating is all about temperature control, both for the melted chocolate and those frozen coconut centers. If you follow those freezing times, your chocolate sets fast and shiny, and you’ve mastered the whole process! You can explore more straightforward simple candy making guides over at the blog if you get the itch for more homemade sweets!
Storage and Serving Suggestions for Almond Joy Truffles
Alright, so you’ve made a batch of the most incredible almond joy truffles—now we have to keep them perfect! Since these are no-bake and full of coconut goodness, they really love the cold. You absolutely must store them in an airtight container.
Keep that container tucked away in the refrigerator. They’ll stay beautifully fresh and firm for up to a week. I’ve certainly tested this limit before, and they are always delicious, but a week is the official recommendation to guarantee maximum freshness.
These little beauties shine when they are served cold, especially when they are part of a larger spread. They make amazing holiday chocolate treats—picture them nestled next to peanut butter cups on a Christmas platter! Because they are sturdy and perfectly portioned, they are also fantastic for any big gathering or as party candy recipes. No forks required, just delicious coconut and chocolate goodness!
If you are looking for other festive, easy items to share, you might adore my recipe for easy soft Christmas sprinkle cookies. They are another one of those simple sweets that always disappears first!
Variations on Classic Almond Joy Truffles
Even though these coconut chocolate almond candy bites are perfect as is, I love getting a little creative once the basic recipe is mastered! This is where you can really make them your own for different holidays or tastes. You don’t need a whole new recipe; just a couple of clever tweaks.
If you aren’t crazy about the crunch of a whole almond, try swapping it out! Pecans or even macadamia nuts give a lovely, slightly different tropical vibe. Also, consider adding a tiny splash of flavor to that coconut center mixture before you chill it. Just a few drops of pure vanilla extract works wonders, or if you’re making them for a special grown-up treat, a splash of dark rum extract is just heavenly!
These make such wonderful easy dessert bites when you play with the additions!
Frequently Asked Questions About Almond Joy Truffles
I know when you’re making something this addictive, you probably have a few questions pop up! It’s totally normal when you’re diving into simple candy making. I’ve collected the absolute most common things folks ask me about these almond joy truffles. If I missed something, let me know in the comments!
We’ve got a few more resources I think you’ll enjoy too, especially if you love quick sweets, like my guide to easy candy recipes!
Can I make these Almond Joy Truffles with sweetened coconut?
That’s a great question about changing up the base of our coconut chocolate almond candy! You absolutely can use sweetened shredded coconut, but you have to adjust the sweetener. Because the sweetened kind already has a good amount of sugar mixed in, you should cut back significantly on, or even completely omit, the maple syrup in the coconut center. Otherwise, these little treats get way too sweet!
Are these considered 4 ingredient truffles?
People often ask about the 4 ingredient truffles concept when they see recipes like this! And honestly, the absolute core—coconut, almond butter, maple syrup, and chocolate—does technically make four ingredients for the main structure. But I firmly believe that the whole almond you press into the center is mandatory for them to become true almond joy truffles, so I count that as the magical fifth item. It’s worth the extra second just for that perfect crunch!
What if I don’t have almond butter?
If you have an almond allergy or just can’t find almond butter, peanut butter works surprisingly well, though it will change the flavor profile slightly—less tropical, more classic crunch. Cashew butter is another creamy option that keeps things in that mild, nutty family. Just make sure whatever you use is fairly creamy so it blends well with the coconut!
Can I skip freezing the centers?
Oh, please don’t skip the freezing! I know waiting feels tedious when you’re excited to eat your homemade almond joy, but if you skip those 30 minutes, those soft coconut balls will just slurp up all your beautiful melted chocolate. You’ll have soft lumps of coconut in chocolate, not firm, beautifully coated truffles. A quick freeze makes all the difference!
Quick Facts About Your Almond Joy Truffles
I always think it’s helpful to see the big picture right away—you want to know how much time you need to commit to these wonderful bites! We’re all about efficiency here, and since these are no bake truffles, they come together super fast!
- Prep Time: About 20 minutes of mixing and rolling.
- Cook Time: Just 5 minutes for melting that chocolate.
- Total Time: A quick 25 minutes of active work!
- Yield: You should get right around 20 satisfying little treats here.
And yes, good news for almost everyone: this entire recipe is vegetarian! It’s such a wonderful, easy dessert bite.
Nutritional Estimates for Homemade Candy Bites
Now, I want to be super clear here: these are homemade candy bites, not health food! But since you asked, I laid out the estimates based on the ingredients list. Whenever I share these decadent coconut treats during the holidays, people are always curious about what they are getting into.
Please remember these numbers are just guides, because how much chocolate sticks to the fork when you dip them totally changes things! These values reflect one truffle serving size:
- Calories: About 150
- Fat: 10g
- Carbohydrates: 15g
- Protein: 3g
- Sugar: 12g (That’s where the joy is!)
Enjoy them guilt-free, knowing you made them with quality ingredients!
PrintEasy No-Bake Almond Joy Truffles

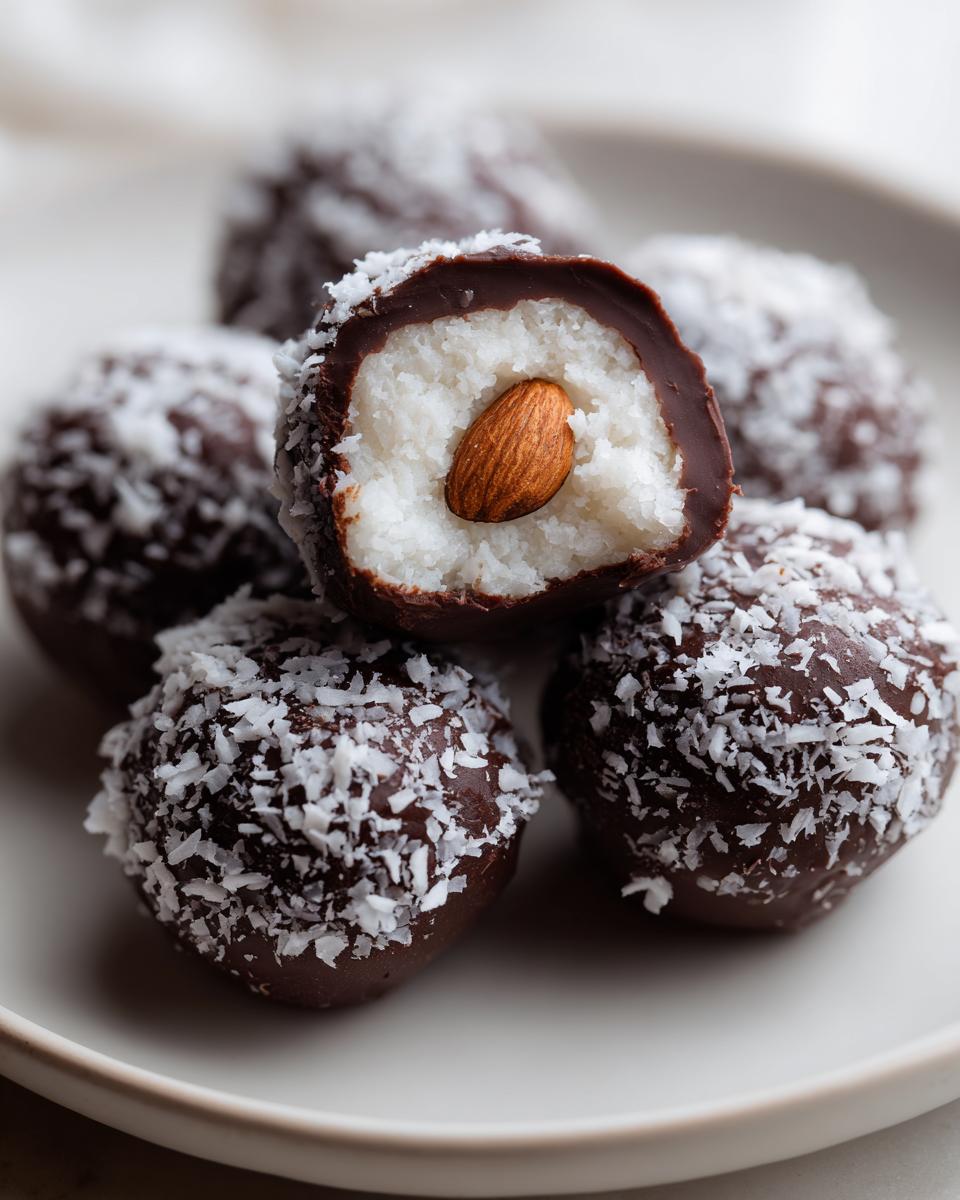
Make homemade Almond Joy truffles that taste like the candy bar. This simple, no-bake recipe features a creamy coconut center, a whole almond, and a dark chocolate coating.
- Prep Time: 20 min
- Cook Time: 5 min
- Total Time: 25 min
- Yield: About 20 truffles 1x
- Category: Dessert
- Method: No Bake
- Cuisine: American
- Diet: Vegetarian
Ingredients
- 2 cups unsweetened shredded coconut
- 1/2 cup almond butter
- 3 tablespoons maple syrup
- 1 cup dark chocolate chips
- 1/2 cup whole almonds (for topping)
Instructions
- Combine the shredded coconut, almond butter, and maple syrup in a medium bowl. Mix these ingredients until a sticky dough forms.
- Roll the coconut mixture into small balls, about 1 inch in diameter. Press one whole almond into the top center of each ball.
- Place the coconut balls onto a baking sheet lined with parchment paper. Freeze them for 30 minutes to firm up. This step is important for easy dipping.
- Melt the dark chocolate chips in a microwave-safe bowl using 30-second intervals, stirring well after each interval until smooth.
- Dip each frozen coconut ball into the melted chocolate, ensuring it is fully coated. You can use a fork or a dipping tool.
- Place the coated truffles back onto the parchment-lined sheet. If desired, press a small piece of almond onto the top of each truffle before the chocolate sets.
- Refrigerate the Almond Joy truffles for at least 1 hour, or until the chocolate coating is firm.
Notes
- For a richer flavor, use semi-sweet or milk chocolate instead of dark chocolate for the coating.
- If the coconut mixture seems too dry, add 1 teaspoon of melted coconut oil to help bind it.
- Store these homemade candy bar treats in an airtight container in the refrigerator for up to one week.
Nutrition
- Serving Size: 1 truffle
- Calories: 150
- Sugar: 12
- Sodium: 15
- Fat: 10
- Saturated Fat: 5
- Unsaturated Fat: 5
- Trans Fat: 0
- Carbohydrates: 15
- Fiber: 1
- Protein: 3
- Cholesterol: 0