
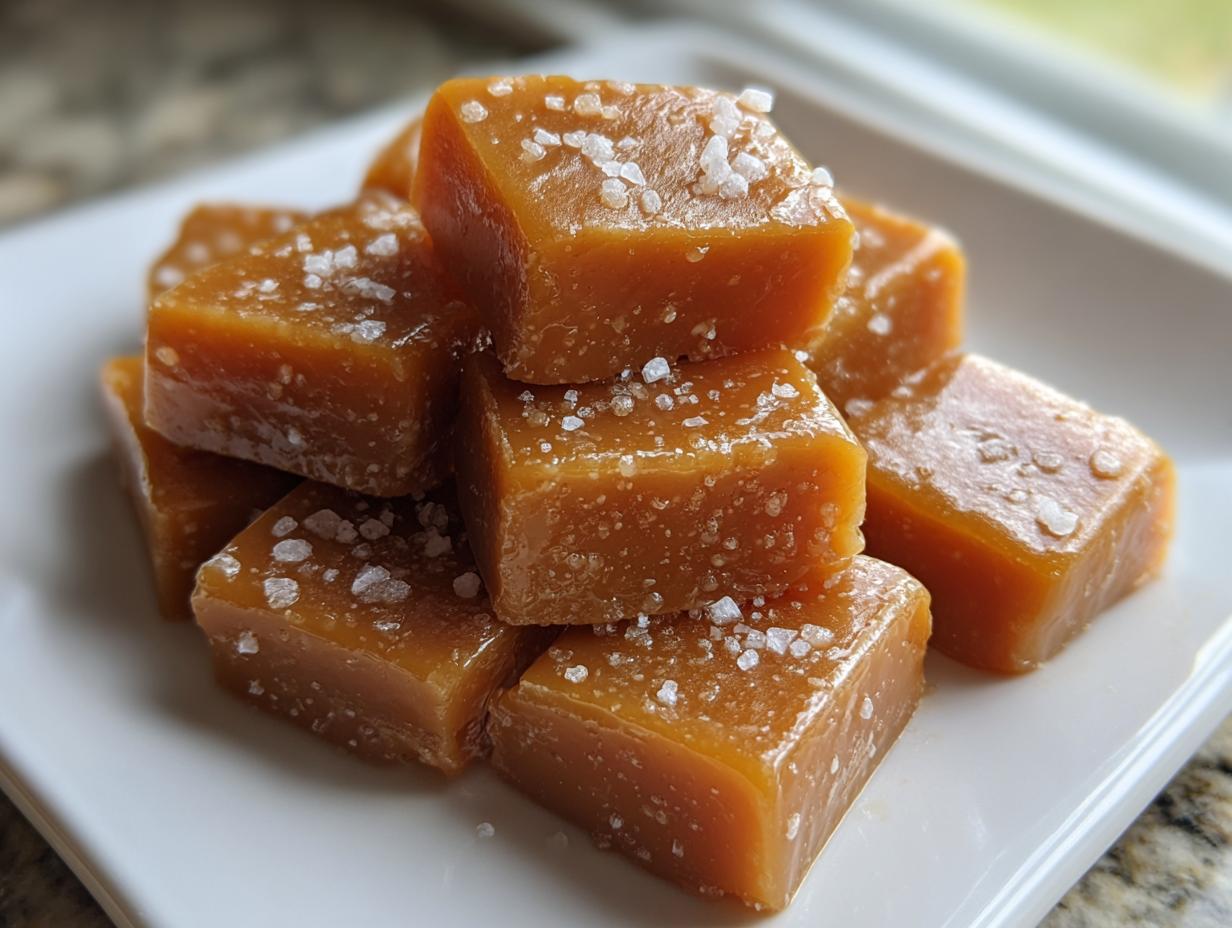
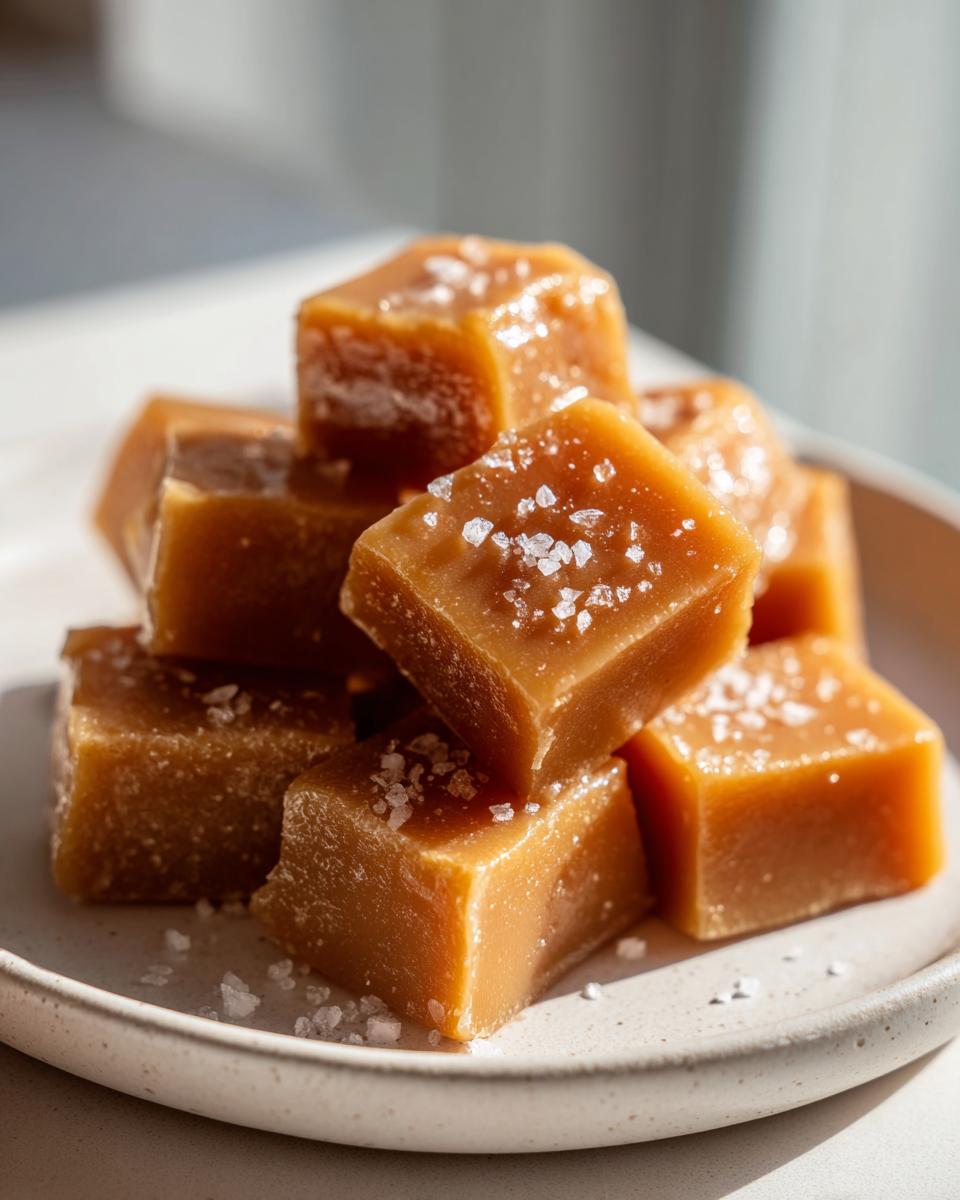
There is nothing quite like the smell of sugar caramelizing on the stove—it instantly takes me back to Grandma Daisy’s kitchen, even though I’ve traded her rustic farmhouse for my tiny city apartment. That scent is pure comfort, and it means something special is coming. Forget those hard, waxy things you buy in the bulk bin! I’m sharing what I genuinely believe is the best homemade soft & chewy sea salt caramels recipe you’ll ever try. These aren’t fussy; they are rich, intensely buttery, and surprisingly straightforward to whip up from scratch. Making these gorgeous little caramels is how I keep Daisy’s legacy of simple, honest cooking alive in my own hectic life.
- Why This is the Best Caramel Candy Recipe for You
- Gathering Ingredients for Homemade Caramels
- How to Prepare Easy Homemade Caramels Recipe
- Tips for Making Perfect Sea Salt Caramels Tutorial
- Storage and Gifting Your Homemade Caramels
- Essential Equipment for Making Caramels From Scratch
- Frequently Asked Questions About Soft Chewy Caramels
- Nutritional Estimates for These Buttery Caramel Candy Treats
- Share Your Experience Making These Sweet Homemade Treats
Why This is the Best Caramel Candy Recipe for You
I know that candy making can sound intimidating—like you need a chemistry degree or at least a fancy candy thermometer. But trust me, these caramels are different! What I love most is that they capture that deeply satisfying chewiness without fighting you every step of the way. We’re focusing on simple ingredients to deliver that incredible, decadent flavor we all crave.
Achieving Soft Chewy Caramels Texture
The texture here is everything; they are perfectly soft chewy caramels that melt beautifully without feeling greasy. This all comes down to hitting the right temperature marks. If you cook it just shy of the hard crack stage, you lock in just enough moisture so they don’t turn into little brittle blocks. It’s about balancing the sugar and the cream.
The Secret to Buttery Caramel Candy Flavor
If you want amazing flavor, you absolutely must use real dairy here. My secret to achieving that amazing buttery caramel candy taste is using a full stick of unsalted butter and good quality vanilla extract at the very end. Seriously, don’t skimp; that richness shines through and makes these feel gourmet!
Gathering Ingredients for Homemade Caramels
One of the best things about making caramels this way is that you probably have most of what you need sitting right in your pantry. There aren’t any odd, hard-to-find items here, I promise! Daisy always taught me that the best recipes use simple building blocks, relying on technique rather than obscure supplies. When you see the short list below, you’ll feel instantly relieved and ready to get started. It’s all about quality, not quantity, in the ingredients list!
Ingredient List for Soft & Chewy Sea Salt Caramels
This is what you need for approximately 64 melt-in-your-mouth pieces. Make sure your butter and cream are ready to go right near the stove, as we move fast later on. For the salt, remember we need some mixed in for flavor and a sprinkle on top for that gorgeous finish.
- 1 cup granulated sugar
- 1 cup light corn syrup
- 1 cup heavy cream
- 1/2 cup (1 stick) unsalted butter
- 1 teaspoon vanilla extract
- 1/2 teaspoon salt, plus extra flaky sea salt for topping
If you’re looking to jazz them up later, try adding a little pure maple syrup here for a lovely twist, kind of like in my sunshine applesauce cookies when I want that deep flavor!
How to Prepare Easy Homemade Caramels Recipe
Okay, deep breath! This is where the transformation happens. Mastering this easy homemade caramels recipe is all about paying attention to the clock and the color. Don’t rush the process, and remember that cooking sugar takes respect—it gets incredibly hot! This method will give you those perfect, bendy caramels every single time. Before you even turn on the heat for the sugar, you need your pan prepped and ready to go, just like we talked about with baking the perfect pound cake! If you’re looking for other simple, no-fuss recipes, you should check out my guide on no-bake peanut butter protein balls while you wait for these to cool.
Preparation and Initial Sugar Cook for Your Caramels
First things first: grab that 8×8 pan. Grease it well, then line it with parchment paper so it hangs over the edges like little handles. This saves *so* much headache later when trying to lift the whole block out! Now, grab your heavy-bottomed saucepan—you need that good, thick metal to keep the heat even. Combine your sugar and corn syrup. Stir it until the sugar melts completely, but listen to me: once it starts bubbling, stop stirring! If you keep fidgeting with it, you risk crystallization, and that’s candy kryptonite. You need it to cook until it hits 245 degrees Fahrenheit. If you’re trying the caramel recipe no candy thermometer style, you’re looking for a deep, lovely amber color—think dark, rich honey or even maple syrup. That color is your cue! If you want to see how others prep for holiday baking, check out this great article on homemade caramels.
Adding Dairy and Reaching Final Temperature
This part is dramatic, so stand back! Once you hit that perfect color, you need to add the butter and the heavy cream. It’s going to bubble up like a volcano spitting glitter, so be ready! Whisk constantly until all that butter dissolves and it smooths out again. Then, we go back to cooking. Keep stirring frequently until you hit 245°F *again*. Seriously, that second temperature check is what guarantees the right consistency. If you’re eyeballing it, just cook until it looks thick enough to really coat the back of a spoon heavily. Set a timer for this part so you don’t walk away!
Finishing, Cutting, and Wrapping Homemade Caramels
When it’s finally cooked perfectly, pull it off the burner right away. Stir in your vanilla and that measured salt. Pour that gorgeous liquid gold into your prepared pan—and don’t scrape the sides of the pan, we don’t want any weird bits in there! Immediately sprinkle that flaky sea salt over the top. Let them cool completely, and I mean *completely*—no peeking for at least three hours or they will be soup! I know waiting is hard, but it’s vital for structure. Once firm, use those parchment handles to lift the whole slab, and slice them into neat squares. If you’re making these caramels for gifting, wrap each one individually in wax paper so they don’t stick together. So simple!
Tips for Making Perfect Sea Salt Caramels Tutorial
Even with a straightforward recipe like ours, sometimes things go a little sideways when cooking sugar. Don’t panic! This is part of the fun of learning how to make caramels at home. If you followed the instructions well, your caramels should be absolutely divine, but here are a few secrets for troubleshooting your sea salt caramels tutorial success.
Troubleshooting Common Caramel Issues
If your mixture turned grainy or crystallized when you added the cream, it usually means a sugar grain stuck to the side of the pan and started forming crystals prematurely. Next time, brush the sides of your pot with a wet pastry brush while the sugar heats up—that washes the rogue grains back down. If they just won’t set firm, you likely pulled them off the heat just a minute too soon. For next time, let that temperature climb just a hair higher for a firmer, chewier result! Don’t worry, they still taste amazing even if they are softer.
Variations: Maple Caramels Recipe Ideas
While the classic sea salt is my go-to—that salty crunch against the sweet base is just unbeatable—I love experimenting for the holidays. If you want a richer, woodsy flavor, try making maple caramels! It’s incredibly easy. You just need to swap out exactly one tablespoon of the heavy cream measured in the recipe for one tablespoon of pure, good-quality maple syrup. That little addition adds so much beautiful depth to these otherwise simple caramels. You could even drizzle melted chocolate over these vanilla bean and maple treats before wrapping them for an extra gourmet touch. You can see how I use maple accents beautifully in my chocolate cake recipe, too!
Storage and Gifting Your Homemade Caramels
Once these beautiful sticky squares are cut, the next most important phase is storing them so they keep that heaven-sent, soft texture. You must keep them wrapped individually! If you just toss them all into a container, they’ll melt into one giant, delicious, but ultimately useless, block of sugary goo—especially if it’s warm in your house. Wax paper is your best friend here, almost like wrapping a tiny, buttery present.
This is precisely why these caramels are one of my favorite things to make for the holidays. People go absolutely wild for homemade candy! Wrapping them up makes perfect caramels for gifting; they look so much more thoughtful than store-bought stuff. You can stack them in clear cellophane bags tied with ribbon, or tuck them into small tins. They transport beautifully, too, which is great if you’re taking them to parties or family gatherings. For a little inspiration on other festive goodies you can share, check out my recipe for pecan pie balls—they make a fantastic addition to any candy assortment!
These wrapped caramels will keep beautifully at cool room temperature for about two weeks, or you can tuck them into the fridge for longer storage. Just make sure they come back to room temperature for about an hour before serving so they soften up to that perfect chewy bite again. If you try them, let me know how they fared as holiday gifts! See how much joy others have found making these homemade caramels.
Essential Equipment for Making Caramels From Scratch
When you decide to make caramels from scratch, having the right gear makes the whole adventure feel less like a chore and more like an enjoyable Sunday afternoon activity. You don’t need a huge setup, thankfully! Really, the most crucial pieces of equipment involve your heat source and your container for setting the candy. If you’re diving into this, make sure you have these items clean and ready to go before you even turn the burner on. It prevents that frantic searching when the sugar is bubbling!
The star of the show is definitely a heavy-bottomed saucepan. This is non-negotiable for even cooking. A lighter pan means hot spots, and hot spots mean scorched caramels—nobody wants burnt sugar flavor contaminating that lovely buttery sweetness!
Now, here’s my big piece of advice for building confidence in candy making: get yourself a reliable digital candy thermometer. While the recipe notes mention how to eyeball the color, using a thermometer takes all the guesswork out. It makes achieving that perfect soft chewy caramels texture totally foolproof. It’s an inexpensive investment that guarantees success for all your future homemade candy projects!
You’ll also need an 8×8 inch pan lined with parchment paper (the handles are key!), and some wax paper for wrapping everything up after cutting. It’s a simple list, but each tool plays an important part in delivering those delicious soft, fluffy treats later.
Frequently Asked Questions About Soft Chewy Caramels
It’s totally normal to have questions when you’re venturing into making candy at home! Sugar is a bit temperamental, but once you know the tricks, these caramels become a breeze. We want everyone to succeed in making these wonderful, buttery treats!
Can I make these caramels without a candy thermometer?
Absolutely, you can! Daisy never used one back in the day, and I include the visual cues right in the directions. When you’re making your first batch of caramels, watch that color carefully after the initial boil. You are looking for a deep, rich amber—the color of aged whiskey or dark maple syrup. If it looks pale, it needs more time. Trust the color! This is the key to getting that soft chewy caramels texture without the fancy gadget.
How do I ensure my homemade caramels stay soft and chewy?
The real secret to keeping your candy soft and chewy lies entirely in that second temperature reading. You are aiming for exactly 245°F before you take the mixture off the heat. If you cook it much higher, you start boiling off too much moisture, and you shift the candy from soft chew territory into the hard candy zone. Also, don’t forget to use the full amount of cream and butter listed—the fat content really helps keep them supple and tender.
What is the best way to cut the caramels neatly?
Cutting can be messy if you hesitate! The minute the caramels are completely cool and firm (at least three hours!), grab your big carving knife and wipe the blade down with a little neutral oil or spray it lightly with non-stick cooking spray. If the knife gets sticky as you go, wipe it clean and re-oil it frequently. This prevents the sticky caramel from clinging to the knife and pulling your squares apart when you wrap them. Don’t forget to wrap them right after cutting so they don’t stick to each other!
For other easy kitchen inspiration, you might want to peek at my recipe for creamy pumpkin soup—it’s the perfect savory contrast to these sweet homemade treats! If you’re really in a rush, remember that some people swear by the microwave caramels easy method for a quicker fix, though I find the stovetop gives a richer result for these classic caramels.
Nutritional Estimates for These Buttery Caramel Candy Treats
Now, I know we aren’t making these caramels for a health kick, right? They are pure indulgence! But since we value transparency here at Daisy’s Recipes, I put together the estimated nutrition facts based on one square. Remember, this is just an approximation because amounts can vary slightly based on how thick you cut them, but it gives you a general idea of what you’re enjoying!
For these wonderfully buttery caramel candy treats, here are the rough figures per serving (which we define as one 1-inch square):
- Calories: About 100
- Total Fat: 3g
- Carbohydrates: 18g
- Sugar: 18g (Yes, that’s a lot of pure joy!)
- Sodium: 45mg
You see that high sugar content? That’s why we make them for special occasions only! If you’re looking for another easy, flavorful recipe to make when you want something satisfying, check out my recipe for easy homemade BBQ sauce—it’s completely different, but just as simple to master!
Share Your Experience Making These Sweet Homemade Treats
Now that you’ve created your own batch of these incredible, melt-in-your-mouth caramels, I truly want to hear all about it! Did you enjoy wrapping them up for holiday gifts? Were they the hit of the party? Please take a moment to leave a rating below and drop a comment telling me how your first experience felt. Sharing our successes and sticking points is how we all learn to be better cooks, just like Daisy taught me!
If you made these stellar sweet homemade treats, snap a picture and tag me on social media! Seeing your beautifully salted squares makes my whole week. If you’re looking for something savory to balance out all that sugar, you absolutely have to try my creamy garlic sauce recipe next time! And if you loved these, go ahead and pin them so you can find this recipe easily next year. I highly recommend checking out how others did with their homemade sea salt soft caramels, too!
PrintBest Homemade Soft & Chewy Sea Salt Caramels
Make rich, buttery, soft, and chewy homemade caramels with this simple recipe. These melt-in-your-mouth treats are perfect for gifting during the holidays.
- Prep Time: 15 min
- Cook Time: 20 min
- Total Time: 3 hours 35 min
- Yield: About 64 pieces 1x
- Category: Candy
- Method: Stovetop Cooking
- Cuisine: American
- Diet: Vegetarian
Ingredients
- 1 cup granulated sugar
- 1 cup light corn syrup
- 1 cup heavy cream
- 1/2 cup (1 stick) unsalted butter
- 1 teaspoon vanilla extract
- 1/2 teaspoon salt, plus extra flaky sea salt for topping
Instructions
- Lightly grease an 8×8 inch baking pan and line it with parchment paper, leaving an overhang on two sides for easy removal. Set aside.
- Combine the sugar and corn syrup in a heavy-bottomed saucepan over medium heat. Stir until the sugar dissolves.
- Stop stirring once the mixture boils. Allow the mixture to cook until it reaches 245 degrees Fahrenheit on a candy thermometer, or until it is a deep amber color if you are not using a thermometer. This usually takes about 10 to 15 minutes.
- Carefully pour the heavy cream and butter into the hot sugar mixture. The mixture will bubble up significantly. Whisk constantly until the butter is fully melted and the mixture is smooth.
- Continue to cook, stirring frequently, until the caramel reaches 245 degrees Fahrenheit again. If you are not using a thermometer, cook until the mixture thickens noticeably and coats the back of a spoon heavily.
- Remove the pan from the heat. Stir in the vanilla extract and 1/2 teaspoon of salt.
- Pour the hot caramel mixture into the prepared baking pan. Do not scrape the sides of the pan.
- Sprinkle the top evenly with flaky sea salt while the caramel is still warm.
- Let the caramel cool completely at room temperature for at least 3 hours, or until firm.
- Once firm, use the parchment paper overhang to lift the block of caramel out of the pan. Cut the caramel into 1-inch squares. Wrap each piece individually in wax paper for storage or gifting.
Notes
- If you skip the candy thermometer, watch the color closely. You want a deep golden brown, similar to the color of honey or maple syrup.
- For maple caramels, substitute 1 tablespoon of the heavy cream with 1 tablespoon of pure maple syrup.
- If you prefer a softer caramel, slightly reduce the cooking time or temperature.
Nutrition
- Serving Size: 1 square
- Calories: 100
- Sugar: 18
- Sodium: 45
- Fat: 3
- Saturated Fat: 2
- Unsaturated Fat: 1
- Trans Fat: 0
- Carbohydrates: 18
- Fiber: 0
- Protein: 0
- Cholesterol: 10