
Oh, I know exactly what you’re hunting for! You want that beautiful, tangy sourdough flavor, but you absolutely *must* have a loaf that can stand up to a PB&J without falling apart. Trust me, I spent years trying to master the loaf that was both artisan-tasting and soft enough for my kids’ lunchboxes. That quest brought me right back to my grandmother Daisy’s wisdom. She taught me that baking is about connection, and I’m reclaiming that tradition now that life has slowed down a bit. This ultimate sourdough sandwich bread recipe is the one that finally clicked. It’s unbelievably soft, packed with gut-health benefits from the long ferment, and honestly, it’s my secret weapon for convincing even skeptics that naturally leavened bread is easy!
- Why This is the Best Sourdough Sandwich Bread Recipe for Beginners
- Ingredients for Your Fluffy Sourdough Bread
- Homemade Sandwich Bread Sourdough Instructions: Mixing and Autolyse
- Building Structure: Stretch and Folds for Sliceable Sourdough Bread
- Bulk Fermentation and Shaping the Classic Sourdough Sandwich Loaf
- Proofing and Baking the Perfect Sourdough Loaf for Toasting
- Tips for Success with Your Easy Sourdough for Beginners
- Storage and Using Your Naturally Leavened Sandwich Bread
- Frequently Asked Questions About Sourdough Sandwich Bread
- Share Your Sourdough Sandwich Bread Creations
- Estimated Nutritional Data for Sourdough Sandwich Bread
- Share Your Sourdough Sandwich Bread Creations
- Estimated Nutritional Data for Sourdough Sandwich Bread
Why This is the Best Sourdough Sandwich Bread Recipe for Beginners
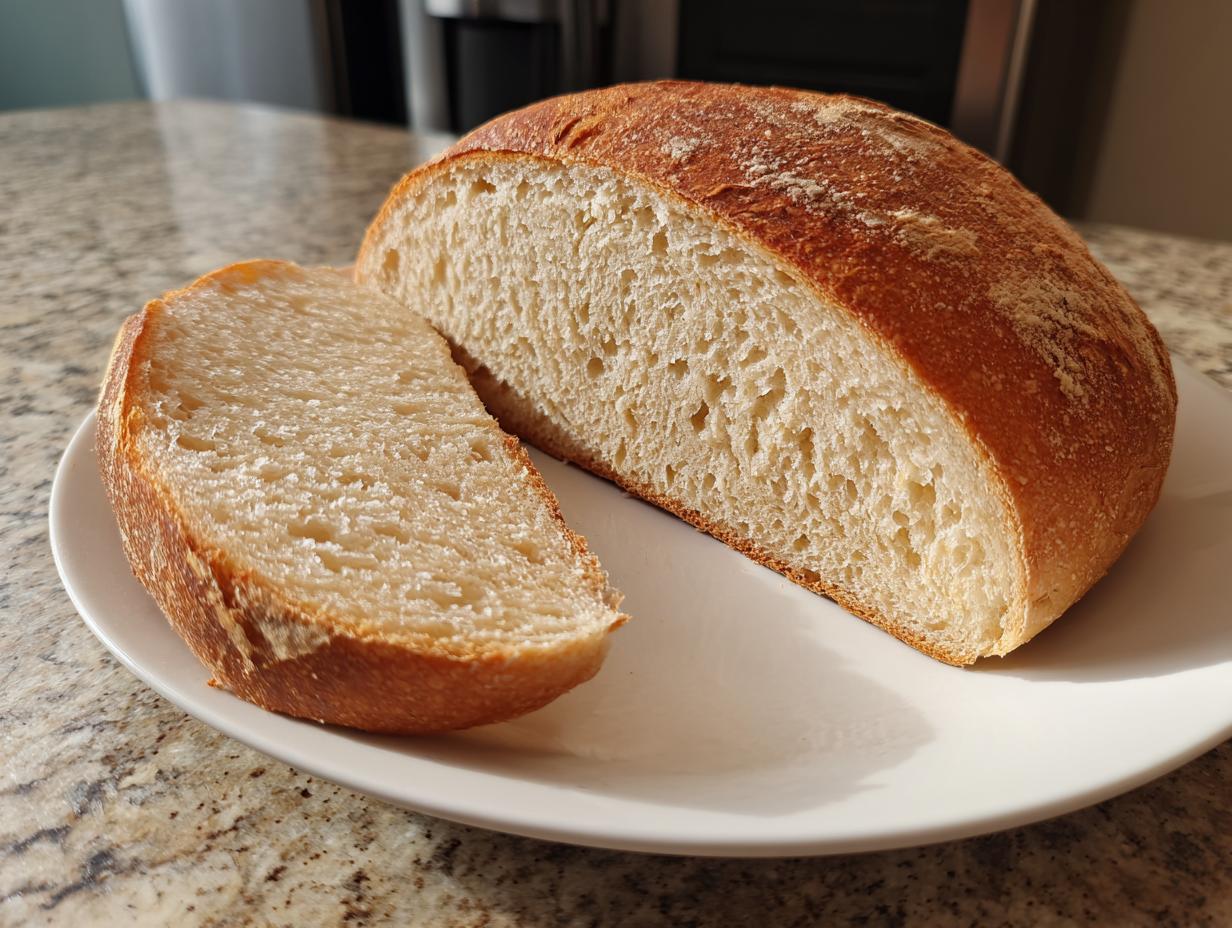
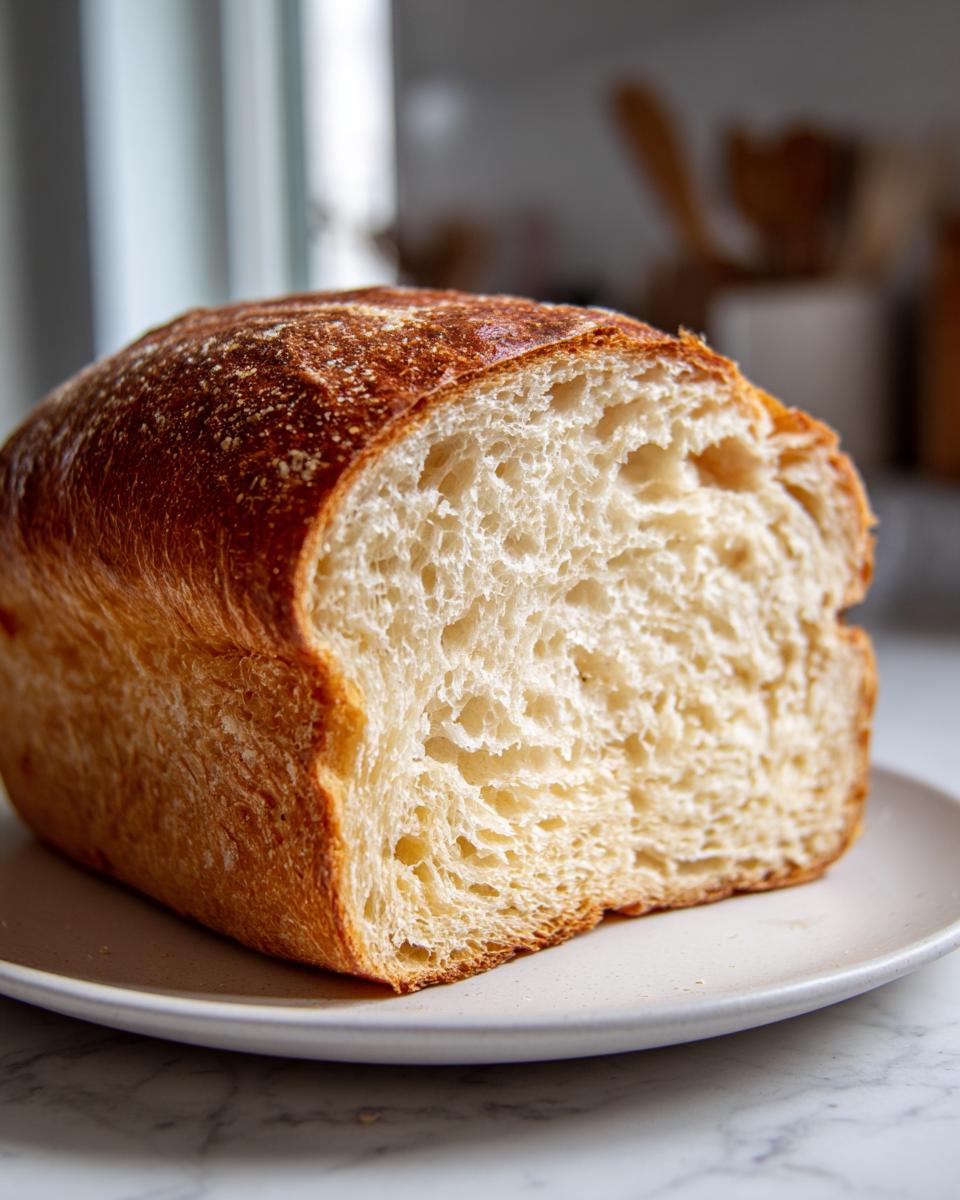
Listen, I know what you’re thinking: Sourdough is too fussy for my busy week. But this is truly the best sourdough sandwich bread recipe because we skip all the acrobatics! We’re aiming for a loaf that’s wonderfully fluffy and super sliceable, which is the hardest part for newbies. I swear, I won’t let you end up with a brick! This method naturally avoids that dense texture by focusing on the shaping and ingredients. I want your first homemade sandwich bread sourdough instructions attempt to be a huge success. If you want tender results in other breads, check out my soft naan bread!
Achieving a Soft Sourdough Loaf Texture
The secret to that amazing soft sourdough loaf texture isn’t just in the long rise, though that helps! It’s that little bit of avocado oil and the honey in the mix. Fat is what keeps the crumb from getting too open and chewy like a rustic boule. Plus, shaping it tightly into a log for the pan compresses those bubbles just enough to give you those perfect, even slices every time. It just works!
The Gut Health Benefits of This Sourdough Sandwich Bread
Even though we are making this loaf easier for beginners, we aren’t skipping the good stuff. Because this is naturally leavened, the long fermentation time really helps break down the flour, making this sourdough sandwich bread much friendlier on your tummy. It’s that perfect combination of incredible flavor and making sure you feel great after eating a thick slice!
Ingredients for Your Fluffy Sourdough Bread
Okay, let’s talk about what you need to whip up this wonderfully fluffy sourdough bread. Don’t be intimidated by the starter; that’s the magic bit! You need to make sure your starter is active and bubbly, like it’s ready to pop! If it’s sluggish, your bread will be too, so feed it a few hours before you mix.
- 150g active sourdough starter (It needs to be hungry and happy!)
- 325g warm filtered water
- 20g avocado oil
- 25g honey
- 500g unbleached bread flour
- 10g salt
If you want to see how I get fluffiness in other recipes, take a peek at my sweet potato biscuits!
Ingredient Notes and Substitutions for Sourdough Sandwich Bread
We use unbleached bread flour here instead of all-purpose because that extra protein gives us the structure we need to get a nice, tall rise in the loaf pan. Don’t swap that out unless you really have to!
Now for the fat: I always choose avocado oil instead of butter in this recipe. Why? Butter tastes amazing, of course, but oil keeps the crumb softer for longer, even when refrigerated. It helps this sourdough sandwich bread stay tender instead of hardening up too fast. The honey isn’t just for a touch of sweetness; it’s a natural tenderizer that holds onto moisture too. It really helps make a difference!
Homemade Sandwich Bread Sourdough Instructions: Mixing and Autolyse
Ready to get your hands a little messy? Wonderful! This mixing stage is where we introduce our starter to its breakfast. Grab your big bowl—we don’t want to be cramped here.
First, we mix all the lovely wet stuff together. Whisk your active starter, the warm water, that rich avocado oil, and the sweet honey until it looks kind of milky and combined. It doesn’t need to be perfect, just mingled.
Now, dump in your bread flour and the salt. Don’t grab your mixer! We are doing this by hand. Mix everything just until you can’t see any dry flour bits floating around. Seriously, stop mixing when it looks ugly. That’s right, it should be what we call a ‘shaggy dough.’ It will look messy, a bit sticky, and nowhere near smooth. That’s exactly what we want for this sourdough sandwich bread.
This next part is my favorite trick for beginners: the rest! Cover that shaggy mess up tightly with a damp towel or plastic wrap and just walk away for one full hour. This resting time is called autolyse. It lets the flour soak up all that liquid and start doing the hard work of gluten development all by itself. It saves your arms later, and it’s key for getting that beautiful structure. Trust me, that one hour of waiting ensures you get that creamy texture later, even without kneading for ages!
Building Structure: Stretch and Folds for Sliceable Sourdough Bread
Okay, the dough has rested, and it’s time to teach it some manners! Those stretch and folds are the gentle workout that builds the strength we need for a beautiful sliceable sourdough bread. This is where we develop the gluten structure without knocking all the lovely gas out that we’ve worked so hard to create.
You’ll perform four sets of these, and they need to be spaced about 30 minutes apart. Set a timer because timing matters here! You don’t need to knead or punch the dough down; we are being delicate here.
Here is the physical action: Get your hands lightly wet—not oiled, just wet—so the dough doesn’t stick to you like glue. Reach under one edge of the dough, gently lift it up until you feel some tension, and then fold that lifted section right over the center of the dough mass. Don’t yank it all the way! Just fold it over itself.
Now, rotate your bowl about a quarter turn—you know, like turning the hands of a clock—and repeat that same gentle stretch and fold action on the next side. Do this four times total, hitting all four sides of the dough mass in sequence.
When you are done with one full rotation of four folds, cover the bowl back up and wait 30 minutes for the dough to relax a little. Then, you’ll simply repeat that whole process three more times. By the fourth set, you’ll notice the dough feeling much smoother and holding its shape better. It’s amazing how much stronger it gets just from those gentle tugs! This simple sequence is what ensures you get that soft crumb instead of a heavy brick.
Bulk Fermentation and Shaping the Classic Sourdough Sandwich Loaf
Now that we’ve done the stretch and folds, it’s time to just let the dough do the heavy lifting during bulk fermentation. This period is crucial for flavor development, but also for getting that light, airy inside that makes this sourdough sandwich bread so great for sandwiches!
The time this takes really depends on how warm your kitchen is. Seriously, the dough is your boss here, not the clock! You’ll want to let it sit, covered snugly, for anywhere from four to eight hours. What are you looking for? It should only increase in volume by about 30% to 50%. Don’t let it double! If it goes too far, it will be too weak to hold its shape for the pan, and that leads to the gummy texture we are trying to avoid so desperately.
Once it looks happy, bubbly, and has that nice dome, it’s time to shape it. This is where we turn our sticky mass into a tidy package ready for the loaf pan. Gently, and I mean gently, turn the dough out onto a surface that is just barely floured—too much flour and it won’t stick to itself properly.
We are aiming for a tight log here, not a round boule. Gently flatten the dough into a rough rectangle shape. Then, take the top edge and fold it about two-thirds of the way down toward the center. Press that top fold lightly with your fingertips to seal it just a bit.
Next, fold the remaining top edge all the way over this first fold, really overlapping it. Now, using your palms, lightly roll or scoot the dough toward you, putting just a tiny bit of surface tension on the top. This movement seals the bottom seam tightly. You want that seam to be nice and secure so it doesn’t pop open while baking!
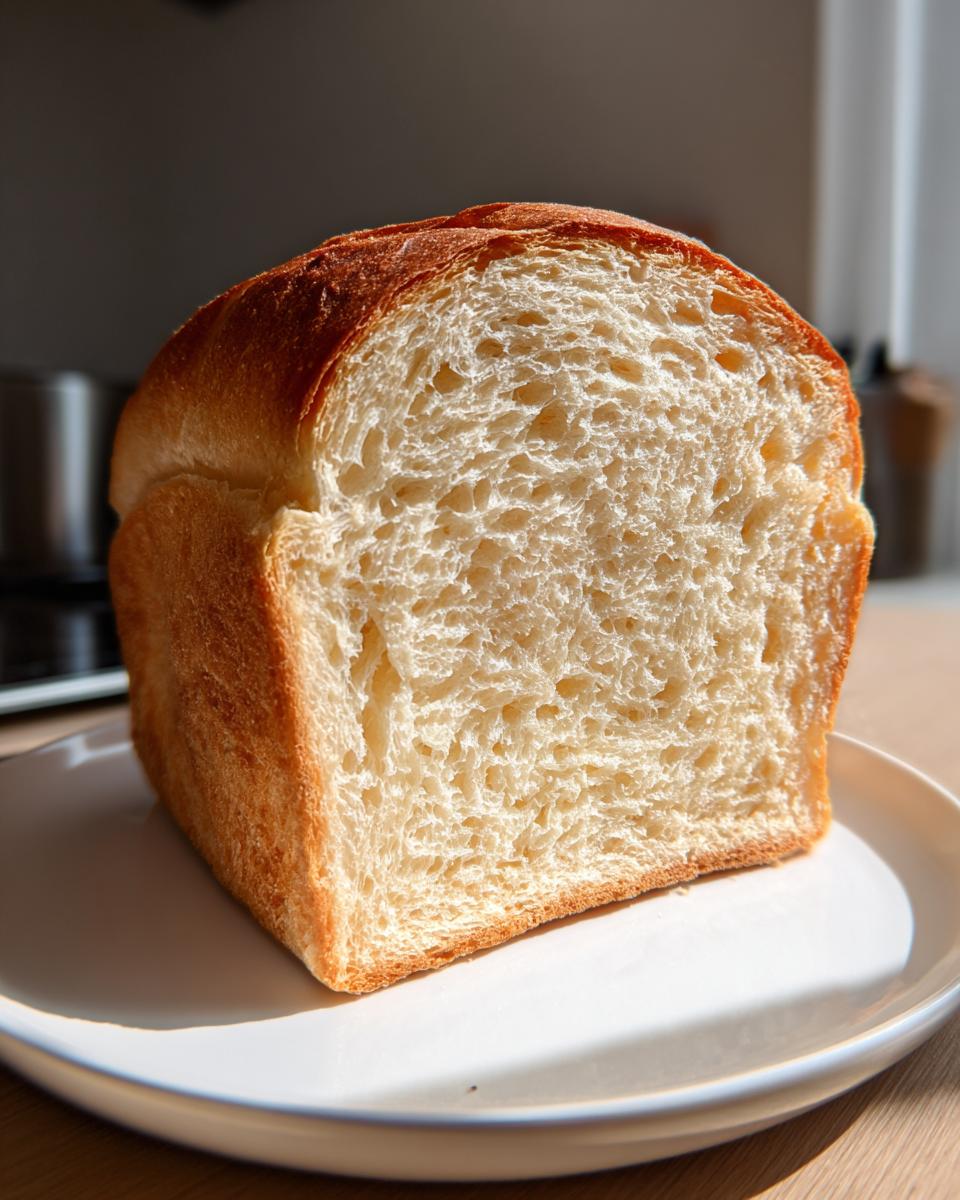
Once you have your tight log shape, dust the loaf pan you are using—a standard 9×5 inch pan works perfectly—with some oil or use some creamy soup style pan release we talked about earlier. Place your shaped dough in the pan with the sealed seam facing down. It should fit snugly but comfortably. Keep it covered loosely while it proofs next. This shaping is what guarantees a beautiful, classic sourdough sandwich loaf that slices like a dream!
Proofing and Baking the Perfect Sourdough Loaf for Toasting
We’ve shaped our beautiful log, and now it’s time for the final rest, which we call the final proof. This step can feel nerve-wracking because it determines that beautiful oven spring we all chase. Keep that loaf pan lightly covered so the dough doesn’t dry out and form a skin. We’re letting it sit at room temperature for about one to three hours.
How do you know it’s done proofing? You want it to rise until it’s about an inch above the rim of your loaf pan. If you gently poke it with a floured finger, the dough should spring back slowly, but leave a slight indent. If it springs back instantly, it needs more time. If the dent stays completely put, oops, it might be slightly over-proofed, but don’t panic! This recipe is forgiving.
When it looks just right, it’s time to get that oven roaring! Preheat your oven precisely to 375°F (190°C). I know some recipes go higher, but for this tender sourdough sandwich bread, a slightly lower, steady heat helps keep that crust thin and soft, perfect for toasting.
Slide that loaf in gently. You’re going to bake it for about 40 to 50 minutes. You are looking for a nice golden-brown color on top, but the real test happens inside. You absolutely need to check the internal temperature with a reliable thermometer. We want it to hit 205°F (96°C) for a fully baked crumb. If you don’t have a thermometer, tapping the bottom should sound nicely hollow.
Now, here is probably the most painful piece of advice I can give you for achieving that sliceable sourdough bread: Take the loaf out of the pan immediately after you pull it from the oven! If you leave it in the hot metal, the steam trapped inside will condense, and you’ll end up with a gummy bottom. Pop it out onto a wire rack right away.
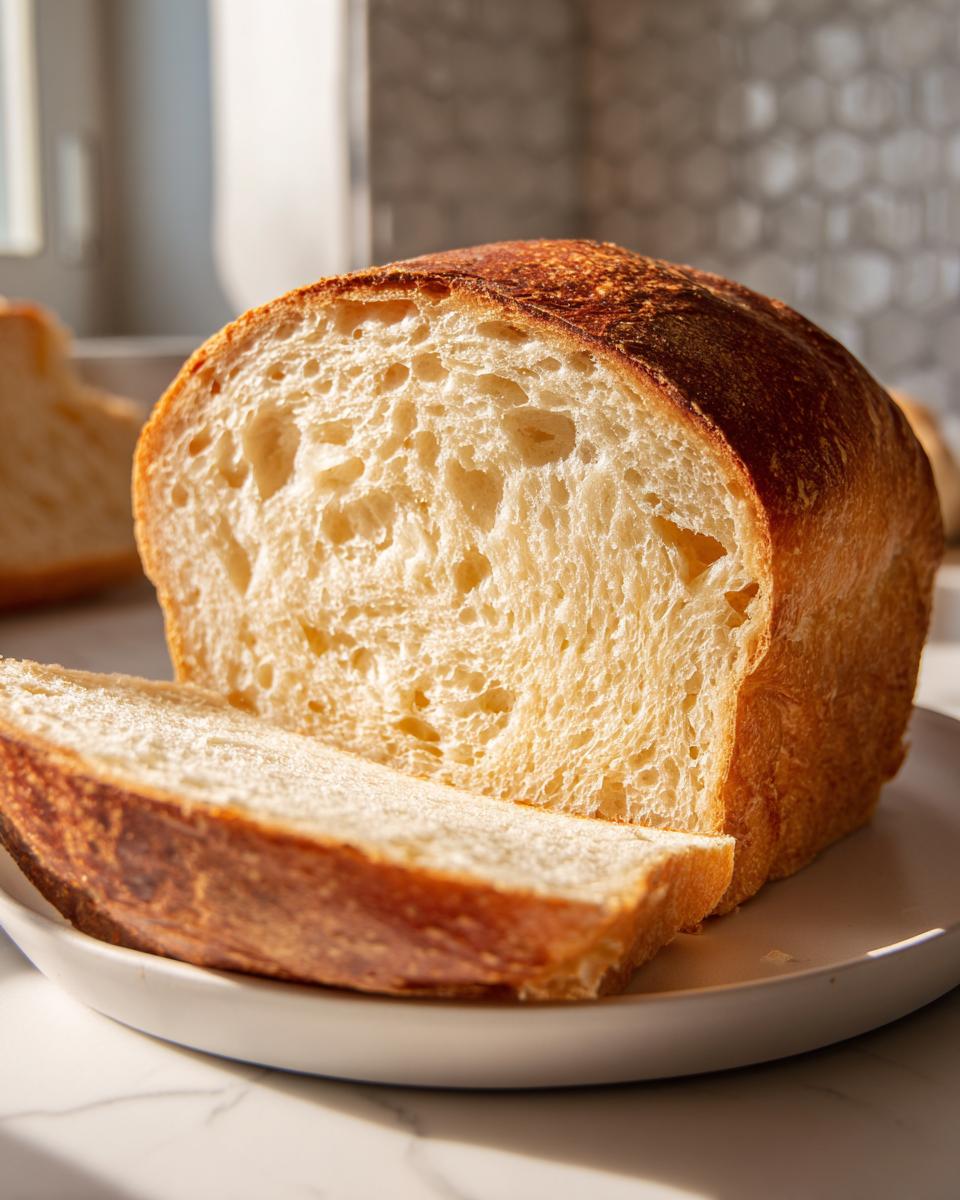
You must let it cool completely—and I mean completely, which might take two or three hours—before slicing. If you cut into that perfect sourdough loaf for toasting while it’s even slightly warm, the interior crumb structure will collapse, and it will feel wet inside. Patience, friend! It’s worth the wait for that soft, dreamy texture. If you are looking for other soft bakes, you have to check out my recipe for gooey cinnamon buns!
If you follow these temperature and cooling rules, you’ll end up with the prettiest loaf ready for sandwiches, grilled cheese, or just a smear of butter. Check out how the bakers at Muscle Momma Sourdough handle their bake for another perspective!
Tips for Success with Your Easy Sourdough for Beginners
Okay, now that you’ve baked your first sourdough sandwich bread, I want to make sure your next attempt is even smoother! Baking with sourdough is really about learning to read your dough, especially when you’re trying out a new recipe like this easy sourdough for beginners. Don’t sweat it if the first one felt a little tricky; we can adjust!
The biggest area where beginners get stuck is the hydration—that’s just how wet the dough is. If you use a different brand of flour or the humidity in your kitchen is high, the dough might feel way too sticky during those stretch and folds. If it’s sticking everywhere and refusing to hold its shape, you can add just a tiny, tiny sprinkle of flour to your surface next time while you’re folding. I mean a whisper!
On the flip side, if your dough feels super stiff and hard to work with, it’s too dry! Next time, try increasing your warm water by just 5 or 10 grams. Remember, the dough should feel tacky, like, maybe sticky enough to leave a light print on your finger, but definitely not gluey. Learning to adjust that ratio is what separates the beginners from the seasoned pros in cookie baking and bread baking!
For more solid advice on dough handling, you should definitely look at what the folks over at The Duvall Homestead recommend for their loaves!
Making Your Sourdough Sandwich Bread Better for Sandwiches
If you are planning on piling this loaf high with turkey and cheese, you might want a slightly flatter top, right? A super rounded dome is gorgeous, but it makes stacking ingredients tough. For a flatter top, try one of two little tweaks:
First, during the final proof in the pan, you can let it proof just a *touch* longer than you think it needs—maybe until it’s almost an inch and a half over the rim instead of just one inch. This encourages it to gently spread out rather than push straight up.
Second, and this is my favorite trick for getting that perfect square shape: when you are shaping your log during the process above, make sure you are sealing that final seam really aggressively. I press down hard with my thumbs to make sure that bottom seam is completely flat against the counter before I flip it over into the pan. A tight seam keeps the dough focused on building height without ballooning the top too much. It makes for such a better profile when you slice it for the perfect layer of sourdough sandwich bread!
Storage and Using Your Naturally Leavened Sandwich Bread
You finally have this amazing naturally leavened sandwich bread cooling, and I know you want to tear into it immediately, but hold tight just a little longer! How you store this loaf is really important if you want it to stay soft, because keeping that moisture locked in is the key to that beginner-friendly texture we worked so hard for.
For short-term storage—say, the next three or four days—keep the loaf wrapped tightly in plastic wrap or toss it into a reusable loaf bag. I always leave it right on the counter at room temperature. Because we used avocado oil, this sourdough sandwich bread actually stays softer than a regular crusty boule does. Seriously, don’t store this loaf in the fridge! That’s when bread goes stale the fastest.
If you made this recipe, which yields one perfect loaf, and you know you won’t eat it all within four days, freezing is your best friend. Once the loaf is *completely* cooled—and I mean rock solid cool—wrap it snugly in two layers of plastic wrap, and then maybe wrap that in a layer of aluminum foil. It freezes beautifully! When you need a slice, just pull one out, leave it on the counter for an hour or two, and it thaws perfectly soft.
This bread is practically begging to be used for more than just lunch, too! Since it’s got that slight tang and a tender crumb, it makes the most incredible grilled cheese sandwich you’ve ever eaten. The sourdough just cuts through the richness of the cheddar so well.
But my absolute favorite way to use up day-old slices? French toast! Because this sourdough sandwich bread is already a bit dense and holds its shape, it soaks up the custard mixture beautifully without turning to mush. Try dredging those slices in cinnamon sugar after they come out of the skillet—it reminds me of my grandmother Daisy’s sweet morning bakes, like these gooey homemade cinnamon rolls! It’s totally worth waiting until tomorrow to eat some!
Frequently Asked Questions About Sourdough Sandwich Bread
Whenever I share this recipe, I get so many great questions! It’s true, working with sourdough can feel like navigating a minefield at first, but these simple adjustments help clear the path. Getting that perfect result every single bake is what we’re hoping for, right? Here are the things I get asked most often about making this sourdough sandwich bread.
Can I make this Healthy Sandwich Bread Recipe Sourdough without honey?
Oh, sure you can! Honey is technically a tenderizer, which helps us keep that crumb soft, but if you need to swap it out—maybe you’re making something savory or just ran out—maple syrup is a fantastic substitute. Maple syrup gives a slightly different flavor profile, maybe a tiny bit more earthy, but it works just as well for adding that necessary sweetness and moisture.
If you swap it cup-for-cup, the texture will be almost identical, which is great for keeping this a healthy sandwich bread recipe sourdough. If you’re looking for some quick weeknight meals to use up your slices, definitely check out my ideas over here!
Why is my Sourdough Sandwich Loaf dense instead of fluffy?
This is the number one frustration for bakers, I hear you! If your sourdough sandwich loaf comes out dense, it usually comes down to three things we talked about: Was your starter strong enough? If it wasn’t bubbling nicely when you mixed it in, it won’t lift the dough well. Second, did you under-proof it? A loaf that hasn’t rested long enough won’t have the internal strength to hold the air pockets during baking.
The third spot to check is shaping. If you didn’t seal that final seam tightly when shaping it into a log, the gas inside just escapes out the sides or bottom in the oven, and you end up with a flat top and a dense layer at the bottom. It’s fixable, but checking those three spots next time usually corrects the issue!
How long does the bulk fermentation take for the Beginner Sourdough Sandwich Loaf Tutorial?
If I told you an exact time, I’d be setting you up for failure! That’s the tricky part about sourdough; it’s alive, and it reacts to the weather in your kitchen. In the summer, my beginner sourdough sandwich loaf tutorial might only take four hours. In the dead of winter, I leave it on the counter for closer to eight or nine!
Please, for your sanity, forget the clock for a while and start trusting your eyes. Look for that visual cue: the dough should look visibly puffier, maybe even happier, and have increased in size by about 30% to 50%. If you see small bubbles forming on the surface, it’s happy! If you smell a very strong, almost alcoholic aroma, it’s gone too far, and you need to move to shaping quickly. Trust the dough, not the timer!
For more troubleshooting tips, I always recommend seeing how other people bake things like this sourdough sandwich bread over at Supergolden Bakes—sometimes seeing a different perspective helps things click!
Share Your Sourdough Sandwich Bread Creations
I really, truly want to know how this turned out for you! Baking bread is a journey, and sharing what worked (or what didn’t!) is how we all get better. Please, please, leave your star rating right below this section so I know if this recipe is making it into your regular rotation.
If you snapped a picture of that beautifully soft, sliceable loaf you pulled out of the oven—and I hope you did!—tag me on social media! Seeing your perfectly layered sandwiches or your golden-brown toast makes my entire week. Don’t be shy; success stories are what keep me energized in the kitchen! If you have any brand new questions or suggestions, you can always drop me a line through my contact page too.
Estimated Nutritional Data for Sourdough Sandwich Bread
Just a friendly heads-up that because every starter, every brand of flour, and every pinch of salt is slightly different, these numbers are just a ballpark estimate for one slice of the loaf. You know how it is in the kitchen—we cook by feel more than math sometimes!
- Serving Size: 1 slice
- Calories: 250
- Sugar: 2g
- Sodium: 200mg
- Fat: 3g
- Saturated Fat: 0.5g
- Unsaturated Fat: 2.5g
- Trans Fat: 0g
- Carbohydrates: 50g
- Fiber: 2g
- Protein: 8g
- Cholesterol: 0mg
Share Your Sourdough Sandwich Bread Creations
I really, truly want to know how this turned out for you! Baking bread is a journey, and sharing what worked (or what didn’t!) is how we all get better. Please, please, leave your star rating right below this section so I know if this recipe is making it into your regular rotation.
If you snapped a picture of that beautifully soft, sliceable loaf you pulled out of the oven—and I hope you did!—tag me on social media! Seeing your perfectly layered sandwiches or your golden-brown toast makes my entire week. Don’t be shy; success stories are what keep me energized in the kitchen! If you have any brand new questions or suggestions, you can always drop me a line through my contact page too.
Estimated Nutritional Data for Sourdough Sandwich Bread
Just a friendly heads-up that because every starter, every brand of flour, and every pinch of salt is slightly different, these numbers are just a ballpark estimate for one slice of the loaf. You know how it is in the kitchen—we bake by feel more than math sometimes! But here’s the general idea of what you’re getting with this terrific sourdough sandwich bread.
- Serving Size: 1 slice
- Calories: 250
- Sugar: 2g
- Sodium: 200mg
- Fat: 3g
- Saturated Fat: 0.5g
- Unsaturated Fat: 2.5g
- Trans Fat: 0g
- Carbohydrates: 50g
- Fiber: 2g
- Protein: 8g
- Cholesterol: 0mg
It’s a wonderful, whole-food way to feed your family. You can feel great about every single slice!
PrintUltimate Soft & Fluffy Sourdough Sandwich Bread (Beginner Friendly)

A beginner-friendly recipe for naturally leavened sourdough bread that results in a soft, sliceable loaf perfect for sandwiches, toasting, and French toast. This long-fermented bread is easy to digest.
- Prep Time: 30 min
- Cook Time: 50 min
- Total Time: 8 hours 50 min
- Yield: 1 loaf 1x
- Category: Bread
- Method: Baking
- Cuisine: American
- Diet: Vegetarian
Ingredients
- 150g active sourdough starter (100% hydration)
- 325g warm filtered water
- 20g avocado oil
- 25g honey
- 500g unbleached bread flour
- 10g salt
Instructions
- Mix the active starter, warm water, avocado oil, and honey in a large bowl until combined.
- Add the bread flour and salt to the wet ingredients. Mix by hand until a shaggy dough forms and no dry flour remains.
- Cover the bowl and let the dough rest for 1 hour (autolyse/rest period).
- Perform four sets of stretch and folds, spaced 30 minutes apart. Gently stretch a section of the dough up and fold it over the center, rotating the bowl after each fold.
- After the final set of folds, cover the dough and allow it to bulk ferment for 4 to 8 hours, or until it has increased in volume by about 30-50% and shows signs of activity. The time depends on your kitchen temperature.
- Gently turn the dough out onto a lightly floured surface. Shape the dough into a tight log or oval suitable for a standard loaf pan (9×5 inch).
- Place the shaped dough seam-side down into a lightly greased loaf pan.
- Cover the pan loosely and allow the dough to proof at room temperature for 1 to 3 hours, or until it has risen about 1 inch above the rim of the pan.
- Preheat your oven to 375°F (190°C).
- Bake the loaf in the preheated oven for 40 to 50 minutes, or until the crust is golden brown and the internal temperature reaches 205°F (96°C).
- Remove the bread from the pan immediately after baking and cool completely on a wire rack before slicing. This prevents a gummy texture.
Notes
- Use an active, bubbly sourdough starter for best results.
- For a gut-healthy loaf, allow a longer, cooler bulk fermentation or cold proofing in the refrigerator overnight.
- This recipe yields a soft crumb ideal for making sandwiches.
- If you prefer a slightly sweeter loaf, increase the honey to 35g.
Nutrition
- Serving Size: 1 slice
- Calories: 250
- Sugar: 2
- Sodium: 200
- Fat: 3
- Saturated Fat: 0.5
- Unsaturated Fat: 2.5
- Trans Fat: 0
- Carbohydrates: 50
- Fiber: 2
- Protein: 8
- Cholesterol: 0