
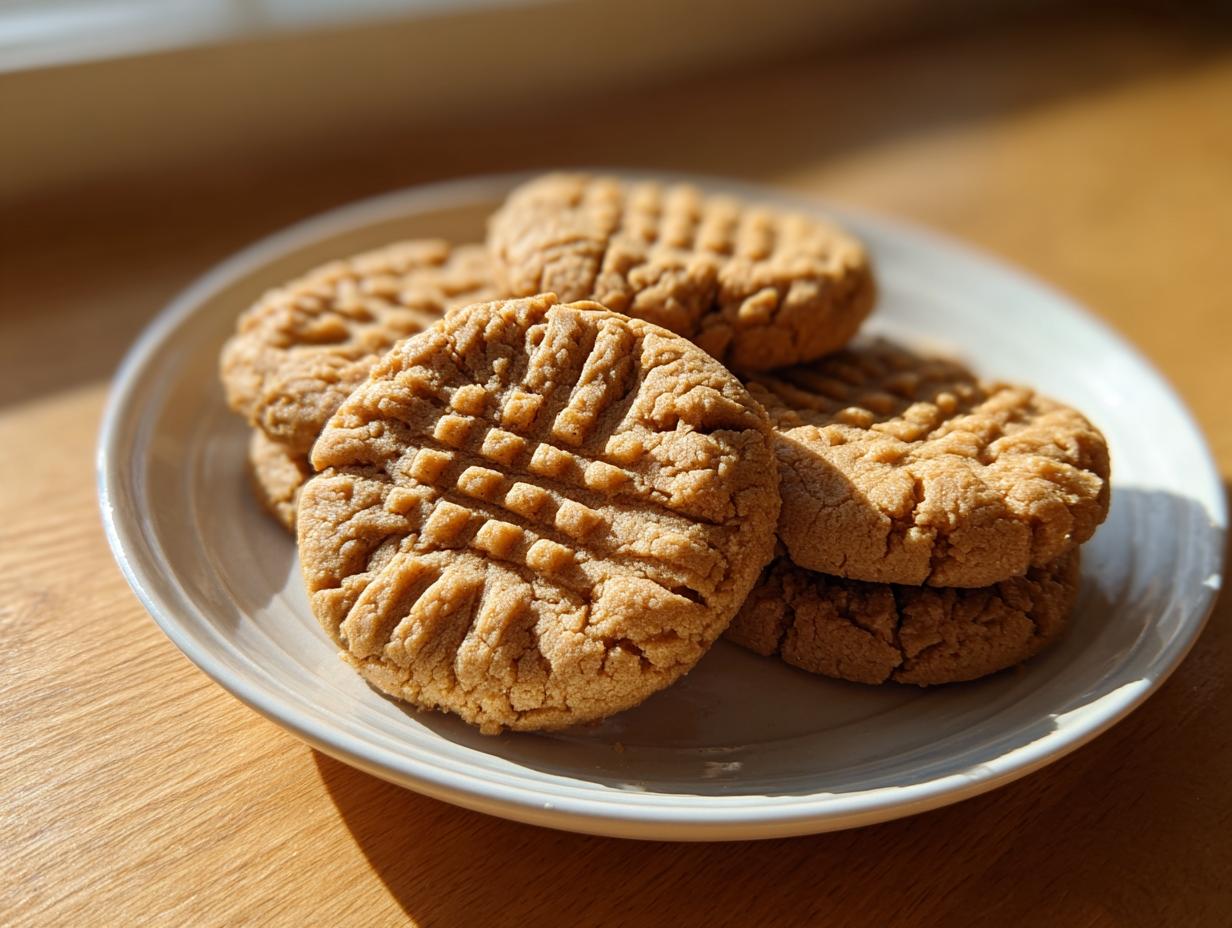
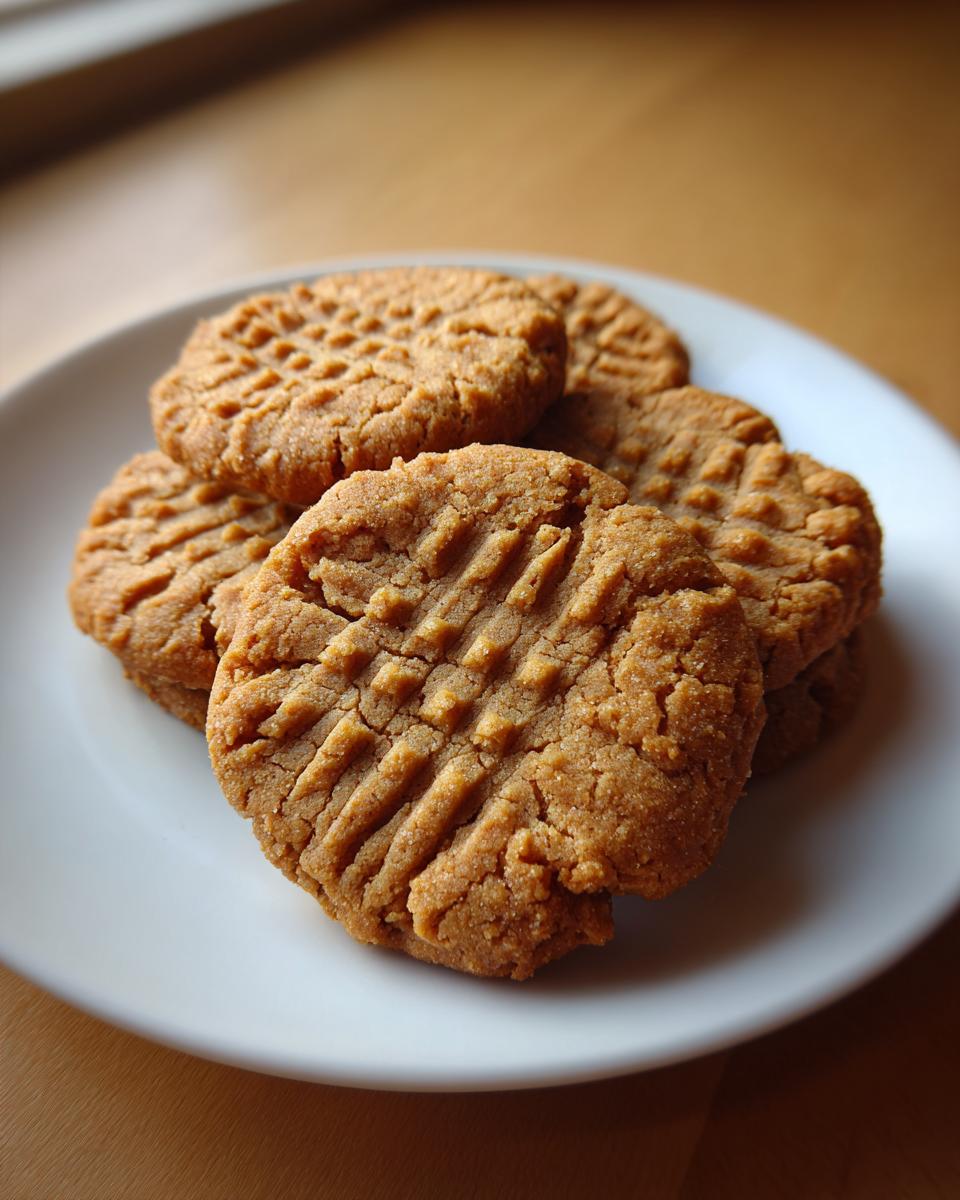
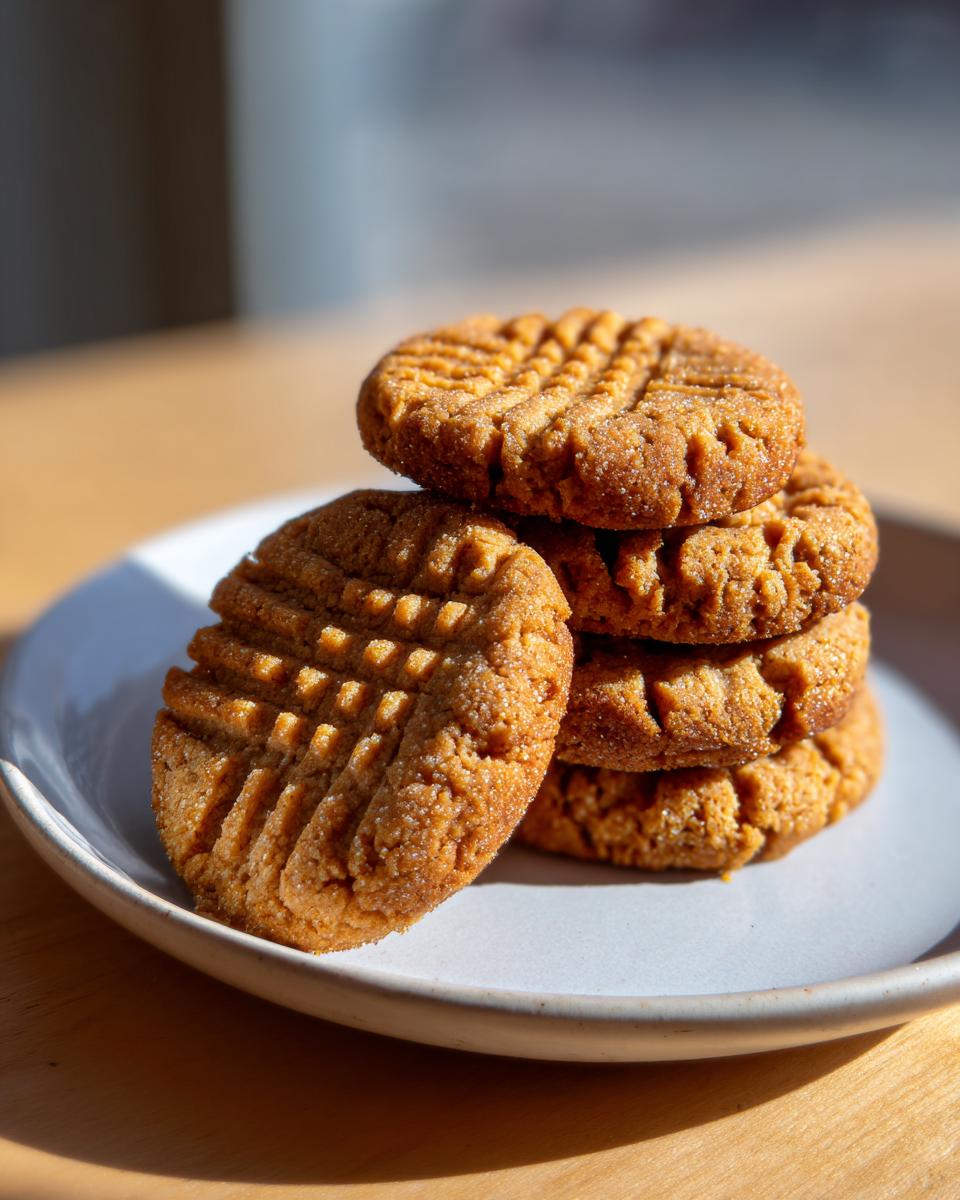
If you close your eyes and think about the perfect cookie, I bet it has those slightly crispy, golden edges that give way to a wonderfully soft, gooey center, right? That is exactly what you get with Daisy’s classic peanut butter cookies. This is the recipe I pulled out of storage; the one that reminded me why I started baking again, reconnecting with my Grandma Daisy’s kitchen. Trust me, this recipe for the best peanut butter cookies is incredibly reliable and tastes like pure nostalgia.
- Why Daisy’s peanut butter cookies are the best peanut butter cookies
- Gathering Ingredients for Classic Peanut Butter Cookies
- Step-by-Step Instructions for Perfect peanut butter cookies
- Baking Time and Cooling for Crispy Tender Cookies
- Tips for Success with Traditional Cookies
- Variations on Daisy’s Classic Peanut Butter Cookies
- Storing Your Homemade Peanut Butter Cookies
- Frequently Asked Questions about peanut butter cookies
- Nutritional Estimate for Daisy's peanut butter cookies
- Share Your Baking Journey
Why Daisy’s peanut butter cookies are the best peanut butter cookies
So many recipes promise perfection, but Daisy’s nails the texture because of the sugar balance. We use both granulated and brown sugar—that mix is key to getting those coveted crispy tender cookies. Plus, the flour measurement is precise; no guesstimating allowed! That attention to detail is why these are truly the best peanut butter cookies you’ll ever make. They just hold together beautifully.
Gathering Ingredients for Classic Peanut Butter Cookies
Before we even think about turning on the mixer, we need to get our ducks in a row. Daisy always said that the quality of your final product hinges entirely on what you start with, especially for classic peanut butter cookies. Grab everything and line it up on the counter; it makes the whole process so much smoother!
Here is exactly what you need tucked away for this batch:
- 1 cup (which is 2 sticks) unsalted butter, and it absolutely needs to be softened.
- 1 cup granulated sugar – just the plain white stuff.
- 1 cup packed light brown sugar. Make sure you pack it tight!
- 1 cup of creamy peanut butter—full fat, please!
- 2 large eggs ready to go.
- 1 teaspoon vanilla extract.
- 2 1/2 cups all-purpose flour. We measure this one carefully!
- 1 teaspoon baking soda.
- 1/2 teaspoon baking powder.
- And just 1/2 teaspoon of salt.
Ingredient Spotlight: Selecting Your Peanut Butter for peanut butter cookies
This is where some people go wrong in their peanut butter baking adventures! Daisy always used Jif or Skippy, the creamy, standard stuff. Why? Because the emulsifiers in those processed peanut butters help keep the texture perfectly smooth and consistent when you cream it with the butter and sugar. If you use a super runny natural peanut butter, it might separate a little bit.
However, listen to me: If you want a deeper, almost roasted peanut flavor, try using an unsweetened, natural peanut butter—just make sure you stir it really well so the oil is reincorporated! Either way works great, you just get a slightly different payoff in the final cookie structure.
Step-by-Step Instructions for Perfect peanut butter cookies
Okay, ready to roll! First things first, get your oven thinking happy thoughts—preheat it to 375 degrees F. I always line my baking sheets with parchment paper before I even start mixing. It saves the biggest mess later, trust me. You don’t want these beauties sticking when they are piping hot!
Now for the creaming part! In your big bowl, you’re going to beat that softened butter with both the granulated and the brown sugar. You have to beat these guys until they look genuinely light and fluffy—this is the secret to getting those tender centers. Once that’s looking gorgeous, beat in your peanut butter, eggs, and vanilla until it’s all just blended together. Don’t overdo it here!
Mixing the Dough for homemade peanut butter cookies
In a separate bowl, whisk your dry stuff: the flour, baking soda, baking powder, and salt. You want those leaveners—the soda and powder—to be evenly distributed, so mixing them separately is smart. Now, this is crucial for good peanut butter baking: add the dry ingredients to the wet batch slowly, mixing on low speed.
Seriously, stop the mixer the second you don’t see any more white streaks of flour. If you overmix, you build gluten, and then you get hard, chewy, tough cookies instead of glorious homemade peanut butter cookies. We want tender, not tough! That’s where the magic happens.
Shaping and Creating the Crosshatch on peanut butter cookies
Now the fun (and messy) part! Scoop your dough into little balls, about 1.5 tablespoons each. That’s a standard ice cream scoop size, which keeps things consistent. Give them plenty of space on the sheet—about 2 inches apart—because these cookies definitely decide to spread a little bit as they bake.
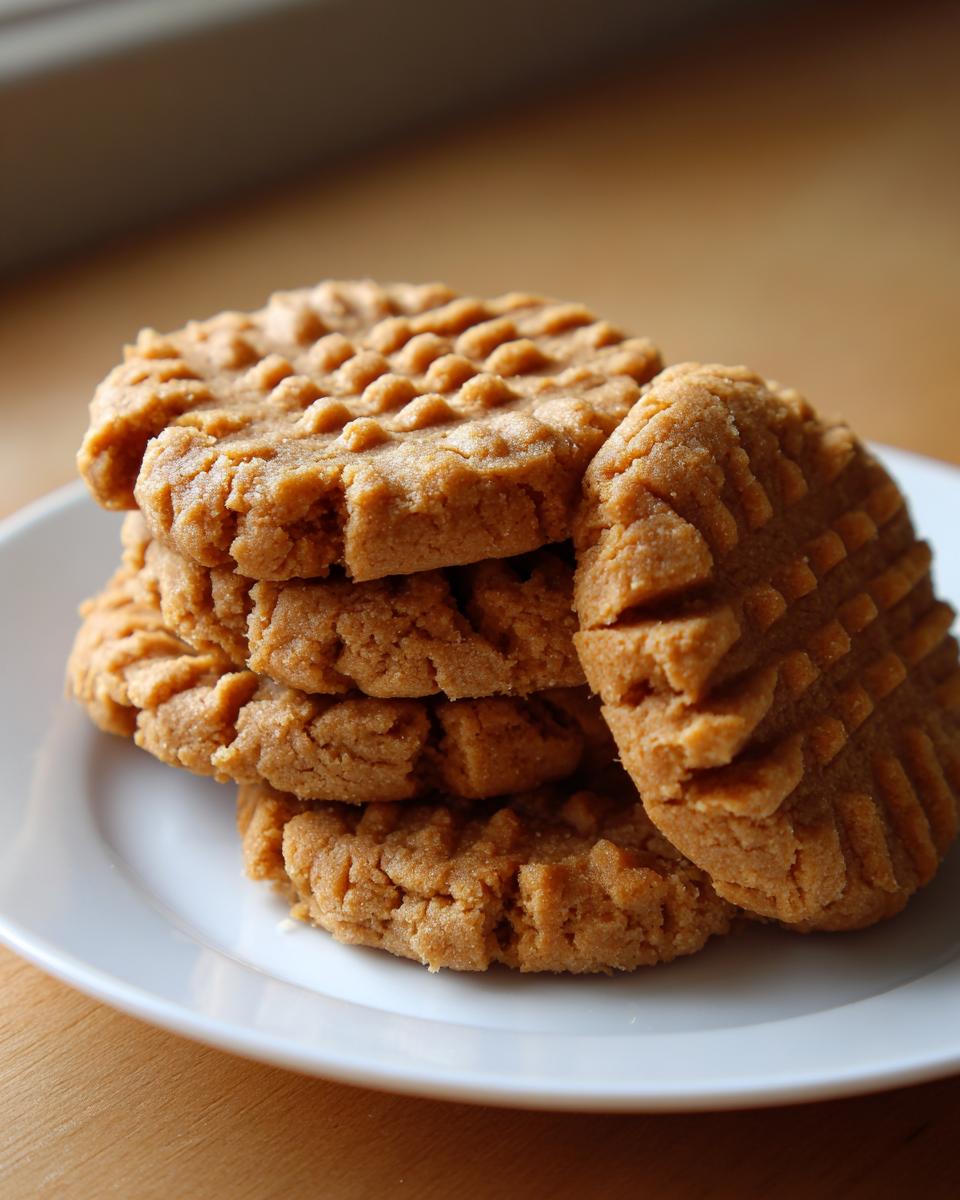
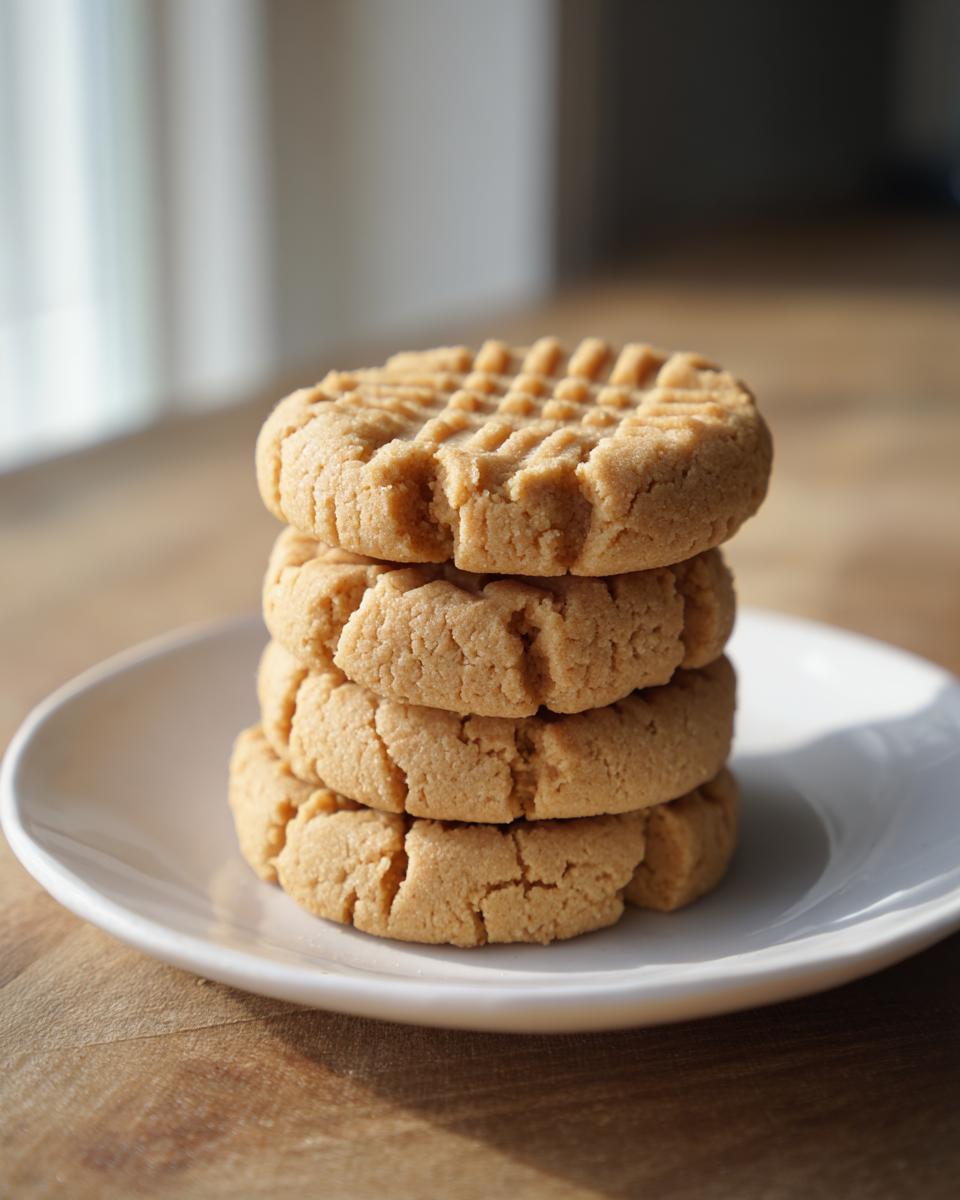
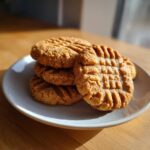
Grab a fork! This is the iconic look everyone wants. Press the fork down firmly once in one direction. Then, rotate the fork 90 degrees and press again to create that classic crosshatch design. Press firmly enough to flatten them down a touch, but don’t smash them totally flat; we need *some* height left for that perfect center!
Baking Time and Cooling for Crispy Tender Cookies
We’ve done the hard work of mixing, so this is where we just have to be patient! Keep that oven set right at 375 degrees F. You’re looking for a bake time between 9 to 11 minutes. Don’t walk away for too long, but watch them carefully!
How do you know they are done? This is the trick for crispy tender cookies: the edges should look just barely light golden brown. If you wait until the whole cookie is brown, the center will be hard brickwork later. The centers might look a little bit soft or even slightly puffy when you pull them out—that is absolutely perfect!
Now, resisting the urge to touch them is tough, but necessary. Leave those hot cookies sitting right there on the baking sheet for 5 whole minutes. That little rest time allows them to relax and sets them up so they don’t fall apart on you. After that 5 minutes, carefully move them over to a wire rack to finish cooling completely. That transition is what locks in that amazing texture!
Tips for Success with Traditional Cookies
These traditional cookies are solid gold, but even Daisy had a few little tricks up her sleeve for when the kitchen wasn’t cooperating. Since we are aiming for that perfect, balanced bite, a couple of small adjustments can make a huge difference. Remember how I mentioned natural peanut butter earlier? If you opt for that, you absolutely must stir it really well first, or the cookies can turn out a little delicate and crumbly during baking.
Also, if your kitchen is anything like mine—warm, especially in the summer—you really should chill that dough for about 30 minutes before you ever roll it into balls. Chilling prevents them from spreading too much and losing that perfect height. This is my personal addition to Daisy’s methods: I always rotate my baking sheets halfway through the baking time, even if I’m just using one rack. I swear my oven has a cold spot right near the door!
Following these little nuances ensures you stick to the integrity of these amazing classic cookie recipes while making them work in your modern home setup.
Variations on Daisy’s Classic Peanut Butter Cookies
While I adore this recipe exactly as Daisy wrote it, sometimes a cookie needs a little something extra, don’t you think? You can easily make these your own while keeping the base fantastic for your peanut butter baking adventures.
The simplest way to change things up is adding about 3/4 cup of semi-sweet chocolate chips right at the very end when you mix in the flour. They melt just slightly while cooling but give you that chocolate swirl! If you want more texture, swap out the creamy peanut butter for the crunchy kind, though the finished cookie might spread just a tiny bit more.
For a warmer flavor profile, try stirring in just a tiny pinch of cinnamon or even a dash of nutmeg with your dry ingredients. Seriously, just a pinch! It makes these classic peanut butter cookies taste extra special for the holidays.
Storing Your Homemade Peanut Butter Cookies
Once you manage to let these babies cool all the way—which is the hardest part, I know—you need a good storage plan. These homemade peanut butter cookies are best kept right on the counter in a good, airtight container. They stay perfectly tender for about four to five days this way. Don’t put them in the fridge; they’ll just get dry and hard, and we worked too hard for that!
The real lifesaver is the freezer. You can absolutely freeze the dough balls! I scoop them out, place them on a little baking sheet lined with parchment, and freeze them solid. Once they’re hard, transfer those frozen dough balls into a zip-top bag.
When the craving hits, you just pop them straight from the freezer onto the prepared sheet and add about 2 to 3 extra minutes to the baking time. That’s how you keep yourself stocked with fresh classic peanut butter cookies anytime you need them!
Frequently Asked Questions about peanut butter cookies
I get so many questions about these classic peanut butter cookies because everyone wants that perfect bite! Sometimes things just don’t go as planned in the oven, but usually, we can troubleshoot it right back to Daisy’s original rules. Let’s cover the big ones I hear all the time.
Why are my peanut butter cookies cakey instead of crispy?
Oh, that’s a classic symptom of one of two things! If they are cakey, it usually means you either added way too much flour when measuring—remember to spoon the flour into the measuring cup, don’t dip the cup right into the bag!—or you let them bake for just a minute or two too long. If you bake until the centers are totally firm, you lose that lovely soft middle we are aiming for. Pull them when the edges are golden, even if the middle looks slightly underdone; that slight softness guarantees you get those wonderful crispy tender cookies!
Can I substitute the butter in these peanut butter cookies?
My honest answer? Please don’t! I know we all look for substitutions sometimes, but the butter here isn’t just for flavor; it’s structural. Butter has a specific water and fat ratio that helps create those airy pockets when you cream it with the sugars, which is crucial for the classic texture of homemade peanut butter cookies. Margarine or oil doesn’t react the same way; it tends to give a flatter, greasy cookie. Stick with the two full sticks of softened butter, and you’ll be rewarded!
Here are a couple more quick hitters while you’re here:
- Why won’t my cookies spread? If your dough balls are rock hard and don’t spread much after the crosshatch, the dough was too cold! Make sure the butter is truly softened, or give the dough a quick 10 seconds in the microwave if you ever chill it and it gets too stiff.
- How do I get the perfect crosshatch? Use a standard dinner fork, dust it lightly with flour first so it doesn’t grip the dough, and press firmly! You need to press down enough so the dough spreads out a bit, but don’t press so hard that you squish all the air out of the middle.
Nutritional Estimate for Daisy’s peanut butter cookies
Now, I know we are making these cookies for pure joy and tradition, not for tracking macros, but I did write down the basics for you! These estimates are based on standard ingredients, so your values might wiggle around a bit depending on the brand of peanut butter you used. We’re talking about 180 calories per cookie, which sounds about right for a rich butter and sugar treat!
For your reference, here is what the basic breakdown looks like for one of Daisy’s sweet creations:
- Serving Size: 1 cookie
- Calories: 180
- Fat: 10g
- Carbohydrates: 21g
- Protein: 4g
Honestly, the most important statistic is the amount of pure happiness they bring. Don’t sweat the small numbers too much when you’re enjoying a perfect, classic peanut butter cookie!
Share Your Baking Journey
Well, that’s it! You’ve got Daisy’s secrets, and now these wonderful classic peanut butter cookies are yours to bake and share. My goal in bringing this recipe back—reclaiming that warmth from my grandma’s kitchen—is to see it spread joy to your tables, too. I hope your house smells as amazing as mine does right now!
When you finish a batch, please come back and let me know how they turned out! Leave a star rating right here on the page so other bakers know they can trust this recipe. Did you try adding chocolate chips? Did your fork create that perfect crosshatch on the first try?
If you took a gorgeous photo of those golden-edged beauties, share it on social media! Tag me so I can see them. It makes me so happy to know we are continuing Daisy’s legacy of sharing simple, honest food with our families. If you have any questions at all about technique or substitution, you can always reach out to me directly via the contact page. Happy baking, friend!
PrintDaisy’s Classic Peanut Butter Cookies
Make traditional peanut butter cookies with crispy edges and soft centers using this simple, time-tested recipe.
- Prep Time: 15 min
- Cook Time: 11 min
- Total Time: 26 min
- Yield: About 3 dozen cookies 1x
- Category: Dessert
- Method: Baking
- Cuisine: American
- Diet: Vegetarian
Ingredients
- 1 cup (2 sticks) unsalted butter, softened
- 1 cup granulated sugar
- 1 cup packed light brown sugar
- 1 cup creamy peanut butter
- 2 large eggs
- 1 teaspoon vanilla extract
- 2 1/2 cups all-purpose flour
- 1 teaspoon baking soda
- 1/2 teaspoon baking powder
- 1/2 teaspoon salt
Instructions
- Preheat your oven to 375 degrees F. Line baking sheets with parchment paper.
- In a large bowl, cream together the softened butter, granulated sugar, and brown sugar until light and fluffy.
- Beat in the peanut butter, eggs, and vanilla extract until just combined.
- In a separate medium bowl, whisk together the flour, baking soda, baking powder, and salt.
- Gradually add the dry ingredients to the wet ingredients, mixing on low speed until just incorporated. Do not overmix.
- Scoop the dough into balls, about 1.5 tablespoons each. Place them 2 inches apart on the prepared baking sheets.
- Use a fork to press down on each dough ball to create a crosshatch pattern, pressing once in one direction and then once perpendicular to the first press.
- Bake for 9 to 11 minutes, or until the edges are lightly golden brown. The centers will still look slightly soft.
- Let the cookies cool on the baking sheet for 5 minutes before transferring them to a wire rack to cool completely.
Notes
- For a richer peanut flavor, use a natural, unsweetened peanut butter.
- Chill the dough for 30 minutes before scooping if your kitchen is warm; this helps maintain shape during baking.
- If you prefer a slightly chewier cookie, slightly underbake them by about 1 minute.
Nutrition
- Serving Size: 1 cookie
- Calories: 180
- Sugar: 14g
- Sodium: 110mg
- Fat: 10g
- Saturated Fat: 4g
- Unsaturated Fat: 6g
- Trans Fat: 0g
- Carbohydrates: 21g
- Fiber: 1g
- Protein: 4g
- Cholesterol: 25mg