
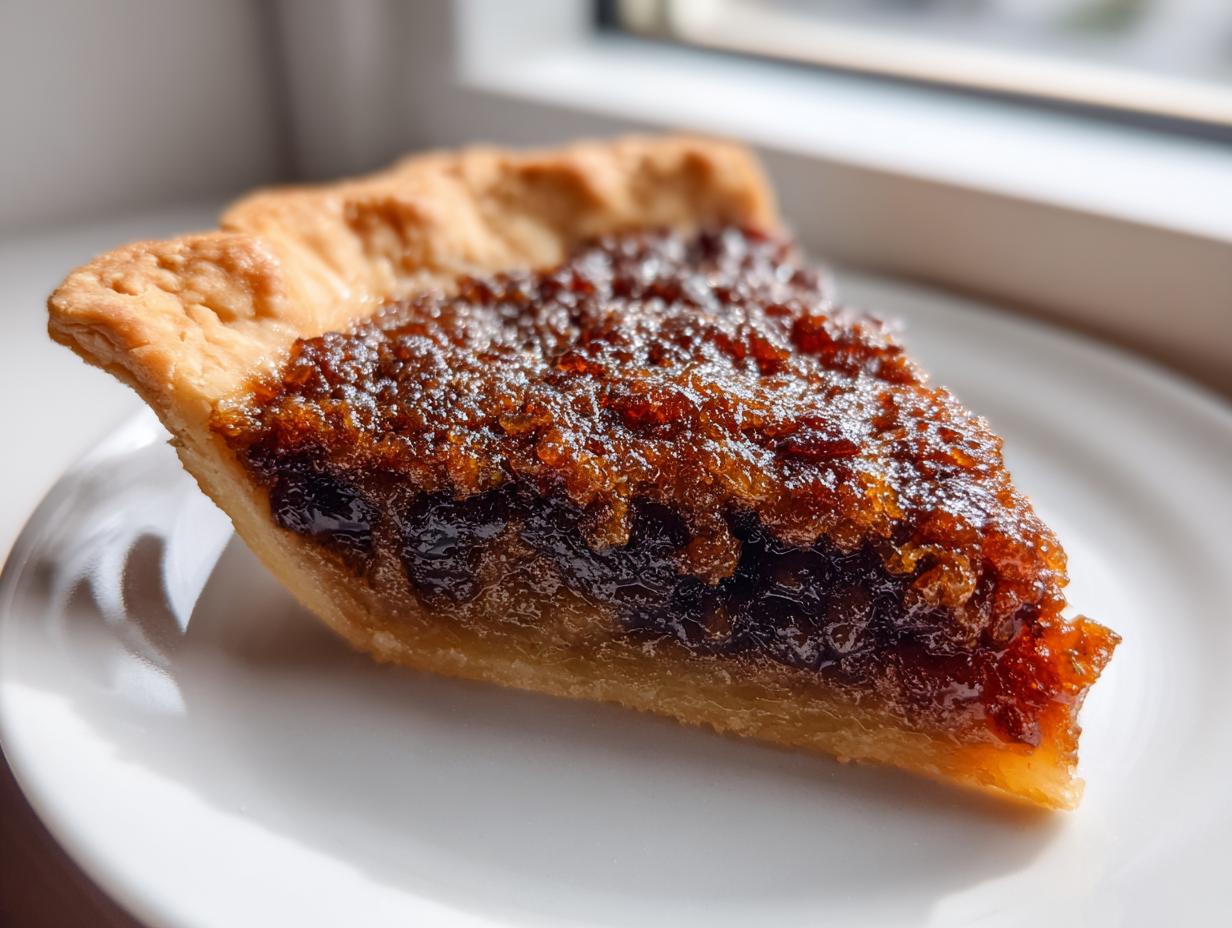
Oh, the scent of the holidays! Nothing whisks me back to Grandma Daisy’s kitchen faster than the spicy, complex aroma of a proper mincemeat pie baking in the oven. It’s more than just a dessert; it’s history you can eat! Back in my city job days, I desperately missed that warmth, so I started recreating that taste from scratch. This recipe, the one I call the Ultimate Old-Fashioned Mincemeat Pie, is my way of keeping Daisy’s legacy alive right here in my small apartment kitchen.
What makes this one special is that it respects tradition—yes, we talk about suet and the old ways—but I also show you our fantastic, fruit-only version for when you want that sweet spiced treat without the meat. Trust me, whether you go savory-sweet or all fruit, the texture of this filling is going to knock your socks off.
- Why This Old-Fashioned Mincemeat Pie Recipe Stands Apart
- Essential Ingredients for Your Mincemeat Pie
- How to Make Mince Pies: Step-by-Step Instructions
- Tips for Perfecting Your Traditional Mincemeat Pie Recipe
- Ingredient Notes and Substitutions for Mincemeat Pie
- Serving Suggestions for Your Old Fashioned Holiday Dessert
- Storage and Reheating Instructions for Mincemeat Pie
- Frequently Asked Questions About Mincemeat Pie
- Baking Your Legacy: Share Your Mincemeat Pie Experience
Why This Old-Fashioned Mincemeat Pie Recipe Stands Apart
I’ve tried so many recipes over the years, but none feel as right as this one. It hits that sweet spot between being truly authentic—like something Daisy would have made for Christmas in the 1940s—and still being achievable in a modern kitchen. You folks know how important flavor complexity is to me, and this recipe delivers.
Here’s what makes this particular mincemeat pie recipe the one you need in your holiday rotation:
- It uses a slow-simmer method that guarantees that deeply concentrated, rich filling you’re dreaming of.
- We make it clear exactly how to keep that filling wonderfully juicy—no dry, sad pies here!
- It respects history while being completely flexible for today’s tastes.
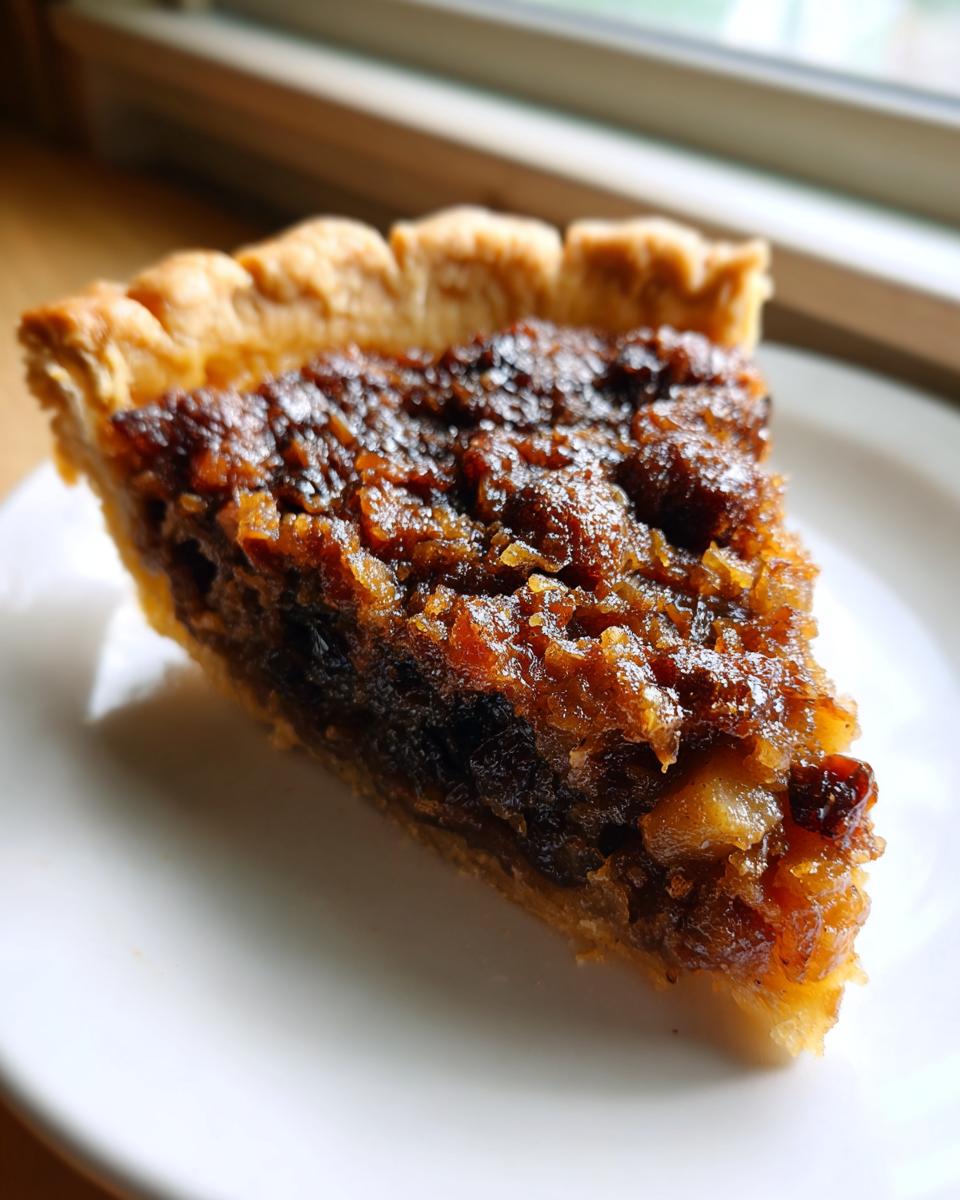
Achieving a Truly Juicy Mincemeat Pie Filling
If you want to nail those juicy mincemeat pie secrets, listen up: it’s all about patience during the simmering stage. We cook the fruit low and slow until it’s thick, but right before we pull it off the heat, we add just a splash of water or juice. This extra liquid doesn’t evaporate completely, and it turns into the most luxurious syrup when baked. Don’t skip that step; it’s crucial for that mouthfeel!
Traditional vs. No Meat Mincemeat Filling Options
This is where we bridge the decades! Daisy’s original recipe included suet (and sometimes other bits of meat, though I usually skip that part now). If you want that deep, old-world richness, keep the suet in. If you’re looking for a quick, modern, fruit-forward holiday treat—basically mincemeat pies no meat—you can totally replace the suet with butter. It’s truly delicious either way, and that’s a great alternative to hunting down specialty butcher shops. You should also check out this wonderful classic buttermilk pie for another authentic bake.
Essential Ingredients for Your Mincemeat Pie
Okay, let’s talk details. Because we are making an Old Fashioned Holiday Dessert here, the ingredients themselves are key to unlocking that true, deep holiday flavor. You’ll need quality basics, but honestly, the star of the show will always be the spice balance and the texture of the fruit!
Don’t try to skimp on the crust for your mincemeat pie, either. A flabby crust ruins everything, no matter how good the filling is. Make sure you have your dough ready to go. If you need guidance on that part—and truly, a good crust is half the battle—you absolutely must check out my recipe for the Buttery Flaky Pie Crust; it’s reliable every single time.
For the Buttery Flaky Pie Crust
For the structure holding all this wonderful filling, you need greatness! Since the crust recipe is separate, just know that you need enough made for a double crust—a bottom layer and a top layer. Plan on making that dough the day before and chilling it well. That resting time is what ensures it stays crisp and flaky instead of turning tough.
For the Homemade Mince Pie Filling
This is where the magic happens. Make sure you measure your sugar as ‘packed’ because it affects the moisture level! Here’s what you need for that signature filling:
- One pound of mixed dried fruit (raisins, currants, sultanas), all finely chopped.
- One large Granny Smith apple, peeled, cored, and finely chopped.
- A half cup of beef suet, finely chopped—this is for the traditional flavor! (Remember, omit this if you’re making the vegetarian version.)
- A half cup of dark brown sugar, packed tightly into your measuring cup.
- A quarter cup of strong brandy or dark rum for that classic warmth.
- Two tablespoons of fresh orange juice and one tablespoon of fresh lemon zest for brightness.
- The spice triumvirate: Cinnamon, nutmeg (freshly ground is amazing!), and cloves.
- A pinch of salt.
- And finally, a quarter cup of water or apple juice, ready to balance the moisture later!
How to Make Mince Pies: Step-by-Step Instructions
Putting together this Authentic British Holiday Pie is actually pretty straightforward once you have your ingredients ready. It’s all about taking your time with the filling so it really concentrates those gorgeous holiday flavors. Remember, we’re aiming for that deep, mature taste that only comes from proper simmering. If you’re curious how other great chefs handle this tradition, you can always take a peek at what Chef Ramsay does, but I think my Grandma Daisy’s way is just better!
Preparing the Flavorful Mincemeat Pie Filling
First things first: get your crust dough chilling! While that’s resting, grab a big saucepan. Dump in all your chopped fruit, the apple, the suet (if you’re using it!), sugar, booze, zest, and spices. Put it over medium-low heat. You want it to gently simmer, not boil furiously. Stir it often—this is important so nothing sticks to the bottom! We cook this down for a good 20 to 30 minutes. This slow cook is what softens the fruit beautifully and makes sure that filling isn’t grainy. If you love deep spice flavors, you might also want to try out my recipe for cinnamon butter sometime!
Now, here is the key to juiciness: right near the end, if it looks dry, add just a little bit of water or apple juice, spoonful by spoonful, until it looks moist but still thick enough to hold its shape. Take it off the heat and let it cool completely before you even think about putting it near your pie crust. The flavor keeps developing as it rests!
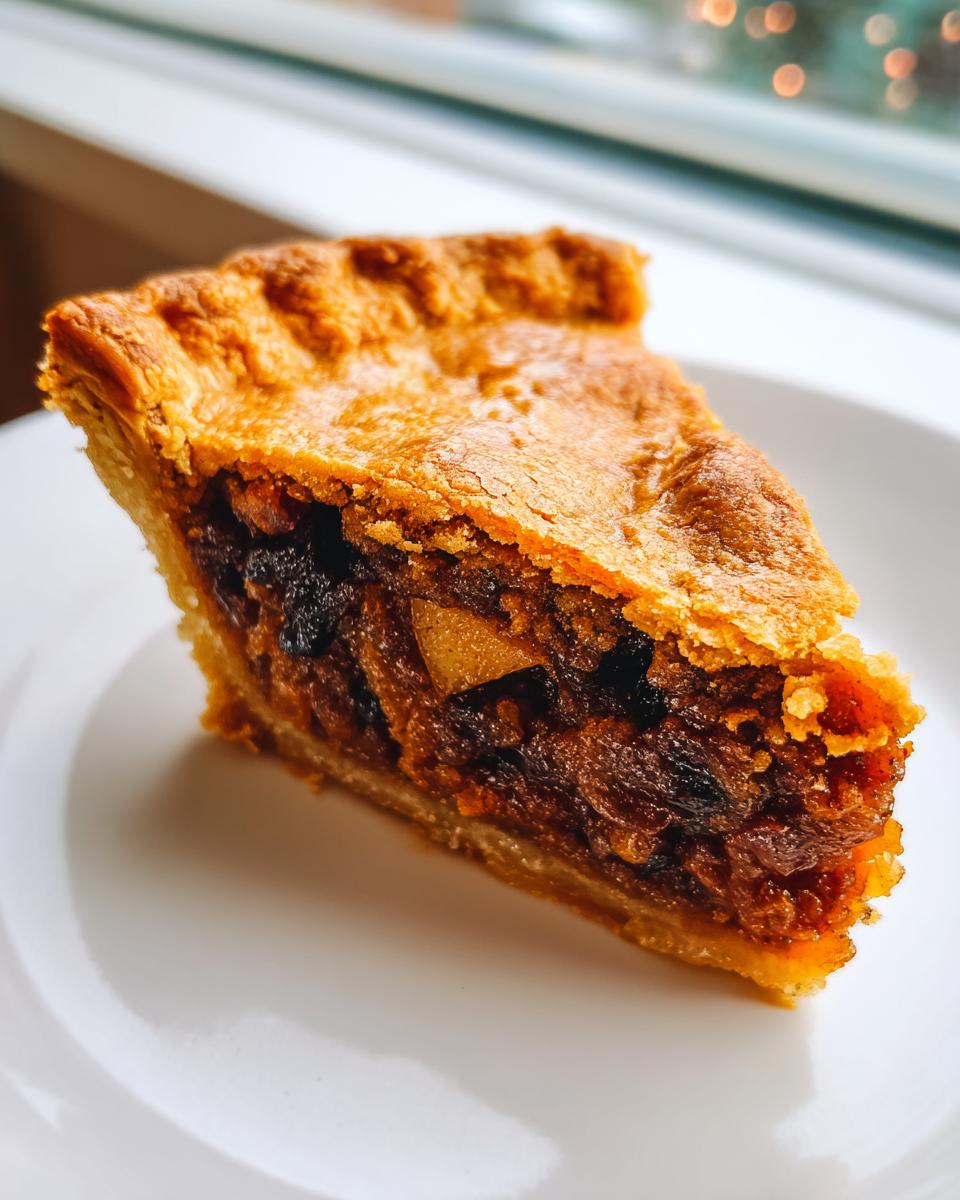
Assembling and Baking the Mincemeat Pie
Once that filling is totally cold, preheat your oven to 400°F (200°C). Roll out half your beautiful chilling dough and gently fit it into your 9-inch pie plate. Fill it evenly with your cooled mincemeat pie filling. Roll out the top crust, place it over, pinch the edges tight to seal (no leaks!), and cut vents in the top—we need that steam to escape! Bake it hot for 15 minutes at 400°F. Then, drop the temperature way down to 350°F (175°C) and bake for another 30 to 35 minutes until the crust is that lovely golden color. Just as important as the baking? Let it cool on a rack for at least two full hours. If you slice it too soon, all that precious juice will run right out!
Tips for Perfecting Your Traditional Mincemeat Pie Recipe
Baking is learning; baking traditions are even more important to learn well! Now that you have the steps down for this mincemeat pie, I want to share a few little nuggets of wisdom I picked up from watching Daisy work year after year. These aren’t just minor tweaks; they are the things that elevate a good pie to an unforgettable one.
For instance, don’t feel locked into just brandy! If you want to make your filling an absolute star—and maybe satisfy that craving for a really boozy spiced fruit dessert—try adding a splash of Madeira or even a nice dark port wine along with (or instead of) the brandy at the very end, after the filling has cooled completely. That final, unheated addition just pops with flavor when you slice into it.
Also, remember the apple choice matters immensely. I specify Granny Smith because they hold their shape and offer that necessary tart counterpoint to all that sweetness. If you use a softer apple, it will just turn to mush. If you want to bake something else moist, you should really try my apple fritter bread recipe!
One thing Daisy always insisted on was to make a small, thin disc of parchment paper, about an inch smaller than your pie plate, and lay that right on top of the filling before putting on the top crust. This helps promote even cooking down in the center and stops some of the moisture from concentrating too much in one spot. It’s a really simple ancient trick that feels like cheating, but it works beautifully for a deep-dish pie like this!
Ingredient Notes and Substitutions for Mincemeat Pie
Okay, let’s be real. If you’re new to making a proper mincemeat pie from scratch, the ingredient list can look a little…unfamiliar. I totally get it! When I started adapting Daisy’s recipes, I had to figure out what I could swap out and what I absolutely had to keep. Don’t worry, making this incredible Homemade Mince Pie Filling is easier than you think, even if you want to go completely meat-free.
The biggest question I always get is about the suet. If you’re making the vegetarian version, you need a solid replacement to give that filling the right texture and richness. Keep reading; I have a couple of great, easy swaps for you. If you’re looking for something bright and citrusy next time, try my lemon poppy seed muffins!
What If I Can’t Find Beef Suet?
This is the moment we adapt! Traditional recipes rely on beef suet because it has a high melting point—that means it stays solid longer when mixing, which helps create a flaky crust, and it melts beautifully into the filling during baking, yielding that signature richness. For my vegetarian mincemeat pie, I usually substitute it with an equal amount of high-quality, unsalted butter, cut into tiny pieces and kept ice cold. You can also use vegetable shortening, but I find the butter really boosts the flavor profile.
If you use butter, make sure it’s just as finely chopped as the suet would be. You want little beads of fat throughout the mixture, not one giant lump. This helps keep the filling from turning into a dense brick while still providing that necessary richness that makes it taste homemade and old-fashioned.
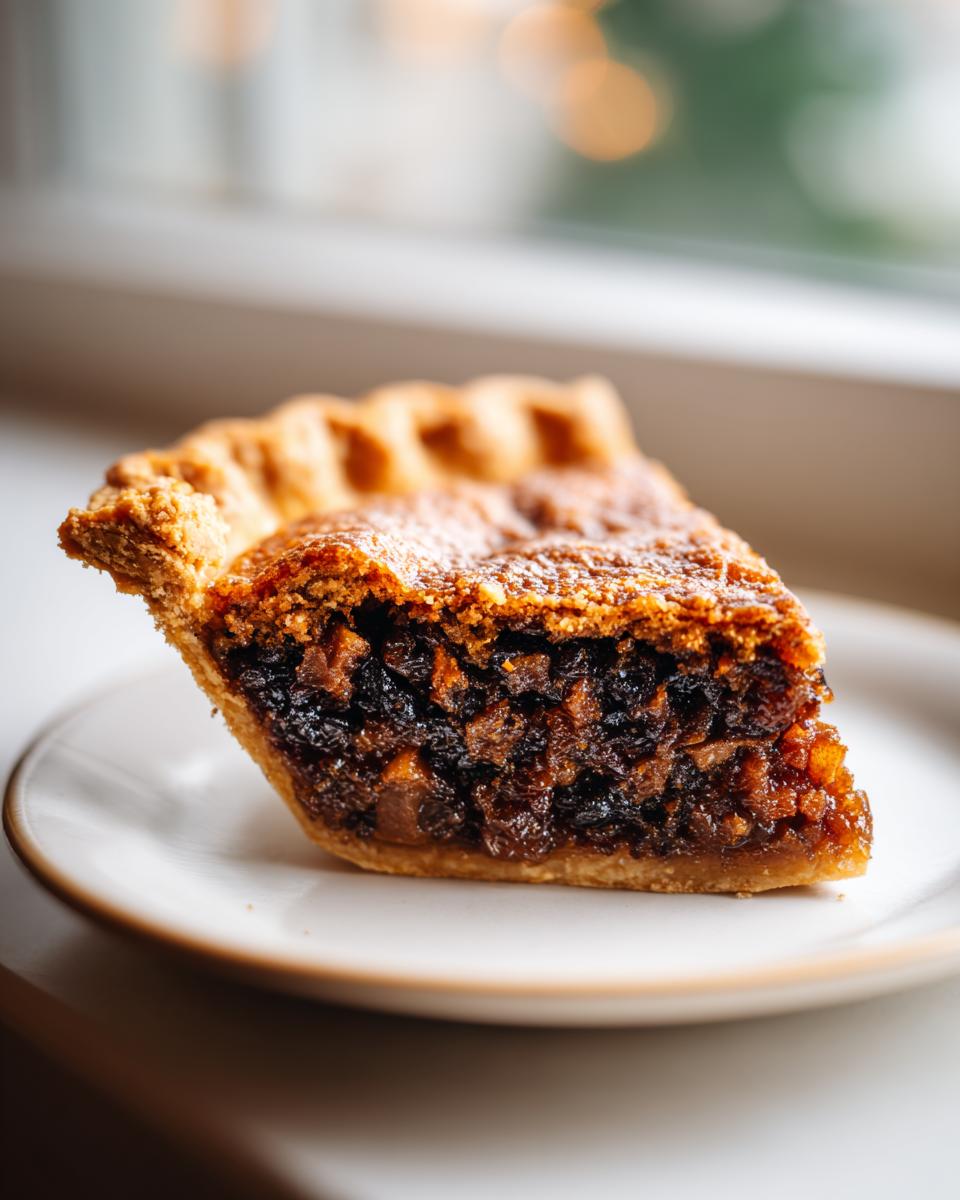
The Magic of Chopping Your Fruit Properly
Daisy always emphasized that how you chop the fruit makes a huge difference in the final texture of your Homemade Mince Pie Filling. If you just use whole raisins or big chunks of dried apricot, you end up with pockets of chewiness rather than a smooth, spiced blend. You need everything finely minced!
I use a sharp knife and a sturdy cutting board, chopping the raisins, currants, and sultanas until they are almost pasty—it takes a few minutes, but patience pays off here. The apple should be very finely diced, too, so it melts into the background slightly and just provides moisture. If you prefer a less hands-on approach, you can pulse everything in a food processor, but be careful! You want the fruit minced, not pureed into jam. For more fruity inspiration, check out these tips for a wonderful fruity mincemeat pie from Hallmark.
Serving Suggestions for Your Old Fashioned Holiday Dessert
Once that beautiful, fragrant mincemeat pie has cooled for those crucial two hours—don’t rush it, seriously!—the final step is how you present it on the table. This isn’t just about slapping a slice on a plate; it’s about creating that perfect cozy, festive moment. This pie is rich, wonderfully spiced, and practically screams ‘Christmas,’ so it needs companions that complement that depth.
My absolute go-to, the one Grandma Daisy always had ready, is a generous pour of hot vanilla custard. The warmth of the creamy old-fashioned custard melts just slightly into the thick spiced filling, making every bite blissfully decadent. It’s the ultimate cozy winter dessert pairing.
If you’re serving it slightly warm but don’t want the fuss of custard, you absolutely must have vanilla ice cream nearby. A scoop melts slowly over the warm slice, creating a divine contrast between hot and cold. For an extra indulgent touch, especially if you’ve made the boozier version, a dollop of lightly sweetened, thick whipped cream works wonders too!
Remember, no matter how much effort you put into making this Authentic British Holiday Pie, the presentation matters. A light dusting of powdered sugar right before serving always looks so elegant against that dark fruit filling and golden crust.
Storage and Reheating Instructions for Mincemeat Pie
Now that you’ve successfully created this stunning, perfectly juicy mincemeat pie, you need to know how to keep that hard work safe until serving time! This is where knowing how to store a Classic Holiday Baking creation really comes into play. Honestly, the pie tastes even better the next day once all those spices have had a long night to settle into that fruit.
If you are really smart—and I highly recommend it—you made your filling several days ahead of time. If you did that, great news! That filling can be stored airtight in the fridge for up to two weeks. The alcohol acts as a wonderful preservative, which is why the old-timers loved making huge batches. If you made the fruit-only version, aim for about 10 days in the fridge, just to be safe.
Once the pie is fully baked and cooled (remember those two hours!), you can store the whole thing wrapped tightly in plastic wrap or foil right on the counter for about two days if your kitchen isn’t too warm. For longer storage, pop the whole thing, carefully wrapped, into the refrigerator. It should keep beautifully for up to a week that way.
When you want to serve a slice, I find reheating is the best way to wake up all those dried fruit aromas! Set your oven to 325°F (160°C). Place the individual slice on a piece of foil or a small baking sheet, cover it loosely with foil so the crust doesn’t burn, and warm it for about 10 to 15 minutes. You want it warm through, almost like it just came out of the oven. If you happen to have a slice left over tomorrow, try it cold with a cup of tea; it’s pretty fantastic that way too! If you want to try another delicious make-ahead holiday bake, I adore my chocolate chip cheesecake recipe for Christmas.
Frequently Asked Questions About Mincemeat Pie
I know when I first started tackling these vintage baking recipes, I had a million questions swirling around! It’s only natural when trying something so historic and deeply spiced. Here are the things I hear most often when folks are starting their journey with a proper mincemeat pie. Don’t worry if you have questions; that just means you care about making it delicious!
Can I make the mincemeat filling days before baking the mincemeat pie?
Oh, please do! This is one of the best parts about making your filling from scratch, which I hope you’re giving a try. The flavors in this homemade mince pie filling need time to get to know each other. If you cook your fruit mixture down, let it cool completely, and then let it sit sealed in the fridge for 24 to 48 hours, the spices—the cinnamon, the clove, the nutmeg—really deepen and bloom. It makes a world of difference compared to using it right away. And since we use quite a bit of alcohol, it keeps beautifully!
What is the difference between traditional and modern mincemeat?
That’s the puzzle that stumps everyone! Historically, the term referred almost entirely to a filling that included beef or venison and beef suet mixed with dried fruit. It was more savory than sweet. Daisy’s recipes definitely leaned toward that richer, spiced, meat-inclusive flavor profile. Now, the commercial versions we often see, and what I included as our modern option, are purely fruit-based. So, if you’re skipping the suet, you’re making a modern fruity mincemeat filling!
If you want to try something completely different but still cozy, you might love my recipe for easy crockpot potato soup; it’s simple comfort food for a cold evening!
Why is my mincemeat filling runny even after cooking?
This usually comes down to one of two things. First, are you chopping your fruit small enough? If the fruit chunks are too big, they hold onto liquid and release it slowly during baking. Second, you might have stopped cooking too soon. You need that filling to be quite thick on the stovetop because it will loosen up in the oven. If you find it’s still too wet after cooling, don’t panic! Just mix in a tablespoon of breadcrumbs or flour to help absorb a little excess moisture before sealing it in your crust. If you are looking for recipe inspiration online, you can look up this None Such Mincemeat Pie recipe for a simple alternative.
Do I need to use brandy or rum in the filling?
You absolutely don’t *need* it, but I highly recommend it! The alcohol does much more than just add flavor; it helps preserve the filling if you’re making it ahead of time, and it really enhances the dried fruit, plumping it up nicely. If you’re avoiding alcohol, just use orange juice or apple juice instead. For that complex depth, try adding a teaspoon of vanilla extract to the juice if you skip the brandy!
Baking Your Legacy: Share Your Mincemeat Pie Experience
Well, that’s it! We’ve made it through the spiced fruit, navigated the suet dilemma, and patiently waited for that beautiful, golden crust to emerge from the oven. This whole process of making an Old Fashioned Holiday Dessert isn’t just about following steps in a book; it’s about creating that warmth and scent that ties us back to people we love, like my Grandma Daisy.
I truly hope you enjoyed taking the time to slow down and bake this genuine, magnificent mincemeat pie. Now, I’d absolutely love to hear from you! Did you go full traditional with the suet, or did you make the totally delicious, fruit-only version?
Tell me how it went! Rate this recipe below and share any little adjustments you made in your own kitchen. Did you serve it with custard? Ice cream? I’m always looking for new ways to enjoy this classic, so please leave a comment and let’s chat about your holiday baking success! And hey, if you need another amazing bake for your spread, don’t pass up my recipe for cosmic brownies!
PrintOld-Fashioned Mincemeat Pie: A Traditional Recipe with Juicy Filling Secrets

Make an authentic, old-fashioned mincemeat pie using this straightforward recipe. You will learn how to create a deeply spiced, juicy filling, and we provide an option for a modern, fruit-only mince pie.
- Prep Time: 45 min
- Cook Time: 50 min
- Total Time: 145 min
- Yield: 8 servings 1x
- Category: Dessert
- Method: Baking
- Cuisine: British
- Diet: Vegetarian
Ingredients
- 1 recipe for Buttery Flaky Pie Crust (for double crust pie)
- 1 pound mixed dried fruit (raisins, currants, sultanas), finely chopped
- 1 large tart apple (like Granny Smith), peeled, cored, and finely chopped
- 1/2 cup beef suet, finely chopped (omit for vegetarian version)
- 1/2 cup dark brown sugar, packed
- 1/4 cup brandy or dark rum (omit for non-alcoholic)
- 2 tablespoons fresh orange juice
- 1 tablespoon fresh lemon zest
- 1 teaspoon ground cinnamon
- 1/2 teaspoon ground nutmeg
- 1/4 teaspoon ground cloves
- 1/4 teaspoon salt
- 1/4 cup water or apple juice (to adjust moisture)
Instructions
- Prepare your Buttery Flaky Pie Crust dough and chill it while you make the filling.
- In a large saucepan, combine the chopped dried fruit, chopped apple, suet (if using), brown sugar, brandy, orange juice, lemon zest, cinnamon, nutmeg, cloves, and salt.
- Place the saucepan over medium-low heat. Stir the mixture frequently until the sugar dissolves and the mixture begins to simmer gently.
- Reduce the heat to low. Cook the mincemeat mixture for 20 to 30 minutes, stirring often to prevent sticking. The goal is for the fruit to soften and the mixture to become thick and fragrant. This slow cooking helps create a juicy filling.
- If the mixture seems too dry during the last 10 minutes of cooking, add the water or apple juice, one tablespoon at a time, until the filling is moist but not runny.
- Remove the filling from the heat and let it cool completely. The flavors will deepen as it cools.
- Preheat your oven to 400°F (200°C).
- Roll out half of your chilled pie dough and carefully place it into a 9-inch pie plate. Trim the edges.
- Spoon the cooled mincemeat filling evenly into the bottom crust.
- Roll out the remaining dough for the top crust. Place it over the filling. Crimp the edges to seal the pie. Cut several slits in the top crust to allow steam to escape.
- Bake for 15 minutes at 400°F (200°C). Then, reduce the oven temperature to 350°F (175°C) and continue baking for another 30 to 35 minutes, or until the crust is golden brown and the filling is bubbling slightly.
- Let the pie cool on a wire rack for at least 2 hours before slicing. This allows the filling to set properly.
Notes
- For an extra boozy flavor, stir in 1 tablespoon of Brandy or Madeira after the filling has cooled completely.
- If you skip the suet, add 1 tablespoon of butter to the fruit mixture while cooking to maintain richness.
- Serve this classic holiday baking dessert warm with vanilla custard or a scoop of vanilla ice cream.
Nutrition
- Serving Size: 1 slice
- Calories: 450
- Sugar: 65g
- Sodium: 180mg
- Fat: 18g
- Saturated Fat: 10g
- Unsaturated Fat: 8g
- Trans Fat: 0g
- Carbohydrates: 70g
- Fiber: 4g
- Protein: 4g
- Cholesterol: 30mg