
Oh, those bakery windows! Doesn’t seeing those perfectly piped swirls just make you instantly nostalgic? For years, I chased that specific, tender texture in my own kitchen, trying to nail that melt-in-your-mouth experience you only usually find at the best Italian pastry shops. Well, I finally cracked the code, and it all comes down to simple, honest baking, just like my Grandma Daisy taught me years ago. I’m so thrilled to share my absolute keeper: the Authentic Bakery-Style Italian Butter Cookies: The Ultimate Melt-in-Your-Mouth Recipe. These Italian butter cookies are rich, deeply buttery, and frankly, addictive. Get ready to banish those store-bought tins forever!
- Why These Italian Butter Cookies Are Your New Favorite Homemade Butter Cookies
- Essential Ingredients for Authentic Italian Butter Cookies
- Simple Steps to Perfect Italian Butter Cookies
- Customizing Your Italian Butter Cookies: Variations and Finishes
- Tips for Success Making Italian Butter Cookies
- Storage and Make-Ahead Tips for Your Homemade Butter Cookies
- Serving Suggestions: Pairing Italian Butter Cookies with Coffee or Tea
- Frequently Asked Questions About Italian Butter Cookies
- Nutritional Estimates for Vanilla Butter Cookies
Why These Italian Butter Cookies Are Your New Favorite Homemade Butter Cookies
Forget those dry, brittle cookies you sometimes get around the holidays! These Italian butter cookies are in a completely different league. They deliver that sought-after, tender quality that only true bakery-style treats possess. Trust me, once you taste these homemade butter cookies, you won’t look back.
- They truly are melt in your mouth cookies—so soft!
- They use simple ingredients for maximum flavor impact.
- You get authentic bakery results without needing fancy equipment.
If you want more tips on achieving that perfect texture, check out my guide on a similar easy melt-in-your-mouth butter cookie recipe.
Achieving That Tender, Buttery Texture
The secret here isn’t complicated, it’s just precise! We use powdered sugar instead of granulated sugar for the bulk of the sweetener. Powdered sugar dissolves much faster, creating a much finer texture overall. Also, making sure your butter is perfectly room temperature—soft but not greasy—lets it hold onto air properly when you cream it. That air is what keeps these cookies pillowy!
Essential Ingredients for Authentic Italian Butter Cookies
When you’re striving for that true Bakery Style Butter Cookies taste, you can’t cut corners on the basics. This recipe depends on simple, high-quality components so the butter and vanilla can really shine through. Even though the list looks short, every item plays a crucial role in achieving that ‘melt in your mouth’ standard. You need a full cup of unsalted butter, softened just right—remember, we need it creamy, not melty!
You’ll also need one full cup of powdered sugar (that helps with the texture!), one large egg yolk for richness, and 2 cups of all-purpose flour, plus a quarter teaspoon of salt to balance all that sweetness.
The flavor comes from about a teaspoon of vanilla extract and, importantly for that traditional Italian hint, half a teaspoon of almond extract. Don’t skip the almond—it’s quiet, but it’s vital!
Ingredient Notes and Substitution Options
Let’s talk specifics so you get it perfect the first try. First, unsalted butter is key. If you use salted, you absolutely must cut the added salt in the recipe, or these cookies will be far too savory. Second, regarding the flavorings: If the thought of almond extract makes you nervous, you can leave it out, but you should replace that half teaspoon with extra vanilla extract. However, a lot of the depth in these Authentic Italian Cookies comes from that hint of nuttiness.
Also, don’t swap the powdered sugar for granulated sugar if you can avoid it. Granulated sugar leaves little crunchy pockets, and we are aiming for smooth, tender Homemade Butter Cookies, remember? The quality of your butter—the higher the fat content, the better—will truly make the difference in these simple delights.
Simple Steps to Perfect Italian Butter Cookies
Okay, deep breaths! This section is where we turn simple ingredients into art. I remember watching Grandma Daisy pipe these cookies; she made it look like breathing, but my first few attempts looked more like sad little blobs! The trick to mastering these Bakery Style Butter Cookies is all in the process—we move slowly, and we respect the dough when it’s tired. This recipe is easier than it looks, I promise, as long as you follow the mixing order I learned from her.
Mixing the Dough for Bakery Style Butter Cookies
First things first: you need creamy butter—really creamed! Start by beating that softened butter until it looks pale and fluffy. Then, slowly introduce that cup of powdered sugar until it’s lightened up even more. You’re incorporating air here, and that air is what keeps your cookies delicate later on. Next, toss in the egg yolk and those two extracts—vanilla and almond—and mix until everything is just uniform. Now, here is the crucial part for tender results: whisk your flour and salt separately. Add that dry mix into the wet ingredients only on low speed, and stop the mixer the second you see the last streak of flour disappear. Seriously, stop! Overmixing this batter develops gluten, and gluten gives you tough, snappy cookies, not the soft ones we crave.
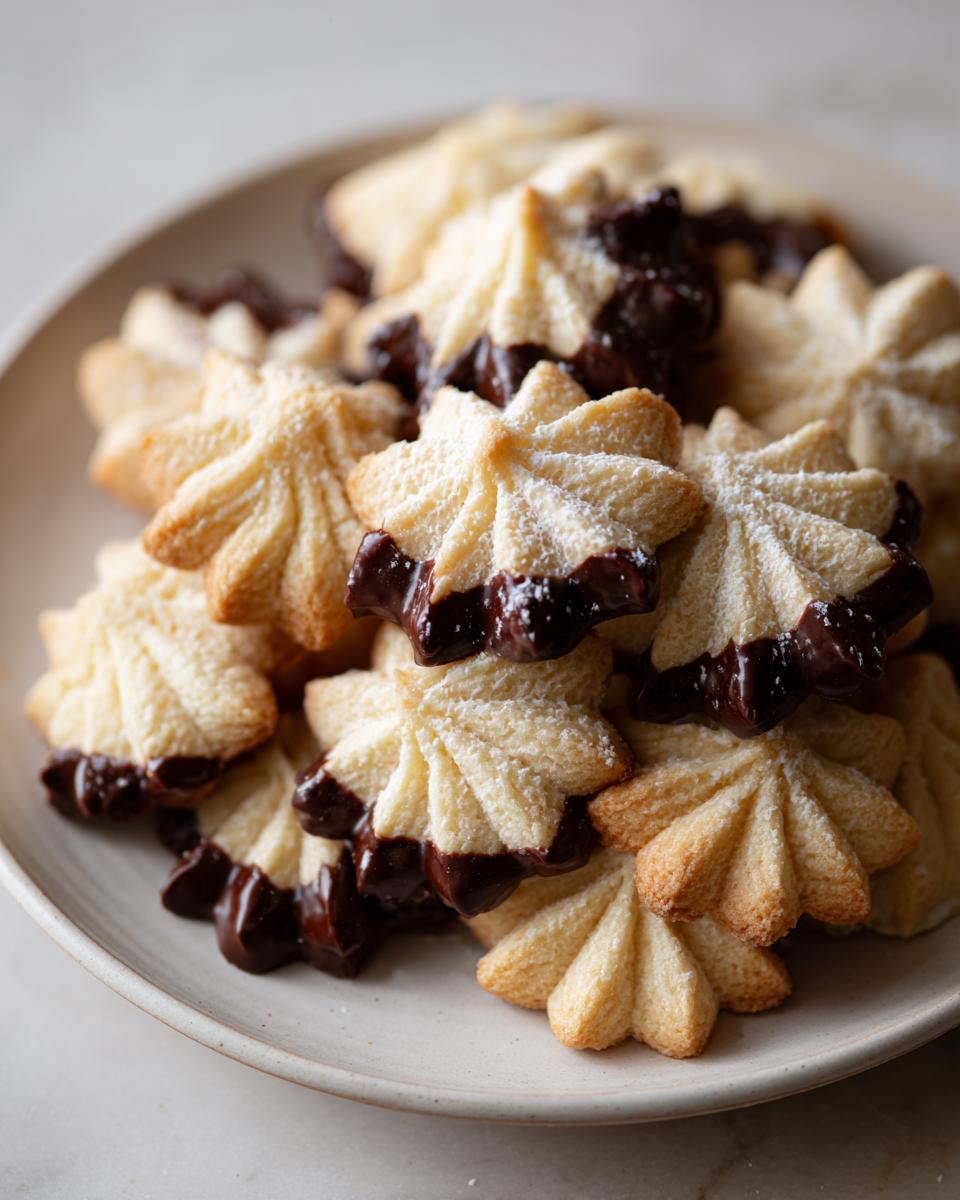
Piping and Chilling for Shape Retention
Once you have that soft dough, it’s piping time. Fit a piping bag with a big star tip—Wilton 1M is perfect—and load it up. Pipe little swirls onto parchment-lined sheets. If you’re not a piping pro, don’t stress! You can use a cookie press, or just roll small balls and use the back of a fork to press them down slightly. Either way, your next step is mandatory: chilling! You absolutely need to chill those piped shapes in the fridge for at least 30 minutes. If you skip this, they spread out into flat puddles the second they hit the heat. If you want more guidance on getting that perfect surface, my general advice for cookie-shaping and chilling applies here too. Once they are firm, pop them into a 350°F oven for just 10 to 12 minutes. We want pale centers and just the slightest hint of gold on the edges!
Customizing Your Italian Butter Cookies: Variations and Finishes
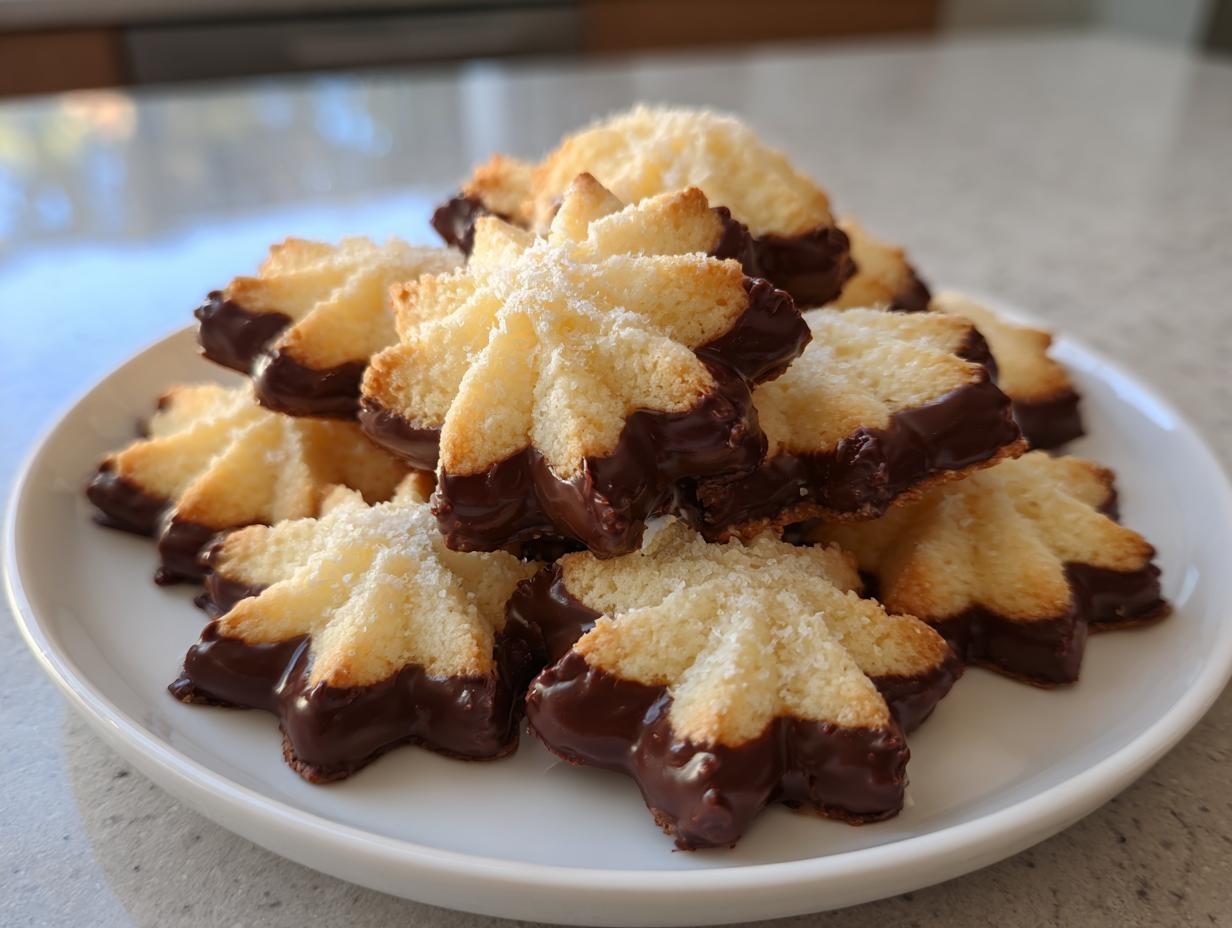
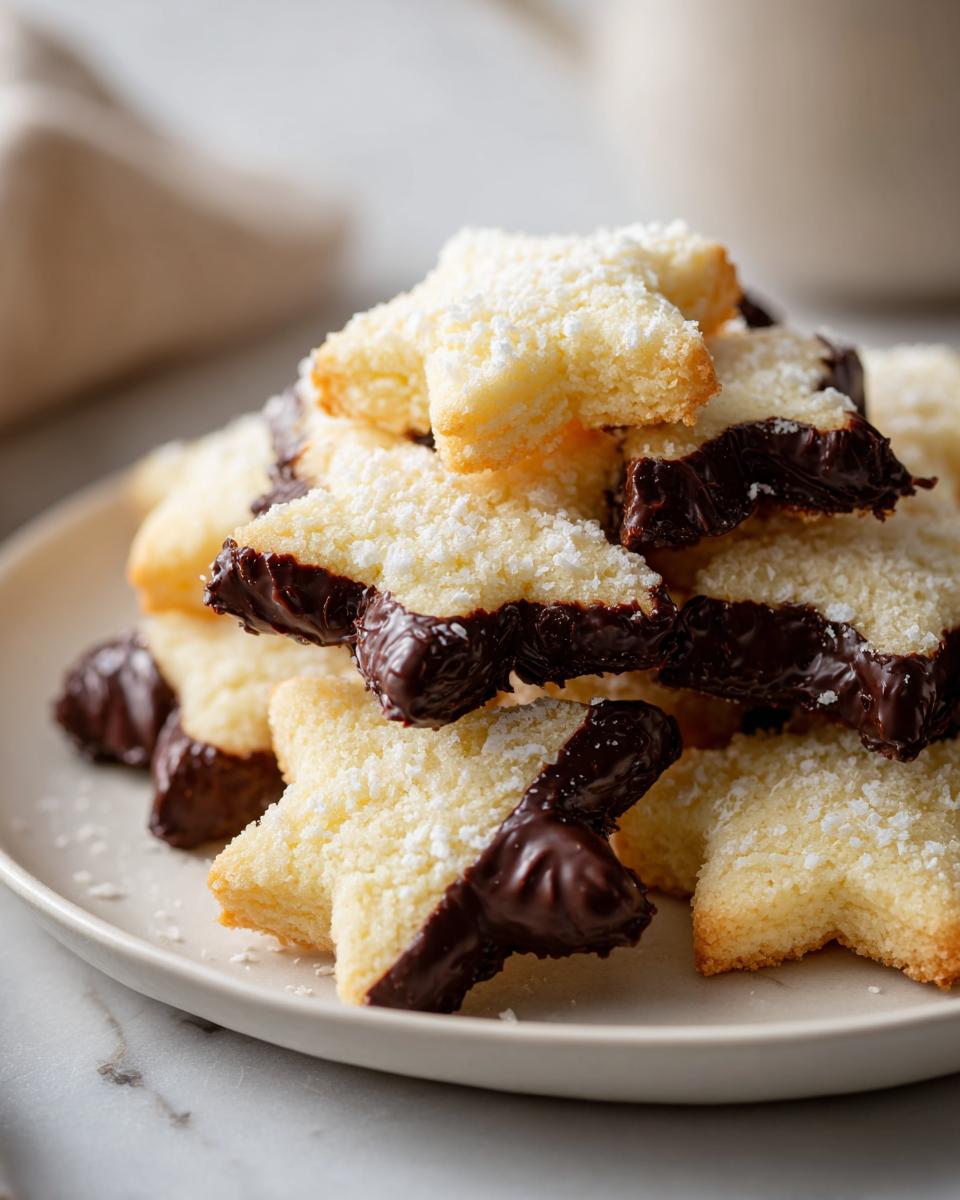
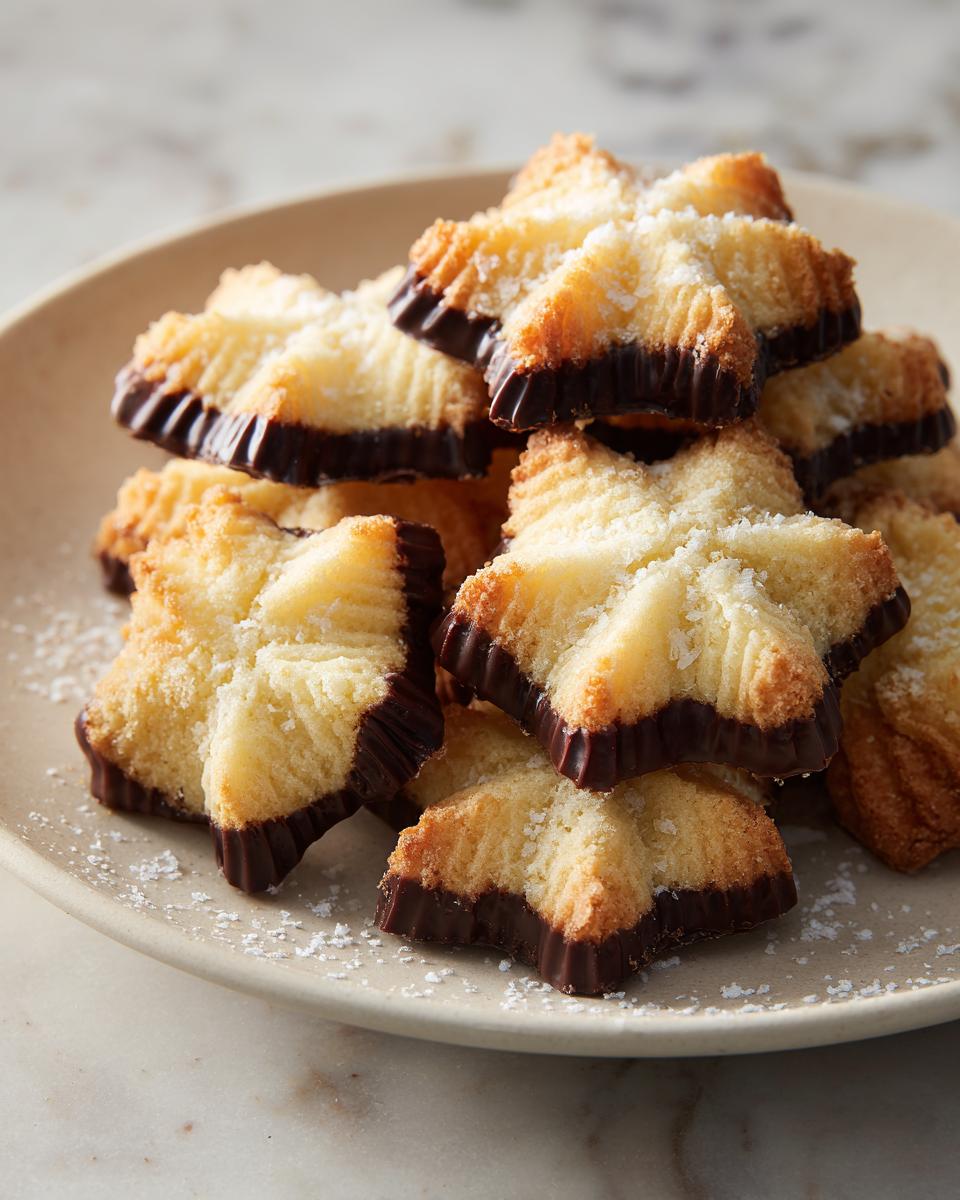
The basic dough for these Italian butter cookies is already fantastic, but the real fun begins when we start decorating! These cookies are famous for their versatility, which is why they are perfect for making huge holiday platters. You’ve got that wonderful, buttery base that holds up beautifully whether you dip them or stuff them.
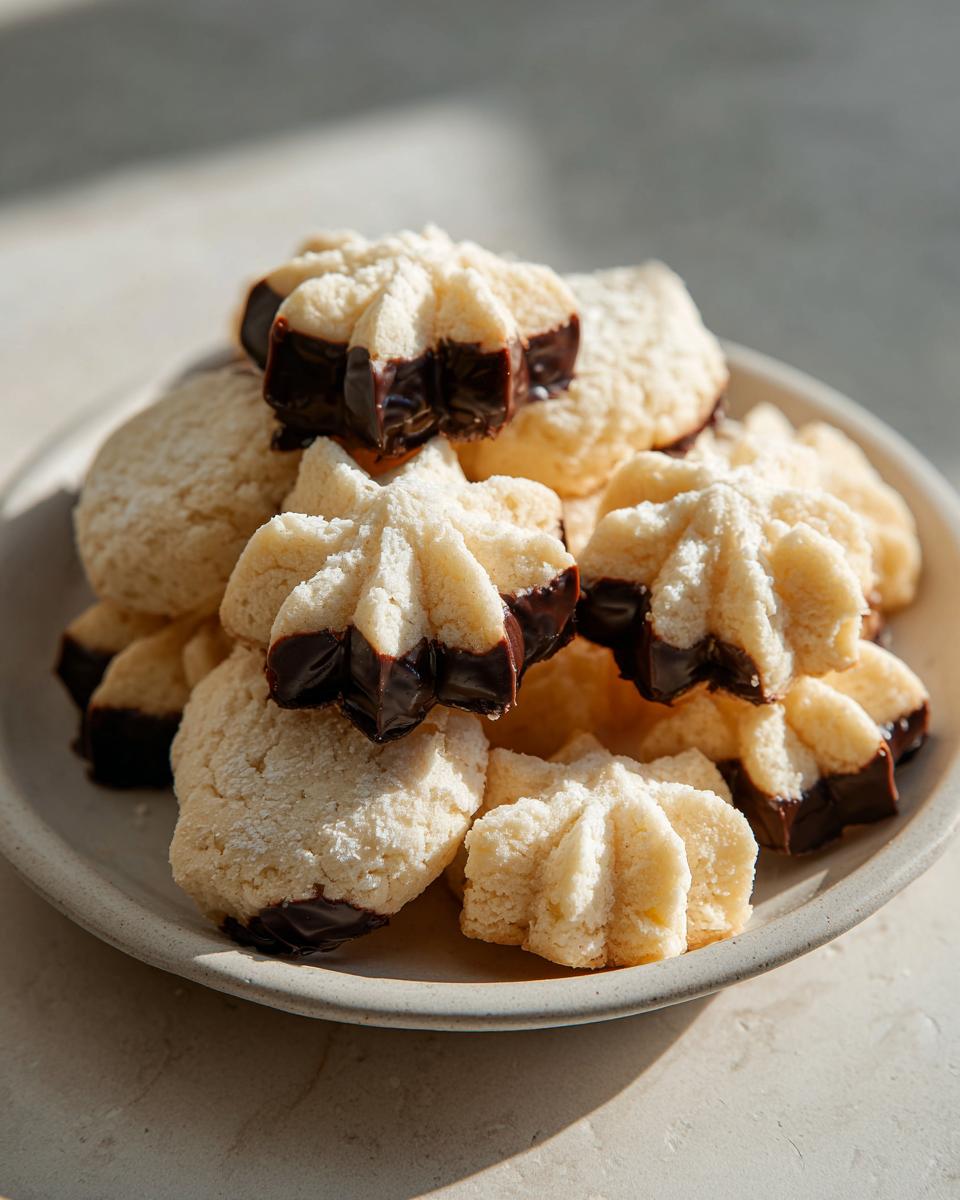
When they’re completely cool, you can try making some delightful jam filled cookies. Just sandwich two identical cookies together with a dollop of raspberry or apricot jam in the center. If you’re feeling extra fancy, you can turn them into gorgeous chocolate dipped cookies. Just melt down some semi-sweet chocolate until it’s smooth—I often use a simple double boiler method—and dip half of each cooled cookie. Let them set on parchment paper. For a really luxurious look, check out a guide on how to properly dip your Italian butter cookies in chocolate!
If dipping isn’t your thing, don’t stop there! For a different dimension of flavor, try adding some finely grated lemon or orange zest right into the dough with the extracts. That citrus brightens up the richness perfectly. Or, if you’re making a batch for someone who doesn’t love the almond note, skip it and add a tiny bit of peppermint extract instead—amazing for Christmas! I have a great recipe for chocolate components that might give you some inspiration for drizzles, too, if you want to get extra creative.
Tips for Success Making Italian Butter Cookies
Making these Authentic Italian Cookies is straightforward, but a couple of small things—lessons I gleaned from watching Daisy—will ensure you get that incredible ‘bakery quality’ every single time. First, let’s talk temperature. I stressed room temperature butter, but I can’t stress it enough: if your butter feels oily or too soft when you press it, stop! Let it cool down slightly before creaming.
Baking temperature is also key for that perfect texture. Don’t trust your oven thermometer completely; these cookies bake fast. Keep a close eye on them when they hit that 10-minute mark. You want the bottoms barely golden and the tops still looking quite pale. If they are dark brown, they are going to taste more like a shortbread than a delicate, melt-away cookie.
Finally, remember the dough is quite soft, which is why chilling is essential. This keeps the shape gorgeous, but it also prevents the butter from rushing out too fast in the oven. Handle them gently, keep them cold, and you’ll have success!
Storage and Make-Ahead Tips for Your Homemade Butter Cookies
I know how it is when the holidays roll around—you need to get ahead! The wonderful thing about these homemade butter cookies is they store like a dream. If you keep them in a truly airtight container at room temperature, they stay perfectly tender for solid week. I try to wait at least 24 hours after baking before sealing them up; letting them fully cool and set prevents any sweating inside the container.
If you’re baking early for Christmas, you can freeze them! You can freeze the baked cookies or even the un-piped dough. For the dough shapes, just pop your trays in the freezer until solid, transfer them to a heavy-duty freezer bag, and they’ll be good for about two months. You can bake them straight from frozen, just add a couple of extra minutes to your bake time. If you’re having trouble with cookies spreading, check out my guide on how to stop cookies from spreading; the chilling advice is key here!
Serving Suggestions: Pairing Italian Butter Cookies with Coffee or Tea
These delicate, barely-sweet Italian butter cookies were practically made to be served alongside a hot beverage. They truly shine during quiet moments—think cozy afternoons or mid-morning breaks. They are perfect for what I call ‘Tea Time Cookies‘ because their mild base doesn’t overpower a delicate Earl Grey or a strong black coffee.
Honestly, a strong, slightly bitter espresso cuts through that buttercream richness beautifully. If you’re serving a crowd, set out a big platter of these next to a pot of fresh black coffee. If you want to get adventurous with your pairings, I always suggest a nice, warming herbal tea, maybe something with mint or spice—speaking of spice, you might want to check out my recipe for cinnamon butter to serve alongside some crusty bread for dessert!
Frequently Asked Questions About Italian Butter Cookies
Can I use granulated sugar instead of powdered sugar in this recipe?
Oh, please don’t if you can help it! I know we all run out of things sometimes, but the powdered sugar is absolutely crucial if you want that signature melt in your mouth cookie texture. Granulated sugar creates a coarser, slightly grittier crumb because the crystals don’t dissolve as readily into the butter. Stick with the powdered sugar for that delicate, tender bite we are aiming for in these Bakery Style Butter Cookies.
Are Italian Butter Cookies the same as Spritz cookies?
That’s a great question! They are *very* close cousins, and often the base dough for both is nearly identical—both use soft, buttery dough piped into shapes. The main difference usually lies in the flavoring! Traditional Italian Butter Cookies often rely heavily on vanilla and almond extracts, while Spritz cookies might lean more heavily into lemon zest or sometimes a hint of spice. If you use this recipe, I think you get the best of both worlds—definitely suitable for your holiday platter!
Why do my homemade butter cookies keep spreading out flat?
Spreading is the enemy of a beautiful swirl! This almost always comes down to two things: your butter was too warm, or you skipped the chill time. If that butter is even slightly greasy when you chill it, it melts too fast in the oven before the flour has a chance to set the structure. Make sure your butter is just soft enough to dent, not mushy. Then, if you’re making any other cookie recipe that relies on shape, that mandatory 30-minute chill is your insurance policy against sad, flat discs!
Can I make these without a piping bag or cookie press?
Yes, you absolutely can! If you don’t have specialty tools, you can treat this dough almost like a soft shortbread. Scoop out portions about the size of a large walnut, roll them into smooth balls between your palms, and place them on the baking sheet. Then, take a fork dipped in a little flour and gently press down on the top of each ball, just one firm press. They won’t have the fancy swirl, but they’ll still taste like the best Vanilla Butter Cookies you’ve ever had!
Nutritional Estimates for Vanilla Butter Cookies
Now, I know my focus is always flavor and tradition over counting every little thing—Grandma Daisy never even owned a calculator!—but it is helpful to know what you’re working with, especially when planning for the holidays. These numbers are just estimates for one vanilla butter cookie made without the optional chocolate dip or jam filling. Any additions will, of course, change the final breakdown.
- Serving Size: 1 cookie
- Calories: About 110
- Fat: 7g (4g saturated)
- Carbohydrates: 11g
- Protein: 1g
These are wonderfully rich treats, so enjoy them guilt-free with your coffee! Remember, these estimates are based on the core recipe only.
PrintAuthentic Bakery-Style Italian Butter Cookies: The Ultimate Melt-in-Your-Mouth Recipe
Make rich, tender Italian Butter Cookies at home that taste just like the bakery. This simple recipe yields soft, buttery cookies perfect for holidays or tea time.
- Prep Time: 25 min
- Cook Time: 12 min
- Total Time: 67 min
- Yield: About 3 dozen 1x
- Category: Dessert
- Method: Baking
- Cuisine: Italian
- Diet: Vegetarian
Ingredients
- 1 cup unsalted butter, softened
- 1 cup powdered sugar
- 1 large egg yolk
- 1 teaspoon vanilla extract
- 1/2 teaspoon almond extract
- 2 cups all-purpose flour
- 1/4 teaspoon salt
- 1/2 cup melted semi-sweet chocolate (for dipping, optional)
- 1/4 cup jam (for filling, optional)
Instructions
- Beat the softened butter in a large bowl until creamy. Add the powdered sugar and beat until light and fluffy.
- Mix in the egg yolk, vanilla extract, and almond extract until fully combined.
- In a separate bowl, whisk together the flour and salt. Gradually add the dry ingredients to the wet ingredients, mixing on low speed until just combined into a soft dough. Do not overmix.
- Transfer the dough to a piping bag fitted with a large star tip (like Wilton 1M).
- Pipe small swirls or desired shapes onto baking sheets lined with parchment paper.
- Chill the cookies on the baking sheets for at least 30 minutes. This helps them keep their shape.
- Preheat your oven to 350°F (175°C).
- Bake the chilled cookies for 10 to 12 minutes, or until the edges are lightly golden. They should remain pale in the center for a soft texture.
- Let the cookies cool on the baking sheet for 5 minutes before moving them to a wire rack to cool completely.
- If desired, dip half of each cooled cookie into melted chocolate or sandwich two cookies together with jam. Let chocolate set before serving.
Notes
- For the best melt-in-your-mouth texture, use room temperature butter.
- You can substitute almond extract with more vanilla if you prefer a pure vanilla butter cookie flavor.
- If you do not have a piping bag, you can press the dough through a cookie press or simply roll small balls and flatten them slightly with a fork.
- These cookies freeze well before baking; place frozen dough shapes directly onto a baking sheet and add a few extra minutes to the bake time.
Nutrition
- Serving Size: 1 cookie
- Calories: 110
- Sugar: 7g
- Sodium: 35mg
- Fat: 7g
- Saturated Fat: 4g
- Unsaturated Fat: 3g
- Trans Fat: 0g
- Carbohydrates: 11g
- Fiber: 0g
- Protein: 1g
- Cholesterol: 25mg