

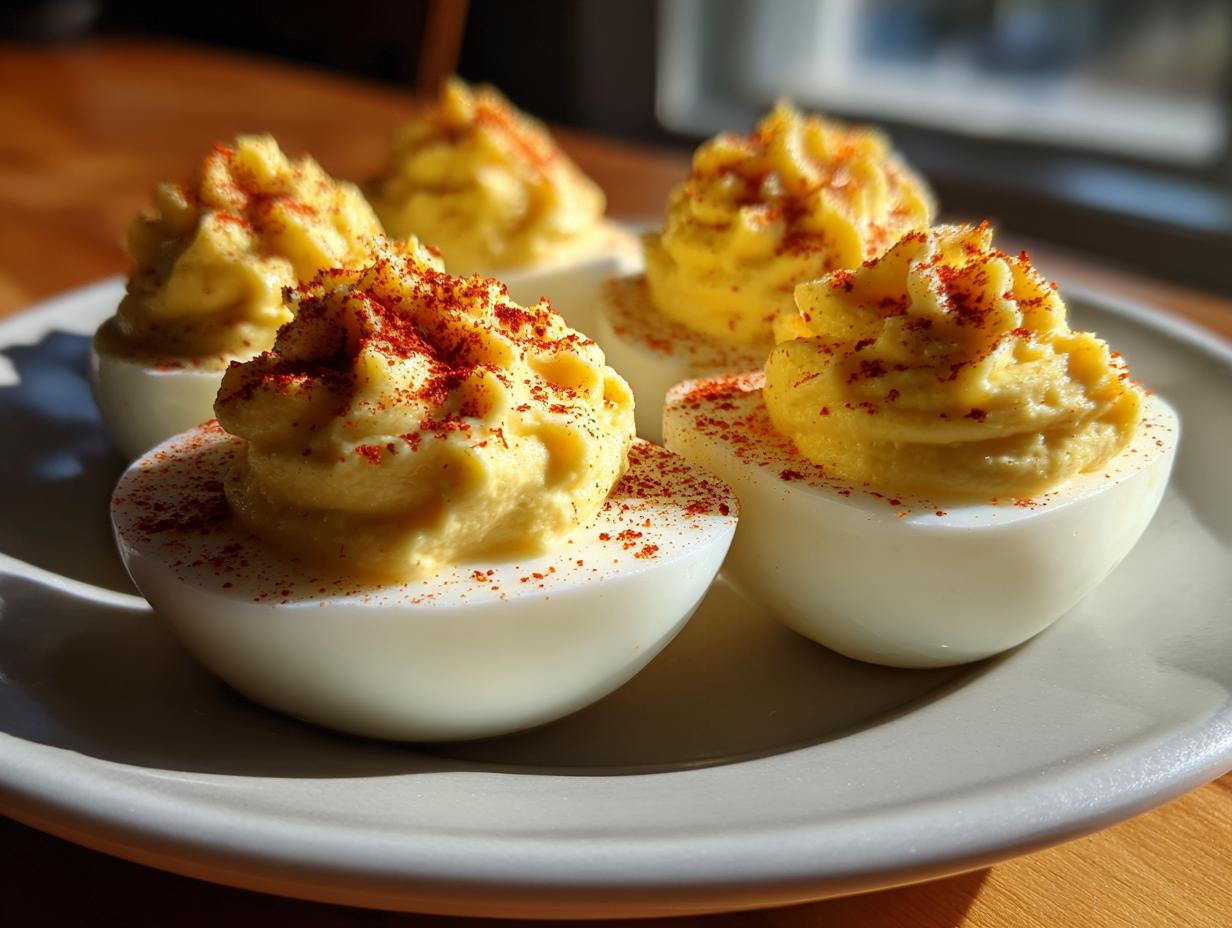
Oh, those beautiful, perfect little bites! If you’re like me, the sight of a platter of deviled eggs instantly takes you back to picnics, holiday tables, and family get-togethers. They are the ultimate simple, honest food that gets gobbled up before anything else. I spent ages perfecting this, and I’m thrilled to finally share my foolproof deviled eggs recipe. Trust me, this method guarantees you creamy filling every single time, and, more importantly, I cracked the code on making those hard-boiled eggs peel like a dream. No more frustration when making this classic appetizer!
- Why This is the Best Deviled Eggs Recipe for Your Gathering
- Ingredients Needed for Classic Deviled Eggs
- How to Make Deviled Eggs: Step-by-Step Instructions
- Tips for Perfect Deviled Eggs Every Time
- Making Easy Deviled Eggs for Large Crowds
- Storage and Serving Suggestions for Deviled Eggs
- Frequently Asked Questions About How to Make Deviled Eggs
- Nutritional Estimates for This Deviled Eggs Recipe
- Share Your Experience Making This Classic Appetizer
Why This is the Best Deviled Eggs Recipe for Your Gathering
When I bring these out, they vanish first—that’s how you know you have the best deviled eggs recipe in your hands! Forget those runny, bland versions you sometimes find. Mine are intensely creamy with just the right kick of tanginess from the vinegar and mustard. They are the quintessential classic appetizer because they are straightforward, yet everyone always asks for the recipe. The magic isn’t just in the creamy filling, though; it’s about taking the guesswork out of the tricky first half of the process, making this truly an easy deviled eggs solution for any busy host.
Achieving Perfectly Cooked and Peeled Eggs
This is the place where most cooks throw their hands up, but stay with me! To get those bright yellow yolks without any ugly gray-green ring, timing is everything. You bring your water and eggs to a rolling boil, and then—this is key!—you immediately take the pan off the heat, cover it tightly, and let it sit there for exactly 12 minutes. Don’t peek! Once those 12 minutes are up, splash them straight into a big bowl of ice water. That immediate chill stops the cooking instantly and helps the membrane separate from the white, meaning you can peel them easily without tearing up your beautiful hard-boiled eggs.
Ingredients Needed for Classic Deviled Eggs
You don’t need fancy gadgets or obscure grocery items to make a winning batch of these! That’s the beauty of a genuine classic appetizer; it relies on simple, good pantry staples. I’ve listed out exactly what you’ll need below to create the perfectly balanced, creamy filling that people always rave about. Seriously, I keep all of this stocked because I never know when a last-minute gathering might pop up. The measurements here are calibrated for exactly 12 eggs, producing 24 delicious halves.
- 12 large eggs
- 1/2 cup mayonnaise
- 2 tablespoons yellow mustard
- 1 tablespoon white vinegar
- 1/4 teaspoon salt
- 1/8 teaspoon black pepper
- Paprika, for garnish
Stick to these proportions, and you’re already halfway to making the best deviled eggs on the block!
How to Make Deviled Eggs: Step-by-Step Instructions
Alright, deep breath! Now that your eggs are perfectly cooked and chilled, it’s time to transform them into the most requested party finger food imaginable using this straightforward deviled eggs recipe. The goal here is maximum creaminess and beautiful presentation. We’re breaking this down just like Grandma Daisy taught me—one simple zone at a time. If you followed the boiling instructions, the rest is just mixing and filling! For great foundational tips on cooking and peeling eggs, remember that simple, honest cooking is the key to starting right.
Preparing the Hard-Boiled Eggs
First things first, let’s get those shells off. Remember tackling the peeling? That’s where the ice bath pays off. Once the eggs are cool, peel them carefully. Slice each peeled egg in half lengthwise. Be decisive when you cut; we want nice, clean canoes! Then, gently scoop out all those perfectly yellow centers and set the hollowed-out white halves aside on your serving platter or a clean tray. It’s satisfying to see them lined up, ready for their delicious filling.
Creating the Smooth Yolk Filling for Your Deviled Eggs Recipe
Take those bright yolks and pop them into a small bowl. Now, for the texture: mash them thoroughly with a fork until they are as fine as sand. Seriously, don’t leave any lumps! Once you think you’re done mashing, mash them a little more. This totally ensures you get that silky texture that makes these the best deviled eggs. After they are beautifully fine, mix in the mayonnaise, mustard, vinegar, salt, and pepper. Stir everything together until it comes together into one ridiculously smooth, creamy paste. Give it a quick taste test—it should have that perfect tangy punch!
Assembling and Garnishing Your Party Finger Food
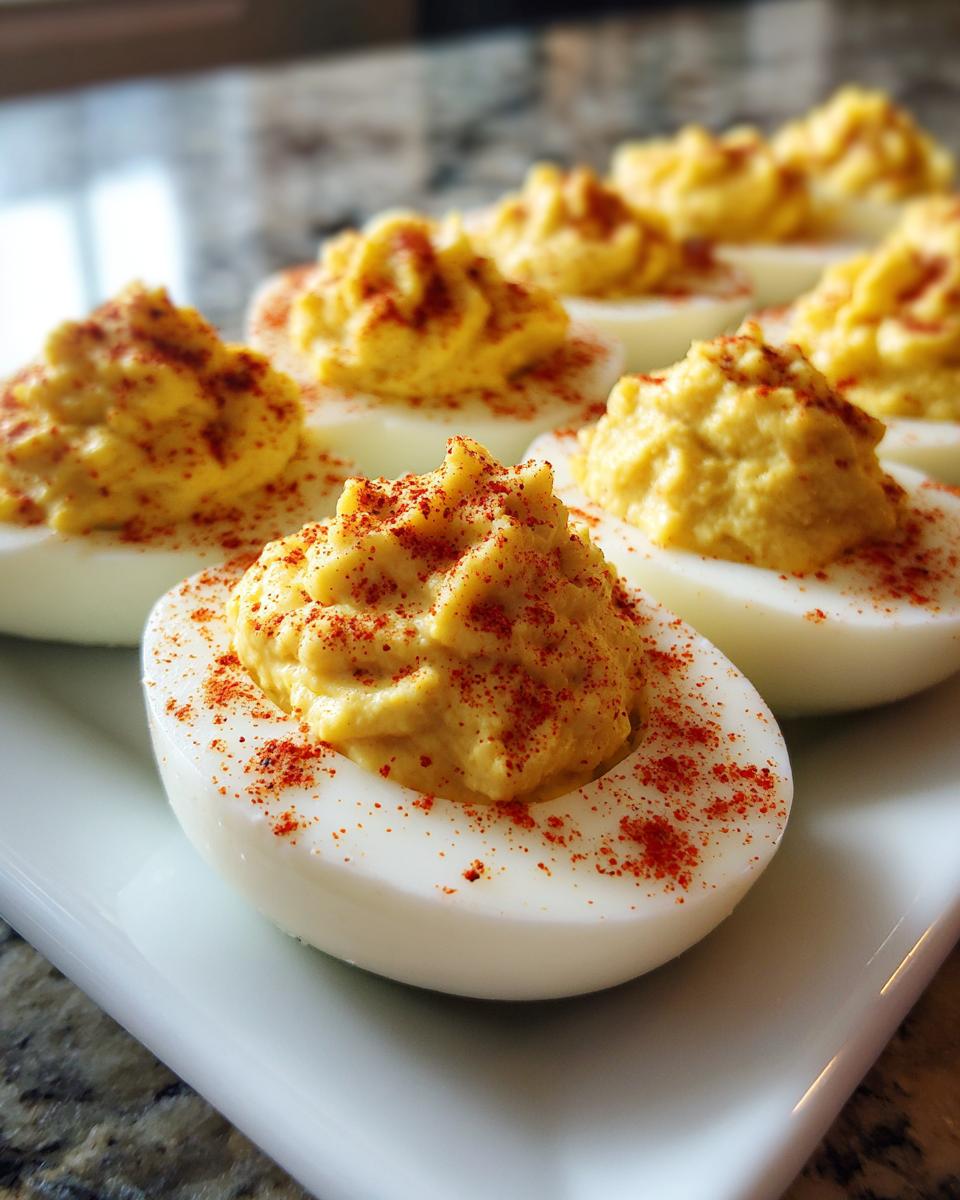
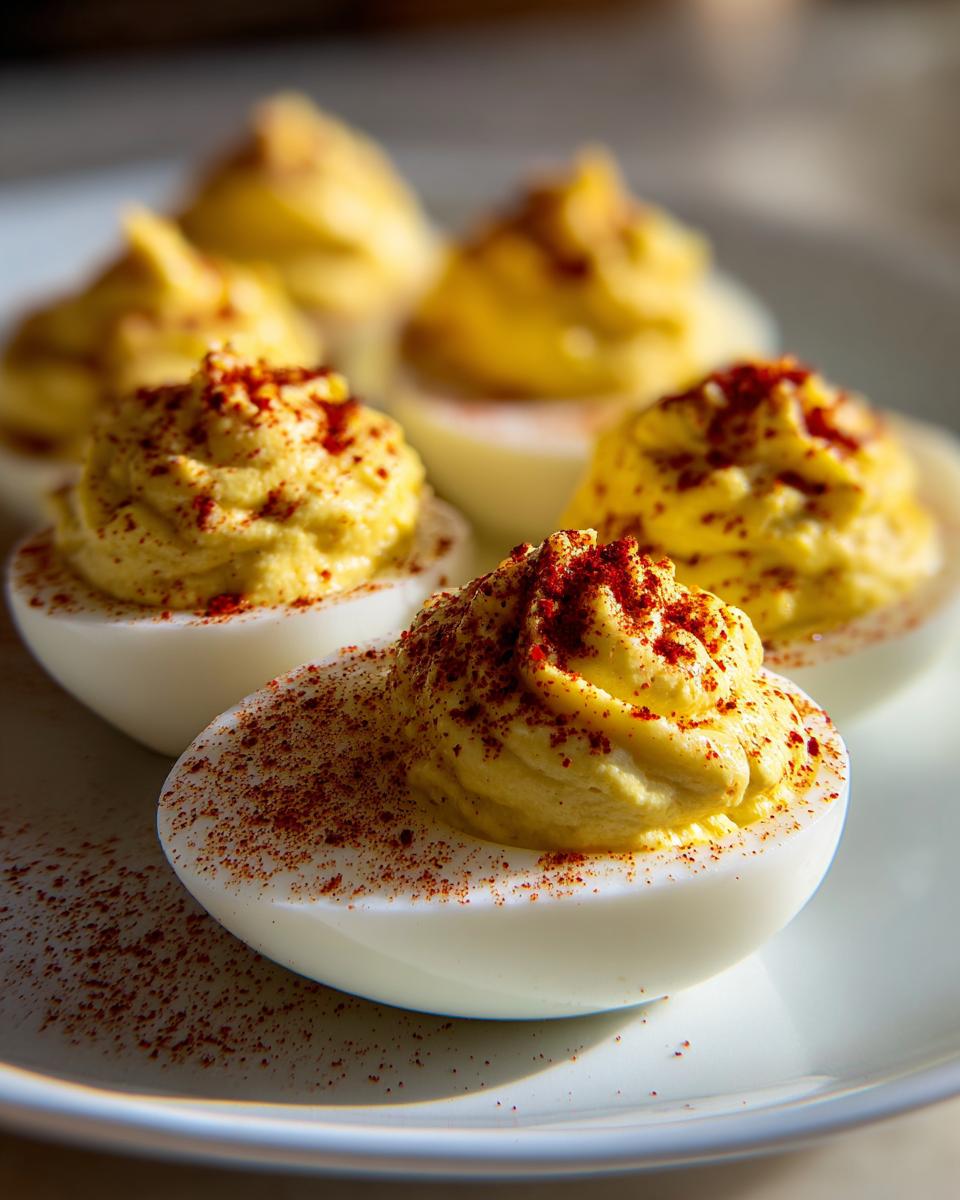
This is where my inner perfectionist comes out! While you can use a spoon to dollop the filling back in, piping always looks so much better for a proper party finger food spread. I use a plastic zip-top bag, snip a corner, and pipe a nice swirl back into each egg white half. It looks professional without any fancy tools. For the final touch—the signature that says “these are ready!”—sprinkle a light dusting of paprika right over the top of that creamy swirl. And that’s it! They are done and ready to impress!
Tips for Perfect Deviled Eggs Every Time
Even though this is an easy deviled eggs recipe, knowing a few extra tricks just elevates the whole plate, right? My grandmother always had little secret touches, and I’ve picked up a few others over the years for those times I want to switch things up a tiny bit while keeping the core flavor classic. Don’t worry if you don’t have everything perfectly planned; these small tweaks will make your batch stand out!
First off, let’s talk peeling again because it’s so important! If you find your shells are still clinging for dear life, try this: as soon as you peel the egg, crack the shell all over its surface and then peel it under cool running water. The water gets right underneath that membrane and helps lift everything away cleanly. Trust me, it makes a huge difference in keeping those whites looking pretty for presentation.
Ingredient Tweaks for Flavor Variations
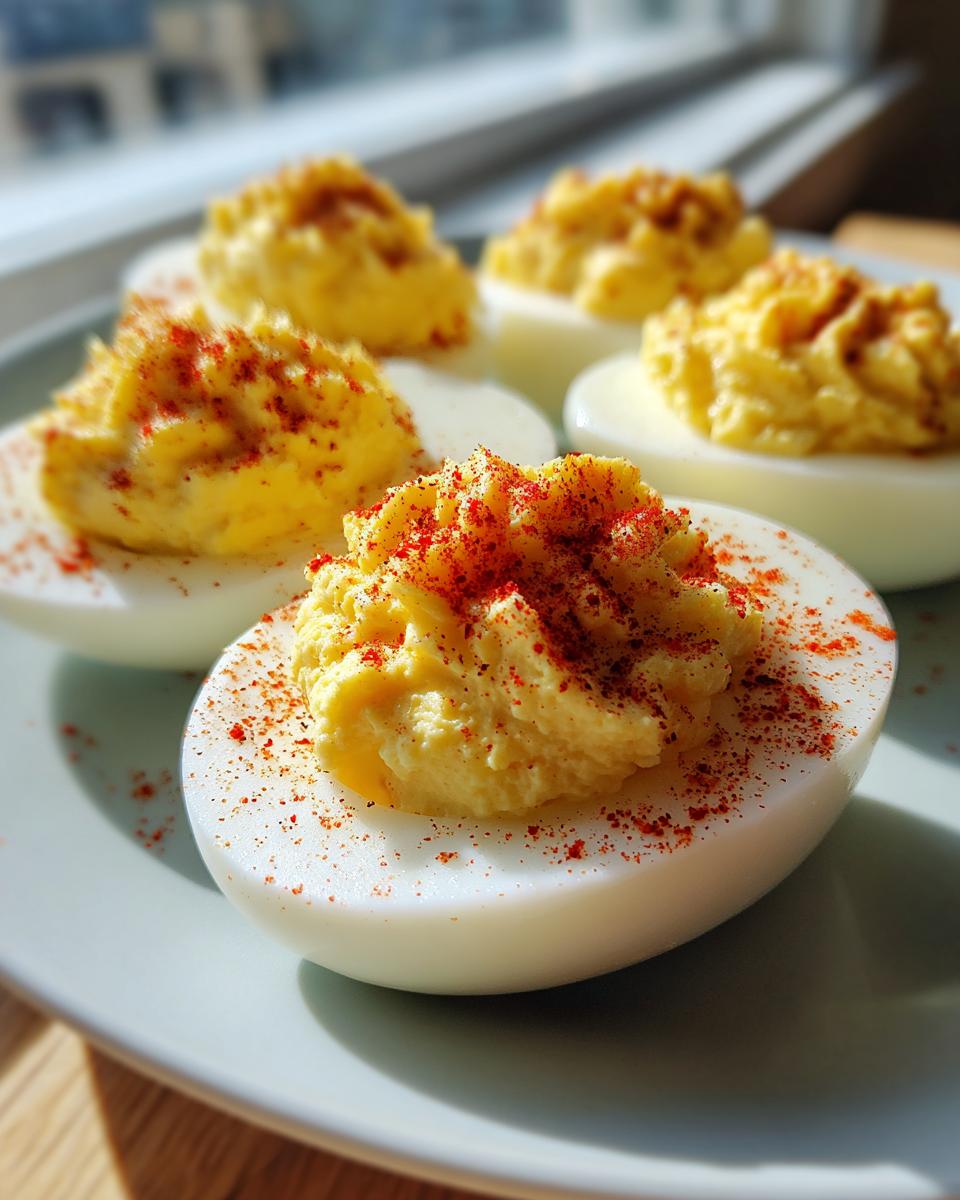
The basic recipe I gave you yields that perfect tangy standard, but sometimes you want a little extra personality, especially if you’re making a huge platter. If you find yourself craving a bolder flavor that really cuts through the richness of the yolk and mayo, you absolutely should try adding about one teaspoon of sweet pickle relish to the mixture. It adds moisture and a lovely depth that’s addictive! Another little swap I sometimes make, just for fun, is adding a teaspoon of Dijon mustard instead of the yellow mustard. Dijon has a bit more bite, which some folks really love in their party finger food.
Remember, the key is to keep the ratios mostly balanced. If you add something wet like relish, just make sure that smooth yolk mixture stays firm enough to hold its shape when you pipe it back in. It’s all about testing and tasting—that’s how you truly make the best deviled eggs!
Making Easy Deviled Eggs for Large Crowds
When you’re hosting a huge crowd—maybe a tailgate or a big family reunion—you can’t stop at just 24 halves! Luckily, this recipe is incredibly simple to scale up, which is why it remains my go-to for big events. Doubling the recipe is the most straightforward path to making easy deviled eggs for everyone, so grab bigger bowls and know you’ll need about 24 eggs total to double the portions.
When you double up, just be mindful of your mixing bowl size. You don’t want to overcrowd that—it makes it harder to get those yolks completely mashed and smooth, which ruins that creamy texture everyone expects. If you find your bowl is just too small to handle 24 yolks mixed thoroughly, make two separate batches back-to-back. Trust me, a little extra time washing one bowl instead of dealing with lumpy filling is always worth it. It keeps this whole process super easy deviled eggs territory, even when you need a giant platter!
Storage and Serving Suggestions for Deviled Eggs
Nobody wants to mess up their beautifully made appetizer by leaving it on the counter too long! Since these are mayonnaise-based, food safety is key, which is why they aren’t the best make-ahead item to leave sitting out. You definitely want to serve these chilled, so once you finish filling them, cover the platter loosely with plastic wrap. They need to go straight back into the refrigerator until about 15 to 20 minutes before your guests arrive.
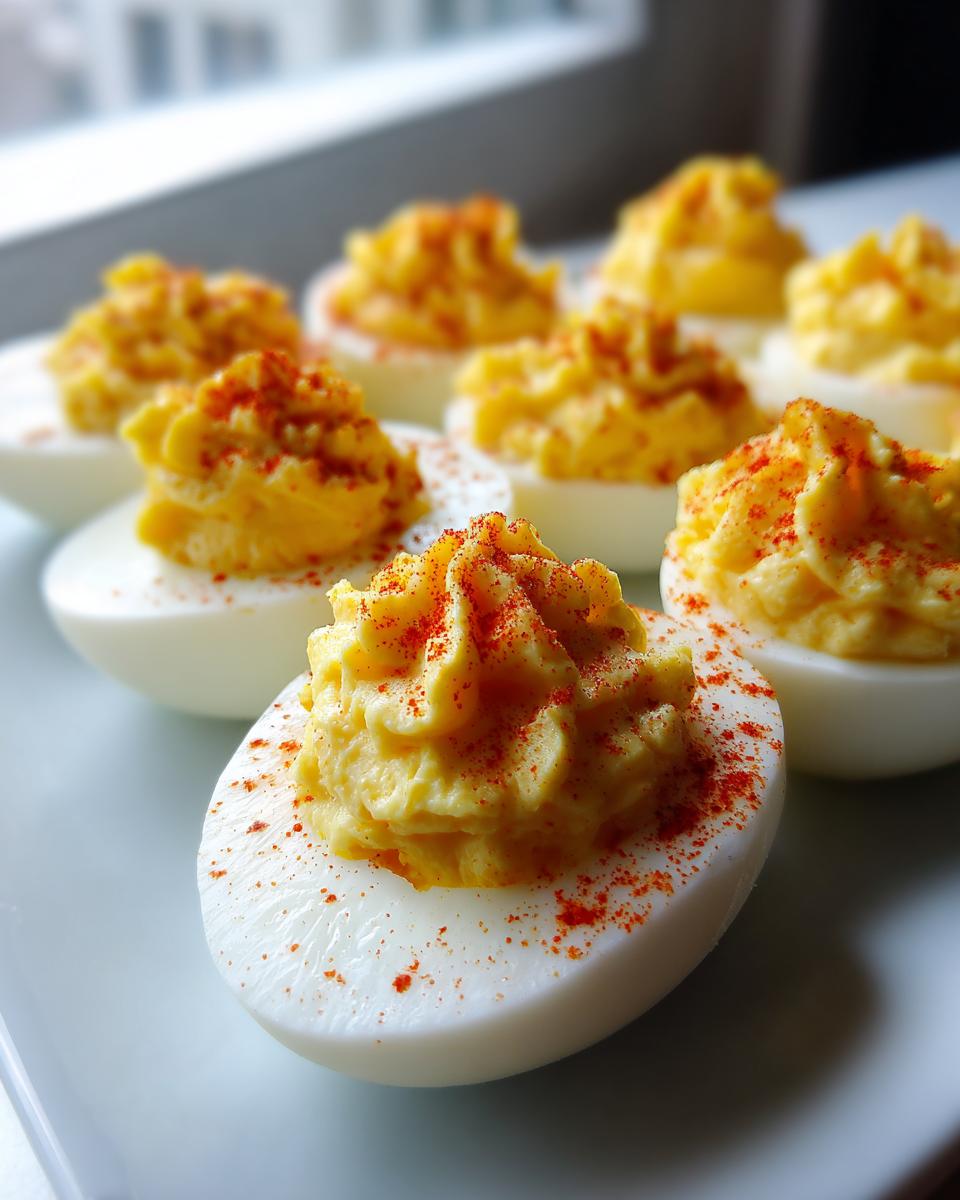
When stored properly in the fridge, these classic deviled eggs will stay perfectly fresh and delicious for about two days. If you’re prepping for a party, you can boil and peel the eggs a day ahead, but please, wait to mix the yolk filling and assemble them until the day you plan to serve them. That mayo dressing really likes the cold! Serving them slightly chilled just enhances that creamy tanginess. It’s these little details that show your guests you put love into even the simplest party finger food.
Frequently Asked Questions About How to Make Deviled Eggs
It’s natural to have a couple of last-minute questions when you’re aiming for the best deviled eggs possible! I’ve compiled the things I hear most often from people trying out this tried-and-true recipe. Getting these smaller details right makes all the difference between a good appetizer and the one everyone remembers!
Can I boil the eggs ahead of time for my deviled eggs recipe?
Oh, absolutely! That’s one of the easy deviled eggs hacks I use all the time when I’m hosting. You can totally boil and peel your eggs a day ahead of time. Just make sure you give them a good chill in the refrigerator. The one thing I strongly advise against—and this is crucial for presentation—is mixing and filling the yolks until the day you plan to serve them. That mayo filling is best when it’s freshly combined, and we definitely don’t want them sitting around too long unrefrigerated.
What is the secret to avoiding gray rings around the yolk?
This is the number one question about how to make deviled eggs look professional! The secret isn’t fancy; it’s all about stopping the cooking process immediately once those 12 minutes are up. If the heat stays on or too high for too long, you get that unattractive, sulfurous green-gray ring creeping around the edges of the yolk. My absolute foolproof method, which I detailed above, is the immediate transfer to an ice bath. That shock of cold instantly halts the chemical reaction that causes the discoloration. Don’t just run them under cold water—you need that full ice immersion for about 10 minutes to truly set the texture.
If you’re interested in privacy standards regarding your recipe collection and data, you can always review our policy here at Daisy’s Recipes Privacy Policy. Happy cooking!
Nutritional Estimates for This Deviled Eggs Recipe
Now, I know that when we’re focusing on a classic appetizer like this, flavor and crowd-pleasing factor is 99% of the battle, not the calorie count! But just so you have all the information, I wanted to share the ballpark estimates for this recipe. Keep in mind these numbers are just rough guidance, as the exact count can swing depending on the size of your eggs or if you used fancy, high-fat mayonnaise.
These figures are based on serving two halves, yielding 24 servings total from the recipe batch. For a simple party finger food, they’re pretty reasonable, providing a good punch of protein without too many carbs. I always treat these estimates as just that—estimates—but it’s good to have a general idea! For my notes, I always keep the full breakdown close by, but here are the main things folks usually want to know about these easy deviled eggs:
- Serving Size: 2 halves
- Calories: 75
- Protein: 3g
- Total Fat: 6.5g
- Carbohydrates: 0.5g
See? Nothing scary here! It’s a delicious, satisfying bite. If you’re looking for specific health or dietary concerns, please know that for very precise nutritional breakdowns, you’ll need to calculate brand-specific ingredients. But for general party planning, these numbers should give you peace of mind that you’re serving something delicious that fits easily into most folks’ plans!
Share Your Experience Making This Classic Appetizer
Now that you’ve mastered the technique for the best deviled eggs—the easy peeling, the creamy filling, the perfect sprinkle of paprika—I really, truly want to hear about it! That’s why Daisy’s Recipes feels like a community and not just a website. Seeing your photos pop up on social media or reading your feedback is honestly the best part of my day.
Did you try the pickle relish trick? How did the 12-minute boil work out for you? Please leave a comment right below this section! Let me know how many halves your batch made before they disappeared—I’m always betting mine are gone shockingly fast! A star rating helps other cooks know they can trust this recipe too, so don’t be shy!
And listen, if you ran into a real snag while trying to mash those yolks or if you have a burning question about substituting mustard, please reach out! We’re all learning together here, and I’m happy to troubleshoot. You can always send me a direct message or question through my contact page. Can’t wait to see your beautiful platters of this lovely classic appetizer!
PrintClassic Deviled Eggs Recipe
A simple, reliable recipe for making traditional, creamy deviled eggs, perfect for any gathering.
- Prep Time: 20 min
- Cook Time: 12 min
- Total Time: 32 min
- Yield: 24 halves 1x
- Category: Appetizer
- Method: Boiling and Mixing
- Cuisine: American
- Diet: Vegetarian
Ingredients
- 12 large eggs
- 1/2 cup mayonnaise
- 2 tablespoons yellow mustard
- 1 tablespoon white vinegar
- 1/4 teaspoon salt
- 1/8 teaspoon black pepper
- Paprika, for garnish
Instructions
- Place eggs in a saucepan and cover with cold water by one inch.
- Bring water to a rolling boil over high heat.
- Once boiling, remove the pan from the heat, cover it, and let the eggs stand for exactly 12 minutes.
- Immediately transfer the eggs to an ice bath to cool completely, about 10 minutes.
- Peel the cooled eggs and slice them in half lengthwise.
- Carefully scoop the yolks into a small bowl.
- Mash the yolks with a fork until fine.
- Mix in the mayonnaise, mustard, vinegar, salt, and pepper until the filling is smooth.
- Spoon or pipe the yolk mixture back into the egg white halves.
- Sprinkle the tops with paprika before serving.
Notes
- To help eggs peel easily, crack the shell all over and peel under cool running water.
- For brighter yellow yolks, do not overcook the eggs.
- If you prefer a tangier flavor, add 1 teaspoon of sweet pickle relish to the yolk mixture.
Nutrition
- Serving Size: 2 halves
- Calories: 75
- Sugar: 0.5
- Sodium: 110
- Fat: 6.5
- Saturated Fat: 1.5
- Unsaturated Fat: 5
- Trans Fat: 0
- Carbohydrates: 0.5
- Fiber: 0
- Protein: 3
- Cholesterol: 95