
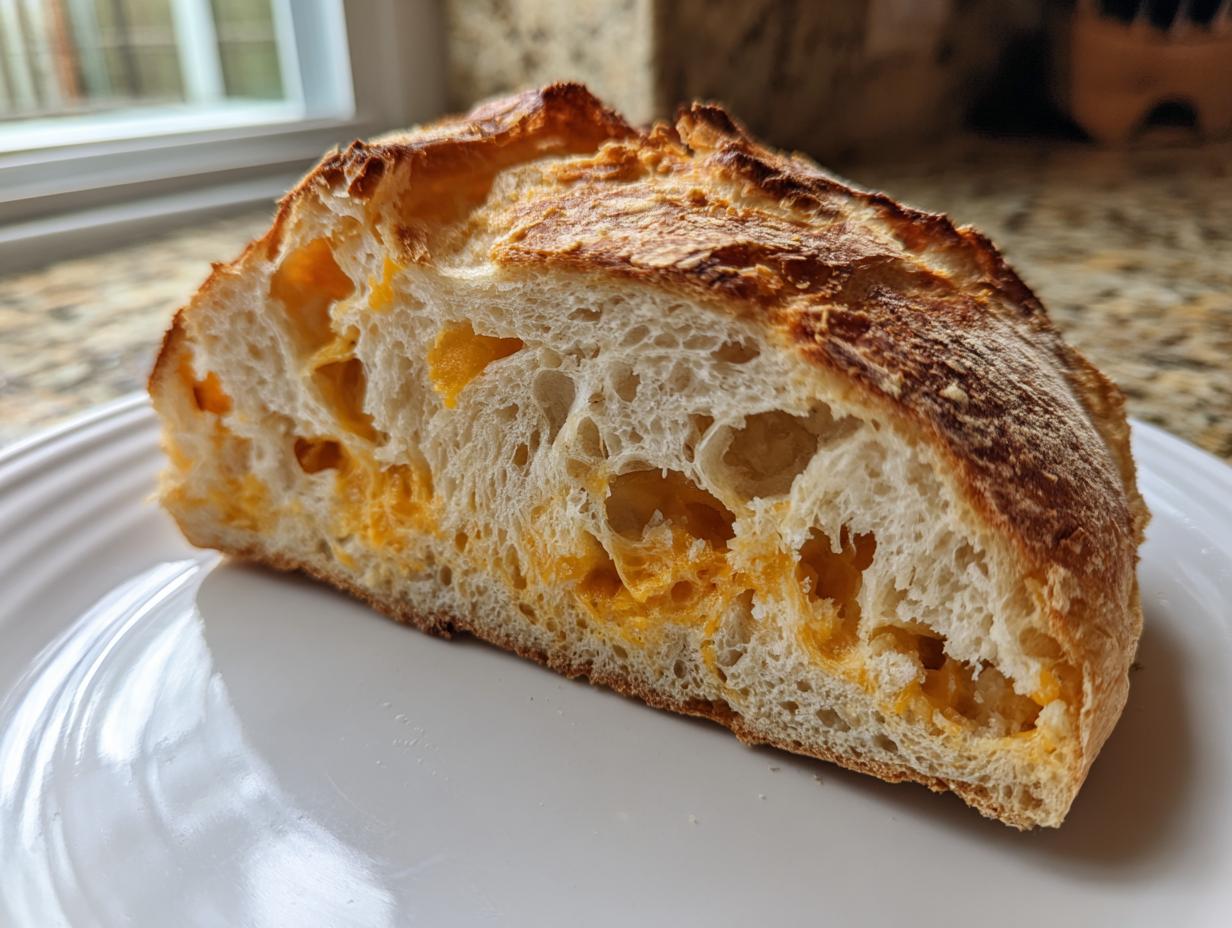
Oh, you just cannot beat the smell of fresh bread baking, can you? That warm, yeasty promise filling up your entire house! If you’ve been scared off from baking because of kneading or complicated schedules, stop right there. I’m here to tell you my absolute favorite cheat code for the most satisfying, gooey, cheesy loaf you’ll ever meet: my Easy No-Knead Cheddar Cheese Bread. Seriously, this is the best cheese bread recipe because 99% of the work is done while you’re watching TV!
I spent years thinking bread meant messy hands and hours of work. Then I discovered the magic of long, slow fermentation. This recipe is where I finally got consistent results. It’s foolproof, you let the yeast do the heavy lifting overnight, and when you pull that golden beauty out of the oven, it’s loaded with sharp cheddar that melts right into those crusty air pockets. Trust me, once you try this, you’ll never go back!
- Why This Easy Cheese Bread Recipe Delivers Comfort Food Perfection
- Gathering Ingredients for the Best Cheese Bread Recipe
- How to Prepare Your No Knead Cheese Bread Step-by-Step
- Tips for Success When Making This Savory Cheese Loaf
- Flavor Variations for Your Favorite Cheese Bread
- Serving Suggestions for Your Cheesy Side Dish
- Storage and Reheating Instructions for Leftover Cheese Bread
- Frequently Asked Questions About Making Cheese Bread
- Nutritional Estimates for This Comfort Food Bread
- Share Your Experience Making This Simple Bread Baking Recipe
Why This Easy Cheese Bread Recipe Delivers Comfort Food Perfection
I want you to feel confident walking into the kitchen. This isn’t some fussy artisan loaf; this is real, honest-to-goodness comfort food that requires almost no effort from you. We’re aiming for maximum flavor payoff with minimum fuss.
What makes this homemade cheesy bread so special? Well, it hits every mark we want in a perfect side:
- The prep time is ridiculously short—maybe 15 minutes of actual work!
- The flavor uses sharp cheddar, which gives you that amazing, tangy, gooey cheese center.
- It works perfectly as the best dinner side dish, especially alongside something saucy like chili or pasta. If you love cheesy sides, you already know how much work they can be, but not this one! Check out my easy cheesy potato casserole for another comfort winner!
Key Details for Your Homemade Cheesy Bread
Here are the quick facts so you know exactly what you’re getting into:
- Prep Time: 15 min
- Cook Time: 45 min
- Total Time: 13 hours 0 min (remember, most of that is resting!)
- Yield: 8 servings
Gathering Ingredients for the Best Cheese Bread Recipe
Okay, this is the fun part where we get everything ready for our simple bread baking adventure. Unlike some recipes that ask for five different types of flour, this list is wonderfully short. That’s the beauty of a good quick cheese bread recipe! Just grab your Dutch oven—you’ll need it later, so make sure it’s ready to go—and let’s talk specifics.
You’ll need three cups of all-purpose flour, a teaspoon of instant dry yeast, a teaspoon of salt, and a teaspoon of sugar to get those yeasties happy. The absolute most important liquid measurement is the warm water; it needs to be between 105 to 115 degrees Fahrenheit. If it’s too cold, the yeast sleeps; too hot, and you kill it. Aim for that perfect warm bath!
Then comes the star: one and a half cups of sharp cheddar cheese, and I mean it when I say *freshly shredded*. The bagged stuff has anti-caking agents that sabotage the melt factor. Finally, we need one tablespoon of melted butter just for brushing the crust near the end. If you wanted to make some delicious honey butter for serving later, I have a great recipe for whipped honey butter!
Ingredient Notes and Substitutions for Your Cheese Bread
Let’s talk about that sharp cheddar. I use sharp because its intensity really cuts through the richness of the crust, making it flavorful even when it’s just a cheesy side dish. But listen, if you want that gravity-defying, stringy pull when you tear a piece off, mix in about half a cup of low-moisture mozzarella with the cheddar. It stretches like crazy!
Also, since we’re dealing with yeast, make sure that water temperature check is accurate. A little trick I learned is that if you have to use your ingredients right out of the fridge—like the water—let them sit on the counter for about 30 minutes first. Room temperature ingredients always play nicer together when you’re starting a no-knead dough. Don’t overthink it; just try to avoid ice-cold water!
How to Prepare Your No Knead Cheese Bread Step-by-Step
This is where the magic happens, and honestly, this recipe saves my sanity on busy weeks. Since it’s a no knead cheese bread, you start by just tossing things in a bowl. Grab a big one and whisk together your dry things: the flour, the yeast, salt, and sugar. You want these evenly distributed so you don’t end up with a weird patch of saltiness somewhere!
Next, pour in that perfectly warm water. Mix it with a wooden spoon until you just can’t mix anymore. It won’t look like dough; it’s going to look like a sloppy, shaggy mess—and that’s exactly what we want! Now, gently fold in those beautiful shredded cheddar cheeses. Don’t go crazy stirring! We need those air bubbles to form later, so be gentle folding the cheese in.

Cover that bowl tightly with plastic wrap and now, go live your life! Let it rest on the counter for a solid 12 to 18 hours—yes, that long! It needs the time to slowly ferment and develop that lovely flavor. When you come back, it’ll be bubbly and alive. You can find some more tips on simple bread baking fundamentals if you’re nervous about the resting step.
After the long rest, flour your counter lightly. Scrape the dough out—it’ll look like a bubbly blob—and gently fold it over onto itself just a few times to create a rough ball shape. Don’t press the air out! Place that ball on parchment paper, cover it loosely, and let it sit for a quick 30 minutes to calm down.
Now for the critical part: the heat! You must get your Dutch oven screaming hot inside your oven. Set that oven to 450F and let the Dutch oven preheat for at least 30 minutes. That searing heat is what gives you that incredible crust everyone raves about.
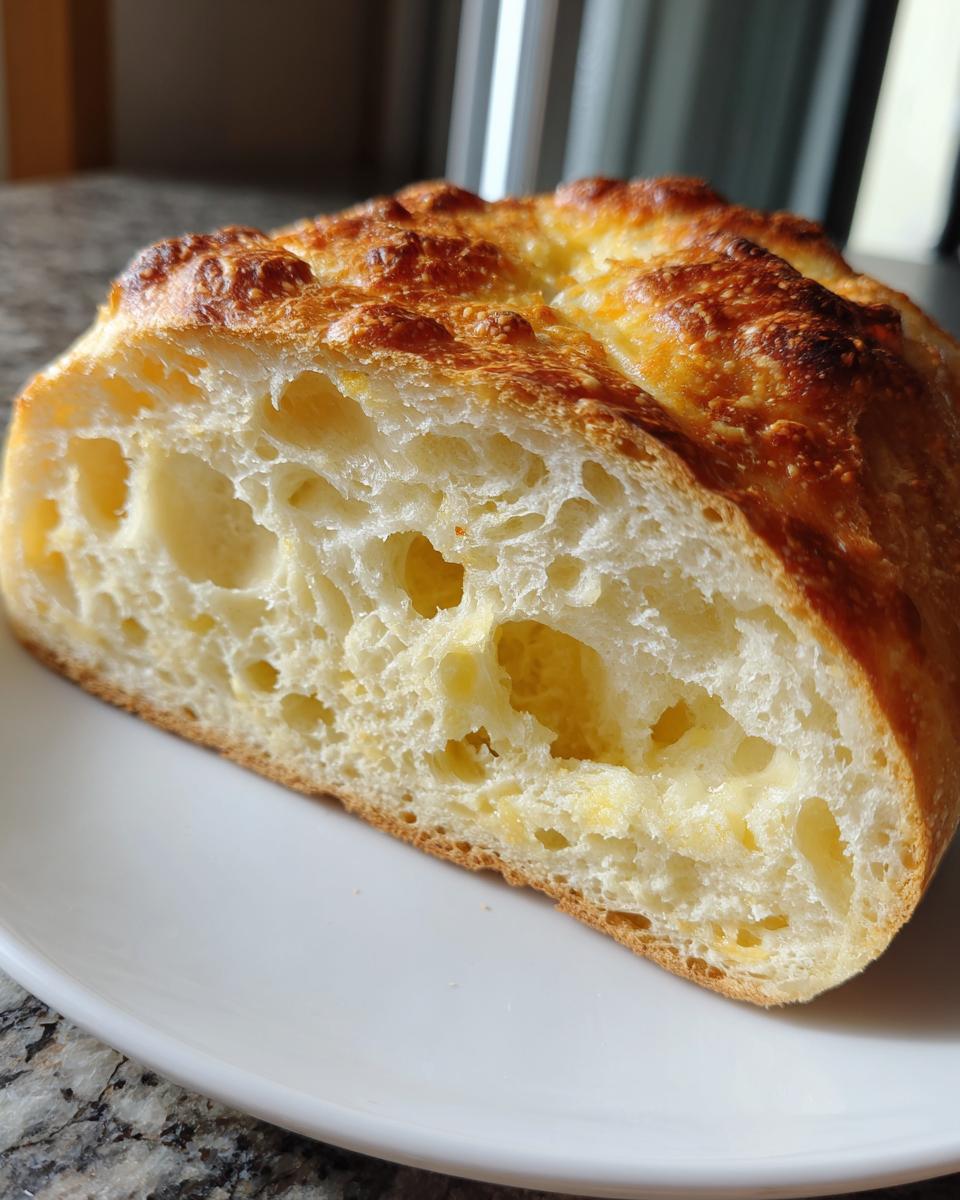
Achieving the Perfect Gooey Cheese Bread Texture
Carefully, wearing good oven mitts (this thing is lava hot!), pull out the Dutch oven. Use the parchment paper as a sling to lower your dough right into the pot. Cover it with the lid and bake for 30 minutes. This traps all the steam inside, which helps the bread rise beautifully and keeps the inside fluffy.
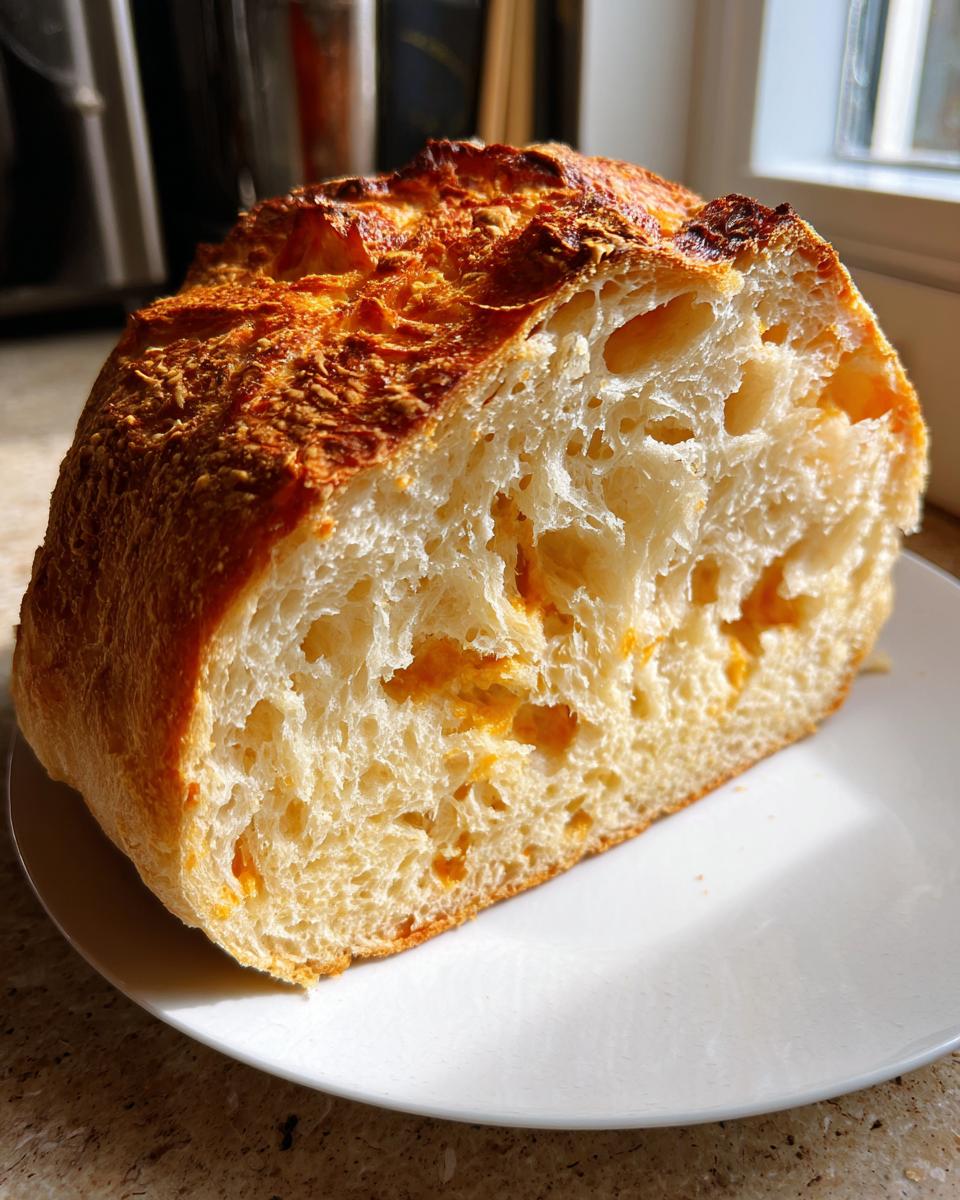
Once those 30 minutes are up, pull the lid off. This is where we transition from baking the inside to crisping the outside. Brush the top surface generously with that tablespoon of melted butter. Trust me, this ensures that beautiful, deep golden color and adds a little depth of flavor. Bake it uncovered for another final 10 to 15 minutes. You’re looking for a deep, burnished brown crust. Once it’s done, pull it out, pop it on a wire rack, and try very hard not to slice into it while it’s steaming hot!
Tips for Success When Making This Savory Cheese Loaf
Even with a no knead cheese bread recipe, a few small habits make a huge difference. Don’t skip that preheating step for your Dutch oven! If the pot isn’t smoking hot when the dough drops in, you miss out on that amazing oven spring that gives the crust its crackle. That heat shock is non-negotiable for the best crust.
My other main tip involves the flour. You know how I always say it flies everywhere? Make sure you are measuring it the right way—spoon the flour into your measuring cup, then level it off with a knife. Scooping directly from the bag packs it down too much, and you’ll end up with dense bread. If you want to see how I handle measuring for the fanciest loaves, check out my thoughts on artisan cheese bread, even though this recipe is easier!
Finally, remember that long rest time is flavor development time. Don’t try to rush the 12 hours just because you want your cheesy snack bread faster. That slow development is what makes this dough so easy to handle later, even without kneading.
Flavor Variations for Your Favorite Cheese Bread
While I stand by the simple, sharp cheddar version, sometimes you just crave a little extra something extra in your cheese bread, right? The beauty of this recipe is how wonderfully it handles mix-ins. It’s honestly like a blank canvas waiting for your favorite savory toppings!
If you’re aiming for something that tastes like it came straight from a rustic Italian bakery, you absolutely must try making an Italian Herb Cheese Bread. While I’m mixing the dry ingredients—flour, salt, sugar—just toss in about one teaspoon of dried Italian seasoning. Basil, oregano, thyme; it all works together beautifully with that sharp cheddar base. It smells divine while baking, too!
For those who like a kick, don’t skip the garlic variations! Wait until the very end when the bread comes out of the oven for the first bake (before you put it back in uncovered). Brush that warm top generously with butter that you’ve mixed with about one teaspoon of garlic powder. It infuses the crust perfectly. If you love garlic butter on everything, you should check out my recipe for garlic butter mushrooms—it uses that same technique!
And we already talked about the mozzarella trick for extra stretch, but seriously, experimenting with cheese blends is half the fun. Try half cheddar and half Gruyère for a nuttier flavor, or if you love that stretch, double down on using mozzarella. Just remember that the better quality cheese you use, the better your finished savory cheese loaf will be!
Serving Suggestions for Your Cheesy Side Dish
So, you have this amazing, crusty, cheesy loaf cooling on the rack. What are you going to eat it with? Honestly, you could eat the entire thing standing over the sink, but it really shines when paired with hearty meals. It’s absolutely heavenly dipped into a big bowl of my roasted tomato soup!
It makes a phenomenal cheesy side dish for chili or any kind of stew because it’s sturdy enough to soak up all those juices. But don’t just save it for dinner! Slice it thickly, toast it slightly, and serve it as a perfect appetizer before guests arrive. It’s that ultimate, fuss-free comfort food bread everyone always devours first.
Storage and Reheating Instructions for Leftover Cheese Bread
I hope you manage to have leftovers, but if you do, don’t sweat it! This bread is still delicious the next day, though the super-crispy crust is a little softer. I always store my leftover cheese bread wrapped tightly in aluminum foil or tucked snuggly inside an airtight container. Don’t leave it on the counter uncovered, or it dries out fast!
When you’re ready for round two, skip the microwave—it makes bread rubbery! The best way to bring back that rustic crust and get the cheese gooey again is a quick trip back to the oven. Pop a slice or two into a 350F oven for about five to seven minutes, or until it feels hot all the way through and the cheese feels soft again. It’s like magic, I promise!
Frequently Asked Questions About Making Cheese Bread
I get so many questions about this recipe because people are worried about messing up the “no knead” science! Don’t worry; most issues are easy fixes. Here are the things I hear most often when people are trying to make their first loaf of homemade cheesy bread.
Can I skip the 12-18 hour rest time for this No Knead Cheese Bread?
Oh, I wish you could, but please don’t! The long, slow rest is the *entire secret* to this recipe. That time on the counter where nothing is happening (except bubbling!) is what develops the flavor and texture. If you rush it and only let it sit for an hour or two, you end up with something dense and tough, not airy and flavorful. You might as well use a standard yeast recipe if you can’t let it rest. Think of that long rest as “hands-off prep time”—check out my basic guide on how to make sourdough starter, which shows how fermentation builds flavor over time!
What should I do if I don’t have a Dutch oven for baking?
This is a very common question for simple bread baking! The Dutch oven is my favorite because it traps steam perfectly, giving you that crunchy crust and high dome. If you absolutely do not have one, you can bake this on a regular baking sheet, but you need to create steam yourself. Place a sturdy broiler-safe pan on the lowest rack while the oven preheats. When you put your bread in, quickly pour about a cup of boiling water into that hot pan below the bread. Close the door fast to trap the steam. You might need to bake it a little longer, but it works in a pinch for your quick bake cheese bread!
Can I use pre-shredded cheese instead of grating it myself?
You *can*, but you really shouldn’t if you want the absolute best result. Pre-shredded cheese is coated in starches like potato starch or cellulose to keep it from clumping in the bag. When you bake it, those starches can prevent the cheese from melting smoothly and giving you that gorgeous, silky texture inside your gooey cheese bread. I always tell people: fresh cheese for best melt!
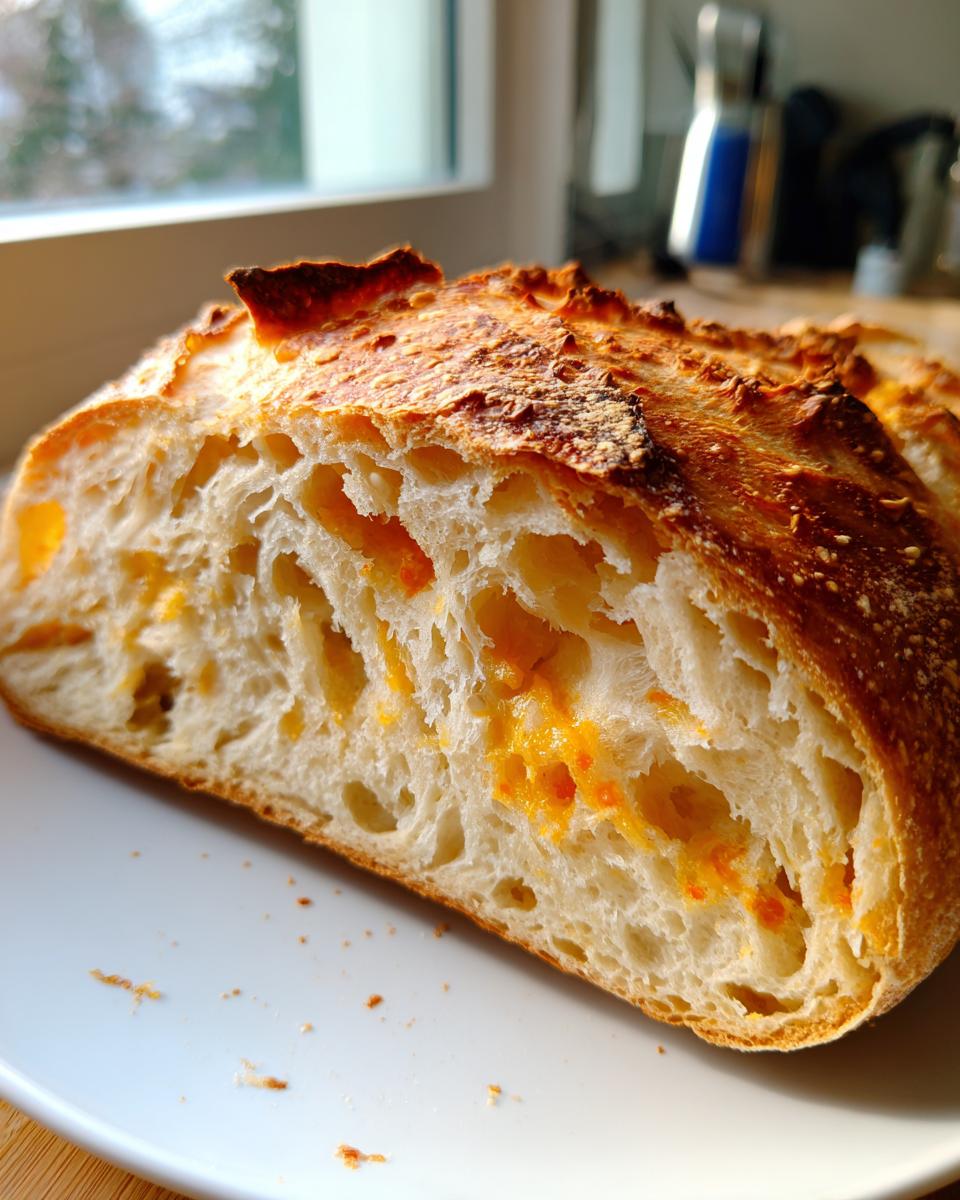
How can I guarantee the best cheese pull for my Cheesy Side Dish?
The cheese pull is all about the right cheese blend and timing! For maximum stretch, you need high-moisture mozzarella mixed with your sharp cheddar. If you use 100% cheddar, it gets buttery and flavorful but doesn’t stretch as dramatically. Timing is key here too: you need that high heat from the Dutch oven. The extreme, fast heat cooks the outside quickly while melting the cheese deep inside right before the dough sets up. Slice it when it’s warm, not piping hot, for the prime pull!
Nutritional Estimates for This Comfort Food Bread
Now, I know some of you are tracking macros or just curious about what’s going into your body. Remember, this is a wonderful, decadent loaf of cheesy goodness, so we aren’t aiming for celery water here! Since we are using sharp cheddar and butter, we get some fat, but we also get a decent amount of protein from the cheese. I always say, enjoy this comfort food bread guilt-free because it’s homemade!
These numbers are based on the recipe using standard all-purpose flour and sharp cheddar, cut into 8 even slices. Please keep in mind that these figures will shift around based on the specific brand of butter or cheese you snag at the store. Think of this as a helpful guideline rather than a lab reading!
- Serving Size: 1 slice
- Calories: 245
- Fat: 7g
- Carbohydrates: 38g
- Protein: 9g
You can see there is a nice mix there! The fiber count is a little low, but hey, that’s why we toss a big salad on the side when we serve this amazing cheese bread!
Share Your Experience Making This Simple Bread Baking Recipe
I truly hope you had as much fun making this simple bread baking recipe as I did writing it down for you! The best part of sharing family favorites is hearing how they turn out in *your* kitchens across the country. This no-knead dough is so forgiving, so I’m really hoping it turned out perfectly for you!
If you loved how easy this cheesy snack bread was, please do me a huge favor and leave a quick star rating right here on the page! It helps other bakers who are looking for reliable, low-effort recipes gain the confidence to try it out.
And I am dying to know: what cheese did you use? Were you a strictly sharp cheddar purist, or did you sneak in that gooey mozzarella blend we talked about? Drop a comment below and tell me all about your loaf! I always love seeing photos, so if you snap a picture of your crusty, steaming loaf, tag me on social media—I promise to cheer you on!
If you have any questions that I missed in the FAQs, or if you want to share a story about how this became your new favorite dinner side bread recipe, don’t hesitate to reach out via my contact form. Happy baking, everyone!
PrintEasy No-Knead Cheddar Cheese Bread
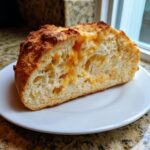
Make a simple, cheesy loaf using a no-knead method. This bread features sharp cheddar cheese throughout for a savory, satisfying result.
- Prep Time: 15 min
- Cook Time: 45 min
- Total Time: 13 hours 0 min
- Yield: 8 servings 1x
- Category: Side Dish
- Method: Baking
- Cuisine: American
- Diet: Vegetarian
Ingredients
- 3 cups all-purpose flour
- 1 teaspoon instant dry yeast
- 1 teaspoon salt
- 1 teaspoon sugar
- 1 1/2 cups warm water (about 105-115F)
- 1 1/2 cups sharp cheddar cheese, shredded
- 1 tablespoon melted butter (for brushing)
Instructions
- In a large bowl, whisk together the flour, yeast, salt, and sugar.
- Pour in the warm water and mix with a spoon until just combined into a shaggy dough. Do not knead.
- Gently fold in the shredded cheddar cheese until evenly distributed.
- Cover the bowl with plastic wrap and let the dough rest at room temperature for 12 to 18 hours. The dough will become bubbly and increase in volume.
- Lightly flour a work surface. Scrape the dough out onto the surface. Gently fold the dough over itself a few times to form a rough ball.
- Place the dough ball onto a piece of parchment paper. Cover loosely and let it rest for another 30 minutes.
- Preheat your oven to 450F (232C) with a Dutch oven inside for at least 30 minutes.
- Carefully remove the hot Dutch oven. Use the parchment paper to lower the dough into the pot.
- Cover the Dutch oven and bake for 30 minutes.
- Remove the lid, brush the top of the bread with melted butter, and bake uncovered for another 10 to 15 minutes, until the crust is deep golden brown.
- Remove the bread from the oven and let it cool on a wire rack before slicing.
Notes
- For an Italian herb flavor, add 1 teaspoon of dried Italian seasoning to the dry ingredients.
- Use a mix of cheddar and mozzarella for extra stretchiness in the cheese pull.
- If you prefer a garlic flavor, mix 1 teaspoon of garlic powder with the melted butter before brushing the top.
Nutrition
- Serving Size: 1 slice
- Calories: 245
- Sugar: 1.5
- Sodium: 350
- Fat: 7
- Saturated Fat: 4
- Unsaturated Fat: 3
- Trans Fat: 0.1
- Carbohydrates: 38
- Fiber: 1.5
- Protein: 9
- Cholesterol: 20