
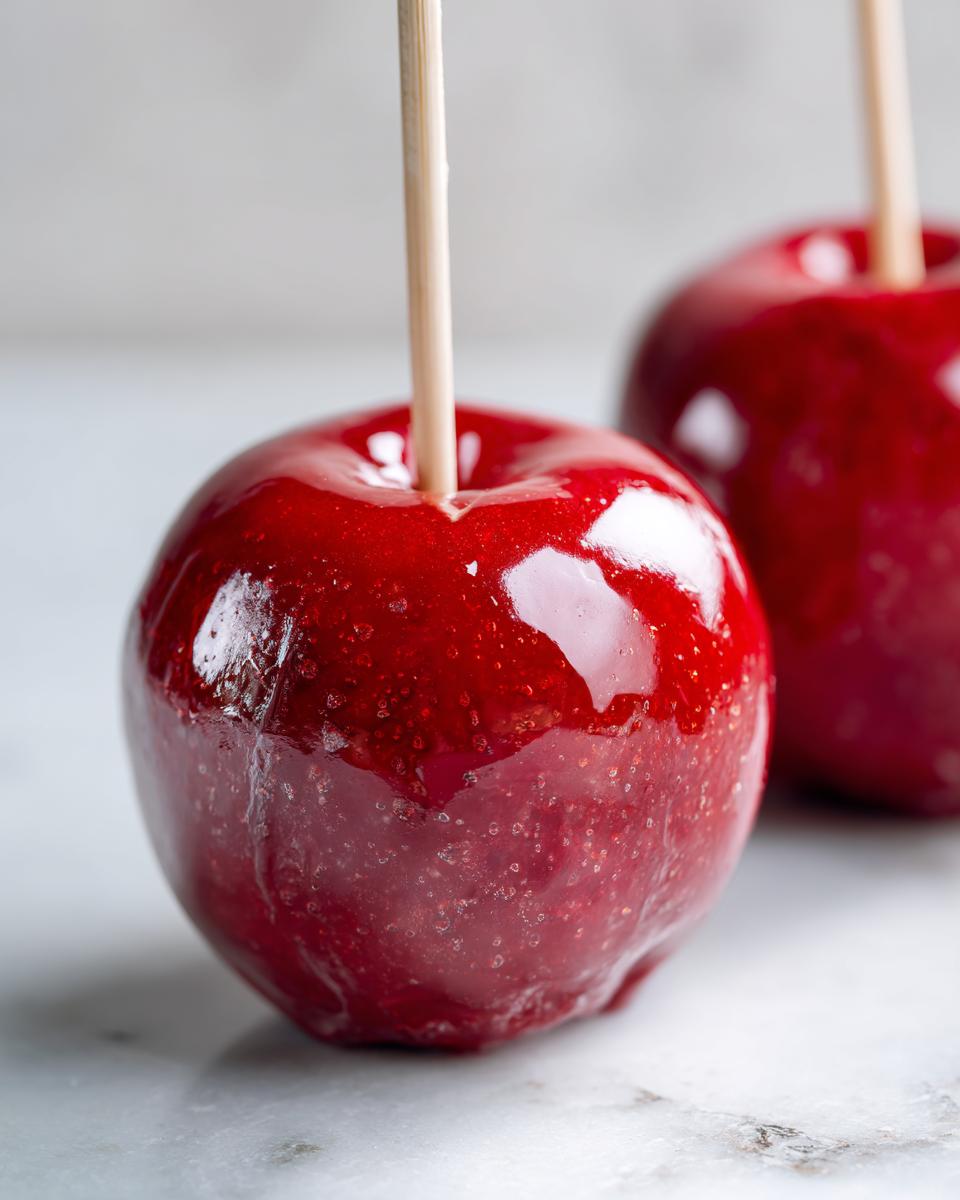
Oh, the sheer magic of a perfectly made candy apple! Is there anything that screams autumn, fun fairs, or festive holidays louder than that impossibly shiny, deeply red, crackly shell hugging a crisp apple? I used to think making a professional-looking treat like this was reserved for carnival workers, but when I started re-creating Grandma Daisy’s favorites, I realized it’s genuinely simple if you know the silly little secrets. Forget those sticky, grainy messes you might have made before! This is my absolute easiest, most reliable recipe for achieving those gorgeously glossy, bubble-free shells every single time. Trust me, you can do this, and it brings such immediate joy to any gathering.
- Why This Is The Best Easy Candy Apple Recipe
- Ingredients Needed for Classic Candy Apples
- How to Make Homemade Candy Apples Step by Step
- Variations for Colorful Candy Apples
- Tips for Perfect Party Candy Apples
- Storage and Reheating Instructions for Candy Apples
- Understanding Caramel Apples vs Candy Apples
- Frequently Asked Questions About Making Candy Apples
- Sharing Your Sweet Crunchy Apples
Why This Is The Best Easy Candy Apple Recipe
We aren’t messing around with store-bought mixes or complicated steps here. I developed this version to be foolproof so you can spend more time enjoying the harvest season and less time stressing over the syrup. This recipe nails that perfect crunch and shine. You want those beautiful, glossy candy shells that look professional, right? Well, here’s how we guarantee that:
- We hit the precise 300°F mark, which is the absolute key to the right texture.
- We use corn syrup—it’s not a binder, it’s a miracle worker against crystallization!
- The drying step is non-negotiable; it’s how you get genuinely bubble free candy apples that don’t peel off on the first bite.
When you follow these little science secrets, you get amazing dessert recipes that truly impress.
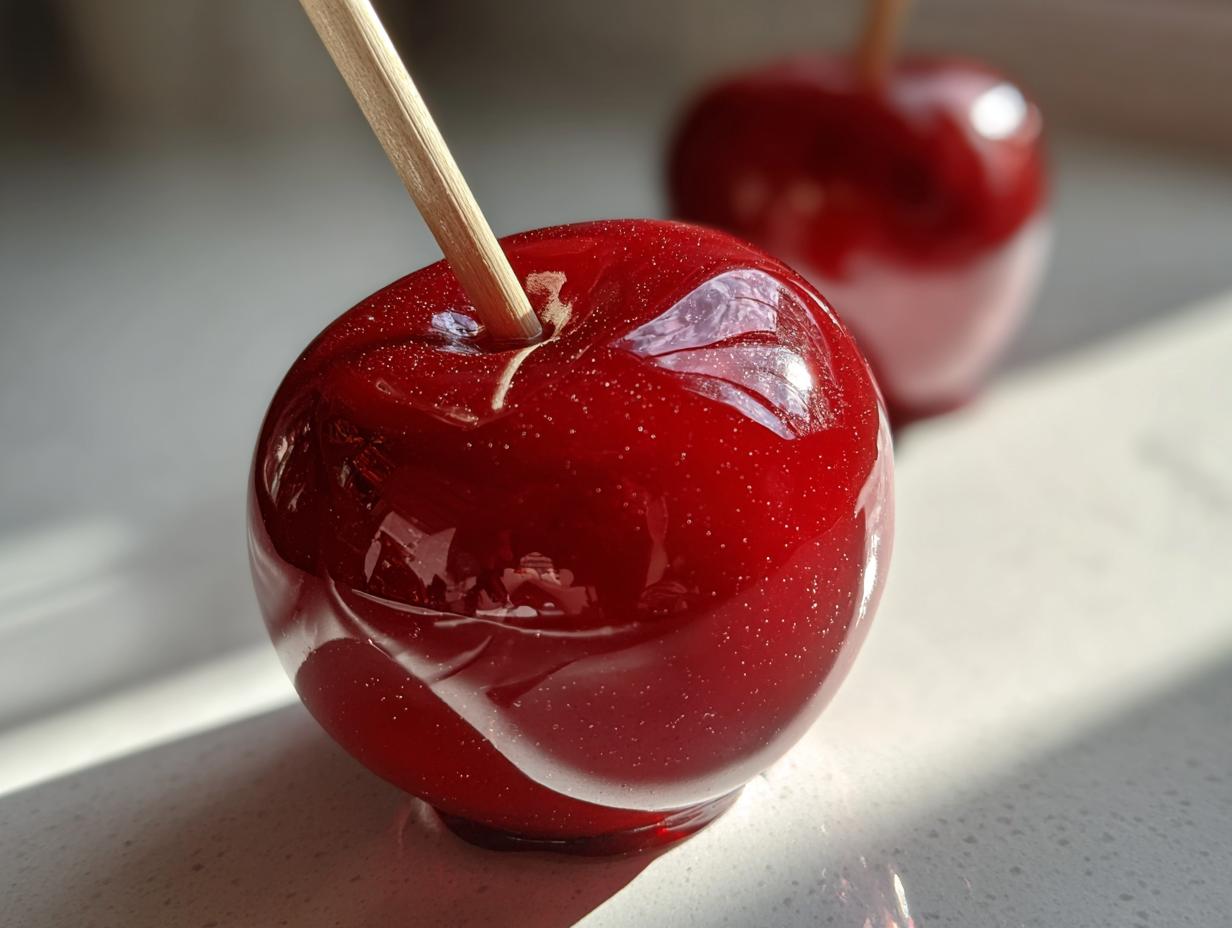
Achieving That Perfect Glossy Candy Shell
That beautiful, glass-like shine comes from cooking the sugar mixture to the “Hard Crack Stage,” which is exactly 300 degrees Fahrenheit on your thermometer. If you pull it off the heat too soon, the coating will be sticky, not crunchy. The light corn syrup we add is so important because it actually inhibits sugar from recrystallizing once it starts to cool. That crystallization is what makes candy dull or grainy instead of that perfect, shiny finish we are after!
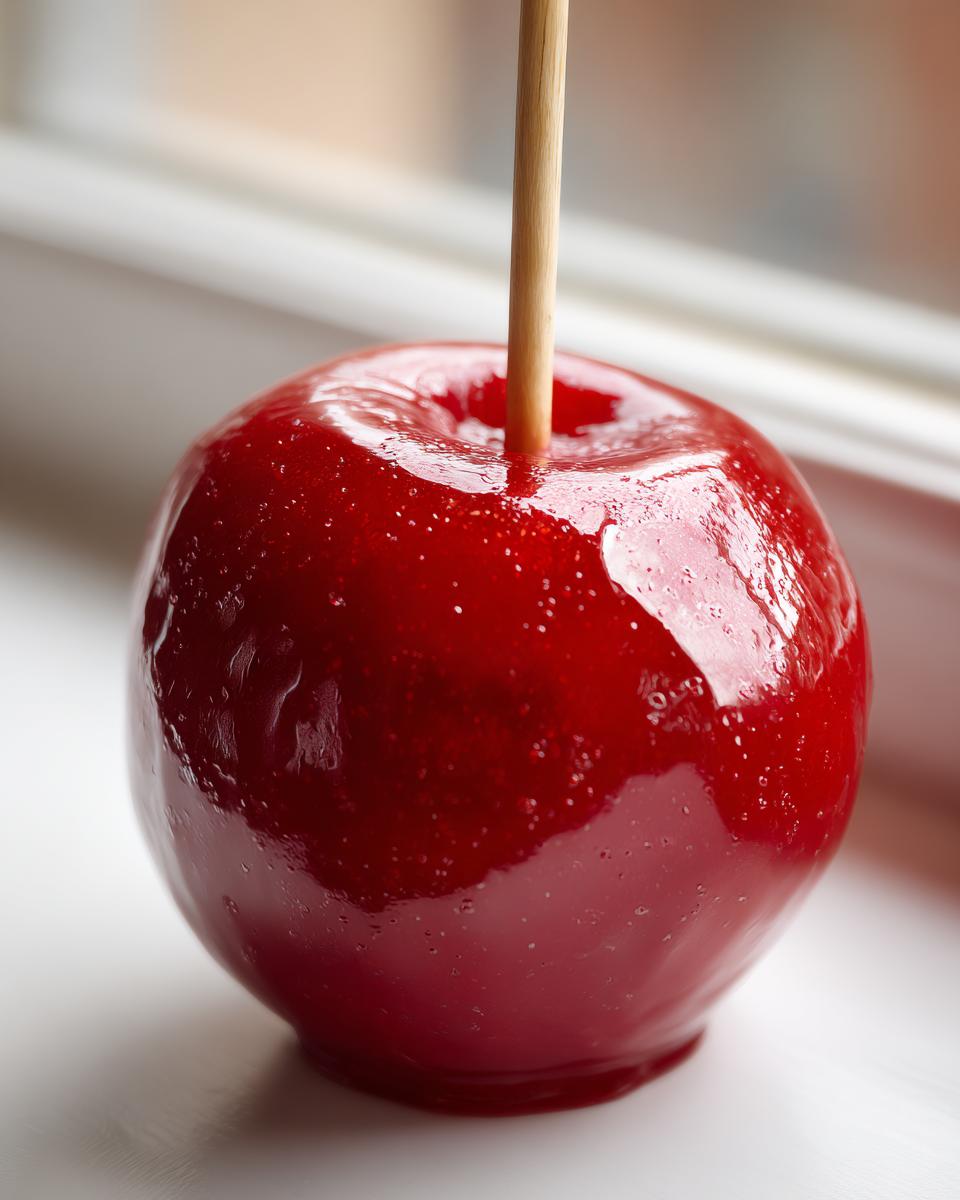
Tips for Bubble Free Candy Apples
Bubbles are honestly the worst! They happen when little pockets of air or steam get trapped in the cooling syrup, and they make your beautiful candy peel off later. The biggest culprit is moisture, so you must press down hard and wipe every bit of water off the apple skin first. Also, once the syrup is boiling, hands off the whisk! We stir only once at the very end to add the color, and then—this is crucial—we let it rest for five minutes before dipping. That rest time lets the angry bubbles simmer down.
Ingredients Needed for Classic Candy Apples
When we talk about making the best homemade candy apples, the ingredients list has to be short and perfect. You don’t need a long list of complicated things; you just need the right quality of the basics to get that crunch right. I always use a heavy-bottomed saucepan because it helps distribute the heat evenly and prevents burning the sugar, which is a total disaster when you are working with candy!
Remember, if you make any substitutions here, you risk ending up with a sticky mess instead of a perfect coating. Keep it simple for the best results!
Apple Selection and Preparation
Choosing the right fruit is fundamental for a great candy apple recipe. You absolutely need a crisp apple that holds its shape and offers a good tart counterpoint to all that sugar. Granny Smith is my go-to favorite, but Fuji works great too! The most important thing, however, is the prep work. You have to wash those apples like you mean it to get rid of any wax, and then—this is key—you must dry them until they are bone dry. Seriously, I use a paper towel for every single one to make sure there isn’t a drop of moisture left before we poke the sticks in.
How to Make Homemade Candy Apples Step by Step
Okay, now that we have our perfect ingredients ready—remember, patience is the secret sauce here!—we need to follow this step by step apple recipe exactly. It might feel slow when you wait for the sugar to reach that magic number, but rushing it is exactly how you end up with a sticky mess, not the hard shell we love. I promise, watching the magic happen in the heavy-bottomed pot is half the fun!
Preparing the Apples and Syrup Base
First thing’s first: if you didn’t dry your apples completely from the last section, go do that now! Once the sticks are firmly inserted (Step 1 and 2), we move to the pot. Combine your sugar, corn syrup, and water (Step 3) in that heavy pan. Set it over medium heat and stir gently—I mean gently—only until the sugar grains disappear. Once it starts to bubble up, stop stirring instantly. We need that even heat working on the sides of the pan, not agitated by a spoon!
Reaching Hard Crack Stage and Coloring the Candy Apple Coating
This is where your candy thermometer earns its keep! You let it cook undisturbed until it hits that sweet spot: exactly 300 degrees Fahrenheit. The second it hits that mark (that’s the Hard Crack Stage!), yank that pan right off the heat. Now, stir in your vinegar, food coloring, and optional cinnamon extract incredibly slowly, just enough to move the color around. If the candy is too hot when you dip, you get steam pockets. If you stir vigorously, you get bubbles. See? Minimal mixing is your best friend here!
Dipping and Setting Your Candy Apple
After you’ve killed the heat, let that vibrant syrup sit and relax for about three to five minutes. This helps the trapped air escape. Tilt the saucepan so you have a nice pool of candy to work with! Dip your apple, swirling it around so it gets a beautiful, even coating, and lift it out, letting the drips fall back in. Lay it carefully on your parchment-lined sheet. Don’t touch it! Just let it sit still until it cools completely and hardens up nicely. That amazing crunch is just minutes away.
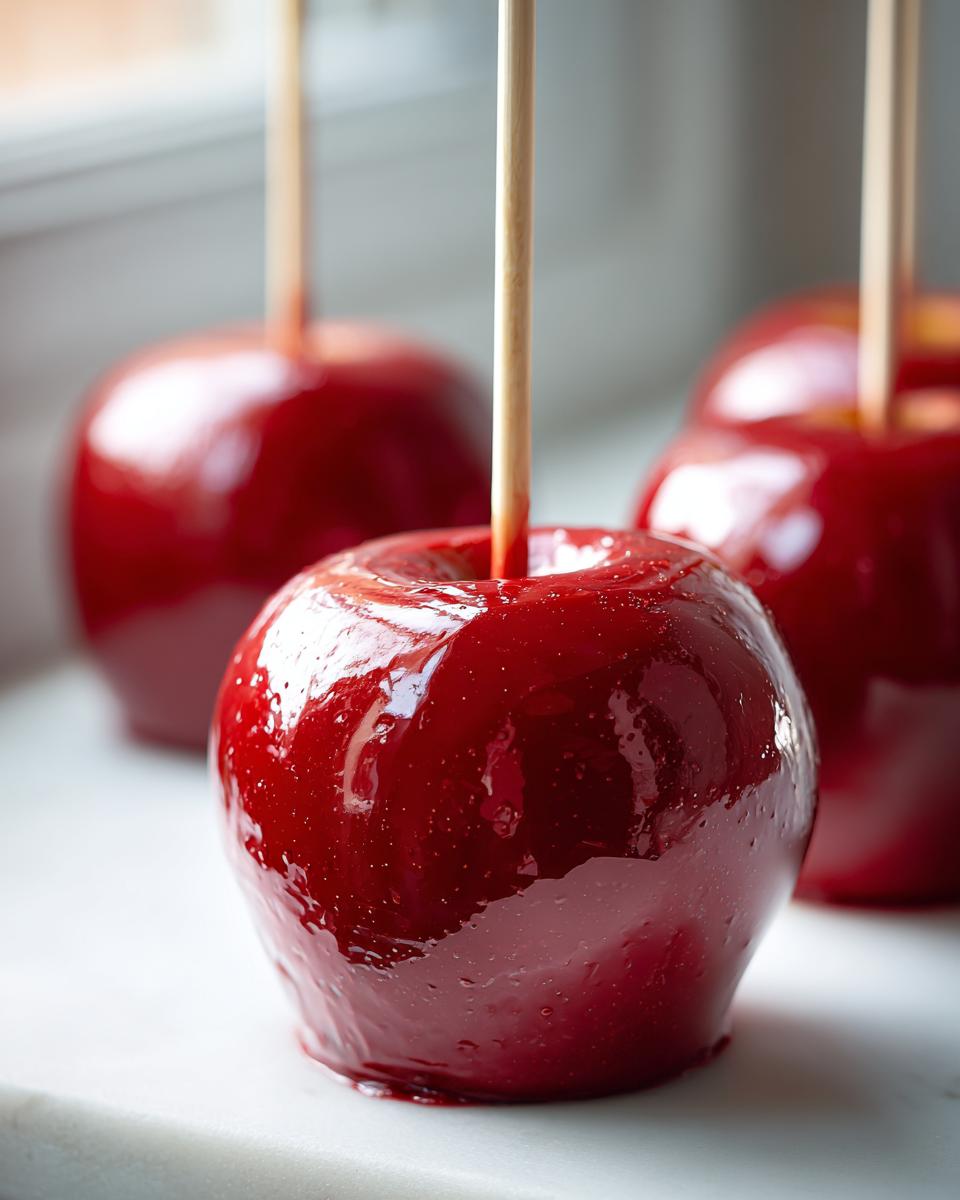
Variations for Colorful Candy Apples
The beauty of making our classic candy apples at home is that you’re the boss of color and flavor! That traditional bright red is gorgeous, but why stick to just one shade when you can create stunning, colorful candy apples that match your party theme? I love looking at things like those glittery Jolly Rancher apples people make; it shows such creativity! You can easily achieve amazing professional looks without needing a complicated second batch of syrup.
It’s all about dividing that base syrup right before you add the colorings. For swirling effects, I just pour two different shades onto the parchment paper right next to each other, and then quickly dip. It’s messy, but spectacularly fun!
Simple Flavor Swaps for Your Candy Apple
If you want to add real depth beyond the color, extracts are your best friend. That little bit of cinnamon extract really amps up the classic taste, but try a drop of almond extract instead for a totally different profile. Or, if you want incredible molded flavor and color, you can actually crush up those colorful hard candies—like those mentioned in some of the fun dessert recipes I love—and gently stir them into the hot syrup base *after* it hits 300 degrees. It melts right in, giving you a completely new flavor in your shell!
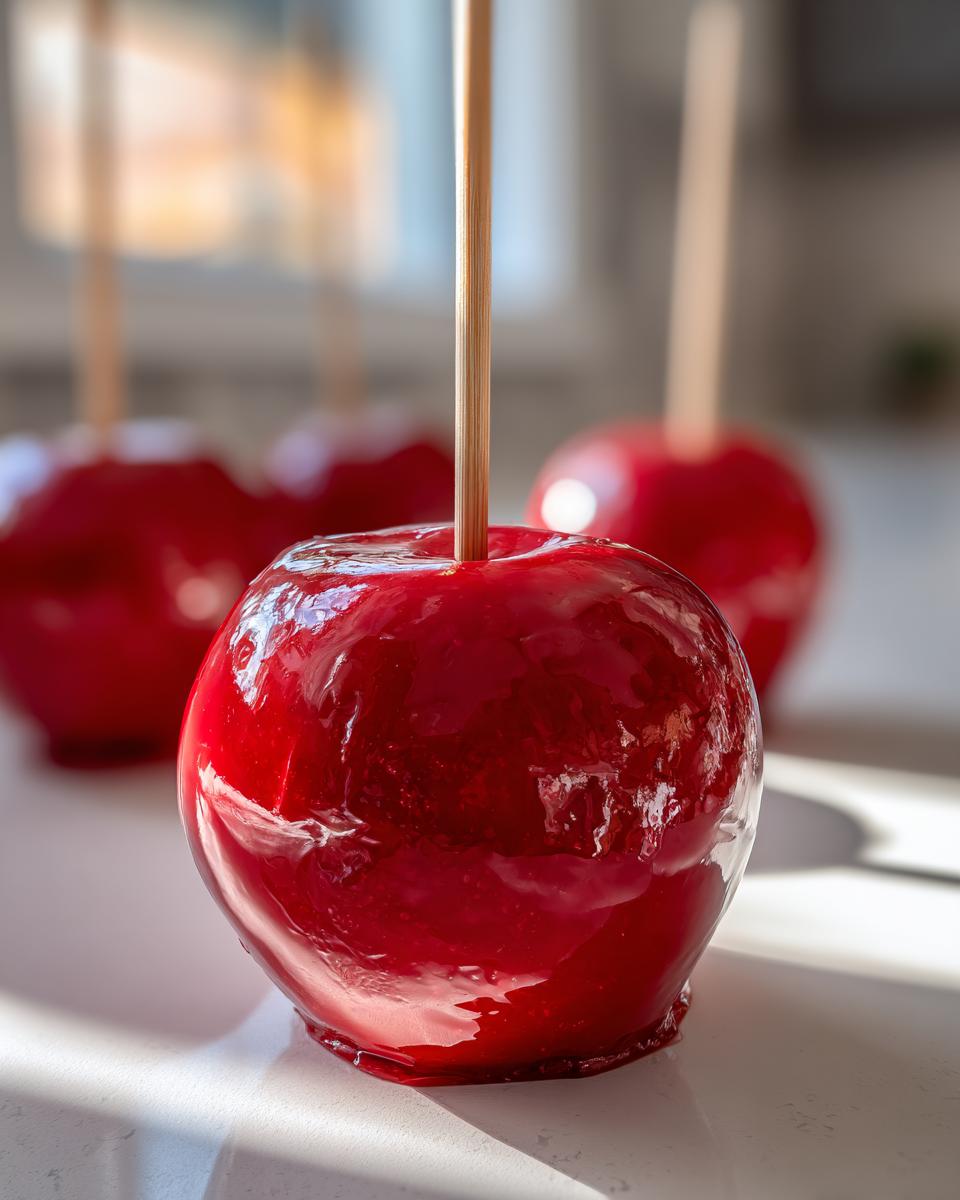
Tips for Perfect Party Candy Apples
Getting ready to tackle a huge batch of party candy apples for Halloween or a fall gathering? That’s exciting! The biggest hurdle when making more than six is usually the cooling time—that syrup might start setting up in the pan before you finish dipping everyone’s apple. My biggest tip here is to work fast but don’t rush the temperature reading!
If you notice the candy getting thick and hard to dip before you’re done, just take the whole saucepan and set it back on the stove over the absolute lowest heat setting for just a minute—think ‘keep warm,’ not ‘re-boil.’ This reawakens the syrup without letting it burn. For presentation, make sure you have your sticks inserted at the exact same depth so they stand up nicely after they set. You can browse some great ideas for presentation finishing touches, like sweet and salty snacks that pair well with these treats, or check out inspiration for autumn presentation. You want these ready well ahead of time so they have time to fully harden!
Storage and Reheating Instructions for Candy Apples
Once you’ve made these show-stopping sweet crunchy apples, you want them to stay perfect until it’s party time! Honestly, the only truly safe place for a finished candy apple is sitting out on the counter—but only if your kitchen isn’t too warm.
Here is the big rule: do not put your finished candy apples in the refrigerator! I learned that the hard way. The cold makes the candy shell sweat, and you end up with that sticky, wet nightmare you were trying to avoid in the first place. Keep them in a single layer on parchment paper in a cool, dry spot. If you can make them on the same day you serve them, that’s ideal for that satisfying fresh crackle!
Understanding Caramel Apples vs Candy Apples
I get asked all the time if this recipe is secretly just for caramel apples. Nope! It’s a common mix-up, but honestly, they are totally different beasts, which is why knowing the difference when searching for classic candy apples is important. Caramel apples are soft, chewy, and comforting—they rely on dairy and butter, and they never fully harden.
Our recipe here is for the crisp, shiny, almost glass-like shell. That’s pure cooked sugar taken all the way to the Hard Crack Stage (300°F). The moment you add dairy to that mixture, you instantly drop the temperature and change the outcome to a softer, chewier coating. If you’re actually looking for the chewy version, I have my favorite recipe for chewy homemade caramel where you can learn more about making those softer versions, including the ones you see sometimes on gourmet sites. So, for that loud, satisfying CRUNCH, stick to this method!
Understanding caramel apples vs candy apples really boils down to temperature and ingredients—sugar vs. sugar plus dairy!
Frequently Asked Questions About Making Candy Apples
I totally get it; sometimes even with the best recipe, a little question pops up right when you’re about to dip! Making candy can be intimidating, but these questions come up nearly every time folks try this classic treat at home. We cover the most common hiccups right here so you can get that perfect, shatteringly crisp bite, whether you’re just having a quiet evening or prepping for a big bash. If you’re looking for quick inspiration after nailing this, you can check out my suggestions for quick weeknight meals too!
Troubleshooting Grainy Candy Apple Coating
Graininess means crystallization happened, and that usually occurs because the sugar got stirred *after* it started boiling, or sometimes tiny sugar seeds clung to the side of the pan and fell in. Yuck! If it’s only mildly grainy, place the pan back on very low heat and gently swirl it—don’t whisk!—just until the crystals melt again. To stop it next time, make sure your pan sides are clean before the syrup boils.
What is the best apple for a candy apple?
Hands down, you need firm, tart apples that can handle the heat and provide a nice balance to all that glorious sugar. Granny Smith is the champion for a reason! Firmer apples won’t get mushy when dipped in that hot candy mixture, ensuring you get that wonderful contrast: a sweet, candy apple shell giving way to crisp, tangy fruit.
Can I use different colors without changing the flavor?
Absolutely! If you stick to just high-quality gel food coloring, you change the look without changing the vanilla/cinnamon flavor profile at all. You only change the flavor if you substitute the coloring with crushed candy or different extracts, which we discussed in the variations section!
Sharing Your Sweet Crunchy Apples
Now that you’ve mastered the glossy, crunchy perfection, I just have to know how they turned out! Did you go classic red, or did you try one of those vibrant color swirls we talked about? Please hop over to the contact page and share a picture of your beautiful homemade candy apples. Or, tell me: what’s the next fun flavor you plan to try for fall? I’m always looking for new ideas!
PrintThe Best Classic & Easy Homemade Candy Apples (Bubble-Free & Any Color Option)
Learn how to make perfect, glossy candy apples at home. This easy recipe guides you through achieving a bubble-free, crunchy shell, perfect for fall, Halloween treats, or any party.
- Prep Time: 15 min
- Cook Time: 25 min
- Total Time: 40 min
- Yield: 6 servings 1x
- Category: Dessert
- Method: Stovetop Cooking
- Cuisine: American
- Diet: Vegetarian
Ingredients
- 6 medium-sized crisp apples (like Granny Smith or Fuji)
- 6 wooden or paper lollipop sticks
- 2 cups granulated sugar
- 1 cup light corn syrup
- 1/2 cup water
- 1 teaspoon red food coloring (or gel color for vibrant shades)
- 1/2 teaspoon white vinegar
- 1/4 teaspoon cinnamon extract (optional, for classic flavor)
Instructions
- Wash the apples thoroughly. Remove the stems and insert the lollipop sticks firmly into the core.
- Wipe the apples completely dry with a paper towel. Any moisture will prevent the candy coating from sticking properly.
- In a medium, heavy-bottomed saucepan, combine the sugar, corn syrup, and water. Stir gently over medium heat until the sugar dissolves completely.
- Stop stirring once the mixture boils. Insert a candy thermometer.
- Cook the syrup without stirring until it reaches 300 degrees Fahrenheit (Hard Crack Stage). This usually takes about 15 to 20 minutes.
- Remove the saucepan from the heat immediately when it reaches 300 degrees F. Stir in the vinegar, food coloring, and cinnamon extract (if using). Stir slowly just enough to incorporate the color; over-stirring creates bubbles.
- Let the mixture cool for 3 to 5 minutes off the heat. This resting period helps reduce the chance of bubbles forming.
- Tilt the saucepan slightly. Dip and rotate each apple into the candy mixture, ensuring the coating is even. Lift the apple out and let excess coating drip back into the pan.
- Place the coated apples onto a baking sheet lined with parchment paper or a silicone mat. Allow them to cool completely and harden, about 30 minutes.
- For colorful candy apples, divide the syrup base before adding color, and add different gel colors or crushed Jolly Rancher flavors to separate batches.
Notes
- To prevent bubbles, ensure your apples are completely dry before dipping. Do not stir the syrup once it begins boiling.
- If you want a swirled look, pour one color onto the parchment paper, then immediately drizzle a second color over the top before dipping the apple.
- For a glossy finish, avoid letting the candy touch the sides of the pan after it starts boiling, as this can cause crystallization.
- If the coating hardens too quickly in the pan, return it to low heat briefly to re-liquefy, but do not let it boil again.
Nutrition
- Serving Size: 1 apple
- Calories: 350
- Sugar: 85g
- Sodium: 2mg
- Fat: 0.2g
- Saturated Fat: 0.1g
- Unsaturated Fat: 0.1g
- Trans Fat: 0g
- Carbohydrates: 90g
- Fiber: 2g
- Protein: 0.3g
- Cholesterol: 0mg