
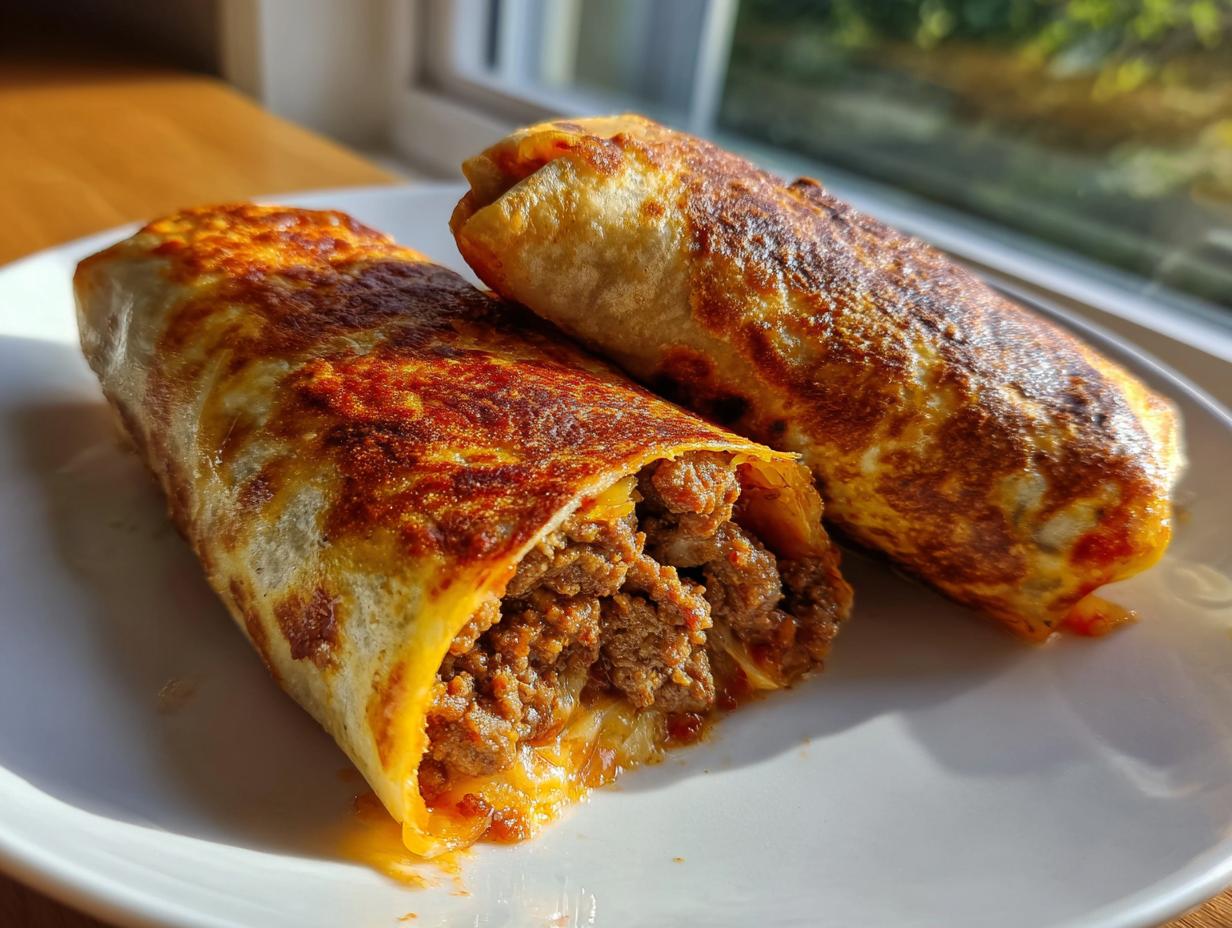
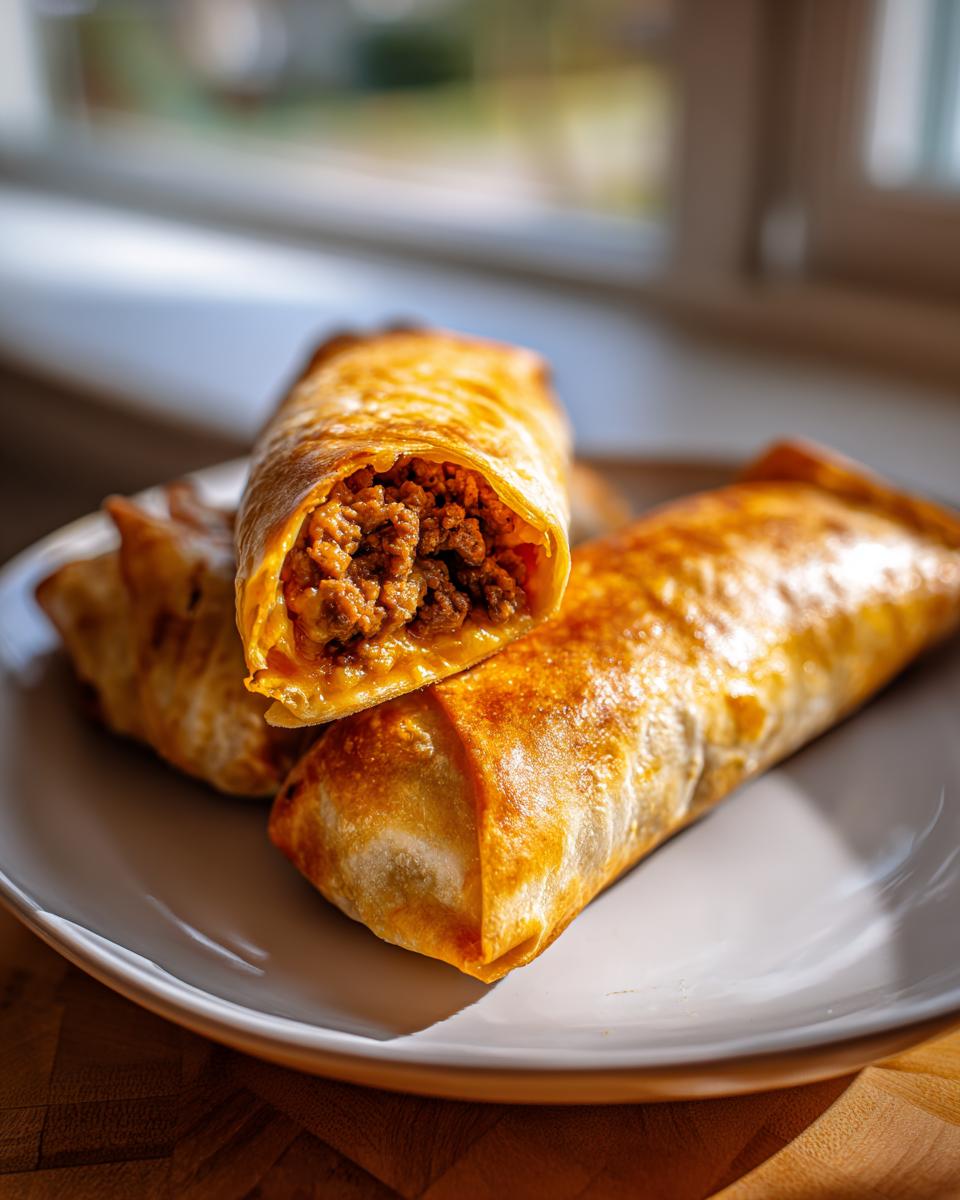
When I think about true comfort food, my mind immediately goes to the happiest moments around Daisy’s table, usually involving something cheesy and absolutely satisfying. And what is more satisfying than a perfect, crunchy Chimichangas? Forget those soggy, disappointing things you sometimes get when ordering out! My goal here is simple: I want to show you how to nail the ultimate crispy texture, whether you stick to the traditional deep-fry method or go for a lighter crisp using your oven. Grandma Daisy always taught me that good food doesn’t need fuss, just a little patience with the core steps. These Beef and Cheese Chimichangas are proof that simple ingredients, handled right, create pure Tex-Mex magic. If you’re loving this vibe, you should really check out my recipe for an easy cheesy potato casserole!
- Why These Are the Best Beef and Cheese Chimichangas You Will Make
- Gathering Ingredients for Perfect Homemade Chimichangas
- Step-by-Step Instructions for Crispy Chimichangas
- Mastering the Crunch: Frying vs. Baking Chimichangas
- Expert Tips for Making the Best Chimichanga Filling
- Serving Suggestions for Your Homemade Chimichangas
- Storage and Reheating Instructions for Crispy Chimichangas
- Frequently Asked Questions About Making Chimichangas
- Nutritional Estimates for Beef and Cheese Chimichangas
Why These Are the Best Beef and Cheese Chimichangas You Will Make
I’m not just throwing this recipe out there because it’s easy (though trust me, it’s fast!). These Chimichangas win because they deliver on that crucial crunch you crave every single time. I’ve tested this until I was blue in the face, and I promise, the results are fantastic!
- Guaranteed true crispiness, whether you fry them or bake them up golden.
- They’re seriously quick—we’re talking about 35 minutes total, which is perfect for a weeknight!
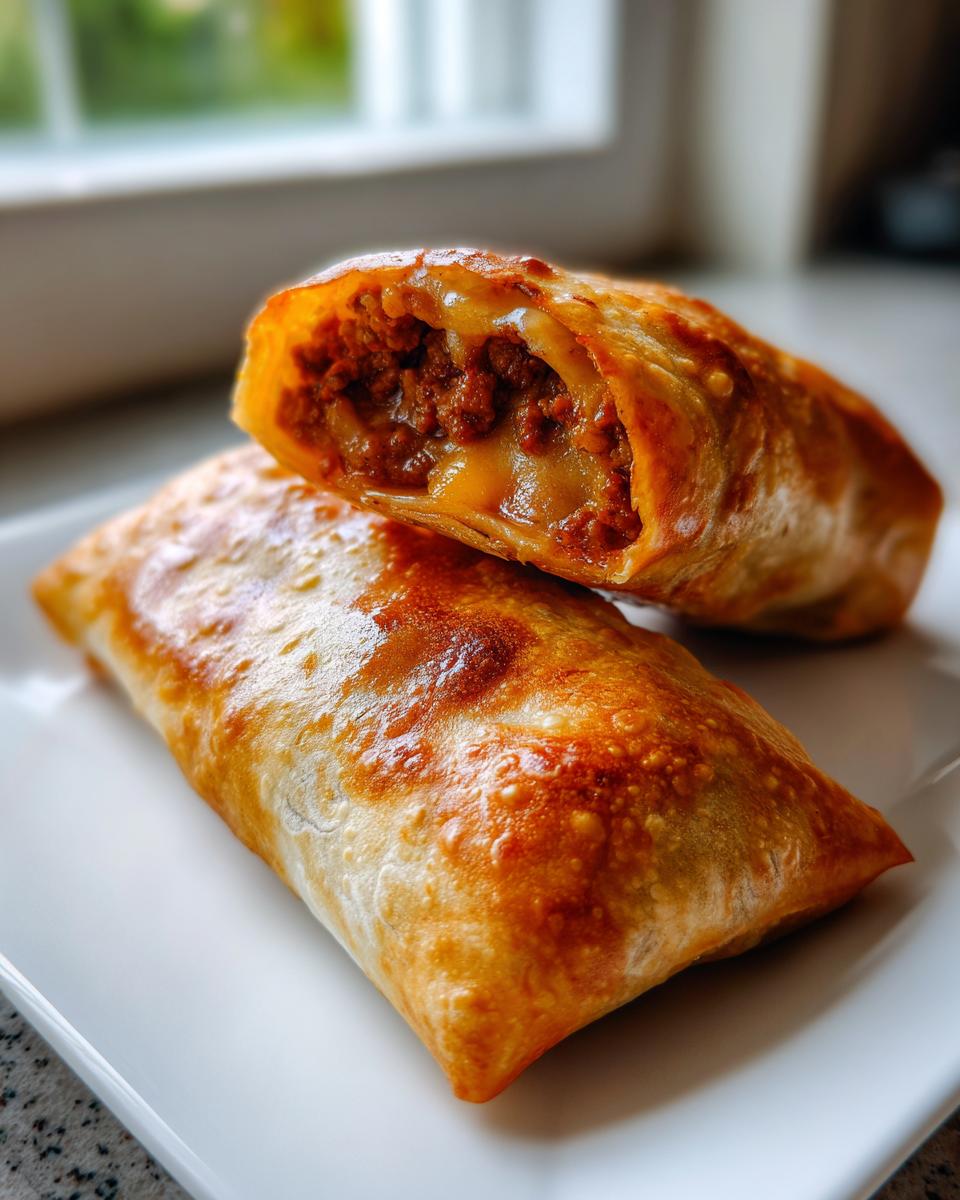
- The pairing of seasoned ground beef with gooey cheese is just heavenly.
If you’re looking for more satisfying meals built on classics, check out my favorite ground beef dinner ideas. This recipe is for everyone, whether you love the fully indulgent taste or want to try a lighter baked version of this Tex-Mex favorite.
Gathering Ingredients for Perfect Homemade Chimichangas
The beauty of these Chimichangas is that they rely on pantry staples, which really helps keep the prep time down. I always keep large flour tortillas on hand because they are the backbone of this dish. For the filling, you’ll need a pound of ground beef—make sure you drain that grease well! We’re combining that with taco seasoning and water to get that deep flavor base going.
Now, let’s talk about the star of the show: the cheese! Don’t skimp here; we want that gooey melt. Use a full two cups of shredded cheddar or a good Mexican blend. And for the secret layer of richness that keeps things creamy, we need about a cup of refried beans, warmed up gently before we start rolling. Once you have these assembled, you are set for a fantastic meal! If you master onions next, you’ll be unstoppable—check out my guide on how to caramelize onions for other great uses.
Step-by-Step Instructions for Crispy Chimichangas
Okay, here is where the magic happens! While the ingredients are simple, how you put these Chimichangas together is the real game-changer. Follow these steps exactly, and you’ll get that beautiful, tight wrap that holds everything together when it gets hot and crispy. If you happen to make extra filling, you can always whip up a batch of easy 15-minute fried noodles later this week!
Preparing the Cheesy Beef Filling
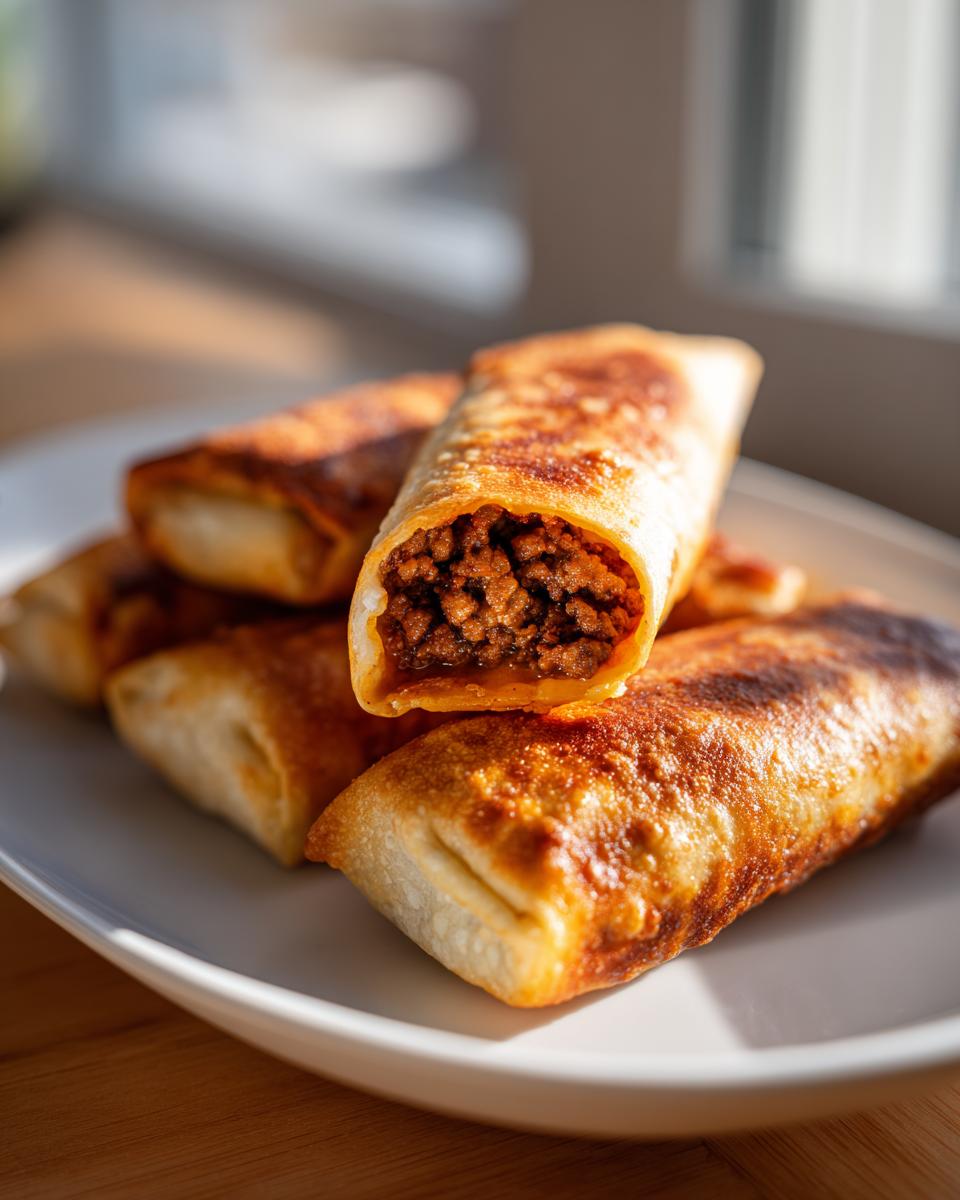
First things first, we need that savory filling ready to go. Grab a skillet over medium heat and brown your ground beef completely. You absolutely must drain off any grease clinging to the meat afterwards; nobody wants those oil puddles inside their crunchy shells! Once drained, stir in your taco seasoning and that measured half-cup of water. Let that simmer gently for about 5 to 7 minutes. We want the liquid to reduce down so the seasoning really clings tight to the beef. Once it looks rich and dry again, pull it off the heat immediately.
Assembling and Tightly Rolling Your Chimichangas
Now, warm up those tortillas—just a quick 10 seconds per side in a dry pan helps them stay flexible, so they don’t crack when you roll. Lay one warm tortilla flat. Spoon a thin layer of your warmed refried beans right down the center. Don’t overload it! Next, sprinkle on about a quarter cup of that seasoned beef, and top it off with your shredded cheese.
This next part is everything! Fold the sides of the tortilla inward over the filling first. Then, take that bottom edge and roll it up hard against the filling, continuing to roll tightly upwards until you have a sealed shape. If you’re nervous, you can secure the seam with a toothpick, but a tight initial roll usually does the trick. Repeat this process for all twelve of your Chimichangas!
Mastering the Crunch: Frying vs. Baking Chimichangas
This is the moment of truth! We’ve got our perfectly rolled Chimichangas assembled, and now we need that glorious, ear-shattering crunch. This is where you decide if you want true, deep-fried heaven or a slightly lighter, golden finish. Honestly, both methods work beautifully if you follow the temperature cues. I often default to baking when it’s a random Tuesday, but for a party? You bet I’m heating up the oil! Learning how to adapt the cooking style is key to making this recipe work for your weeknight routine or your big gathering.
Achieving Golden Perfection with the Frying Method
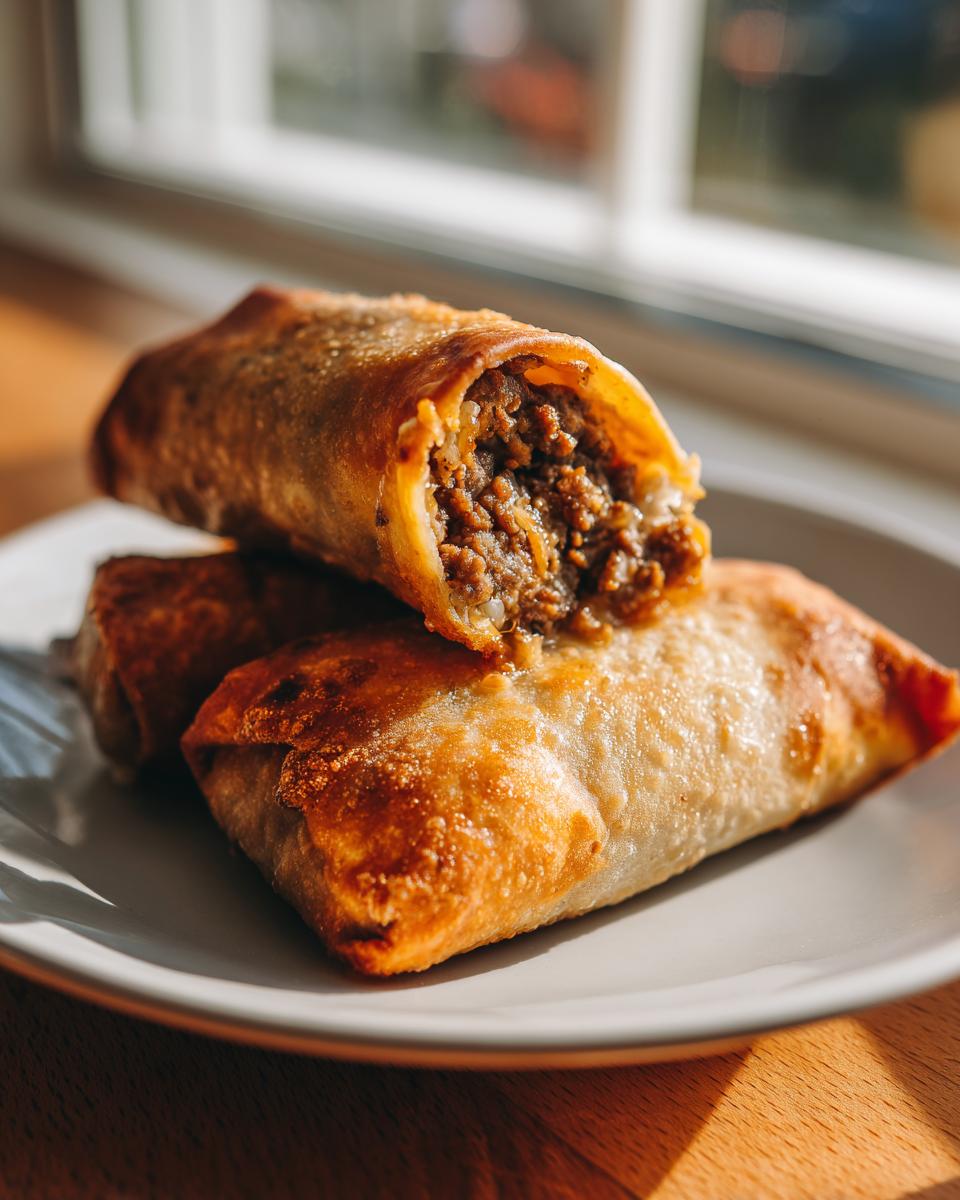
If you’re going the fried route—which gives you the absolute fluffiest interior with an ultra-crispy shell—you need to pay attention to the oil. Pour about an inch of vegetable oil into a large, deep skillet. Get that heat up to 350°F (175°C). Be careful when you drop them in; they sizzle loud! Always place your Chimichangas seam-side down first. This locks the fold right in place so nothing escapes into the hot oil. You only need about 2 to 3 minutes per side until they are deep golden brown. Scoop them out gently and let them drain on paper towels. You’ve just made true Crispy Chimichangas!
The Lighter Option: Baking Your Chimichangas Recipe
If deep frying isn’t your jam, there’s no need to skip dessert! We can get fantastic texture in the oven. Preheat your oven to a solid 400°F (200°C). Before you place them on your baking sheet, you *must* give them a good coating. You can use cooking spray, but honestly, brushing them lightly with melted butter or oil helps achieve that beautiful golden color we want for a great Baked Chimichangas Recipe. Bake them for 15 to 20 minutes total, flipping them halfway through. They will come out crisp, golden, and perfect. Even baked, these Chimichangas are incredible comfort food!
Expert Tips for Making the Best Chimichanga Filling
I really think the reason people call this the “Best Chimichanga Recipe” isn’t just the crunch—it’s the filling itself. We kept it simple, drawing on that old wisdom I learned: good ingredients prepared correctly beat complicated steps every single time. Here are a few little tricks I picked up watching Grandma Daisy that I think really make a difference when you are building that savory center.
First, the beans. The recipe calls for refried beans, and that’s non-negotiable for me because they act like a little flavor glue holding the meat and cheese together. But when you warm them up? Don’t let them get piping hot. If they are too hot, they’ll steam your tortilla and you lose just a little bit of that crispiness you worked so hard for in the frying or baking step. Warm, not steaming hot, is the goal!
Next, remember that extra oil we drained off the ground beef? Don’t toss that container right away! If you are going the frying route, you can reuse that reserved beef fat when you add your cooking oil to the pan. It adds a depth of authentic flavor that just vegetable oil alone can’t touch. It’s like cheating, but it’s totally allowed in my book!
And finally, don’t forget that you can absolutely swap things up! If you aren’t in the mood for beef tonight or you have leftovers from a big roast, feel free to use shredded chicken instead of ground beef. I used leftover rotisserie chicken last week to make some fantastic Shredded Chicken Chimichangas, and they were just as good. If chicken is your thing, you might want to look at my easy chicken Marsala recipe for inspiration on different seasoning blends!
Serving Suggestions for Your Homemade Chimichangas
Alright, so your Chimichangas are golden, crispy, and steaming hot—now for the fun part: dressing them up! These definitely fall into the category of ultimate Comfort Food Recipes, so don’t be shy with the toppings. You absolutely need a side of fresh salsa and a big dollop of sour cream. And of course, fresh guacamole. It just works, doesn’t it?
If you’re making a big batch for a party, these are a perfect addition to any spread of Tex Mex Favorites. They pair wonderfully next to some vibrant rice or maybe even my recipe for classic deviled eggs if you want a little unexpected detour from the main event. Enjoy them immediately while they are screaming hot!
Storage and Reheating Instructions for Crispy Chimichangas
We all know that the best part of a chimichanga is that fresh, shatteringly crisp shell, right? Well, even the best leftovers need a little revival love. You can totally make these ahead! Once they’ve cooled down completely—and I mean fully cooled; trapping that steam guarantees sogginess later—store your Chimichangas in an airtight container in the fridge. They keep really well for about three days this way.
Now, for reheating? Here’s my biggest tip, and it comes straight from Grandma Daisy’s wisdom on reheating fried things: Don’t even *think* about the microwave unless you absolutely have to. The microwave is the enemy of crunch! It heats the moisture inside the tortilla, and poof—you’ve got a limp, sad wrapper instead of a crunchy delight.
Instead, you want to wake up that crispness! The oven works great. Pop your leftover Chimichangas onto a baking sheet and bake them at 375°F until they are hot all the way through and crispy again, usually about 10 to 15 minutes. If you have an air fryer, that’s even better because it’s fast and powerful. Set your air fryer to 350°F and cook them for about 5 to 7 minutes, checking them halfway through. They come out tasting almost brand new. It’s almost like making another batch!
If you have leftover beef filling, that’s super easy to save too. Keep it sealed up tight in the fridge, and you can whip up a completely different batch of Tex Mex Favorites later in the week—maybe some quick tacos or even use it in my easy chicken pozole recipe if you decide to switch proteins next time.
Frequently Asked Questions About Making Chimichangas
Can I use canned chicken instead of ground beef in this recipe?
Oh, absolutely! Switching out the protein is one of the best ways to keep things fun. If you use canned or leftover shredded chicken, just remember to chop it up real fine and mix it really well with the taco seasoning and maybe just a splash of chicken broth instead of water, so it doesn’t taste too dry. These become wonderful Chicken Chimichangas, perfect for a fast meal!
What is the absolute best oil to use if I’m frying my Chimichangas?
If you are frying, you really want a neutral oil with a high smoke point. I almost always reach for vegetable oil since it handles the 350°F heat beautifully without burning or adding weird flavors. Canola oil works too! If you want that extra layer of richness—and you are going for the classic restaurant style—you can even mix a little bit of beef tallow or lard into your vegetable oil. It adds character!
Can I assemble these Beef and Cheese Chimichangas ahead of time for a Quick Weeknight Mexican Food surprise?
Yes, you definitely can—and I highly recommend it! Assembling them is a great task to do while you’re watching TV or chatting. Just make sure you wrap them up really tightly in plastic wrap when they are completely cool. Store them in the fridge for up to a day, or even wrap them individually in foil and freeze them! When it’s time to cook, just add a few extra minutes to your bake or fry time. This makes them one of my favorite Quick Weeknight Mexican Food hacks!
Why do my tortillas sometimes tear when I roll them for frying?
That almost always happens because the tortilla is too cold or too dry. You must warm them up first! You can do this quickly in the microwave under a damp paper towel for about 15 seconds, or just warm them in a dry, hot skillet. That gentle heat makes the flour pliable so it wraps snugly around the filling without cracking when it hits the hot oil. Don’t skip that warming step!
Nutritional Estimates for Beef and Cheese Chimichangas
Now, I always want to be super upfront with you because my kitchen is about real, satisfying food, not counting every little calorie. But, because so many of you ask about making healthier choices, I ran the numbers for this recipe using the standard ground beef and the frying method. Please keep in mind that this is just an estimate for one of these glorious, Crispy Chimichangas!
If you’re making these delicious Homemade Chimichangas using the deep-fry method listed above, the numbers look something like this per chimichanga:
- Serving Size: 1 chimichanga
- Calories: About 450
- Fat: Around 25g (This is the big one, folks—frying adds way more fat than baking!)
- Protein: 25g
- Carbohydrates: 35g
- Sugar: A tiny 3g
- Sodium: About 650mg
If you choose to use the baking method we discussed earlier, that fat content is going to drop significantly, making it a much lighter option for a Quick Weeknight Mexican Food meal! It’s amazing how much that single choice changes the whole profile. Remember, these are just starting points, so if you start loading yours up with extra sour cream or load up on guacamole, those numbers will shift!
If you ever want to look at ways to lighten up other comfort meals, check out my tips for healthy lunch ideas in the archives. But honestly? Sometimes you just need that golden crunch, and these Chimichangas deliver!
PrintThe Ultimate Crispy Beef and Cheese Chimichangas (Oven-Baked Option Included)
Make satisfying Tex Mex favorites at home. This recipe delivers perfectly crispy chimichangas stuffed with seasoned ground beef and gooey melted cheese. Use the oven method for a lighter, golden crunch.
- Prep Time: 15 min
- Cook Time: 20 min
- Total Time: 35 min
- Yield: 12 servings 1x
- Category: Dinner
- Method: Frying or Baking
- Cuisine: Tex-Mex
- Diet: Vegetarian
Ingredients
- 12 large flour tortillas (burrito size)
- 1 tablespoon vegetable oil (for frying) or cooking spray (for baking)
- 1 pound ground beef
- 1 packet (about 1 ounce) taco seasoning
- 1/2 cup water
- 1 cup refried beans, warmed
- 2 cups shredded cheddar or Mexican blend cheese
- Vegetable oil for frying (if not baking)
- Optional Toppings: Salsa, sour cream, guacamole
Instructions
- Cook the beef: Brown the ground beef in a skillet over medium heat. Drain off any excess grease.
- Season the beef: Stir in the taco seasoning and water. Simmer for 5 to 7 minutes, or until the liquid reduces. Remove from heat.
- Assemble the chimichangas: Lay a warm tortilla flat. Spread about 1 tablespoon of warm refried beans down the center. Top with about 1/4 cup of the seasoned beef mixture and 1/4 cup of shredded cheese.
- Fold the chimichangas: Fold the sides of the tortilla inward over the filling. Then, tightly roll the bottom edge up over the filling and continue rolling tightly until you have a sealed burrito shape. Secure with a toothpick if needed. Repeat for all 12 tortillas.
- Cook for crispiness (Frying Method): Pour about 1 inch of vegetable oil into a large, deep skillet and heat to 350°F (175°C). Carefully place 2-3 chimichangas seam-side down into the hot oil. Fry for 2 to 3 minutes per side, turning gently, until golden brown and crispy. Remove and place on a paper towel-lined plate to drain excess oil.
- Cook for crispiness (Baking Method): Preheat your oven to 400°F (200°C). Lightly spray both sides of the assembled chimichangas with cooking spray or brush lightly with oil for a golden finish. Place them on a baking sheet. Bake for 15 to 20 minutes, flipping halfway through, until they are golden brown and crispy.
- Serve immediately with your preferred toppings like salsa, sour cream, or guacamole.
Notes
- To achieve the best crunch when baking, lightly brush the outside of the wrapped tortillas with melted butter or oil before placing them in the oven.
- You can substitute the ground beef with shredded chicken for a different take on this comfort food recipe.
- Prepare the beef filling ahead of time; this makes assembly for a quick weeknight dinner much faster.
Nutrition
- Serving Size: 1 chimichanga
- Calories: 450
- Sugar: 3
- Sodium: 650
- Fat: 25
- Saturated Fat: 10
- Unsaturated Fat: 15
- Trans Fat: 0.5
- Carbohydrates: 35
- Fiber: 3
- Protein: 25
- Cholesterol: 60