
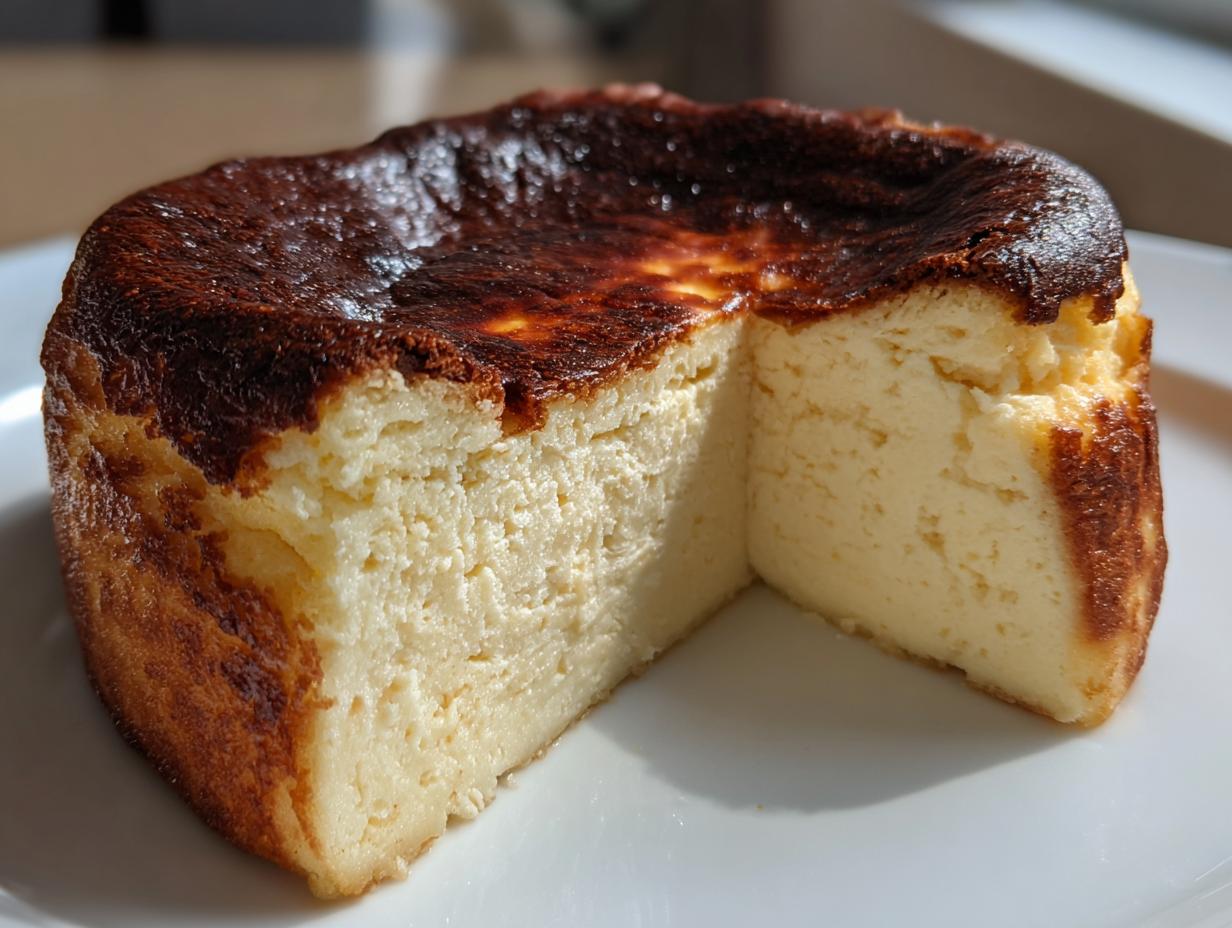
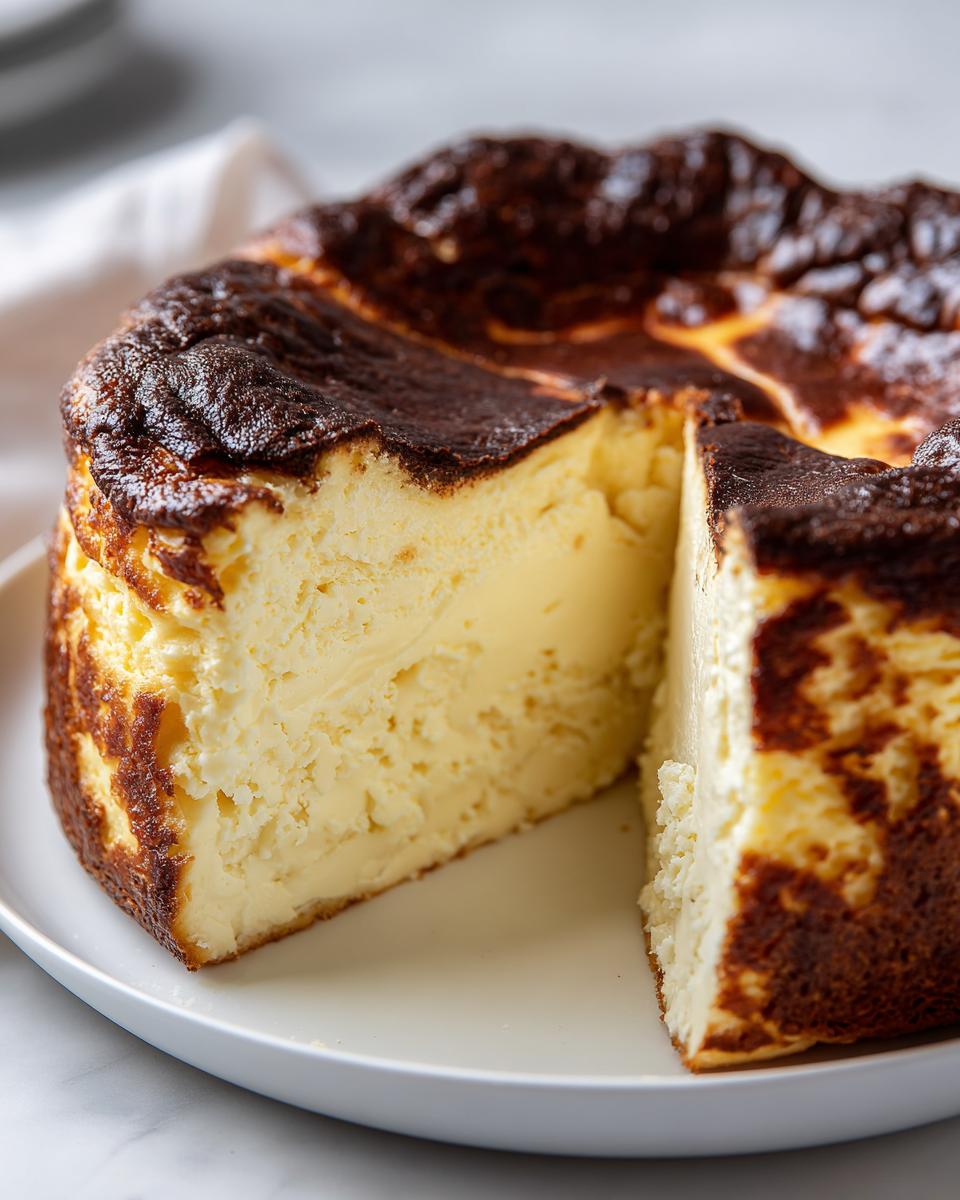
If you think **gourmet cheesecakes** means fussy techniques and endless steps, let me show you the magic of the **Basque cheesecake**. This isn’t just dessert; this is the showstopper that seems like it took all day but truly doesn’t! This recipe comes straight from the heart of Daisy’s legacy—my grandmother. She always taught me that beautiful food doesn’t need complication, just good ingredients handled with care. That’s why this version is utterly perfect: it’s completely crustless, skips the dreaded water bath you see in so many other recipes, and it gives you that gorgeous, deeply caramelized top while keeping the inside unbelievably creamy.
We are honoring that simple, honest cooking here. You won’t need fancy gadgets, just basic mixing to achieve a bakery-quality result that belongs on any delicious dessert recipes spread. Get ready for what I truly think is the best, most foolproof **Basque cheesecake** you’ll ever try.
- Why This is the Best Basque Cheesecake Recipe You Will Make
- Gathering Ingredients for Your Basque Cheesecake
- Essential Equipment for Your Rustic Cheesecake Baking
- Step-by-Step Instructions for the Perfect Basque Cheesecake
- Tips for Success with Your Basque Cheesecake Baking
- Storage and Serving Suggestions for Your Basque Cheesecake
- Variations on the Classic Basque Cheesecake
- Frequently Asked Questions About Basque Cheesecake
- Share Your Experience Making This Basque Cheesecake
Why This is the Best Basque Cheesecake Recipe You Will Make
After trying what felt like a hundred versions—some too firm, some that wouldn’t brown—I finally landed on this specific combination. This is, hands down, the Best Basque Cheesecake recipe I’ve ever developed. It honors Grandma Daisy’s philosophy: simple preparation equals maximum payoff. Look at what sets us apart:
- Effortless Technique: The No Fuss Cheesecake: We ditch the fussy water bath completely! This is a true **no water bath cheesecake**. You just mix, pour, and let that high heat do the work. It’s stress-free baking, which I desperately needed when I first started recreating these recipes in my city apartment.
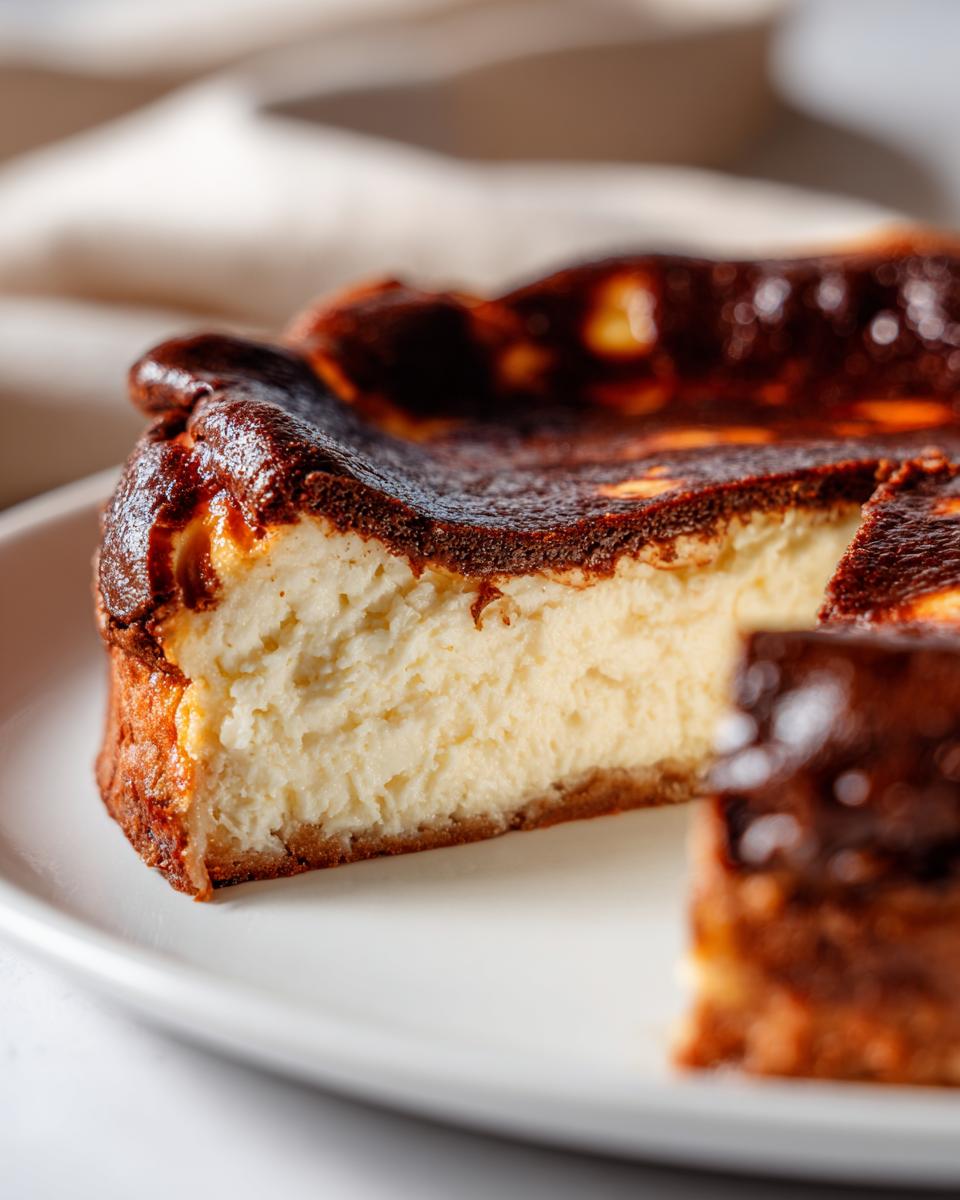
- Achieving the Perfect Creamy Basque Cheesecake Texture: The secret lies in the ingredients being perfectly room temperature (no excuses!) and mixing just until barely combined. If you overbeat this batter, you introduce air bubbles, and you lose that gorgeous, almost molten core that makes a **Creamy Basque Cheesecake** what it is!
Gathering Ingredients for Your Basque Cheesecake
Okay, the beauty of this **crustless cheesecake recipe** is how few things you actually need. Seriously, it’s minimal! But you have to respect the few items we use, especially the cream cheese itself. Grandma Daisy always said, “If the base isn’t good, the structure won’t hold.” For this reason, using only full-fat cream cheese is non-negotiable—skimping here ruins that perfect custardy quality we’re aiming for.
Here is what you need for a truly decadent dessert:
- 900g full-fat cream cheese, softened (make sure it’s soft!)
- 1 1/4 cups granulated sugar
- 6 large eggs, room temperature (don’t forget this part!)
- 2 cups heavy cream
- 1 teaspoon vanilla extract
- 1/4 teaspoon salt
- 1 tablespoon all-purpose flour (I use this for a touch of stability, but you can skip it if you like it super wobbly!)
Essential Equipment for Your Rustic Cheesecake Baking
Since we’re aiming for that beautiful, messy, rustic look—the hallmark of a true **San Sebastian Cheesecake**—you don’t need much specialized gear. I use my standard electric mixer, but honestly, a sturdy whisk would work too if you have the elbow grease! You absolutely must have a 9-inch springform pan. My biggest advice here, and trust me on this for your **Caramelized Top Cheesecake**, is to use heavy-duty parchment paper. It has to withstand that high heat, so don’t skimp on the paper quality!
Step-by-Step Instructions for the Perfect Basque Cheesecake
Following these steps is how we get that gorgeous, rustic, cracked look every single time. My grandmother Daisy never worried about perfection in the traditional sense; she worried about flavor and texture. We’re sticking to her mantra here. Since this is a weeknight dinner ideas-worthy dessert, the steps are fast, but the chilling time is worth the wait!
Preparing the Pan and Oven for the Basque Cheesecake
First thing’s first: get that oven hot! We’re preheating to a roaring 400°F (200°C). Grab your 9-inch springform pan. Now for the fun part—the parchment paper! Line the pan using two big sheets, crossing them like an ‘X’ over the bottom. You want this paper sticking up way over the edges of the pan—like a giant, floppy hat. This creates those wonderful, uneven, rustic sides that signal you are eating a real Burnt Basque Cheesecake recipe.
Mixing the Creamy Basque Cheesecake Batter
We need smooth, not foamy! Start by beating your softened cream cheese until it’s utterly lump-free. Then, slowly add the sugar and mix until it looks uniform. Now, the eggs go in one at a time—seriously, wait until one is incorporated before adding the next one. We are mixing everything gently here! Remember, we are avoiding air bubbles to keep that signature custardy texture. Finish by slowly mixing in your heavy cream, vanilla, and salt until everything is just combined into one beautiful, thin batter.
Baking and Cooling the Caramelized Top Cheesecake
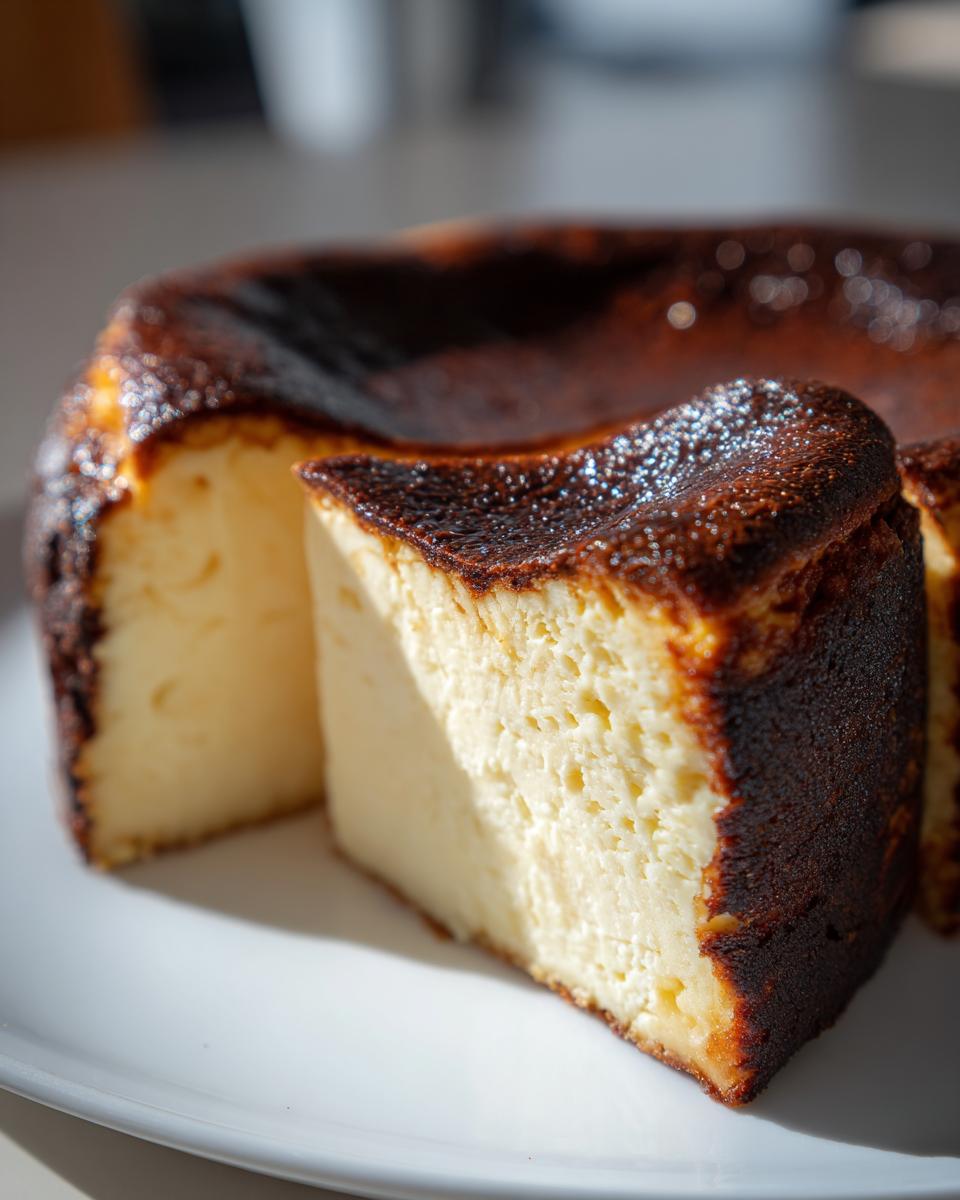
Pour that thin batter into your prepared pan and pop it into that high-heat oven for about 50 to 60 minutes. You are looking for a top that’s deeply browned, yes, even black in spots! The true test? The center has to wobble significantly, like soft Jell-O. Don’t panic! Once out, let this **Caramelized Top Cheesecake** cool completely on the counter for about two hours. It will deflate—that’s normal! Then, you must chill it for at least six hours, but honestly, overnight is best for the final structure.
Tips for Success with Your Basque Cheesecake Baking
Even though this is an **Easy Basque Cheesecake dessert**, a few little tricks will take it from good to genuinely unforgettable. My biggest lesson from Grandma Daisy was that temperature matters more than anything else. Make sure your cream cheese and those six eggs are fully softened and totally at room temperature before you start the mixer. If they are cold, you’ll end up with lumps, and we fought too hard to create a perfect, smooth batter to let that happen!
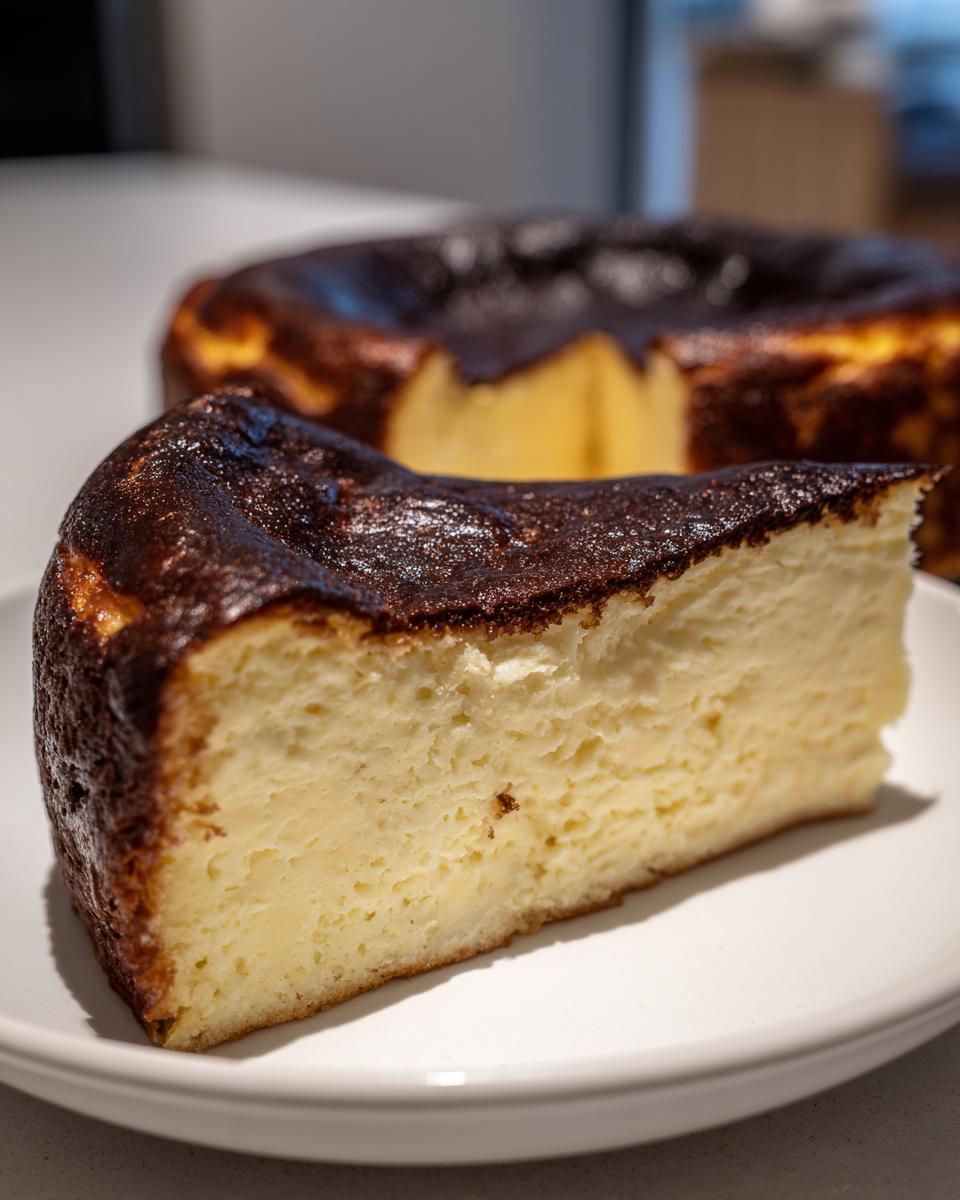
Also, remember that appearance is part of the charm. Don’t stress if the top cracks or looks uneven—that distinctive burnt surface is exactly what makes this a fantastic **gourmet cheesecake**. When you finally slice into it later, you absolutely must serve it at room temperature. Chilled, it’s lovely, but at room temperature, that center turns into pure velvet. For more tried-and-true baking wisdom, check out my guide on baking [moist, easy sourdough banana bread]!
If you want to dig deeper into the science behind an amazing crustless cake, this guide on [Basque Burnt Cheesecake] has some great points too. Trust me, these little tweaks here secure that creamy texture every time.
Storage and Serving Suggestions for Your Basque Cheesecake
Now that you’ve made this stunning dessert, we have to talk about the crucial chilling and serving stages. I know you’ll want to dig in right away, but patience is key, especially for a **Crustless Cheesecake recipe** like this! You need to chill the cheesecake, covered loosely with plastic wrap, for a minimum of six hours in the fridge. Honestly, though, overnight is where the magic really happens and the texture firms up perfectly.
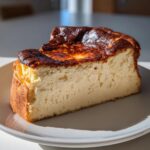
When it’s time to serve this **impressive homemade cake**, gently remove the outer ring of the pan and peel away the parchment paper—it should look beautifully crinkled and rustic. The absolute best way to enjoy that incredible texture is to pull it out of the fridge about an hour before serving so it warms up slightly. This brings out the velvety creaminess you’ve been working towards! It pairs like a dream with a strong cup of coffee or even a slightly sweet dessert wine. If you’re looking for other decadent flavors, check out my recipe for [homemade caramel]!
Variations on the Classic Basque Cheesecake
The beauty of this simple **Basque cheesecake** is how adaptable it is! While the round pan gives you that perfect classic look, I know many of you are looking for something different, especially if you’re trying to scale down for a smaller crowd. If you want to try the **Loaf pan Basque Cheesecake tutorial**, you absolutely can! Just know that because a loaf pan is deeper, you’ll likely need to add about 10 to 15 minutes to the baking time. Keep checking the center wobble, though—that’s always the guide!
Another easy way to change things up without altering the texture is by adding flavor right into the batter. A little bit of fine lemon or orange zest mixed in with the sugar really brightens up the richness of the cream cheese. It pairs wonderfully with that caramelized edge. If you love bright citrus flavors, you have to check out my recipe for [soft and chewy lemon crinkle cookies] next! And if you want to see an amazing example of baking this in a loaf pan, this guide [here] really breaks down that method.
Frequently Asked Questions About Basque Cheesecake
I know when you bake something this decadent, you are going to have questions! It’s totally normal, especially when you are trying to achieve that perfect contrast between the dark, almost smoky top and the impossibly smooth interior. Don’t worry; we can troubleshoot those final details right here. If you had fun with this recipe, you might also love my guide to [easy 3-ingredient beer bread]!
Why is my Basque Cheesecake not burnt enough?
Oh, that beautiful char is so important! If you didn’t get enough color, it usually means the oven temperature wasn’t quite high enough, or maybe your rack was too low. Next time, try moving the cheesecake to a higher rack for the final 5 to 10 minutes of baking. Keep a super close eye on it, though—we want dark brown, not charcoal!
Can I make this Crustless Cheesecake recipe ahead of time?
Yes, and I highly recommend it! This is truly a wonderful **make-ahead dessert** for gatherings. While you can serve it after six hours of chilling, I find that chilling overnight gives the structure time to set just right. It still comes out soft and amazing, just perfectly chilled and ready to go.
What is the best way to serve this Easy Basque Cheesecake dessert?
This is the most crucial serving instruction! To get that incredible, almost liquid, custardy mouthfeel that everyone raves about for this **Easy Basque Cheesecake dessert**, you have to serve it at room temperature. Pull it out of the fridge about an hour before you plan to slice it. The contrast between the slightly set edges and the soft center is unmatched when it’s slightly warm!
Share Your Experience Making This Basque Cheesecake
Now that you’ve created this show-stopping **Basque cheesecake**, I truly want to hear about it! Did you nail that perfect caramelization? Did your center wobble just right? Please feel free to leave a rating below or drop a comment detailing your results. If you shared a photo on social media, tag me! Recreating Grandma Daisy’s simple joys in my own kitchen means the world to me, and seeing your success does the same. If you have any final questions, don’t hesitate to reach out via my contact page!
PrintEasy Burnt Basque Cheesecake Recipe: Creamy and Caramelized
Make the best Basque Cheesecake with this simple, crustless recipe. Achieve a perfectly creamy interior and a signature caramelized top without needing a water bath. This impressive dessert is surprisingly easy to make.
- Prep Time: 15 min
- Cook Time: 60 min
- Total Time: 7 hours 15 min
- Yield: 10 servings 1x
- Category: Dessert
- Method: Baking
- Cuisine: Spanish
- Diet: Vegetarian
Ingredients
- 900g full-fat cream cheese, softened
- 1 1/4 cups granulated sugar
- 6 large eggs, room temperature
- 2 cups heavy cream
- 1 teaspoon vanilla extract
- 1/4 teaspoon salt
- 1 tablespoon all-purpose flour (optional, for structure)
Instructions
- Preheat your oven to 400°F (200°C). Take out a 9-inch springform pan. Line the pan with two large sheets of parchment paper, overlapping them and allowing the paper to extend several inches above the rim of the pan. This rustic look is part of the charm.
- In a large bowl, beat the softened cream cheese with an electric mixer until completely smooth. Scrape down the sides of the bowl often.
- Gradually add the sugar and mix until just combined and smooth. Do not overmix; you want to avoid incorporating too much air.
- Add the eggs one at a time, mixing well after each addition until just incorporated.
- Slowly mix in the heavy cream, vanilla extract, and salt until the batter is uniform. If you are using the flour, whisk it in now until no lumps remain. The batter will be thin.
- Pour the batter into the prepared springform pan.
- Bake for 50 to 60 minutes. The top should be deeply caramelized, almost black in spots, and the edges should look set. The center should still have a significant wobble, like soft gelatin. This wobble is the secret to a creamy texture.
- Remove the cheesecake from the oven. Let it cool completely on a wire rack at room temperature for about 2 hours. The center will deflate as it cools.
- Once cool, cover the pan loosely with plastic wrap and chill in the refrigerator for at least 6 hours, or preferably overnight, for the best flavor and texture.
- To serve, carefully remove the outer ring of the springform pan and peel away the parchment paper. Serve at room temperature for a truly decadent, custardy experience.
Notes
- For a truly rustic look, do not try to smooth the top of the batter before baking; the cracks and uneven browning are characteristic of this San Sebastian Cheesecake.
- Serving this cheesecake at room temperature, rather than chilled, maximizes the creamy, almost soufflé-like texture that dessert lovers seek.
- If you prefer a slightly denser cake, chill for 12 hours. If you want a more custardy center, serve after 6 hours of chilling.
Nutrition
- Serving Size: 1 slice
- Calories: 450
- Sugar: 35g
- Sodium: 250mg
- Fat: 35g
- Saturated Fat: 22g
- Unsaturated Fat: 13g
- Trans Fat: 0g
- Carbohydrates: 30g
- Fiber: 0g
- Protein: 8g
- Cholesterol: 180mg