
Honestly, I don’t know how I ever lived buying that stuff in the plastic bottle. If you’re tired of syrupy liquids that taste mostly like sugar and chemicals, you are in the right spot. We are making the best homemade chocolate syrup, and yes, it comes together faster than you can run to the grocery store. Trust me, this 5-minute chocolate syrup recipe, made entirely from rich cocoa powder and zero corn syrup, will change your life. When I first stepped away from city life and returned to my roots, I remembered Grandma Daisy’s philosophy: real ingredients make real memories. This recipe is my way of bringing that simple quality back into my busy kitchen. If you love deep chocolate flavor, you should also check out my recipe for easy 3-ingredient chocolate fudge; it uses the same richness!
- Why This Homemade Chocolate Syrup Recipe Beats Store-Bought (EEAT Focus)
- Ingredients for Your 5-Minute Chocolate Syrup from Cocoa Powder
- How to Prepare Easy Chocolate Syrup Stovetop
- Using Your Chocolate Milk Flavoring and Quick Dessert Topping
- Tips for Success Making Silky Chocolate Drizzle
- Troubleshooting Common Homemade Chocolate Syrup Issues
- Frequently Asked Questions About This Chocolate Syrup Recipe
- Estimated Nutritional Data for This Rich Chocolate Sauce
- Share Your Homemade Chocolate Syrup Creations
Why This Homemade Chocolate Syrup Recipe Beats Store-Bought (EEAT Focus)
Honestly, when you’re making something this simple, you have total control over quality, and that’s what matters most to me. I learned from Grandma Daisy that convenience shouldn’t mean sacrificing flavor or feeding yourself questionable fillers. I want you to feel confident pouring this chocolate syrup all over everything you own!
- The Taste is Unreal: It delivers a deep, resonant chocolate flavor that just sits better than the high-fructose stuff. Trust me, after this, you won’t go back to the store-bought version.
- We Skip the Bad Stuff: This recipe is inherently a no corn syrup chocolate syrup. We keep out the preservatives, too, which means you’re getting a much more natural product. Seriously, check out the ingredients list—it’s just basics! And if richness is what you’re after, this creates a beautiful rich chocolate sauce texture.
- Speed is Key: Even with the simmering time, you’re looking at maybe 10 minutes total. It’s a genuine 5-minute chocolate syrup when you account for the setup!
The Secret to Better Than Hershey’s Syrup Flavor
The depth of flavor here comes from two things you control: quality cocoa and patience during the simmer. If you use a good quality, dark, unsweetened cocoa powder, you’re starting with rich chocolate foundations. Then, when we gently simmer this mixture for those few crucial minutes, we are letting the sugar and cocoa molecules integrate properly. That simmer is what elevates it from simple cocoa water to that deeply satisfying, better than Hershey’s syrup experience. Don’t rush that just because it’s quick!
Ingredients for Your 5-Minute Chocolate Syrup from Cocoa Powder
You won’t believe you don’t need a specialty grocery run for this. This is pure, good-old-fashioned pantry magic! We are sticking strictly to the basics here, which is why this is such a gorgeous, easy chocolate syrup. You likely have everything needed right now for this little batch.
- 1 cup granulated sugar
- 1 cup unsweetened cocoa powder
- 1 cup water
- 1 teaspoon vanilla extract
- Pinch of salt
Ingredient Notes and Substitutions
Since we are skipping the commercial stabilizers, these basic ingredients do all the heavy lifting! Good news: this recipe is naturally vegan and totally dairy free, so everyone can enjoy the silky chocolate drizzle. Remember, we kept the corn syrup out, so you’re in charge of the sweetness level. If you wanted something thinner—maybe a lighter chocolate simple syrup recipe for your morning latte—you could shave a tiny bit off the sugar or water measurement next time. But for that thick, scoopable ice cream topping, stick to the recipe above!
How to Prepare Easy Chocolate Syrup Stovetop
Alright, let’s get this decadent, homemade chocolate syrup recipe cooked up! This isn’t complex—it’s straightforward stovetop work, but we need to pay attention to the heat, just like Grandma Daisy taught me about nurturing flavors. Grab a small saucepan, because we aren’t making a gallon here, just enough to keep us happy for a week or two.
- First things first: dump the sugar, the unsweetened cocoa powder, and the water right into that saucepan. Don’t be shy!
- Put it over medium heat. Now, this is where you need to pay attention. You need to whisk constantly at first until everything looks smooth and there are zero lumps of dry cocoa powder hiding at the bottom. Remember, lumps ruin everything!
- Next, we let it simmer gently. We aren’t looking for a rolling boil; just a soft, happy bubble. Stir occasionally while it gently simmers for about 3 to 5 minutes. This is what pulls the intensely chocolatey flavor out of the cocoa.
- Once that time is up, pull that pan right off the heat immediately. Stir in your vanilla extract and that tiny pinch of salt—that salt is vital; it makes the chocolate taste even more like chocolate!
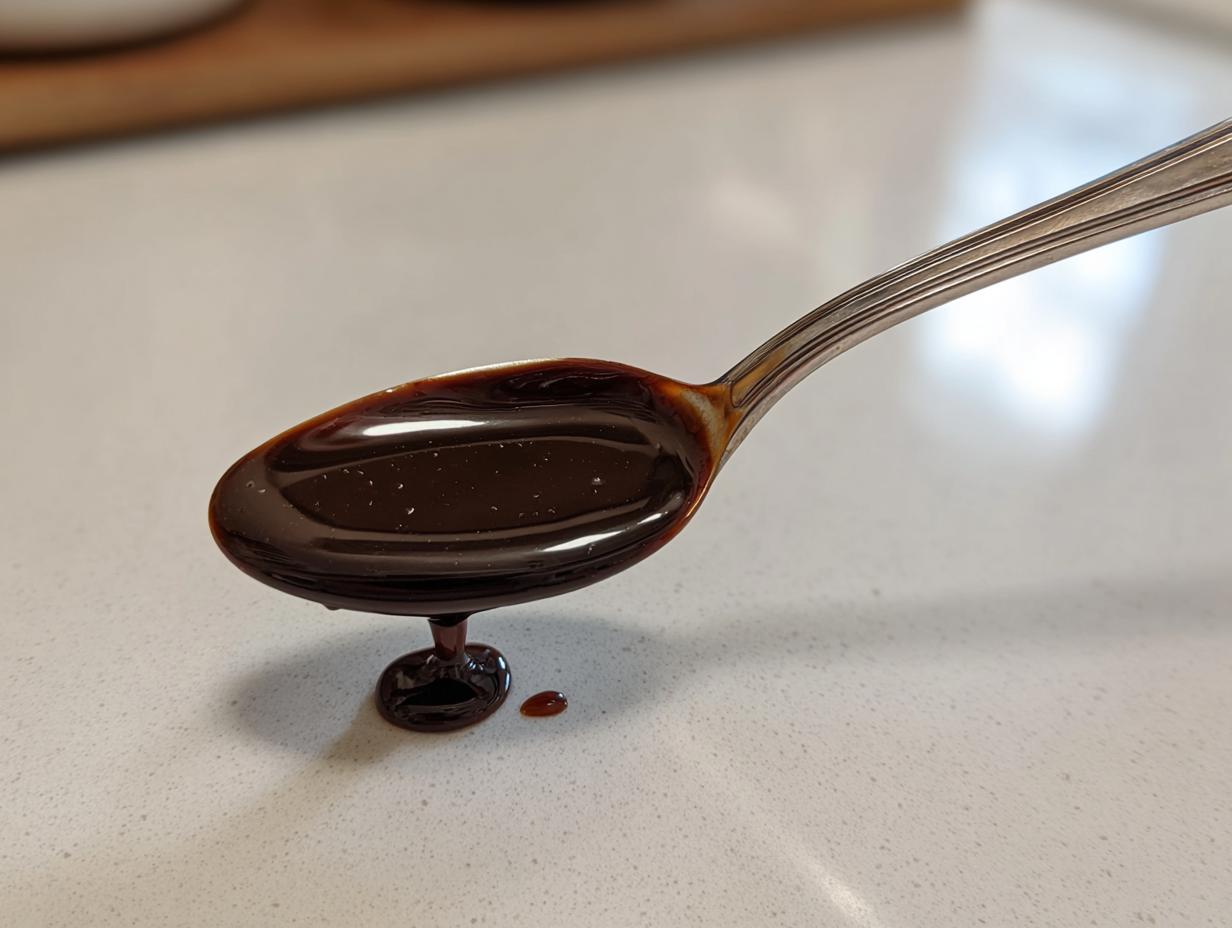
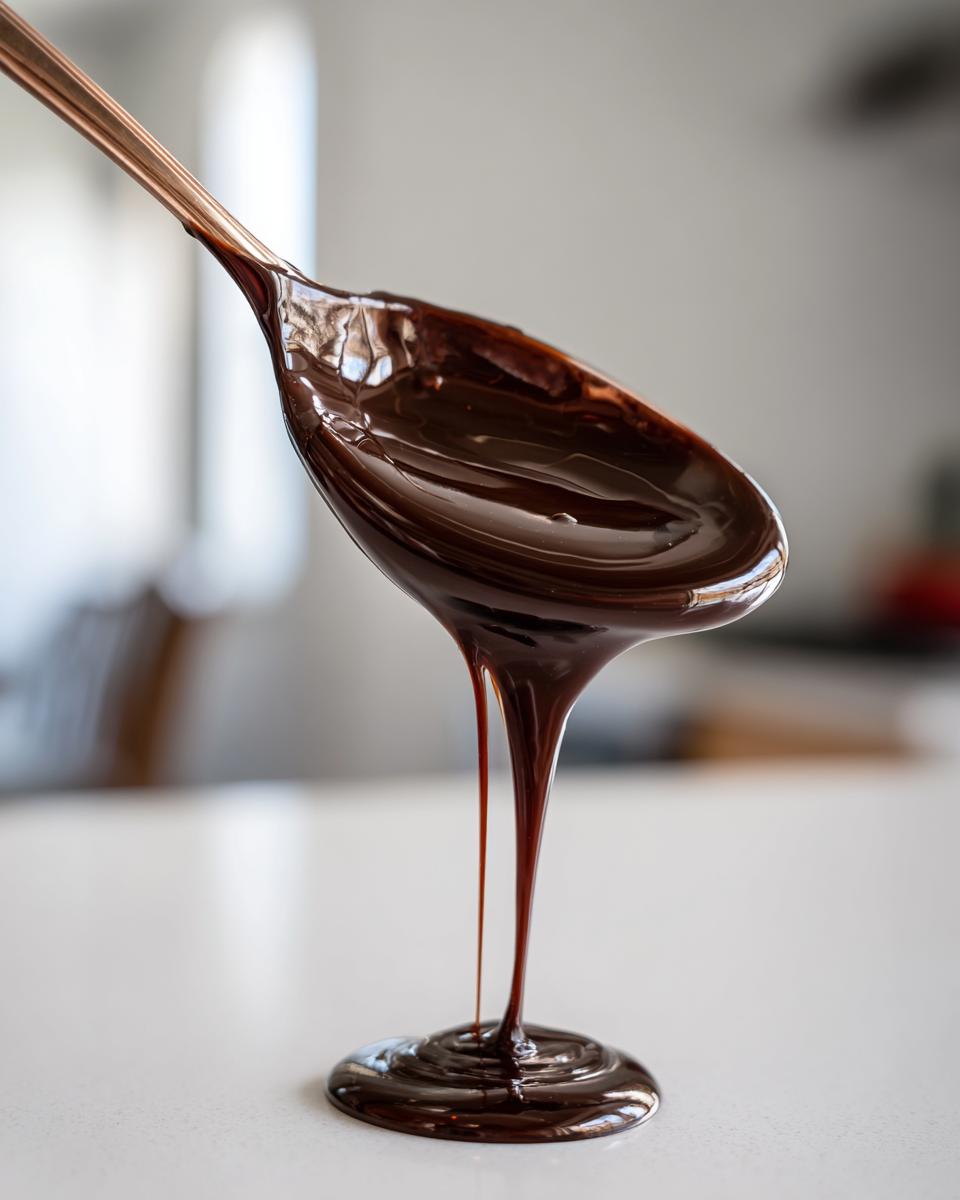
- Finally, pour that gorgeous mixture into a clean, airtight jar. Now, I know you want to taste it right away, but you absolutely must let it cool completely on the counter first. Seriously, this is the secret to a great chocolate sauce for ice cream—it thickens a lot more once it hits room temperature!
Crucial Step: Achieving the Perfect Simmer for Rich Chocolate Syrup
That 3-to-5-minute simmer is non-negotiable for the best results. When you’re trying to create a chocolate drizzle that tastes truly premium, you need that gentle heat to marry the sugar and the cocoa. If you just heat it until the sugar dissolves and call it done, you end up with a thin, somewhat flat liquid. We want that deep, dark, luxurious flavor that screams “I didn’t buy this off a shelf!” Trust me on this one; those few extra minutes of slow cooking build real flavor confidence.
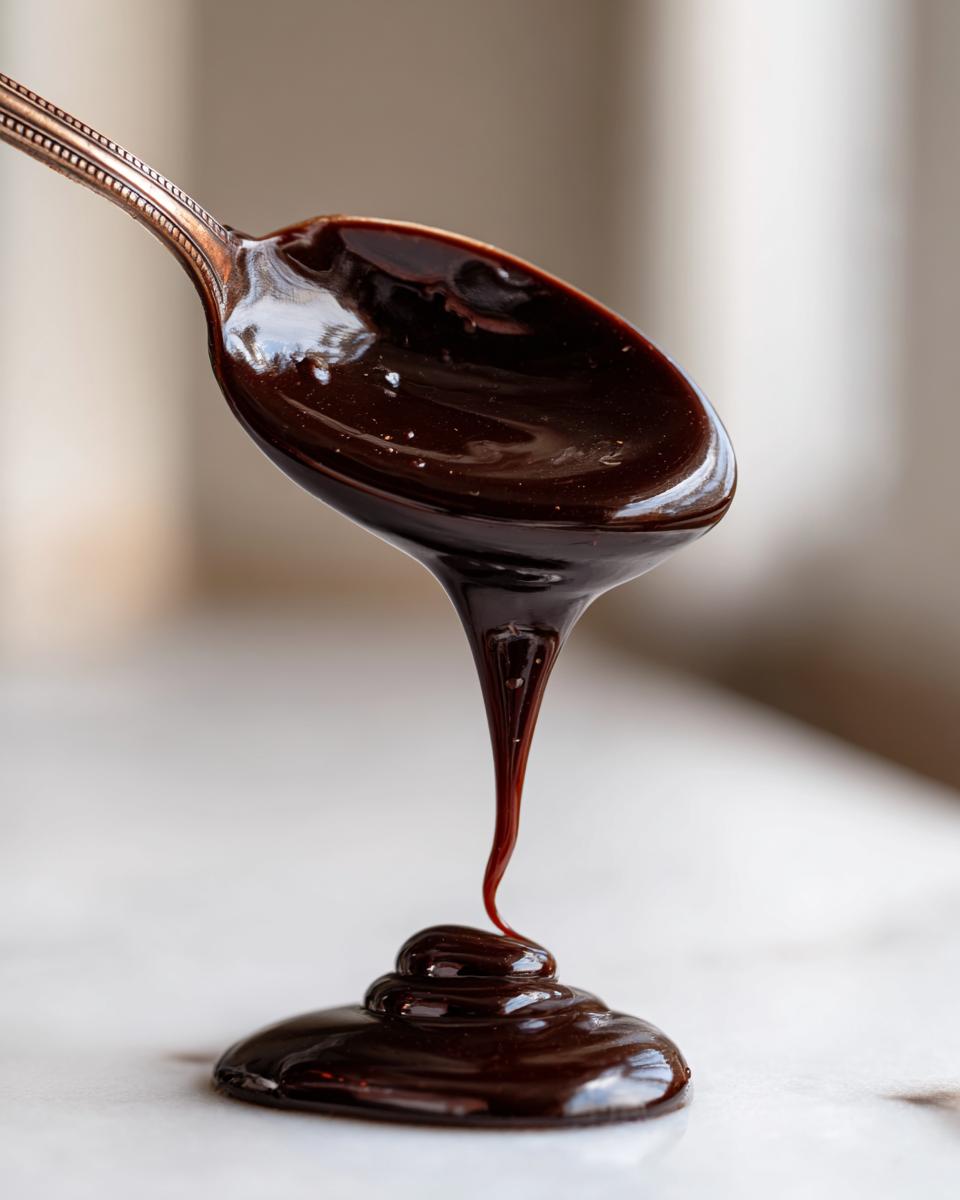
Cooling and Thickening Your Homemade Chocolate Syrup
I’ve made this syrup a thousand times, and I still get impatient waiting for it to cool. But you have to let it sit on the counter completely until it’s done cooling down from the heat. As it cools, the sugar molecules relax, and that’s when the magic happens, turning your liquid into that perfect silky chocolate drizzle. If you put it straight into the fridge hot, you might mess with that process. Patience rewards you with the ideal constancy for your chocolate milk flavoring.
Using Your Chocolate Milk Flavoring and Quick Dessert Topping
Now that you have this glorious, rich substance in your fridge, the real fun starts! The versatility of this chocolate syrup is just amazing. I keep a jar handy for those moments when I need a fast, rich fix, which happens more often than I care to admit now that I’m back to baking. My favorite way to use it now is actually in my morning routine, shaking a couple of tablespoons into hot oat milk; it’s like a glorious, instant homemade coffee syrup for my morning mocha!
Of course, you need this for the basics, too. For making the best chocolate milk flavoring on the planet, just stir a spoonful into cold milk; it mixes in so much better than the powdered stuff. And if you need a last-minute dessert intervention, this makes the most incredible chocolate sauce for ice cream. It’s so much better than the store-bought stuff that hardens on the scoop! If you’ve enjoyed making this, I have a fantastic strawberry milk recipe that uses the same syrup technique, or you can try my peppermint espresso martini** (yes, you can use this syrup in cocktails, too!).
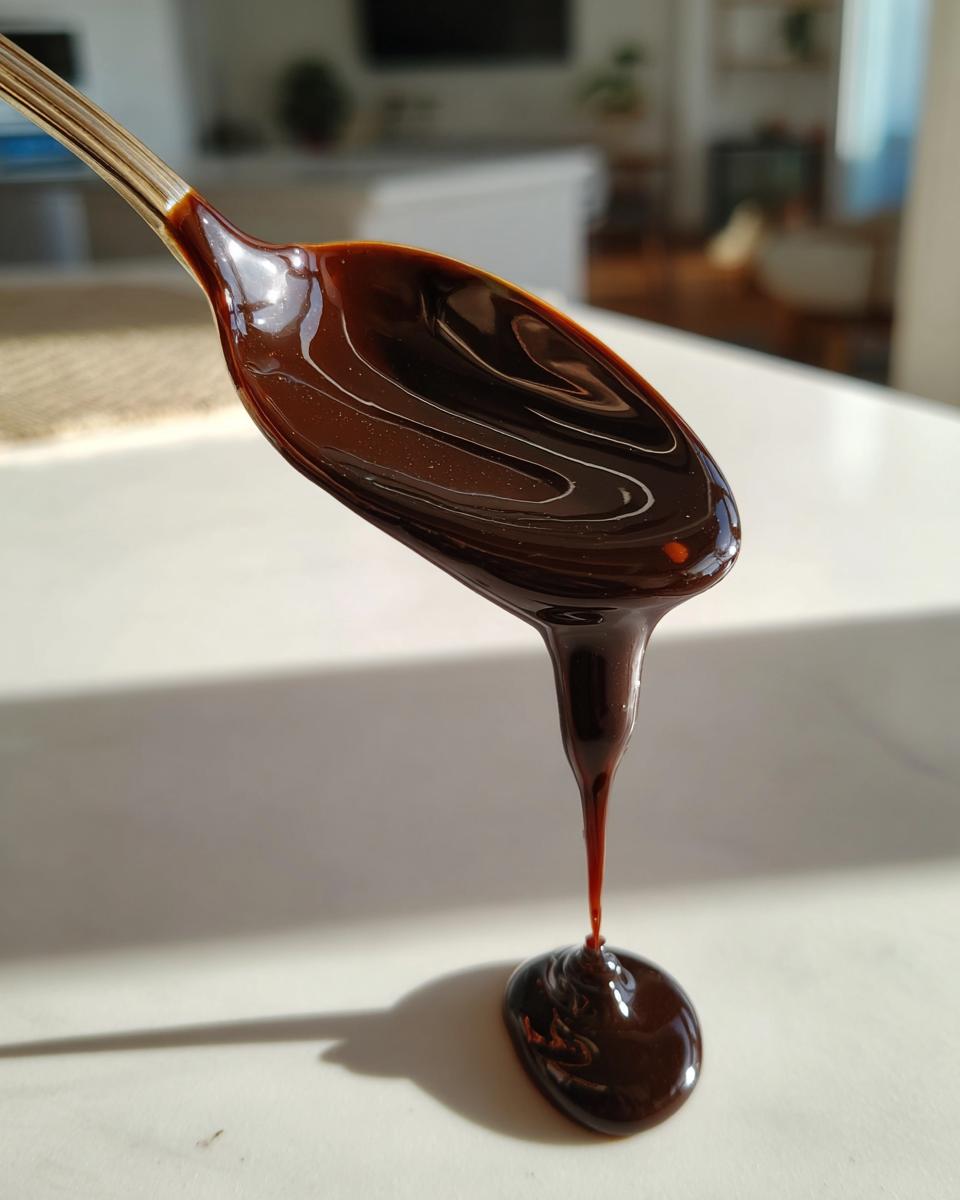
Tips for Success Making Silky Chocolate Drizzle
Even though this is such an easy recipe—truly just a few ingredients heated together—a couple of small things can make the difference between a great syrup and an absolutely spectacular one. I love making a big batch of this chocolate syrup because it stores so well, but texture control is everything!
If you want that thick, luscious texture that sits beautifully on vanilla ice cream or a slice of cake, you must pay attention to that gentle simmer time we talked about. But if you’re making it primarily for a very thin chocolate simple syrup recipe for your morning coffee, you can pull it off the heat just after the sugar dissolves and before it starts to bubble happily. It’s all about knowing your end goal!
Storage and Shelf Life for Homemade Chocolate Syrup
Once your syrup has cooled completely on the counter (don’t skip that crucial cooling step!), transfer it to a clean, airtight jar. I usually use a mason jar, which keeps things tidy. Storing this in the refrigerator is a must once it’s made. Why? Because we skipped all those scary preservatives the store brands rely on. You should get a good two to three weeks of fantastic quality out of it this way. It’s a true pantry staple recipe!
Here is a little heads-up: it will thicken up when cold—that’s normal! If you pull out a jar destined for the microwave, it might look almost fudgy, especially if you made a slightly thicker batch. If you need it pourable right away for a quick drizzle, just heat a small serving gently. Microwave it for about 10 to 15 seconds, or set the jar in a bowl of warm water for a minute. It loosens right up and you’re back to that perfect, pourable consistency. If you ever need to use it in a baked good, like perhaps my easy moist jello poke cake recipe, use it straight from the fridge!
Troubleshooting Common Homemade Chocolate Syrup Issues
Even though we are using just five ingredients, sometimes cooking just doesn’t go exactly to plan, right? That’s okay! That’s why I want to walk you through what might happen if things get a little hectic on the stovetop. Don’t panic if your first attempt isn’t absolutely perfect; we can usually fix it easily. Remember, this is real cooking, not factory production!
Here are the three main things that sometimes happen when folks whip up a batch of chocolate syrup from cocoa powder:
- It’s Too Thin: If you taste it and it seems watery, it just means the sugar and cocoa didn’t integrate enough, or you skimped on the simmering time.
- It’s Grainy: If you can feel little sand-like crystals when you stir it (or worse, taste them!), that means the sugar solidified again because the temperature went too high or you didn’t whisk enough initially.
- It Separated: If you see a layer of murky water sitting on top of a thick chocolate sludge, you probably brought it to a frantic, rapid boil instead of the gentle simmer we need. Oops!
Don’t worry, we can fix all of these! If your syrup is too thin, the fix is simple: put it back on medium-low heat and simmer it gently for another two or three minutes, whisking occasionally. Watch it closely until you see it thicken up just a touch. For grainy syrup, take it off the heat, add a tablespoon of hot water, and whisk like crazy until it dissolves back into smoothness. If it separated, gently reheat it over very low heat while whisking slowly; often, that gentle warmth brings the mixture back together into that beautiful rich chocolate sauce consistency.
Frequently Asked Questions About This Chocolate Syrup Recipe
Is your homemade chocolate syrup recipe gluten-free and dairy-free?
Yes! That’s one of the huge perks of making it yourself. Since we only use sugar, cocoa powder, water, salt, and vanilla extract, this chocolate syrup recipe is naturally both vegan and completely dairy free. If you’re looking for other options for your pantry, you’ll love my smoky easy black bean chili recipe, which is also totally plant-based!
Can I try making a sugar-free chocolate syrup version?
That’s a great question, especially if you’re watching your sugar intake! While this primary recipe uses granulated sugar for the best texture and depth, you absolutely can adapt it. You would need to substitute the sugar with a granular sweetener that measures cup-for-cup like sugar, such as erythritol or monk fruit blends. Just know that the final texture might be slightly less thick than this classic version unless you add a tiny bit of cornstarch slurry at the end to compensate. Look for a specific sugar free chocolate syrup recipe if you want specialized ratios, but this base works well for experimentation!
How do I use this as a chocolate simple syrup recipe for coffee?
Oh, I love turning this into a chocolate simple syrup recipe for my morning pick-me-up! If you want it thinner, like the kind they pump at fancy coffee shops, just reduce the simmering time quite a bit—aim for only 2 minutes after it dissolves, or cut back on the sugar by about 1/4 cup. You want it to remain liquid when cold. It’s fantastic stirred into hot espresso or used to make a layered iced mocha. It instantly gives you that premium homemade coffee syrup flavor!
Why does my chocolate syrup seem to separate in the jar?
If you notice a watery layer on top of a thick sludge, that almost always means the mixture got a little too excited on the stove! We want a gentle simmer, not a boil. If it separates, don’t toss it! Just scoop the amount you need into a microwave-safe mug and heat it for 10 seconds while whisking vigorously. The warmth usually re-emulsifies everything, turning it back into that beautiful, single-phase rich chocolate sauce.
Estimated Nutritional Data for This Rich Chocolate Sauce
I always try to give you a baseline for what you’re working with, even with something as purely delicious as this chocolate syrup. Because we are making this from scratch using simple sugar and cocoa, we know exactly what went in, which is so much better than trying to decipher the tiny print on a store shelf!
Here’s the breakdown for a standard serving size based on the ingredients we used. Keep in mind, this is just my best estimate—if you adjust the sugar for your own tastes, of course, the numbers will shift. But this gives you a good idea for using it in your healthy breakfast ideas!
- Serving Size: 2 Tablespoons
- Calories: 95
- Sugar: 16g
- Sodium: 5mg
- Fat: 1g
- Saturated Fat: 1g
- Unsaturated Fat: 0g
- Trans Fat: 0g
- Carbohydrates: 24g
- Fiber: 1g
- Protein: 1g
- Cholesterol: 0mg
See? Nicer than you thought! Since this recipe is naturally dairy free and vegan, there’s no cholesterol hiding in there, which is always a bonus. This is a great way to add deep chocolate flavor without a lot of the artificial junk found in commercial bottles. It’s just honest ingredients making a fantastic quick dessert topping!
Share Your Homemade Chocolate Syrup Creations
I genuinely love hearing from you all once you’ve tried a recipe that came straight from Grandma Daisy’s wisdom, filtered through my slightly more chaotic modern kitchen! Making this chocolate syrup from cocoa powder is only half the fun; the other half is seeing how you use it. Seriously, when you whip up a batch of this incredible chocolate sauce for ice cream or use it in your morning coffee, please don’t keep it a secret!
When you make this recipe, I really hope you take a second to pop back here and leave a rating. Even five stars means the world to me because it shows that this simple heritage recipe is still making sweet moments happen at your table. Did you enjoy it more than the bottled kind? Let me know in the comments below if this is your new best chocolate syrup! I’m always reading through, and if you mention how you used it—maybe you made vegan hot chocolate, or perhaps you drizzled it over pancakes—it inspires me for my next kitchen adventures.
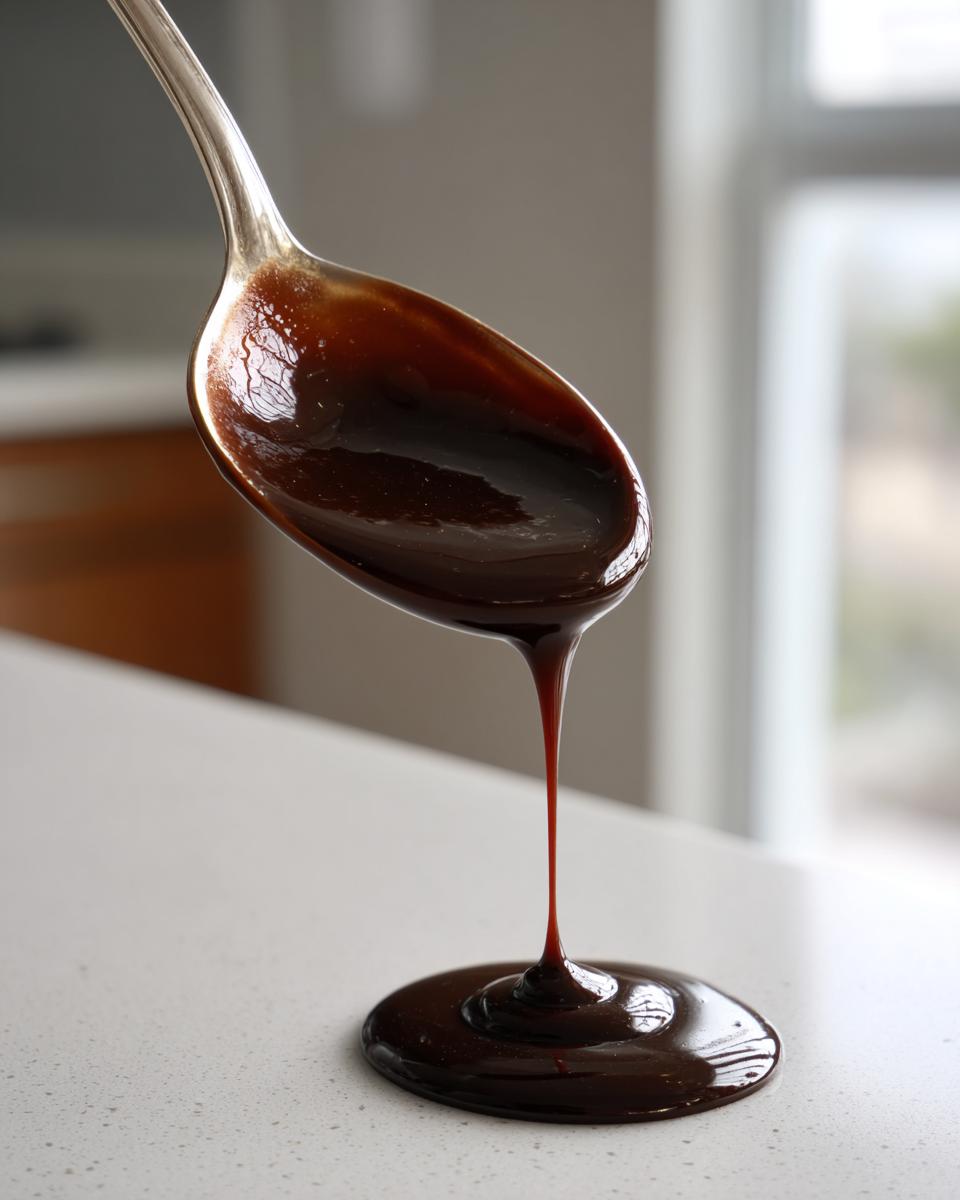
If you snap a picture of that glossy, perfect drizzle, tag me on social media! Seeing my grandmother’s traditions live on in your homes, miles away from her Midwest kitchen, is what keeps me typing away late into the night. You can easily reach out to me through my contact page if you have questions, but comments are my favorite way to connect. Happy drizzling, everyone!
Print5-Minute Better Than Store-Bought Chocolate Syrup (No Corn Syrup)
Make rich, silky homemade chocolate syrup using simple pantry staples. This quick recipe tastes better than commercial brands and is perfect for ice cream, chocolate milk, or coffee flavoring.
- Prep Time: 5 min
- Cook Time: 5 min
- Total Time: 10 min
- Yield: About 1.5 cups 1x
- Category: Condiment
- Method: Stovetop
- Cuisine: American
- Diet: Vegan
Ingredients
- 1 cup granulated sugar
- 1 cup unsweetened cocoa powder
- 1 cup water
- 1 teaspoon vanilla extract
- Pinch of salt
Instructions
- Combine the sugar, cocoa powder, and water in a small saucepan.
- Place the saucepan over medium heat. Whisk the mixture constantly until the sugar dissolves and the mixture is smooth. Do not let it boil rapidly.
- Bring the mixture to a gentle simmer, stirring occasionally for about 3 to 5 minutes, until it thickens slightly. This step is key for a rich flavor.
- Remove the saucepan from the heat. Stir in the vanilla extract and salt until fully combined.
- Pour the syrup into a clean, airtight jar. Allow it to cool completely on the counter. The syrup will thicken more as it cools.
- Store the finished chocolate syrup in the refrigerator.
Notes
- For a thinner syrup, like a chocolate simple syrup for coffee, reduce the simmering time to 2 minutes.
- For a thicker chocolate sauce for ice cream, simmer for 5 minutes or slightly increase the sugar amount.
- This recipe is naturally vegan and dairy free.
- Keep this pantry staple recipe refrigerated for up to three weeks.
Nutrition
- Serving Size: 2 Tablespoons
- Calories: 95
- Sugar: 16
- Sodium: 5
- Fat: 1
- Saturated Fat: 1
- Unsaturated Fat: 0
- Trans Fat: 0
- Carbohydrates: 24
- Fiber: 1
- Protein: 1
- Cholesterol: 0