
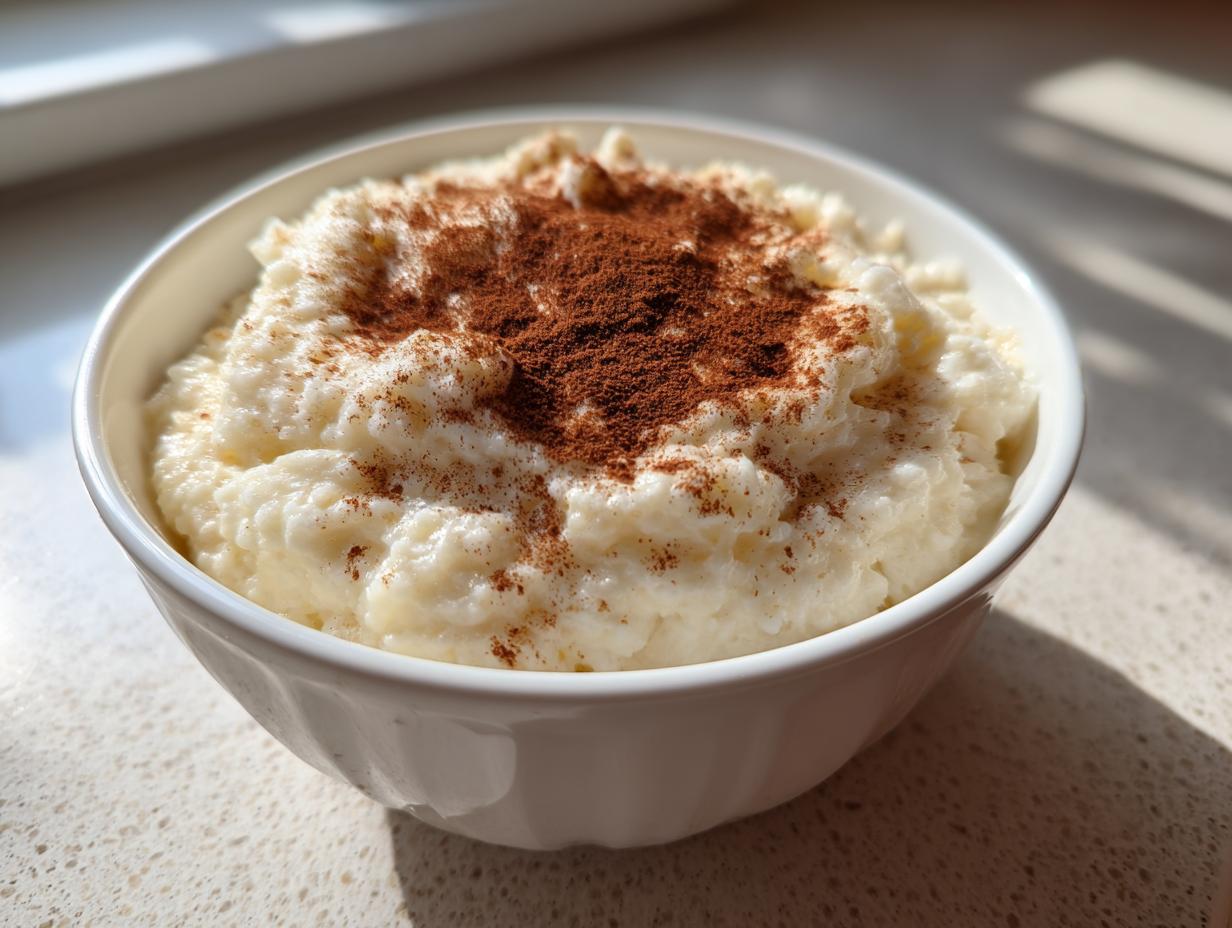
There’s nothing quite like the smell of cinnamon warming up on the stove, is there? It instantly takes me back to my grandmother Daisy’s kitchen, where simple ingredients became pure magic. If you’re craving that deep, comforting sweetness that only comes from tradition, you’ve found it. This recipe for old fashioned rice pudding is, hands down, the best I’ve ever made. Forget stiff, clumpy versions; we are chasing that ultimate velvety, creamy rice pudding recipe texture using just milk, sugar, and rice. It’s honest, simple cooking, just like Daisy taught me.
- Why This Old Fashioned Rice Pudding is Your New Comfort Classic
- Gathering Ingredients for Your Homemade Rice Pudding
- Step-by-Step Instructions for Stovetop Rice Pudding
- Tips for Success with Your Classic Comfort Dessert Rice Pudding
- Making Variations of Your Stovetop Rice Pudding
- Serving Suggestions for Your Nostalgic Dessert
- Storage and Reheating Instructions for Leftovers
- Frequently Asked Questions About Making Rice Pudding
- Share Your Experience Making This Classic Dessert
Why This Old Fashioned Rice Pudding is Your New Comfort Classic
This isn’t just pudding; it’s a time machine in a bowl. When I taste this, I’m instantly transported back to those quiet weeknights at Grandma Daisy’s house. If you need a reliable, swoon-worthy throwback, this old fashioned rice pudding is it. It’s incredibly easy, relying only on basic pantry items, but the results taste like they took all day. This recipe reminds me of the care I put into my classic old fashioned desserts, much like the texture in my creamy deviled eggs.
- It’s the definition of a classic comfort dessert—warm, sweet, and instantly familiar.
- It freezes beautifully, meaning you can have a little bit of cozy anytime you need one!
- This recipe is naturally satisfying without needing heavy creams or complicated egg custards.
Achieving That Velvety Creamy Rice Pudding Recipe Texture
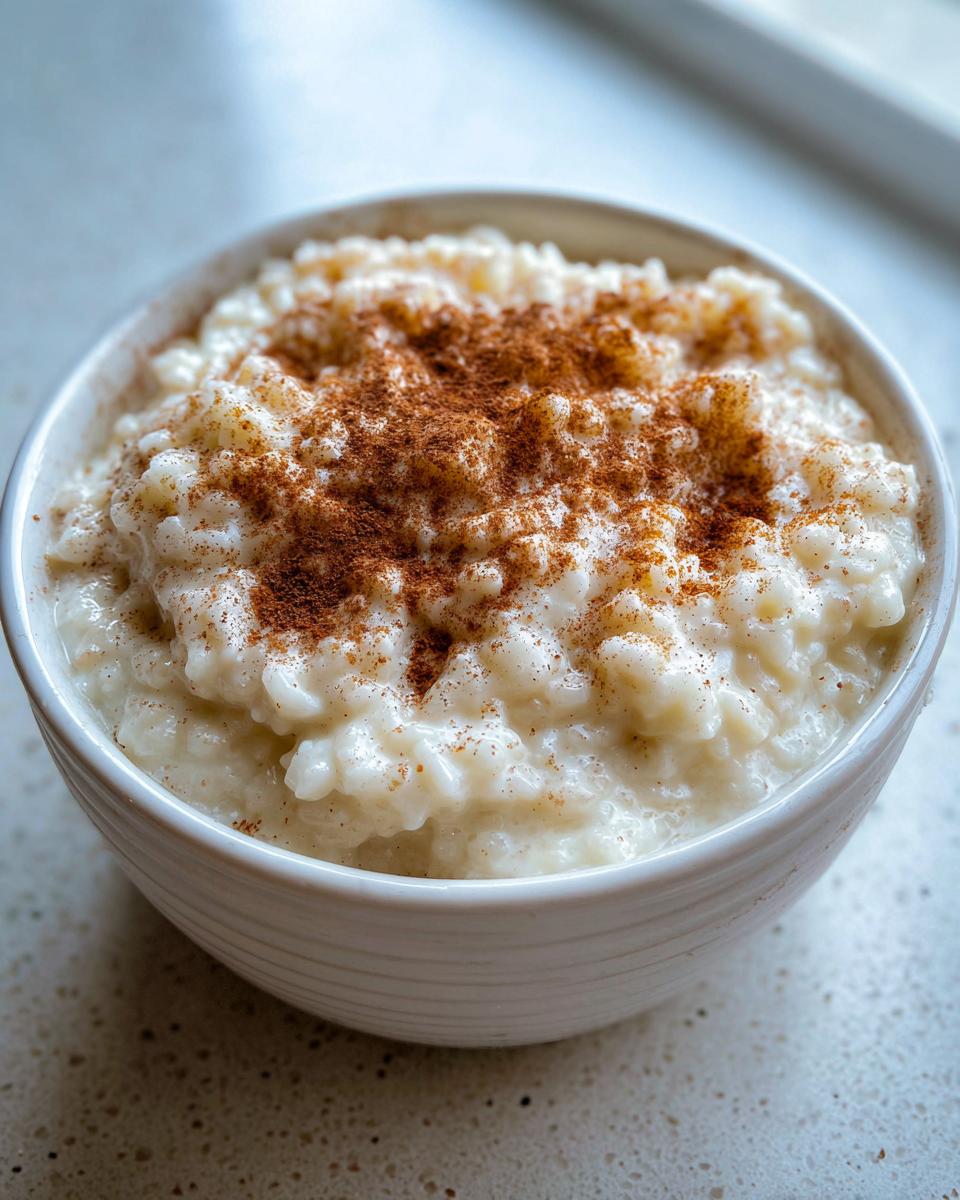
The secret to that velvety texture comes down to two things: using short-grain rice, which releases more starch, and giving it the time it deserves. We gently simmer it on the stovetop. Don’t rush it! That low and slow cooking process is what transforms starchy rice and milk into that gorgeous, luscious coat around every grain. This is how you get the best creamy rice pudding recipe.
Simple Pantry Staple Dessert Ingredients
You probably have most of this already, which is why Daisy loved this recipe so much. It proves you don’t need specialty grocery runs for amazing flavor. We’re using everyday items—rice, milk, sugar, vanilla, and cinnamon. It’s the ultimate pantry staple dessert that always impresses my city friends who are used to frozen cakes!
Gathering Ingredients for Your Homemade Rice Pudding
Before we can start that beautiful slow simmer, we need to gather our small team of ingredients. Honestly, part of the charm of this homemade rice pudding is how few things you need. Everything listed here is designed to give you that rich, velvety result without making you run to three different stores. Keep everything measured out near your stove so you can transition smoothly when that water starts bubbling!
- 1 cup uncooked short-grain white rice (Arborio works well for us!)
- 4 cups whole milk (Don’t skimp on the fat here; it matters!)
- 1 cup water
- 1/2 cup granulated sugar
- 1 teaspoon vanilla extract
- 1/4 teaspoon ground cinnamon, plus extra for topping
- Pinch of salt
Ingredient Notes and Substitutions for Creamy Rice Pudding
I want to talk about the rice first. Daisy always used whatever short-grain white rice she had on hand, but honestly, if you can find Arborio rice—the kind they use for risotto—use it! It thickens up so beautifully and gives you that amazing, almost custard-style richness we are aiming for in this creamy rice pudding recipe. It makes a difference between a sticky rice dish and true pudding.
Now, for a little cheat code: I sometimes swap out half a cup of that whole milk for sweetened condensed milk. It adds a lovely, deep sweetness that makes this simple dessert feel totally decadent, though it’s totally optional. If you use it, you might even cut back on the granulated sugar a tiny bit, just to taste. If you are looking for great vanilla flavor elsewhere in your baking, check out my guide to making the perfect vanilla buttercream!
Step-by-Step Instructions for Stovetop Rice Pudding
Okay, we have our star ingredients ready, which means it’s time to put this on the heat! Because we are working right on the stovetop, the biggest, most important rule is to watch it like a hawk, especially when the milk goes in. If you ever want that beautiful, creamy rice pudding recipe, you simply cannot walk away when the heat is on low. I learned this the hard way making my first batch of fried noodles—scorched milk smells terrible! We are aiming for slow integration here.
Initial Rice Cooking: Absorbing the Water
First thing? We need to pre-soak the rice slightly so it starts tenderizing right away. Grab your medium, heavy-bottomed saucepan—please, use a heavy one, it saves the bottom from burning! In go the rice and the water. Turn the heat up to medium-high and bring it to a full boil. Once it’s boiling nicely, drop that heat way down to low, cover it up, and let it cook for exactly five minutes. We want most of that water soaked up before the long milk simmer starts.
Simmering the Milk for Creamy Rice Pudding
This is where the actual pudding happens! Pour in all four cups of whole milk. Now this is critical: increase the heat just slightly to medium to bring it to a gentle simmer—bubbles should just be starting to break the surface gently. As soon as you see that, you turn the heat down to low. Keep stirring it every few minutes, scraping that bottom surface so nothing sticks and scorches. You need to let this go for 40 to 50 minutes. Seriously, 40 minutes minimum. This slow cook is what makes it perfectly thick and creamy.
Finishing Touches: Sweetening and Serving Your Vanilla Rice Pudding
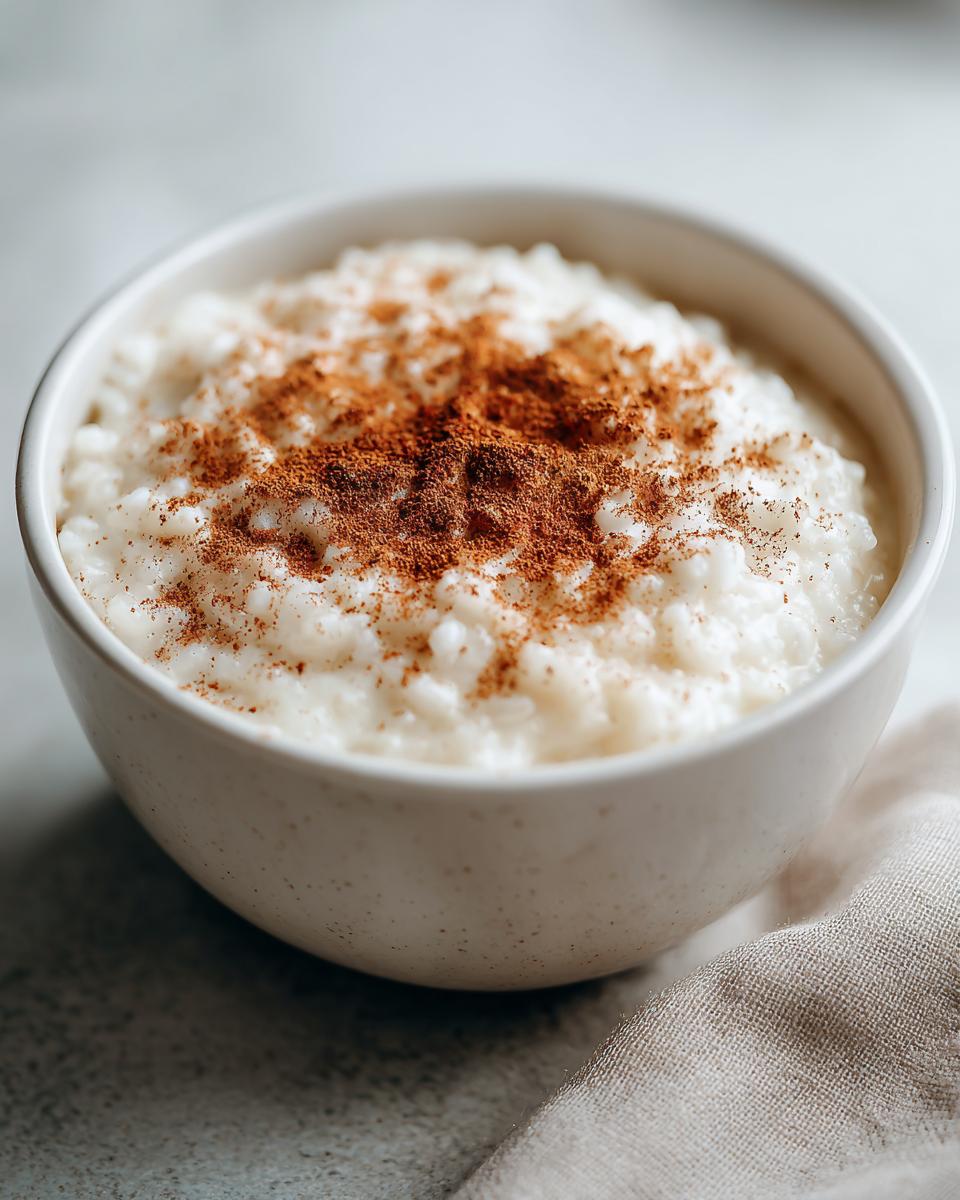
When the rice is tender and the mixture looks thick—like a slightly runny porridge, it’s ready. Take the pot completely off the burner. Now, stir in your sugar, the vanilla extract, and that tiny pinch of salt we talked about. Let that sit for about ten minutes; the sugar dissolves perfectly as it cools slightly. Daisy always insisted on serving it warm right then, sprinkled with extra cinnamon. If you like it cold, let it cool on the counter, then cover it and chill it for at least two hours. It thickens up a bit more when cold!
Tips for Success with Your Classic Comfort Dessert Rice Pudding
Since this is a stovetop recipe, vigilance is the name of the game. I learned from Daisy that the most common mistake people make with rice pudding is trying to rush the milk! If you crank the heat up when the milk is in, you end up with rice stuck to the bottom, and scorched milk flavor, and nobody wants that bitter taste creeping into their vanilla rice pudding.
Here are the few simple tricks I stick to every single time to ensure that perfect, comforting consistency:
- Use the Right Pot: I can’t stress this enough—a heavy-bottomed saucepan is non-negotiable. It diffuses the heat so much better than a thin pot, drastically reducing the chance of scorching. This is essential for any stovetop rice pudding.
- Scrape the Bottom Often: Even with a heavy pot, you need to stir frequently, paying special attention to stirring in a figure-eight motion around the bottom curve of the pan. This keeps the starchy rice from settling into a hard layer.
- Cook Until Slightly Too Thin: This is the biggest secret for amazing texture. When you take the pot off the heat, the pudding should look a bit looser than you think it should be. As it cools, the starch continues to hydrate, and it will thicken up significantly. If it looks perfectly thick on the stove, it will be cement when it cools down!
- Manage Cooling Thickness: If you chill it overnight and it’s gotten too thick (it happens!), don’t panic! Just stir in a splash of extra whole milk or even a little half-and-half when you reheat it gently, or even just as you serve it cold. It brings that luscious texture right back. If you’re interested in other great make-ahead dishes, you should check out my recipe for easy cheesy potato casserole; that holds up wonderfully overnight too!
Making Variations of Your Stovetop Rice Pudding
While I truly believe this stovetop rice pudding is the pinnacle of comfort—it sets up so beautifully and you can watch it thicken right before your eyes—I know sometimes we crave different textures or want to use up what we have. Don’t worry, this simple rice base is flexible! We can play around with methods and flavors, ensuring you get that perfect sweet rice dessert every time.
Converting to Baked Rice Pudding
Now, some folks prefer the hands-off approach of a baked rice pudding, which usually results in a firmer, set custard texture similar to crème brûlée before you add toppings. If you want to convert this, you’ll need to add binding elements, primarily eggs, since the oven does the heavy lifting instead of slow evaporation on the stove. Typically, you’d whisk in one or two beaten eggs along with the sugar and vanilla right before you put it in a water bath to bake. The cooking time jumps way up—usually 45 to 60 minutes in the oven—but the result is wonderfully deep and browned on top, which is a different kind of cozy!
Adding Rice Pudding with Condensed Milk Flavor
I mentioned this as an optional add-in earlier, but honestly, using sweetened condensed milk is a game-changer if you want that extra layer of richness. It brings extra concentrated milk solids and sweetness, which really elevates the whole dish. If you want to lean into that flavor profile—maybe you saw a recipe for rice pudding with condensed milk and got curious—simply substitute half a cup of the whole milk in your recipe with that sweet goo. Do this right before you begin the long simmer phase. It will slightly speed up the thickening because the sugar content is higher, but taste it before adding the full 1/2 cup of granulated sugar; you might find you only need half of that amount!
It’s always fun to experiment! If you enjoyed learning about adapting recipes, you might want to look at how I tweak my famous cherry cake recipe for different holidays!
Serving Suggestions for Your Nostalgic Dessert
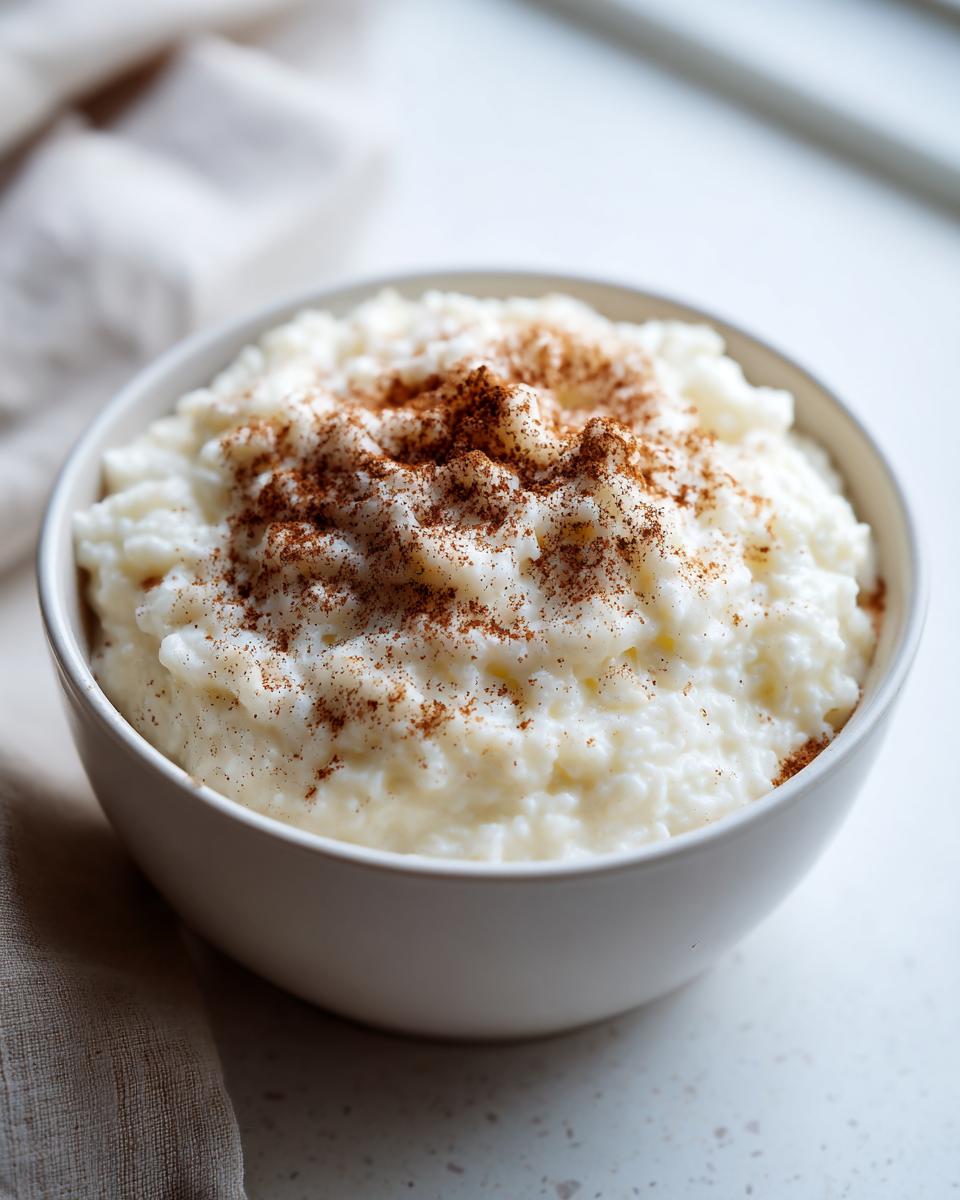
Part of the joy of making this vanilla rice pudding is deciding how you want to dress it up before serving! Grandpappy always treated his bowl like it was a sundae bar—he never just ate it plain, even though it’s perfectly delicious straight from the pot. Since the base flavor is so creamy, comforting, and sweetly spiced from that cinnamon, it pairs perfectly with things that add a little texture contrast or a bright, fresh lift.
Remember, the temperature really changes the experience. If you serve it warm, it feels like a hearty, cozy hug, perfect for a chilly evening. If you chill it, it firms up nicely and becomes almost custard-like, which is great for a lighter summer finish to dinner.
Here are the ways I love to serve my homemade rice pudding to make it feel extra special:
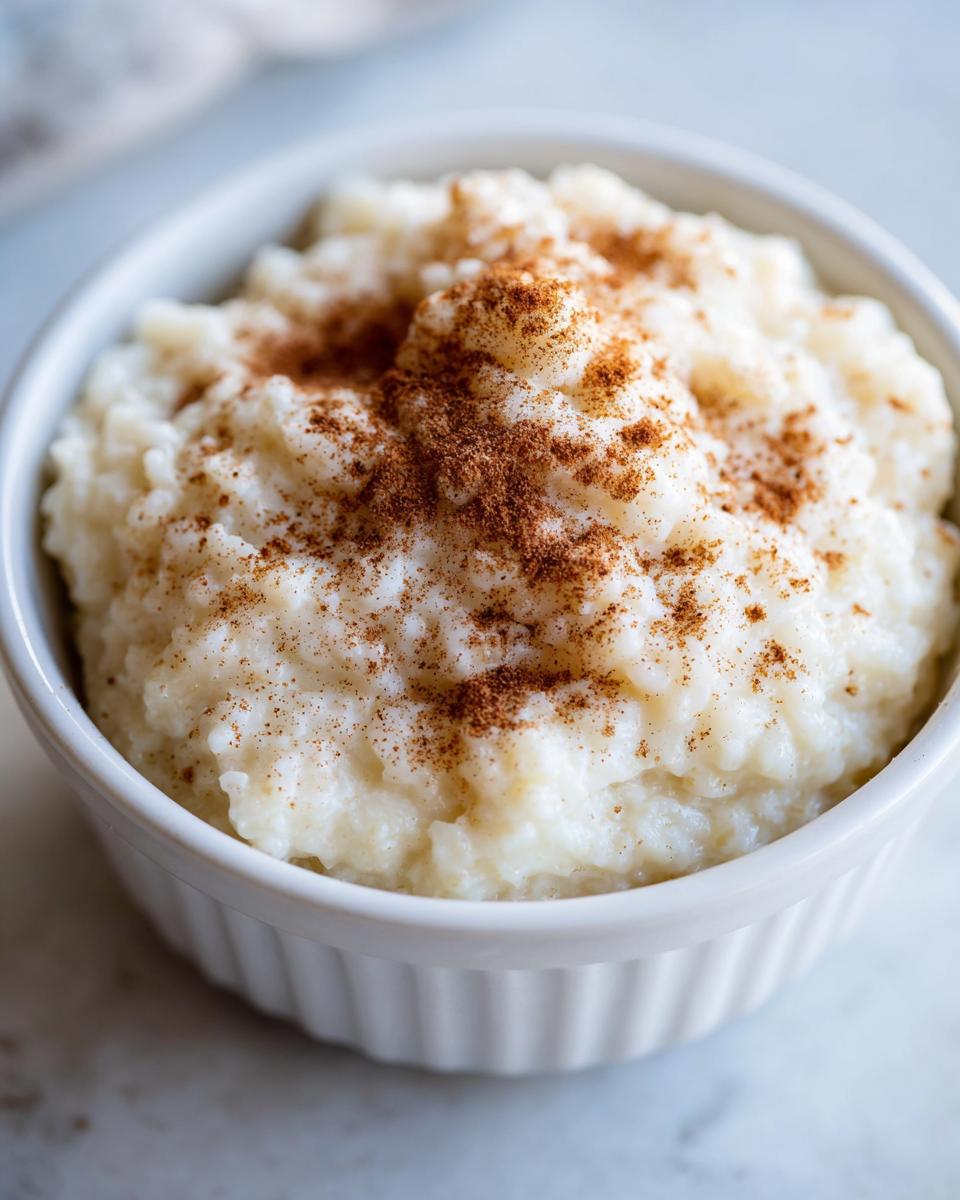
- The Classic Cinnamon Dusting: Honestly, this is my default. Just a good, generous sprinkle of extra ground cinnamon right on top before it heads to the table. It brings the aroma right under your nose!
- A Touch of Fruit: A spoonful of tart fruit really cuts through the sweetness beautifully. I love using a dollop of raspberry jam or some warmed, slightly spiced apples. If you’re an apple person, you absolutely have to try my recipe for pecan pie cupcakes; those warming spices are similar!
- Nuts for Crunch: If you want that textural element I mentioned earlier, toasted pecans or slivered almonds are amazing mixed in right before serving. Toasting releases so much more flavor than using them raw.
- A Creamy Float: Sometimes, when I’m feeling extra indulgent, I serve the warm pudding with a scoop of high-quality vanilla ice cream melting slowly on top, or just a splash of heavy cream poured over the cold pudding. It just makes everything richer!
No matter how you serve it, this classic comfort dessert is going to disappear fast. It’s just one of those recipes everybody loves.
Storage and Reheating Instructions for Leftovers
First, I have to say that sometimes this rice pudding tastes even better the next day! All those flavors from the cinnamon and vanilla just meld together overnight. But you need to handle leftovers correctly if you want to keep that cozy, creamy texture. If you’re like me and you made a huge batch because you know everyone will want seconds, storage is key.
You should definitely store your homemade rice pudding in a sealed, airtight container. I know it’s tempting to just leave it in the saucepan, but the moisture will evaporate or, worse, it might start sticking to the cooler pot surface and get weirdly hard. Pop it in the fridge for up to four days. It will definitely firm up while it’s chilling—it goes from ‘creamy’ cold to almost sliceable!
When it’s time to bring it back to life, you need to treat it gently. Remember how I said it gets dense when cold? You can reheat it gently on the stovetop over very low heat, stirring constantly, but you *must* add a little bit of liquid back in. I use a splash of whole milk or even half-and-half—just enough to loosen it up until it starts flowing nicely again. Don’t microwave it unless you are doing small portions, because it tends to get rubbery in the center if you blast it too hard.
I know sometimes leftovers seem like a hassle, but that quick stir with extra milk brings this classic comfort dessert right back to its prime. It’s the very same principle I use when reviving my no-bake oreo balls if they dry out a little on the counter! A little moisture goes a long way.
Frequently Asked Questions About Making Rice Pudding
I get so many great questions about this recipe! I’m thrilled people are keen to make this old fashioned rice pudding in their own kitchens. Since we are relying on a very specific simmer technique to get that creamy texture, I wanted to clear up a few common snags so your first batch turns out perfect. Baking is forgiving, but stovetop—especially with milk—needs a little guidance!
Can I use long-grain rice instead of short-grain for this creamy rice pudding recipe?
That’s a great question, and the answer is yes, you absolutely *can*, but you’ll notice a difference. Remember how I stressed that Arborio (short-grain) rice is amazing because it releases tons of starch? That starch is what creates that luscious, thick sauce around the grains, giving you that signature creamy rice pudding recipe feel. Long-grain rice is built differently; it tends to hold its shape better and releases less starch. If you use it, your pudding will result in more distinct, separate grains suspended in milk, rather than that cohesive, velvety texture we love. You’ll still have vanilla rice pudding, just maybe not *Grandma Daisy* level creamy!
How do I prevent my stovetop rice pudding from sticking to the bottom?
Oh, this is the classic struggle with any milk-based stovetop rice pudding! The milk solids love to cling to the bottom and burn, and trust me, that flavor ruins everything. It all comes down to low and slow. First, use the heaviest pot you own—that’s your first defense. Second, once the milk is in and brought to that *gentle* simmer, drop the heat down to the absolute lowest setting it can manage without completely going out. Then, you just stir frequently. Not constantly like risotto, but definitely every few minutes you need to run that wooden spoon around the bottom edge of the pot, scraping up anything that tries to settle there. A little care here prevents hours of scrubbing later!
Is this vanilla rice pudding suitable for a cozy family dessert?
Is it suitable? Honey, this *is* the definition of a cozy family dessert! It’s everything I think of when I picture comfort food. It’s warm, it’s sweet, it uses simple pantry staples, and the cinnamon just makes the whole house smell like heaven. It’s very forgiving too—if you have picky eaters, you can serve yours with cinnamon and theirs plain, or perhaps with a little drizzle of something extra. It pleases everyone, which is why I always have the ingredients on hand!
If you’re looking for other easy-to-manage comforting recipes that everyone enjoys, you might want to check out my recipe for the ultimate fudgy flourless chocolate torte—it’s surprisingly simple for how fancy it tastes!
Share Your Experience Making This Classic Dessert
Now that you’ve created a big, steaming, creamy pot of nostalgia, I would absolutely love to hear about it! Did you serve it warm like Daisy always did, or did you let it chill until it was firm and ready for a spoon? It’s recipes just like this rice pudding that keep me connected to that feeling of home, even when I’m stuck in my apartment kitchen trying to beat the city hustle.
If you tried this old fashioned rice pudding, please take a moment to leave a star rating right below this section. Your feedback helps other busy people find recipes that truly bring comfort when they need it most. And if this dessert stirred up any memories for you—maybe your mom made it for you after school, or perhaps you used Arborio rice and it turned out wonderfully creamy—please tell me about it in the comments!
Sharing these stories is what keeps Daisy’s legacy alive in our digital kitchen. Whether you added a splash of extra milk or decided to sprinkle on some nutmeg instead of cinnamon, I want to know all the details. Happy cooking, and I hope this simple pudding brings as much warmth to your table as it always does to mine, just like my easy black bean chili does on a cold night!
PrintOld Fashioned Creamy Stovetop Rice Pudding

Make this classic, creamy rice pudding on the stovetop. This recipe uses basic pantry staples to create a comforting, nostalgic dessert that tastes like home.
- Prep Time: 5 min
- Cook Time: 50 min
- Total Time: 55 min
- Yield: 4 servings 1x
- Category: Dessert
- Method: Stovetop
- Cuisine: American
- Diet: Vegetarian
Ingredients
- 1 cup uncooked short-grain white rice (Arborio works well)
- 4 cups whole milk
- 1 cup water
- 1/2 cup granulated sugar
- 1 teaspoon vanilla extract
- 1/4 teaspoon ground cinnamon, plus extra for topping
- Pinch of salt
Instructions
- Combine the rice and water in a medium, heavy-bottomed saucepan. Bring to a boil over medium-high heat, then reduce heat to low, cover, and simmer for 5 minutes until the water is mostly absorbed.
- Add the whole milk to the saucepan. Bring the mixture to a gentle simmer over medium heat, stirring frequently to prevent scorching on the bottom.
- Once simmering, reduce the heat to low. Continue to cook, stirring every few minutes, for 40 to 50 minutes. The pudding is done when the rice is tender and the mixture has thickened to a creamy consistency. Do not let it boil rapidly.
- Remove the saucepan from the heat. Stir in the sugar, vanilla extract, and salt. The sugar will dissolve as the pudding cools slightly.
- Serve the rice pudding warm, or cover and chill it in the refrigerator for at least 2 hours for a cold dessert.
- When serving, sprinkle the top of each portion with extra ground cinnamon.
Notes
- For an even richer texture, substitute 1/2 cup of the whole milk with 1/2 cup of sweetened condensed milk.
- If the pudding thickens too much upon cooling, stir in a splash of extra milk when reheating or serving.
- Arborio rice creates a naturally velvety texture, which is key for this creamy rice pudding recipe.
Nutrition
- Serving Size: 1 serving
- Calories: 350
- Sugar: 25g
- Sodium: 120mg
- Fat: 8g
- Saturated Fat: 4g
- Unsaturated Fat: 4g
- Trans Fat: 0g
- Carbohydrates: 58g
- Fiber: 1g
- Protein: 11g
- Cholesterol: 25mg