
Sometimes, you just need a sweet treat—something rich, perfectly portioned, and so easy it feels like cheating. My Grandma Daisy always kept a recipe like this tucked away for unexpected visitors or when we needed a little hug in food form. Today, I’m sharing the ultimate comfort classic: our no-bake oreo balls. Seriously, these take just three main ingredients to come together, making them a lifesaver when you’re short on time but still want that homemade touch. They’re my go-to for everything from quick potlucks to holiday gifting, carrying on that tradition of simple, honest food that truly nourishes the soul. If you love simple baking, you should check out the rest of my delicious dessert recipes too!
- Why You Will Make These Classic Oreo Balls Again and Again
- Gathering Ingredients for Your Oreo Balls Recipe
- Step-by-Step Guide to Making Perfect Oreo Balls
- Tips for Success with Your Homemade Chocolate Balls
- Variations: Festive Oreo Treats and Themed Oreo Balls
- Serving Suggestions for These Party Treats
- Storage and Make-Ahead Tips for Oreo Balls
- Frequently Asked Questions About Oreo Truffles Recipe
- Estimated Nutritional Data for Classic Oreo Balls
Why You Will Make These Classic Oreo Balls Again and Again
Honestly, when you find a recipe this good that requires zero oven time, you file it away instantly. These oreo balls aren’t just sweet; they’re clever. They solve the busy cook’s dilemma every single time, and that’s why I find myself making them whether it’s July or December.
- They save the day when you need quick sweet bites but you’re staring down a deadline!
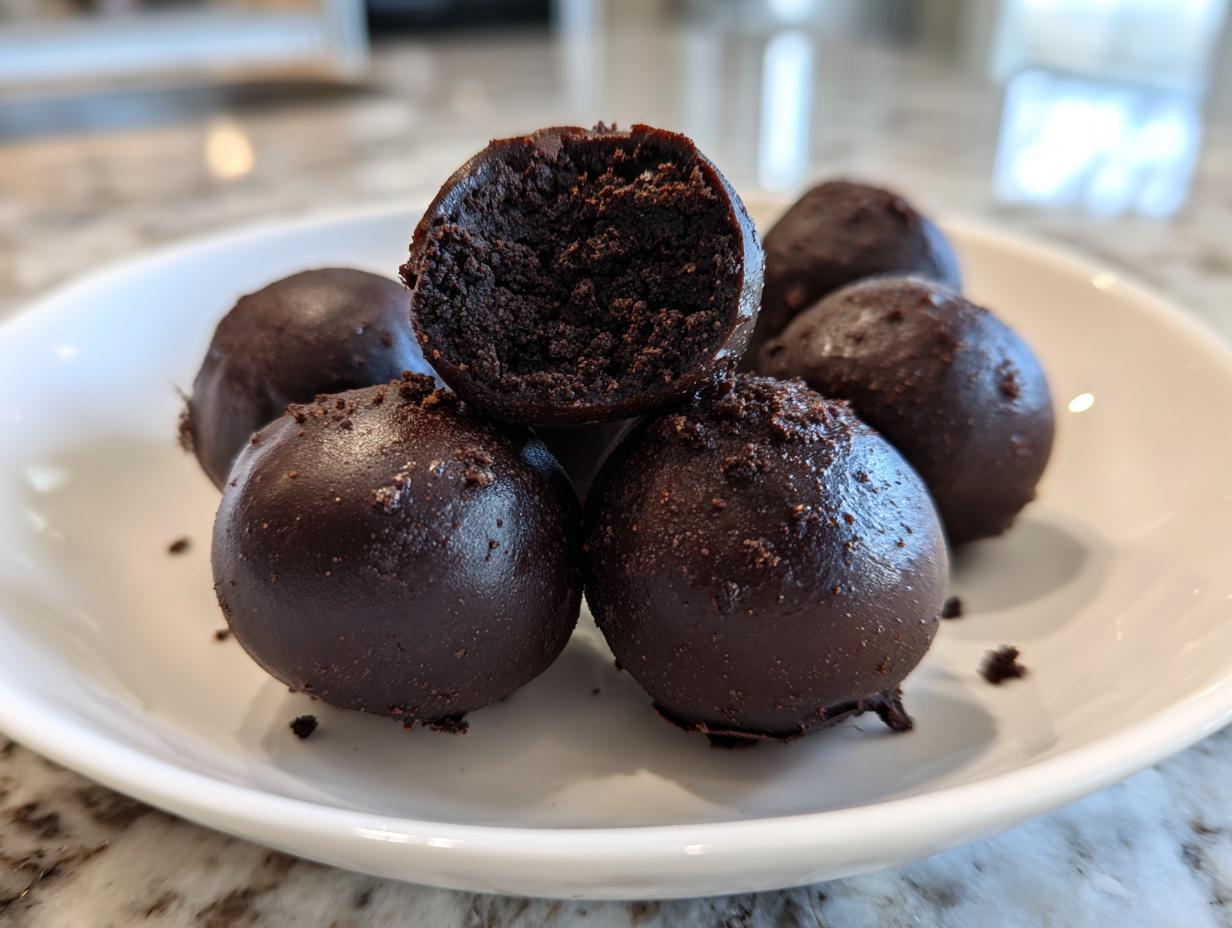
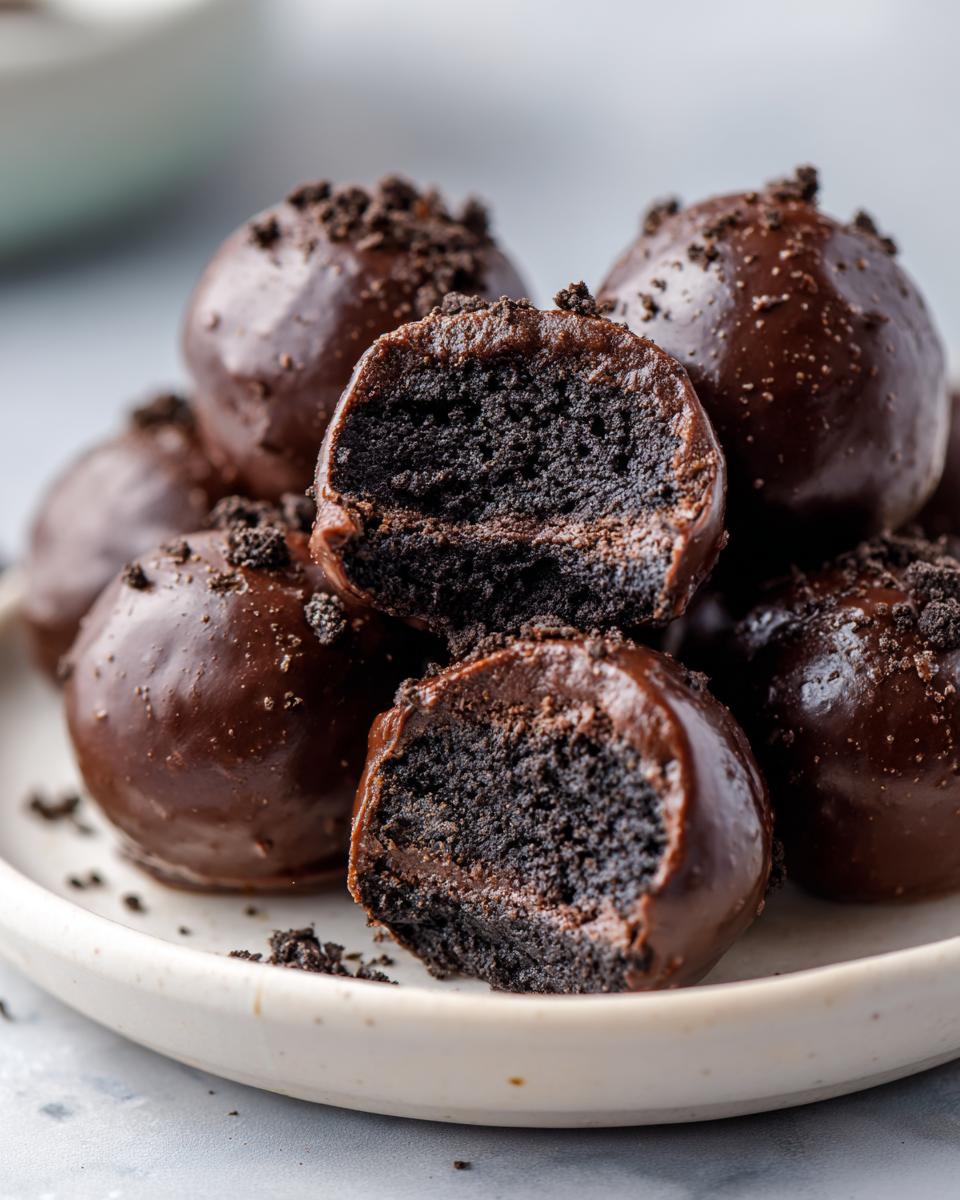
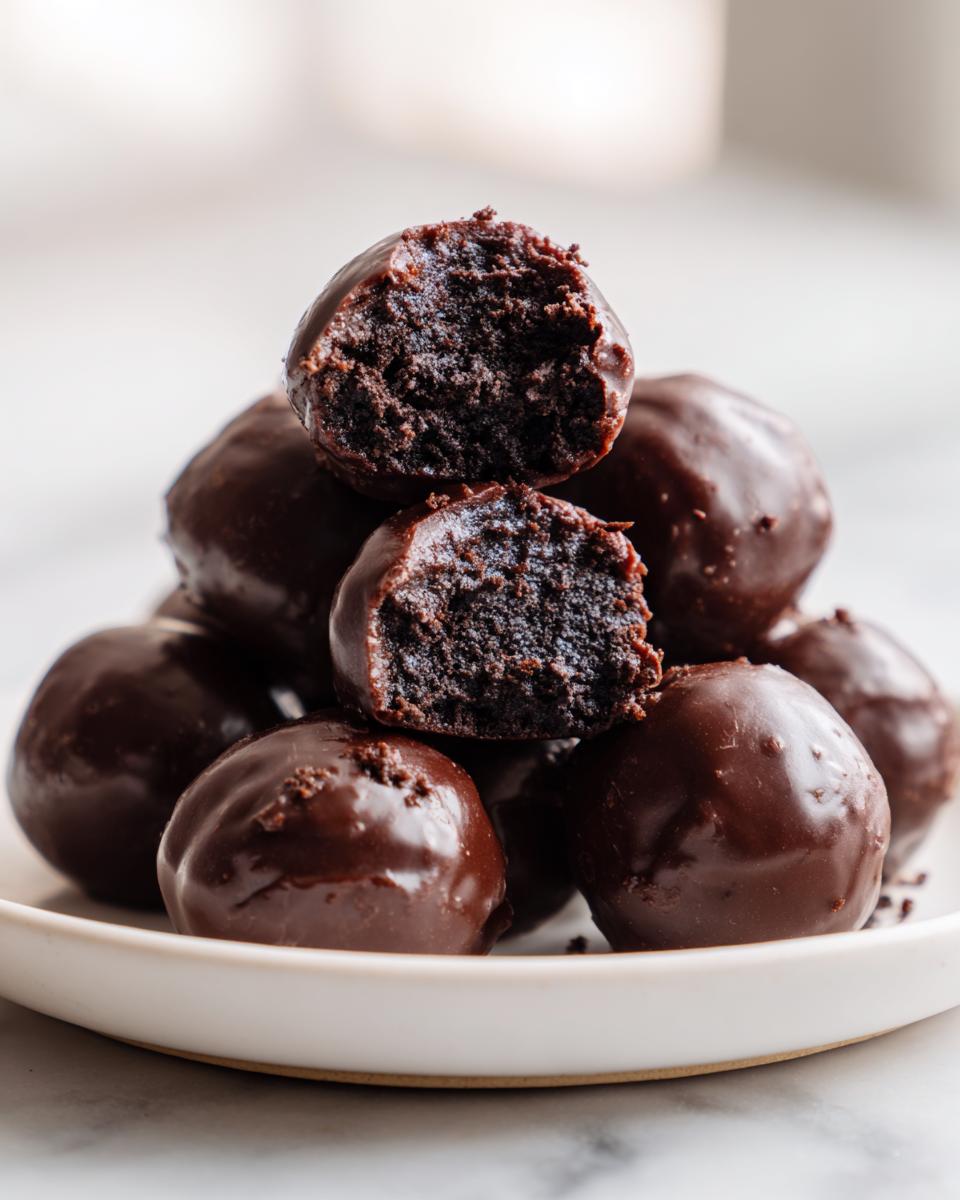
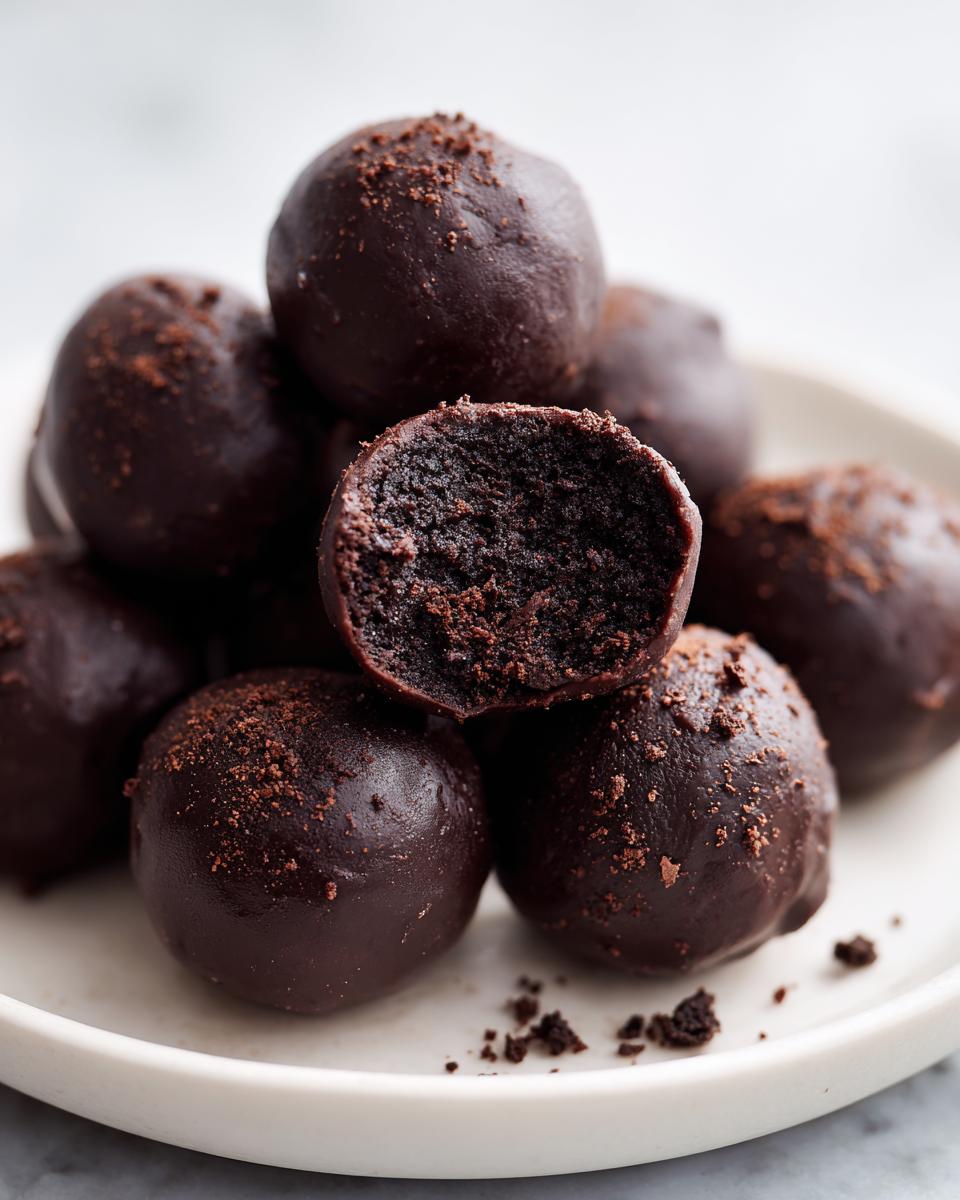
- The texture is unmatched—rich chocolate outside, creamy, dense cookie center inside.
- They freeze beautifully, making them the ultimate make-ahead holiday candy.
The Ultimate 3 Ingredient Dessert
That’s right, friends, just three core things stand between you and creamy, chocolate-covered perfection. That means fewer trips to the store and less budget stretching. This recipe for oreo balls is the definition of using powerhouse ingredients to do all the heavy lifting. You keep the Oreos, the cream cheese, and the good melting chocolate, and voilà—you’ve got this 3 ingredient dessert mastered.
Perfect No Bake Dessert Solution
When the air conditioning is struggling in the summer, or I’m just too tired to fuss with oven temperatures, this is my lifeline. It’s the quintessential no bake dessert. Since there are absolutely no oven recipes involved, you can whip these up in about twenty minutes of active time, chill them down, and instantly have something incredible ready to serve. It’s perfect for those surprise summer potlucks!
Ideal for Parties and Gifting
There’s something inherently fun about bite sized sweets. These oreo balls look fancy, even though they took next to no effort. They travel incredibly well in plastic containers, making them my first choice for gifts or any event where you need reliable party treats that won’t fall apart.
Gathering Ingredients for Your Oreo Balls Recipe
Okay, listen up, because the magic of these oreo balls starts right here with your ingredients, and precision matters, even in a recipe this simple. Grandma Daisy always said if you start with tired ingredients, you end up with a tired treat. Since we aren’t baking, every single component has to pull its weight! I’ve learned that paying attention to temperature and quantity keeps this dessert from being just good—it makes it amazing. You really want to nail the base consistency before we even think about dipping.
Core Components for Cream Cheese Dessert Balls
This is the heart of your cream cheese dessert balls. Don’t substitute the cookies, and don’t mess with the temperature on the cream cheese, trust me on this one!
- Oreo Cookies: You need one full package, and it must be the whole thing—about 14.3 ounces, which usually means about 36 cookies. Crucially, you crush them *whole*, filling and all! No need to pick out the cream centers; that’s where the extra richness comes from.
- Cream Cheese: Get yourself 8 ounces, and this is non-negotiable: it must be fully softened to room temperature. If it’s cold, it won’t mix evenly with the crumbs, and you’ll end up with hard little chunks of cheese in your truffle.
Melting Chocolate and Decoration Options
This is where we turn our cookie dough into beautiful, shiny oreo truffles recipe gems. The outside coating dictates how fancy they look!
You’ll need about 16 ounces of melting chocolate. I prefer using high-quality chips designed for candy making—they melt smoothly and set up hard, which is exactly what we want. Think semisweet or even milk chocolate, depending on your mood. If you want to elevate the look, grab some white chocolate too, because a good drizzle adds so much visual pop!
Oh, and don’t forget the fun stuff! Have some sprinkles ready to go, or maybe some chopped nuts if you are feeling ambitious. We attach those while the chocolate is still wet, so keep them handy near your dipping station. I keep thinking about what great dips I could make next, maybe check out my recipe for cream cheese based cookies for more inspiration!
Step-by-Step Guide to Making Perfect Oreo Balls
This is the part where the real magic happens, but don’t let the word ‘dipping’ scare you! These oreo balls are honestly the most straightforward recipe you can tackle, even if you’ve never made a homemade candy before. We are going from crumbly cookie mess to shiny, decadent truffle in just a few easy stages. If you’ve struggled with baking before, this is your moment to shine because we aren’t even turning on the oven! We’ll break it down so you feel totally confident creating these beauties.
Preparing the Cookie Crumble Base
First things first, we need dust! Get those whole Oreos—yes, the cream filling stays right in there—into your processing machine. Pulse them until they are fine crumbs, almost like moist sand. If you don’t have a food processor, don’t panic! Pop those cookies into a heavy-duty zip-top bag and go at them with a rolling pin until you feel no more chunks remain. Consistency is key here!
Next, take those beautiful fine crumbs and dump them into a sturdy mixing bowl. Now, add that room-temperature cream cheese. Mix it all up. You can use a strong spoon, but honestly, once it gets thick, switch to your (clean!) hands. You’ll mix until you have one uniform, deep chocolate dough that holds together when you squeeze it. If you need more encouragement, I have a great guide on simple dough techniques that apply universally.
Rolling and Chilling the Oreo Balls
Time to shape these things! Grab a small cookie scoop or just use your hands to roll the dough into little spheres, about one inch across. This recipe usually yields around 30 to 35 perfect oreo balls. Place them neatly on a baking sheet lined with parchment paper—that paper is your best friend later!
Now for the most important (and hardest!) part: stopping! Put the entire tray into the refrigerator to chill for at least 30 minutes. Why the wait, you ask? If you try to dip warm, soft dough, the truffle will absolutely fall apart and absorb way too much chocolate, creating a thick, gloppy mess. The chill firms them up perfectly, making them sturdy little workers ready for their chocolate coats.
Mastering the Chocolate Coating for Your Cookie Truffles
Once chilled, melt your chocolate. I usually do this gently in the microwave in 30-second bursts, stirring between each one, but you can use a double boiler if you want that extra-smooth, glossy finish, which is always recommended for great cookie truffles.
Take a chilled Oreo ball and drop it into the melted chocolate. Using a fork, roll it around until it’s fully submerged. Lift the fork while gently tapping the side of the bowl—this shakes off that excess chocolate coating that makes the bottom look lumpy. Place it back onto the parchment paper.
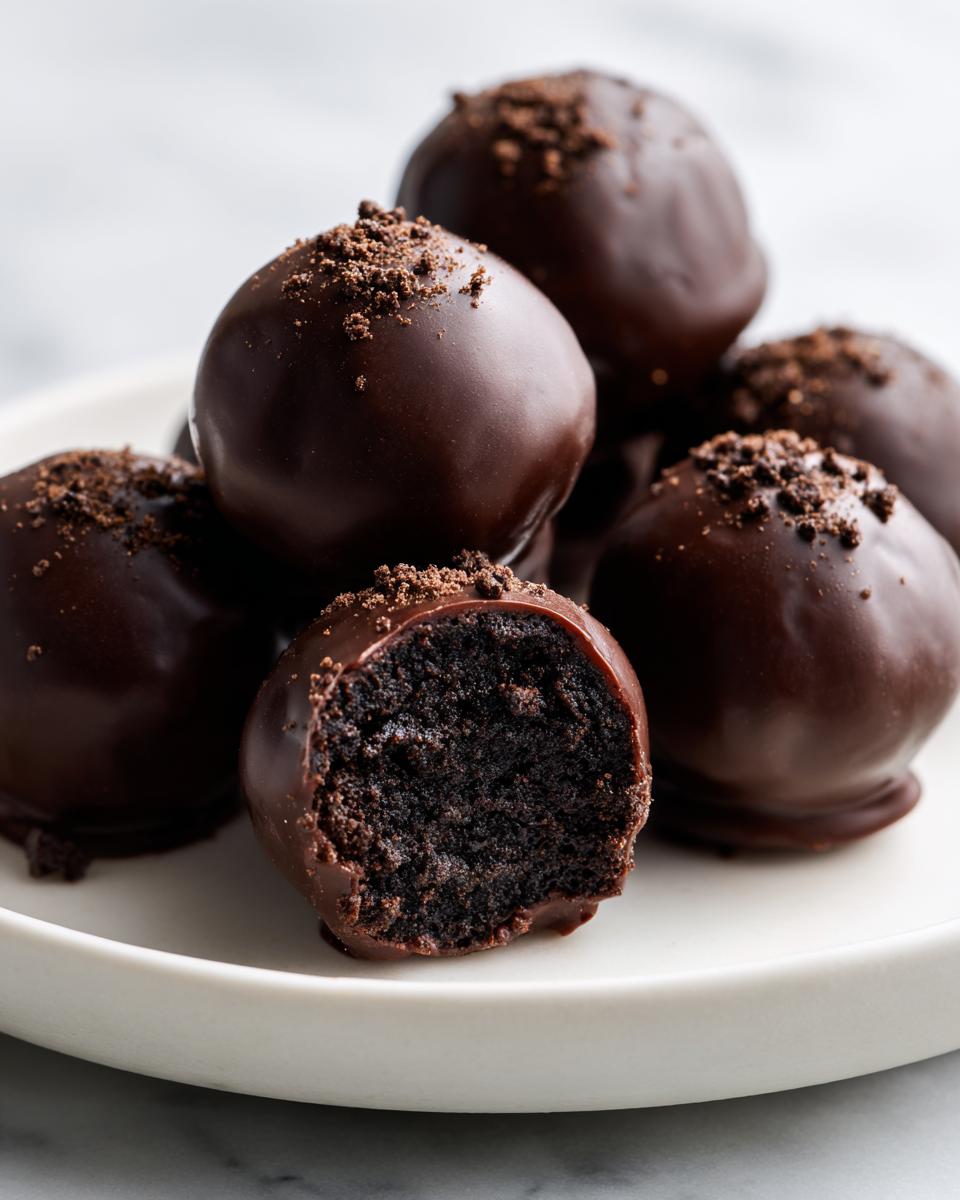
If you’re decorating, do it right away! Drizzle it with white chocolate or toss on sprinkles immediately before the coating sets. They only need about 15 minutes back in the fridge after this to get that hard, satisfying snap when you bite into your finished chocolate covered Oreos.
Tips for Success with Your Homemade Chocolate Balls
Even though these oreo balls are famously straightforward, there are a couple of little secrets my Grandma Daisy always emphasized. I took these notes directly from her often-smudged recipe card because when you’re aiming for that perfect, rich, truffle-like bite, the little things make the huge difference. Don’t let texture be the sneaky reason your batch doesn’t turn out exactly how you hope!
Ingredient Temperature and Texture Control
Let’s talk about the cream cheese again, because it’s so important! You need those 8 ounces to be completely, fully softened to room temperature. If you rush this, you’ll end up trying to force cold cream cheese into fine cookie dust, and it just won’t mix right. The result is a crumbly, slightly dry dough that doesn’t hold its shape well, which means those beautiful easy chocolate balls you roll might crack when they hit the chill.
If you’re in a hurry, you can zap the cream cheese block for about 10 seconds, but you need to feel it—it should yield easily without getting runny or oily. That perfect consistency is what binds those crumbs into a perfect dough that rolls up nice and smooth for dipping.
Handling the Chocolate Coating
The second time you’ll need my little bit of wisdom is when you’re melting that coating chocolate. It starts out liquid and glossy, right? But as you dip batch after batch of those cold oreo balls, the chocolate cools down rapidly and starts to get thick. If you try to coat a cold ball in thick chocolate, you end up with a massive, almost ragged-looking lump around the base of your truffle.
If that happens—and it will if you are making a big batch for a party—just take the bowl off the heat (or out of the microwave) and give it a little rest for about five minutes. Then, warm it back up for just 10 seconds. That brief reheat brings the chocolate back to that lovely, smooth, flowing consistency we need for a thin, perfect shell around your simple homemade candy. If you need other ideas for creamy sweets, I have a rich recipe for homemade caramel you might love making next!
Variations: Festive Oreo Treats and Themed Oreo Balls
Once you’ve mastered the classic oreo balls—and trust me, you will—the real fun begins! This base recipe is just waiting for you to dress it up for whatever holiday or party theme you have going on. That creamy center is so mild and perfect, it takes on whatever flavor you throw at it. It’s all about creating fantastic festive Oreo treats that look way more complicated than they actually are. It’s my favorite way to use these around Christmas time!
Holiday Candy Ideas for Oreo Truffles Recipe
If you’re making these for a Christmas cookie exchange, you absolutely must experiment with coatings beyond basic dark chocolate. The easiest way to make your Oreo truffles recipe look like a brand new treat is through color and texture!
- For a classic Peppermint Patty vibe, dip the chilled oreo balls in melted white chocolate, and right before it sets, roll them gently in finely crushed peppermint candies. The red and white crunch against the creamy inside is just heavenly.
- If you happen to see green candy melts, grab those! These make for adorable themed treats. You can dunk them green, add a tiny yellow sprinkle dot on top, and suddenly you have a cute nod to the Grinch! You can see some amazing inspiration for Christmastime here: Christmas Oreo Balls.
Remember, the structure is already perfect because we chilled them, so go wild with the bright colors!
Flavor Twists for Bite Sized Sweets
The cream cheese mixture is so forgiving. You can easily turn these bite sized sweets into something completely new just by adding a teaspoon or two of an extract right when you mix the cookies and cheese. A couple of drops of peppermint extract makes everything feel instantly festive.
Another thing I love doing? Swapping out the cookies completely! If you use Golden Oreos instead of the classic chocolate ones, you get a softer, warmer colored dough. This works beautifully if you are aiming for a lighter look, maybe for Easter or a spring party. Or, if you want a deeper flavor profile for your easy chocolate balls, stir a tablespoon of creamy peanut butter into the mix. That richness combined with the dark chocolate coating is just addictive.
If you’re looking for more simple holiday ideas that capture that cozy spirit, I always keep my recipe for easy soft Christmas sprinkle cookies handy!
Serving Suggestions for These Party Treats
Once you have your beautiful, shiny oreo balls finished and set, the next big hurdle is presenting them! Grandma Daisy believed that you eat with your eyes first, and these little chocolate gems deserve a great stage. Since they are perfectly self-contained—no forks, no plates required—they are ideal for serving to crowds, whether it’s a casual weeknight drop-in or a big holiday buffet.
The best way to serve these party treats is letting their individual beauty shine. Instead of piling them high, try arranging them neatly on a clean white platter or even a slate board if you’re going for a modern look. If you used colorful sprinkles or a fancy drizzle, arrange them so those details catch the light!
For holiday gatherings, I love alternating the colors if you made different coatings—a dark chocolate ball next to a white chocolate one, maybe even setting them on top of small, festive paper cupcake liners. They look elegant but are so simple to grab.
And for pairing? Honestly, these rich cream cheese dessert balls cut through richness beautifully, making them a perfect partner for a cup of hot coffee or strong tea after dinner. If you’re hosting a bigger brunch or evening party, having a refreshing drink nearby is key. I sometimes pair my dessert spreads with a pitcher of my champagne punch because it adds just the right celebratory sparkle!
Storage and Make-Ahead Tips for Oreo Balls
One of the absolute best things about making these oreo balls—besides how delicious they are, of course—is that you can totally make them ahead of time. This is a lifesaver, especially if you’re getting them ready for a big Christmas cookie exchange or planning appetizers for a busy weekend. They are truly one of the best potluck dessert ideas because they are ready to go when you are!
Because there’s no baking involved, we talk about storage, not cooling time! The chilling step firms them up initially, but for long-term keeping, we need to think colder. I tend to rely on these more than my baking recipes during the holidays precisely because they hold up so well in the fridge.
Here’s how I manage them to keep that lovely chocolate shell tight and the center creamy:
- Refrigeration: Keep your finished holiday candy in an airtight container. They stay perfectly fresh in the fridge for up to two weeks. Honestly, I’ve eaten them safely after ten days, and they were still fantastic! The refrigeration helps the cream cheese flavors meld beautifully with the chocolate cake center.
- Freezing for Future Fun: If you make a huge batch, definitely throw them in the freezer! Place the coated oreo balls on a tray first, uncovered, until the chocolate is rock-hard—maybe an hour or two. Then, transfer them to a freezer-safe container or heavy-duty zip-top bag. You can freeze them for up to three months.
When you need them later, just pull out the container and let them thaw on the counter or in the fridge for a few hours. They come out tasting almost exactly as fresh as the day you made them. It’s the best system for planning ahead for all those quick sweet bites you need.
If you’re planning to stack them for transport right away, make sure the chocolate has set completely, or they will stick together! If you are worried about presentation after freezing, you can always use small paper liners to separate layers, much like I do when storing slices of my easy moist Jello poke cake.
Frequently Asked Questions About Oreo Truffles Recipe
I know when you’re scrolling for an easy dessert for beginners, you often have little questions that pop up right before you shop! That’s natural! These questions come straight from our community. I’ve gathered the ones I hear most often when folks are getting ready to make their very first batch of these amazing oreo balls. Hopefully, these clear everything up so you can get mixing! If you’re new to this, my guide on easy dessert for beginners might give you an extra boost of confidence.
Can I make Oreo Balls without cream cheese?
Oh, honey, I strongly advise against it if you want them to taste *right*. The cream cheese isn’t just for flavor; it’s the binder that gives these treats that wonderful, slightly tangy, dense texture that makes them famous. It’s what turns the crushed cookie crumbs into moldable dough.
If you try to substitute it—say, with butter or frosting—you lose that unique chewiness, and you end up with something that might be too greasy or too hard once chilled. To get those classic cream cheese dessert balls we all love, stick to the 8 ounces of room-temperature cream cheese. It really is essential to the structure!
How long do these quick sweet bites last?
That’s one of the great things about these quick sweet bites; they keep so well! If you’ve kept them sealed airtight in the refrigerator, they are fantastic for up to two weeks. Honestly, the flavor just seems to deepen after about the third day, which is great because you can make them way ahead of your party.
But if you’re making them for a future date, like way out ahead of the holidays, pop them in the freezer. They’ll hold up beautifully for about three months. Just pull them out a few hours before you want to serve them, and they are good as gold. If you want even more information on keeping treats fresh, folks often look up the details over at Homemade Recipes!
I did experiment once with substituting melted chocolate for the coating with dark chocolate ganache, and you absolutely must eat those fresh—within three days—because of the dairy content. For maximum shelf life, stick to the melting wafers specified in the recipe!
Estimated Nutritional Data for Classic Oreo Balls
When we talk about treats like these oreo balls, we know they aren’t exactly health food, but knowing what you’re grabbing by the handful is always helpful, right? Estimating the nutrition for homemade candy can be tricky because the exact Oreo brand or the type of chocolate you use can change things slightly. This data is based on using the standard classic Oreos and semi-sweet melting chocolate, divided into about 30 servings.
If you’re tracking macros or just curious, here is the general breakdown for one single, delightful truffle. Remember, every single one of these cookie truffles is going to deliver a satisfying punch of richness!
| Nutrient | Amount Per Serving (1 Ball) |
|---|---|
| Serving Size | 1 ball |
| Calories | 150 |
| Sugar | 15g |
| Fat | 9g |
| Saturated Fat | 5g |
| Carbohydrates | 16g |
| Protein | 2g |
| Sodium | 80mg |
Please know these are just estimates! If you use dark chocolate, the sugar content might dip a touch. If you use low-sugar cookies, those numbers will shift too. But this gives you a solid baseline for these fantastic easy chocolate balls. Now go ahead, enjoy a couple guilt-free—you deserve it!
PrintClassic No-Bake Oreo Balls (Oreo Truffles Recipe)

Make these classic Oreo Balls, a simple no-bake dessert perfect for parties or gifting. This recipe uses only three main ingredients for rich, chocolate-covered cookie truffles.
- Prep Time: 20 min
- Cook Time: 0 min
- Total Time: 50 min
- Yield: 30 servings 1x
- Category: Dessert
- Method: No Bake
- Cuisine: American
- Diet: Vegetarian
Ingredients
- 1 package (14.3 oz) Oreo cookies, about 36 cookies
- 8 oz cream cheese, softened
- 16 oz melting chocolate (semisweet or milk chocolate)
- Optional: White chocolate for drizzling
- Optional: Sprinkles for decoration
Instructions
- Place all Oreo cookies, filling included, into a food processor. Pulse until you have fine crumbs.
- Transfer the Oreo crumbs to a medium bowl. Add the softened cream cheese.
- Mix the crumbs and cream cheese together using a sturdy spoon or clean hands until a uniform dough forms.
- Roll the mixture into small balls, about 1 inch in diameter. You should get about 30 to 35 Oreo balls.
- Place the rolled balls on a baking sheet lined with parchment paper.
- Chill the Oreo balls in the refrigerator for at least 30 minutes to firm them up. This step is necessary before dipping.
- Melt the melting chocolate according to package directions. You can use a double boiler or microwave in short intervals, stirring often.
- Dip each chilled Oreo ball into the melted chocolate, ensuring it is fully coated. Use a fork to lift it out, tapping the fork gently on the side of the bowl to remove excess chocolate.
- Return the coated Oreo balls to the parchment-lined sheet.
- If desired, drizzle with melted white chocolate or add sprinkles immediately before the coating sets.
- Refrigerate the finished Oreo balls for about 15 minutes, or until the chocolate coating is completely firm.
Notes
- If you do not have a food processor, place the cookies in a sturdy zip-top bag and crush them using a rolling pin until fine.
- For the best texture, ensure your cream cheese is fully softened to room temperature before mixing.
- If the chocolate coating thickens while you are working, briefly reheat it to maintain a smooth consistency for dipping.
Nutrition
- Serving Size: 1 ball
- Calories: 150
- Sugar: 15
- Sodium: 80
- Fat: 9
- Saturated Fat: 5
- Unsaturated Fat: 4
- Trans Fat: 0
- Carbohydrates: 16
- Fiber: 0
- Protein: 2
- Cholesterol: 10