
When the summer heat hits, or someone mentions a birthday coming up, you know what I immediately think of? Forget the complicated ovens and the fussy frosting drama. I think of a showstopper that requires zero baking—the incredible, always-a-hit **ice cream cake**! This recipe is pure magic brought forward from my Grandma Daisy’s kitchen. She always knew how to make things feel special just by using simple ingredients and a lot of love. This particular creation, the Easy No-Bake Oreo ice cream cake, is my go-to because it lets me spend less time worrying and more time celebrating with my family. Trust me, this is the easiest, most satisfying frozen dessert you’ll ever assemble!
- Why This Easy No-Bake Oreo Ice Cream Cake is Your New Favorite Dessert
- Gathering Your Ingredients for the Oreo Ice Cream Cake Recipe
- Assembling Your Layered Ice Cream Dessert: Step-by-Step Instructions
- Expert Tips for the Best Ice Cream Cake Recipe Success
- Making Ahead and Storing Your Simple Ice Cream Dessert
- Flavor Variations for Your Homemade Ice Cream Cake
- Serving Suggestions for Summer Party Treats
- Frequently Asked Questions About Making an Ice Cream Cake
- Nutritional Snapshot of This Simple Ice Cream Dessert
- Share Your Homemade Ice Cream Cake Creations
Why This Easy No-Bake Oreo Ice Cream Cake is Your New Favorite Dessert
I promise you, once you make this **ice cream cake**, you’ll be asked to bring it to every single summer barbecue and birthday party we ever attend. Why? Because it checks every single box! It’s truly a joy to put together, which means you get all the glory without any of the oven stress. It’s the perfect **homemade ice cream cake** hero recipe. You can make this the day before, so you aren’t scrambling when guests arrive.
- It’s completely no-bake; just freezing time required!
- The layers are sturdy enough for beautiful slicing, unlike some softer frozen treats.
- It uses Oreos, which are universally loved by kids and adults alike.
- It’s a fantastic make-ahead frozen cake option for busy weekends.
Perfect for Any Celebration: Easy Birthday Cake Ideas
When my niece has a party, the last thing I want is to stress over a towering frosted cake that might melt before the candles are lit. This layered ice cream dessert is my answer. The assembly is so straightforward, and the kids absolutely lose it over the crunchy layers. It takes that pressure right off the host, and suddenly, you’re rocking the best dessert on the block!

The Ultimate No Bake Frozen Dessert Experience
Honestly, the fact that it requires zero oven time just seals the deal, especially in the mid-summer heat. We are talking about building a delicious, cold, crunchy, creamy masterpiece right in the pan. You get that decadent, custom **ice cream cake** experience without ever turning on the stove. That’s true genius in my book for quick frozen treats!
Gathering Your Ingredients for the Oreo Ice Cream Cake Recipe
Alright, let’s talk supplies! Since this is a no-bake wonder, the quality of what you buy really shines through. For the best **ice cream cake** possible—the kind that tastes better than anything you buy in a box—treat yourself to good quality ice cream. We are using vanilla and chocolate here, but please feel free to go rogue! We need about a half gallon of each, and remember, they must be softened just enough to spread easily, but not completely melted into soup.
For the structure, we need that classic Oreo crunch! Make sure you have butter to hold those crumbs together, and don’t forget the hot fudge and the heavy cream for our final topping. This list is simple, which is part of why this recipe is so fantastic.
Ingredient Notes and Substitutions
This is where you can really customize your **homemade ice cream cake**, my friends. If you hate chocolate, swap it out for mint chip or strawberry! Honestly, the structure holds up beautifully with most firm ice creams. If you can’t find Oreos (gasp!), any dark chocolate sandwich cookie works just fine for the crust and the crunch on top. Remember, we are making an **ice cream cake**, not following rigid rules! Just try to stick to the softening instructions, that’s the real secret handshake here.
Assembling Your Layered Ice Cream Dessert: Step-by-Step Instructions
Okay, get your springform pan ready! This is where that lovely no bake Oreo pie technique finally crosses over into full-blown **ice cream cake** territory. We are going to build this beautiful thing layer by layer, and patience while freezing is your best friend. Don’t rush the chilling; it keeps those beautiful lines distinct!
Creating the Crunchy Oreo Crust Base
First things first, line that 9-inch springform pan with parchment paper—it saves so much heartbreak later. Now, blitz about 18 Oreos until they are fine crumbs. Toss in that melted butter and pulse until it looks like wet sand. You need to press this mixture down firmly into the bottom of your pan—really pack it in there so it holds up to the ice cream. Once it’s packed tight, pop it in the freezer for a quick 15 minutes. That little chill helps set the foundation perfectly.
Layering the Ice Cream and Fudge for the Perfect Ice Cream Cake
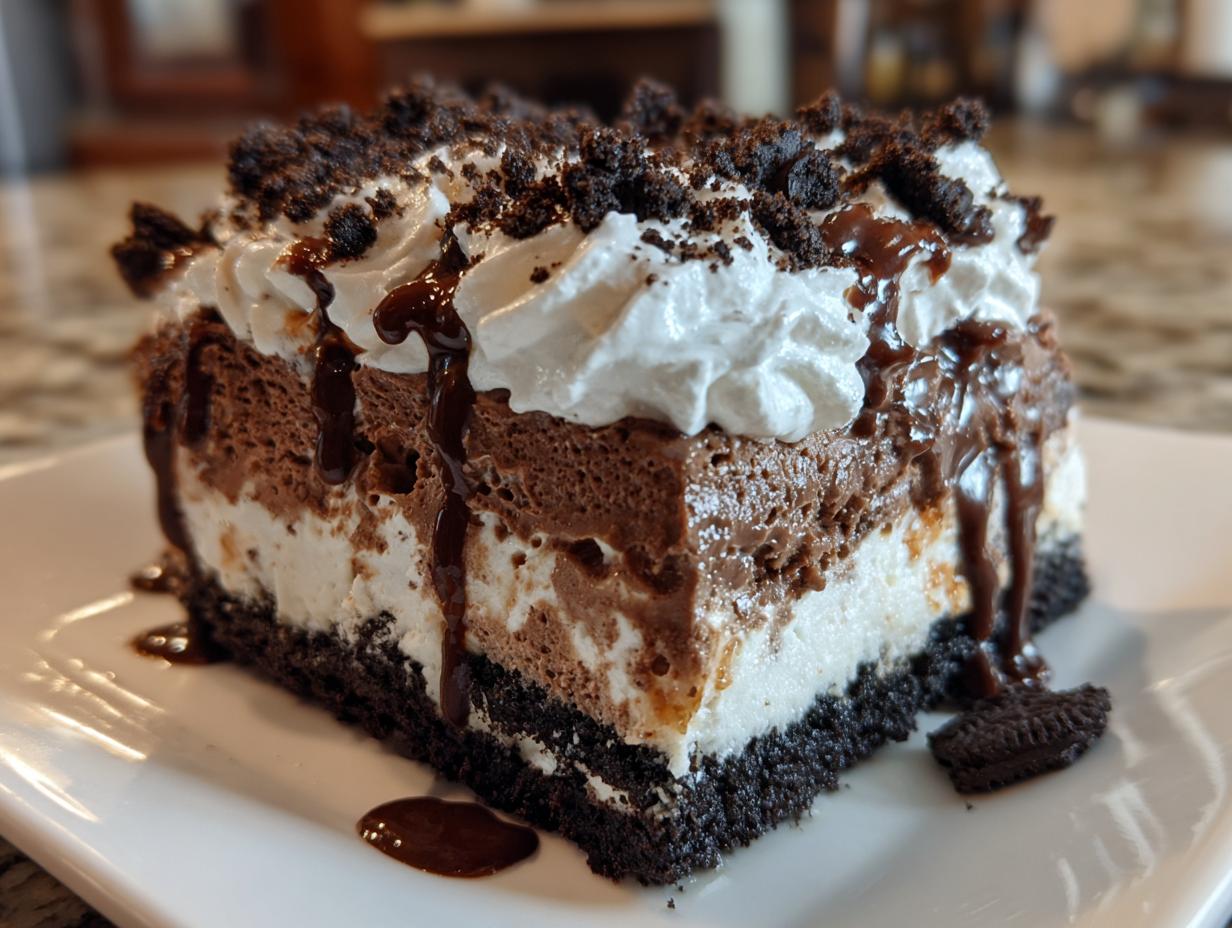
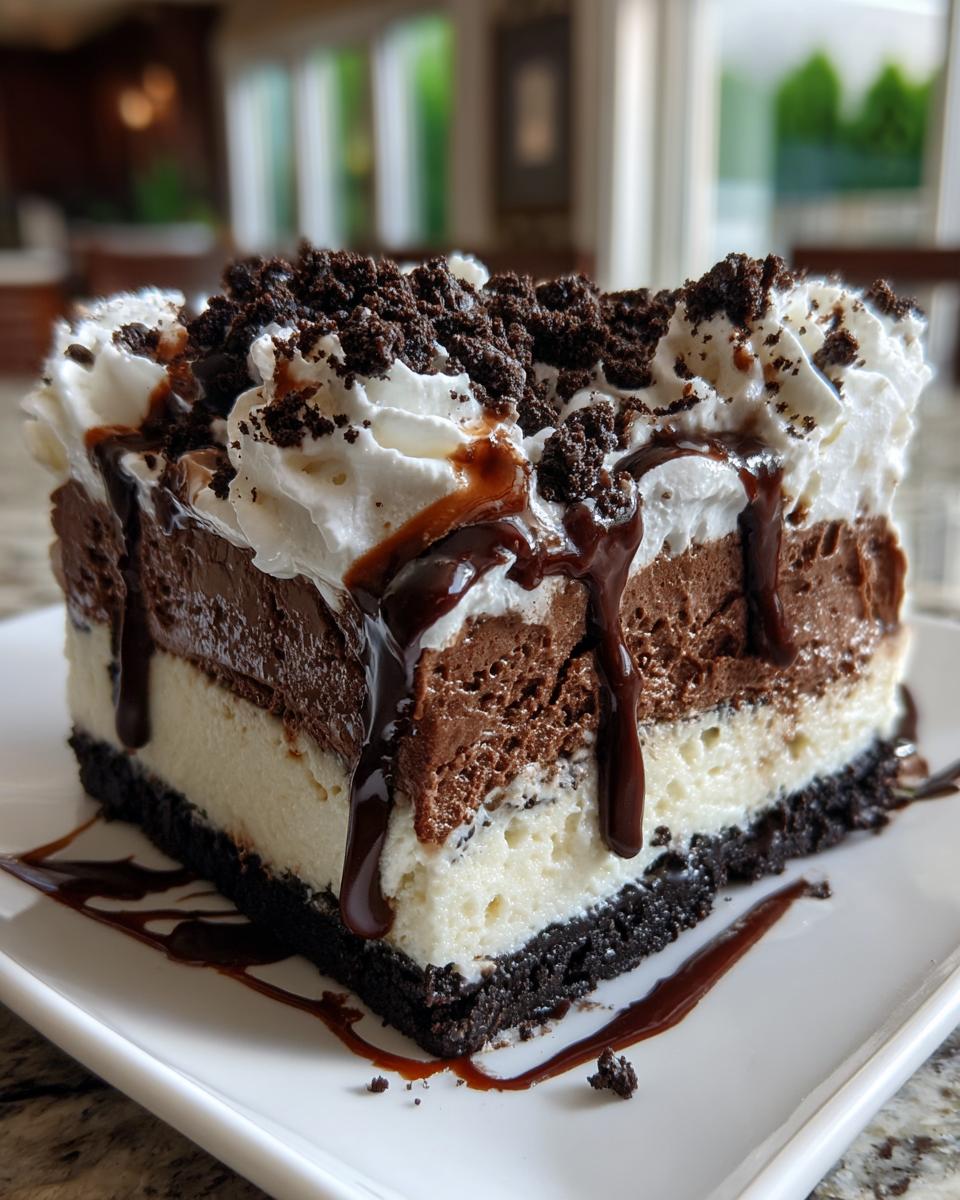
Next up, grab your slightly softened vanilla ice cream and spread it right over that chilled crust. Get it as even as you can, then back into the freezer it goes for 30 minutes until it’s firm again. After that, spread your softened chocolate ice cream right on top. Now for the fun drizzle! Take about half of your warmed hot fudge and swirl it over the chocolate layer. Sprinkle half of your reserved crushed Oreos on top of that fudge. This is what creates that marvelous crunch in the middle of this **layered ice cream dessert**! Freeze this assembly for a full hour before moving on to the whipped topping. Trust me, these mini freezes are what separate a sloppy mess from a stunning **ice cream cake**!
Expert Tips for the Best Ice Cream Cake Recipe Success
You know, getting the layers perfect in an **ice cream cake** isn’t just about dumping things in a pan. It takes a little finesse! My biggest piece of advice comes from watching my cousins try this years ago—they used rock-solid ice cream, and folks, it just tore the crust right up. You need that ice cream to be just soft enough that a spoon sinks in easily, but not soft enough that it’s melting down the sides. I usually let mine sit on the counter for a good 15 minutes before I start spreading those layers.
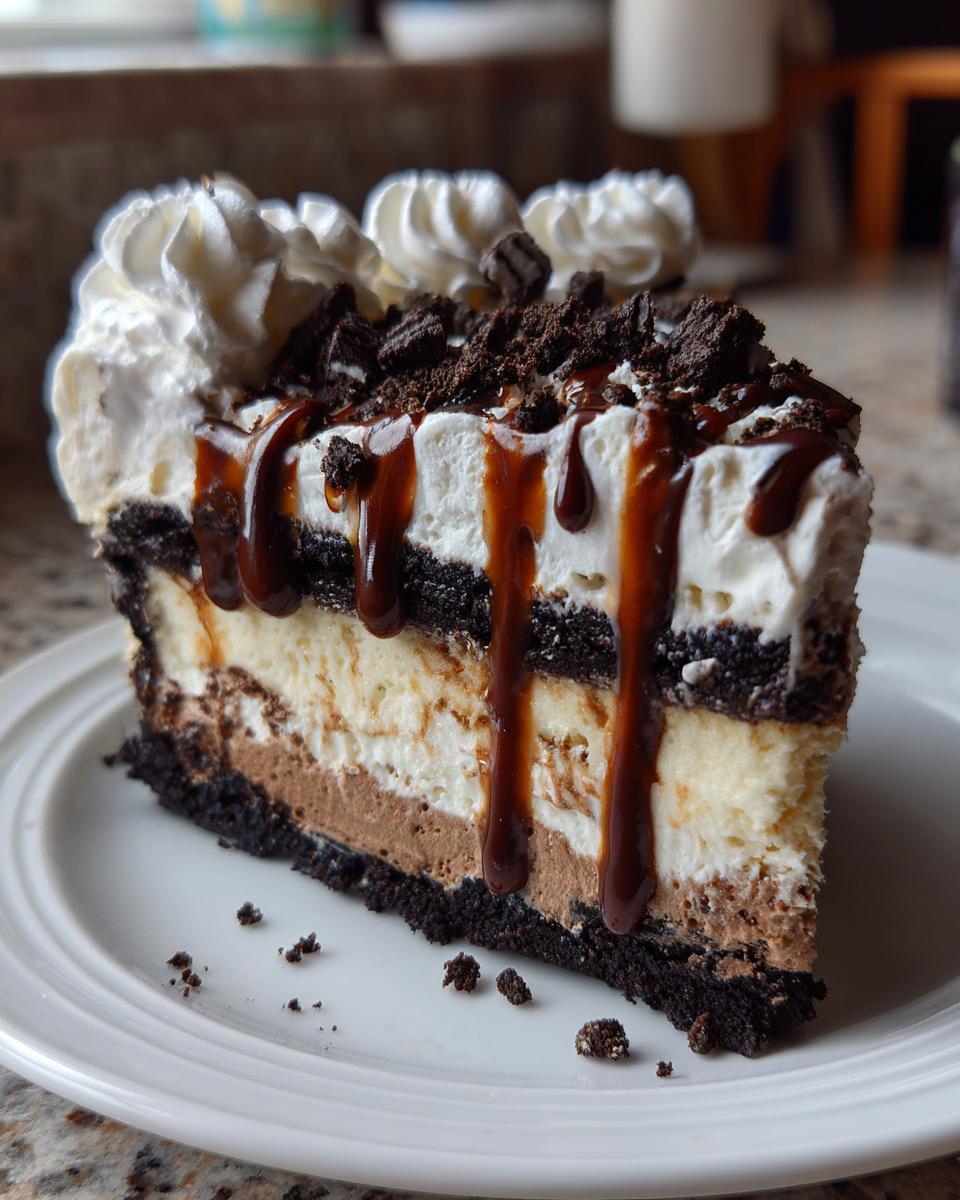
To get that really beautiful, professional finish—we’re aiming for that **copycat ice cream cake** quality here—always, always, always use a thin, sharp knife dipped in hot water when you go to slice it. That little bit of heat melts the tiny bit of ice crystals right at the edge, giving you that super clean cut you see in the photos. If you’re worried about the top layer getting freezer burn while it’s setting overnight, cover it loosely with plastic wrap so it doesn’t touch the whipped cream, but leave enough space so it doesn’t stick.
Also, if you’re making the whipped topping, whipping it just as stiff peaks form, rather than overwhipping it into butter, makes spreading so much easier! And feel free to check out my guide on making homemade caramel; a tiny swirl of that into the hot fudge layer before the final freeze is absolutely divine!
Making Ahead and Storing Your Simple Ice Cream Dessert
This is honestly one of my favorite reasons to love this recipe; it’s the ultimate **make ahead frozen cake** champion! Since we are dealing with ice cream, the longer it sets up, the better it gets, folks. I always plan to have this **ice cream cake** tucked away in the deep freeze for at least six hours minimum, but truly, overnight is when the magic happens.
As soon as you finish spreading that final layer of whipped topping and sprinkling on those last crushed Oreos, cover the pan loosely with plastic wrap. I mean *loosely*! You don’t want the wrap touching the creamy topping because, when it freezes hard, it’ll pull the whole beautiful surface off when you try to remove it. Just drape it lightly over the top, making sure it doesn’t seal against the decoration.
If you have leftovers—which is rare at birthday parties, I must say—you can store the slices right in an airtight container in the freezer for up to a week. Just place a tiny square of plastic wrap or wax paper between any slices stacked on top of each other so they don’t stick together permanently. It still slices beautifully even a few days later!
Flavor Variations for Your Homemade Ice Cream Cake
While the Oreo version is definitely my number one go-to for an **ice cream cake**, Daisy always taught me that recipes are just starting points! If you want to branch out, this simple framework is perfect for experimentation. Do you have some leftover fudge brownies sitting around? Instead of the cookie crust, press those brownies right into the springform pan—boom! You’ve instantly got a fantastic **brownie ice cream cake** that is super decadent.
And if you’re craving that famous texture from the big chain stores, you can totally nail a **Dairy Queen Style Cake** right here. Use an ice cream flavor combination they do (like chocolate and vanilla), and here’s the secret for the crunch layer: use a mixture of crushed pecans and Oreos with a little bit of crushed Heath bar sprinkled in. Then, when you do the final fudge drizzle, make sure you scrape the spatula aggressively across the top to get those signature ridges. It’s all about the texture and the topping when it comes to that classic **ice cream cake** feel. Don’t forget to check out my guide for the best fudgy brownies if you decide to swap out the crust!
Serving Suggestions for Summer Party Treats
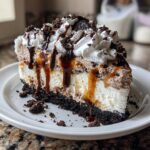
The **ice cream cake** is magnificent all on its own, but when you’re serving it up for a big summer party or a special gathering, we have to make it look the part! This layered dessert deserves to be the centerpiece, so presentation matters just as much as flavor, which is why I always have a few tricks up my sleeve for elevating the outside.
Since we already have the chocolate and cream covered, fresh fruit is the perfect bright contrast. Think about slicing up some beautiful, juicy strawberries or raspberries to place around the base of the cake when you serve it. The slight tartness cuts through the richness of the ice cream and fudge so nicely. It just makes the whole thing taste brighter and perfectly seasonal for those warm evenings.
Another simple trick is adding extra texture contrast on top. After you drizzle that last bit of hot fudge, grab a vegetable peeler and shave some high-quality dark or milk chocolate directly over the top. Those delicate shavings melt ever-so-slightly on contact with the cold whipped cream, creating these beautiful, rustic swoops. It really gives it that expensive, bakery-bought look without doing any extra work!
If you happen to be making a fruitier variation of the **ice cream cake**, maybe using strawberry ice cream, you absolutely HAVE to try making a quick strawberry syrup to drizzle right before serving. It’s so easy to whip up—just my simple three-ingredient syrup simmered down just a bit—and it makes the whole presentation look incredibly thoughtful. Whatever you choose, just making a **homemade ice cream cake** this good is already a win for your summer celebration food!
Frequently Asked Questions About Making an Ice Cream Cake
Oh, I get so many questions about this **ice cream cake**, and honestly, I love hearing them! It shows you’re just as excited about making this treat as I am. These questions usually come up when people are getting ready to mix, freeze, or serve. Let’s clear up a few things so your assembly goes perfectly.
Can I use a regular cake pan instead of a springform pan for this ice cream cake?
You technically *can*, but I really wouldn’t recommend it unless you just love a wrestling match with your dessert! The beauty of the springform pan is that the sides release cleanly, which leaves you with that perfect, gorgeous edge on your **ice cream cake**. If you use a standard pan, you have to try and wedge a knife down the side to loosen that frozen layer, and almost every time, you end up scraping off some of your beautiful cookie crust or smearing your gorgeous whipped topping. Save yourself the headache—the springform pan is worth its weight in gold for this!
How long does this no bake frozen dessert need to set?
This is a critical question because this cake relies entirely on hard freezing! I list about six hours in the instructions, and that’s the bare minimum to ensure everything is firm enough to slice. But for the very best **no bake frozen dessert** texture—where you get clean slices without the layers squishing together—you really want to let it chill overnight. A 12-hour freeze ensures that even the center is perfectly solid, making serving up those neat wedges so much easier.
Can I make this recipe kid friendly desserts friendly by skipping the hot fudge?
Absolutely! If you have little ones who aren’t keen on a rich fudge swirl, you can totally skip it. The flavor profile still works great with just the two ice cream flavors and the Oreo crust. If you want to replace that chocolate element, just throw in a handful of extra crushed Oreos or rainbow sprinkles on top of that second ice cream layer instead of the fudge and crushed cookies combo. It makes the whole final look more colorful, and it’s definitely a winner for picky eaters needing **kid friendly desserts**!
If you’re looking for some other simple, make-ahead recipes, you might enjoy my Jello Poke Cake for something a little different!
Nutritional Snapshot of This Simple Ice Cream Dessert
Now, I have to be honest with you folks—keeping track of nutrition when you’re dealing with ice cream, fudge, and Oreos isn’t exactly my strong suit! Grandma Daisy always said if the food makes your heart happy, don’t worry too much about the rest. But because I know some of you are tracking things, I did pull together an estimate for a standard slice of this **ice cream cake**.
Please take these numbers with a giant grain of salt—or maybe a tiny sprinkle of salt on your fudge drizzle! These estimates are based on using standard, full-fat ingredients as listed in the recipe above, and they account for one slice of the ten servings this cake yields. Every swap you make (like using light ice cream or skipping the fudge layer) will change these dramatically!
- Serving Size: 1 slice
- Calories: About 450 (Watch out, that fudge adds up!)
- Fat: Roughly 28g
- Carbohydrates: Around 48g
- Protein: About 6g
- Sugar: This one is high, averaging around 45g, purely from the cookies and ice cream we use.
It’s definitely a treat, not an everyday snack! This is meant for celebrations, like those big family birthdays or summer gatherings, so enjoy it responsibly!
Share Your Homemade Ice Cream Cake Creations
Well, friend, that’s all there is to it! You’ve got the blueprint for the **easiest birthday cake idea** that everyone will be raving about until your next party. Now, the very best part of sharing recipes—especially something as fun as this **simple ice cream dessert**—is seeing what you all do with it!
I absolutely want to see your masterpieces! Did you go big with sprinkles? Are you trying out a totally wild ice cream flavor combination? Snap a picture of your finished **homemade ice cream cake** and tag me on social media! Seeing your successes truly makes my day and reminds me why Grandma Daisy started sharing her wisdom in the first place.
If you made this and loved how simple and refreshing it was as a **summer party treat**, please do me a huge favor and rate it! Five stars right at the top of the recipe card is always so helpful. It tells other busy home cooks like us that this recipe is tried, tested, and totally worth the freezing time. And if you have any last-minute questions while you’re assembling your next batch, don’t hesitate to drop a comment below or reach out via my contact page. Happy freezing!
PrintEasy No-Bake Oreo Ice Cream Cake
Make this simple, layered ice cream cake using Oreos and your favorite ice creams. This no-bake frozen dessert is perfect for birthdays and summer parties.
- Prep Time: 30 min
- Cook Time: 0 min
- Total Time: 6 hours 30 min
- Yield: 10 servings 1x
- Category: Dessert
- Method: No Bake
- Cuisine: American
- Diet: Vegetarian
Ingredients
- 1 (13.2 ounce) package Oreo cookies, divided
- 1/2 cup unsalted butter, melted
- 1/2 gallon vanilla ice cream, softened
- 1/2 gallon chocolate ice cream, softened
- 1 cup hot fudge topping, slightly warmed
- 1 cup heavy whipping cream
- 2 tablespoons powdered sugar
- 1/2 teaspoon vanilla extract
- Extra crushed Oreos for topping
Instructions
- Line the bottom of a 9-inch springform pan with parchment paper.
- Place 18 Oreo cookies in a food processor and pulse until you have fine crumbs. Add the melted butter and pulse until combined. Press this mixture firmly into the bottom of the prepared springform pan. Freeze for 15 minutes.
- Remove the pan from the freezer. Spread the softened vanilla ice cream evenly over the crust. Freeze for 30 minutes until firm.
- While the vanilla layer freezes, crush the remaining Oreo cookies coarsely.
- Spread the softened chocolate ice cream over the vanilla layer. Drizzle half of the warm hot fudge over the chocolate layer. Sprinkle half of the crushed Oreos over the fudge. Freeze for 1 hour.
- Prepare the topping: In a medium bowl, beat the heavy whipping cream, powdered sugar, and vanilla extract until stiff peaks form.
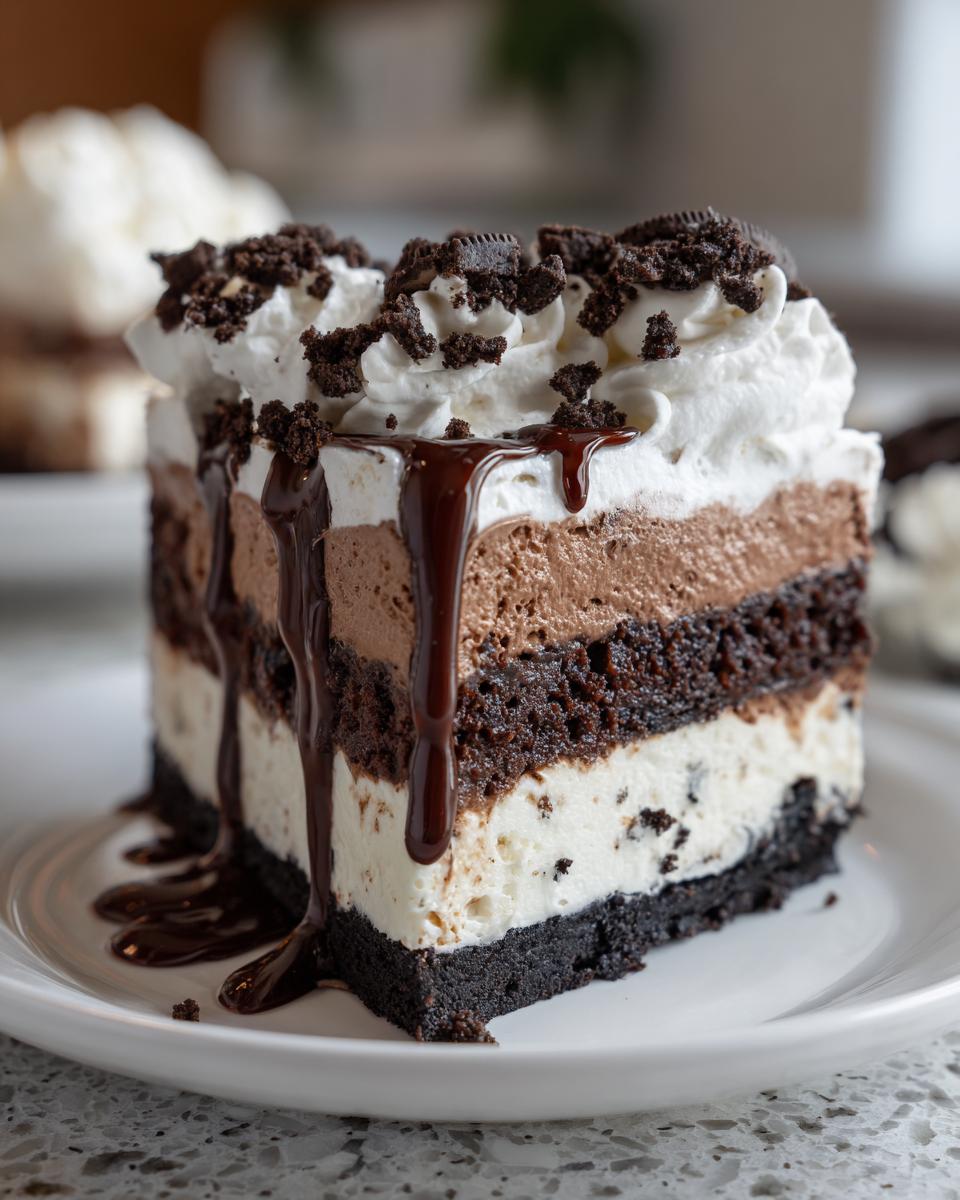
- Spread the whipped cream topping over the frozen layers. Drizzle the remaining hot fudge over the whipped cream and sprinkle with the remaining crushed Oreos.
- Cover the pan loosely with plastic wrap and freeze for at least 6 hours, or preferably overnight, before serving.
- When ready to serve, run a thin knife dipped in hot water around the edge of the cake before releasing the springform side. Slice and serve immediately.
Notes
- You can substitute any two ice cream flavors you prefer for a custom homemade ice cream cake.
- For a cleaner slice, let the cake sit at room temperature for 5 to 10 minutes before cutting.
- This is a great make ahead frozen cake option for celebrations.
Nutrition
- Serving Size: 1 slice
- Calories: 450
- Sugar: 45g
- Sodium: 250mg
- Fat: 28g
- Saturated Fat: 16g
- Unsaturated Fat: 12g
- Trans Fat: 0.5g
- Carbohydrates: 48g
- Fiber: 1g
- Protein: 6g
- Cholesterol: 55mg