
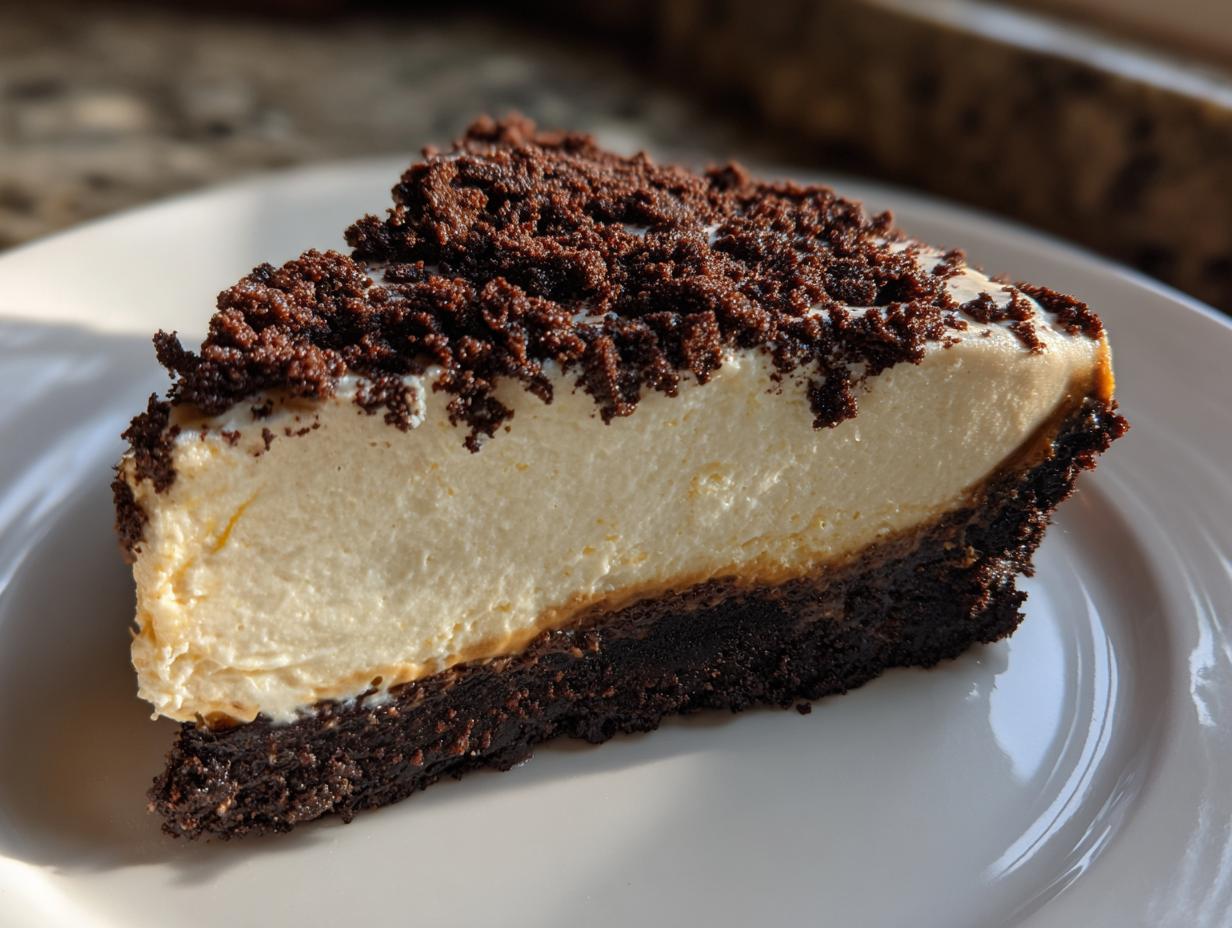
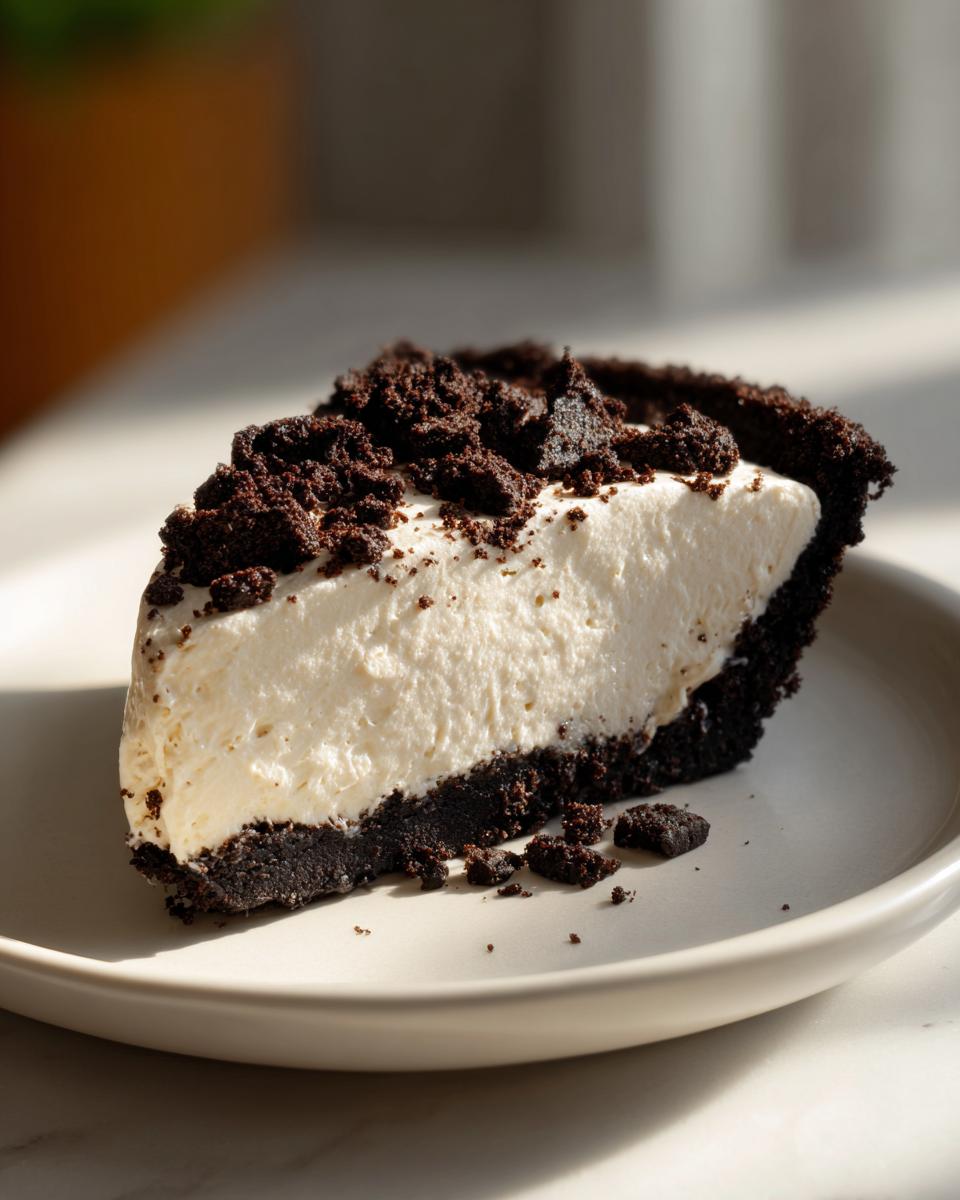
When the summer heat locks down your kitchen, or you realize at 7 PM that you need a show-stopping dessert for tomorrow, that’s when you need Daisy’s wisdom the most. I remember those days in the city when the oven felt like a genuine enemy, and I missed the simple comfort of my grandmother’s kitchen. That’s why this recipe is so much more than just a list of measurements; it’s my love letter to easy, comforting food. This is truly the **Best Easy no bake peanut butter pie** with Oreo Crust you will ever encounter.
It delivers that incredible, creamy peanut butter filling everyone dreams about, requires absolutely zero baking time, and comes together so fast you’ll think you’ve cheated. Seriously, we’re talking about effortless indulgence here.
- Why This No Bake Peanut Butter Pie is Your New Favorite Quick Dessert Recipes (EEAT Focus)
- Gathering Ingredients for Your Creamy Peanut Butter Filling
- Step-by-Step Instructions for the Perfect No Bake Peanut Butter Pie
- Tips for Success with Your Easy Peanut Butter Pie
- Serving Suggestions for This No Bake Peanut Butter Pie
- Storage and Making Ahead for No Bake Pies for Hot Weather
- Frequently Asked Questions About the Best Peanut Butter Pie Recipe
- Nutritional Estimates for Your No Bake Peanut Butter Pie
- Share Your Experience Making This Sweet Treat
Why This No Bake Peanut Butter Pie is Your New Favorite Quick Dessert Recipes (EEAT Focus)
I’ve learned over the years that the best things in life often don’t need complicated processes. This pie embodies everything I learned from Daisy while adapting it for my busy life. It’s the perfect example of how simple ingredients, handled correctly, create something truly stunning. You don’t need formal training to nail this; you just need a good mixer and a desire for something delicious!
This recipe is packed with benefits, especially if you are looking for something fast or hate heating up the kitchen:
- It’s guaranteed to be a satisfying **Summer Dessert Idea** because the oven stays off!
- That filling, oh my goodness—it’s velvety, ultra-creamy, and impossibly light.
- It’s incredibly reliable, which is crucial when you’re serving guests. If it’s a guaranteed hit, you have to keep the recipe, right? I feature other favorites like this in my collection of delicious dessert recipes.
Speed and Simplicity: Making No Bake Peanut Butter Pie Fast
We’re looking at maybe 20 minutes of active work here. Seriously! This lands squarely in the **Under 30 Minute Desserts** category. You press the crust, mix the filling, and put it in the fridge. That’s it. It’s perfect when you need a last-minute crowd-pleaser without sacrificing quality.
Gathering Ingredients for Your Creamy Peanut Butter Filling
Okay, let’s talk about what makes this filling so spectacular. Because this is a no-bake recipe, the texture relies entirely on the quality and temperature of your starting ingredients. Forget fancy techniques for a minute; we’re focusing on making sure the foundation for this creamy peanut butter filling is perfect.
You’ll need the full list laid out—I always measure everything twice before I start beating things together, which is a habit I picked up from watching Daisy handle her baking powders! We have the magic for the crust here, which sets us up perfectly for a sensational **Oreo crust dessert**.
But listen closely: Your cream cheese absolutely must be softened—I mean, room temperature soft. If it’s too cold, you’ll end up with lumps, and nobody wants a lumpy dream pie. Also, make sure that frozen whipped topping has had time to thaw out completely in the fridge. We’re aiming for fluffy, not frozen chunks!
Ingredient Notes and Substitution Options
If you happen to be out of Oreos, or if you just prefer a slightly different contrast, don’t panic! We can easily pivot to a classic **Graham Cracker Crust**. For that version, you’ll swap the Oreo crumbs for 1 1/2 cups of graham cracker crumbs, mixing them with about 1/4 cup of granulated sugar and 6 tablespoons of melted butter. It works beautifully and gives the pie a slightly warmer, sweeter edge.
Regarding the peanut butter itself: I generally use standard creamy peanut butter, like Jif or Skippy. They contain stabilizers that help the filling set up nicely and give you that classic, nostalgic taste. If you use a natural peanut butter, you might find you need an extra tablespoon of powdered sugar or maybe even a teaspoon less vanilla, since the natural versions tend to be runnier. Trust your eye when you mix; if the mixture seems too loose for a rich pie, just beat in a tiny bit more powdered sugar until it looks thick enough to spread.
For extra richness that echoes some of those older, more traditional pies, you can always try adding a splash of mini cheesecake bites inspiration by adding just half a teaspoon of lemon juice to cut through the sweetness if you use cream cheese.
Step-by-Step Instructions for the Perfect No Bake Peanut Butter Pie
Alright, let’s make some magic happen without ever touching the oven dial! This process is wonderfully straightforward, but timing and simple gentle handling are what turn this into a truly premium no bake peanut butter pie experience. I broke it down just like Daisy taught me: prep the foundation, build the filling, and then let patience do the hard work in the fridge. Remember, this is meant to be easy, but we still want that gorgeous, structural integrity in our crust!
As we work, keep safety in mind—especially when melting butter if you’re using the microwave, watch carefully so it doesn’t boil over! When you’re done, you can explore other simple favorites in my guide to no-bake pumpkin fluff dip recipes too.
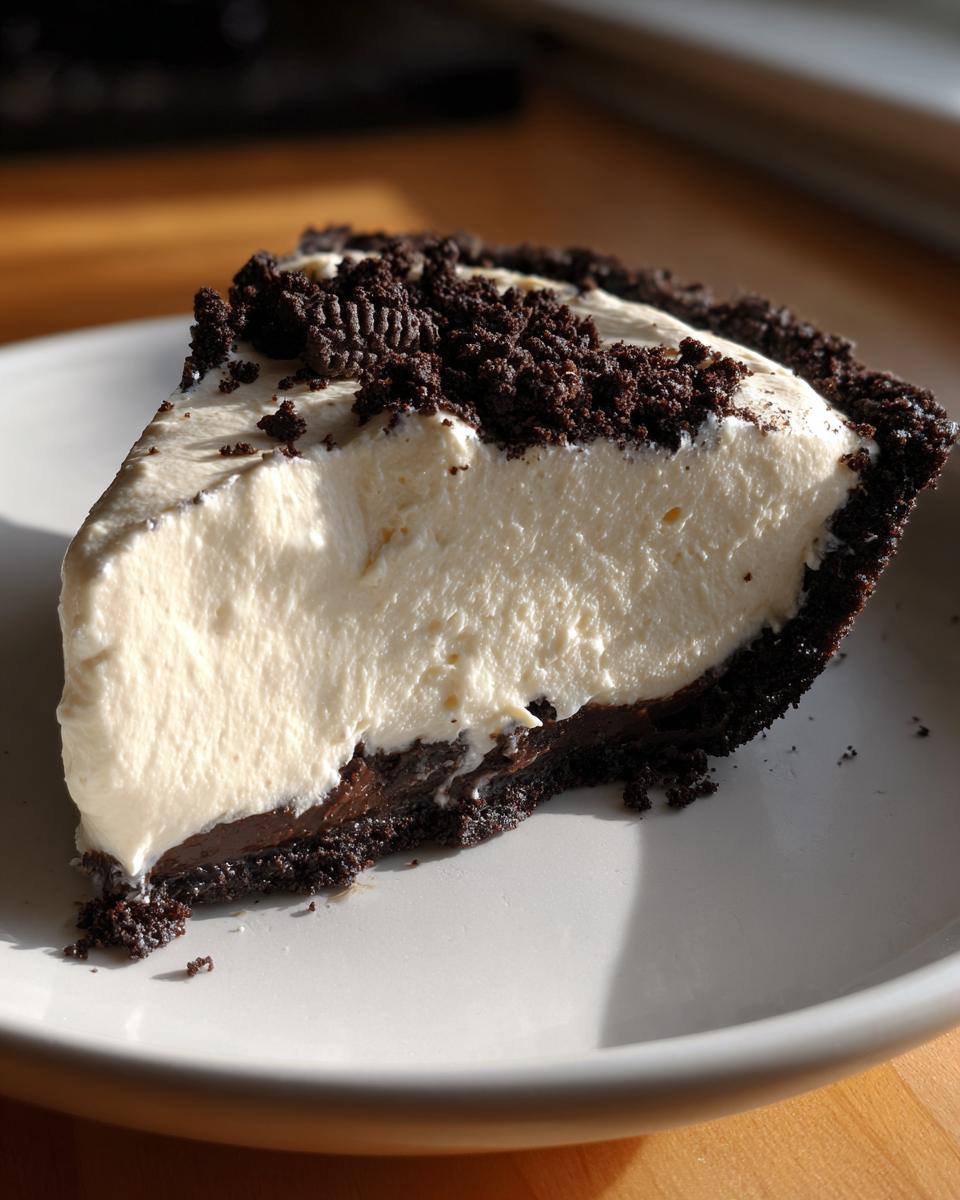
Creating the Crunchy Oreo Crust Base
This is the ground floor, so make it sturdy! You mix those crushed Oreos with the six tablespoons of melted butter until everything looks evenly damp—no dry spots allowed. Then, you press it into your 9-inch pie plate. Here’s my secret, learned from watching Daisy press flour into pie shells: use the bottom of a flat measuring cup to really pack it down firmly along the bottom and up the sides. Don’t be shy! A tightly pressed crust is essential for any no bake sweet treats because it keeps everything from crumbling when you slice it.
Once it’s firmly packed, slide that crust into the freezer while you whip up the filling. Cold equals stability, so don’t skip this chilling step!
Achieving the Fluffy Peanut Butter Filling Texture
Now for the best part! Start by beating your softened cream cheese until it’s completely smooth—no lumps allowed here, promise! Then, slowly mix in your full cup of peanut butter until you have one unified, creamy base. Next, gradually add that powdered sugar and vanilla. Keep mixing until it looks uniform and glossy.
The absolute key to getting that signature light texture is the whipped topping. Take your thawed tub and *gently* fold it into the peanut butter base. And I mean gently! Use a spatula and cut down the middle, sweep up the side, and turn the bowl. Keep folding until there are no white streaks left. If you mix this too hard, you’ll deflate all that wonderful air, and you won’t get that heavenly fluffy peanut butter dessert texture we are aiming for. We want light and airy, not dense!
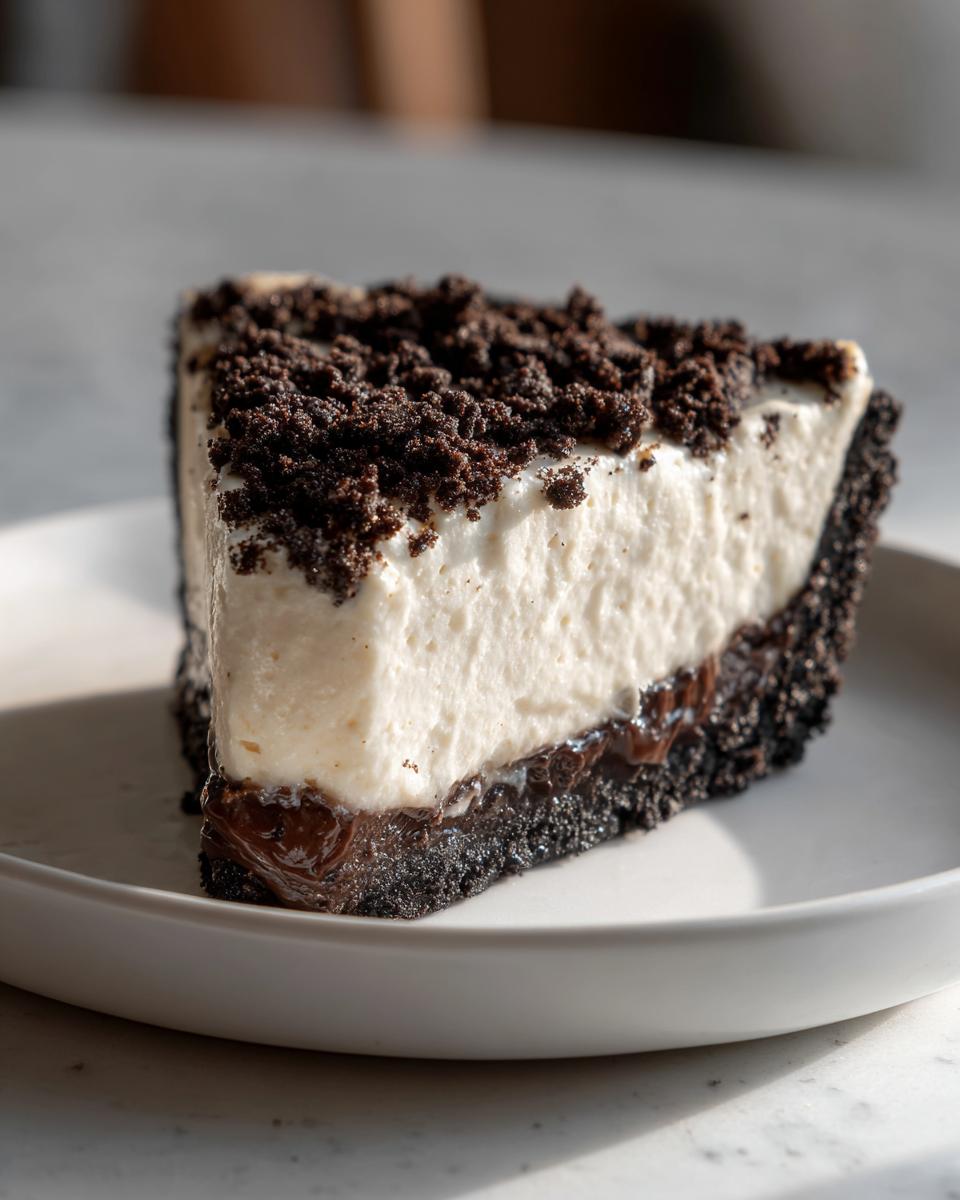
Chilling and Serving Your No Bake Peanut Butter Pie
Once your filling is beautifully incorporated, spoon it right into that waiting, frozen Oreo crust. Smooth the top off nicely with your spatula—take your time here for the perfect presentation. Then, you need patience. Cover it loosely with plastic wrap and tuck it into the refrigerator. You absolutely must chill this for at least four hours, but honestly, if you can resist and leave it overnight, the flavor deepens, and the structure firmed up perfectly. This makes it the ultimate make ahead dessert, meaning you can tackle serving dessert stress completely the day before a party!
Tips for Success with Your Easy Peanut Butter Pie
You know, even with a recipe this simple, just a few little tricks can take your Easy Peanut Butter Pie from great to absolutely legendary. These aren’t complicated steps; they are just the little bits of wisdom I picked up when my initial attempts were maybe a little… mushy. We want structure here, friends, especially when we aren’t using the oven to help us set things!
First off, let’s revisit the crust. While the Oreo crust is my personal favorite for that dark, chocolatey contrast, if you swap in the graham cracker version, remember to check that ratio! The graham cracker option needs a little more fat (melted butter) to hold together properly in the absence of baking heat. It’s all about balance, like everything else in Daisy’s kitchen.
Now, for those of you who want an extra luxurious finish—maybe you’re making this for someone special or just feel like going all out—we can upgrade that light fluffiness to something even richer. If you happen to disagree with using the stabilized frozen whipped topping, you can absolutely substitute it with heavy cream. Whip up one cup of cold heavy cream until stiff peaks form. This results in a filling that is a bit firmer and much more decadent. It’s a subtle change, but it turns this into a truly decadent no bake dessert. Remember to taste as you go, though, because the flavor profile shifts slightly!
And one last thing I learned the hard way when I tried to rush things: use room temperature cream cheese. I mean it. If you try to beat in cold cream cheese, you end up with tiny, hard bits suspended in your smooth filling. No amount of beating will fix that once it’s set! Take it out an hour early; it’s worth the wait. If you need more inspiration for quick yet satisfying sweets, take a look at my guide for no bake peanut butter protein balls.
Serving Suggestions for This No Bake Peanut Butter Pie
When you finally pull this glorious pie out of the fridge, the presentation is everything! Since this is the ultimate no bake peanut butter pie, it’s totally geared toward easy serving, which is exactly what you need when you’re hosting or just surviving a hot afternoon.
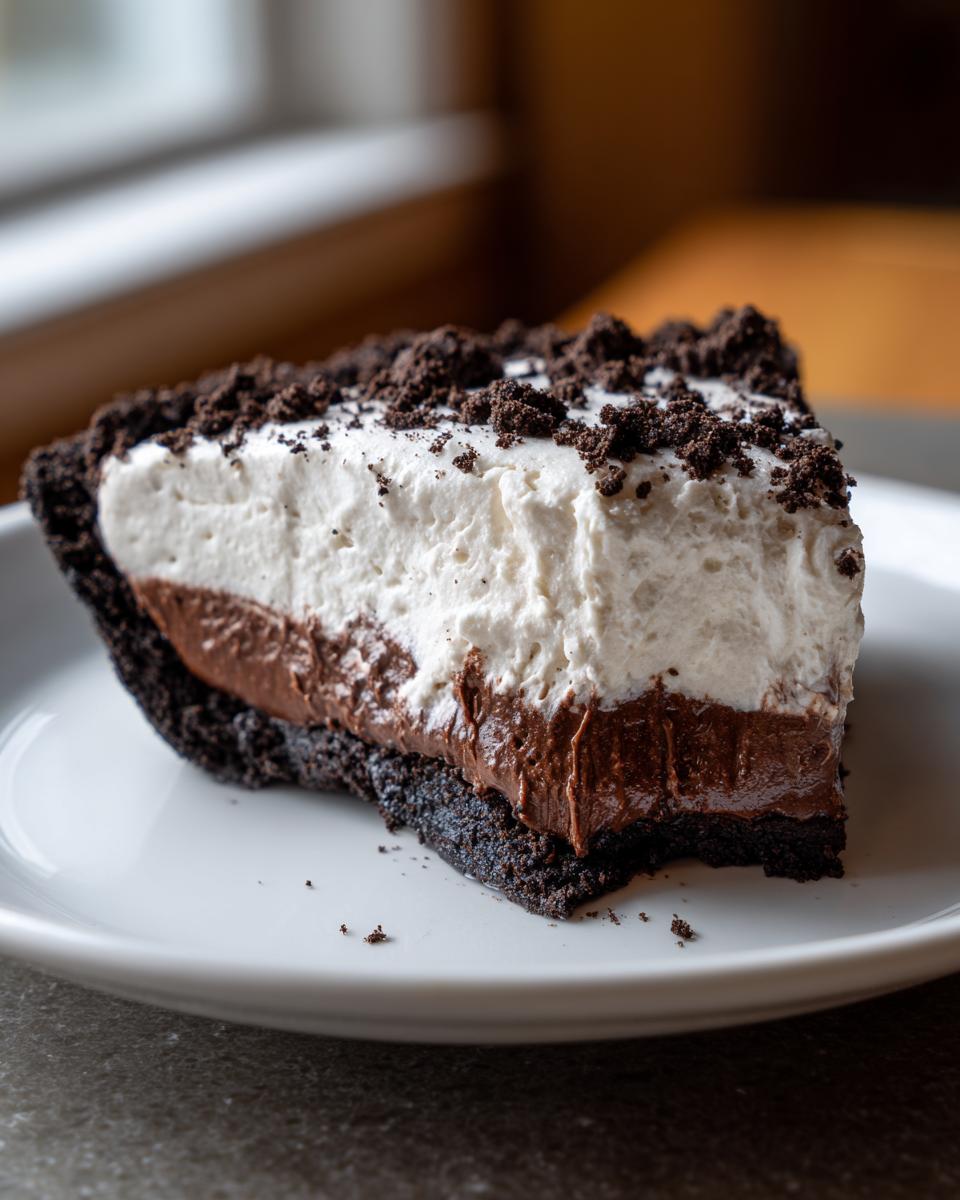
You absolutely must dress this up a little before serving, or it feels a bit naked! My favorite way to finish this pie, especially when I’m serving it as a **quick party dessert**, is with a generous drizzle of good quality chocolate syrup. The slight bitterness of the chocolate plays so beautifully with the sweet, salty peanut butter. It’s rich without being overwhelmingly heavy.
Another fantastic option that always gets rave reactions involves chopping up some peanut butter cups—Reese’s, King-sized, whatever you like! Scatter those chopped cups right over the top before you cut the first slice. If you’re feeling ambitious, a light dusting of flaky sea salt on top of the chocolate drizzle really makes the peanut butter flavor pop. It’s simple, but it elevates the whole experience!
This pie is the perfect end to any summer meal or backyard barbecue. It’s cool, it’s creamy, and it requires absolutely zero fuss when you’re already juggling grilling and hosting duties! If you’re ever in need of other quick dishes that don’t involve the oven—like maybe a killer side dish for that party—you might want to check out my recipe for easy homemade BBQ sauce.
Storage and Making Ahead for No Bake Pies for Hot Weather
This pie is truly a lifesaver when you’re planning ahead for a busy weekend or, even better, when the weather outside is just too steamy to even consider turning on the stove, let alone the oven! Knowing you have a gorgeous, ready-made dessert waiting in the fridge is such a relief. This is certainly my favorite kind of **make ahead dessert**.
Since we aren’t dealing with eggs or any baked structure here, storage is pretty simple, but you do need to keep it cold to maintain that beautiful, fluffy texture. Once the pie is fully set—meaning it’s been chilled for those essential four hours, or ideally overnight—cover it tightly with plastic wrap. Don’t let it sit uncovered in the fridge, or the top will start to dry out or absorb fridge smells, and we certainly don’t want that!
You can safely keep this pie in the refrigerator for about three days. Honestly, most of them don’t last that long around here, but it’s good to know you have that buffer time when planning parties. If you need to keep it longer, or if you’re trying to make it last until a holiday gathering, you can freeze it!
To freeze, wrap the entire pie (in its dish!) tightly in a layer of plastic wrap, followed by a layer of aluminum foil. This double wrap system protects against freezer burn. It freezes beautifully and keeps quite well for about a month. When you’re ready to eat it, just transfer it directly from the freezer to the refrigerator and let it thaw slowly for about 6 to 8 hours. It comes out tasting almost as fresh as the day you made it. It’s perfect for those times you need long-term planning for your **no bake pies for hot weather** gatherings.
If you love making little bites when you need a quick treat, you might also enjoy my recipe for no bake chocolate dipped pecan pie balls—they freeze just as well!
Frequently Asked Questions About the Best Peanut Butter Pie Recipe
I know when you try a new recipe—especially one without the safety net of an oven—you end up with a whole list of little unknowns. That’s totally normal! I’ve gathered the questions I get most often about making sure this Best Peanut Butter Pie Recipe turns out perfectly creamy and firm every single time. When you’re relying on chilling time, you want confidence in your steps!
Can I use a Graham Cracker Crust instead of Oreo for this Easy Peanut Butter Pie?
Oh, absolutely! If you’re not feeling the chocolate contrast of the Oreo crust, swapping it out for a classic graham cracker crust is super easy. Just follow the instructions I laid out earlier in the notes: you’ll need about 1 1/2 cups of graham cracker crumbs, 1/4 cup of sugar, and 6 tablespoons of melted butter instead of the cookies. Press it firmly into the pan and freeze it for about 15 minutes while you mix the filling. It makes a wonderfully sweet base for this whole **Easy Peanut Butter Pie** experience!
How do I ensure the filling sets properly in this No Oven Needed Dessert?
This is the million-dollar question for any no-bake pie! The setting doesn’t come from heat; it comes from cold temperature stabilizing the fats. The most critical step here involves your cream cheese. It needs to be fully softened—if it’s cold, it won’t incorporate smoothly with the peanut butter and sugar, and you’ll get flecks that never fully dissolve, weakening the structure. Secondly, you MUST respect the chilling time. Don’t try to slice this pie after just two hours. Give it the full four hours minimum, but honestly, chilling it overnight is the secret to a sliceable, structurally sound No Oven Needed Dessert.
Is this recipe similar to an Amish Peanut Butter Pie?
That’s a great question that calls back to some old family favorites! Yes, there’s a definite overlap. Many recipes floating around that people call “Amish Peanut Butter Pie” are very similar to this one because they rely on that signature mix of cream cheese and peanut butter, lightened up with whipped topping or homemade whipped cream. The main difference usually lies in the crust—the traditional Amish style often uses a standard pastry or maybe a graham cracker base, whereas I love the decadent chocolate base here. But the core flavor profile—that fluffy, slightly tangy peanut butter filling—is definitely in that same comforting family of No Bake Sweet Treats.
If you have any other specific questions about sourcing ingredients or troubleshooting, please feel free to reach out via my contact page!
Nutritional Estimates for Your No Bake Peanut Butter Pie
I always try to keep things simple here, and that includes transparency about what we’re eating! While this is made with simple, comforting ingredients, it is definitely a rich dessert, as you might suspect from all that peanut butter and cream cheese!
Here are the estimated nutritional values for one slice of this scrumptious **no bake peanut butter pie**, based on the ingredients listed. Please remember, these numbers are just guidelines. If you swap out Oreos for graham crackers, or use natural peanut butter, the totals will shift a little. Daisy always said the most important nutrition came from the happiness shared around the table anyway!
- Serving Size: 1 slice
- Calories: 450
- Fat: 30g (Including approx. 12g Saturated Fat)
- Total Carbohydrates: 40g
- Sugars: 35g
- Protein: 10g
- Cholesterol: 45mg
We’re keeping the trans fat out of the equation entirely, which is a small victory! It’s a treat, for sure, but one that’s easy to make ahead of time so you can enjoy that sweet fix without the stress of last-minute cooking. Pair it with some fresh berries if you want to sneak in a little extra something!
Share Your Experience Making This Sweet Treat
The best part of sharing Daisy’s recipes with you all is hearing about your kitchen adventures! Now that you have made this spectacular, totally fuss-free **no bake peanut butter pie**, I really want to know how it went.
Did you stick with my favorite creamy peanut butter filling? Or maybe you got adventurous! Did you try the topping variation I mentioned, turning it into a **Simple Chocolate Peanut Butter Pie**? I love seeing your finished pies!
Please, stop by the comments section below and leave me a quick rating—five stars if it earned its spot in your dessert rotation! I always cherish reading your thoughts and seeing the little twists you bring to these family traditions. It connects us all, even when we’re miles apart. If you have a picture of your slice, tag me on social media; I’d be thrilled to see my grandmother’s legacy shining bright in your home!
If you are curious about me and how these recipes have been adapted for modern living after growing up in Daisy’s kitchen, you can always read more about my journey on the About Page. And if you tried the graham cracker crust version you read about, I’d particularly love feedback comparing it to the classic Oreo! If you need a good starting point for a recipe you can trust again and again, this specific one, found over at this link, is truly the one I rely on.
PrintThe Best Easy No Bake Peanut Butter Pie with Oreo Crust
Make this simple, creamy no bake peanut butter pie using a crunchy Oreo crust. It requires no oven and comes together quickly, making it a perfect quick dessert for any gathering or hot weather.
- Prep Time: 20 min
- Cook Time: 0 min
- Total Time: 4 hr 20 min
- Yield: 8 servings 1x
- Category: Dessert
- Method: No Bake
- Cuisine: American
- Diet: Vegetarian
Ingredients
- 1 1/2 cups crushed Oreo cookies (about 25 cookies)
- 6 tablespoons unsalted butter, melted
- 1 (8 ounce) package cream cheese, softened
- 1 cup creamy peanut butter
- 1 1/2 cups powdered sugar
- 1 teaspoon vanilla extract
- 1 (12 ounce) container frozen whipped topping, thawed
- Optional topping: Chocolate syrup or mini peanut butter cups
Instructions
- Prepare the crust: Mix the crushed Oreo cookies and melted butter in a medium bowl until the crumbs are evenly moistened. Press the mixture firmly into the bottom and up the sides of a 9-inch pie plate. Place the crust in the freezer while you prepare the filling.
- Make the filling base: In a large bowl, beat the softened cream cheese with an electric mixer until smooth. Add the peanut butter and beat until fully combined.
- Add sweetener and flavor: Gradually beat in the powdered sugar until the mixture is smooth. Mix in the vanilla extract.
- Fold in whipped topping: Gently fold in the thawed whipped topping until no streaks remain. Do not overmix; you want the filling to stay light and fluffy.
- Assemble the pie: Spoon the peanut butter filling evenly into the chilled Oreo crust. Spread the top smooth with a spatula.
- Chill: Cover the pie loosely with plastic wrap and refrigerate for at least 4 hours, or until the filling is firm. For best results, chill overnight.
- Serve: Before serving, top with chocolate syrup or chopped peanut butter cups, if desired. Slice and serve cold.
Notes
- If you prefer a graham cracker crust, substitute 1 1/2 cups of graham cracker crumbs mixed with 1/4 cup sugar and 6 tablespoons melted butter.
- For an extra rich flavor, use natural, unsweetened peanut butter.
- This pie is an ideal make-ahead dessert for parties or holidays.
- If you want a slightly firmer filling, you can use 1 cup of heavy cream whipped to stiff peaks instead of the frozen whipped topping.
Nutrition
- Serving Size: 1 slice
- Calories: 450
- Sugar: 35g
- Sodium: 300mg
- Fat: 30g
- Saturated Fat: 12g
- Unsaturated Fat: 18g
- Trans Fat: 0g
- Carbohydrates: 40g
- Fiber: 2g
- Protein: 10g
- Cholesterol: 45mg