
It’s honestly frustrating when you try something simple at home and it just turns out wrong. Have you ever been absolutely ready for those perfect, glossy layers of nigiri, only to find your rice is either a soupy mess or hard as little pebbles? Trust me, I’ve been there, especially when trying to recapture the flavor of the food I grew up with. That’s why I’m sharing what I learned from my grandmother, Daisy: the definitive, foolproof method for making perfect, fluffy sushi rice.
This isn’t about complicated gadgets; it’s about respect for the grain and simple, honest technique. I’ve spent months perfecting this guide, adapting Daisy’s patient approach for our busy modern lives. By the end of this tutorial, you won’t just have a side dish; you’ll have that essential foundation—fluffy, sticky, perfectly seasoned rice that elevates everything from a simple roll to a gorgeous poke bowl base. Let’s finally master this!
- Why You Need This Perfect Sticky Rice Technique for Homemade Sushi Rice
- Essential Ingredients for Authentic Sushi Seasoning
- Mastering Sushi Rice: The Critical Preparation Steps
- Cooking Your Sushi Rice: Stovetop and Rice Cooker Methods
- Preparing the Authentic Sushi Seasoning for Seasoned Rice
- How to Make Sushi Rice: The Gentle Folding and Cooling Technique
- Tips for Success When Making Sushi Rice at Home
- Frequently Asked Questions About Sushi Rice
- Storage and Reheating Instructions for Leftover Sushi Rice
Why You Need This Perfect Sticky Rice Technique for Homemade Sushi Rice
Look, you can buy the fanciest tuna or the freshest veggies in the world, but if your cooked rice is off, the entire sushi experience is ruined. Seriously, it’s that important! My grandmother taught me that the difference between good and great homemade sushi rice comes down to a few non-negotiable technical steps. When you follow this specific method, you’re guaranteed success every single time. It turns something intimidating into something you whip up without a second thought. If you’re looking for quick weeknight meals, this rice is versatile enough to be the base for fun, fast dinners too, like in a simple dinner bowl!
- It creates that satisfying, subtle stickiness required to hold your maki rolls together.
- The proper seasoning ensures that rich, tangy flavor that defines authentic Japanese cuisine.
- It makes your finished product look incredible—restaurant quality, right on your own table!
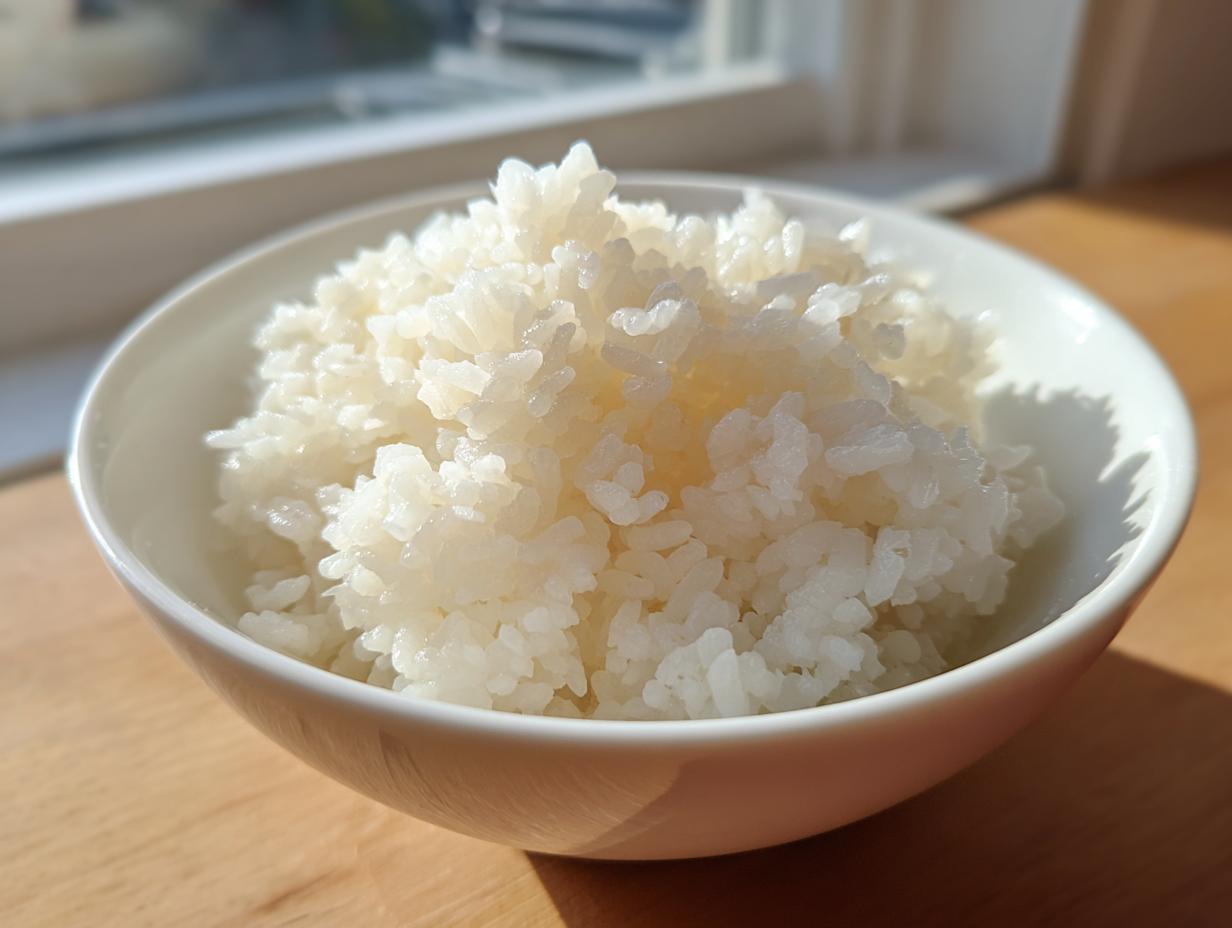
Achieving Fluffy Sushi Rice Texture
We are aiming for a texture that is simultaneously tender, slightly chewy, and wonderfully cohesive. That’s what makes it fluffy sushi rice. If you use the wrong kind of rice, or if you skip the washing, it gets gummy. If you overcook it? It turns into paste. This technique ensures the grains stay distinct while still clinging together beautifully. It all starts with picking the right Japanese short-grain rice, darling.

Essential Ingredients for Authentic Sushi Seasoning
Okay, let’s talk about what goes into the bowl. Remember, the final flavor of your **sushi rice recipe** hinges on getting this seasoning mixture—the *sushi-zu*—just right. It needs that perfect balance of tang, sweetness, and salt. Don’t go grabbing any old bag of rice, either! For the best results, you absolutely must use authentic Japanese short-grain rice. It has the right starch content to become that perfect sticky rice we’re aiming for. Everything else is secondary to those first two ingredients: the rice and the vinegar.
Ingredient Notes and Substitutions for Your Sushi Rice Recipe
If you try to use long-grain rice—like what you use for plain white rice—it just won’t work. It lacks the right kind of starch structure, and you’ll end up with something crunchy or crumbly, not at all like the velvety texture you need for your **sushi rice**. So, please, get that bag labeled as Japanese short-grain or sushi rice.
For the vinegar, rice vinegar is the only way to go. You want the mild, subtly sweet stuff. Apple cider vinegar is just too harsh and acidic here; it’ll overpower the whole thing. We keep it simple because when you use quality starting ingredients, you don’t need fancy extra steps or weird substitutions just to make the **sushi rice recipe** work.
Mastering Sushi Rice: The Critical Preparation Steps
If you rush these first steps, I’m telling you right now, your final product will not behave. These are the quiet secrets to achieving that absolutely gorgeous texture. My grandmother always said that preparing the raw rice was half the battle won. We need to get rid of the excess starch clinging to the outside of those **sushi rice** grains so they puff up light and separate, instead of clumping into one big, heavy, gummy mass. If you’re wondering just how serious you need to be about the washing, you can read more about why this step is so vital in this helpful article!
How to Make Sushi Rice: Washing Technique
This isn’t just rinsing; this is a gentle marriage between your hand and the short-grain rice. Put your two cups of rice in a big bowl and cover it with cold water. Now, swirl it gently—don’t mash it—and watch the water turn milky white. Pour that cloudy water out. Then repeat! You have to do this five, maybe seven times until the water you drain off is pretty much clear. That clear water means you’ve achieved the absolute **best sushi rice technique** possible before it even hits the heat.
The Importance of Soaking Japanese Short Grain Rice
Once you’ve drained that rice until your arms get tired, you can’t just toss it straight into the pot. Nope! This is another step Daisy insisted upon for perfect cooking. Let the completely drained **sushi rice** sit in the empty sieve or colander for a full 30 minutes. This soaking time allows the dry interior of each grain to start absorbing moisture evenly. When they all get wet at the same rate in the cooker, they all cook evenly, which is the magic behind fluffy rice that doesn’t turn into mushy rice!
Cooking Your Sushi Rice: Stovetop and Rice Cooker Methods
Now that we’ve pampered those rice grains with a good wash and a nice soak, it’s time for the actual cooking. I know some of you rely on your rice cooker—and that’s perfectly fine! But sometimes, when I’m feeling nostalgic for that old-school kitchen rhythm, I use the stovetop. Both methods get you fantastic **sushi rice**, but the stovetop takes a little more attention. Just remember the golden rule for both: patience during the resting phase is non-negotiable!
Stovetop Sushi Rice Instructions
If you’re going stovetop, use a pot with a heavy bottom and a lid that seals tight—we need to trap all that steam. Get your soaked rice and the two cups of measured cold water into the pot. Bring that up high over medium-high heat until you hit a full, rolling boil. The second it starts bubbling like crazy, you immediately turn the heat down to the absolute lowest setting your stove allows. Cover it up and let it simmer for exactly 15 minutes. Seriously though, do not lift the lid for a peek! If you do, the steam escapes, and that perfect texture is gone. After 15 minutes, take the pot completely off the heat and let it rest, still covered, for another 10 minutes.
Rice Cooker Sushi Rice Instructions
If you have a modern rice cooker, this is your easiest route to a beautiful batch of dinner-worthy rice—it’s fantastic for making enough **sushi rice** for a big batch of rice casseroles too, actually! Just transfer your soaked and completely drained rice and add the required two cups of cold water right into the cooker pot. Close the lid, press the standard white rice button, and walk away. You can peek at Instant Pot timing tips if you’re using a pressure cooker style, but for a standard one, just let it do its thing. Once it switches to ‘Keep Warm,’ you are halfway to seasoning!
Preparing the Authentic Sushi Seasoning for Seasoned Rice
While the rice is resting—don’t you dare peek!—we need to get our *sushi-zu* ready. This mixture is what turns plain cooked rice into amazing **seasoned rice**. It’s such a simple ratio of rice vinegar, sugar, and salt, but getting those flavors married together correctly is key. You’ll combine your measured rice vinegar, granulated sugar, and salt in a very small saucepan. Remember, we aren’t making candy here, so keep that heat low!
Heat it gently, just stirring constantly until you see the sugar and salt completely dissolve into the vinegar. It should look perfectly clear when you’re done. The absolute *never-ever* rule here is: do not let this mixture boil! Boiling cooking off the delicate flavor of the vinegar. Once it dissolves, pull it off the heat and let it cool down just a tiny bit before we introduce it to our hot rice. For similar flavor profiles in other dishes, check out this sweet and savory side dish recipe!
How to Make Sushi Rice: The Gentle Folding and Cooling Technique
This final stage is where all the magic—and all the potential disaster—happens! You must get the seasoning into the rice while it’s still hot, but you have to treat it gently. Daisy would never let me use a metal spoon because she swore it bruised the grains. So, grab your biggest wooden or glass bowl for this step. Transfer that beautifully cooked **sushi rice** into the bowl, spreading it out just a little before you start seasoning it.
Now, pour that slightly warm vinegar mixture evenly over the surface. This is where you have to channel your grandmotherly patience, even if you’re not technically a grandmother yet! You can’t just stir it like soup. Granny Daisy always insisted on a specific motion, which is fundamental to **mastering sushi rice**: use your rice paddle in a swift, slicing or ‘cutting’ motion across the rice, turning the grains over as you go. Don’t mash or stir downwards; you are folding it in gently.
Right as you fold, you need to introduce some air! If you can, get someone—a spouse, kids, anyone—to fan the rice quickly while you slice through it. This rapid cooling process is vital because it stops the steam from overcooking the starch and perfectly sets that sticky texture we want. Keep cutting and fanning until the rice cools down to roughly body temperature. It’s ready when it shines and clings perfectly to itself—that’s how you know your **sushi rice** is absolutely perfect for rolling, just like I learned from the techniques behind Daisy’s best comfort baking!
Tips for Success When Making Sushi Rice at Home
Now that you’ve gone through the washing, cooking, and folding—which is honestly the secret trilogy for incredible results—I want to share a couple of little troubleshooting bits. Things happen in the kitchen, right? Maybe your kitchen is warmer than mine, or maybe your rice cooker runs a little hotter. The goal here is to make this whole **easy sushi rice tutorial** totally stress-free, even when things look like they might be going sideways.
If you find your rice dried out too fast after seasoning, don’t panic! Think of it like drying-out bread; it just needs moisture back. You can revive it slightly, though it won’t be quite as perfect as when it was fresh. For storage tips, or if you want to see my foolproof recipe for soft sourdough bread (because soft carbs are my weakness!), check out my other posts!
Using Your Sushi Rice for Maki Rolls and Poke Bowl Base
The consistency you achieve is important, especially depending on what you are making! If you’re making neat little **rice for maki rolls**, you want that rice to be just cool enough that you can handle it without burning your fingers, but still warm enough to have that perfect tackiness so it sticks together when you roll it up. If it gets too cold, it becomes brittle and will just crack.

However, if you are building a layered rice bowl—say, a colorful **poke bowl base**—you can let the rice cool a bit further, almost to room temperature. When it’s slightly cooler, the individual grains feel more distinct, which is nice when you are piling fresh, cool toppings on top. If you ever want advanced tips on the bowl assembly, I reference some great techniques over at Evolving Table!
Frequently Asked Questions About Sushi Rice
I always get so many questions whenever I post a photo of my freshly made **sushi rice**! It warms my heart that so many of you want to try making it at home. When I first started learning from Daisy, I had a whole list of things I needed clarification on. Here are a few of the most common things folks ask me about that crucial **vinegared rice** foundation.
Can I use long-grain white rice instead of Japanese short grain rice for sushi rice?
Oh honey, please don’t try this, I beg you! The short answer is a definitive no, you cannot substitute long-grain white rice. Long-grain rice—the kind you make for a simple side dish or use in a chicken parmesan recipe—simply does not have the right amount of surface starch. That starch, created by using short or medium-grain Japanese rice, is what makes the grains stick together properly when seasoned. If you use long-grain, you’ll end up with **seasoned rice** that crumbles apart the second you try to roll it.
How long does seasoned rice last once made?
This is important for food safety and quality! Once you’ve made your **seasoned rice**, it really should be used the same day, honestly. If you have leftovers, it’s best to cover the bowl tightly with a damp kitchen towel—not plastic wrap, as that traps too much moisture and makes it gummy—and let it sit at room temperature for maybe an hour or two max, just until you use it up.
If you absolutely must refrigerate it, fine, but be warned: it gets hard! If it goes in the fridge, you need to reheat it gently, ideally by steaming it for just a few minutes to bring some life back into those grains. Don’t zap it in the microwave for too long, or you’ll create dry, crunchy spots!
Storage and Reheating Instructions for Leftover Sushi Rice
Oh, the eternal question of leftovers! I always try to make just enough so that everything gets eaten right away because, let’s be honest, freshly made **vinegared rice** just hits different. But sometimes, life happens, and you’re left with a bowl of wonderful, perfectly seasoned rice staring back at you. The important thing to remember when storing is that the sugar and vinegar mixture starts to harden the rice grains as they cool, especially in the cold environment of the fridge.
If I know I won’t use it all up within a few hours, I’ll cover the rice tightly with plastic wrap pressed right down onto the surface. This minimizes air contact. It’s best kept at cool room temperature for a few hours, but if you’re talking overnight, it has to go into the fridge. Keep it sealed tightly, and try to consume any refrigerated rice within 24 hours max. You can also use this leftover rice as a fun base for a quick dinner, maybe adding some of my easy homemade BBQ sauce chicken!
Now, reheating is tricky territory. You can’t just microwave it until it’s hot, or you end up with some patches that are rock hard and others that are steaming hot mush! The absolute best way to revive leftover **sushi rice** is by steaming it. If you have a steamer basket, place the rice in it over just simmering water for about 5 to 8 minutes. The gentle steam softens those grains right back up.
If you are desperate and the microwave is your only friend, work in very small increments. Take just one serving, sprinkle maybe a teaspoon of plain water over it, and heat it on 50% power for 30 seconds. Mix it around, and repeat until it’s warm all the way through. It won’t be *quite* as perfect as the fresh-off-the-paddle batch, but it’s certainly better than cracking it with a fork!
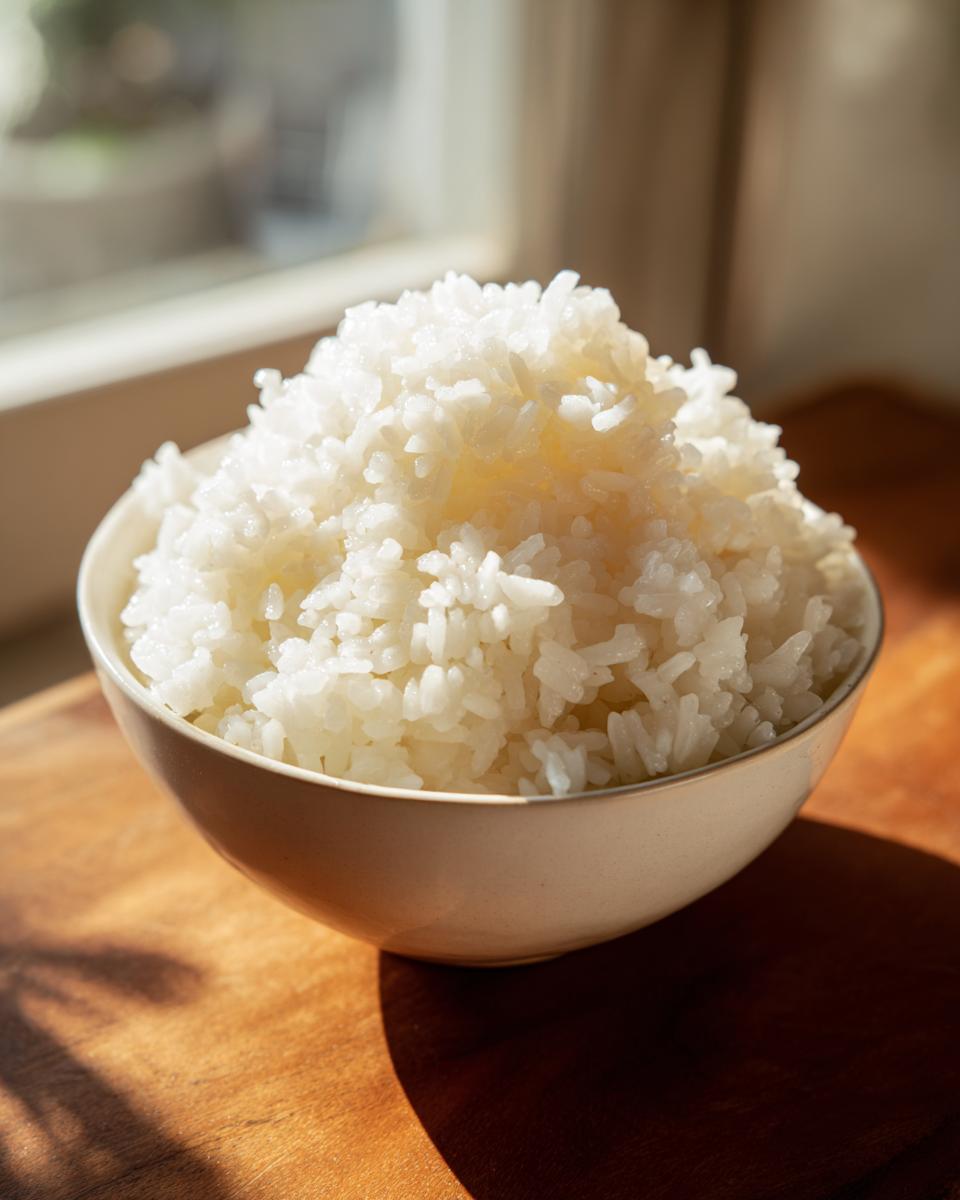
PrintThe Ultimate Guide: How to Make Perfect, Fluffy Sushi Rice Every Time
Follow this straightforward guide to master making perfect, sticky, and seasoned sushi rice using short-grain rice. This recipe works for stovetop or rice cooker methods and is essential for homemade sushi rolls, nigiri, or poke bowls.
- Prep Time: 40 min
- Cook Time: 25 min
- Total Time: 65 min
- Yield: 4 servings 1x
- Category: Side Dish
- Method: Stovetop or Rice Cooker
- Cuisine: Japanese
- Diet: Vegetarian
Ingredients
- 2 cups Japanese short-grain white rice (sushi rice)
- 2 cups cold water (for cooking)
- 1/2 cup rice vinegar
- 3 tablespoons granulated sugar
- 1 teaspoon salt
Instructions
- Wash the rice: Place the rice in a large bowl. Cover with cold water and swirl the rice gently with your hand. Drain the cloudy water. Repeat this washing and draining process 5 to 7 times until the water runs mostly clear. This step removes excess starch, which prevents mushiness.
- Soak the rice: Drain the washed rice completely and let it sit in a fine-mesh sieve for 30 minutes. This allows the grains to absorb moisture evenly before cooking.
- Cook the rice (Stovetop Method): Transfer the soaked rice and 2 cups of cold water to a heavy-bottomed pot with a tight-fitting lid. Bring the water to a boil over medium-high heat. Once boiling, immediately reduce the heat to the lowest setting, cover the pot, and simmer for 15 minutes. Do not lift the lid during this time.
- Cook the rice (Rice Cooker Method): Place the soaked and drained rice and 2 cups of cold water into your rice cooker pot. Use the standard white rice setting.
- Rest the rice: After the cooking time (15 minutes on the stove or when the cooker finishes), remove the pot from the heat or unplug the cooker. Let the rice steam, covered, for an additional 10 minutes. Do not lift the lid.
- Prepare the seasoning (Sushi-zu): While the rice rests, combine the rice vinegar, sugar, and salt in a small saucepan. Heat gently over low heat, stirring until the sugar and salt completely dissolve. Do not boil the mixture. Let the seasoning cool slightly.
- Season the rice: Transfer the hot cooked rice to a large, non-metallic bowl (wood or glass is best). Pour the prepared seasoning evenly over the rice.
- Fold and cool: Use a cutting motion with a rice paddle or wooden spoon to gently fold the seasoning into the rice. Avoid stirring or mashing the grains. Fan the rice as you fold to help it cool quickly to body temperature. This process gives you that perfect sticky texture.
- Use immediately: Your **perfect sticky rice** is now ready to use for **rice for maki rolls**, nigiri, or as a **poke bowl base**.
Notes
- Always use Japanese short-grain rice labeled as sushi rice for the best results; other rices will not achieve the correct stickiness.
- Do not skip the washing step; removing surface starch is key to achieving **fluffy sushi rice** that is not gummy.
- If the seasoning tastes too sharp, you can slightly increase the sugar next time, but aim for the **authentic sushi seasoning** balance first.
- If you are making this ahead of time, cover the seasoned rice with a damp cloth to prevent it from drying out.
Nutrition
- Serving Size: 1 cup cooked
- Calories: 205
- Sugar: 5
- Sodium: 180
- Fat: 0.5
- Saturated Fat: 0.1
- Unsaturated Fat: 0.4
- Trans Fat: 0
- Carbohydrates: 45
- Fiber: 0.5
- Protein: 4
- Cholesterol: 0