

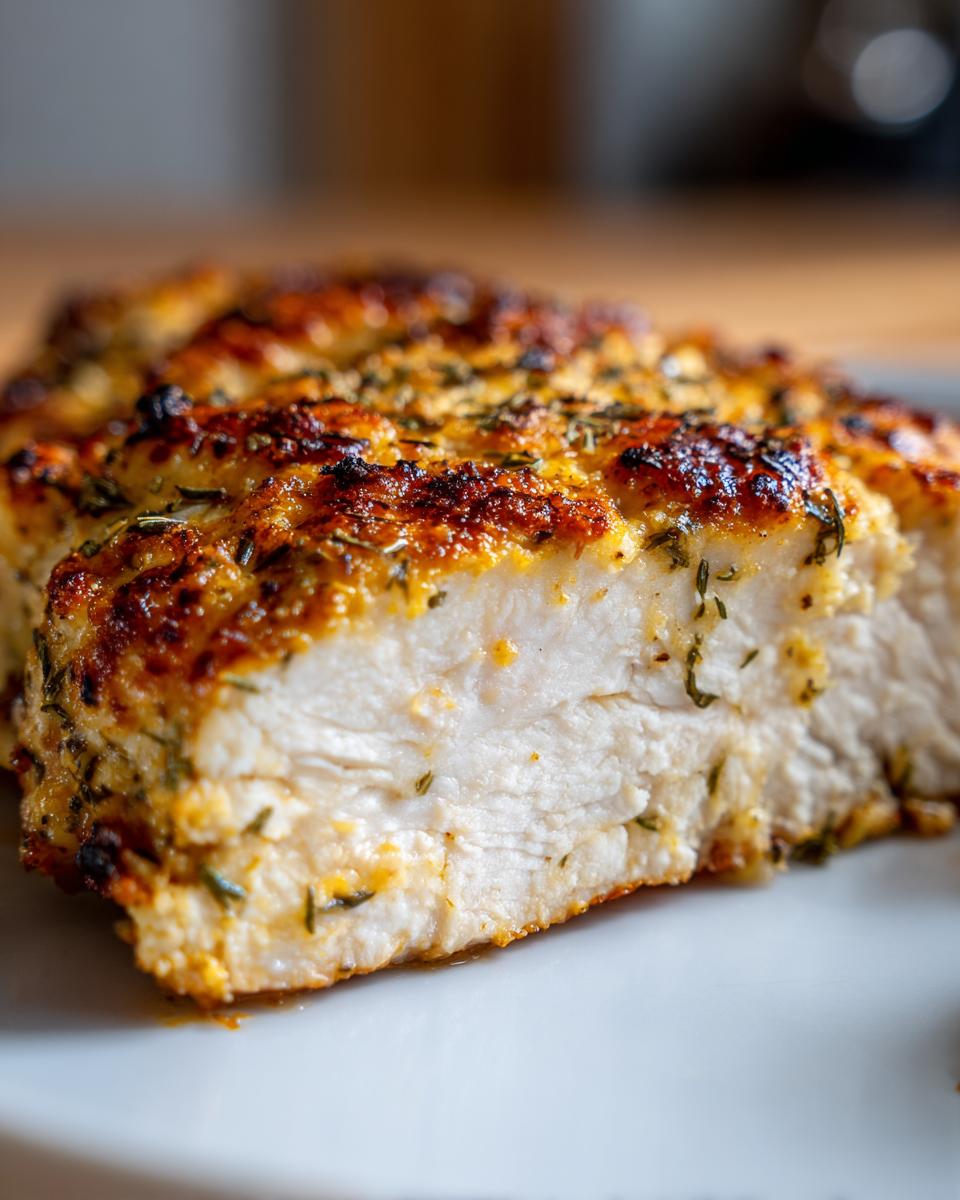
Are you tired of that frantic 5 PM scramble, staring into the fridge wondering how on earth you’ll get a wholesome meal on the table before everyone starts complaining? I totally get it; that stress used to push me toward takeout way too often. But when I started pulling Daisy’s old recipe cards out again, I found the answer to my prayers: the ultimate **baked ranch chicken**. This isn’t some complicated casserole; this is pure, unadulterated, simple cooking perfection that feels like a comforting hug from my grandmother.
This savory **baked ranch chicken** is my secret weapon for those chaotic evenings. Honestly, 10 minutes of mixing and spreading, a quick trip to the oven, and boom—you have juicy, flavorful chicken ready in under 35 minutes total. It connects me right back to the simple, honest food Daisy always insisted on making. If you need a trustworthy, family-friendly dinner that tastes incredible without demanding hours of your time, you’ve found your new favorite weeknight chicken dinner solution right here.
- Why This Easy Baked Ranch Chicken is Your New Weeknight Chicken Dinner Hero
- Gathering Ingredients for Your Flavorful Chicken Bake
- Step-by-Step Instructions for Perfect Baked Ranch Chicken
- Tips for the Best Crispy Baked Chicken Coating
- Variations: Taking Your Ranch Seasoning Chicken Further
- Serving Suggestions for Your Simple Baked Chicken
- Storage and Make-Ahead Tips for Meal Prep Chicken
- Frequently Asked Questions About Oven Baked Chicken Recipe
- Estimated Nutritional Data for Baked Ranch Chicken
Why This Easy Baked Ranch Chicken is Your New Weeknight Chicken Dinner Hero
When you’re racing the clock after work or school pickup, you don’t need a recipe that requires a dozen bowls and constant stirring. That’s why I love this **Easy Baked Ranch Chicken** so much—it genuinely delivers on the promise of speed without sacrificing taste. This is your new go-to **Quick Ranch Chicken Bake**, designed specifically for real life.
We are talking about maximum flavor for minimum effort. It’s a true **Family Favorite Chicken** because it’s ready to go into the oven in about ten minutes flat. You get that savory, herbaceous punch that everyone loves with hardly any cleanup!
Speed and Simplicity: The No Fuss Chicken Dinner
Seriously, folks, the prep for this is almost embarrassingly fast. You only need about ten minutes to mix up the coating and spread it on. That’s it! Because it’s so straightforward, it officially earns the title of a **No Fuss Chicken Dinner**. If you’re looking for something quick, dump-and-bake style, this recipe is for you. It’s the perfect answer when you need a **30 Minute Chicken Dinner** that doesn’t taste like it was rushed.
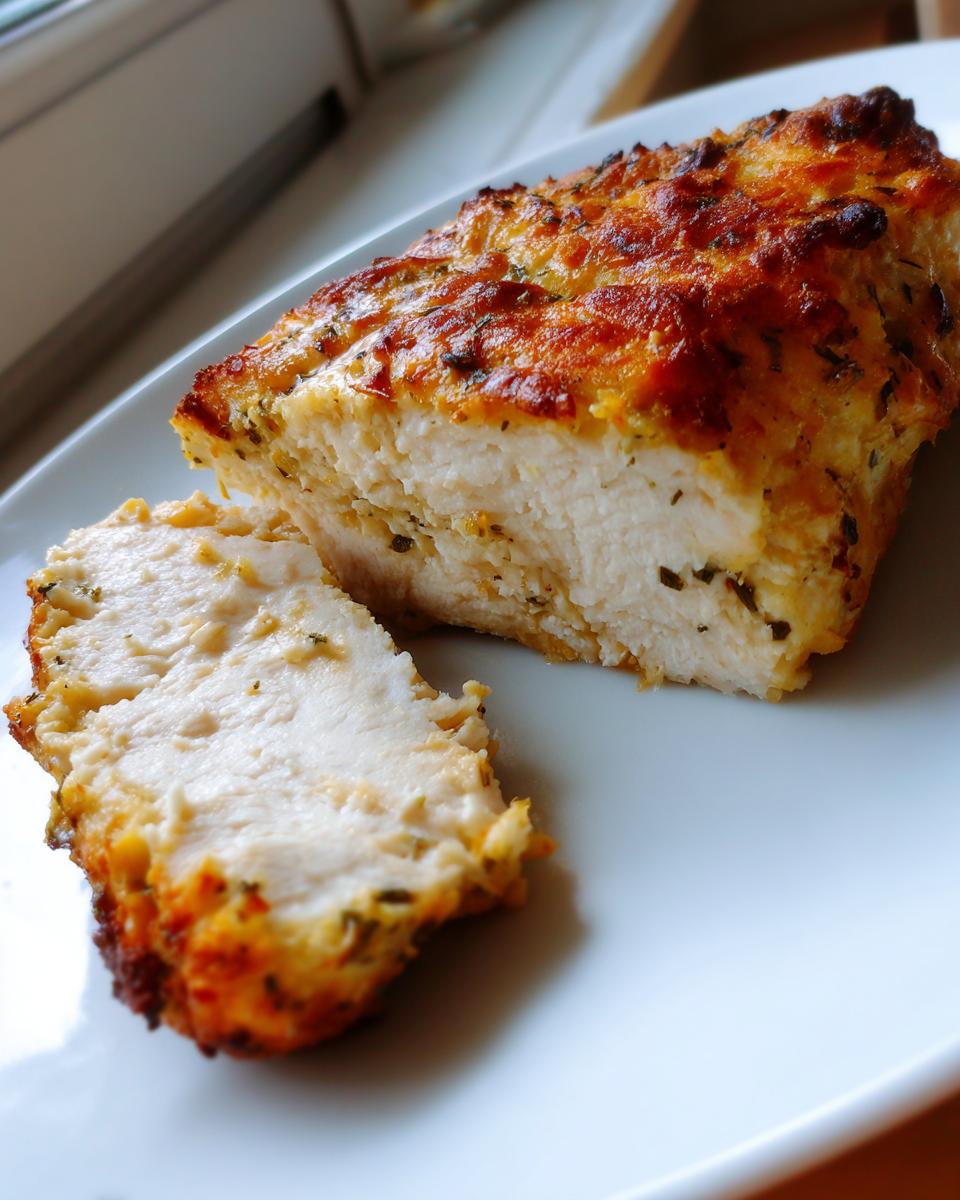
Achieving Juicy Baked Chicken Every Time
The secret sauce—literally—is the combination of ranch mix blended with either mayo or Greek yogurt. Don’t wrinkle your nose! That coating acts like a protective shield in the oven. It keeps all of those delicious juices locked right inside the meat. It’s the magic trick that ensures you get **Juicy Baked Chicken** results, even when you’re using leaner chicken breasts. It makes this a fantastic baseline **Chicken Breast Recipe Oven** staple you’ll use over and over.
Gathering Ingredients for Your Flavorful Chicken Bake
Before we put anything in that hot oven, we need to make sure we have all the players ready to go. I always lay everything out first, just like Grandma Daisy taught me. It keeps me from realizing halfway through mixing that I’m out of olive oil! For this excellent **Flavorful Chicken**, you’ll need four nice-sized boneless, skinless chicken breasts.
The coating is super simple: grab one standard packet of dry ranch seasoning mix—the whole thing! Then, mix that with about a quarter cup of either creamy mayonnaise or plain Greek yogurt if you need something lighter. Finally, toss in one tablespoon of olive oil to help it spread, and if you want a hint of crispiness later, keep a quarter cup of grated Parmesan cheese ready, too.
Step-by-Step Instructions for Perfect Baked Ranch Chicken
Alright, here’s where the actual magic happens! Cooking is all about rhythm, so just follow these steps in order, and trust me, disaster is not on the menu. First things first—get your oven cranked up! We need that heat waiting for us, so preheat it right now to 400 degrees Fahrenheit. While it heats, lightly grease your baking dish or, if you’re like me and prefer zero scrubbing, line it with some parchment paper first. This tiny bit of foresight saves so much hassle later.
Preparation and Coating the Chicken
Now grab a small bowl because it’s coating time! Whisk together that dry ranch seasoning mix, your mayo or yogurt, and the olive oil until it’s totally smooth. You want a nice, spreadable paste—no dry pockets of seasoning allowed! Next, and this is important for that crunchy edge, pat your chicken breasts really well with paper towels until they’re dry. Wet chicken equals sad, soggy ranch coating! Once they’re dry, place them in your dish and slather that yummy ranch mixture evenly over the top surface of each piece. Be sure to press it down gently so it really sticks!
Baking Time and Temperature for Baked Ranch Chicken
The chicken is prepped and ready for its spa treatment in the oven. Pop the dish in the preheated 400°F oven and set your timer for 20 minutes. But listen here, this is crucial: cooking time always depends on how thick your chicken breasts are. You are shooting for an internal temperature of 165 degrees Fahrenheit, so grab a meat thermometer and check the thickest part of the breast—don’t guess! Once they hit that temp, pull them out immediately. The last thing we want is dry chicken! After they come out, give them five solid minutes to rest. Letting it rest is part of the process that locks in all that moisture, making it perfect to serve alongside some garlic butter rice.
Tips for the Best Crispy Baked Chicken Coating
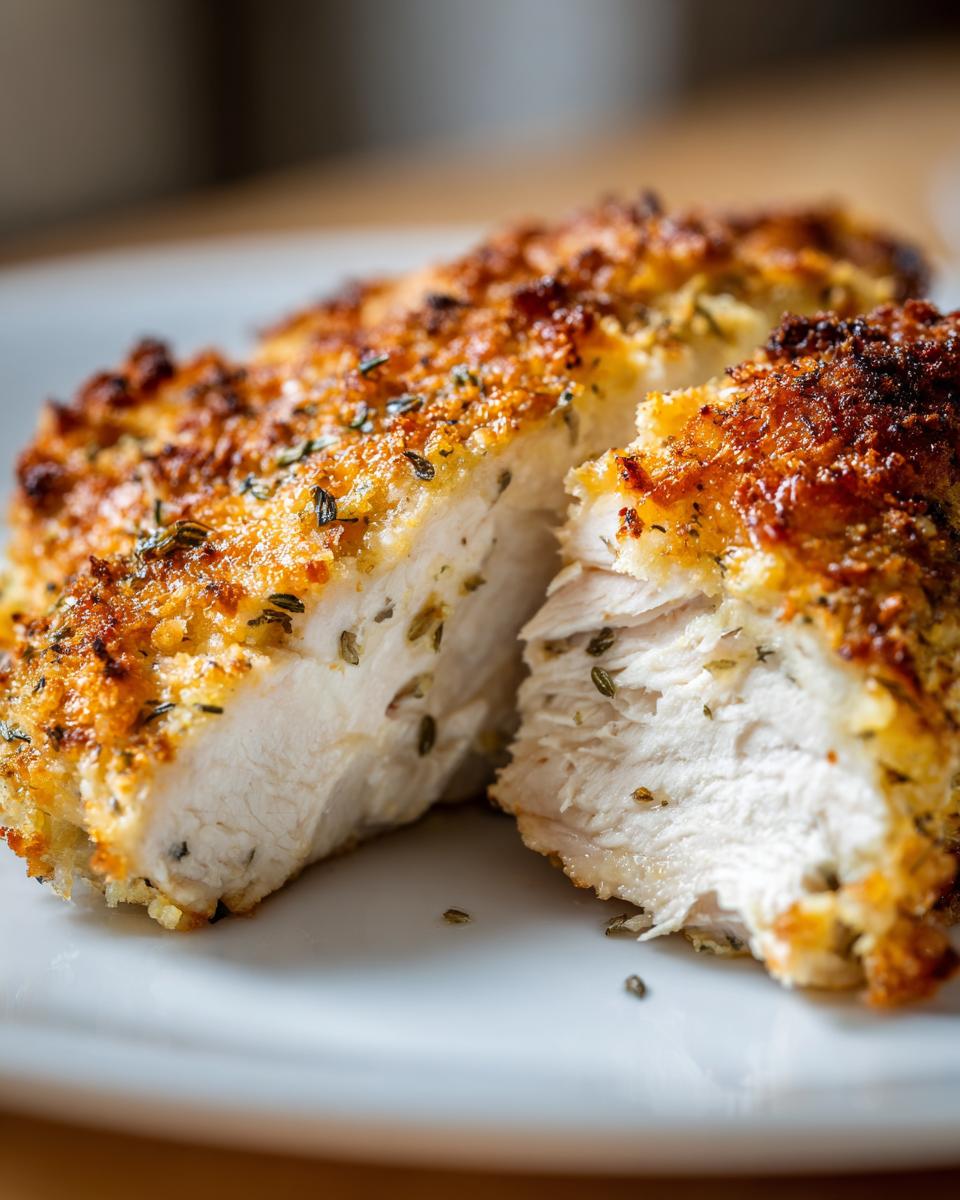
Everyone wants that **Juicy Baked Chicken** on the inside, but let’s be real, we swoon over a good crust, right? That’s why getting this coating right is non-negotiable for the perfect **Crispy Baked Chicken**. If you skipped the optional Parmesan cheese that I mentioned earlier, go grab it now! Mixing about a quarter cup of finely grated Parmesan right into the ranch coating mixture is the real game-changer here.
The cheese browns up beautifully in the oven, creating those lovely little savory, crunchy bits that elevate this whole dish. Another little trick I learned is not to smother the chicken entirely; you want a nice, even layer, but if it’s a thick mound of coating, it tends to steam instead of crisp. Think of it like giving the chicken a well-fitted jacket, not a giant winter parka!
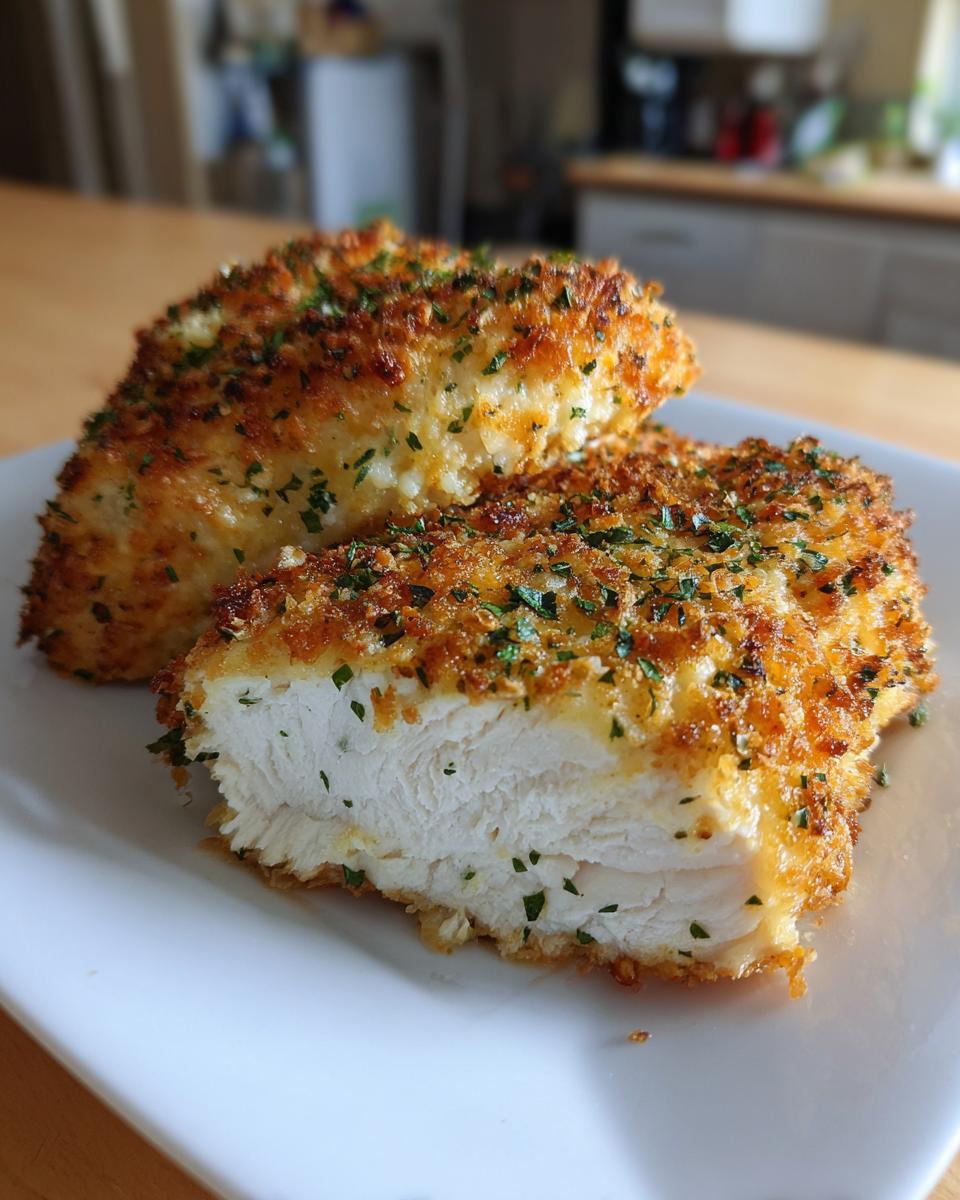
I also recommend making sure your oven is fully, totally preheated to 400°F before that pan goes in. A blast of high, dry heat right at the start helps set that crust immediately. If you want even *more* crunch, sometimes I mix in a tiny sprinkle of panko breadcrumbs with the Parmesan—it really amps up the texture! For more ideas on using Parmesan in chicken dishes, check out my easy chicken parmesan recipe!
Variations: Taking Your Ranch Seasoning Chicken Further
While this basic **baked ranch chicken** is seriously fantastic all by itself, I know y’all love to make things extra, and who am I to stop you? If you see cheddar cheese sitting in the fridge door, it deserves a starring role! To make this a truly decadent **Cheesy Ranch Chicken**, just wait until the last five minutes of baking time.
Pull the pan out gently, sprinkle a generous handful of shredded cheddar right over the top coating, and pop it back in until it’s all melty and bubbly. It adds such a wonderful gooey factor that makes it instant comfort food. And if you’re dreaming of **Bacon Ranch Chicken** perfection? That’s easy too!
Cook up some bacon separately—you know, while the chicken is having its initial bake. Chop it up coarsely, and once the chicken is fully cooked (165°F internal temp!), sprinkle that crispy bacon goodness right on top before you let the whole thing rest. It adds a salty, smoky crunch that is just beyond. These little tweaks keep our routine dinners exciting. If you want even more easy, dump-and-go chicken ideas, you have to check out my recipe for slow cooker garlic parmesan chicken!
Serving Suggestions for Your Simple Baked Chicken
Now that you’ve pulled this gorgeous, savory **Simple Baked Chicken** out of the oven, you need something to put on the plate next to it, right? Because this involves such minimal effort, I like to pair it with sides that are equally hands-off so the whole **Weeknight Chicken Dinner** stays stress-free. The richness of the ranch loves sides that can soak up any extra juices.
Mashed potatoes are always a winner—they are pure comfort and just get so creamy when paired with this savory chicken. If you want a bit of green without too much fuss, I toss broccoli florets or green beans with olive oil, salt, and pepper, and roast them right on the same sheet pan alongside the chicken breasts (if they are evenly sized, of course!). This makes cleanup practically non-existent.
For something slightly different that still screams comfort, try a quick rice pilaf. If you need a holiday touch but want it on a Tuesday night, you can absolutely whip up my favorite sweet potato casserole; it’s surprisingly fast if you just focus on the topping!
Storage and Make-Ahead Tips for Meal Prep Chicken
The best part about this **Easy Baked Ranch Chicken**? It’s absolutely amazing for throwing into your lunch containers for the rest of the week! This is what I call zero-effort **Meal Prep Chicken**. Once the chicken has completely cooled down—and I mean totally cool, don’t you dare trap steam in your storage container—store it in an airtight container.
You can safely keep your leftovers in the refrigerator for about four days. And when you are ready to eat it? Reheating is simple. I find the microwave works best for keeping it tender, but use short bursts so you don’t dry it out. You made something simple and flavorful, and now it’s saving you from sad desk lunches!
Frequently Asked Questions About Oven Baked Chicken Recipe
I always get so many questions after people try this recipe—and that’s a good sign, right? It means people are excited to make it their own! Whether you’re planning ahead or just wondering about substituting ingredients for your next **Oven Baked Chicken Recipe**, here are the things I get asked most often about this **ranch seasoning chicken**.
Can I substitute chicken breasts with thighs in this baked ranch chicken?
You absolutely can! I love chicken thighs when I’m making a **Comfort Food Chicken** dish because they are naturally more forgiving and stay juicy no matter what. The main thing you need to watch is the time. Thighs are generally thicker and take a little longer to bake than breasts. You’ll still aim for that 165°F internal temperature, but you might be looking closer to 30 or even 35 minutes in the oven. Definitely check them early, though, because they can go from perfect to cooked too fast!
How do I ensure my baked ranch chicken stays tender?
This is the most important question for getting that **Juicy Baked Chicken**! The coating helps a ton, but the real key is that mandatory resting period we talked about. You need to pull that **Easy Baked Ranch Chicken** out precisely when it hits 165°F. If you let it sit in the hot oven for just two more minutes checking for some golden brown cheese, you’ve cooked away all that moisture. Let it rest on a cutting board, tented loosely with foil, for those five full minutes. That time allows the muscle fibers to relax and redistribute all those beautiful juices. Don’t skip it!
If you want even more dinner ideas that feature chicken breasts baked beautifully, you should take a look at my recipe for chicken pot pie casserole—it’s another great way to use a humble cut of chicken and turn it into something amazing for the family.
Estimated Nutritional Data for Baked Ranch Chicken
I always make sure to include the nutrition breakdown because, while this is pure comfort food, we also want to know what we’re fueling our bodies with! Keep in mind that these numbers are just estimates based on the ingredients listed—your exact sodium or fat count might shift a tiny bit depending on the brand of ranch mix you grab. For a single serving of this **baked ranch chicken**, here’s the general overview:
- Calories: 310
- Fat: 15g
- Protein: 40g
- Carbohydrates: 3g
- Sodium: 650mg
It’s a high-protein option, which I love for feeling full and satisfied after a busy day. Knowing the facts helps me plan the rest of the week, and you can see more great ideas over at Baked Ranch Chicken Recipes when you’re looking for inspiration!
PrintEasy Baked Ranch Chicken: Juicy and Flavorful Weeknight Dinner

Make this simple baked ranch chicken for a quick, family-friendly weeknight dinner. The chicken breasts come out juicy inside with a savory ranch crust.
- Prep Time: 10 min
- Cook Time: 25 min
- Total Time: 35 min
- Yield: 4 servings 1x
- Category: Dinner
- Method: Baking
- Cuisine: American
- Diet: Low Fat
Ingredients
- 4 boneless, skinless chicken breasts
- 1 packet (1 oz) dry ranch seasoning mix
- 1/4 cup mayonnaise or plain Greek yogurt
- 1 tablespoon olive oil
- 1/4 cup grated Parmesan cheese (optional, for crispiness)
Instructions
- Preheat your oven to 400 degrees Fahrenheit. Lightly grease a baking dish or line it with parchment paper.
- In a small bowl, mix the dry ranch seasoning mix, mayonnaise (or yogurt), and olive oil until you have a smooth coating mixture.
- Pat the chicken breasts dry with paper towels. This step helps the coating stick and promotes a better crust.
- Place the chicken breasts in the prepared baking dish.
- Spread the ranch mixture evenly over the top surface of each chicken breast. Press gently to adhere.
- If using, sprinkle the Parmesan cheese over the ranch coating on each piece of chicken.
- Bake for 20 to 25 minutes, or until the internal temperature of the chicken reaches 165 degrees Fahrenheit. Cooking time depends on the thickness of the breasts.
- Let the baked ranch chicken rest for 5 minutes before slicing and serving.
Notes
- For extra flavor and moisture, you can use chicken thighs instead of breasts; adjust cooking time as needed.
- To achieve a crispier coating, you can lightly dust the chicken with a tablespoon of panko breadcrumbs along with the Parmesan cheese.
- This recipe works well for meal prep; store cooled chicken in an airtight container in the refrigerator for up to 4 days.
Nutrition
- Serving Size: 1 breast
- Calories: 310
- Sugar: 2
- Sodium: 650
- Fat: 15
- Saturated Fat: 3
- Unsaturated Fat: 12
- Trans Fat: 0
- Carbohydrates: 3
- Fiber: 0
- Protein: 40
- Cholesterol: 110