
Remember those amazing, slightly messy desserts you made as a kid that always vanished first at every family picnic? Well, I’ve brought that feeling back, but with a grown-up touch of creamy perfection! I’m talking about the ultimate nostalgic comfort food: the no-bake dirt cake. This recipe is unbelievably easy—seriously, there’s zero oven time involved—and it’s the most reliable crowd-pleaser I know. Like my Grandma Daisy always believed, the best things in the kitchen come from simple, honest ingredients made with care, and this layered treat is proof. Whether you serve it sprawling in a big dish or cute little cups, everyone asks for the recipe!
- Why This Easy Oreo Dirt Cake Recipe is a Must-Try
- Gathering Ingredients for Your Creamy Dirt Cake
- Expert Tips for the Best Cream Cheese Dirt Cake Base
- Step-by-Step Instructions for No Bake Dirt Cake Recipe
- Making Dirt Cups with Gummy Worms: Presentation Tips
- Storage and Make Ahead Dessert Guidance for Your Dirt Cake
- Tips for the Ultimate Crushed Oreo Dessert Texture
- Frequently Asked Questions About This Chocolate Dirt Cake
- Nutritional Estimates for Your Oreo Dirt Cake
Why This Easy Oreo Dirt Cake Recipe is a Must-Try
Honestly, you have to try this recipe because it checks every single box for the busy home cook. It’s almost criminal how little effort goes into something that tastes this rich and satisfying. You literally mix stuff, layer it, and pop it in the fridge. That’s it!
- It’s completely foolproof. If you can stir, you can make this dessert successfully.
- No heat, no fuss, no worries about over-baking a delicate crust. It’s pure, cold, creamy magic.
- It actually tastes better the next day, making it the ultimate stress-free party planning tool.
Perfect Potluck Desserts Easy
If you’re heading to a gathering, this layered Oreo delight is your secret weapon. It travels well in a covered dish, and because it’s a make-ahead dessert, you aren’t stressing about baking while getting ready. It’s always the first thing gone at the buffet table, trust me on this one!
Kid Friendly Desserts That Delight
You know how kids love anything they can call ‘dirt’? This satisfies that craving immediately! The presentation is half the fun, especially when you push those silly gummy worms right into the top layer. It’s the ultimate kid-approved, simple party treat that makes everyone smile before they even take a bite.
Gathering Ingredients for Your Creamy Dirt Cake
The best part about this luscious chocolate dirt cake? You probably have most of these things hanging out in your fridge or pantry right now! This recipe is built on simple pantry stars, meaning no last-minute grocery store panic is required. We are pairing those famous chocolate sandwich cookies—the Oreos—with a ridiculously smooth, cheesecake-like filling. It’s all about the right textures coming together without even needing to turn on the oven!
Essential Components for the Dirt Cake
Here is what you’ll need to assemble your layers. Make sure things like the butter and cream cheese are good and soft—that’s key to keeping things creamy!
-
8 ounces of cream cheese, making sure it’s fully softened
-
1 cup of unsalted butter, also softened to perfection
-
1 cup of powdered sugar—don’t skip sifting this!
-
One 12-ounce container of frozen whipped topping, thawed completely
-
Two small boxes (3.9 ounces each) of instant chocolate pudding mix
-
3 cups of cold milk (we need it cold to thicken the pudding fast!)
-
One big package of Oreo cookies—we need about 3 cups of those crushed crumbs, so have your rolling pin ready!
-
A handful of gummy worms, if you’re feeling adventurous and want that fun look!
Expert Tips for the Best Cream Cheese Dirt Cake Base
Okay, let’s talk about the filling, because this is where the magic truly happens. If you want that unbelievably rich, decadent texture that makes people keep asking for spoons, you have to nail the base layer of your Cream Cheese Dirt Cake. My biggest piece of advice, pulled straight from watching my grandmother in her Midwest kitchen, is about patience with your chilled ingredients. Don’t rush the softening process!
I learned the hard way that if the butter or cream cheese is even slightly cold, your mixture will look lumpy, not light and smooth. I always pull mine out about an hour before I plan to start. If you’re in a rush, you can carefully microwave the wrapped blocks for five seconds at a time, but watch them like a hawk; you want them pliable, not melted. This perfectly soft base allows you to incorporate everything beautifully before we even get near dipping into that glorious pudding.
For more inspiration on nailing those rich, decadent layers, check out what other seasoned bakers suggest over at The First Year Blog!
Achieving the Ideal Creamy Pudding Dessert Consistency
Once the base is fluffy and perfect, you introduce the chocolate pudding. Even though the pudding is basically instant, how you combine it with the cream cheese mixture makes all the difference. This isn’t whisking time anymore; this is folding time! You want to treat that whipped topping and the pudding gently. Grab a big rubber spatula and use sweeping, deliberate motions to incorporate the pudding. Seriously, slow down here. Overmixing at this stage is how you deflate all the air you worked so hard to create, ending up with a dense brick instead of that wonderful Creamy Pudding Dessert texture. Just fold until you see no white streaks left, and then stop immediately. That’s the secret to fluffy layers!
Step-by-Step Instructions for No Bake Dirt Cake Recipe
Alright, now that we have our fluffy, decadent filling ready to go, it’s time for the fun part: assembly! This is where your No Bake Dirt Cake Recipe really starts looking like something special. Remember, you can use a big, pretty trifle dish for family dinners, but my favorite way to serve this is in clear plastic cups for individual Dirt Cups with Gummy Worms—it makes cleanup so much easier!
First things first: make sure those Oreos are crushed fine! We need that nice, earthy crumb texture. Start by pressing one-third of your crumbs evenly into the bottom of your chosen container. Don’t pack it down too hard; we want it light!
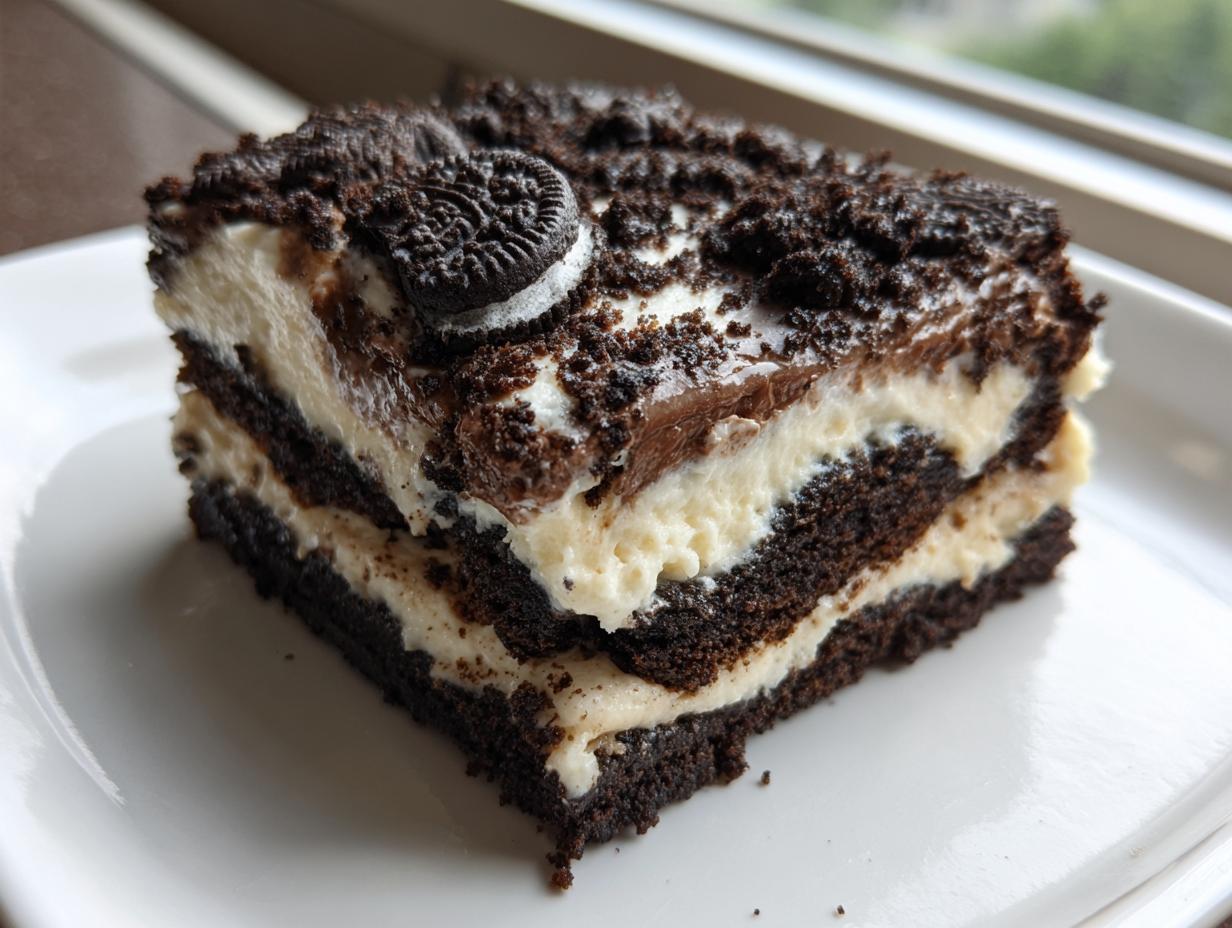
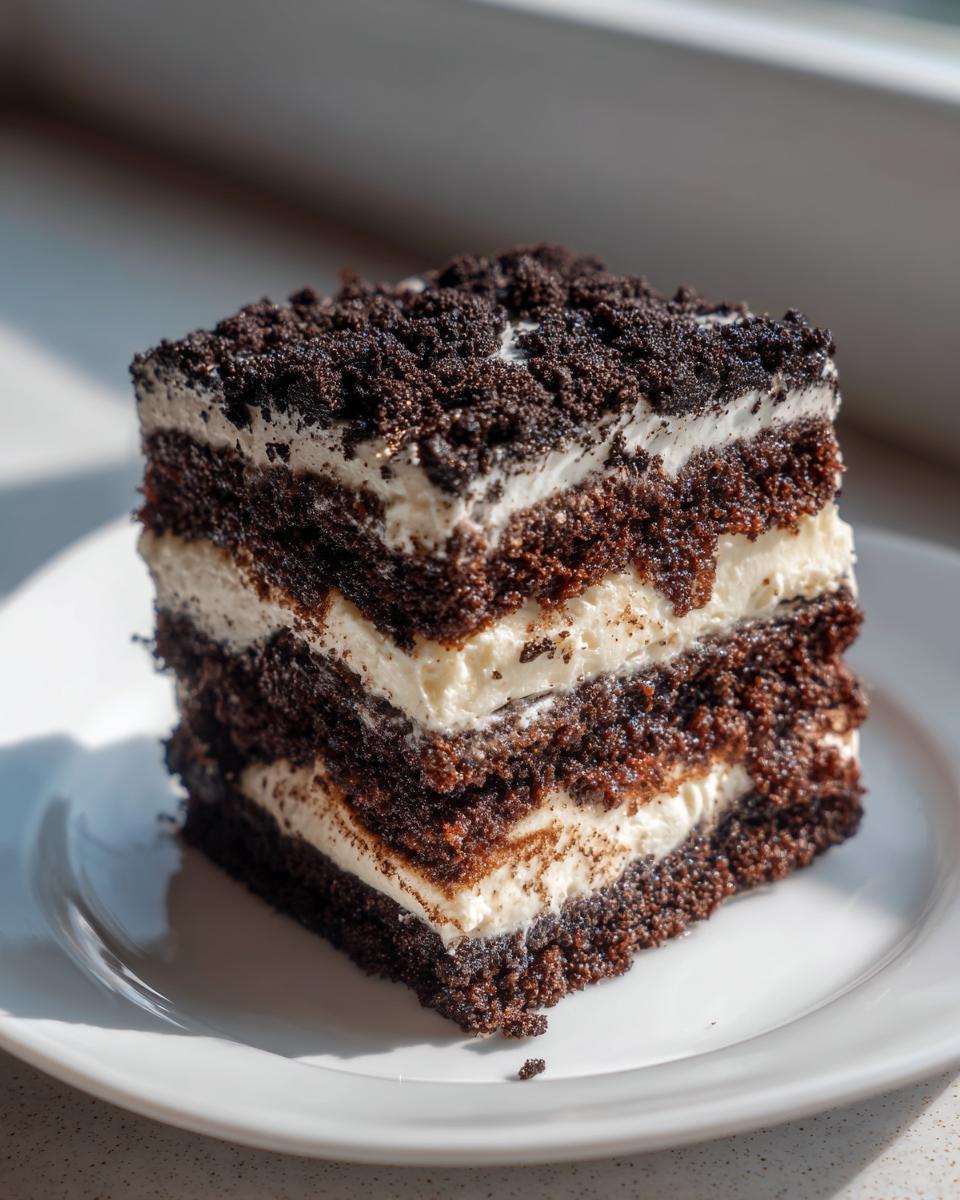
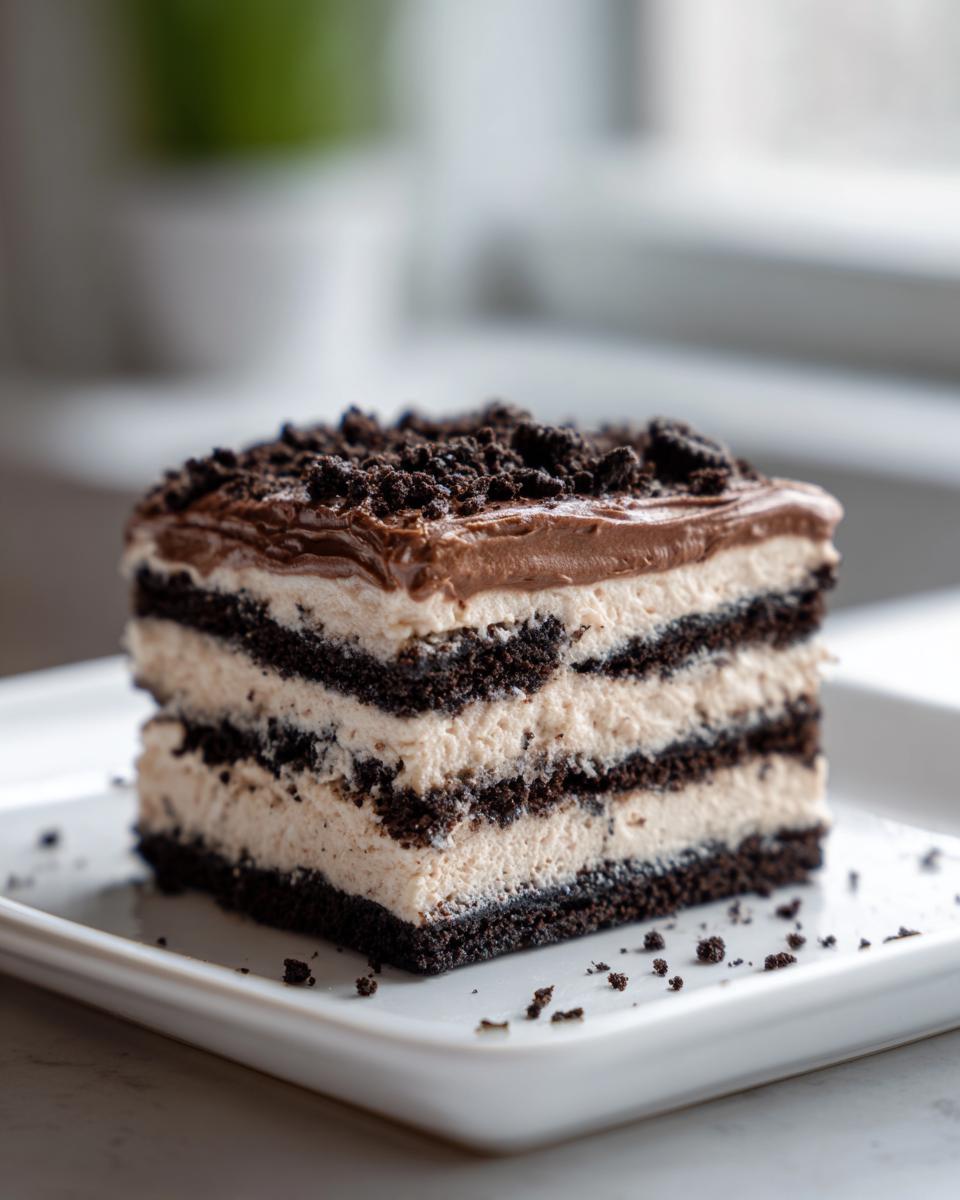
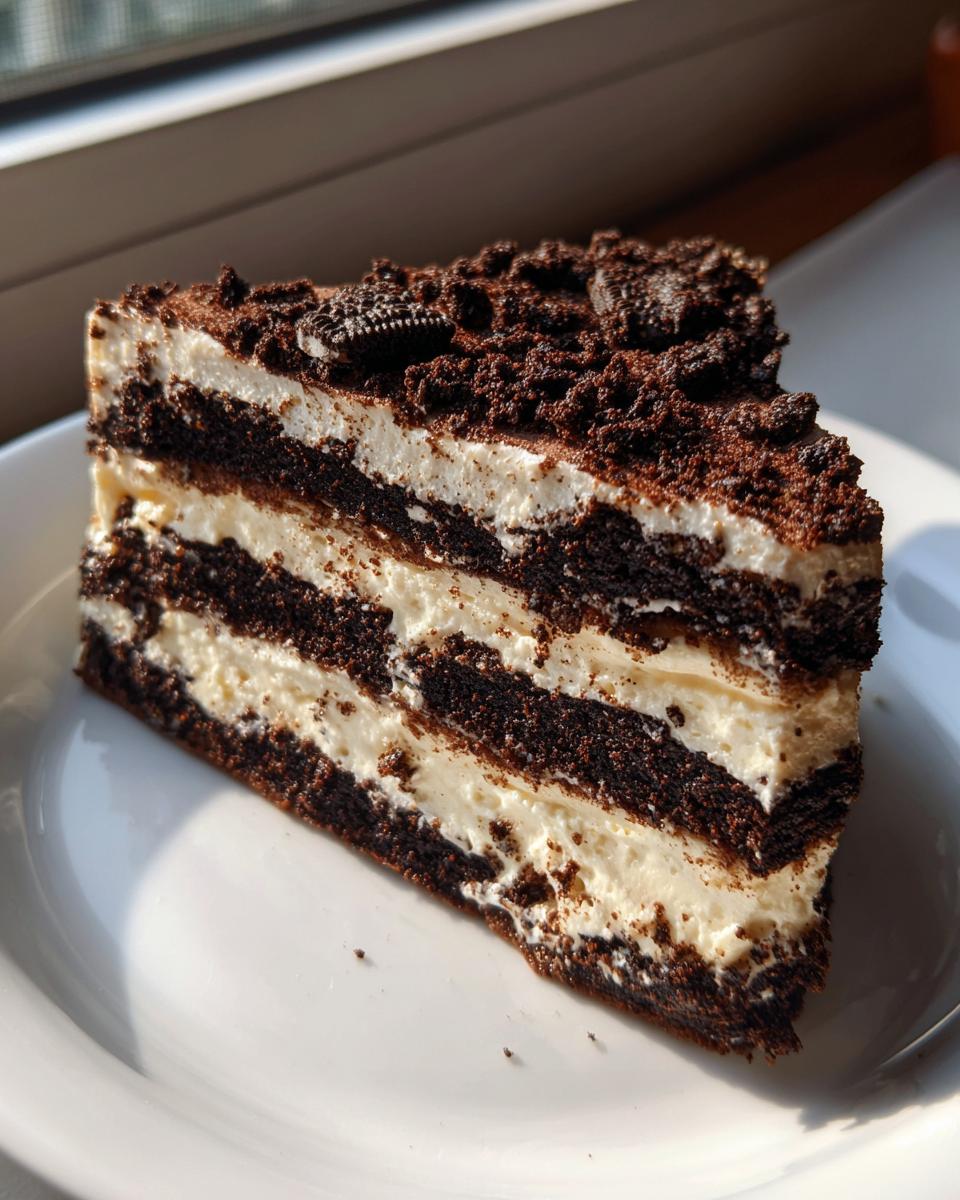
Next, gently spread exactly half of that beautiful cream cheese and pudding mixture right over the top of the first crumb layer. Now, repeat! Add another layer of crumbs, followed by the rest of your creamy filling. Finally, we save the best for last—sprinkle the remaining cookie crumbs generously over the very top. This is your final ‘dirt’ layer, so make it look satisfyingly messy!

This next step is non-negotiable, so don’t cheat! Cover the whole thing tightly—plastic wrap works great—and put it in the fridge. It needs a minimum of four hours, but honestly, if you can wait overnight, you are going to be rewarded with the creamiest, firmest dessert imaginable. That chilling time is what sets this whole gorgeous Layered Oreo Dessert up perfectly.
Assembling Your Layered Oreo Dessert
When you’re layering, think about contrast. You want crisp lines between the dark crumbs and the light, creamy filling so that when you serve a slice, everyone can see all the beautiful effort you put in. If you are making those adorable individual Dirt Cups with Gummy Worms, just make sure each cup gets a final dusting of crumbs on top. Then, have the kids help you stick those wiggly worms in! It’s such a simple addition, but it takes this dessert from just ‘yummy’ to ‘instantly iconic.’ If you’re worried about it sticking to the sides of a bundt pan (if you try that method!), make sure you grease and flour that pan really well—but for layers, dishes or cups are always safer.
Making Dirt Cups with Gummy Worms: Presentation Tips
Oh, this is where we get to play! Making the dirt cake in a big trifle dish is lovely, sure, but if you want that massive wow factor—especially if kids are involved—you absolutely must try making individual Dirt Cups with Gummy Worms. Trust me, seeing those little edible squigglers popping out of the rich, dark crumbs is half the fun before you even take a bite!
I usually grab small, clear plastic cups or even mini terracotta pots if I’m feeling really whimsical for a garden party. Fill them up just like you would the big dish: bottom layer of crumbs, then a nice swirl of the creamy filling, then top it all off with that final layer of ‘dirt.’ Before you chill them, stand those gummy worms up inside. It makes them look like they are just slowly emerging from the earth!
If you want to deliver these little treats directly to guests, you can even use a neat little silicone mold if you find a recipe for layered cups, but honestly, scooping them into clear cups is the easiest way. For more brilliant ideas on serving these adorable cups, you should check out what the wonderful folks at Our Love Language is Food are doing with their setups!
If you ever need to reach out with questions about your worm placement or recipe tweaks, don’t hesitate to pop over to my contact page!
Storage and Make Ahead Dessert Guidance for Your Dirt Cake
One of the absolute best qualities about this Oreo Dirt Cake is that it’s designed to be a Make Ahead Dessert! Seriously, planning ahead is the key to enjoying parties, not managing them. You need that minimum chilling time of four hours, but if you can manage to put this together the day before you need to serve it, you’ll thank me later.
When chilling, make sure you cover the dish tightly with plastic wrap. If you’re serving it in individual cups, just use lids or small pieces of cling film over the top of each one. Keeping it covered prevents two things: crusty edges and absorbing any fridge smells. It stays perfectly creamy and firm for up to three days stored this way, making it one of my go-to Potluck Desserts Easy options!
Tips for the Ultimate Crushed Oreo Dessert Texture
We’re talking about dirt cake, right? The texture of that ‘dirt’ topping is actually crucial! If the crumbs are too coarse, it looks like you just tossed broken cookies on top, and if they are too fine, they blend into the pudding layer and you lose that great contrast. We want real texture here for the ultimate Crushed Oreo Dessert experience.
So, here’s my rule I developed over many batches: you need powdery fine dust mixed with slightly larger, coarser bits. Think about what real dirt looks like—it’s not uniform! If you’re using a food processor, pulse, pulse, pulse, but stop before it turns into a dense paste. I actually prefer the rolling pin method myself because I can feel when I’ve hit that magical mix of fine dust and small pebble-sized crumbs. This unevenness is what makes it look so wonderfully authentic!
Now, about that creamy filling inside the cookies—do we keep it or toss it? For an authentic layered look, I always scrape out most of the white filling before crushing, or use cookies where the filling is minimal. If you leave too much filling in, those white bits can melt into the cream cheese mixture, making the layers look streaky instead of clean. For the best look, try to use just the dark wafer part when making your crumbs! For more inspiration on reaching that perfect dark, crumbly finish, take a look at what they are doing over at The Bite Stuff!
Frequently Asked Questions About This Chocolate Dirt Cake
I know when I first started making this dessert, I had a million little worries—will it set up right? Can I change the cookies? Don’t fret! These are all super common questions, and based on my years of making this thing for every possible occasion—from birthdays to just a Tuesday night craving—I’ve got the answers right here for you.
Can I use a different cookie instead of Oreos for my dirt cake?
Honestly, you *can*, but why would you want to? The whole point of that incredible black, crumbly topping is the classic Oreo wafer! If you use something like Nilla Wafers, you end up with mud, not dirt! If you absolutely must substitute, try a chocolate wafer cookie that doesn’t have a creamy filling, so you don’t get white streaks contaminating your beautiful layers. But stick to the Oreos; they are the star here!
How long does this no bake dirt cake recipe stay fresh?
This is wonderful news for party planning: this dessert actually peaks on Day Two! Because it’s a No Bake Dirt Cake Recipe, the chilling time really allows the pudding and cream cheese to firm up beautifully. It stays delicious for about three days in the fridge, covered tightly in your dish. After that, the cookies start getting a little too soft for my liking, though it’ll still be edible!
Is this considered a Simple Party Treat?
Oh, absolutely! This is the definition of Simple Party Treats. It requires zero baking skill, it’s cheap, and it serves a huge crowd, making it perfect for everything from Super Bowl parties to casual weekend get-togethers. Plus, since you can make it the day before, you’re totally relaxed when the guests arrive. It’s a true low-effort, high-reward situation!
If you want to read more about my privacy practices while you’re here avoiding the oven, take a peek at the Privacy Policy.
Nutritional Estimates for Your Oreo Dirt Cake
Now, let’s talk real talk for a second. While this Easy Oreo Dessert is pure joy in a bowl, it’s definitely a treat, not a health food! Because we rely on butter, cream cheese, and all those wonderful sugar molecules to make it creamy, the numbers reflect that decadence. I always tell people, you eat with your eyes and your heart first, but it’s good to have a ballpark idea!
These numbers are just estimates, remember. Depending on what brand of pudding mix you grab or if you use a light version of whipped topping, these figures can change a bit. I calculated this based on using the standard recipe measurements above. It’s best to look at them as a guide rather than gospel, especially since we aren’t using boring, low-fat ingredients!
- Calories per serving are typically around 450; it’s rich!
- We see about 28 grams of Fat per slice, thanks to that butter and cream cheese base.
- Carbohydrates are usually hovering near 48 grams.
- Protein content is small, around 5 grams.
If you are curious about how we aim to keep our site fair and transparent, you can always review our Terms of Use policy here on the site.
PrintEasy No-Bake Oreo Dirt Cake

Make this simple, creamy Oreo Dirt Cake, a no-bake dessert perfect for parties, potlucks, and family gatherings. It features layers of crushed Oreos and a rich pudding filling.
- Prep Time: 25 min
- Cook Time: 0 min
- Total Time: 4 hr 25 min
- Yield: 12 servings 1x
- Category: Dessert
- Method: No-Bake
- Cuisine: American
- Diet: Vegetarian
Ingredients
- 1 package (8 ounces) cream cheese, softened
- 1 cup unsalted butter, softened
- 1 cup powdered sugar
- 1 container (12 ounces) frozen whipped topping, thawed
- 2 packages (3.9 ounces each) instant chocolate pudding mix
- 3 cups cold milk
- 1 package (14.3 ounces) Oreo cookies, crushed (about 3 cups crumbs)
- Gummy worms for decoration (optional)
Instructions
- In a large bowl, beat the softened cream cheese and butter together until smooth. Gradually add the powdered sugar and mix until fully combined. Fold in the thawed whipped topping until the mixture is uniform. Set aside.
- In a separate bowl, whisk together the instant chocolate pudding mix and cold milk for two minutes until the mixture starts to thicken.
- Gently fold the pudding mixture into the cream cheese mixture until just combined. Do not overmix.
- Crush the Oreo cookies until they resemble fine dirt. Reserve about 1 cup of the crushed cookies for the topping.
- To assemble the dirt cake, you can use a large trifle dish or individual serving cups (dirt cups). If using a large dish, spread one-third of the crushed Oreos on the bottom.
- Spread half of the cream cheese/pudding mixture over the first layer of crumbs.
- Repeat the layers: add another third of the crushed Oreos, followed by the remaining cream cheese/pudding mixture.
- Top the entire dessert with the remaining crushed Oreo crumbs to create the ‘dirt’ layer.
- If using, press gummy worms into the top layer so they appear to be crawling out of the ‘dirt.’
- Cover the dish and chill in the refrigerator for at least 4 hours, or preferably overnight, to allow the dessert to set completely.
Notes
- For the best texture, ensure your cream cheese and butter are fully softened before mixing.
- You can make this dessert ahead of time; it tastes better after chilling overnight.
- If you want a richer chocolate flavor, substitute half of the milk with heavy cream when mixing the pudding.
- Crush the Oreos in a food processor or by placing them in a large zip-top bag and crushing them with a rolling pin.
Nutrition
- Serving Size: 1 serving
- Calories: 450
- Sugar: 45
- Sodium: 350
- Fat: 28
- Saturated Fat: 15
- Unsaturated Fat: 13
- Trans Fat: 0.5
- Carbohydrates: 48
- Fiber: 1
- Protein: 5
- Cholesterol: 55