

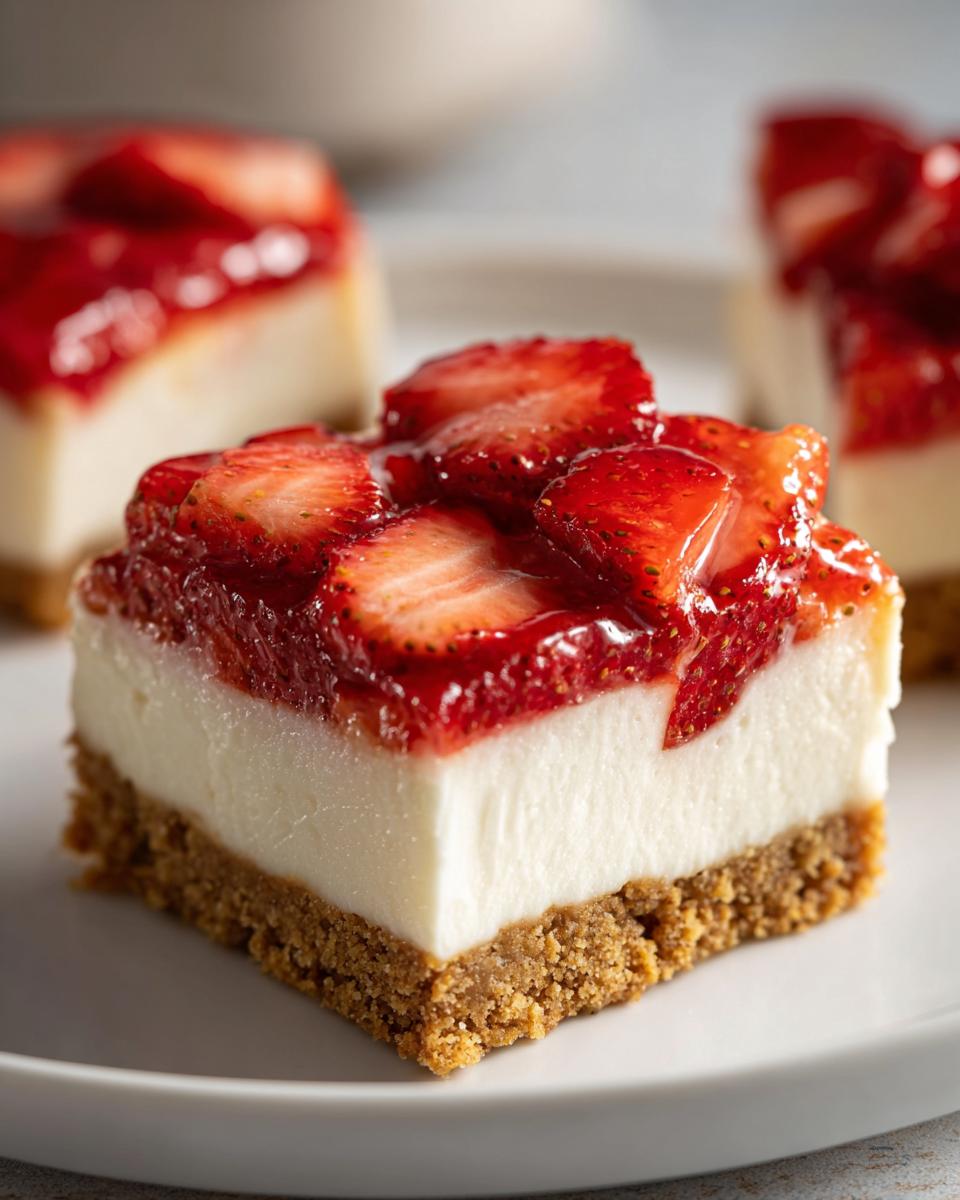
When the first sweet strawberries of the season finally show up, you know it’s time to put the heavy chocolate desserts away! I immediately start looking for something bright, fresh, and easy to manage when we have people over. That’s why I’m obsessed with these truly simple strawberry cheesecake bars. They’re the perfect portable treat—great for picnics or as a show-stopping Mother’s Day dessert.
This recipe is pure Daisy, my grandmother. She never believed in fussy baking; she believed in honest food that brought folks together. These bars ditch the springform pan and the water bath—we’re keeping the rich cream cheese flavor but making it straightforward and sturdy. If you’re looking for honest, delicious food made with simple steps, you’ve come to the right place, just like I did when I started cooking again.
- Why You Will Love These Strawberry Cheesecake Bars
- Gathering Ingredients for Perfect Strawberry Cheesecake Bars
- Step-by-Step Instructions for No Bake Strawberry Cheesecake Bars
- Tips for Perfect Strawberry Cheesecake Bars Every Time
- Variations for Your Strawberry Bars
- Serving Suggestions for These Spring Desserts
- Storage and Reheating Instructions for Strawberry Cheesecake Bars
- Frequently Asked Questions About Strawberry Cheesecake Bars
- Nutrition Estimates for Daisy’s Strawberry Cheesecake Bars
Why You Will Love These Strawberry Cheesecake Bars
Honestly, these bars are my absolute favorite way to celebrate the start of warmer weather. Why spend hours tending a full cheesecake when you can have something just as creamy and decadent with zero oven time? Think of them as the ultimate grab-and-go solution.
- They are the perfect **spring desserts**—light, bright, and bursting with fresh flavor.
- Zero baking required! It’s a quick assembly that lets you skip the oven entirely.
- They set up beautifully firm, making them perfect **picnic treats** you can easily slice and transport without stress.
Gathering Ingredients for Perfect Strawberry Cheesecake Bars
When you’re making something this simple, the ingredients really have to shine. Trust me, using the best fresh strawberries you can find makes all the difference for these strawberry cheesecake bars. A good baker relies on quality components, and these bars are no exception. We need three simple groups of ingredients to make this magic happen.
For the Buttery Graham Cracker Crust
- 1 1/2 cups graham cracker crumbs
- 1/4 cup granulated sugar
- 6 tablespoons unsalted butter, melted
For the Creamy No Bake Cheesecake Filling
Expert Tip: Make sure your cream cheese has been softened on the counter for at least 30 minutes—it’s essential for getting that perfectly smooth filling later on!
- 16 ounces cream cheese, softened
- 1 cup powdered sugar
- 1 teaspoon vanilla extract
- 1/2 cup heavy cream
For the Fresh Strawberry Topping
- 1 cup fresh strawberries, sliced
Step-by-Step Instructions for No Bake Strawberry Cheesecake Bars
The beauty of this recipe is that we barely need an oven—it’s all about temperature control and chilling time. This is truly the easiest no bake cheesecake you’ll ever make, but we still need to follow the steps for that perfect, sturdy bar structure.
Preparing and Chilling the Crust
First things first, let’s tackle that buttery base. Grab your 8×8 inch pan and line it completely with parchment paper, making sure you leave a little overhang hanging over the sides. That overhang is your handle later, so don’t skip it! In a bowl, mix that graham cracker crumb and sugar mix, then just pour in the melted butter. Stir it all until everything looks damp, like wet sand. Press this mixture down *firmly* into the pan. I use the bottom of a measuring cup to really pack it in there. Pop that crust into the freezer while you deal with the filling.
Mixing the Light and Airy Cheesecake Filling
Now for the creamy part! Beat your softened cream cheese by itself until it’s gloriously smooth—no lumps allowed. Then, slowly mix in the powdered sugar and vanilla until it’s just combined. Here’s my big secret for keeping this light: In a separate, very clean bowl, whip up your heavy cream until it forms medium peaks. You want it fluffy! Gently fold that whipped cream into the cream cheese mixture. You just want streaks disappearing; overmixing will deflate all that lovely air we just whipped in.
Assembling and Setting the Strawberry Cheesecake Bars
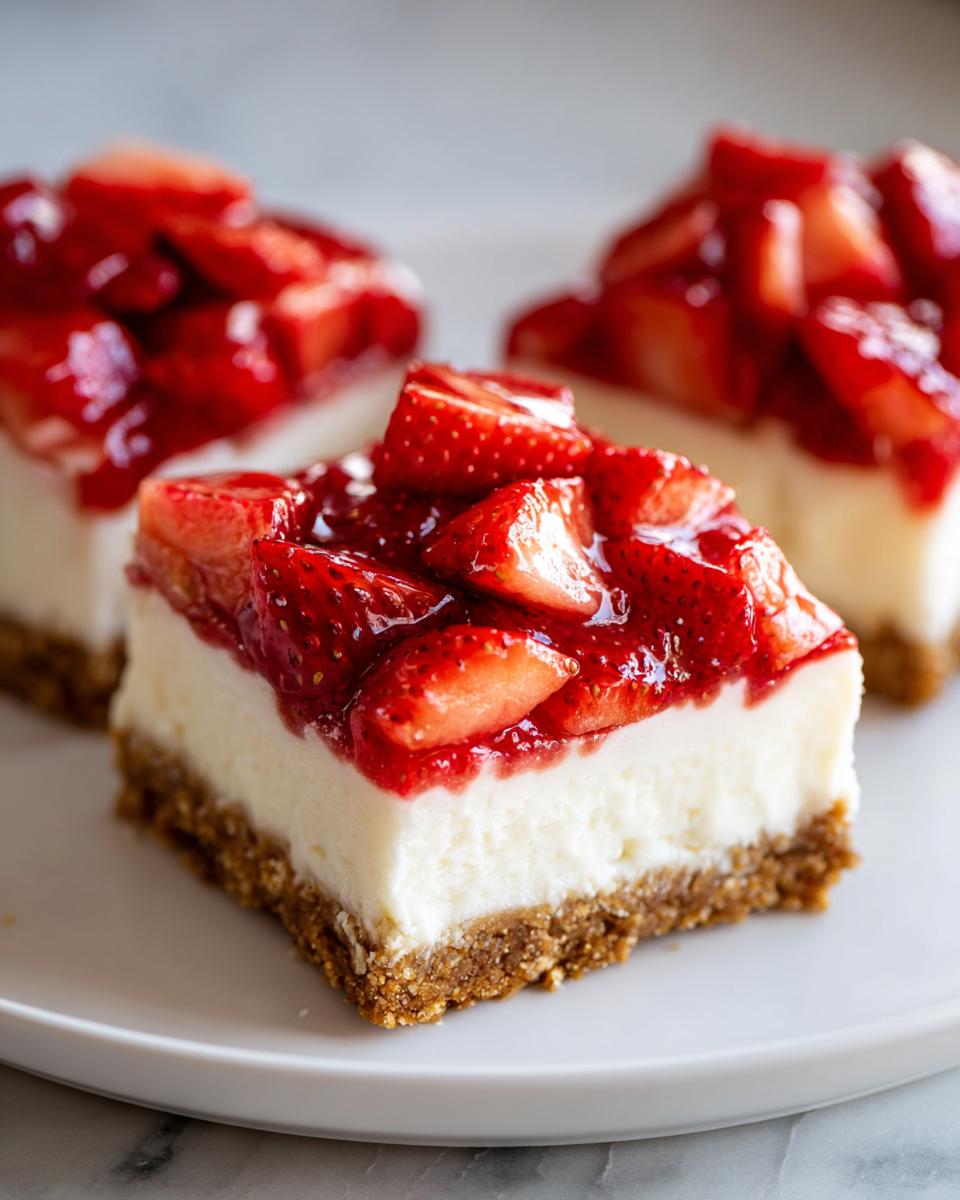
Take that chilled crust out of the freezer. Smooth the cheesecake filling right over the top, making it level. Then, artfully arrange your pretty sliced fresh strawberries all over the filling layer. Cover the whole thing loosely with plastic wrap. You have to be patient now—seriously, walk away! These need a minimum of six hours in the fridge to set up properly, but I always leave mine overnight. Only when they are rock solid do you use that parchment overhang to lift them out and slice them into squares.
Tips for Perfect Strawberry Cheesecake Bars Every Time
Getting these strawberry cheesecake bars just right comes down to a couple of tiny, non-negotiable kitchen habits. My grandmother taught me that paying attention to the details early on means you don’t have to stress later. It’s all about temperature and gentleness!
Achieving Smoothness in Your No Bake Filling
If your cream cheese is cold, your filling will be lumpy, plain and simple. I mentioned letting it sit out for 30 minutes, but if you’re in a rush, you can cut the cheese into small cubes and let it warm up faster. The absolute worst mistake is mixing the heavy cream in too aggressively once it’s whipped. You have to fold it in slowly, like you’re tucking a baby into bed, so you don’t beat the air out of it. That whipped cream is what gives these bars that beautiful, light texture instead of sinking into a dense puck.
Making Strawberry Cheesecake Bars Portable Picnic Treats
Because these are destined for travel—maybe to your next big family potluck or an outdoor event—we need them sturdy. Lifting them out using the parchment overhang is crucial; don’t try prying them with a spatula! Once they’re out, I like to transfer the whole block onto a cutting board before slicing. This keeps them cold longer and stops them from getting messy against the serving platter. If you’re preparing them the day before for a picnic, just keep them wrapped tightly in the fridge until the very last second.
Variations for Your Strawberry Bars
While keeping the classic flavor profile is my goal, I love experimenting a little, especially when planning my rotation of spring desserts. Don’t feel locked into just graham crackers. You can swap those out for crushed vanilla wafers or even shortbread cookies to change the crust flavor profile completely!
For the topping, if strawberries are just barely coming into season, try mixing blueberry compote right into the filling layer for a dual berry treat. My favorite swap, though, is topping it with a drizzle of melted white chocolate after it’s fully set. It adds a nice snap and looks gorgeous when you slice the bars. If you’re feeling bold, check out my recipe for chocolate chip cheesecake and try mixing mini chips into the base layer!
Serving Suggestions for These Spring Desserts
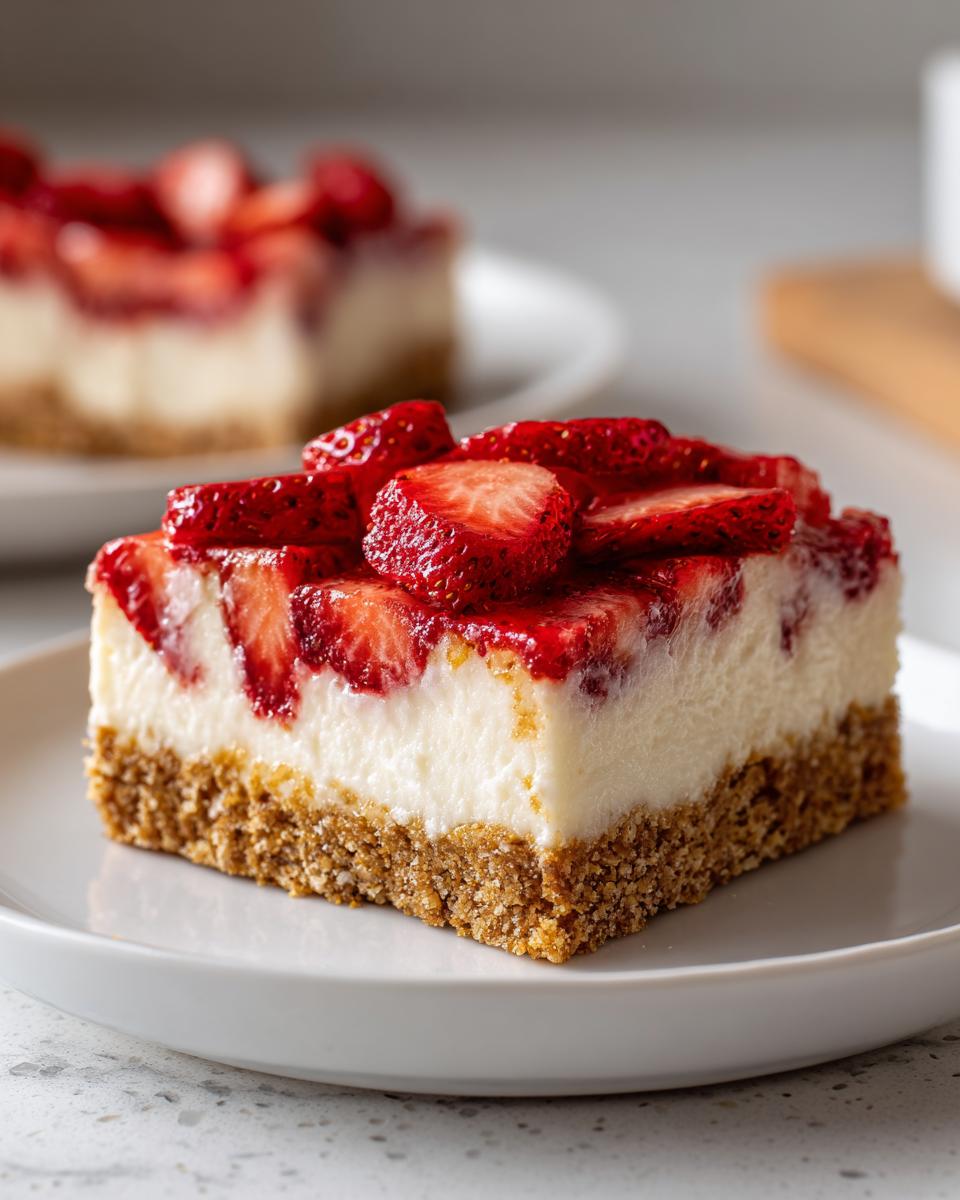
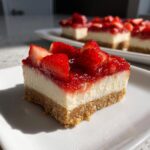
Since these bars are already so bright and fresh, they really don’t need much dressing up! They travel so well that they are perfect for that big Mother’s Day dessert spread. My favorite way to serve them is just as they are—clean squares on a white platter.
If you are serving them at home, though, a small dollop of lightly sweetened whipped cream next to the bar is lovely. If you happen to have my recipe for vanilla buttercream on hand, just warming a tiny bit of that up and drizzling it over the top makes them feel extra special, too!
Storage and Reheating Instructions for Strawberry Cheesecake Bars
The best part about making these strawberry cheesecake bars is that they actually get *better* the next day! Since they don’t have eggs or flour to worry about, they firm up beautifully in the cold. My grandmother always saved a square or two just for herself for the next morning—it was her secret indulgence.
For short-term storage, keep them covered tightly in the refrigerator. They will stay perfectly creamy and delicious for up to five days. Make sure you wrap the entire pan or the cut squares individually if you plan to move them around. This keeps the fruit from drying out!
If you need to make a big batch ahead of time for a party, freezing works splendidly. You can treat them almost like a dessert pie, sort of like my instructions for an easy ice cream pie. To freeze your bars, slice them first, then place them on a parchment-lined baking sheet until solid. Once they’re hard little blocks, move them into an airtight freezer bag. They last beautifully for about two months!
When you want to serve the frozen strawberry cheesecake bars, just pull out what you need and let them thaw in the fridge for about three to four hours. They come back to that perfect, cool, dairy-fresh texture without losing any integrity at all. That’s true make-ahead magic!
Frequently Asked Questions About Strawberry Cheesecake Bars
It’s funny, even when I think I’ve covered every little detail, readers always have the best questions! I tried to keep these no bake cheesecake bars foolproof, but knowing a few tricks beforehand sure helps, especially if you are bringing these on the road as picnic treats.
Can I use frozen strawberries instead of fresh for these strawberry bars?
Oh, I get asked this a lot in the early spring when fresh berries are still pricey! You absolutely *can*, but you have to deal with the extra water they release. If you use frozen, thaw them completely first, and then you must pat them as dry as you possibly can with paper towels before laying them on top. If you skip that drying step, your light cheesecake filling will get watery underneath the fruit, and that’s just no good for a sturdy bar.
How long can these no bake cheesecake bars sit out at a picnic?
Since these bars rely on cream cheese and heavy cream, we have to be smart about food safety, especially when we’re outdoors. I always tell folks to keep them packed in a good cooler with ice packs underneath the serving dish if you know it’s going to be a warm day. Generally, they are safe out of deep refrigeration for about two hours maximum before you really need to move them back into the cold protection. They taste best when they are still quite chilled anyway!
What is the best way to cut clean squares from the chilled bars?
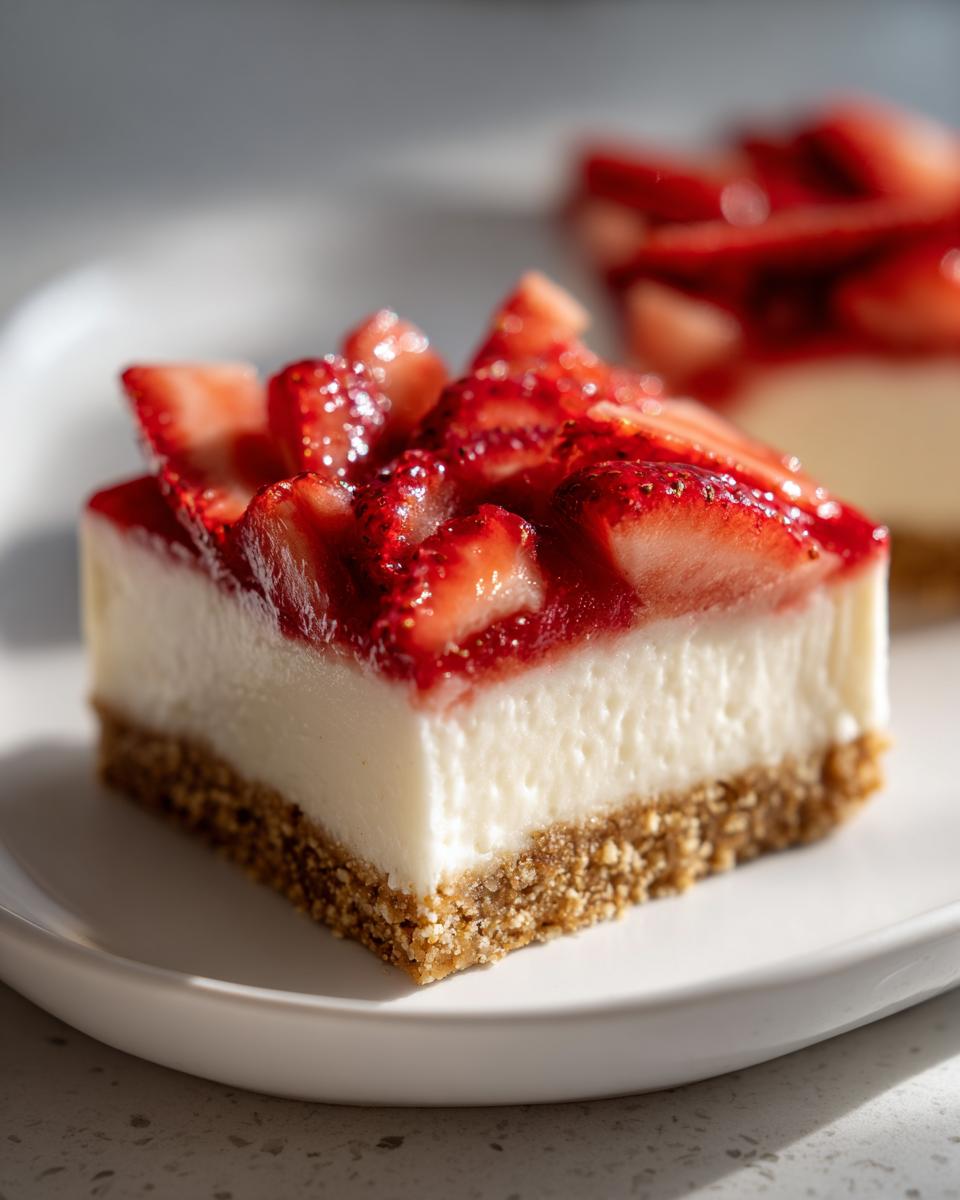
This is the difference between a gorgeous picture and a messy serving platter! You absolutely must only cut them when they are fully rock-solid, right out of the fridge or freezer. Don’t use a regular knife straight from the drawer. Get a sharp knife—a long, thin chef’s knife works best—and dip it into a tall glass of really hot water. Wipe the blade clean and dry with a towel, make one clean slice, and then repeat the heating/wiping process for every single cut. The hot blade glides right through that cold cream cheese layer, leaving you with sharp, beautiful squares.
Nutrition Estimates for Daisy’s Strawberry Cheesecake Bars
Now, I know my Grandma Daisy wasn’t measuring carbs when she taught me this recipe! She was focused on flavor and making sure everyone left the table happy. But since we’re living in a different time, I wanted to give you a general idea of what’s in these treats, just in case you need it for planning a wholesome lunch ideas spread.
These numbers are just estimates, okay? They are based on the recipe yielding 16 servings, using standard store-bought ingredients. Enjoy them! These are meant to be enjoyed, not scrutinized!
- Serving Size: 1 bar
- Calories: Approximately 250
- Total Fat: 16g (Be mindful of that butter and cream cheese!)
- Saturated Fat: 10g
- Carbohydrates: 24g
- Sugar: 18g (That’s the deliciousness talking!)
- Protein: 4g
- Sodium: 150mg
No Bake Strawberry Cheesecake Bars
Make these easy, portable strawberry cheesecake bars with a buttery crust. They are perfect for picnics or spring gatherings when you want a simple, fresh dessert.
- Prep Time: 20 min
- Cook Time: 0 min
- Total Time: 6 hr 20 min
- Yield: 16 servings 1x
- Category: Dessert
- Method: Chilling
- Cuisine: American
- Diet: Vegetarian
Ingredients
- 1 1/2 cups graham cracker crumbs
- 1/4 cup granulated sugar
- 6 tablespoons unsalted butter, melted
- 16 ounces cream cheese, softened
- 1 cup powdered sugar
- 1 teaspoon vanilla extract
- 1/2 cup heavy cream
- 1 cup fresh strawberries, sliced
Instructions
- Combine graham cracker crumbs and 1/4 cup granulated sugar in a medium bowl. Pour in melted butter and mix until the crumbs are evenly moistened.
- Press the crumb mixture firmly into the bottom of an 8×8 inch baking pan lined with parchment paper, leaving an overhang for easy removal. Place the crust in the freezer while you prepare the filling.
- In a large bowl, beat the softened cream cheese with an electric mixer until smooth. Gradually add the powdered sugar and vanilla extract, mixing until fully combined.
- In a separate bowl, whip the heavy cream until medium peaks form. Gently fold the whipped cream into the cream cheese mixture until just combined. Do not overmix.
- Spread the cheesecake filling evenly over the chilled crust.
- Arrange the sliced fresh strawberries over the top of the filling.
- Cover the pan loosely with plastic wrap and refrigerate for at least 6 hours, or preferably overnight, until the bars are firm.
- Use the parchment overhang to lift the chilled bars from the pan. Cut into squares before serving.
Notes
- For the best texture, let the cream cheese sit at room temperature for about 30 minutes before mixing.
- If you do not have parchment paper, lightly grease the pan and line it with foil instead.
- These **no bake cheesecake** bars hold up well for transport, making them excellent **picnic treats**.
Nutrition
- Serving Size: 1 bar
- Calories: 250
- Sugar: 18
- Sodium: 150
- Fat: 16
- Saturated Fat: 10
- Unsaturated Fat: 6
- Trans Fat: 0
- Carbohydrates: 24
- Fiber: 1
- Protein: 4
- Cholesterol: 55