

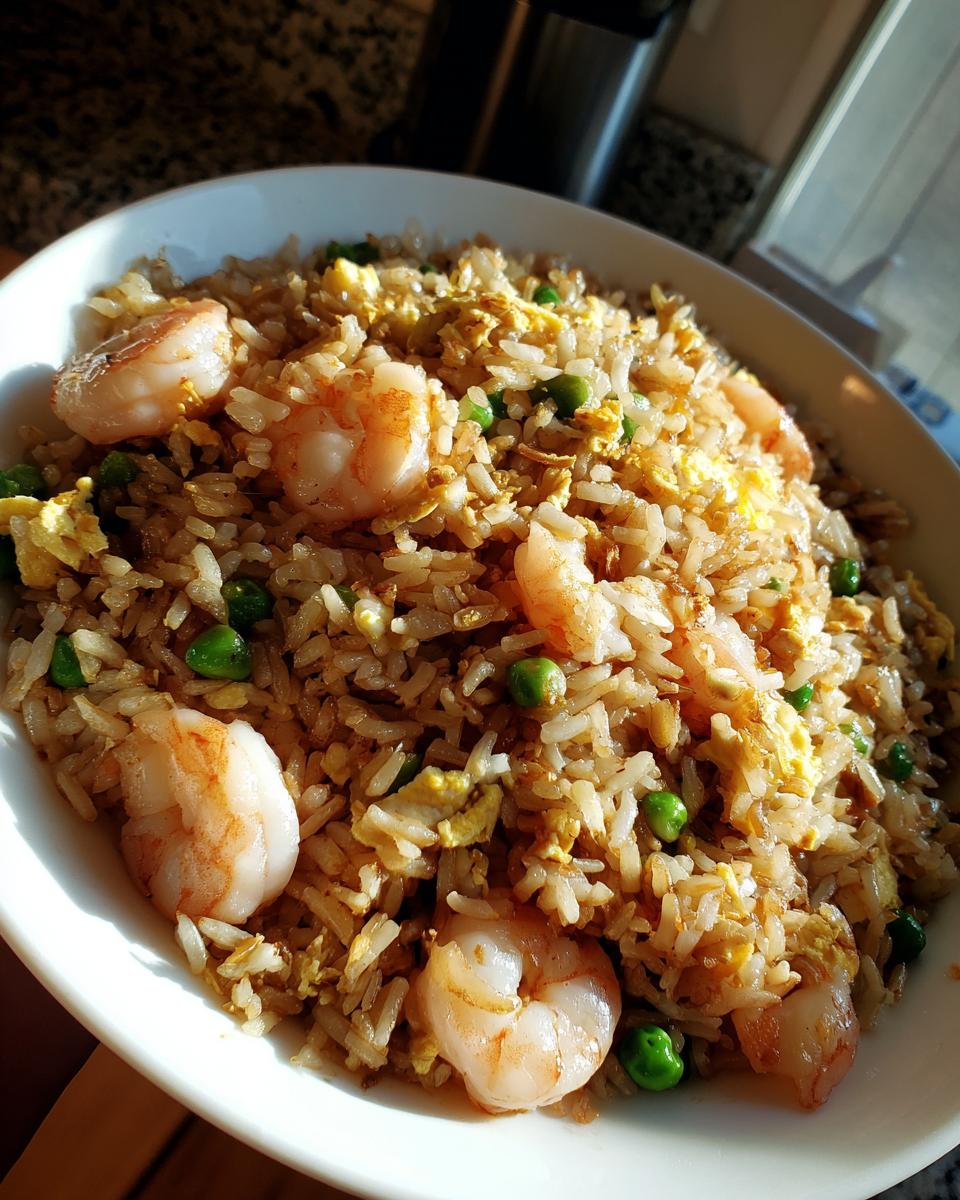
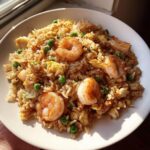
Oh, I know that feeling! That moment when you tell yourself you’ll order takeout, but then you remember how much better the homemade version tastes—if you just had the time. Well, I reclaimed my weeknights, and that means I get to share my secret weapon: the ultimate 25-minute, better-than-takeout shrimp fried rice recipe! This isn’t just *any* rice dish; this is the one that tastes exactly like that special order, but it’s done before the delivery driver even leaves the restaurant. My Grandma Daisy always taught me that honoring tradition means adapting it for real life, and rushing home from the city to make a proper meal, this savory and satisfying dish is what keeps me grounded. Trust me, the secret starts with using cold, day-old rice. It’s perfect for those busy nights when you just need quick weeknight dinner ideas.
- Why This Is the Best Shrimp Fried Rice Recipe
- Ingredients for Ultimate Shrimp Fried Rice
- How to Make Shrimp Fried Rice Step-by-Step
- Tips for Perfect Homemade Fried Rice
- Storage and Reheating Your Shrimp Fried Rice
- Serving Suggestions for This Easy Shrimp Fried Rice
- Frequently Asked Questions About Shrimp Fried Rice
- Nutritional Estimates for This Shrimp Fried Rice
- Share Your Homemade Shrimp Fried Rice Experience
Why This Is the Best Shrimp Fried Rice Recipe
When people ask me how I get my homemade shrimp fried rice to stand up to the local Chinese place, I tell them it’s all about technique, not complicated ingredients. This is truly the best shrimp fried rice recipe because we respect the heat and we respect the rice! We skip the soggy results by using cold grains and keeping that pan screaming hot. That quick burst of high heat is what creates that incredibly flavorful fried rice that you just can’t get by simmering things slowly. It’s the difference between a meal and an event!
Achieving Takeout Style Fried Rice at Home
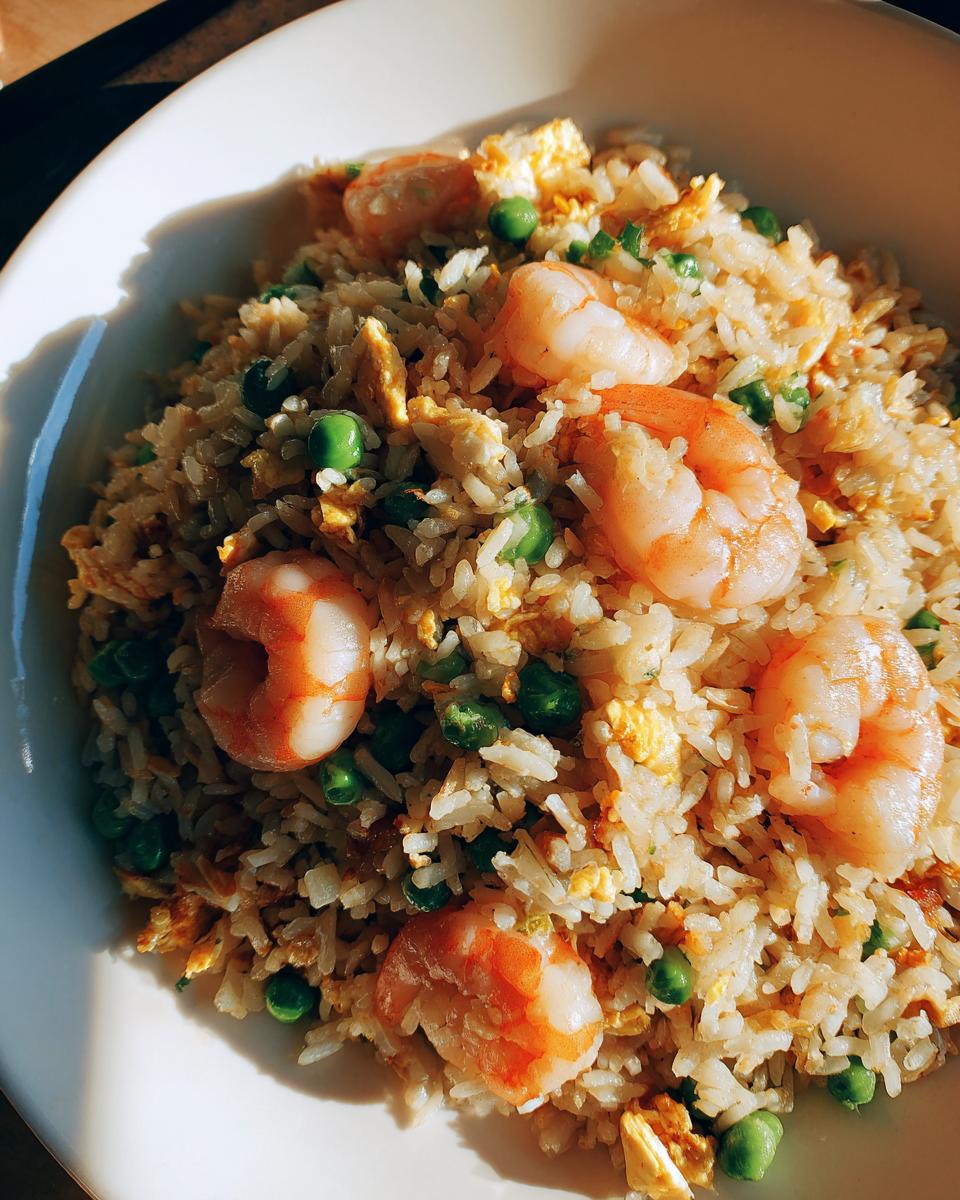
The goal here is fluffy, separate grains—never mushy! That means you need a big, wide skillet, or better yet, a wok if you have one. When you build up enough heat, you create steam that cooks everything fast, coating each grain of rice without soaking it. Getting that perfect takeout style fried rice texture takes just a few minutes, but timing is everything. We move fast and keep things tossing so nothing steams sitting still in the bottom of the pan.
Ingredients for Ultimate Shrimp Fried Rice
Okay, let’s gather our supplies for this amazing shrimp fried rice. What you see here is exactly what you need for that perfect savory hit in under 30 minutes. Remember, Daisy taught me that having everything ready *before* the heat goes on is the ticket to a quick one skillet shrimp rice experience. We need our protein, our veggies (I use the frozen mix because life is hectic!), our eggs, lots of aromatic garlic and ginger, and of course, our base of beautiful, cold, leftover rice. It truly doesn’t get much easier than this for a weeknight meal!
The Savory Sauce for Perfect Shrimp Fried Rice
This is where the magic happens, right here in this little flavor bomb of a sauce! You absolutely must whisk together the low sodium soy sauce, oyster sauce for depth, that essential teaspoon of toasted sesame oil, and just a whisper of white pepper. Keep it separate until we’re ready to toss it all in!
Ingredient Notes and Substitutions for Your Shrimp Fried Rice
Listen closely: you must use cold, day-old rice. Freshly cooked rice is too wet, and we want our shrimp fried rice to fry, not steam into a sticky mess. This is the number one rule for any leftover rice recipe! If you’re not feeling shrimp today, go ahead and swap it out for chicken breast or even firm tofu—it still makes a fantastic savory rice dish. And please, use fresh garlic; don’t even look at the jarred stuff for this! Pre-minced ginger is okay in a pinch, but nothing beats the zing of fresh.
How to Make Shrimp Fried Rice Step-by-Step
Okay, this is the part where everything comes together fast, so make sure your sauce is whisked and everything is right next to the stove. High heat is your friend here—we are aiming for a 15-minute cook time total! My grandmother had the rhythm down perfectly when making her stir-fries; she moved with certainty. If you are unsure about prepping ingredients, a great foundation begins with proper seasoning, like when I make my garlic butter rice—prep first, then cook! Now let’s make this fantastic shrimp fried rice.
Preparing the Shrimp and Eggs for Your Shrimp Fried Rice
First things first: take those raw shrimp and pat them completely dry. You can’t skip this, or they’ll steam instead of sear! Season them just a bit, then toss them into your oiled, hot skillet just until they turn pink, about a minute or two per side. Scoop them out right away! Next, pour in your beaten eggs and scramble them fast until they look barely set. Like the shrimp, we don’t want them overcooked—they’ll heat up more later. Set both those beauties aside.
Building Flavor: Aromatics and Rice in the Skillet
Add the remaining oil to that hot pan—don’t be shy! Toss in your frozen peas and carrots and stir them for about two minutes until they thaw and brighten up. Now, drop in your minced garlic and grated ginger. Watch them closely! You only stir-fry these aromatics for about 30 seconds until you can really smell that incredible scent. Immediately scrape in your cold, day-old rice. Break up any chunks with your spatula and toast this rice for 3 to 4 minutes. This step is vital for that flavorful fried rice texture!
Finishing Your Quick Seafood Dinner Shrimp Fried Rice
It’s time for the sauce! Pour that flavor mixture right over the rice and stir like crazy until every grain is evenly coated with delicious brown goodness. Now, scoop the cooked shrimp and eggs right back into the skillet. Toss everything together gently for just one final minute—we are just bringing it all back up to temperature. That’s it! Remove it from the heat immediately. Congratulations, you just made an amazing quick seafood dinner!
Tips for Perfect Homemade Fried Rice
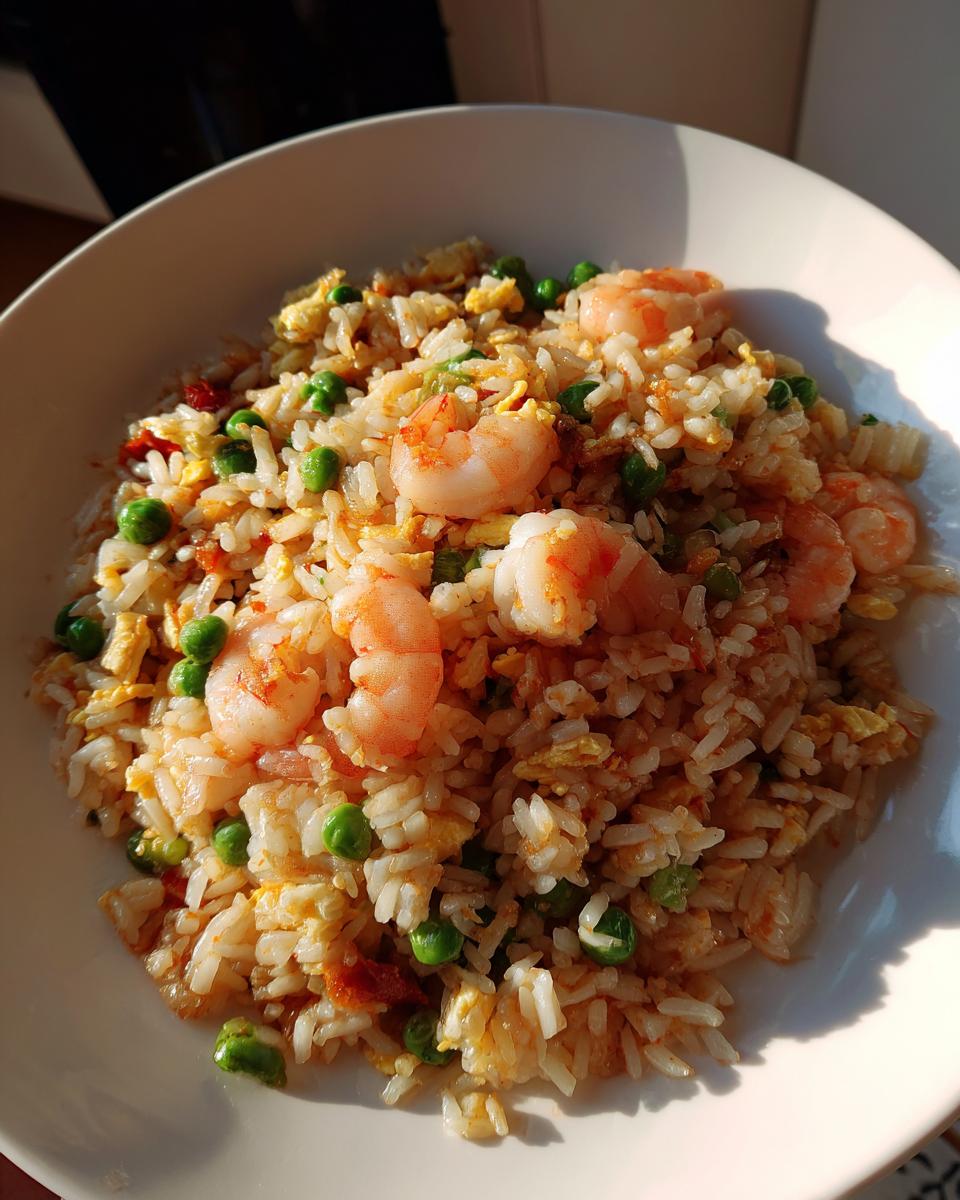
Now that you’ve seen how fast this all comes together, I want to share the real secrets that make this homemade fried rice stand out. It’s not just about tossing things in a pan; it’s about understanding temperature and moisture. That’s how we build trust in the kitchen! Getting the balance right ensures your garlic shrimp rice is perfectly seasoned and not just a plate of oily remnants. Follow these small tips, and you’ll never need takeout again. If you want to see what other folks are cooking up, check out this great shrimp fried rice inspiration!
Why Cold Rice is Non-Negotiable for Great Shrimp Fried Rice
If you take away only one thing from this entire recipe for shrimp fried rice, let it be this: never use rice straight from the cooker! Fresh rice is full of water, and when you toss that moisture into a screaming hot wok, what happens? Clumps and steam! Steaming rice creates a gluey dish. Cold, day-old rice has dried out just the right amount so it can separate, absorb that delicious sauce, and actually fry instead of clump together into a sad ball.
Storage and Reheating Your Shrimp Fried Rice
This shrimp fried rice is absolutely wonderful for making ahead, which I know is a lifesaver for anyone trying to keep up with meal prep! Once everything has cooled down a bit—don’t put piping hot food right into the fridge, please—scoop your leftovers into a shallow, airtight container. That helps the heat dissipate quickly. It’ll keep beautifully for about three days. When you’re ready for round two, the easiest way to reheat is back in a skillet over medium heat with just a quick splash of water or stock to bring back the moisture. The microwave works in a pinch, but the skillet keeps the rice from getting too chewy!
Serving Suggestions for This Easy Shrimp Fried Rice
Even though this easy shrimp fried rice is practically a full meal all on its own—you’ve got grains, protein, and veggies in there—sometimes you want just a little something extra on the side, right? It’s all about those simple pairings that fit perfectly into our theme of quick weeknight dinner ideas.
I usually serve mine with a side of crisp, cool cucumber salad tossed with a bit of rice vinegar and sesame oil. It’s such a nice contrast to the hot, savory rice. If you need something quick and green, just steam some broccoli and toss it with a dash of salt and soy sauce. Honestly though, for a speedy dinner, a big wedge of lime squeezed right over the top of the shrimp fried rice is all you really need!
Frequently Asked Questions About Shrimp Fried Rice
I always get asked the same few things once people try making my shrimp fried rice recipe, so I figured I’d address those burning questions right here. It’s good to know there is flexibility, but also where you absolutely cannot compromise on technique for the best results. Ask away, I’ve got the answers!
Can I make shrimp fried rice without shrimp?
Absolutely, you can! If you’re out of shrimp or just want to mix things up, this recipe works wonderfully with diced chicken breast or extra-firm tofu cubes. Just make sure you treat those substitutes like you treated the shrimp—sear them quickly over high heat and set them aside so they don’t overcook. It just turns into a delicious, different savory rice dish!
What is the secret to good fried rice texture?
It all comes down to two things we’ve talked about, but they are worth repeating because they are crucial! First, you must use cold, day-old rice. Second, you need high heat. If the pan isn’t hot enough, the rice steams and gets gummy. Keep it hot so the rice actually fries and stays light and fluffy in every bite!
How do I make this a healthy shrimp recipe?
If you’re watching fat or sodium, you have some easy control here! You can slightly reduce the vegetable oil, but keep the heat high so you aren’t dropping the temperature of the pan too much. The other big thing is soy sauce; using low sodium helps immensely. When you compare this flavor-packed dish to something deep-fried, you’ll see this is already a pretty healthy shrimp recipe choice for a satisfying dinner.
Nutritional Estimates for This Shrimp Fried Rice
Because I know some of you are tracking things closely—and because eating well is important to me, just like it was for Daisy in her garden—I wanted to give you a little look at what’s in this amazing shrimp fried rice. Remember, these numbers are just estimates based on the ingredients listed, so if you use a different brand of oyster sauce or decide to add more peas, things will shift a tiny bit. But for a hearty, savory rice dish that beats takeout any day, 420 calories for a full serving is a fantastic deal, especially when you’re getting 30 grams of protein!
- Serving Size: 1 serving
- Calories: 420
- Fat: 14g
- Carbohydrates: 45g
- Protein: 30g
- Sodium: 850mg (This is where being mindful with your soy sauce really helps!)
- Sugar: 4g
Share Your Homemade Shrimp Fried Rice Experience
Now that you’ve nailed this ultimate shrimp fried rice recipe, I would just love to hear about it! Did you follow my steps exactly, or did you sneak in some extra carrots or maybe a splash of fish sauce? Don’t be shy—go ahead and rate this recipe with five stars right down below if it hit the spot for your quick seafood dinner needs. Even better, snap a picture of your beautiful pan and share it on social media so I can see how everyone is enjoying their homemade version of this classic!
PrintUltimate 25-Minute Better-Than-Takeout Shrimp Fried Rice Using Leftover Rice
Make restaurant quality shrimp fried rice at home in under 30 minutes. This easy shrimp fried rice recipe uses leftover rice, tender shrimp, and a savory sauce for a flavorful weeknight dinner.
- Prep Time: 10 min
- Cook Time: 15 min
- Total Time: 25 min
- Yield: 4 servings 1x
- Category: Dinner
- Method: Stir Fry
- Cuisine: Asian
- Diet: Pescatarian
Ingredients
- 3 cups cold, cooked leftover rice
- 1 pound raw shrimp, peeled and deveined
- 2 tablespoons vegetable oil, divided
- 2 large eggs, lightly beaten
- 1 cup frozen peas and carrots mix
- 3 cloves garlic, minced
- 1 tablespoon fresh ginger, grated
- 3 tablespoons low sodium soy sauce
- 1 tablespoon oyster sauce
- 1 teaspoon toasted sesame oil
- 1/4 teaspoon white pepper
- 2 green onions, sliced, for garnish
Instructions
- Pat the shrimp dry with paper towels. Season lightly with salt and pepper.
- Heat 1 tablespoon of vegetable oil in a large skillet or wok over medium-high heat. Add the shrimp and cook for 1-2 minutes per side until pink. Remove the shrimp from the skillet and set aside.
- Add the remaining 1 tablespoon of oil to the skillet. Pour in the beaten eggs and scramble quickly until just set. Remove the eggs and set them aside with the shrimp.
- Add the frozen peas and carrots to the hot skillet. Stir fry for 2 minutes until heated through.
- Add the minced garlic and grated ginger to the skillet. Stir fry for 30 seconds until fragrant.
- Add the cold leftover rice to the skillet. Break up any clumps with your spatula. Stir fry for 3-4 minutes until the rice is heated through and slightly toasted.
- In a small bowl, whisk together the soy sauce, oyster sauce, sesame oil, and white pepper.
- Pour the sauce mixture over the rice. Stir well to coat all the rice evenly.
- Return the cooked shrimp and scrambled eggs to the skillet. Toss everything together for 1 minute to combine and heat through.
- Remove from heat. Garnish with sliced green onions before serving immediately.
Notes
- Using cold, day-old rice is key for authentic, fluffy fried rice texture. Do not use freshly cooked rice.
- For a healthier shrimp recipe, use less oil, but maintain high heat for proper stir fry technique.
- This one skillet shrimp rice is excellent for meal prep; store leftovers in an airtight container.
Nutrition
- Serving Size: 1 serving
- Calories: 420
- Sugar: 4
- Sodium: 850
- Fat: 14
- Saturated Fat: 3
- Unsaturated Fat: 11
- Trans Fat: 0
- Carbohydrates: 45
- Fiber: 2
- Protein: 30
- Cholesterol: 210