

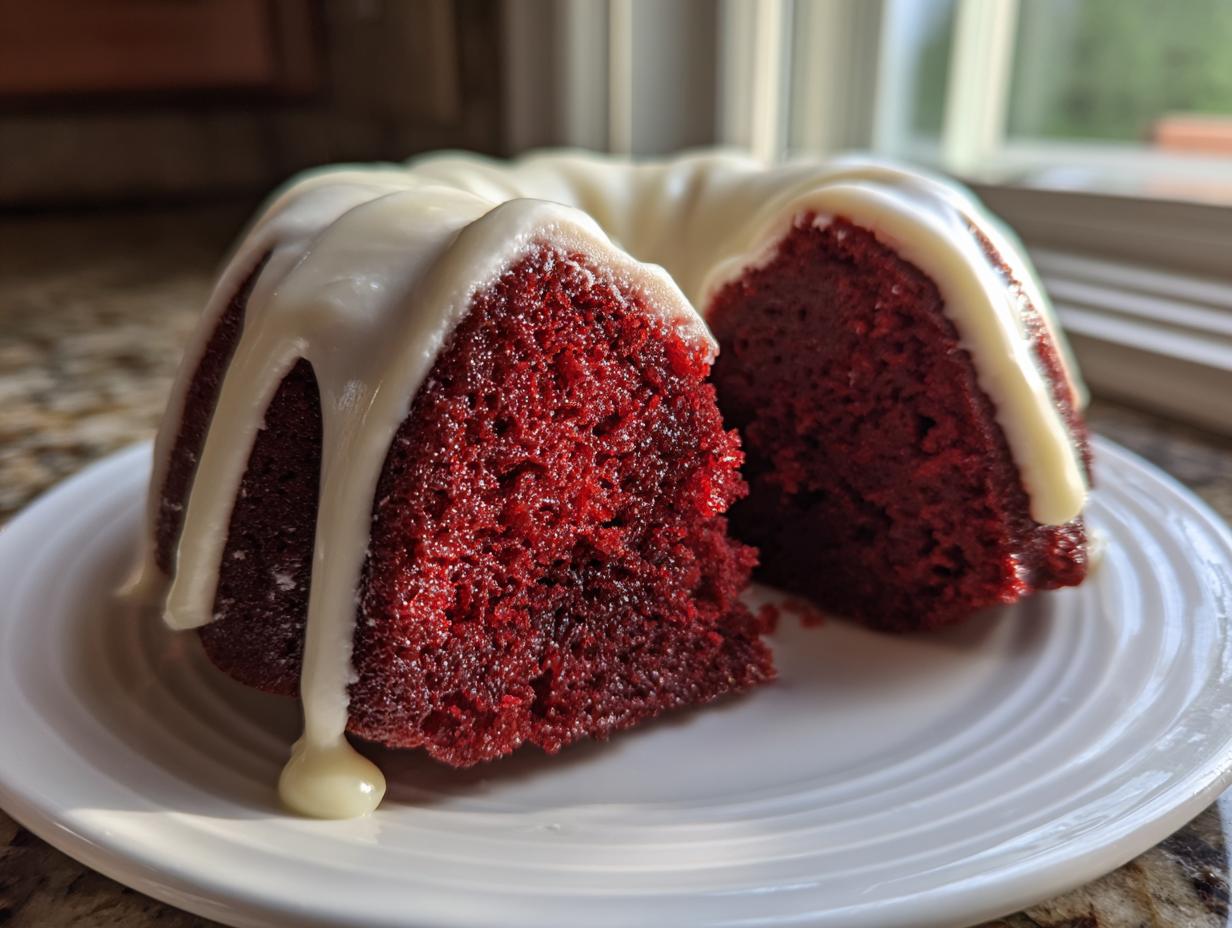
Forget those dry, disappointing cakes you sometimes see! We’re going to bake a proper showstopper today—one that looks absolutely breathtaking but tastes like pure, comforting silk. My ultimate secret for impressing everyone at the table is this Moist Red Velvet Bundt Cake with Tangy Cream Cheese Glaze. It’s got that signature deep color and a lovely little chocolate note, but honestly, the texture is what sets this red velvet bundt cake apart. This recipe is a direct line back to my Grandma Daisy’s kitchen. She taught my mom, and now I’m sharing this simple, honest approach to baking with you, Amelia-style. You can read more about this legacy and why simple baking matters so much to us over on the About Us page. Trust me, this glaze makes everything perfect.
- Why This red velvet bundt cake Recipe Works So Well (Expert Tips)
- Gathering Ingredients for Your red velvet bundt cake
- Step-by-Step Instructions for the Homemade red velvet bundt cake
- Creating the Tangy Cream Cheese Glaze for Bundt Cake
- Tips for a Showstopper Bundt Cakes Finish
- Storage and Reheating Instructions for red velvet bundt cake
- Frequently Asked Questions About the red velvet bundt cake Recipe
- Estimated Nutritional Data for This Festive Bundt Desserts Slice
- Share Your Homemade red velvet bundt cake Creation
Why This red velvet bundt cake Recipe Works So Well (Expert Tips)
I know, I know, everyone promises you the best, most amazing cake recipe. But the reason my red velvet bundt cake stands head and tails above the rest comes down to a few key steps, not just whisking things together! It’s about respecting the chemistry a little bit. If you skip preparing your ingredients first, you’re fighting an uphill battle before you even turn on the mixer, trust me on this one.
The absolute biggest thing you need to remember before starting is that everything needs to be room temperature—the butter, the eggs, even that cold buttermilk. When they are all the same temperate, they blend beautifully and emulsify right, which is the first step to a light crumb, not a dense brick!
Achieving the Tender Red Velvet Baking Texture
We get that gorgeous, tender crumb because of the reaction happening between the acids in this recipe. That little bit of white vinegar we toss in, along with the acidity naturally found in the buttermilk, wakes up the baking soda! They start bubbling right away. This gentle lift is what keeps the cake from ever feeling heavy or tough. It’s natural leavening magic, plain and simple.
The Secret to a Moist Red Velvet Cake
Look, dry cake is criminal. The sheer amount of butter we use here is fantastic, but the real trick for a truly Moist Red Velvet Cake is how we alternate the wet and dry ingredients. We don’t just dump everything in! By slowly layering the flour mix and the buttermilk mix, we keep that beautiful fat structure intact. It coats the flour gently, which stops too much gluten from forming. You end up with that rich, tender bite every single time.
Gathering Ingredients for Your red velvet bundt cake
Okay, let’s get organized! Baking up a masterpiece like this red velvet bundt cake relies on having everything ready to go before you start mixing. Think of this as setting up your little baking station. We need the good stuff for all that deep color and richness. You’ll need your softened unsalted butter and the sugar first—get them ready to be creamed together until they look pale. Then we bring in the eggs, the structure builders! Don’t forget those dry pantry staples like flour, salt, and baking soda need a quick whisk together so they are already married before they meet the wet stuff.
For the gooey, colorful liquid components, measure out that full cup of buttermilk, the vanilla, that little bit of vinegar, and of course, the bright red coloring. Remember, putting quality ingredients into a recipe always pays off. You’re moving away from anything boxed, and that’s fantastic!
Ingredient Notes and Substitutions
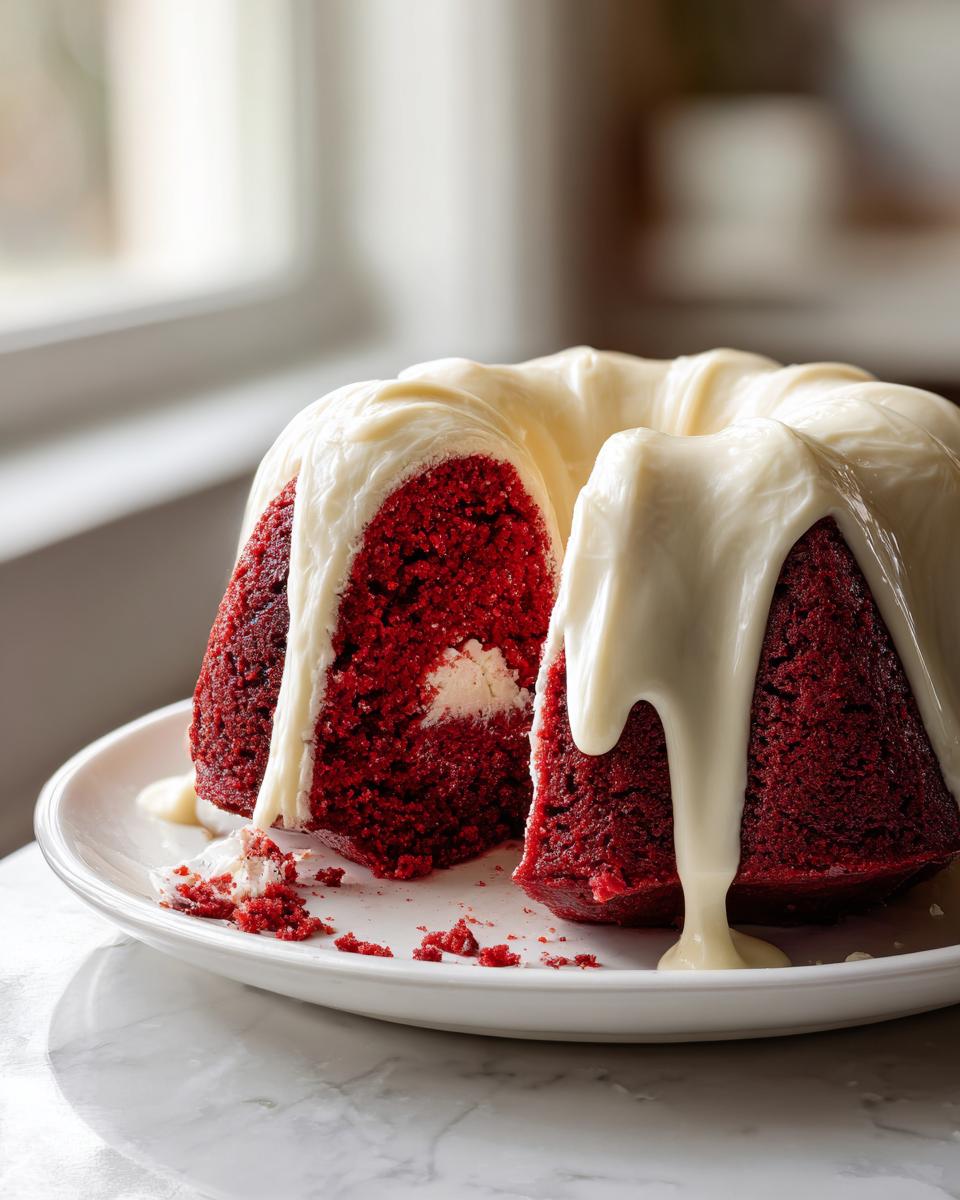
I have to talk about the color for a second. If you use standard liquid food coloring, you’ll need a huge amount, and sometimes that can thin out your batter slightly. For the best, show-stopping red, I always grab a high-quality gel food coloring. It sinks right in and gives you that deep hue we see in bakery windows. Another thing—please, please make sure your buttermilk and eggs are actually at room temperature! Cold ingredients shock the creamed butter the second they hit it, and that ruins the air pockets we just worked so hard to create. If they are frosty, your cake might end up dense instead of beautifully tender.
Step-by-Step Instructions for the Homemade red velvet bundt cake
Alright, time to roll up those sleeves because this is where the magic happens for our stunning red velvet bundt cake! Remember, we’re aiming for that perfect look, which starts the second you turn the oven on. Get that temperature set—we’re baking low and slow at 325°F (160°C). This gentle heat prevents the edges from setting too fast while the center is still raw. If you ever get stuck or your batter looks weird—seriously, don’t panic—just send a quick note through the contact page, and we can troubleshoot together!
Preparing the Pan and Mixing the Batter
You absolutely cannot skip greasing and flouring this pan! Bundt pans look pretty, but they have *so many* nooks and crannies waiting to grab onto your beautiful cake. I use soft butter all over, making sure I get into every single little groove, and then I dust it thoroughly with flour, tapping out the excess. For the batter itself, start by creaming that softened butter and sugar until it looks pale and fluffy—this takes a few minutes, but it’s non-negotiable for good aeration. Next, add those room-temperature eggs one by one. Once they are incorporated, we move on to alternating the dry mix and your vividly colored buttermilk mixture. Scrape down the sides often, but stop mixing the second you don’t see any more streaks of flour!
Baking and Cooling the red velvet bundt cake
Pour that gorgeous batter into your prepared pan and smooth the top lightly. It needs to bake in that 325°F oven for about 50 to 60 minutes. How do you know it’s done? Insert a clean wooden skewer right into the center—if it comes out clean, bingo! Do NOT try to flip this whole thing out right away, or you’ll have a crumbly mess. Let it sit right there in the pan on a wire rack for just 15 quiet minutes. This allows it to firm up slightly. Seriously, wait the 15 minutes! After that, invert the pan onto the rack and pull it off gently. It needs to cool completely before we even *think* about that glaze.
Creating the Tangy Cream Cheese Glaze for Bundt Cake
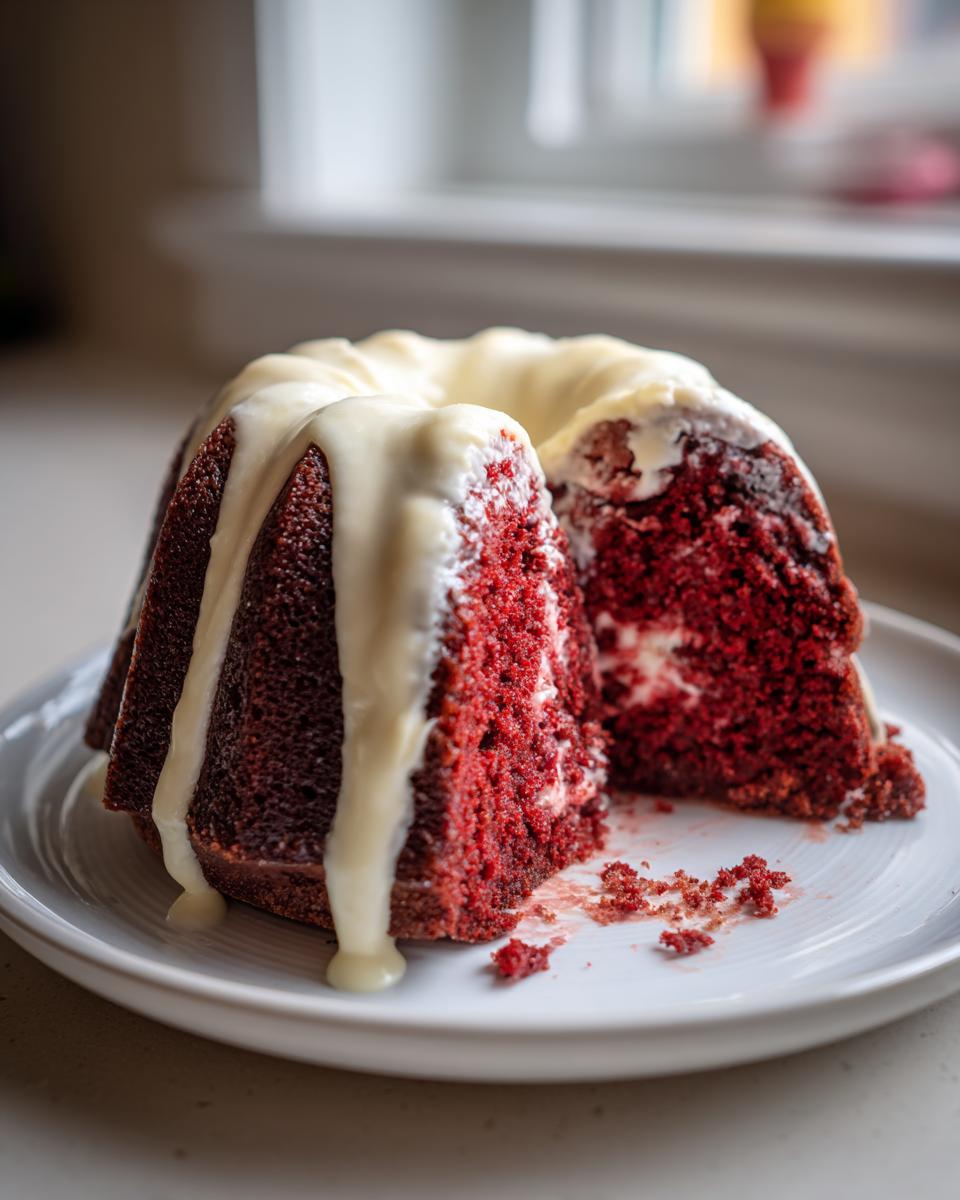
If the cake itself is the centerpiece, then this Cream Cheese Glaze for Bundt Cake is absolutely the dazzling finish! Honestly, this glaze is why some people skip the frosting and go straight for the Bundt. It’s so simple but brings that essential tang that cuts straight through the richness of the cake. We need that sharp flavor to really make the chocolate and vanilla notes sing together. I’ve seen people try shortcuts here, but using softened cream cheese is non-negotiable—if it’s too cold, you end up with tiny little cream cheese rocks in your drizzle, and trust me, that’s not what we want.
First, grab that 8 ounces of softened cream cheese and beat it until it’s perfectly smooth and lump-free. Then, gradually start adding your powdered sugar, just mixing until it’s barely combined. The trick to the final texture is adding the milk or heavy cream one tablespoon at a time. Keep mixing until it hits what I call the ‘thick, pourable’ stage. It should drape beautifully over the back of a spoon but still hold its shape slightly as it falls. If you love a little extra zing, you could even drizzle in a teaspoon of lemon juice! You can see how others like to finish their cakes over at Savour the Best, but this simple drizzle is my go-to.
Tips for a Showstopper Bundt Cakes Finish
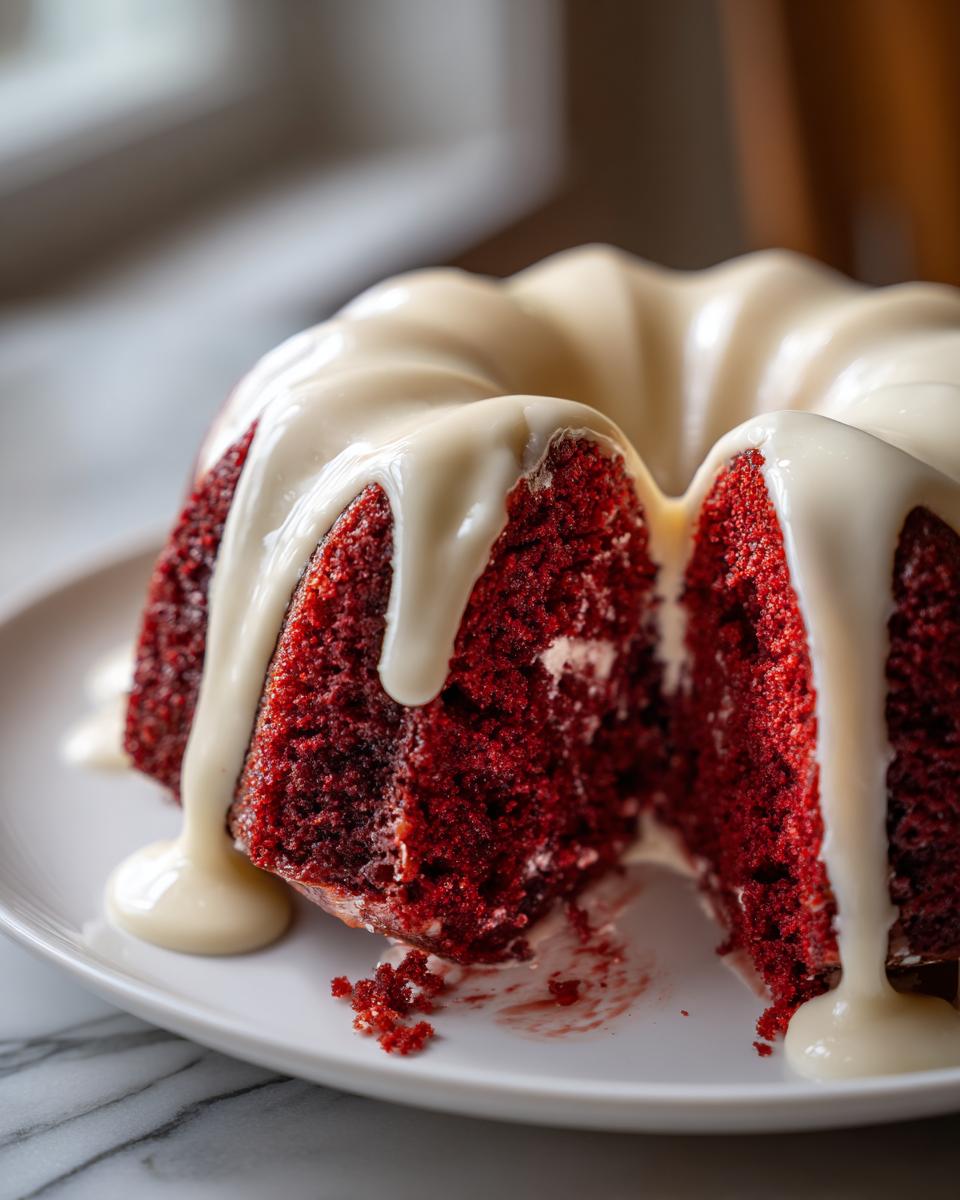
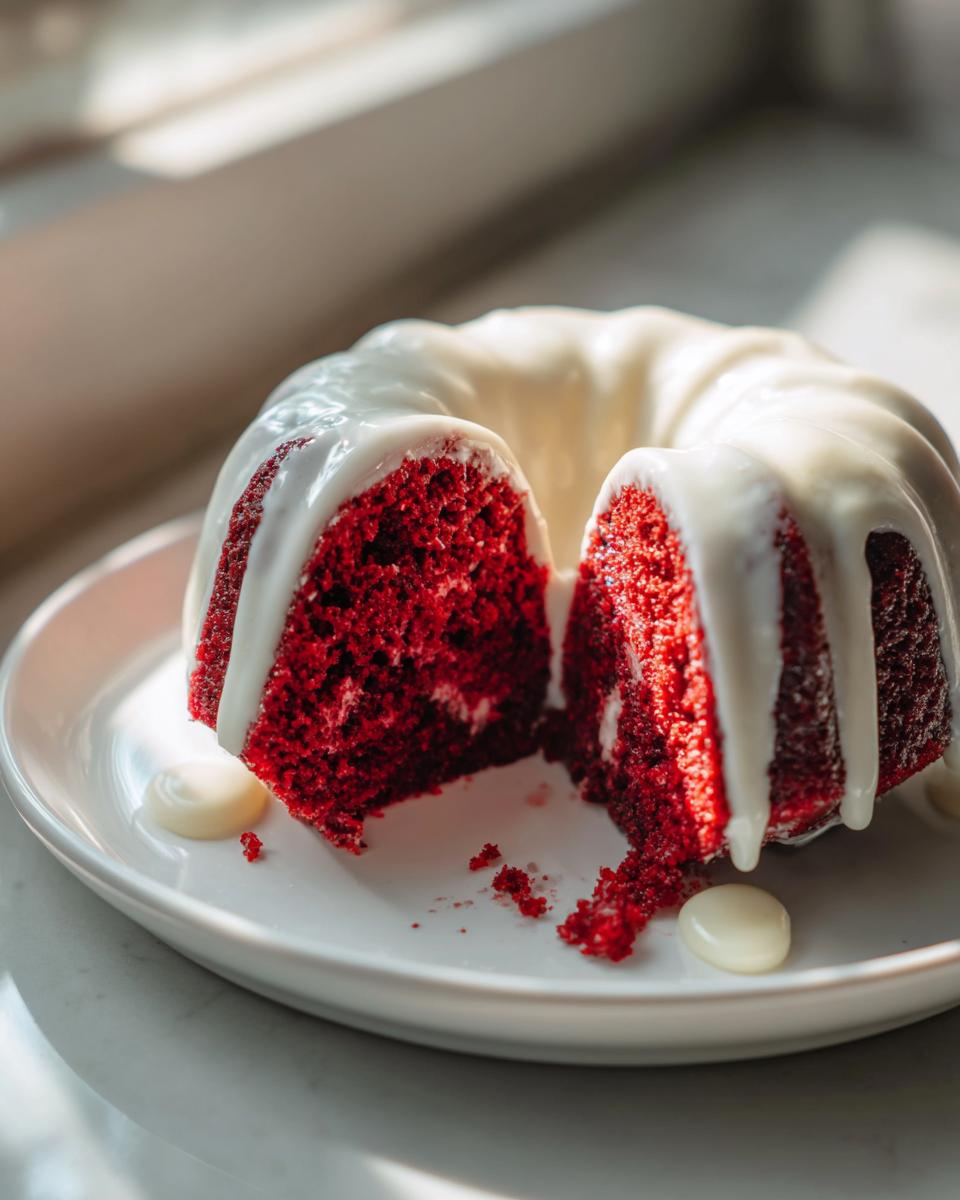
This red velvet bundt cake is already gorgeous, but if you want that true “wow” factor, presentation is everything, especially when you’ve worked so hard on the texture! The glaze needs to be poured the right way—don’t just glob it on! For that perfectly elegant look, you want a consistent, slow drizzle pattern. I usually use a spoon or a small measuring cup with a spout and let the glaze fall slowly over the top ridges, letting gravity do most of the work.
I learned my lesson the hard way once when I was rushing before a party, and I poured too much glaze on one side while the cake was still a little warm. It slid right off the side in a sloppy puddle! So, lesson number one: Patience! Let it cool completely.
For an extra touch that screams “fancy,” consider a garnish. A light dusting of cocoa powder sprinkled unevenly over the glaze looks dramatic against the red. Or, if you’re feeling festive, tiny flecks of white chocolate shavings look fantastic.
Storage and Reheating Instructions for red velvet bundt cake
Now that you’ve made this incredible cake, we need to keep it perfect! Because we used that creamy, tangy icing, we absolutely have to talk about storage. Once that beautiful cream cheese glaze has set up a bit, you need to cover the leftovers loosely and store that red velvet bundt cake in the refrigerator. It stays fresh for about four days that way, which is pretty good!
When you pull out a slice the next day and it feels a little firm—don’t worry! Just let it sit on the counter for about 30 minutes before eating. Bringing it back to room temperature lets the butter soften up again and you get that amazing moist texture back. And if you made a whole thing and know you won’t finish it? It actually freezes beautifully, just wrap it super tight before you even put the glaze on!
Frequently Asked Questions About the red velvet bundt cake Recipe
I know you might still have a few lingering questions, especially if you’re an experienced baker or maybe just new to baking in a Bundt pan. Don’t worry about it! I try to answer everything I get asked about my famous red velvet bundt cake here. Whether you’re worried about color or texture, we’ve got you covered so you feel confident heading into the kitchen.
Can I make this red velvet bundt cake without food coloring?
You certainly can! If you skip the color, your cake will lean more toward a deep, dark red-brown, tasting strongly of that gentle cocoa powder we added. Flavor-wise, it’s still delicious, but you lose that iconic visual ‘wow’ factor that makes it a holiday treat.
What makes this an Easy Red Velvet Dessert?
It’s the pan! Layer cakes require careful leveling, crumb coats, and hours of chilling before frosting nicely. Since we are using a giant, beautiful Bundt pan, the shape does all the heavy lifting for you. A simple drizzle of that Cream Cheese Glaze for Bundt Cake and bam—you have an elegant dessert with minimal fussy decorating work!
Why did my cake turn out dense instead of tender?
That almost always boils down to temperature or overmixing. If your butter or eggs were too cold when you started creaming, the batter won’t aerate properly and you end up with something heavy. Also, make sure you stop mixing right when the flour disappears!
Am I supposed to use a ‘copycat’ recipe?
While this recipe definitely delivers that fantastic bakery feeling, I developed this version entirely on my own, honoring my Grandma Daisy’s philosophy of honest baking! It’s a Homemade Red Velvet Bundt Cake developed right here, focusing on that super moist profile that everyone loves.
Estimated Nutritional Data for This Festive Bundt Desserts Slice
Now, I always want to be transparent about what we’re eating, right? Because this cake is so rich with butter and that wonderful glaze, we know it’s a treat, not an everyday item. The numbers below are just my best estimate based on standard ingredient averages for one single slice of this delicious dessert. Please remember these figures can swing a little depending on how thick you pour that glaze!
- Serving Size: 1 slice
- Calories: 450
- Fat: 23g
- Sugar: 55g
- Protein: 5g
Share Your Homemade red velvet bundt cake Creation
I truly hope baking this red velvet bundt cake brought you that same sense of calm and connection that it brings me when I think of Grandma Daisy. Now that you’ve made this showstopper, I’d be thrilled if you came back and told me how it turned out! Please leave me a rating and a little comment below so I know what you thought.
If you snapped a picture of your drizzle, tag us! Sharing these simple moments online keeps Daisy’s legacy of warmth alive. If you need to review our policies, you can check out the privacy policy, but otherwise, go enjoy that cake!
PrintMoist Red Velvet Bundt Cake with Tangy Cream Cheese Glaze
Bake a show-stopping, moist Red Velvet Bundt Cake from scratch. This recipe features rich cocoa flavor and is finished with a simple, tangy cream cheese glaze for an elegant dessert.
- Prep Time: 25 min
- Cook Time: 60 min
- Total Time: 85 min
- Yield: 12 servings 1x
- Category: Dessert
- Method: Baking
- Cuisine: American
- Diet: Vegetarian
Ingredients
- 1 1/2 cups unsalted butter, softened
- 3 cups granulated sugar
- 4 large eggs
- 1 teaspoon vanilla extract
- 2 1/2 cups all-purpose flour
- 1 teaspoon baking soda
- 1 teaspoon salt
- 1 cup buttermilk
- 2 tablespoons red food coloring
- 1 tablespoon white vinegar
- 1 teaspoon cocoa powder
- 8 ounces cream cheese, softened (for glaze)
- 3 cups powdered sugar (for glaze)
- 1/4 cup milk or heavy cream (for glaze)
Instructions
- Preheat your oven to 325°F (160°C). Grease and flour a 10-cup Bundt pan well.
- In a large bowl, cream together the softened butter and granulated sugar until light and fluffy. Beat in the eggs one at a time, mixing well after each addition. Stir in the vanilla extract.
- In a separate medium bowl, whisk together the flour, baking soda, and salt.
- In a small bowl, mix the buttermilk, red food coloring, vinegar, and cocoa powder until fully combined.
- Gradually add the dry ingredients to the wet ingredients, alternating with the buttermilk mixture, beginning and ending with the dry ingredients. Mix only until just combined; do not overmix.
- Pour the batter evenly into the prepared Bundt pan.
- Bake for 50 to 60 minutes, or until a wooden skewer inserted into the center comes out clean.
- Let the cake cool in the pan on a wire rack for 15 minutes before inverting it onto the rack to cool completely.
- Prepare the glaze: Beat the softened cream cheese until smooth. Gradually beat in the powdered sugar until incorporated. Add the milk or cream one tablespoon at a time until you reach a thick, pourable consistency.
- Drizzle the cream cheese glaze generously over the cooled cake. Allow the glaze to set before slicing and serving.
Notes
- For the deepest red color, use a high-quality gel food coloring.
- Ensure all cold ingredients, like buttermilk and eggs, are at room temperature before mixing for a smoother batter.
- This cake freezes well; wrap tightly once completely cooled and before glazing.
Nutrition
- Serving Size: 1 slice
- Calories: 450
- Sugar: 55g
- Sodium: 300mg
- Fat: 23g
- Saturated Fat: 14g
- Unsaturated Fat: 9g
- Trans Fat: 0.5g
- Carbohydrates: 60g
- Fiber: 1g
- Protein: 5g
- Cholesterol: 90mg