
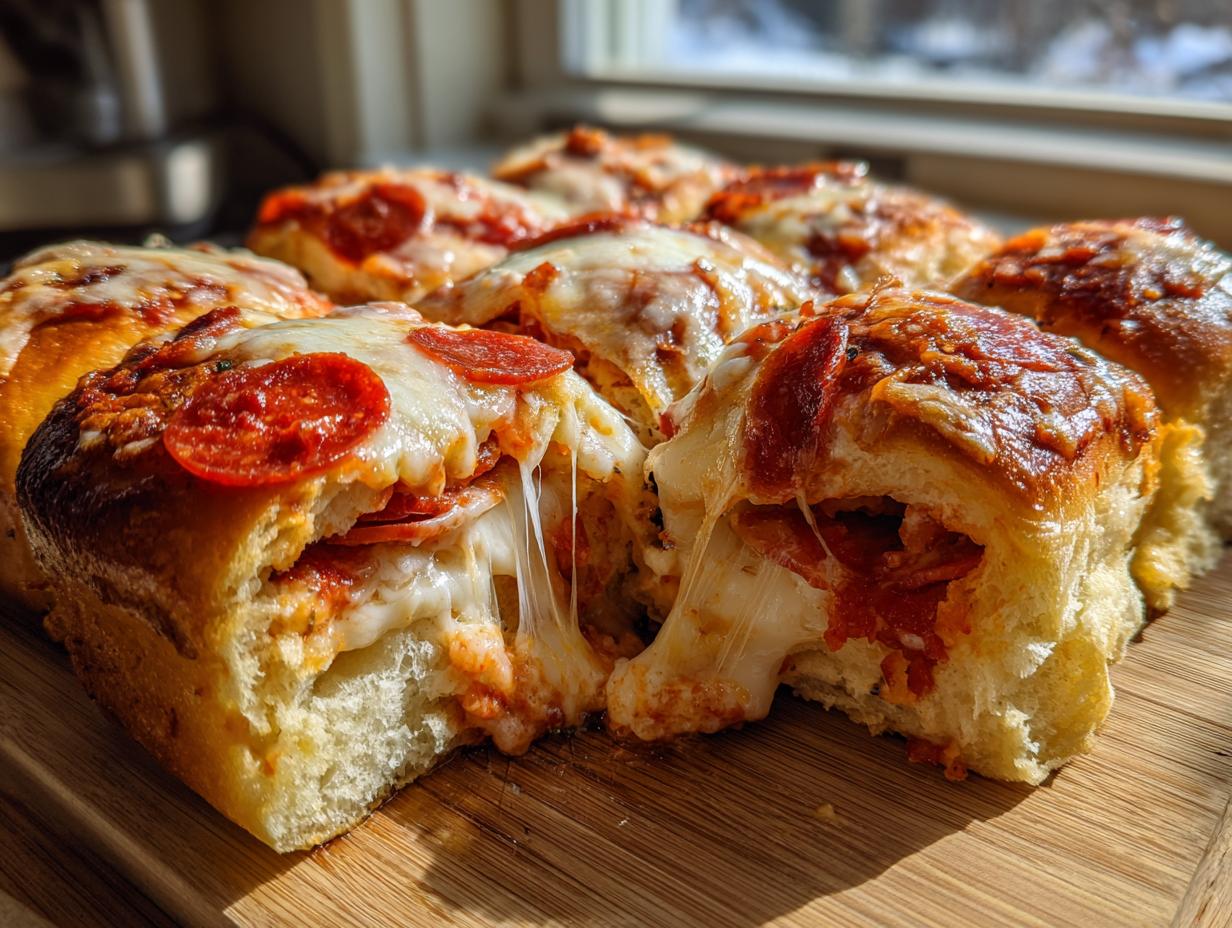
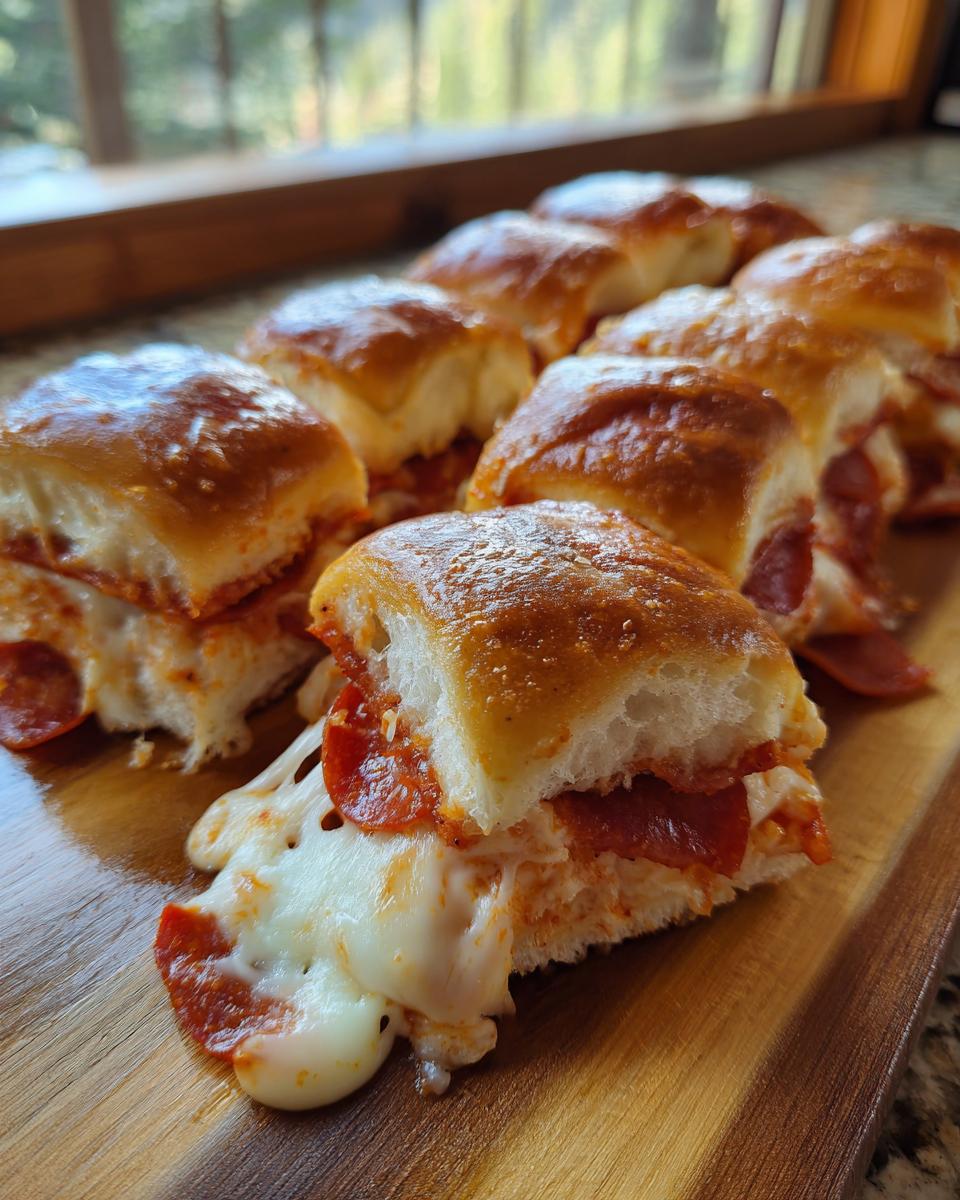
When the clock is ticking and you need an absolute showstopper for a gathering—whether it’s the Super Bowl chaos or just a wild Tuesday night—you need food that assembles itself, almost. That’s why these Easy Pull-Apart Pepperoni Pizza Sliders on Hawaiian Rolls have become a staple here. They are gooey, they are cheesy, and I swear they practically bake themselves! This recipe taps right into my grandmother Daisy’s core belief: simple, honest food nourishes the soul best. These pizza sliders are the easiest way to get that crowd-pleasing, savory fix everyone craves, fast.
- Why These Pepperoni Pizza Sliders Are Your New Favorite Game Day Finger Food
- Gathering Ingredients for Your Pizza Sliders
- Mastering the Garlic Butter Slider Topping for Perfect Pizza Sliders
- Step-by-Step Assembly of Easy Pull Apart Pizza Sliders
- Tips for Perfect Pizza Sliders Every Time
- Serving Suggestions for Your Crowd Pleasing Party Food
- Storage and Reheating Tips for Leftover Pizza Sliders
- Frequently Asked Questions About Pizza Sliders
- Nutritional Estimates for This Family Friendly Dinner Slider
- Share Your Experience Making These Savory Slider Recipes
Why These Pepperoni Pizza Sliders Are Your New Favorite Game Day Finger Food
If you’re hosting a party or just trying to survive a chaotic weeknight, these sliders are your secret weapon. Seriously, they are ready for the oven in about ten minutes flat! That speed is why they earned the title of my go-to game day finger food. Forget fussy appetizers.
Everyone gravitates toward this baking dish because it promises that irresistible, gooey cheese pull. They aren’t just for big events, though—I’ve made these for a quick family dinner when nothing else sounded good. They’re simple, satisfying, and way better than delivery. These quick party sandwiches disappear before the commercials even finish!
Gathering Ingredients for Your Pizza Sliders
Okay, let’s talk about what you need. The absolute key here is the bread—you must use those sweet Hawaiian rolls! That little bit of sweetness plays perfectly against the savory pizza stuff, trust me. It makes all the difference in transforming a basic sandwich into a fantastic Hawaiian roll appetizer.
Essential Components for Cheesy Baked Sliders
You only need a few things for this magic. Make sure you measure out one 12 count package sweet Hawaiian rolls, two cups of shredded mozzarella cheese, one cup of your favorite pizza sauce, and one cup of sliced pepperoni. Don’t forget the topping ingredients we’ll mix up next! For the topping, grab four tablespoons of unsalted butter, melted, one teaspoon of garlic powder, half a teaspoon of dried oregano, and a quarter cup of grated Parmesan cheese. That’s it!
Mastering the Garlic Butter Slider Topping for Perfect Pizza Sliders
This is where we take these simple little bites from ‘good’ to ‘absolutely unforgettable’! The topping is everything, I promise you. We toss out the plain butter spread and mix up my signature garlic butter slider topping right before they go into the oven. It’s the secret sauce, even though it’s on top!
All you do is whisk together four tablespoons of melted, unsalted butter with a teaspoon of garlic powder and about half a teaspoon of dried oregano. Seriously, that combination seeps down into all those nooks and crannies as they bake. It keeps the tops soft but flavorful, preventing that stiff, dry bread feeling you sometimes get. And don’t forget that final sprinkle of Parmesan right after the butter goes on—that gets wonderfully toasty!
Step-by-Step Assembly of Easy Pull Apart Pizza Sliders
Alright, this is the fast part, so get everything ready to go! We aren’t doing this one slider at a time, thank goodness—we’re handling the whole batch together. The trick to these perfect easy pull apart sliders is keeping the whole thing connected until it comes out of the oven. It’s just easier that way!
Prepping the Rolls and Layering the Pizza Sliders
First things first, crank your oven up to 350 degrees Fahrenheit and grab a 9×13 dish—give it a quick grease so nothing sticks later. Now, take your whole package of Hawaiian rolls and, very carefully, slice them right in half, horizontally, like you’re making a giant sheet sandwich. Keep the top and bottom halves touching! Place the bottom half cut-side-up into that greased dish.
Now, you want an even layer of pizza sauce on those bottoms. Don’t go crazy, though—too much sauce means a soggy base. Just spread it out nice and thin. Next up is the mozzarella! Pile that beautiful shredded cheese on top, followed by your one cup of pepperoni slices. Spread them out so every future slider gets some!
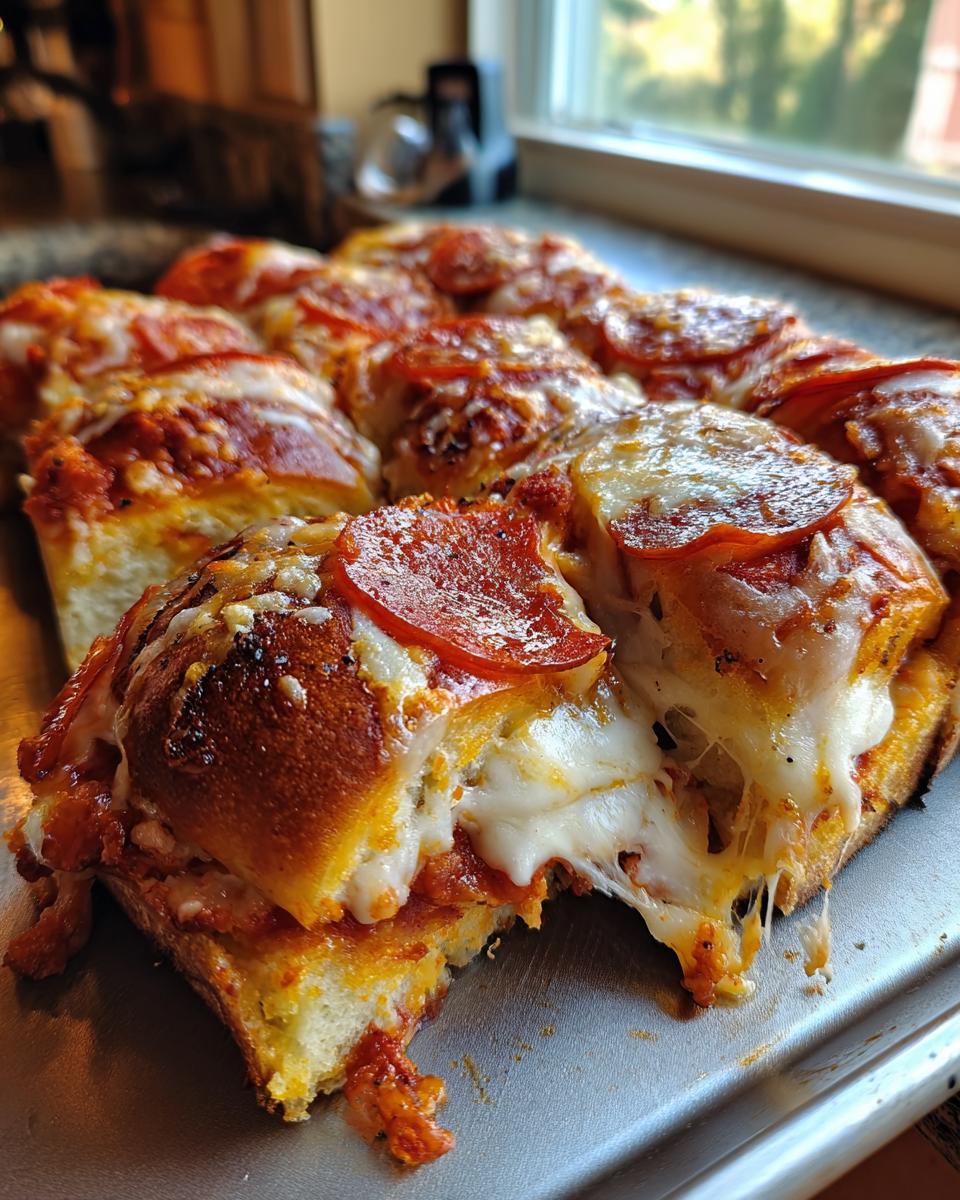
Final Topping and Baking Instructions for Pizza Sliders
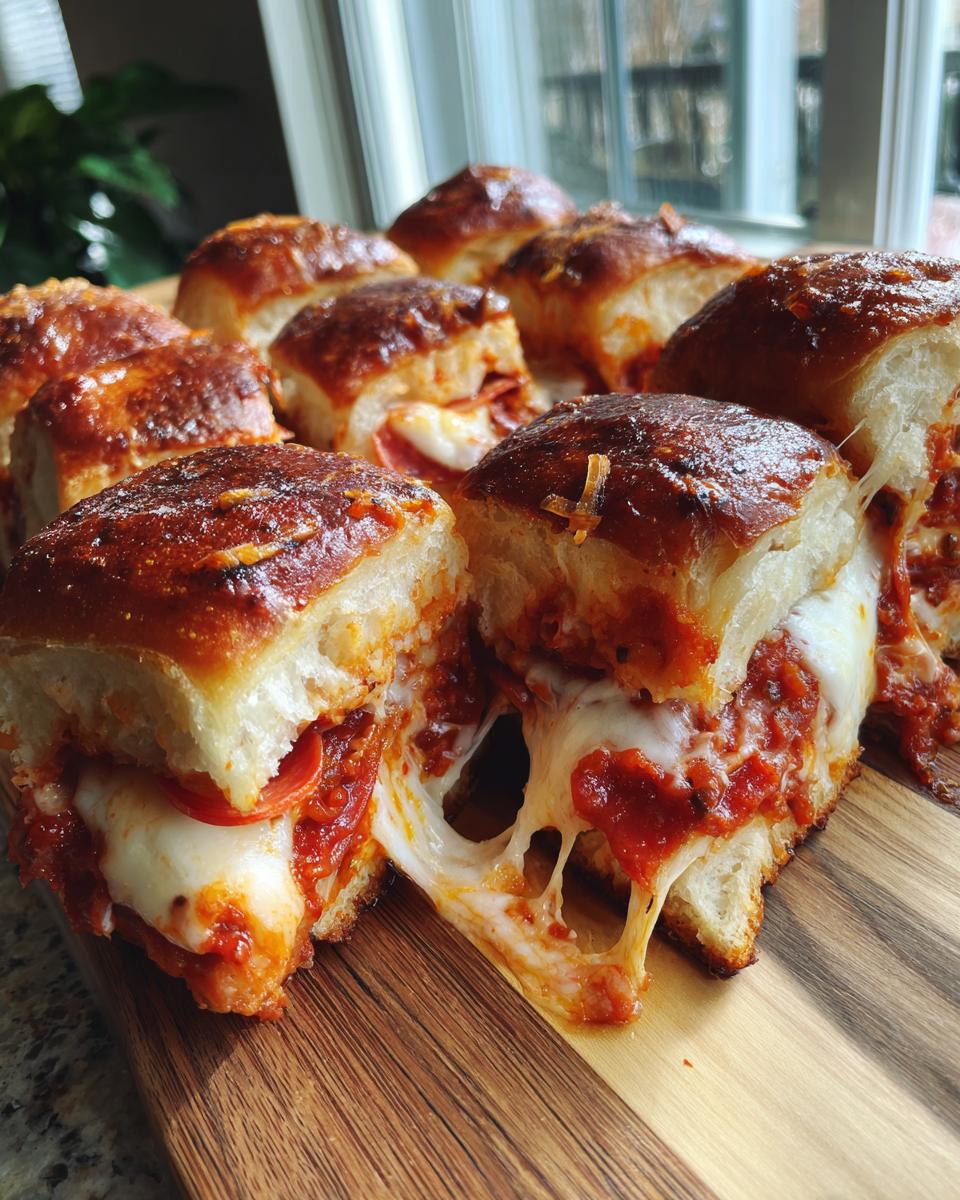
Gently place the top roll half back on. Now, grab that garlic butter mixture we talked about and brush it generously over the entire top surface. Make sure you get all the corners! After the butter, hit the tops with your grated Parmesan cheese. Pop this whole thing into the oven for about 12 to 15 minutes. You’re looking for fully melted cheese and lightly golden tops—that’s how you know you’ve achieved perfect cheesy baked sliders.
Crucially, when they come out, let them sit for five minutes. Don’t dive in immediately! This lets everything settle. Then, just use a sharp knife and slice right down between the rolls into your individual, warm, melty bites. Serve them up hot!
Tips for Perfect Pizza Sliders Every Time
Even though these are super speedy, a couple of little tricks from my time perfecting these in my tiny city kitchen can really make a difference! You want to avoid that dreaded soggy bottom layer, right? A great way to handle that—especially if you’re going heavy on the sauce—is to pull the bottom half of the rolls out and give them a quick 3-minute toast in the oven before you start layering. That little bit of dry heat seals them up perfectly.
Also, feel free to play! These pizza sliders are wonderful as is, but they love customization. If you want a Supreme vibe, toss some thinly sliced bell peppers and maybe some cooked, crumbled sausage right in with the pepperoni. Check out some great topping ideas over at The Modern Proper for inspiration. Just remember, keep the fillings reasonable so the top still closes nicely!
Serving Suggestions for Your Crowd Pleasing Party Food
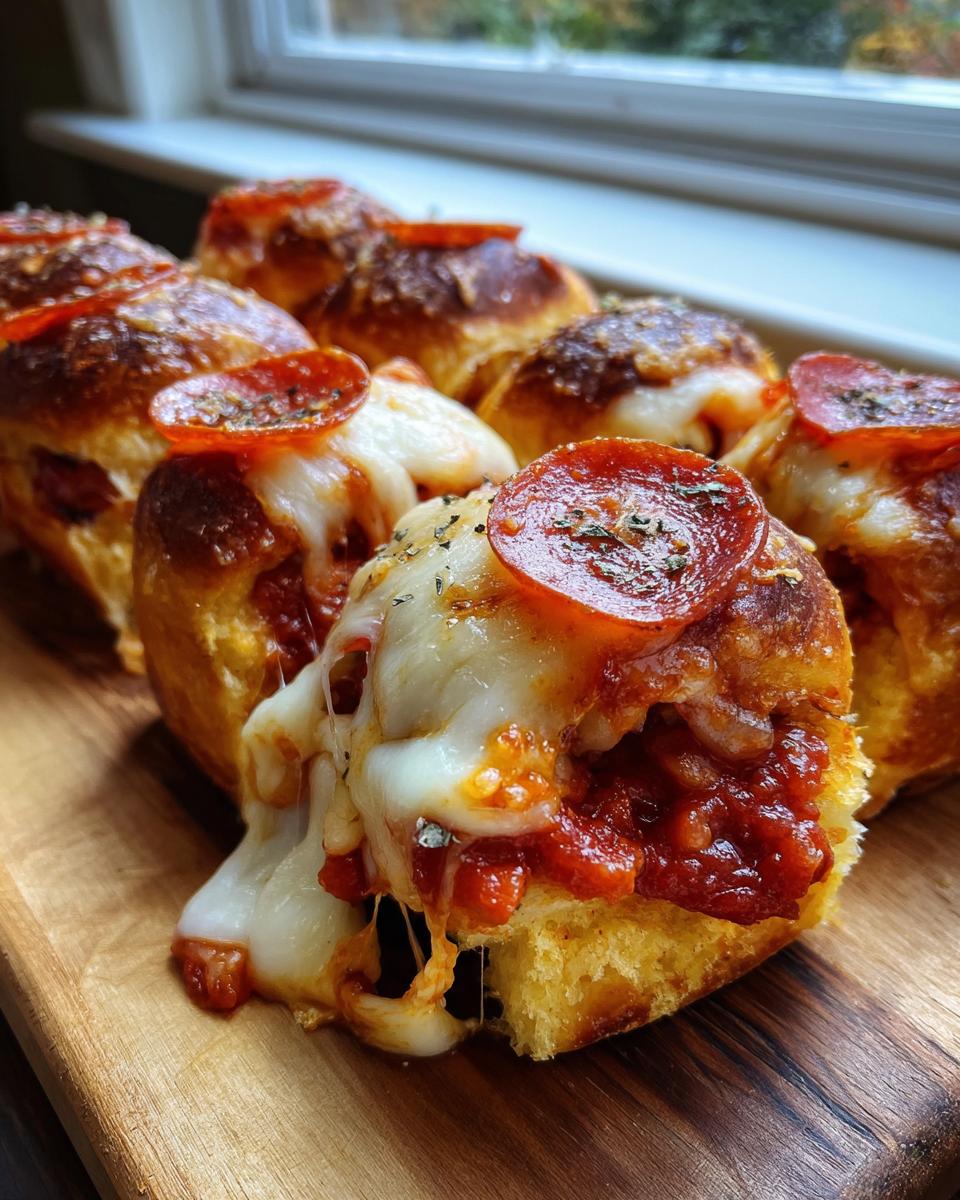
Once these beautiful, cheesy pull apart pepperoni rolls come out of the oven, the only thing left to do is serve them up immediately! Since they are already rich and cheesy, you don’t need much on the side, but dipping sauce is non-negotiable, at least in my book.
Go with extra warm marinara sauce for the classic dip, or if you have kids (or just love tanginess like I do!), ranch dressing is my next go-to. For a little more substance alongside your crowd pleasing party food, serve them alongside an easy chopped salad or some spicy jalapeño poppers. They are truly the ultimate handheld bite for any event!
Storage and Reheating Tips for Leftover Pizza Sliders
Now, I know these disappear fast, but sometimes you get lucky and have a couple of these mini pizza sliders left over. Don’t just leave them out! Treat leftovers like real pizza: store them in an airtight container in the fridge. They’re usually good for about three days, but honestly, they are best eaten the first day.
When it comes to reheating, please ditch the microwave if you can! The microwave makes the soft rolls get rubbery. For the best texture, pop them back into a 325-degree oven for about 7 to 10 minutes. This gives the cheese time to melt again and brings back a little bit of that golden crunch to the top crust. It keeps them from getting totally flat!
Frequently Asked Questions About Pizza Sliders
I get so many questions when I post these, which tells me they are totally hitting the spot for game day planners and busy parents! It makes me so happy that so many of you are trying these easy savory slider recipes. I tried to answer the most common things I hear below, but if you have more thoughts after visiting Urban Farmie’s take, please let me know in the comments!
Can I substitute the pepperoni in these pizza sliders?
Oh, absolutely! Pepperoni is classic, but these sliders are built to be customized. If you want a veggie version, skip the meat and add sautéed mushrooms or thinly sliced olives. For a heartier bite, crumbled cooked Italian sausage is amazing. You can even use ham and pineapple to turn it into a Hawaiian slider! The base recipe holds up beautifully to almost any topping you throw onto it.
How do I make these a 30 minute pizza bites meal?
You’re already practically there! The recipe lists a 10-minute prep time and about 15 minutes in the oven, which puts us right at 25 minutes total—perfectly under that 30-minute mark for your 30 minute pizza bites milestone! Assembly is ridiculously fast because you aren’t dealing with individual rolls; you’re just slicing the whole loaf open at once. It’s quick, I promise!
Are these Hawaiian roll appetizer bites good for kids?
They are fantastic for kids! The sweet Hawaiian rolls are always a hit with little ones, and since you control the sauce, you can keep it mild. They go down so easily as a kid friendly pizza snack. My nephew calls them ‘pizza pockets,’ and he usually eats three before I can even put the dish down on the table!
Nutritional Estimates for This Family Friendly Dinner Slider
Now, I always tell people that these family friendly dinner sliders are pure indulgence, so we aren’t focusing on macros here when we’re making them for a party! But for those who need to know, I’ve pulled together the estimates based on the ingredients for one slider.
Keep in mind that these figures are just a general guide, since the amount of sauce or cheese you pile on will vary! For one piece, you’re looking at around 240 calories, 10 grams of protein, 12 grams of fat, and 25 grams of carbohydrates. It’s delicious comfort food, so enjoy it!
Share Your Experience Making These Savory Slider Recipes
Now that your kitchen probably smells wonderfully of garlic and baked cheese, I really want to know what you thought! Honestly, seeing your photos and reading your notes is the best part of running this site. Daisy always said that food tastes best when it’s made to be shared, and I feel that same way about these recipes.
If you whipped up a batch of these crowd pleasing party food bites, please take a moment to leave a rating for the recipe right down below. Did they disappear instantly at your gathering? Were they a hit for a Tuesday night dinner?
And more importantly, tell me about your customizations! Did you try a Supreme twist? Did you go heavy on the Parmesan on top? I’m always looking for new ways to layer flavor into these simple mini pizza sliders, so don’t be shy about sharing your brilliant ideas! Happy cooking, and come back soon!
PrintEasy Pull-Apart Pepperoni Pizza Sliders on Hawaiian Rolls
Make these quick and cheesy pull-apart pizza sliders using sweet Hawaiian rolls. This recipe is simple to assemble, perfect for game day, parties, or a fast family dinner.
- Prep Time: 10 min
- Cook Time: 15 min
- Total Time: 25 min
- Yield: 12 servings 1x
- Category: Appetizer
- Method: Baking
- Cuisine: American
- Diet: Vegetarian
Ingredients
- 1 (12 count) package sweet Hawaiian rolls
- 1 cup pizza sauce or marinara sauce
- 2 cups shredded mozzarella cheese
- 1 cup sliced pepperoni
- 4 tablespoons unsalted butter, melted
- 1 teaspoon garlic powder
- 1/2 teaspoon dried oregano
- 1/4 cup grated Parmesan cheese
- Optional: Dipping sauce (marinara or ranch)
Instructions
- Preheat your oven to 350 degrees Fahrenheit. Lightly grease a 9×13 inch baking dish.
- Carefully slice the entire package of Hawaiian rolls in half horizontally, keeping the rolls connected in one piece. Place the bottom half of the rolls cut-side up in the prepared baking dish.
- Spread the pizza sauce evenly over the bottom layer of rolls.
- Sprinkle the mozzarella cheese over the sauce layer.
- Arrange the pepperoni slices over the cheese.
- Place the top half of the rolls over the pepperoni layer.
- In a small bowl, combine the melted butter, garlic powder, and dried oregano. Brush this mixture evenly over the top of the assembled sliders.
- Sprinkle the grated Parmesan cheese over the buttered tops.
- Bake for 12 to 15 minutes, or until the cheese is fully melted and the tops are lightly golden brown.
- Remove from the oven and let cool for 5 minutes before slicing between the rolls into individual sliders. Serve warm.
Notes
- For crispier pepperoni, you can briefly bake the pepperoni slices on a paper towel-lined plate in the microwave for 30 seconds before assembling.
- To prevent soggy bottoms, lightly toast the bottom half of the rolls in the oven for 3 minutes before adding sauce and toppings.
- Customize your sliders by adding cooked, crumbled sausage or thinly sliced bell peppers under the cheese.
Nutrition
- Serving Size: 1 slider
- Calories: 240
- Sugar: 7
- Sodium: 450
- Fat: 12
- Saturated Fat: 6
- Unsaturated Fat: 6
- Trans Fat: 0.2
- Carbohydrates: 25
- Fiber: 1
- Protein: 10
- Cholesterol: 30