
Oh, there’s just nothing like the desserts that taste like a Sunday afternoon when you were just small enough to sit on the counter stool, right? For me, the smell of hot caramel immediately transports me back to Grandma Daisy’s kitchen. She didn’t bother with fancy French pastries; she made the kind of food that stuck to your ribs and warmed your soul. And if she wanted to make an entrance at a church supper or a family reunion, she made her pineapple upside down cake. It’s a true showstopper, that cake! It’s a brilliant, retro dessert that proves simple, honest ingredients made with care always win out. This recipe is the one I keep coming back to when I want a taste of home, made completely from scratch. It turns out gorgeous every single time. If you want to see more of Daisy’s best creations, you can sneak a peek at some of her delicious dessert recipes!
- Why This Classic Pineapple Upside Down Cake Recipe Stands Out
- Gathering Ingredients for Your Pineapple Upside Down Cake
- How to Make Pineapple Upside Down Cake: Step-by-Step Instructions
- Tips for Perfect Pineapple Upside Down Cake Baking
- Serving Suggestions for this Family Favorite Dessert
- Storage and Reheating Instructions
- Frequently Asked Questions About This Retro Cake Recipe
- Nutritional Data Estimate
- Share Your Baking Success
Why This Classic Pineapple Upside Down Cake Recipe Stands Out
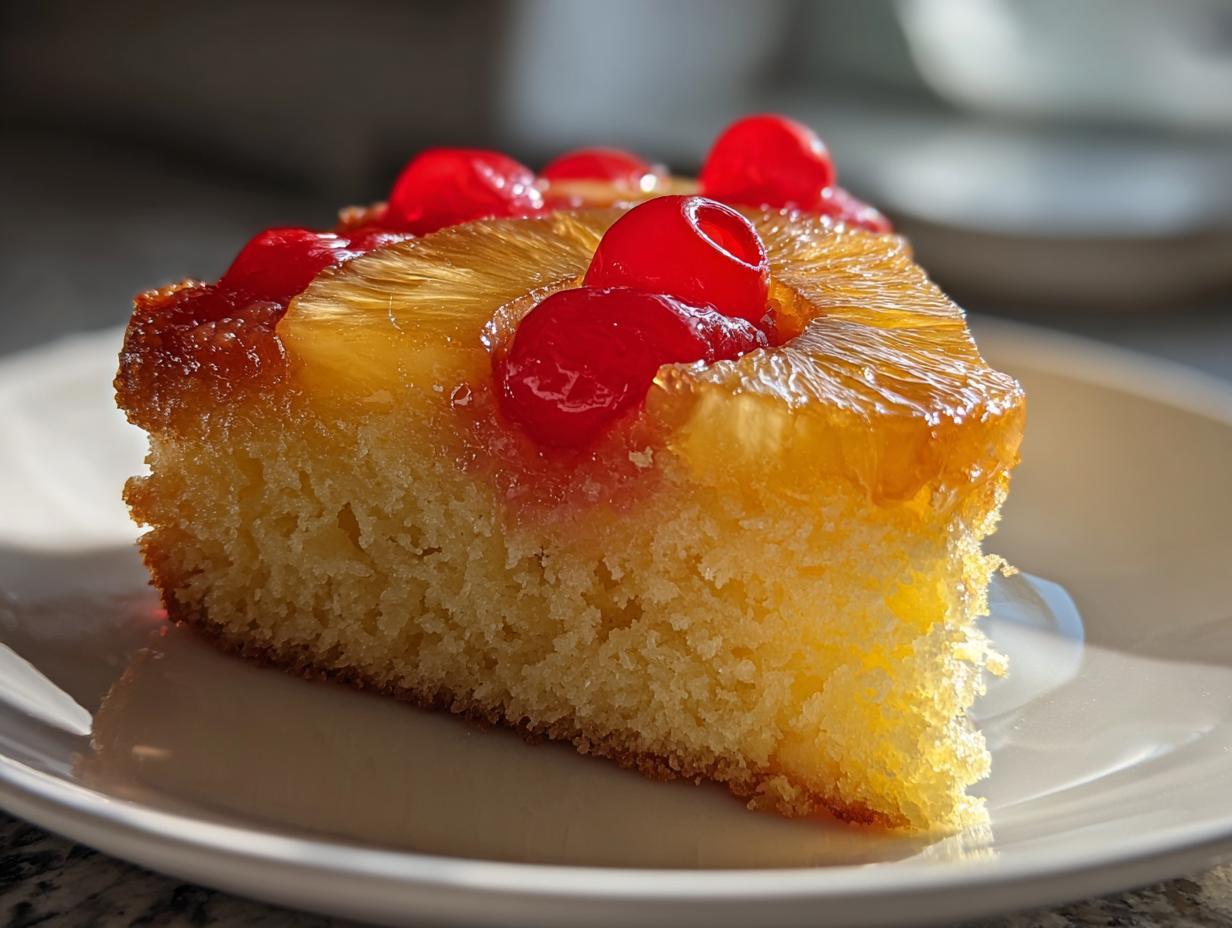
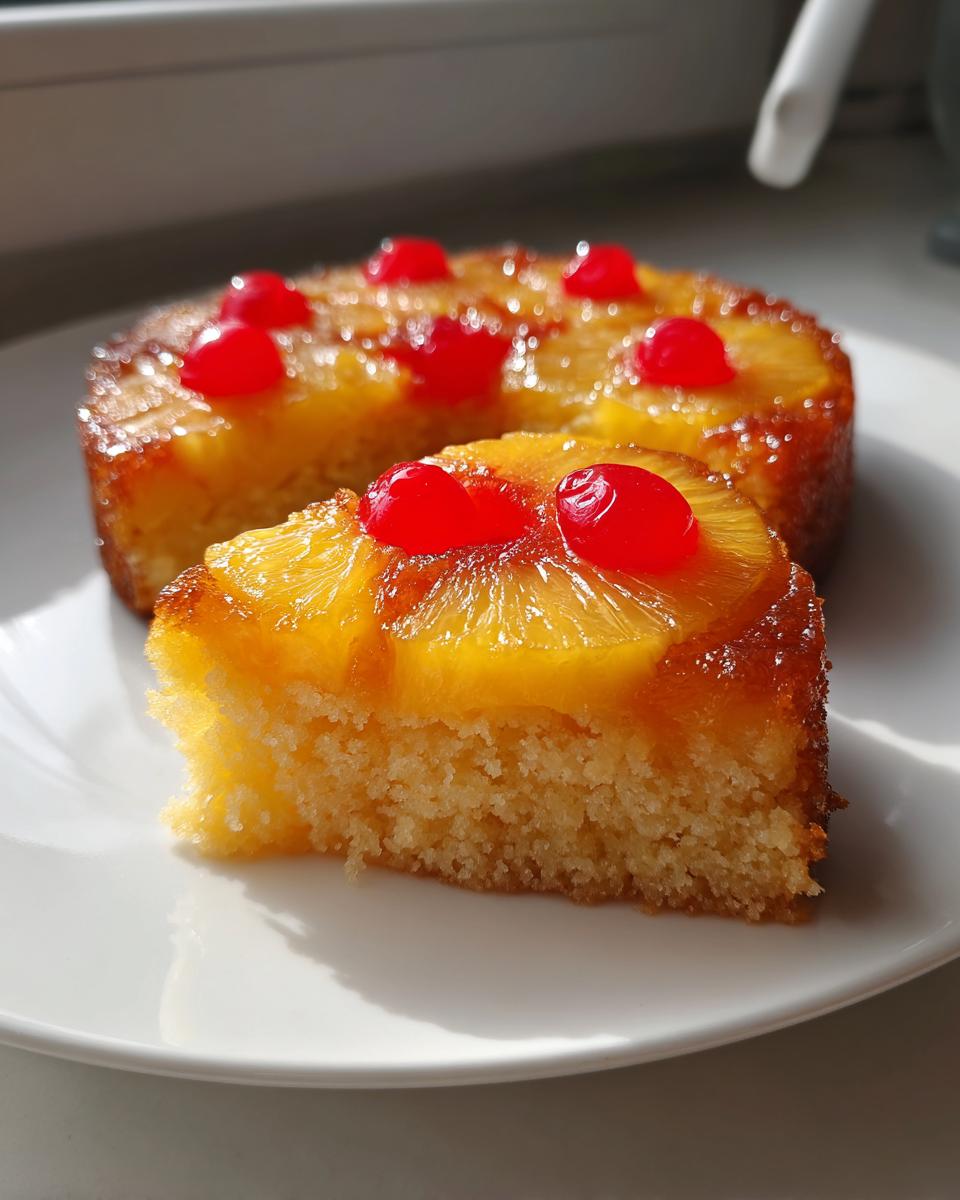
I’ve tried a ton of versions over the years, but nothing beats the texture and flavor of this scratch-made classic. Forget those thin, overly sweet versions; ours is what you call a truly moist pineapple cake. It’s famous for its incredibly rich, buttery crumb that stays soft long after it comes out of the oven. We focus on making the topping perfect first, because that’s where all the magic starts. This cake is proof that when you do things the right way, it truly shines.
Achieving the Perfect Caramelized Pineapple Dessert Topping
Now, let’s talk about that gorgeous, gooey layer. The absolute key here is melting the butter first and mixing it right into the brown sugar *before* it hits the pan. That mixture bubbles up in the oven and creates a thick, deep caramel. And guess what? We use the reserved pineapple juice in the batter itself! That juice has tons of flavor molecules that help deepen that amber color, making sure the fruit gets beautifully caramelized, not just baked fruit sitting on top.
The Secret to a Tender Crumb in Your Homemade Pineapple Cake
The tenderness of the cake is all about how you mix the batter, just like Grandma Daisy taught me. We use the alternating dry and wet method for a reason—it stops you from overworking the flour. If you dump everything in at once, you end up with a tough cake that won’t slice right. A few gentle folds is all this batter needs to stay delightfully light and tender.
Gathering Ingredients for Your Pineapple Upside Down Cake
Okay, let’s get this laid out so you’re ready to go. The beauty of this Classic Pineapple Upside Down Cake Recipe is that it uses ingredients you probably already have on hand—no fancy trips to specialty stores needed! This is real, honest home baking, where quality matters, but complication certainly doesn’t.
Here’s what you need for the whole shebang, that gorgeous, sticky layer and the light cake that sits perfectly on top:
- 1/2 cup unsalted butter, softened (for the topping, don’t cheat here!)
- 3/4 cup packed light brown sugar
- 1 (20 ounce) can pineapple slices in juice, drained (and please, save that juice!)
- 10 maraschino cherries
- 1 1/2 cups all-purpose flour
- 1 1/2 teaspoons baking powder
- 1/2 teaspoon salt
- 1/2 cup unsalted butter, softened (for the cake batter)
- 3/4 cup granulated sugar
- 2 large eggs, room temperature is best!
- 1 teaspoon vanilla extract
- 1/2 cup milk
- 1/4 cup reserved pineapple juice
When you’re done putting everything out, remember you can always reach out to me through the contact page if anything seems confusing before you start! Let me know if you have questions.
Ingredient Notes and Substitution Tips
Daisy always said, “Ingredients tell you what they want to be; you just have to listen.” Pay attention to the small things, and your cake will sing.
First off, the butter: I insist on real, good-quality unsalted butter. Margarine just doesn’t have the right fat structure, and we need that structure for our topping to bubble up right. It’s where so much of that rich flavor comes from.
For the topping richness, you have a choice! The recipe calls for light brown sugar, which gives you a nice golden color. But if you want something deeper, bolder, and almost molasses-y, switch that out for dark brown sugar. It makes the caramel layer almost black in the best way possible. It’s a little personal twist I love.
And the cherries? They’re totally non-negotiable in my book. They aren’t just for color, even if they look super retro! They stabilize the center of the pineapple ring and provide a little textural pop against the fruit.
How to Make Pineapple Upside Down Cake: Step-by-Step Instructions
Alright, friends, this is where the science meets the beautiful presentation! Don’t let the inversion part scare you. This whole process is designed to be straightforward, even for a Tuesday night when you need a little tropical cheer. Remember, we preheated the oven to 350 degrees F earlier, so we’re already ahead of the game. Grab that 9-inch round cake pan—it holds the perfect amount of batter for this recipe.
Preparing the Caramel Topping and Fruit Arrangement
The topping is the foundation, so we treat it with respect! First, grab that half-cup of butter earmarked for the base and melt it down gently in a small saucepan over medium heat. Once it’s liquid gold, stir in that packed brown sugar until they become one thick, sweet mixture. You need a smooth, even coating, so take a moment to pour this right into the bottom of your chosen pan. If you miss a spot, you’re risking sticking later, and we want zero drama during the flip!
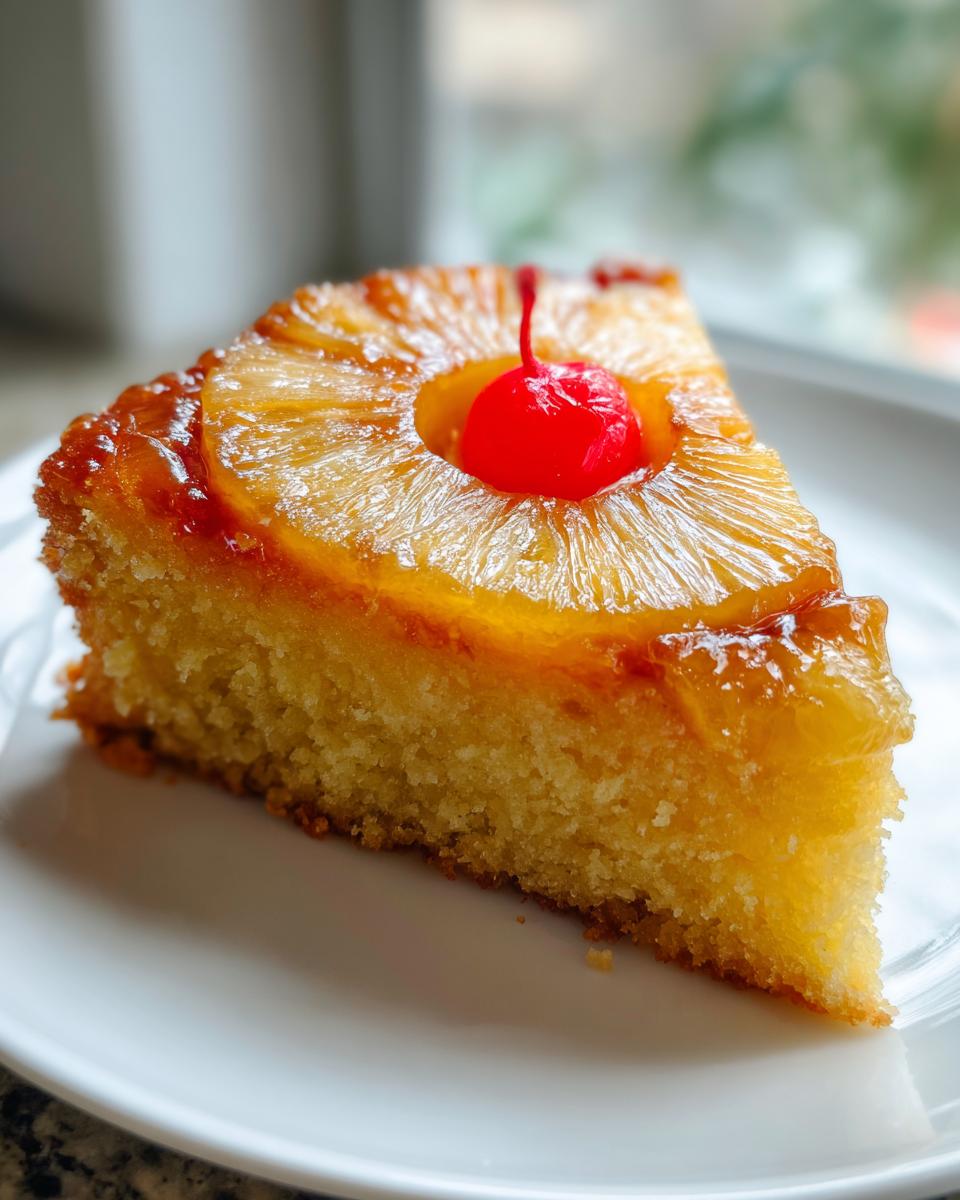
Next comes the show! Arrange your drained pineapple slices neatly over that sugary butter base. I usually aim for a tight circle—a nice, snug fit is the secret to achieving great No Stick Cake Baking results when you flip it. Then, tuck one bright maraschino cherry right into the center hole of every single pineapple ring. Just look at that color! It looks like little tropical stained-glass windows ready for the oven.
Mixing the Batter for a Moist Pineapple Cake
Now for the actual cake batter. Remember that dry mixture we set aside? Go ahead and whisk together the flour, baking powder, and salt in a medium bowl, just to make sure everything is evenly distributed. That’s done! Set it aside again.
In your large mixing bowl, it’s time to cream the remaining half-cup of softened butter with the granulated sugar. Beat it until it looks genuinely light and fluffy—this is crucial for getting that tender texture. Beat in your eggs one at a time, making sure each one is fully incorporated before adding the next, followed by a splash of vanilla.
For the liquid, whisk your milk together with that precious reserved pineapple juice you saved earlier. Now, here is where you need patience: add the dry ingredients to your wet mixture in alternation with the milk/juice mixture. You always start and end with the dry stuff. Mix gently! Stop as soon as you see the last streak of flour disappear. Seriously, that’s it! If you keep going, you’ll develop gluten, and you’ll end up with a cake that’s chewy instead of being the wonderful, moist pineapple cake we are aiming for.
Baking and Inverting Your Pineapple Upside Down Cake
Gently spoon that batter over your carefully arranged fruit layer. Try not to disturb the fruit arrangement underneath. Spread it out softly to cover everything completely. Then, bake it at 350°F for about 35 to 40 minutes. You want a wooden pick inserted near the center to come out clean—that’s your signal it’s done baking.
This next part is the make-or-break timing, so pay attention! Let the cake rest in the pan on a wire rack for exactly 10 minutes. Don’t wait 20 minutes, or the caramel will harden right to the pan bottom! Don’t flip it instantly, or the hot, runny caramel will just spill everywhere. Those ten minutes let the edges set up just enough. After that, place a serving plate upside down over the pan, cross your fingers, and flip swiftly! Lift the pan straight off. If a cherry or two decides to stage a rebellion and sticks to the bottom, just use a little offset spatula to tuck it right back into place. We are aiming for perfection, but we forgive minor rebellions here! For more simple instructions perfect for busy nights, check out my guide to weeknight dinner ideas.
Tips for Perfect Pineapple Upside Down Cake Baking
Even when following a good recipe like this Pineapple Upside Down Cake Recipe, sometimes things go a little sideways—literally! That’s why I always tell folks that baking is just chemistry with a little bit of intuition thrown in. Grandma Daisy wasn’t afraid of a little troubleshooting, and neither should you be. Because this cake is inverted, we have a couple of extra things to watch out for compared to a standard layer cake. Getting this tropical dessert right means mastering the flip!
Troubleshooting Common Pineapple Upside Down Cake Issues
If you follow the butter/sugar base method exactly, you won’t have near as many issues, but let’s talk about the two main things that can trip people up.
First: Sticking. I know, I know, I told you the butter/brown sugar mixture is usually enough protection. But look, I’ve seen it happen, especially if your pan is older or has hot spots. If you are nervous about your first time making this, don’t fight tradition! You can absolutely cheat a little bit for peace of mind. Before you pour in the hot butter mixture, cut a circle of parchment paper to fit the bottom of your 9-inch pan and lay it right down there. The hot sugar mixture will stick to the parchment instead of the metal. Then, when you invert it, the parchment peels right off with the topping. It’s total insurance! If you want to learn some other techniques that require precision, check out my guide on how to make perfect sushi rice; similar rules apply to careful handling!
Second: The Soggy Bottom. This happens usually because the oven wasn’t actually hot enough when you put the cake in, or maybe you opened the door too many times checking on it. If the temperature dips, that caramel layer won’t set properly, and the cake soaks up the residual moisture instead of staying light and fluffy. Always use an oven thermometer; they are cheap insurance against undercooked centers. If your cake seems done but still seems a little damp around the edges where the fruit isn’t, give it another five minutes. We want that beautifully firm, caramelized base!
Serving Suggestions for this Family Favorite Dessert
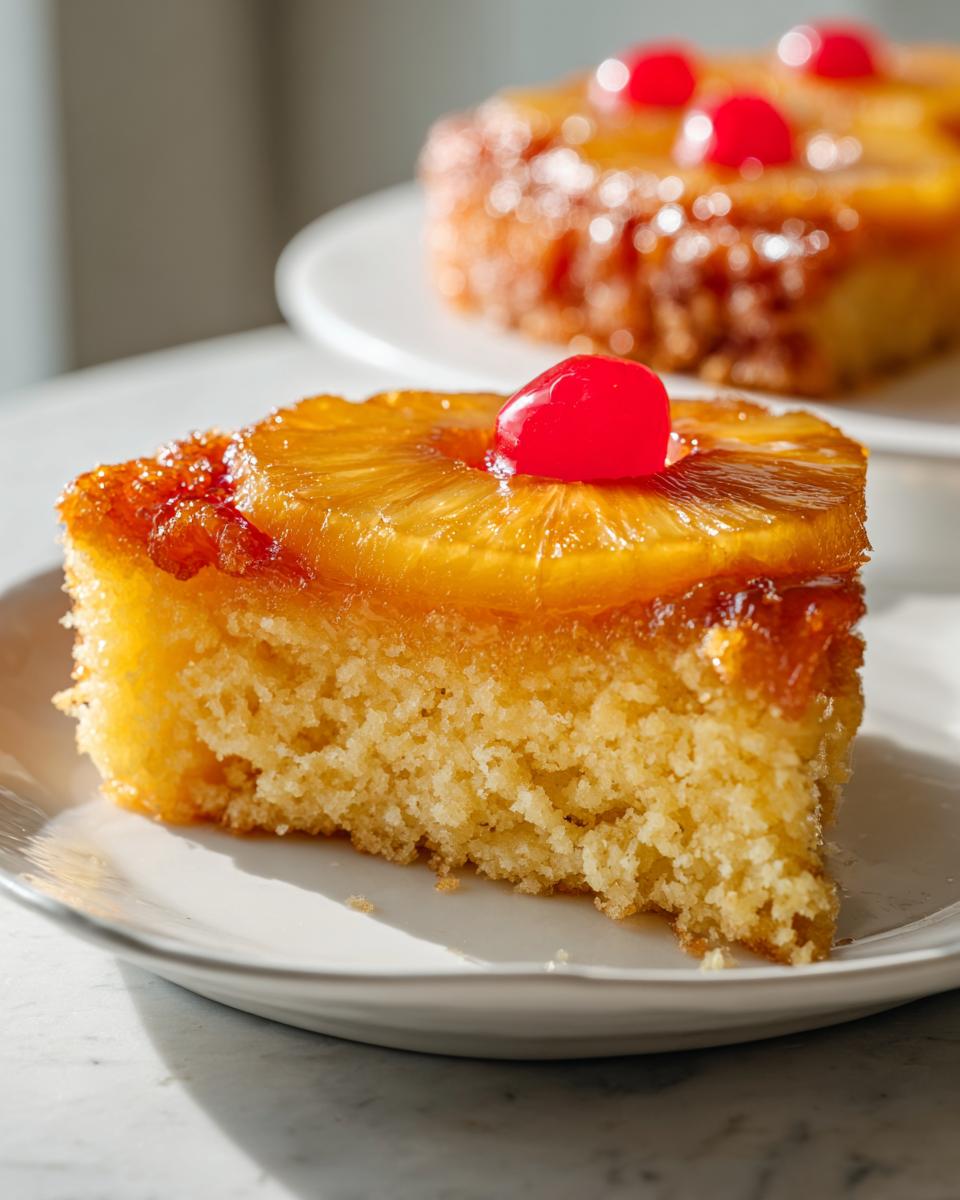
The instructions say to serve this warm, and believe me, they are not wrong! Serving this Family Favorite Dessert right when it comes out of the 10-minute cooling window is when that caramelized topping is at its absolute peak—gooey, glistening, and slightly molten. It tastes like pure sunshine!
While my Grandma Daisy usually just served slices plain because she said the cake was perfect on its own, I have a few pairings that really take this tropical dessert over the top. My absolute favorite way to serve it now is with a big, cold scoop of vanilla bean ice cream melting right down the side. The contrast between the warm, spicy cake and the cold, creamy ice cream is just divine. The caramel drips right into the melting ice cream—heavenly!
If you’re looking for something a little richer, a light dollop of freshly whipped cream works beautifully, especially if you flavor the cream slightly with a tiny bit of rum extract or just vanilla. It cuts through the richness of the butter and brown sugar perfectly. For a crowd-pleasing dessert for potlucks, you really can’t beat the simplicity of serving it warm with anything cold on top.
If you’re feeling really ambitious and want another layered flavor profile, maybe try making a little drizzle based on my bread pudding with bourbon sauce base, but swap the bourbon out for extra pineapple juice and a touch of vanilla—just enough to sprinkle over the plate before placing the warm cake slice down. Just make sure you don’t drown those pretty pineapple rings!
Storage and Reheating Instructions
This is one of those fantastic treats that tastes nearly as good the next day, which is great because we always seem to have leftovers! Because of that rich, buttery topping, how you store this relies heavily on your climate and how quickly you plan to eat the rest.
If you know you’re going to devour what’s left within 24 hours and your kitchen isn’t outrageously hot or humid, you can totally leave it covered loosely at room temperature. Just make sure it’s covered well so the topping doesn’t get sticky or attract dust! I usually pop mine under the cake dome or cover the pan tightly with plastic wrap.
However, if you’re hoping to save it for three or four days, I strongly recommend refrigeration. Place the leftover slices (or the whole remaining cake) in an airtight container before putting it in the fridge. The caramel can weep a little when cold, so make sure whatever you put it in is moisture-safe.
When it comes time to reheat—and you HAVE to reheat it, trust me—you want to bring that caramel back to life. If you’re just warming up a slice or two, a quick zap in the microwave for about 15 to 20 seconds does the trick. It softens the cake and gets that buttery layer nicely gooey again.
For reheating a larger piece, I prefer the oven because it warms more gently. Wrap the slice loosely in foil and pop it into a low oven—say, 300°F—for about 8 to 10 minutes. That low, slow heat warms the cake through without scorching the lovely fruit on top. You want it pleasantly warm, not piping hot, so you can still enjoy it with that scoop of cold vanilla ice cream!
Frequently Asked Questions About This Retro Cake Recipe
I get so many notes from folks who are baking this retro cake recipe for the first time, and that’s wonderful! It’s natural to have questions when you’re messing with something that needs to be perfectly inverted. I compiled the things I hear most often. Don’t be shy; cooking is all about learning the little quirks, and I’m happy to share what Grandma Daisy taught me!
Can I use fresh pineapple instead of canned for this recipe?
That’s a great question about using fresh fruit for this homemade pineapple cake. You absolutely can! Fresh pineapple tastes bright, but it holds a lot more water than the canned stuff, and we are trying to control the moisture in this recipe very carefully so we get that perfect crumb.
If you use fresh rings, you really need to soften them up first. Slice your fresh pineapple about the thickness of the canned rings, and then sauté them very gently in a little butter and brown sugar in a skillet first. You want to cook off some of that extra liquid until they start to look slightly translucent. Once you do that, you can treat them just like the canned rings and place them directly into your pan. If you skip this step, you risk ending up with a cake that is too wet underneath, and that caramel layer won’t set up correctly!
What is the best pan to use for an inverted cake?
When you’re making any kind of fruity inverted cake, the pan matters a lot because you need even heat and clean release. For this specific recipe, I stick to a heavy-bottomed 9-inch round cake pan. That heavy material helps distribute the heat evenly, so the caramel on the bottom cooks consistently without burning before the center of the cake is done.
Now, you’ve probably seen beautiful pictures of these cakes cooked right in a cast-iron skillet, and that works wonderfully, too! Skillets are fantastic heat conductors. If you opt for a skillet, though, watch the caramel a little closer, especially toward the edges. Cast iron heats up fast, so you might need to drop your oven temperature down by about 15 degrees or watch the cooking time carefully. Either way, it’s going to be a stunner!
How long can I make this dessert ahead of time?
This is the tough one because the *best* texture, that incredible melt-in-your-mouth feel, happens when this Caramelized Pineapple Dessert is fresh. I always recommend assembling and baking it the very same day you plan to serve it, especially for a big event or potluck.
However, life happens! If you have leftovers, they store great. As I mentioned before, leftovers keep well for about three days, covered tightly in the fridge. Just remember to gently reheat that slice before you eat it to soften that topping back up. Don’t try to make the whole thing the day before you need it; the topping can sometimes get a little sticky or the cake texture will firm up too much overnight. It’s worth the last-minute effort to get that perfect, gooey result!
If you have any other burning questions about baking techniques or just want to share your latest creation, don’t hesitate to get in touch!
Nutritional Data Estimate
Now, while Grandma Daisy was never concerned with measuring things like saturated fat or protein content—she was focused on making sure we had full bellies and happy hearts!—I know you modern bakers count those macros. So, I pulled together the estimated nutritional breakdown for a single serving of this gorgeous cake, based on the ingredients listed.
Please take this information with a grain of salt, just like you would your sugar! These numbers are based on standard grocery store brands, no fancy specialty ingredients, and serving size being 1/8th of the cake. Your actual numbers might bounce around a bit depending on what butter or sugar you use. This is the estimate based on our recipe card:
- Calories: Around 380 per slice
- Fat: Roughly 18g (This includes the lovely butter in the topping!)
- Carbohydrates: About 53g
- Sugar: Around 35g (That’s where the caramel flavor comes from, naturally!)
- Protein: About 5g
- Sodium: Around 280mg
It’s a decadent treat, no doubt about it! This is that special occasion dessert you save for birthdays or when you need a serious comfort meal. Enjoy it with zero guilt—it’s heritage baking, after all, and those moments are meant to be savored!
Share Your Baking Success
Whew! You made it through the whole recipe. That means you are now officially ready to conquer the world with pineapple and caramel. But honestly, the best part of sharing these old family recipes like this Classic Pineapple Upside Down Cake Recipe is hearing from you about how it turned out!
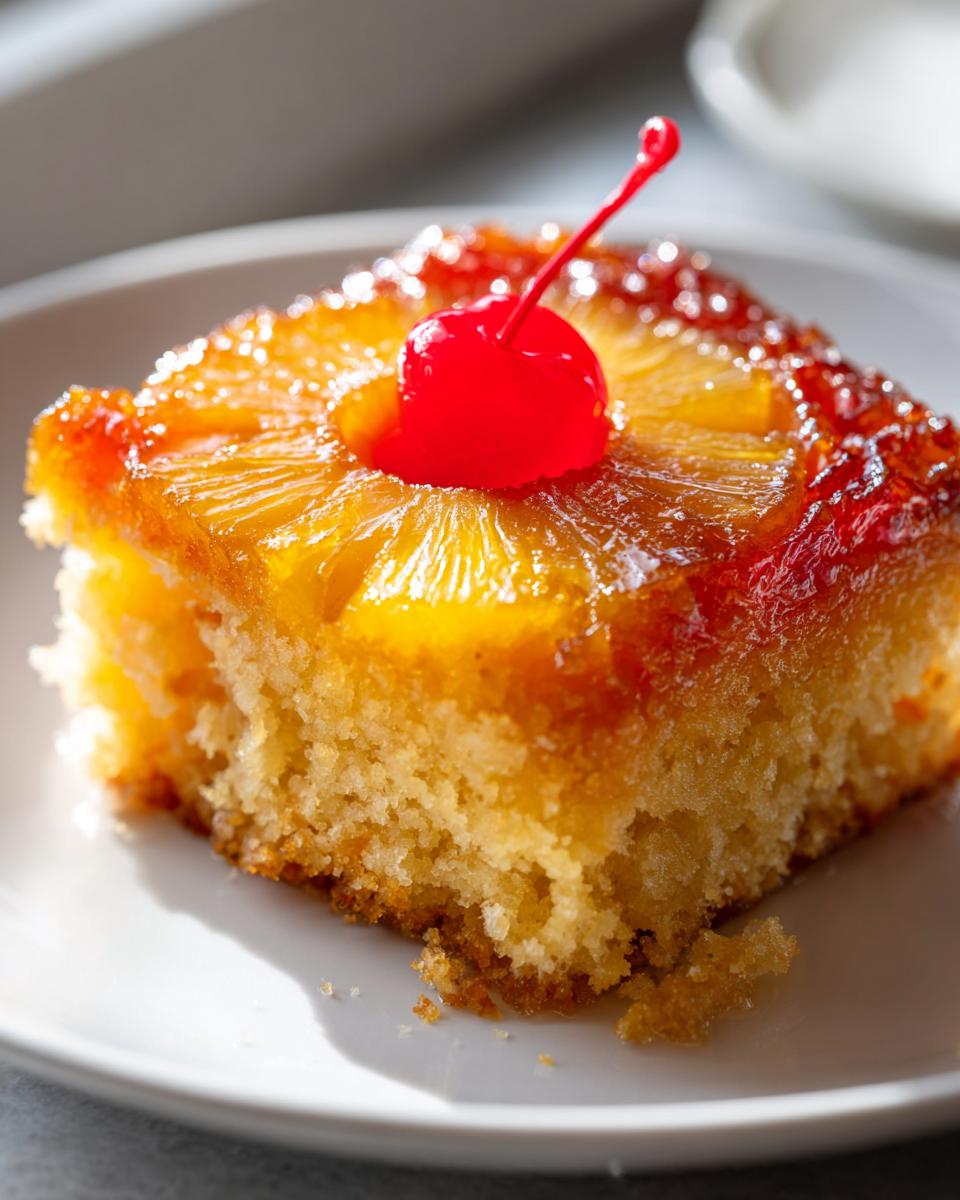
When you pull that beautiful, glistening cake out of the pan—and I hope it just slid right out for you!—I want to know! Did you get that gorgeous caramel layer perfectly even? Did you stick strictly to the cherries, or did you try adding pecans around the edge like I’ve seen some folks do? Sometimes those little variations make the recipe your own.
Please, please leave me a rating! If this cake brought a moment of sunshine or nostalgia to your table, let me know in the comments below and give it five stars. It really helps other home cooks feel brave enough to try baking this showstopper, too. And if you made any tweaks? Share them! We’re all learning together in the kitchen, just like Grandma Daisy and I did all those years ago. If you want to share photos or ask a direct question, you can always reach out to me here: send me a message!
PrintClassic Pineapple Upside Down Cake Recipe
Make this classic pineapple upside down cake from scratch for a moist, tender crumb and perfectly caramelized fruit topping. This family favorite dessert is a showstopper.
- Prep Time: 20 min
- Cook Time: 40 min
- Total Time: 60 min
- Yield: 8 servings 1x
- Category: Dessert
- Method: Baking
- Cuisine: American
- Diet: Vegetarian
Ingredients
- 1/2 cup unsalted butter, softened
- 3/4 cup packed light brown sugar
- 1 (20 ounce) can pineapple slices in juice, drained (reserve juice)
- 10 maraschino cherries
- 1 1/2 cups all-purpose flour
- 1 1/2 teaspoons baking powder
- 1/2 teaspoon salt
- 1/2 cup unsalted butter, softened
- 3/4 cup granulated sugar
- 2 large eggs
- 1 teaspoon vanilla extract
- 1/2 cup milk
- 1/4 cup reserved pineapple juice
Instructions
- Preheat your oven to 350 degrees F. You will need a 9-inch round cake pan.
- In a small saucepan over medium heat, melt 1/2 cup of butter. Stir in the brown sugar until combined. Pour this mixture into the bottom of your prepared cake pan, spreading it evenly.
- Arrange the drained pineapple slices over the brown sugar mixture in the pan. Place one maraschino cherry in the center of each pineapple ring.
- In a medium bowl, whisk together the flour, baking powder, and salt. Set this dry mixture aside.
- In a large bowl, cream together the remaining 1/2 cup of softened butter and the granulated sugar until light and fluffy. Beat in the eggs one at a time, mixing well after each addition. Stir in the vanilla extract.
- In a small bowl, whisk together the milk and the reserved pineapple juice.
- Gradually add the dry ingredients to the wet ingredients, alternating with the milk mixture, beginning and ending with the dry ingredients. Mix until just combined; do not overmix.
- Gently spoon the cake batter over the pineapple and cherry layer in the pan, spreading it carefully to cover the fruit completely.
- Bake for 35 to 40 minutes, or until a wooden pick inserted into the center comes out clean.
- Let the cake cool in the pan on a wire rack for 10 minutes.
- Place a serving plate upside down over the cake pan. Carefully invert the pan and plate together. Lift the pan off the cake. If any fruit sticks, gently place it back onto the cake.
- Serve warm. This is a great dessert for potlucks.
Notes
- To prevent sticking, make sure the butter and brown sugar mixture completely covers the bottom of the pan before adding the fruit.
- For an extra moist cake, use the reserved pineapple juice in place of some of the milk in the batter.
- If you want a richer topping, substitute dark brown sugar for the light brown sugar.
Nutrition
- Serving Size: 1 slice
- Calories: 380
- Sugar: 35g
- Sodium: 280mg
- Fat: 18g
- Saturated Fat: 11g
- Unsaturated Fat: 7g
- Trans Fat: 0.5g
- Carbohydrates: 53g
- Fiber: 1g
- Protein: 5g
- Cholesterol: 85mg