
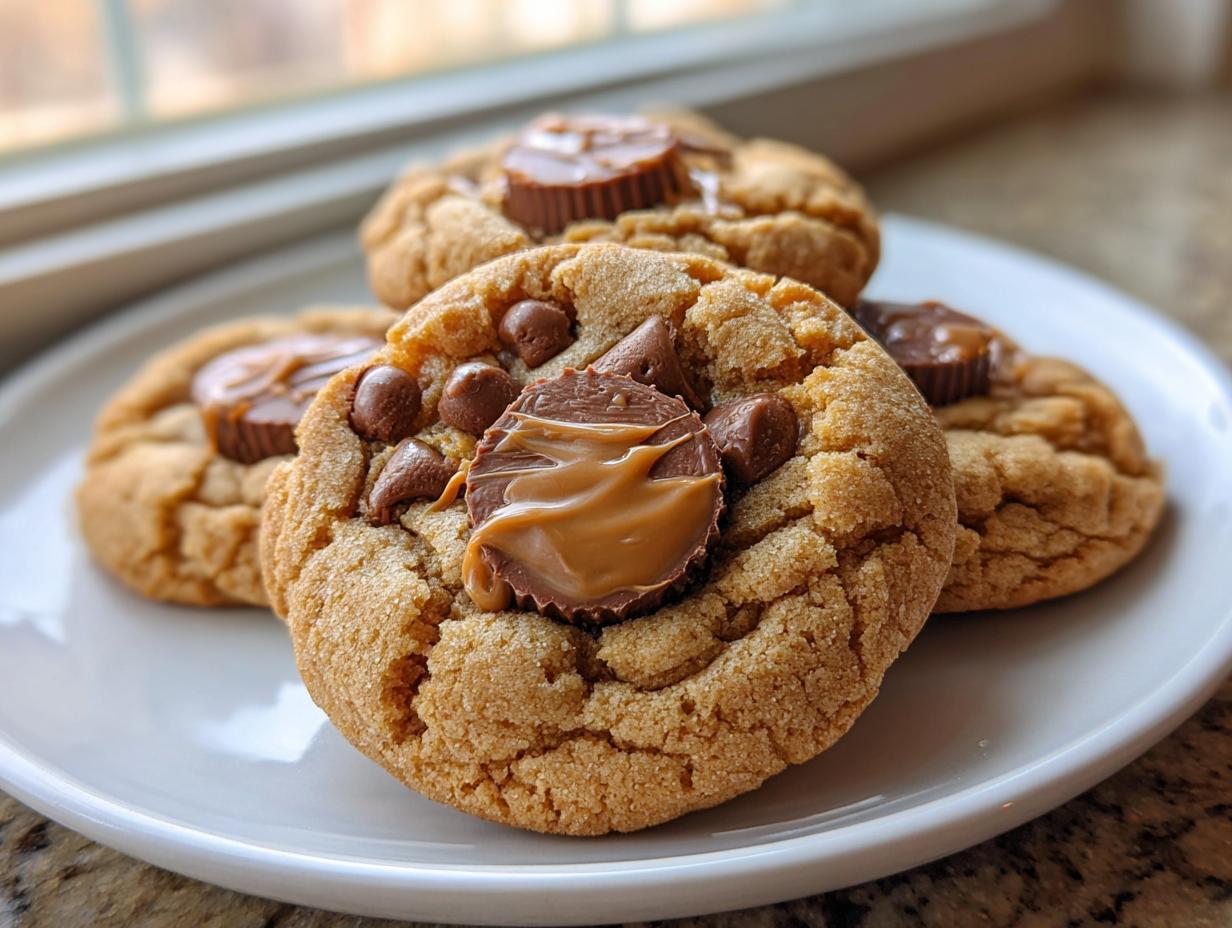
There are few combinations in the baking world as purely satisfying as rich peanut butter meeting that familiar sweet chocolate shell. Honestly, it’s a flavor profile that just demands attention! When I was feeling disconnected from my grandmother Daisy’s lessons in the city, I didn’t reach for anything complicated. I needed the comfort of something deeply familiar and deeply satisfying, which is how these peanut butter cup cookies came to be. Trust me when I say, these aren’t just cookies; they’re soft, chewy pockets of pure joy with a wonderfully gooey center, and they come together so fast. If you’re reclaiming a little bit of that simple kitchen magic too, start right here. For more classic peanut butter goodness, check out my recipe for easy peanut butter cookies.
- Why These peanut butter cup cookies Are Your New Favorite Indulgent Baked Goods
- Gathering Ingredients for Ultimate peanut butter cup cookies
- Step-by-Step Guide to Making peanut butter cup cookies
- Tips for Success with Your peanut butter cup cookies
- Storage and Keeping Your peanut butter cup cookies Fresh
- Serving Suggestions for these Chocolate Peanut Butter Desserts
- Frequently Asked Questions about peanut butter cup cookies
- Estimated Nutrition for peanut butter cup cookies
- Share Your Homemade peanut butter cup cookies Creations
Why These peanut butter cup cookies Are Your New Favorite Indulgent Baked Goods
It’s hard to beat a cookie that delivers on texture and flavor without demanding your entire afternoon. These peanut butter cup cookies are the definition of instant gratification. They truly stand out as some of my favorite indulgent baked goods because they hit all the right notes.
- Texture Perfection: Soft, Chewy, and Melty
Texture Perfection: Soft, Chewy, and Melty
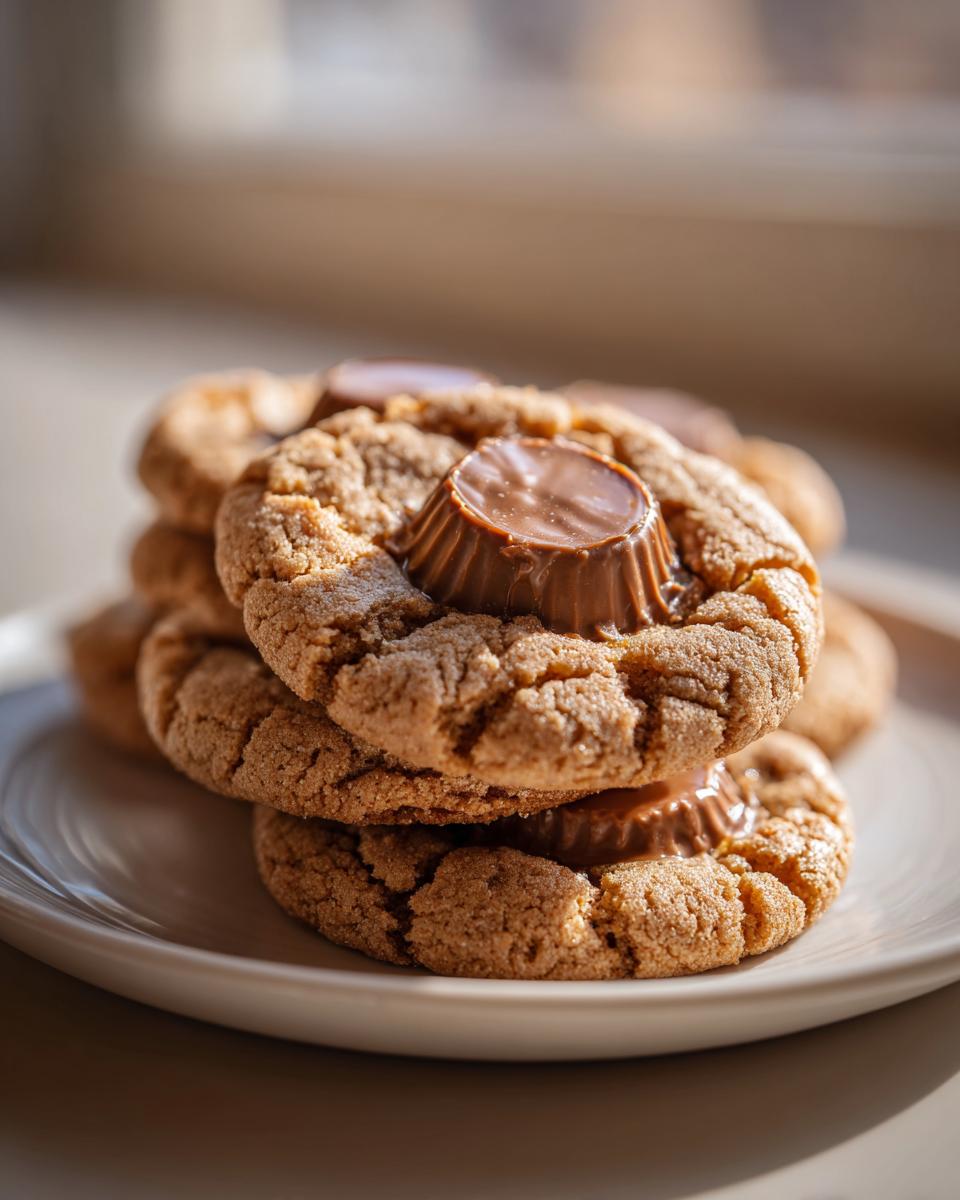
We are aiming for that perfect contrast! The outside edges are just set, the middle stays wonderfully soft, and then, BAMG—you hit that molten river of melted peanut butter and chocolate. That’s what makes these gooey center cookies so irresistible.
- Quick Baking Projects for Any Day
Quick Baking Projects for Any Day
Life gets busy, right? That’s why I love that we can get these from bowl to cooling rack in under 35 minutes total. They’re perfect for satisfying a sudden craving or whipping up for last-minute guests. They don’t hang around long enough to last, anyway!
You can find similar joy in my recipe for chocolate chip cheesecake cookies when you need that perfect textural play!
Gathering Ingredients for Ultimate peanut butter cup cookies
My grandmother Daisy always insisted that great flavor starts with respecting your ingredients. For these peanut butter cup cookies, precision matters, especially when we are relying on butter and sugar to create that soft structure. We need everything measured correctly to ensure they don’t spread too thin. You’ll find the full list below, but let’s chat quickly about a few essentials before you start mixing.
Ingredient Notes and Substitutions
Listen, for that gorgeous, melty core, you really want to stick to the standard-sized peanut butter cups, sliced in half. The mini ones just don’t give you that satisfying puddle of filling we’re after! Also, if you use eggs straight from the fridge, they won’t cream properly with the fat. Let them sit out for 20 minutes so they are room temperature; it helps everything stay smooth. If you love those little hits of peanut butter throughout, throwing in the peanut butter chips doesn’t hurt a bit!
Once you’ve got your ingredients ready, you can dive into making something like my no-bake peanut butter balls later this week!
Step-by-Step Guide to Making peanut butter cup cookies
Okay, let’s get these incredible peanut butter cup cookies into your oven! We want speed and texture here, which means we have to give the mixer a good workout in the beginning. First things first, get your oven preheated to 375 degrees Fahrenheit. You’ll want to line your baking sheets with parchment paper—trust me, clean-up is so much easier later, and it helps these cookies bake evenly without sticking at all.
Mixing the Dough Base
This is where the magic starts for that soft baked cookies texture. You need the butter, both types of peanut butter, and both sugars to get really light and fluffy. Dump them all in a big bowl! I usually set my electric mixer on medium speed and just let it go for a solid 3 minutes. You’re looking for the color to lighten up significantly, almost pale yellow. Then, beat in those two eggs one at a time, making sure the first one is totally incorporated before adding the next. Don’t forget that vital teaspoon of vanilla!
While the wet ingredients are looking fluffy, whisk your flour, baking soda, and salt in a separate bowl. We’re going to add this dry mixture to the wet mixture gradually. I mean it—gradually! Mix on low speed just until you see no more streaks of dry flour. If you use those peanut butter chips, fold them in gently by hand right at the end. We don’t want to overdevelop that gluten, or we’ll end up with something tough instead of chewy.
Scoop the dough—I like a medium cookie scoop, which is about two tablespoons—and roll them into nice balls. Place them on the lined sheets, leaving about two inches between them. You can see how I arrange them over on this guide for decadent Reese’s Peanut Butter Cup Cookies.
The Secret to the Gooey Center peanut butter cup cookies
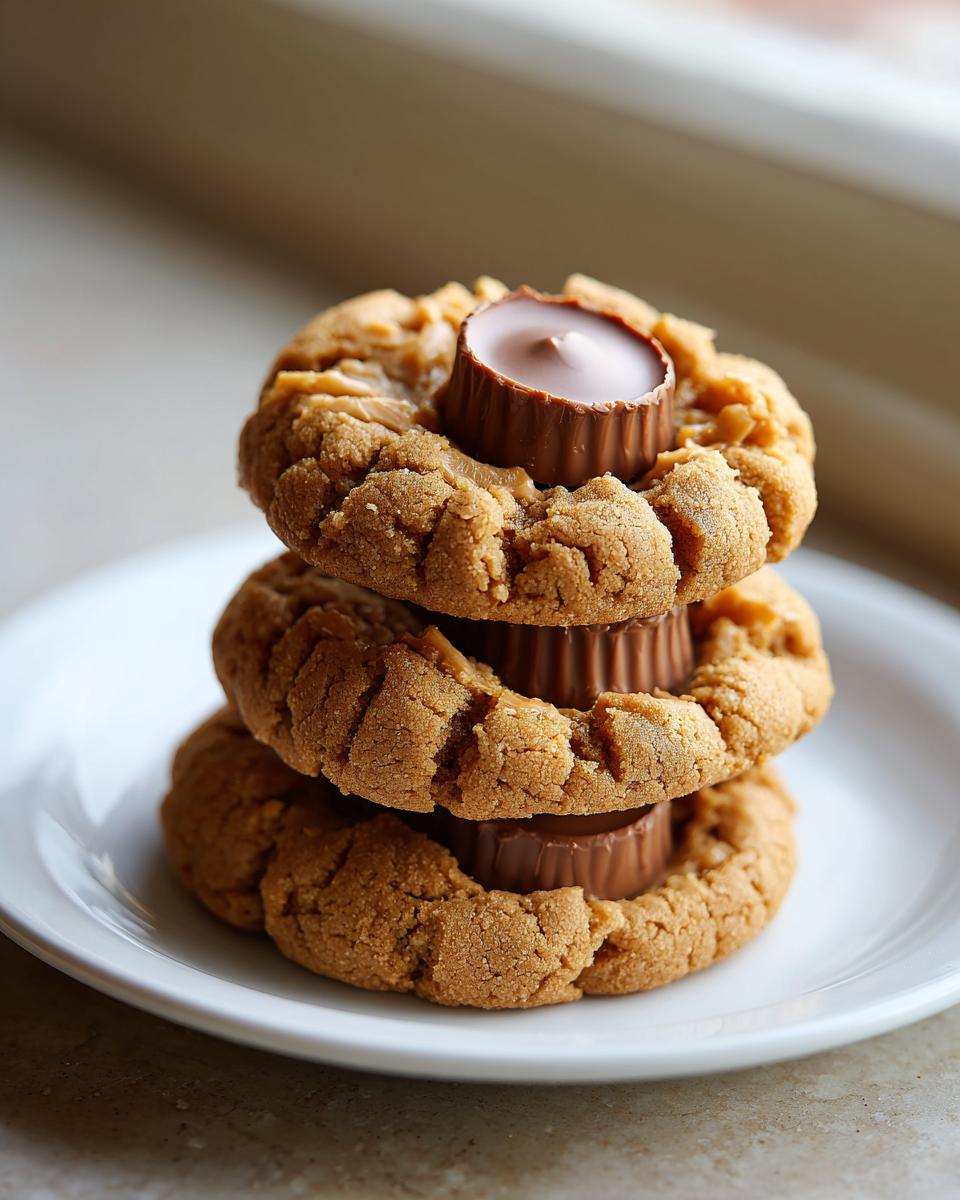
This two-step method is why mine always come out perfect! After you place your dough balls out, take your knife or thumb and press a slight indentation right into the middle of each one. Stick one half of a standard peanut butter cup snugly into that dip. Bake them for 10 to 12 minutes. The edges will look set, but the middle will still look a little soft.
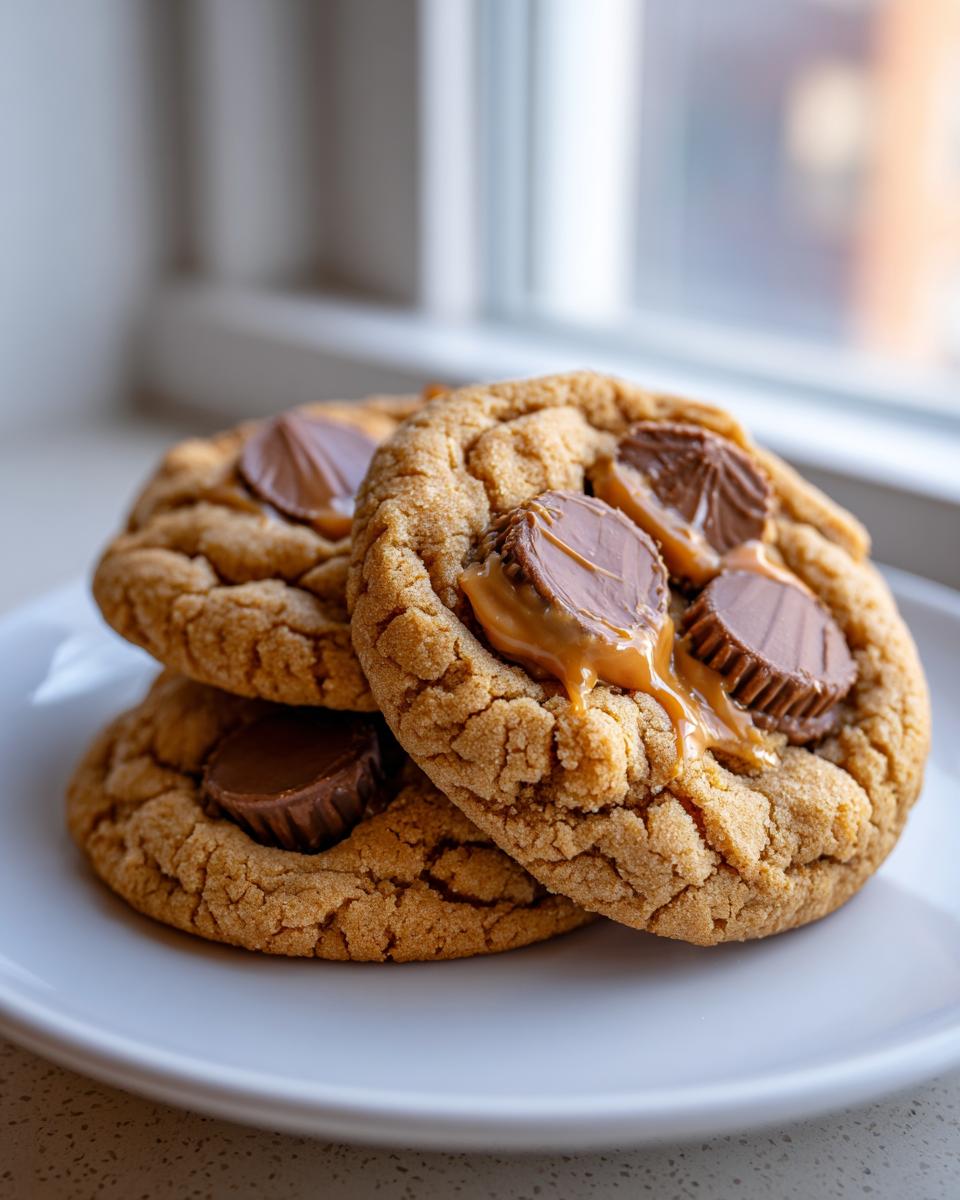
This is the critical moment: As soon as you pull the sheet out of the oven, take the *other* half of your peanut butter cup and gently press it right on top of the warm one you just baked in. The residual heat melts that second piece slightly into the first, creating such a spectacular, molten center. It’s messy—I usually get some chocolate on my fingers—but it’s worth it for those incredible gooey center cookies. After about five minutes on the hot pan, move them over to a wire rack to finish cooling. We love these recipes that bake up this quickly, just like my best snickerdoodle soft chewy recipe!
If you’re interested in trying a similarly fun chocolate and cookie creation, have a look at my boston cream pie cookies recipe!
Tips for Success with Your peanut butter cup cookies
Even with an easy recipe like this, sometimes things go sideways! Don’t fret if your first batch spreads a little more than mine did. It usually comes down to temperature. Make sure your butter and peanut butter aren’t too soft before you cream them; too warm and the cookies relax too fast in the oven.
The most important tip, truly, is this: Do NOT overbake. I know I mentioned this before, but I can’t stress it enough! When you take them out, they should look slightly pale and almost fudgy in the center—if they look perfectly baked like a regular sugar cookie, they will be hard once they cool. Keep them underdone for that wonderful soft texture. If you need an equally moist bake, try my recipe for easy moist chocolate chip banana bread!
Storage and Keeping Your peanut butter cup cookies Fresh
These peanut butter cup cookies are basically designed to be loved immediately, but if you’re lucky enough to have leftovers—which I rarely do!—storage is key to keeping that soft, chewy texture intact. Remember, we didn’t bake these to be crisp; we want that lovely, slightly squishy feel the next day.
The best way to keep them perfect is honestly right on your countertop, but you need an airtight container. Forget those flimsy zip-top bags unless you’re eating them the next morning! A proper container keeps the moisture locked right in with the cookie.
If you really want them to last—and I mean last, because they are so good—they should be eaten within four days. After about day four, even in a sealed container, they start to firm up a little bit. If you want to keep them even longer, you can definitely freeze baked and cooled cookies! Just wrap them tightly in plastic wrap, then put them into a container or freezer bag. Pop them out a few hours before you want to eat them.
If you’re looking for other amazing ways to store baked goods, you might want to peek at my guide for cake mix cookie bars; those storage tips apply perfectly here too!
Serving Suggestions for these Chocolate Peanut Butter Desserts
Honestly, these peanut butter cup cookies are so decadent they stand up perfectly well on their own, especially when that center is piping hot and gooey. But if you need to elevate the experience—maybe you’re serving them after a nice dinner—you can’t go wrong with the classics. Nothing cuts through that rich peanut butter and chocolate quite like an ice-cold glass of milk. It’s simple, but it just works every time.
If you’re enjoying these incredible chocolate peanut butter desserts in the afternoon, a strong black coffee or a simple latte is a perfect partner. The slight bitterness really brings out the flavor in the chocolate. For a slightly healthier side note, if you’re looking for another satisfying but slightly simpler treat, you must try my no-bake peanut butter pie!
Frequently Asked Questions about peanut butter cup cookies
I always get so many questions about getting these peanut butter cup cookies absolutely perfect, especially around the holidays when everyone wants to bake them! It usually boils down to texture management, because honestly, the flavor is already a guaranteed hit. I’ve gathered the most common things people ask me when they’re whipping up a batch of these indulgent treats.
Can I make peanut butter cup cookies ahead of time?
Yes, you definitely can! The dough freezes beautifully. You can scoop the dough balls, press in the first half of the peanut butter cup, and freeze them well-wrapped on a tray. When you want to bake them, just add a couple of minutes longer to the baking time since they’re going in frozen. Remember to add the second half of that gooey peanut butter cup immediately after they come out of the oven, even if they are frozen!
What is the best way to get soft baked cookies every time?
It all comes down to two things: the ingredients and the clock! First, make absolutely certain your butter and eggs are at room temperature. If they’re cold, you’ll never get that light, airy base needed for softness. Second, and this is huge, you *must* pull these out when they look slightly underdone. If you wait until they look golden brown all over, you’ve gone too far! They finish setting up on the hot pan, giving you that perfect, soft texture. If you enjoy experimenting with textures, you should definitely check out my tiramisu cookies recipe for something different!
Estimated Nutrition for peanut butter cup cookies
Now, I know we aren’t making these peanut butter cup cookies because they are a health food—they are meant to be an absolute indulgence, right? They are packed with that wonderful peanut butter and chocolate goodness! However, I always like to give a general idea of what you’re looking at if you decide to have just one (or maybe two, I won’t tell anyone!).
The numbers below are an estimate based on the ingredients in the main recipe when divided into 24 standard cookies using typical commercial peanut butter cups. Please remember that the brand of peanut butter, the sugar content of your particular Reese’s cups, and how much baking time you use can all change this slightly.
- Serving Size: 1 cookie
- Calories: 250
- Sugar: 18g
- Sodium: 180mg
- Fat: 14g
- Protein: 5g
It’s always good practice to remember that these are just my best estimations. If you use mini cups or a different brand of peanut butter, expect the figures to shift a little bit! Enjoy every single bite!
Share Your Homemade peanut butter cup cookies Creations
Now that you’ve created these magnificent, decadent peanut butter cup cookies, I truly want to hear all about them! Baking is so much more fun when we can share the results, isn’t it? Did you manage to get that gooey center just the way you pictured it? I’m always looking to see how everyone interprets Grandma Daisy’s legacy in their own kitchens.
Please, take a moment if you can to head back up to the top of the post and leave a star rating. Even better, drop a comment below telling me your favorite part—was it the easy mixing, or was it that satisfying bite into the warm, melted peanut butter cup?
If you snapped a picture of your creation—especially if you caught the chocolate melting perfectly—I absolutely adore seeing them! You can tag me on social media so I can gush over your baking success! For anyone wanting to explore other amazing candy bar cookies, you might love checking out Kara’s post on Reese’s Peanut Butter Cup Cookies for some alternative ideas.
For me, the kitchen feels complete when something delicious like this comes out of the oven. I hope these cookies bring that same sense of comfort and connection to your home. If you decide to perfect your chewy caramel game next, I’ve loaded up some great tips in my recipe for best homemade soft chewy caramels!
PrintUltimate Soft and Chewy Peanut Butter Cup Cookies

Make these soft, chewy cookies packed with peanut butter flavor and a melted peanut butter cup center. This easy recipe is perfect for satisfying a sweet craving.
- Prep Time: 15 min
- Cook Time: 12 min
- Total Time: 27 min
- Yield: 24 cookies 1x
- Category: Dessert
- Method: Baking
- Cuisine: American
- Diet: Vegetarian
Ingredients
- 1 cup unsalted butter, softened
- 3/4 cup creamy peanut butter
- 3/4 cup granulated sugar
- 3/4 cup packed light brown sugar
- 2 large eggs
- 1 teaspoon vanilla extract
- 2 1/4 cups all-purpose flour
- 1 teaspoon baking soda
- 1/2 teaspoon salt
- 1 cup peanut butter chips (optional)
- 12 standard-sized peanut butter cups, unwrapped and halved
Instructions
- Preheat your oven to 375 degrees Fahrenheit. Line baking sheets with parchment paper.
- In a large bowl, cream together the softened butter, peanut butter, granulated sugar, and brown sugar until light and fluffy. This takes about 3 minutes with an electric mixer.
- Beat in the eggs one at a time, mixing well after each addition. Stir in the vanilla extract.
- In a separate medium bowl, whisk together the flour, baking soda, and salt.
- Gradually add the dry ingredients to the wet ingredients, mixing on low speed until just combined. If using, stir in the peanut butter chips.
- Scoop dough using a medium cookie scoop (about 2 tablespoons) and roll into balls. Place them on the prepared baking sheets, leaving 2 inches between each ball.
- Press a thumb gently into the center of each dough ball to create an indentation. Place one half of a standard peanut butter cup into the indentation.
- Bake for 10 to 12 minutes, or until the edges are set and lightly golden. The centers will look slightly underdone.
- Remove the cookies from the oven. Immediately press a second half of a peanut butter cup gently onto the center of the warm cookie. The residual heat will soften it.
- Let the cookies cool on the baking sheet for 5 minutes before transferring them to a wire rack to cool completely.
Notes
- For the best gooey center, use standard-sized peanut butter cups and press them into the dough right after it comes out of the oven.
- You can substitute mini peanut butter cups for a smaller cookie, using one whole mini cup per cookie dough ball.
- Store cooled cookies in an airtight container at room temperature for up to 4 days to maintain softness.
Nutrition
- Serving Size: 1 cookie
- Calories: 250
- Sugar: 18g
- Sodium: 180mg
- Fat: 14g
- Saturated Fat: 6g
- Unsaturated Fat: 8g
- Trans Fat: 0g
- Carbohydrates: 29g
- Fiber: 1g
- Protein: 5g
- Cholesterol: 40mg