
Oh, my goodness, is it that time already? Happy National Apple Pie Day! I swear, the smell of cinnamon and baked apples takes me straight back to Grandma Daisy’s kitchen. If you’re looking to make a true show-stopper this year—the kind people actually take photos of—then you absolutely need to learn how to nail the perfect lattice apple pie.
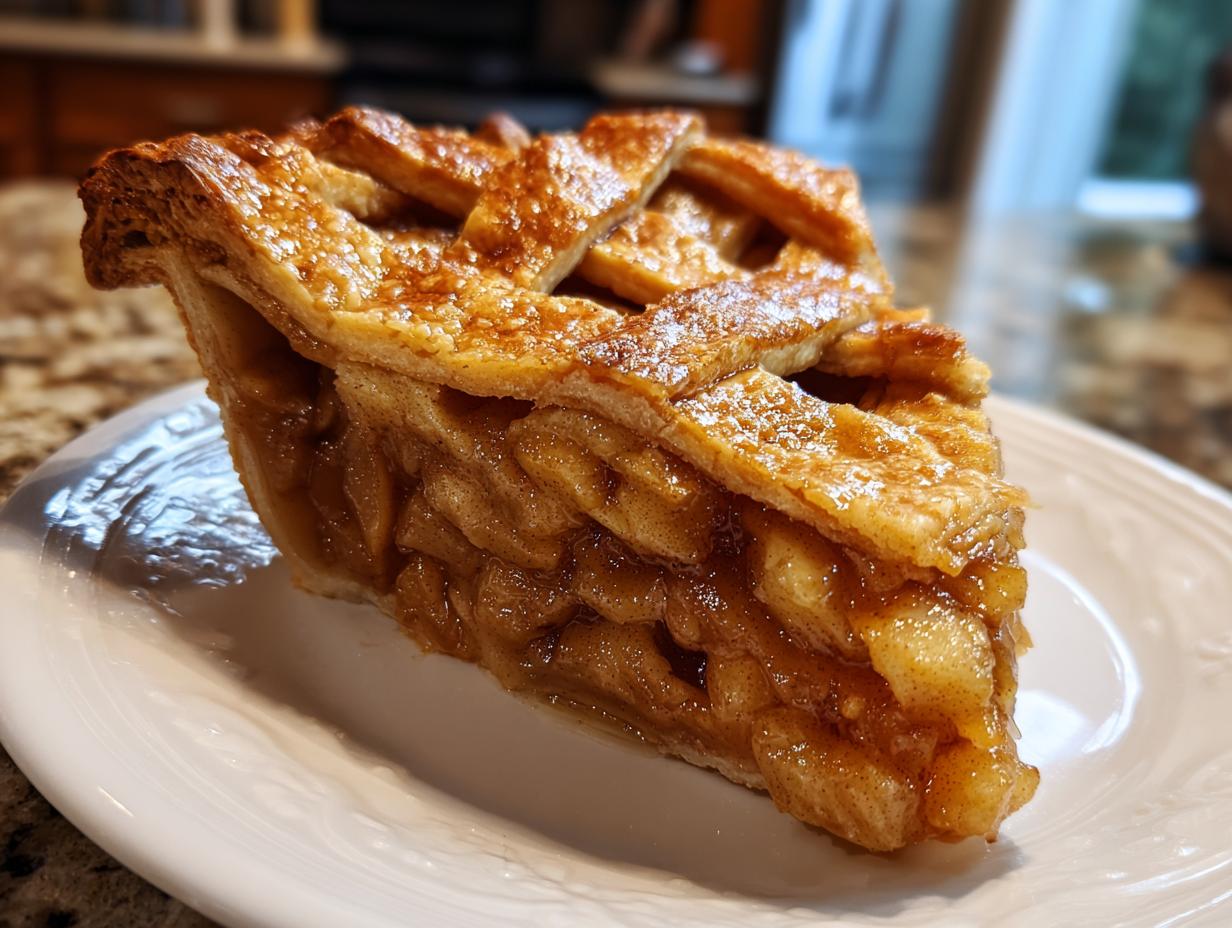
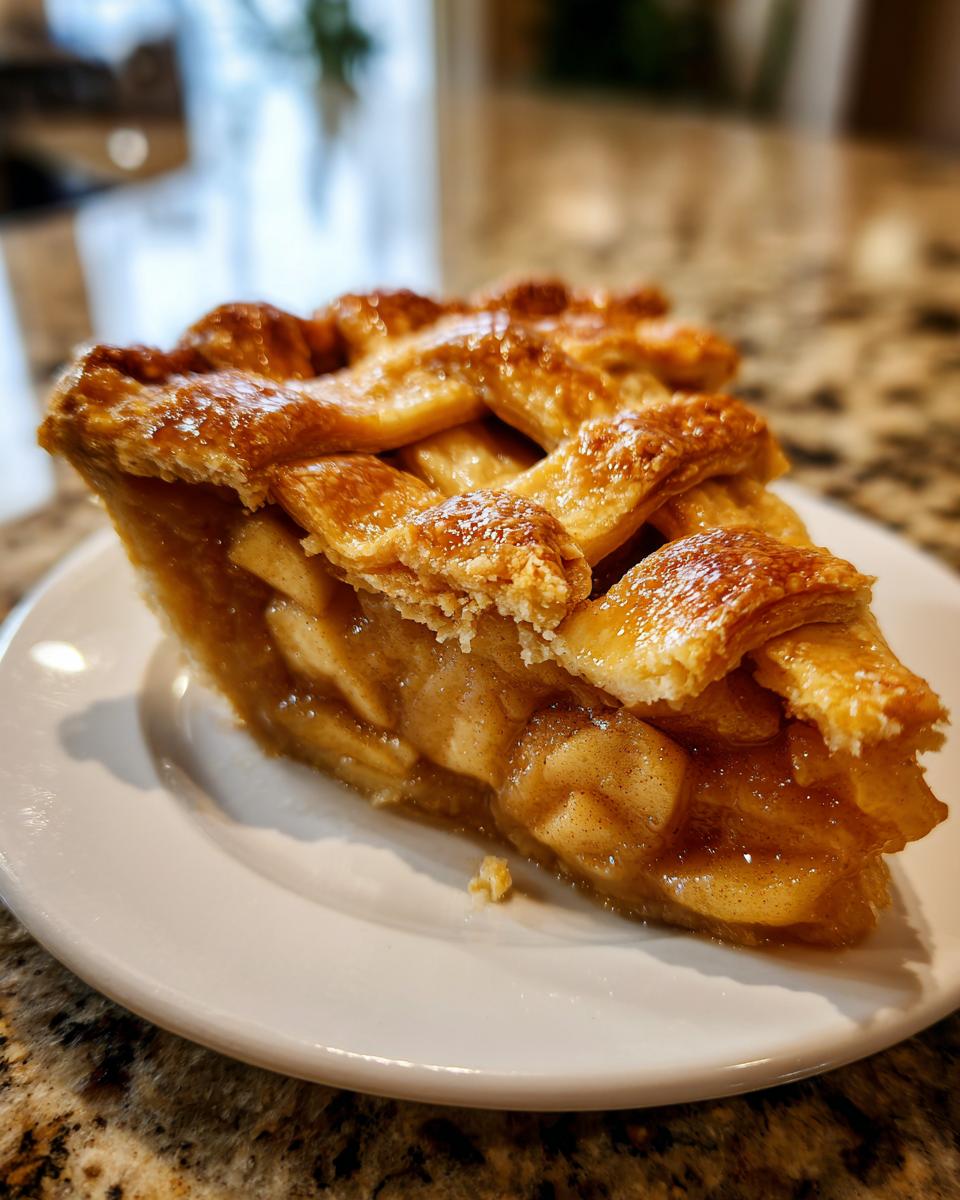
This isn’t just any pie; this is an American heritage recipe that Dad always swore tasted just a little bit sweeter because of the way Daisy treated her apples. We’re talking about that gorgeous caramel tinge that forms between the sweet Granny Smiths and the buttery crust. Don’t worry about it looking intimidating; I’m going to break down the weaving technique step-by-step so you can create that gorgeous woven top using an apple pie from scratch.
- Why This Lattice Apple Pie is an American Heritage Recipe Must-Make
- Gathering Ingredients for Your Perfect Lattice Apple Pie
- Mastering the Dough: The Foundation of a Great Lattice Apple Pie
- Preparing the Apple Filling and Rolling the Bottom Lattice Pie Crust
- The Art of the Weave: Creating the Perfect Lattice Pie Crust
- Sealing and Prepping Your Lattice Apple Pie for the Oven
- Baking and Setting Your Show-Stopping Lattice Apple Pie
- Tips for Success with Your Apple Pie from Scratch
- Frequently Asked Questions About Making a Lattice Apple Pie
Why This Lattice Apple Pie is an American Heritage Recipe Must-Make
When I look at this pie, I don’t just see crust and apples; I see Grandma Daisy serving it to the neighbors after a big harvest dinner. That deep, almost caramelized flavor in the filling isn’t an accident—it’s the result of careful technique passed down through generations, which is why it earns the title of an American heritage recipe.
This recipe truly stands out. It’s the perfect marriage of simple ingredients made spectacular by the presentation. You’ll show off your skills without needing any fancy gadgets.
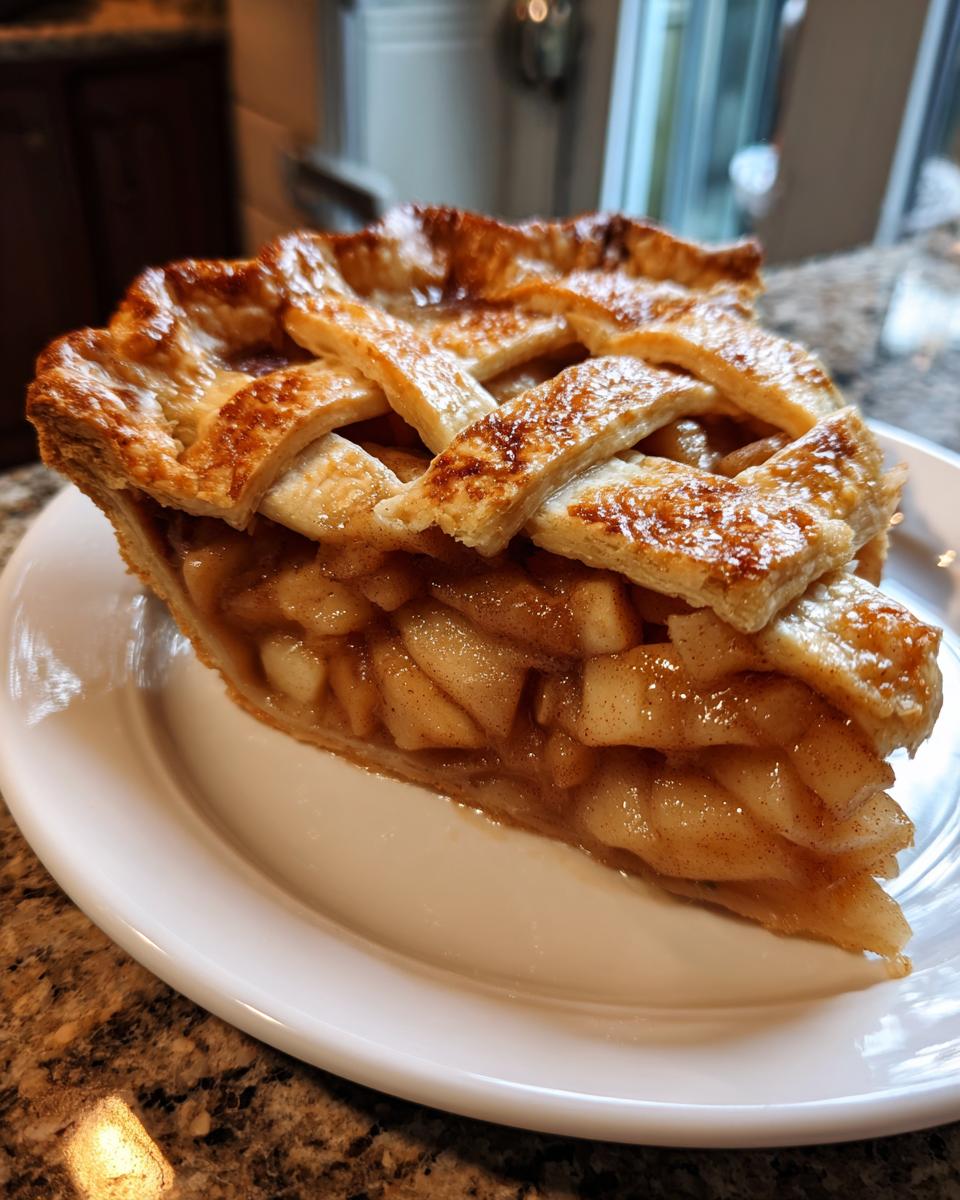
- It provides that gorgeous visual appeal with a classic, intricate lattice pie crust.
- The combination of sugars creates a natural caramel tinge deep inside the filling.
- It uses straightforward, honest techniques that feel deeply satisfying to master.
- It’s the perfect centerpiece for celebrating National Apple Pie Day!
Gathering Ingredients for Your Perfect Lattice Apple Pie
Okay, before we even think about rolling dough, we need to talk ingredients. If you want that flaky crust that just shatters delightfully when you bite into it, temperature control is everything. Trust me, I learned this the hard way when I tried to rush Daisy’s recipe one afternoon—it ended up tough as leather!
For this apple pie from scratch, you absolutely must use Granny Smith apples. Their tart bite stands up beautifully to the sugar and cinnamon, and they don’t turn to mush while baking. Also, make sure your butter is straight from the fridge, really cold, cut into little cubes. That’s the secret weapon for a flaky crust!
For the Flaky Pie Dough Components
We need the basics here, but pay attention to the butter and water. They have to be freezing cold so they create those beautiful steam pockets inside the dough.
- 2 1/2 cups all-purpose flour
- 1 teaspoon salt
- 1 cup (2 sticks) cold unsalted butter, cut into cubes
- 1/2 cup ice water
For the Caramel-Tinged Apple Filling
This is where we get that signature depth of flavor—the brown sugar and cinnamon are what give the apples that lovely caramel undertone as they bake down.
- 6 large Granny Smith apples, peeled, cored, and sliced 1/4 inch thick
- 1/2 cup granulated sugar
- 1/4 cup packed light brown sugar
- 2 tablespoons all-purpose flour
- 1 teaspoon ground cinnamon
- 1/4 teaspoon ground nutmeg
- 1 tablespoon lemon juice
For the Finishing Touches on Your Lattice Apple Pie
These elements are simple, but they give us that glossy, professional look that makes this a real show-stopper for National Apple Pie Day.
- 1 large egg, beaten (for egg wash)
- 1 tablespoon milk or cream (for egg wash)
- 1 tablespoon coarse sugar for sprinkling
Mastering the Dough: The Foundation of a Great Lattice Apple Pie
Now we get to the real work—making the pastry! Honestly, Grandma Daisy taught me that if you mess up the dough, the whole pie falls apart, no matter how good the filling is. She’d watch me like a hawk when I was a kid, especially when I got to the mixing part. I once dumped all the water in at once, and she just sighed. “Amelia,” she said, “baking isn’t a race, it’s a connection. Don’t overmix!”
In a big bowl, you whisk that flour and salt together, and then comes the cold butter. You gotta cut that butter in—I still use my grandmother’s old pastry blender—until you’ve got what looks like coarse crumbs, but listen close: there should still be some little pea-sized chunks of butter hanging out in there. Those little guys are what melt in the oven and create the flaky layers; they are non-negotiable!
Next, we ease in the ice water, just spoon by spoon, until it just barely starts to cling together. That’s it! We stop right there. Don’t knead it! Divide that shaggy dough into two disks, wrap ’em tight, and get them chilling for at least an hour. This cold nap is crucial for an amazing apple pie from scratch.
Preparing the Apple Filling and Rolling the Bottom Lattice Pie Crust
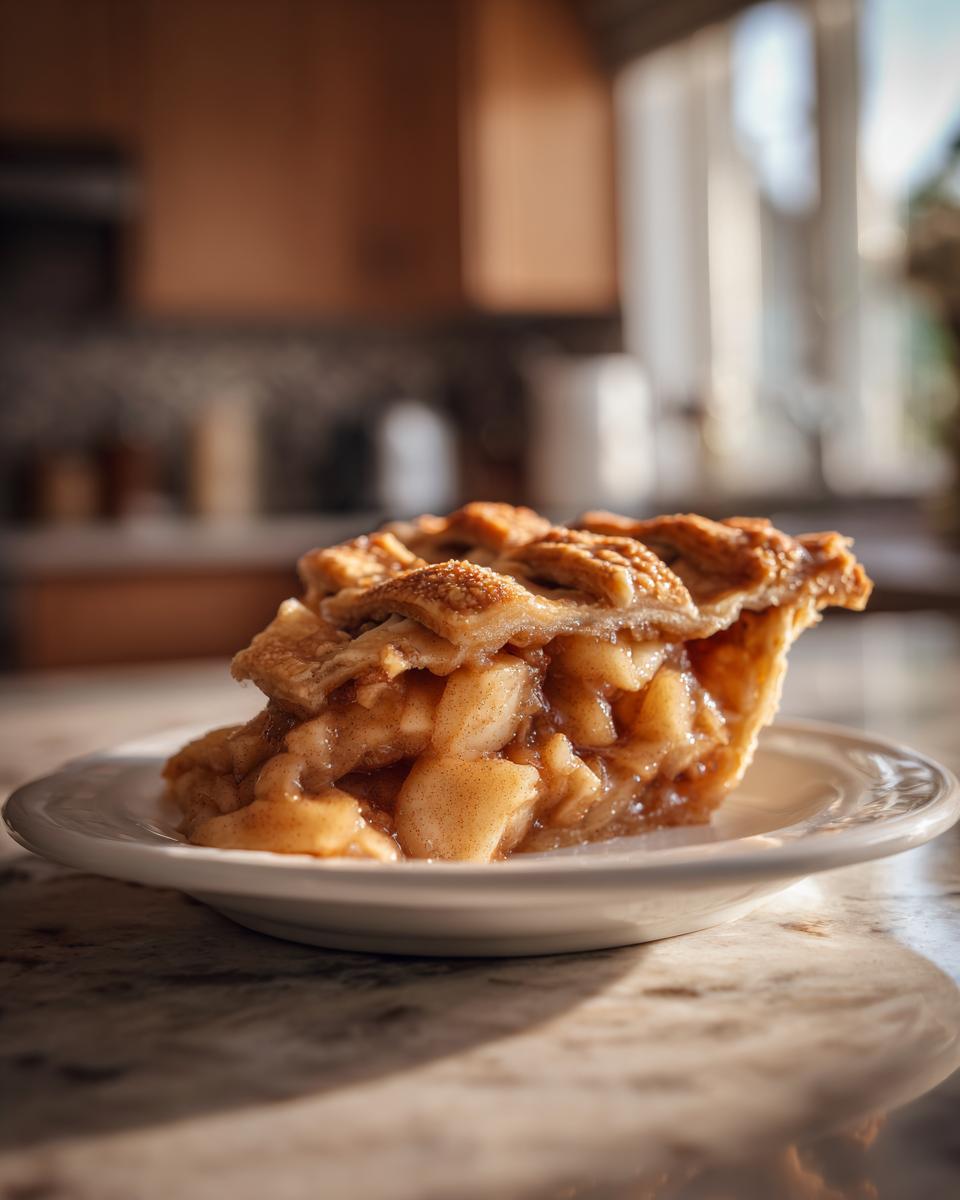
While that gorgeous dough is chilling out and getting happy in the fridge, we move onto the star of the show: the apples! Get a large bowl ready for your filling. You want to gently combine those sliced Granny Smiths with both sugars, the little bit of extra flour—which helps thicken up those juices—and all those warm spices like cinnamon and nutmeg. Don’t smash them!
Toss everything so the apples are evenly coated, but be gentle; we want slices, not applesauce. We’re aiming for that caramelization, not mush. Set that bowl aside while you get your bottom crust ready. Take one of your chilled dough disks and roll it out on a lightly floured surface into about a 12-inch circle. It needs to be a little bigger than your 9-inch pie plate.
Carefully drape that dough into the plate—don’t stretch it! Trim the edges so you have about an inch hanging over the side. Now, here’s a little trick Daisy always insisted on: pop the pie plate with the bottom crust right back into the refrigerator. We want everything to stay cold! This gives us the best chance for a super flaky crust when we finally bake this amazing apple pie from scratch. While that chills, we move on to cutting those lattice strips. Patience is key here!
The Art of the Weave: Creating the Perfect Lattice Pie Crust
Okay, deep breath! This is the part people think is intimidating, but trust me, once you see it in action, it’s actually kind of meditative. We’re going to take that second chilled dough disk and roll it out into an 11 or 12-inch circle. Grab your sharpest knife or a pastry wheel—we need clean cuts for a smooth weave. Cut the dough into nice, even strips, about 3/4 of an inch wide. This width gives us that substantial, rustic look that Daisy loved.
Remember how we kept everything cold? Put those strips back in the fridge while you finish loading the filling. Once your apples are nestled in that bottom crust, you can start laying those strips across the top. Lay about half of your strips down parallel, spaced about an inch apart. Now, here’s the magic move you need for the lattice pie crust: carefully lift and fold back every other parallel strip halfway. Lay one perpendicular strip across the center.
Unfold those first parallel strips back over the center strip you just placed. See? It’s starting to look woven! Now you fold back the *alternate* parallel strips—the ones you left down before—and lay your next perpendicular strip down. Repeat this weaving back and forth, alternating which set of strips you lift each time. It’s just like weaving a basket, but with butter and apples! Once you get to the end, trim the bottoms of the strips so they line up nicely with the edge of the bottom crust overhang. Wow, look at that beautiful pattern!
Sealing and Prepping Your Lattice Apple Pie for the Oven
You have your woven masterpiece staring back at you—don’t mess it up now! First things first, we need to seal this beauty tight. Take that overhang from your bottom crust and gently fold it up and over the ends of all those beautiful lattice strips you just wove. This locks everything in place so none of those lovely apple juices escape while baking. Then, use your fingers or a fork to crimp the edges decoratively. It gives it that classic, finished look, just like the ones Daisy made.
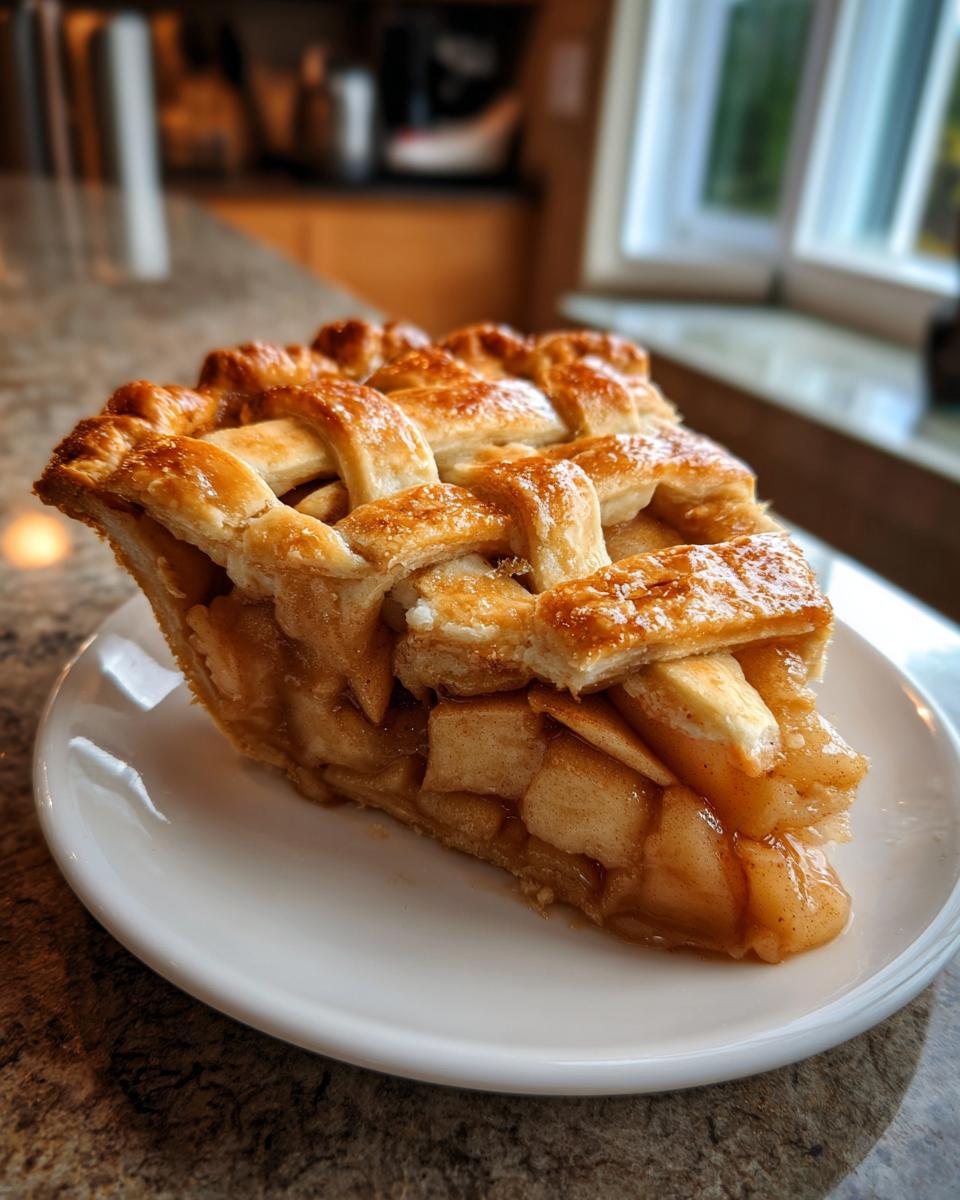
Next comes the shine! In a little bowl, whisk up that one large egg with a tablespoon of milk or cream—that’s your egg wash. Brush this mixture lightly but completely over the entire lattice top. This is what gives you that gorgeous, deep golden sheen we all want. After the wash, sprinkle on that coarse sugar. Those little crystals will caramelize slightly and add the perfect bit of crunch!
But here’s the pro tip I learned from rushing things too many times: You absolutely must chill the assembled pie for 15 minutes right before it goes into the oven. Seriously, don’t skip this! Putting cold dough into a hot oven lets the butter expand fast, making the crust crackle and flake. If you skip this chill, the butter softens too fast, and your whole lattice pie crust will shrink weirdly. While it chills, get your oven preheated to 425 degrees Fahrenheit. We’re ready for baking!
Baking and Setting Your Show-Stopping Lattice Apple Pie
Alright, the moment of truth! We have our perfectly chilled, egg-washed, and sugared beauty ready to go. First, grab a baking sheet—I mean it, use one! Even with the best crimping job, those apple juices are going to bubble up, and we don’t want a sticky mess on the bottom of your oven. Place your pie on that sheet.
We start hot to set that crust immediately! Pop the pie into the 425 degrees Fahrenheit oven and let it bake hard for 15 minutes. This initial blast of heat helps build that flaky structure. Then, just like magic, reduce the temperature down to 375 degrees Fahrenheit. Now, let it continue baking for another 40 to 50 minutes. You’re looking for two things here: the crust needs to be deeply golden brown, and you need to see the filling actively bubbling thickly through those lattice gaps.
If you notice the edges of your crust are turning too dark before the middle is done—and this happens to us all—just tear off a few strips of aluminum foil and loosely drape them over the edges. That shields them from the direct heat. But please, please, do not cut into it when it looks done! Daisy always stressed this point about American heritage recipes: if you slice too soon, the filling will just run out, and you’ll have soupy apples. You need to let that whole pie cool completely on a wire rack for at least three to four hours. Seriously, it needs that time for the starches and sugars in the filling to set up. Resist the urge, and you’ll be rewarded with perfect slices every time!
Tips for Success with Your Apple Pie from Scratch
Look, making this pie totally apple pie from scratch is rewarding, but having a few insider secrets definitely helps! My number one rule, which you already know because we talked about it, is keeping that dough cold. Butter has to be icy when it hits the flour. If your kitchen is warm, just pop your strips or even your whole pie plate back into the fridge for 10 minutes mid-prep!
Also, don’t feel locked into the sugar amounts I listed if your apples are super tart. Daisy always said you should taste the filling mixture before it goes into the shell. If you want that deeper, almost butterscotch flavor, try substituting about a quarter cup of the granulated sugar with maple syrup—it adds such a cozy complexity. And hey, if weaving just isn’t your thing today, remember my note about cutting out simple, rustic shapes instead. No shame in that!
Frequently Asked Questions About Making a Lattice Apple Pie
I know you’re going to want to dive right in, but sometimes a few little questions pop up when you’re tackling something as classic as this lattice pie crust. That’s perfectly normal! I wish I had a FAQ section back when I was first learning these American heritage recipes from Daisy. You can learn more about my journey and the philosophy behind these simple, honest recipes we share right here.
Can I use pre-made pie dough for this lattice apple pie?
Oh, honey, I get this question all the time! My heart leans toward making everything an apple pie from scratch, especially when you’ve put this much love into the filling. But look, life is busy! If you are short on time, go ahead and use two store-bought crusts that are sturdy enough to handle weaving. Just remember to let the dough sit out on the counter for about 10 minutes before you start cutting your strips—cold, straight-from-the-fridge dough cracks way too easily when you try to weave it.
What is the best way to store leftovers of my Lattice apple pie?
This pie is absolutely delicious warm, but it needs time to set first! Once it’s fully cooled (and I mean fully—wait those 3 to 4 hours!), you can cover it loosely with foil and leave it on the counter if you plan to eat it within 24 hours. If you’re saving slices for later in the week, definitely wrap them tightly and place them in the fridge. When you reheat a slice, I love popping it in a warm oven for about 10 minutes to crisp up the crust again.
Why is my lattice crust shrinking during baking?
Nine times out of ten, shrinkage is all about temperature control! If your dough—both the bottom crust and those strips—was too warm when it went into the hot oven, those butter pieces start melting before the structure sets. That causes the dough to slump and shrink away from the edges. That crucial 15-minute chill right before baking, plus making sure your initial dough disks are super cold, solves this problem right up. It’s all about keeping things icy!
PrintDaisy’s Heritage Lattice Apple Pie for National Apple Pie Day
Make a classic American heritage dessert featuring a beautiful lattice pie crust, perfect for celebrating National Apple Pie Day.
- Prep Time: 45 min
- Cook Time: 65 min
- Total Time: 110 min
- Yield: 8 servings 1x
- Category: Dessert
- Method: Baking
- Cuisine: American
- Diet: Vegetarian
Ingredients
- 2 1/2 cups all-purpose flour
- 1 teaspoon salt
- 1 cup (2 sticks) cold unsalted butter, cut into cubes
- 1/2 cup ice water
- 6 large Granny Smith apples, peeled, cored, and sliced 1/4 inch thick
- 1/2 cup granulated sugar
- 1/4 cup packed light brown sugar
- 2 tablespoons all-purpose flour
- 1 teaspoon ground cinnamon
- 1/4 teaspoon ground nutmeg
- 1 tablespoon lemon juice
- 1 large egg, beaten (for egg wash)
- 1 tablespoon milk or cream (for egg wash)
- 1 tablespoon coarse sugar for sprinkling
Instructions
- Prepare the pie dough: In a large bowl, whisk together the flour and salt. Cut in the cold butter using a pastry blender or your fingers until the mixture resembles coarse crumbs with some pea-sized pieces of butter remaining. Gradually add the ice water, one tablespoon at a time, mixing until the dough just comes together. Do not overmix. Divide the dough in half, form each half into a disk, wrap in plastic, and chill for at least 1 hour.
- Prepare the apple filling: In a large bowl, combine the sliced apples, granulated sugar, brown sugar, 2 tablespoons of flour, cinnamon, nutmeg, and lemon juice. Toss gently to coat the apples evenly. Set aside while you prepare the crust.
- Roll out the bottom crust: On a lightly floured surface, roll one disk of dough into a 12-inch circle. Carefully transfer the dough to a 9-inch pie plate. Trim the edges, leaving a 1-inch overhang. Place the pie plate in the refrigerator while you prepare the lattice.
- Create the lattice strips: Roll the second disk of dough into an 11-inch circle. Use a sharp knife or a pastry wheel to cut the dough into even strips, about 3/4 inch wide. You will need about 10 to 12 strips for a standard lattice pie crust. Return the strips to the refrigerator to keep them cold.
- Assemble the pie: Pour the apple filling into the chilled bottom crust. Dot the top of the apples with a few small pieces of leftover butter, if desired.
- Weave the lattice: Lay half of the strips parallel across the top of the filling, spaced about 1 inch apart. Fold back every other strip halfway. Lay one perpendicular strip across the center. Unfold the first set of parallel strips over this center strip. Fold back the alternate strips again, and lay another perpendicular strip. Repeat this process, alternating which strips you fold back, until the entire top is covered in a woven lattice pattern. Trim the ends of the strips flush with the bottom crust overhang.
- Crimp and seal: Fold the bottom crust overhang up and over the ends of the lattice strips. Crimp the edges decoratively using your fingers or a fork to seal the top and bottom crusts together.
- Chill and bake: Brush the entire lattice top with the egg wash (whisk the egg and milk together). Sprinkle evenly with coarse sugar. Chill the assembled pie for 15 minutes before baking. Preheat your oven to 425 degrees Fahrenheit.
- Bake the pie: Place the pie on a baking sheet (to catch drips). Bake at 425 degrees Fahrenheit for 15 minutes. Reduce the oven temperature to 375 degrees Fahrenheit and continue baking for another 40 to 50 minutes, or until the crust is golden brown and the filling is bubbling thickly. If the edges brown too quickly, cover them loosely with foil strips.
- Cool completely: Let the apple pie cool on a wire rack for at least 3 to 4 hours before slicing. This allows the filling to set properly.
Notes
- Keep all your dough ingredients cold. Cold butter creates steam pockets, resulting in a flaky crust.
- If you do not want to weave a lattice, you can cut decorative shapes from the top dough and place them over the filling, leaving space between them for venting.
- For a richer caramel flavor, substitute 1/4 cup of the granulated sugar with maple syrup in the filling mixture.
Nutrition
- Serving Size: 1 slice
- Calories: 420
- Sugar: 35g
- Sodium: 250mg
- Fat: 24g
- Saturated Fat: 15g
- Unsaturated Fat: 9g
- Trans Fat: 0g
- Carbohydrates: 55g
- Fiber: 3g
- Protein: 4g
- Cholesterol: 60mg