
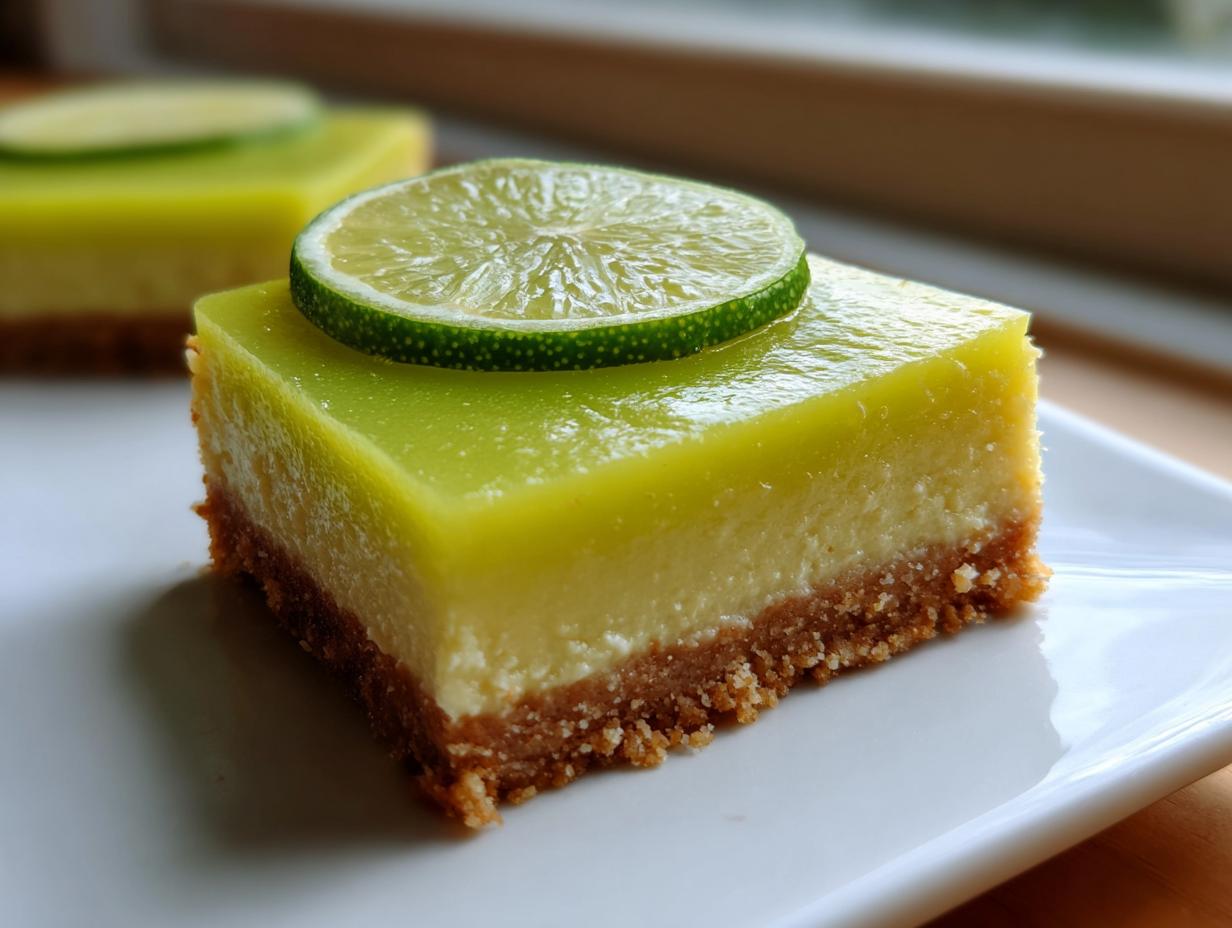
If you’re anything like me, sometimes you just need a little slice of sunshine right now, even if the weather hasn’t quite caught up yet! We dream of warm breezes and bright citrus, but we don’t always have the energy for fussy baking, right? That’s where this recipe comes in, and trust me, it’s my absolute secret weapon for a bright, tropical escape. Forget wrestling with a pie crust that never quite sets; these incredible **key lime pie bars** give you all that zesty punch in a format that just *slices* perfectly every single time. It’s just the kind of simple, honest food my Grandma Daisy used to make—straightforward, deeply satisfying, and made with real ingredients. This is reclamation in dessert form!
- Why You Will Love These No-Bake Key Lime Pie Bars
- Essential Ingredients for Perfect Key Lime Pie Bars
- Step-by-Step Instructions for No Bake Key Lime Pie Bars
- Tips for Success with Your Key Lime Recipe
- Serving Suggestions for Easy Entertaining
- Storage and Make-Ahead for Your Key Lime Pie Bars
- Frequently Asked Questions About These Citrus Treats
- A Note on Nutrition for Our Key Lime Pie Bars
- Share Your Tropical Spring Bars Experience
Why You Will Love These No-Bake Key Lime Pie Bars
I know you need these in your life right now. Seriously. When you want that big, beautiful citrus flavor without turning on the oven, these are your go-to stunners. They embody everything I learned from Daisy about making impressive food without stress. They are genuinely fantastic for **easy entertaining** because they handle themselves so well.
Here’s why they jump straight to the top of my must-make list:
- They deliver that intense, mouth-puckering tropical zing you crave in a perfect key lime recipe.
- Zero oven time! These are pure no bake desserts bliss—perfect for those overheated afternoons.
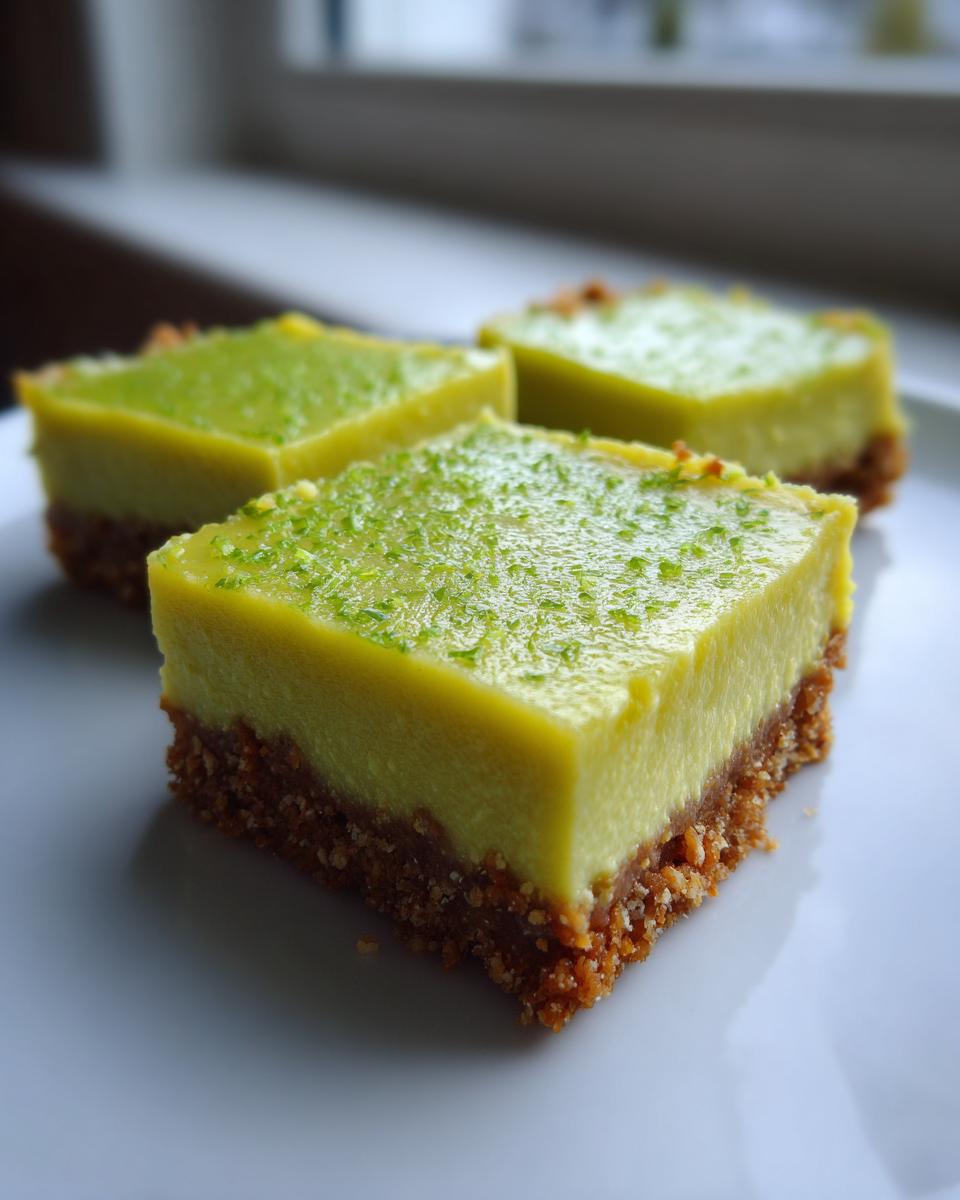
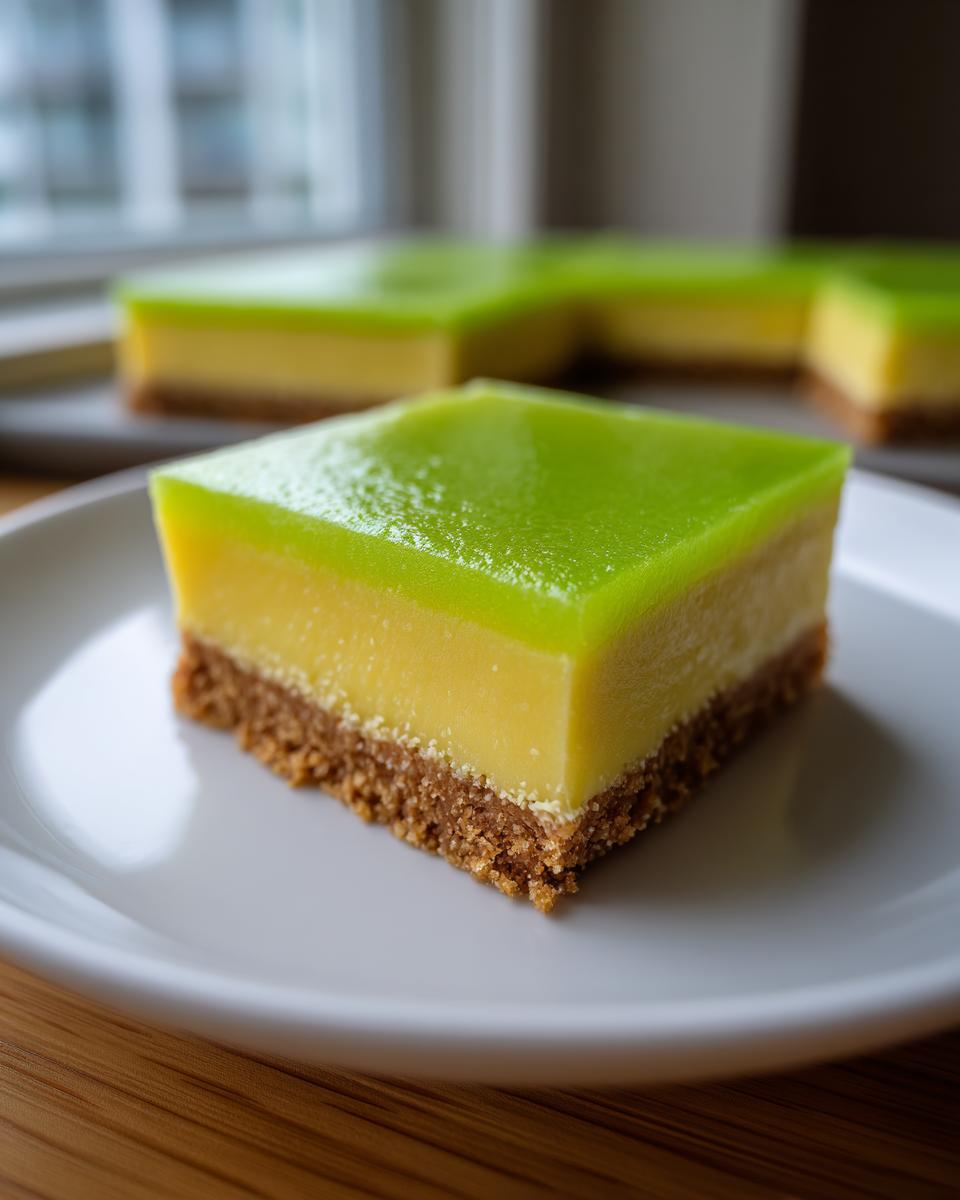
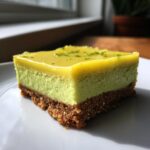
- The clean-cut structure is the best part. Unlike a wobbly pie, these key lime pie bars hold their shape perfectly when sliced.
- Preparation is shockingly fast. You’re really just mixing and pressing, which is why I call them my favorite spring bars.
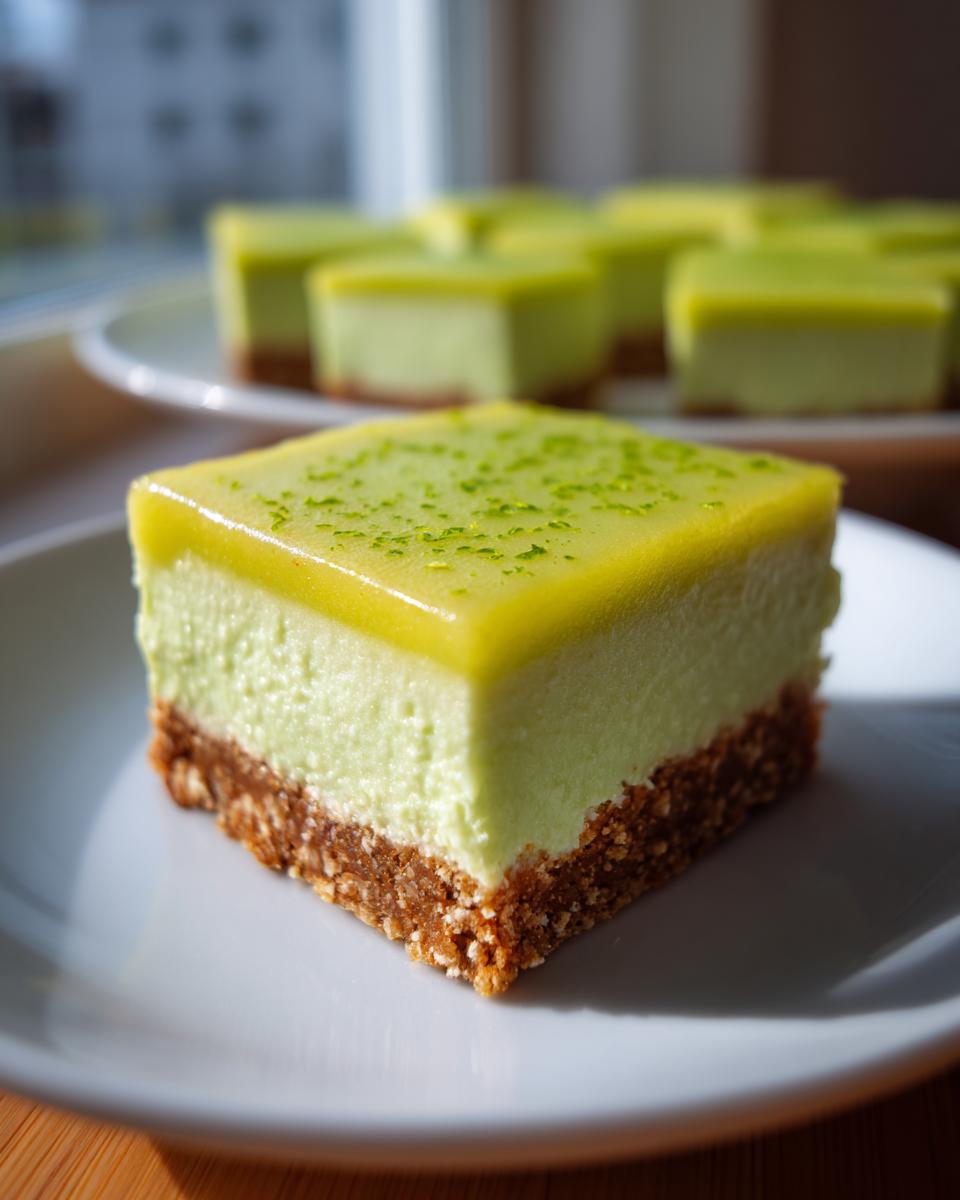
- They look elegant! Topped with swirls of whipped cream, nobody will guess how little effort went into these fabulous citrus treats.
- They are an incredible make-ahead option, meaning you can chill them completely and forget about dessert until the guests arrive! Check out some of my other great delicious dessert recipes while you wait for your bars to chill!
Essential Ingredients for Perfect Key Lime Pie Bars
One of the best things about these key lime pie bars is that they rely on a short list of pantry staples—though I have to stress that the quality of the lime juice makes all the difference here! My philosophy has always been simple ingredients treated right yields the best flavor. To make sure your bars set up perfectly and taste authentically tropical, read those notes carefully. I’ve separated them below so you can grab what you need for both foundational layers.
For the Graham Cracker Crust
- 1 1/2 cups graham cracker crumbs
- 1/4 cup granulated sugar
- 6 tablespoons unsalted butter, melted
For the Key Lime Filling
- 1 (14 ounce) can sweetened condensed milk
- 1/2 cup fresh key lime juice (that usually means squeezing about 10-12 limes!)
- 2 large egg yolks
- 1 teaspoon lime zest
- Whipped cream or meringue, for topping (optional)
Step-by-Step Instructions for No Bake Key Lime Pie Bars
Okay, now for the fun part! Since we’re skipping the oven, our timing is all about chilling, which is honestly the easiest part of the whole process. Remember, with these no bake desserts, patience while waiting for them to set is what guarantees those beautiful, clean lines when you serve them up.
Preparing the Crust Base
First things first, let’s get that pan ready. Line your 8×8 inch pan beautifully with parchment paper, but make sure you leave a good overhang on two opposite sides. This is your built-in lifting handle later—don’t skip it! Combine the graham cracker crumbs and the sugar in a bowl. Pour in all that melted butter and stir it well until every crumb looks nicely moistened. Press this mixture down into the bottom of the pan as firmly and evenly as you can get it. I usually press harder around the edges. Then, pop that crust into the freezer while you move on to the filling.
Mixing the Citrus Filling
Grab a separate, clean bowl. This is where the magic happens! You just need a whisk here, no fancy mixer required. Gently whisk together the entire can of sweetened condensed milk, that vital fresh key lime juice, the egg yolks, and the bright lime zest. Keep whisking until everything looks perfectly smooth and totally combined. You want zero streaks of yolk showing! Once you pour this glorious, tart mixture over your chilled crust, gently tap the pan on the counter a few times. This just helps pop any sneaky air bubbles, ensuring a lovely, smooth top for your key lime pie bars.

Setting and Slicing Your Key Lime Pie Bars
This is the most important timing step. You need to cover the pan loosely and move it straight to the refrigerator. Seriously, don’t jump the gun here. These bars need a minimum of six full hours to set up beautifully, but truly, if you can leave them overnight, you’ll thank me tomorrow! Once they are completely firm, grab those parchment overhangs and lift the whole block out onto a cutting board. Run a sharp knife under hot water, wipe it clean, and then slice into clean squares. Reheating that knife slightly between cuts makes slicing these key lime pie bars so much easier!
For more ways to make great desserts without the oven heat, I have a whole section dedicated to simple no bake desserts you might love, too!
Tips for Success with Your Key Lime Recipe
You know I always emphasize using the best ingredients because that’s what Grandma Daisy taught me—simple, honest food, right? For this specific key lime recipe, a few small choices make a huge difference in flavor and texture. If you take shortcuts on the juice, you’re going to miss that authentic tropical punch these key lime pie bars are famous for. Follow these pointers, and you’ll nail the tropical spring vibe every time.
Achieving the Best Citrus Flavor
This is non-negotiable, folks: you absolutely must use freshly squeezed key lime juice. I know it’s a little more effort, but bottled juice just doesn’t have the same aromatic kick. Honestly, bottled versions can sometimes throw off the chemical reaction needed for this filling to set properly, too! If you are desperate and can only find Persian limes (the big, common ones), you can absolutely substitute them, but you will need to add a little extra lime zest—maybe double the amount—just to push that bright flavor forward.
Making Clean Cuts on Your Spring Bars
We talked about chilling being super important, and it is, but even a perfectly chilled bar can look messy if you use a dull knife. This little trick is vital for neat presentation when you’re making spring bars for friends. Right before you slice, fill a tall glass with very hot water. Dip your sharpest knife into the hot water for a few seconds, wipe it completely dry, and then make your cut. The heat melts any resisting sugar or fat just enough to glide through cleanly. Repeat that dip-and-wipe for every single cut, especially when serving these as citrus treats!
Serving Suggestions for Easy Entertaining
Because these bars are so wonderfully tart, they are fantastic mates for something smooth and creamy. When planning for easy entertaining, presentation matters, but it shouldn’t be hard! A simple dollop of good quality whipped cream right before serving is always a winner, especially if you sprinkle just a tiny pinch of extra lime zest on top of the cream for color.
If you want a little crunch, a scattering of toasted coconut flakes on the plate edge looks beautiful and really doubles down on that tropical feel. Or, try serving them alongside a scoop of vanilla bean ice cream. The contrast between the chilled, tangy bar and the smooth, cool vanilla is heavenly. For pairing ideas outside the plate, check out my guide for pairing desserts with simple drinks!
Storage and Make-Ahead for Your Key Lime Pie Bars
The beautiful thing about these key lime pie bars is that they are actually designed for make-ahead planning—a dream come true for anyone hosting! Since we don’t bake them, they rely entirely on the chill factor to hold their structure. I always plan on making these the day before I need them, if I can.
Once they are fully set, you want to keep them protected in the fridge. Store them in an airtight container; I usually place a sheet of parchment paper between layers if I end up stacking them, just to avoid any sticking to the topping. In the refrigerator, they stay absolutely perfect for up to four days. They maintain that gorgeous, sturdy slice even on day three!
If you need serious advance warning, you can definitely freeze them! Once sliced, lay the bars out on a baking sheet lined with parchment, making sure they aren’t touching. Freeze them until solid—that takes maybe an hour or two. Then, you can transfer the frozen bars into a heavy-duty freezer bag. They keep wonderfully for up to two months this way. When you want one, just pull it out and let it thaw on the counter for about 30 minutes. It’s like having instant tropical vacation dessert ready to go! If you love easy freezer desserts, you simply must see my instructions for easy 3 ingredient chocolate fudge recipe, too.
Frequently Asked Questions About These Citrus Treats
I get so many messages about these bars, which just proves everyone is craving a little zest and sunshine! Honestly, when you follow a key lime recipe that’s designed to be super simple, questions usually pop up around substitutions or setting times. Don’t sweat it; that’s what I’m here for. Daisy always said: “Ask the question, or you’ll never know the answer!”
Can I use bottled lime juice instead of fresh key lime juice?
Oh, I really wish I could tell you ‘yes,’ but for this specific key lime recipe, I strongly advise against it. The flavor difference is massive—fresh squeezes are bright and aromatic, while bottled juice is often more muted and takes on a slightly cooked flavor. More importantly, bottled juice sometimes has stabilizers that can interfere with the reaction between the condensed milk and the acid, meaning your bars might not set up quite as firmly. These are best enjoyed as bright, fresh citrus treats!
How long do I need to chill these no bake desserts?
This is the one step you absolutely cannot cheat, especially if you want those clean squares! For these no bake desserts to transform from liquid filling to sliceable bar, they need that time for the acid to thicken everything up. Six hours is the absolute minimum—and that’s if your fridge is running super cold. But to aim for my perfect, non-wobbly recommendation, chill them overnight. Once you pull them out, they are ready for that lovely slicing moment.
If you’re looking for more simple, no-oven options that set up magically, you might enjoy learning how to make my easy no-bake Oreo pie recipe, too!
A Note on Nutrition for Our Key Lime Pie Bars
Now, I know some of you are planning every macro, and I totally get that! Food should fuel us, certainly. But I have to be honest, because following Daisy’s philosophy means keeping things real around here. These homemade key lime pie bars are made with love and basic ingredients, not lab equipment, so these figures are just estimates, not gospel.
The nutritional breakdown can change quite a bit depending on exactly what you use. For example, the brand of sweetened condensed milk makes a difference, as does the size of those two egg yolks we used! We used standard, good quality ingredients when calculating this out, but please treat this information as a general guideline for your citrus treats rather than a strict calculation. Enjoy the sunshine in every bite!
Share Your Tropical Spring Bars Experience
Wow, I can’t wait for you to try these! When you get that perfect chill and slice into those vibrant, tart squares, I genuinely want to know what you think. Did you use fresh key limes, or did you swap in Persian limes? How did they go over with your family for easy entertaining?
Please, please, please come back here and leave a rating down below. Telling me how quickly these key lime pie bars vanished from your dessert table helps other home cooks feel confident stepping into the kitchen! And if you snap a photo of your beautifully chilled squares, tag me on social media—I absolutely live for seeing your creations. It connects me right back to Grandma Daisy’s old kitchen, even though we’re miles and decades apart!
If you have any lingering questions that I didn’t cover, or if you want to share your own little twist on this key lime recipe, hop over to the contact page here. Happy baking—or rather, happy chilling!
PrintNo-Bake Key Lime Pie Bars
Make these easy, tropical spring bars for a simple, citrusy dessert that slices cleanly, perfect for entertaining.
- Prep Time: 20 min
- Cook Time: 0 min
- Total Time: 6 hr 20 min
- Yield: 16 servings 1x
- Category: Dessert
- Method: No Bake
- Cuisine: American
- Diet: Vegetarian
Ingredients
- 1 1/2 cups graham cracker crumbs
- 1/4 cup granulated sugar
- 6 tablespoons unsalted butter, melted
- 1 (14 ounce) can sweetened condensed milk
- 1/2 cup fresh key lime juice (about 10–12 limes)
- 2 large egg yolks
- 1 teaspoon lime zest
- Whipped cream or meringue, for topping (optional)
Instructions
- Line an 8×8 inch baking pan with parchment paper, leaving an overhang on two sides for easy removal.
- In a medium bowl, combine the graham cracker crumbs and 1/4 cup sugar. Pour in the melted butter and mix until the crumbs are evenly moistened.
- Press the crumb mixture firmly and evenly into the bottom of the prepared pan. Place the crust in the freezer while you prepare the filling.
- In a separate bowl, whisk together the sweetened condensed milk, key lime juice, egg yolks, and lime zest until smooth.
- Pour the key lime filling over the chilled crust. Gently tap the pan on the counter a few times to release any air bubbles.
- Refrigerate the bars for at least 6 hours, or preferably overnight, until the filling is completely set.
- Use the parchment paper overhang to lift the bars from the pan. Slice into squares.
- Top each bar with whipped cream or meringue before serving, if desired.
Notes
- For the best flavor, use freshly squeezed key lime juice. Bottled juice changes the texture and taste.
- If you cannot find key limes, use regular Persian limes, but you may need to slightly increase the amount of zest for a stronger flavor.
- These no bake desserts hold their shape best when fully chilled.
Nutrition
- Serving Size: 1 bar
- Calories: 220
- Sugar: 20
- Sodium: 110
- Fat: 13
- Saturated Fat: 8
- Unsaturated Fat: 5
- Trans Fat: 0
- Carbohydrates: 24
- Fiber: 1
- Protein: 3
- Cholesterol: 35