
There’s just something about a truly great retro appetizer, isn’t there? That moment when you walk into a party and your eyes immediately lock onto the platter of cheesy, melty goodness that everyone is hovering around. For me, the dish that always vanishes first is Hanky Panky. I know, the name is a little silly, but trust me, this savory, simple creation is pure magic. When I first stepped away from my grandmother Daisy’s kitchen and into the hustle of city life, I forgot how comforting simple food could be. Coming back to recipes like this **hanky panky recipe** was part of rediscovering my roots. It’s proof that the best party food ideas don’t need fancy techniques—just honest ingredients and a whole lot of flavor. This recipe is our family’s blueprint for effortless entertaining.
- Why This Classic Hanky Panky Recipe is the Ultimate Party Food Ideas (E-E-A-T Focus)
- Gathering Ingredients for Your Hanky Panky Recipe
- Step-by-Step Guide to Making the Perfect Hanky Panky Recipe
- Baking and Serving Your Hot Cheesy Appetizer
- Tips for Success with Your Sausage and Cream Cheese Dip
- Variations: Making the Hanky Panky Recipe Your Own
- Make Ahead Appetizers: Storing and Reheating the Hanky Panky Recipe
- Frequently Asked Questions About This Retro Appetizers Classic
- Nutritional Snapshot of the Hanky Panky Recipe
Why This Classic Hanky Panky Recipe is the Ultimate Party Food Ideas (E-E-A-T Focus)
I often get asked why, out of all the complicated finger foods for parties I’ve tried, I always come back to this one. It’s because the Hanky Panky recipe is reliable, nostalgic, and frankly, dangerously delicious. As someone who spent years chasing complex cooking trends, I’ve learned that the tried-and-true recipes are usually the ones that win hearts! This isn’t just some quick party bite; it’s a piece of culinary history.
- It’s incredibly simple to scale up for those big game day food spreads.
- The combination of sharp cheddar and savory pork is irresistible.
- It delivers that wonderful, cozy feeling only true comfort food appetizers can give you.
Crowd Pleasing Appetizers: Flavor Profile Breakdown
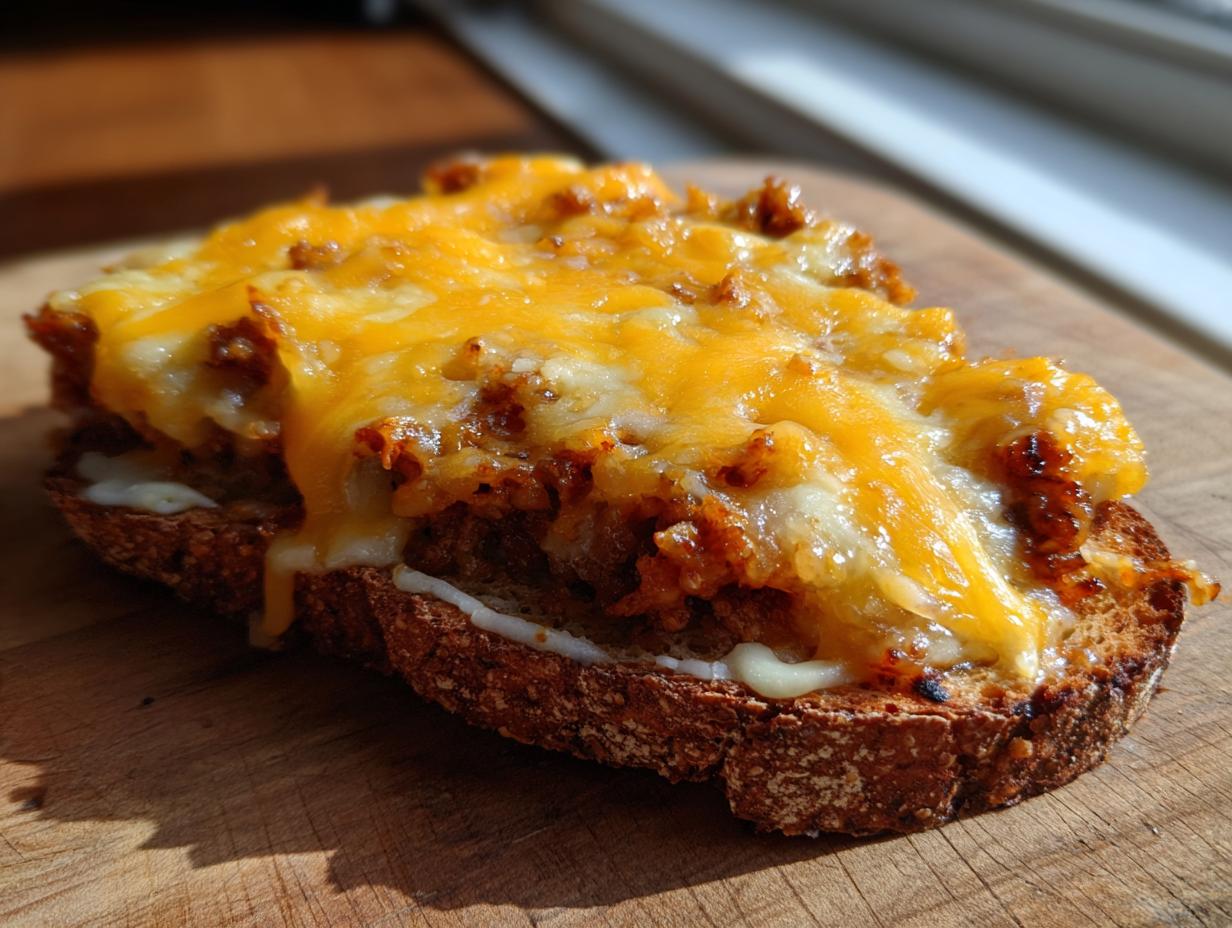
The magic here is the texture. When you pull these hot bites out of the oven, you get that wonderful crisp edge from the bread and a hot, melty, savory center. It’s rich without being overly heavy, hitting all those salty and cheesy notes we crave in any great snack. It’s the definition of satisfying finger foods for parties!
Gathering Ingredients for Your Hanky Panky Recipe
Before we get to the serious fun of mixing and melting, we have to talk about what goes into this glorious spread. My grandmother Daisy always said that even simple recipes demand quality! Don’t skip the instructions on ingredient prep, like making sure that cream cheese is truly softened—it makes stirring so much easier. Getting these items together is fast; the recipe is built for speed, which is why it’s one of my favorite easy appetizers to keep on hand.
- 1 pound bulk pork sausage
- 1 (8 ounce) package cream cheese, softened
- 1 (10.25 ounce) can cream of mushroom soup, undrained
- 1 cup shredded sharp cheddar cheese
- 1 teaspoon Worcestershire sauce
- 1/2 teaspoon onion powder
- 1/4 teaspoon garlic powder
- 1/4 teaspoon black pepper
- 1/4 teaspoon salt
- 1 package pumpernickel or rye bread slices (or crackers)
Step-by-Step Guide to Making the Perfect Hanky Panky Recipe
Alright, here’s where the magic happens! Remember how I said this is built for speed? This whole recipe, from start to bake, takes under 30 minutes total if you’re moving along at a good clip. The key to happiness here is not rushing the browning, and definitely not skipping the draining step. A greasy coating is the enemy of a crispy cracker or bread base, trust me on this!
Cooking the Meat Base for the Hanky Panky Recipe
First things first: get that oven humming at 350 degrees F and lightly grease a baking sheet—you don’t want these sticking. Now, grab your skillet. We need to cook the bulk pork sausage over medium heat. You have to break it up really well as it browns until there is absolutely no pink left. Once it’s beautifully browned, you absolutely *must* drain off every drop of grease. I mean every single bit. Once the fat is gone, turn the heat way down low before you introduce the creamy stuff.
Melting and Combining the Cheesy Meat Dip Recipe
Low heat is your friend now! We’re dropping in the softened cream cheese, that can of mushroom soup (keep it undrained—that liquid helps keep things silky!), the sharp cheddar, Worcestershire sauce, and all our little seasonings: onion powder, garlic powder, pepper, and salt. Now you stir. And stir! Keep stirring constantly until everything completely melts down into one gorgeous, smooth, hot, creamy mixture. This is your foundation for the ultimate cheesy meat dip recipe, so make sure it’s uniform before moving on.
Baking and Serving Your Hot Cheesy Appetizer
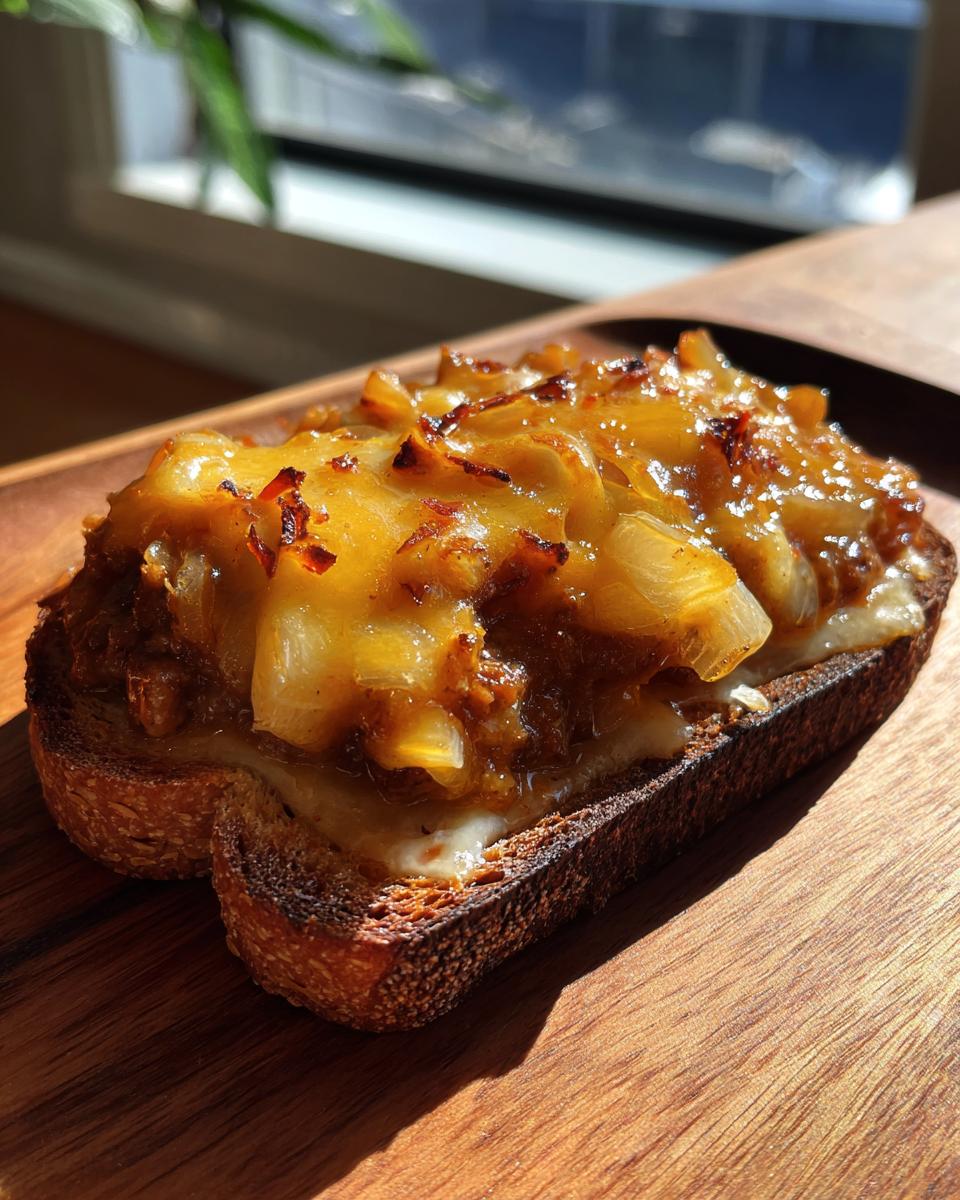
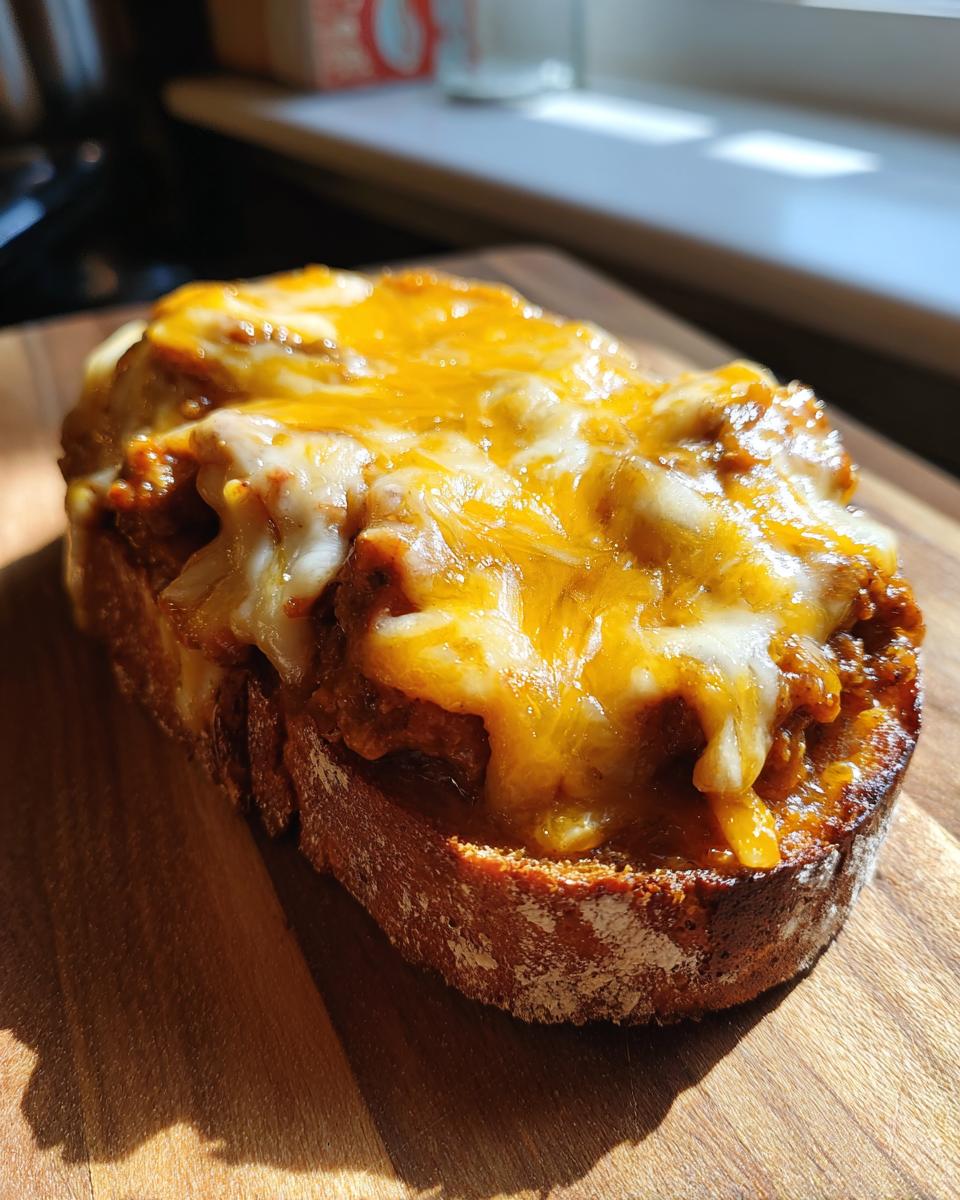
Okay, we have this incredible, bubbling mixture—this rich, savory indulgence that’s about to become the star of your party table. Now comes the fun part: assembly! Grab your bread slices or sturdy crackers. Daisy always preferred pumpernickel because the slightly earthy flavor cut through the richness of the meat perfectly, but rye or even good French bread slices work beautifully too.
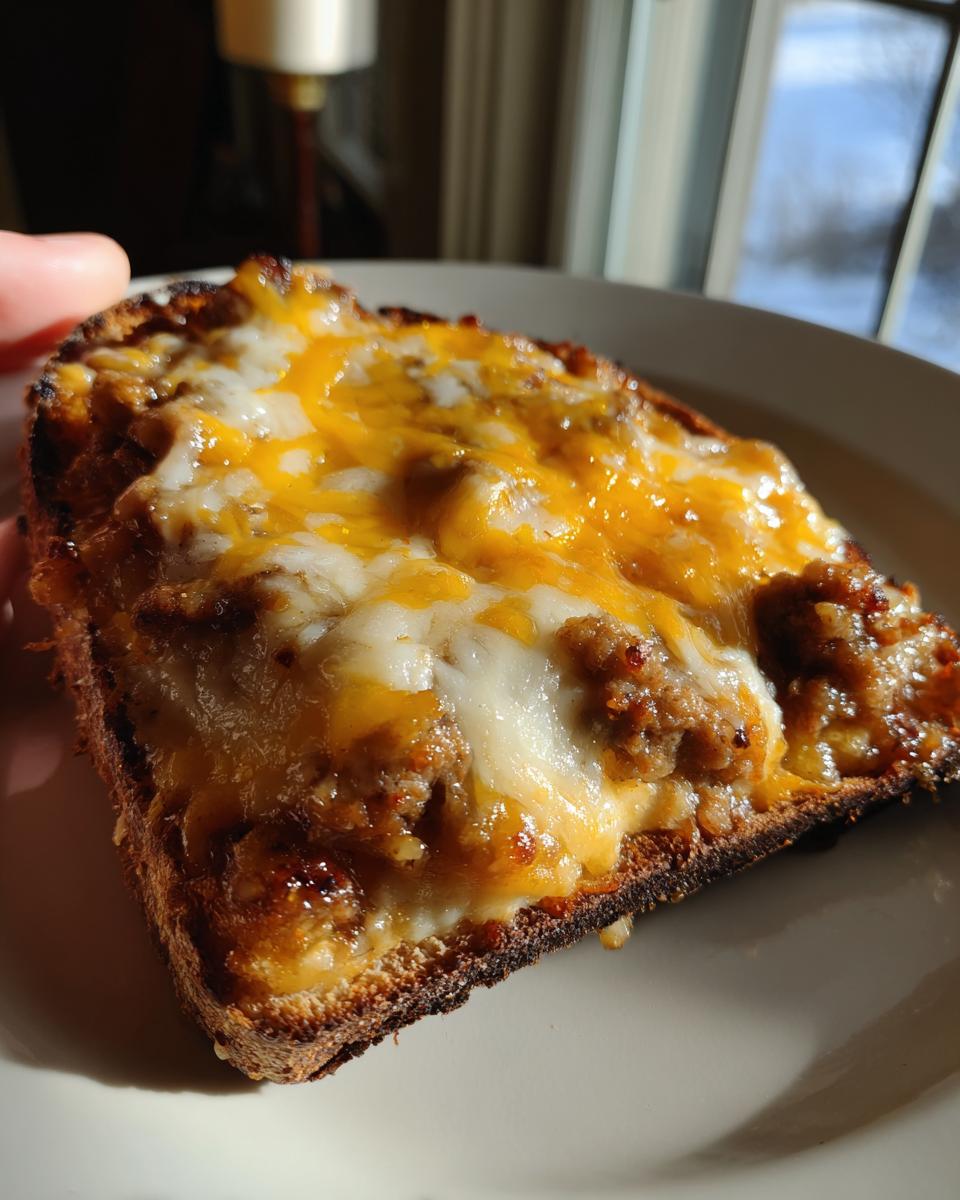
You are going to spread a generous layer of this mixture onto each piece. Don’t be stingy; we are making these irresistible appetizer bites! Once they’re loaded up, put the prepared bread directly onto your greased baking sheet. Time to pop them into the 350-degree oven we preheated earlier.
They only need about 10 to 12 minutes. You’re just looking for two things: the topping needs to be beautifully bubbly, and the edges of your bread or cracker should start getting just a little bit toasty. That combination makes this the perfect hot cheesy appetizer. The total time from start to serving is seriously fast—less than 30 minutes! The absolute best way to serve these finger foods for parties is straight out of the oven while that cheese is still molten lava hot.
Tips for Success with Your Sausage and Cream Cheese Dip
You’ve mastered the mixing, now let’s talk about making this recipe work perfectly every single time you serve it, whether it’s for a big holiday party or just a cozy movie night. My grandmother Daisy had a few tricks up her sleeve that saved time and ensured maximum flavor impact, which is what we need when we’re making something as intensely satisfying as this sausage and cream cheese dip.
First off, you absolutely do not have to stick to the pork sausage if you don’t want to! Daisy always felt that mixing half pork sausage and half ground beef created a richer, less overwhelming flavor profile. If you try substituting some ground beef, just make sure you brown it really thoroughly and drain that fat just like you did with the pork. A little variety keeps things interesting!
Here’s a fantastic alternative if you are short on bread or crackers, or if you just want a really decadent dip situation: forget the bread entirely! Take the entire hot, cheesy mixture right after it comes off the heat and spoon it into a pretty, oven-safe little dish. Bake it just briefly to get it scorching hot and bubbly on top, and serve it with sturdy, high-quality crackers or even thick-cut vegetable sticks for dipping. It instantly turns into one of those simple party dips that feels more elegant than it actually is!
Remember, baking isn’t always required if you’re in a pinch. I love having the option to prepare this ahead of time. You can mix and cook the whole sausage and cheese base, let it cool completely, and then stash it in an airtight container right in the fridge for up to two days. When the party starts, all you have to do is gently reheat the mixture on the stove or microwave, then spread it onto your bread and give it that quick 10-minute blast in the oven. It’s such a lifesaver!
Variations: Making the Hanky Panky Recipe Your Own
Now that you have your hands on my go-to, classic **hanky panky recipe**, I want to encourage you a little bit: don’t feel like you have to follow Daisy’s exact path if your kitchen calls for a little something extra! This recipe is so sturdy and flavorful that it handles variations beautifully. It’s perfect for transforming into something new for different gatherings, especially if you’ve already made it a dozen times for the family.
Since this falls squarely into the territory of **retro appetizers**, we can give it a little modern kick without sacrificing that essential comfort food feel. Think about the base alone—pumpernickel is divine, but what about presentation?
- Instead of square slices, try using baguette coins or even sturdy, thick crackers. For crackers, you might want to watch the baking time closer because they toast up much faster than bread.
- If you want to level up the cheese, swap out the cheddar for a smoky Gouda or pepper jack. Pepper jack is my favorite way to turn this into a spicy little surprise.
And speaking of spice, this is where we inject some real heat! If your crowd likes things kicked up, try folding in a small, finely diced jalapeño (seeds removed, unless you are brave!). You can also add a dash of your favorite hot sauce right into the cheese mixture before it melts. It gives you that wonderful flavor depth you find in more complex **savory party snacks** but keeps the prep time low. For a completely different take, you could even try mixing in some shredded cooked chicken along with the sausage for a heartier filling—perfect if you’re serving this up instead of a main course some night, almost like a slider filling! I cover a similar idea using slow cooker methods for meatloaf, which shows you how adaptable these hearty mixtures can be; check out my crockpot French onion meatloaf if you’re into big flavor dips!
Make Ahead Appetizers: Storing and Reheating the Hanky Panky Recipe
Planning a huge holiday party or trying to conquer your entire weekend menu development on Tuesday? I totally get it. That’s why I love that this is such a fantastic option for **make ahead appetizers**. You save so much stress on party day if you knock out the messy cooking part early!
The absolute best part about this cheesy sausage mixture is how resilient it is. You can prepare the entire spread—from browning the meat to melting in the cheese and spices—and store it! Once it has fully cooled, transfer that decadent mixture into an airtight container. I’ve successfully stored mine in the fridge for up to two full days without any drop in flavor or texture. It’s an absolute lifesaver when you’re juggling a million last-minute details!
When it’s time to serve, make sure you gently reheat it first. I usually microwave it in short bursts, stirring in between until it’s smooth again. Getting it warm makes spreading it onto your pumpernickel or crackers so much easier before you pop them in the oven for that final 10 minutes of bubbling and toasting. You can learn more about how timing your kitchen prep can save your sanity when you check out my tips for making whipped honey butter—it’s all about doing the heavy lifting ahead of time!
Frequently Asked Questions About This Retro Appetizers Classic
Whenever I share a recipe that’s been around as long as the Hanky Panky has, people always have fantastic questions about tweaking it or using it for different occasions. Don’t you just love finding out which little changes can totally transform a dish while keeping that classic taste? I’ve pulled together the ones I hear most often about making these **retro appetizers** absolutely perfect for your next get-together.
Can I use crackers instead of bread for this hanky panky recipe?
Oh yes, you absolutely can! I mentioned Daisy sometimes used pumpernickel, but crackers are a fantastic option, especially if you’re looking for smaller, faster-to-eat **appetizer recipe for crackers**. The only thing I tell everyone is: pick something sturdy! This meat and cheese topping is wonderfully rich and heavy, so a flimsy water cracker will collapse faster than you can say “pass the mustard.” Think robust crackers, like Triscuits, rye crisps, or even sturdy cocktail rye rounds.
Is Velveeta cheese required for the best hanky panky recipe?
That’s a great question that always sparks debate in the comments! The recipe I shared uses good old sharp cheddar because I love that tanginess it brings to balance the fat. However, many classic versions out there do call for Velveeta. If you’re chasing that ultra-smooth, slightly stretchier melt that you remember from childhood parties, then yes, swapping the cheddar for Velveeta (or a mix of both!) is a common way to achieve that specific texture. It delivers that ultimate creamy feel for your **hot cheesy appetizer**.
What other meats work well in this game day food?
I stand by my pork sausage recommendation because it has such fantastic flavor, but this recipe is incredibly forgiving for **game day food** substitutions. If you want to lighten it up a bit, using 50/50 ground beef mixed with the sausage is a classic choice—just be meticulous about draining all that fat! For something much lighter, some folks have had success using ground turkey or even shredded, cooked chicken breast folded in at the end. Just remember, whatever meat you use, make sure it’s fully cooked and completely drained before you mix in the cream cheese, otherwise, your dip will get watery!

If you’re looking for more ways to create a full spread for your next event, you might want to look into some of my tips for baking quick breads, too! My guide on making easy 3-ingredient beer bread is perfect if you want a different kind of base for your toppings!
Nutritional Snapshot of the Hanky Panky Recipe
Now, let’s be real—this is pure, glorious party food, not a health salad! If you’re planning out your menu, knowing the basics helps when you’re balancing out those rich flavors. These numbers are just estimates based on the classic ingredients I listed, assuming one serving size is one piece of the topped bread. For more balanced ways to start your day, you might want to look at my healthy breakfast ideas, but for game day? These are worth every single bite!
- Serving Size: 1 piece
- Calories: 150
- Fat: 12g
- Carbohydrates: 3g
- Protein: 8g
Classic Hanky Panky Appetizer Recipe

Make this easy, cheesy, savory meat spread served on toasted bread. This retro appetizer is a crowd-pleasing favorite perfect for game days or holiday parties.
- Prep Time: 15 min
- Cook Time: 12 min
- Total Time: 27 min
- Yield: About 24 servings 1x
- Category: Appetizer
- Method: Baking
- Cuisine: American
- Diet: Vegetarian
Ingredients
- 1 pound bulk pork sausage
- 1 (8 ounce) package cream cheese, softened
- 1 (10.25 ounce) can cream of mushroom soup, undrained
- 1 cup shredded sharp cheddar cheese
- 1 teaspoon Worcestershire sauce
- 1/2 teaspoon onion powder
- 1/4 teaspoon garlic powder
- 1/4 teaspoon black pepper
- 1/4 teaspoon salt
- 1 package pumpernickel or rye bread slices (or crackers)
Instructions
- Preheat your oven to 350 degrees F. Lightly grease a baking sheet.
- In a large skillet over medium heat, cook the pork sausage, breaking it up as it cooks, until it is fully browned. Drain off all the grease.
- Return the cooked sausage to the skillet. Reduce the heat to low.
- Add the softened cream cheese, cream of mushroom soup, cheddar cheese, Worcestershire sauce, onion powder, garlic powder, salt, and pepper to the sausage.
- Stir the mixture constantly until all ingredients are melted and fully combined into a smooth, hot cheesy appetizer spread.
- Spread a layer of the mixture onto each slice of bread or cracker.
- Place the prepared bread or crackers on the baking sheet.
- Bake for 10 to 12 minutes, or until the edges of the bread are lightly toasted and the topping is bubbly.
- Serve these quick party bites warm as finger foods for parties.
Notes
- For a slightly different texture, you can substitute ground beef for half of the sausage.
- If you are serving this as a dip, you can skip the bread and serve the mixture hot in a small oven-safe dish with sturdy crackers for dipping.
- This recipe can be made ahead; store the cooled meat mixture in the refrigerator for up to two days. Reheat gently before spreading onto the bread for baking.
Nutrition
- Serving Size: 1 piece
- Calories: 150
- Sugar: 1
- Sodium: 350
- Fat: 12
- Saturated Fat: 6
- Unsaturated Fat: 6
- Trans Fat: 0
- Carbohydrates: 3
- Fiber: 0
- Protein: 8
- Cholesterol: 35