
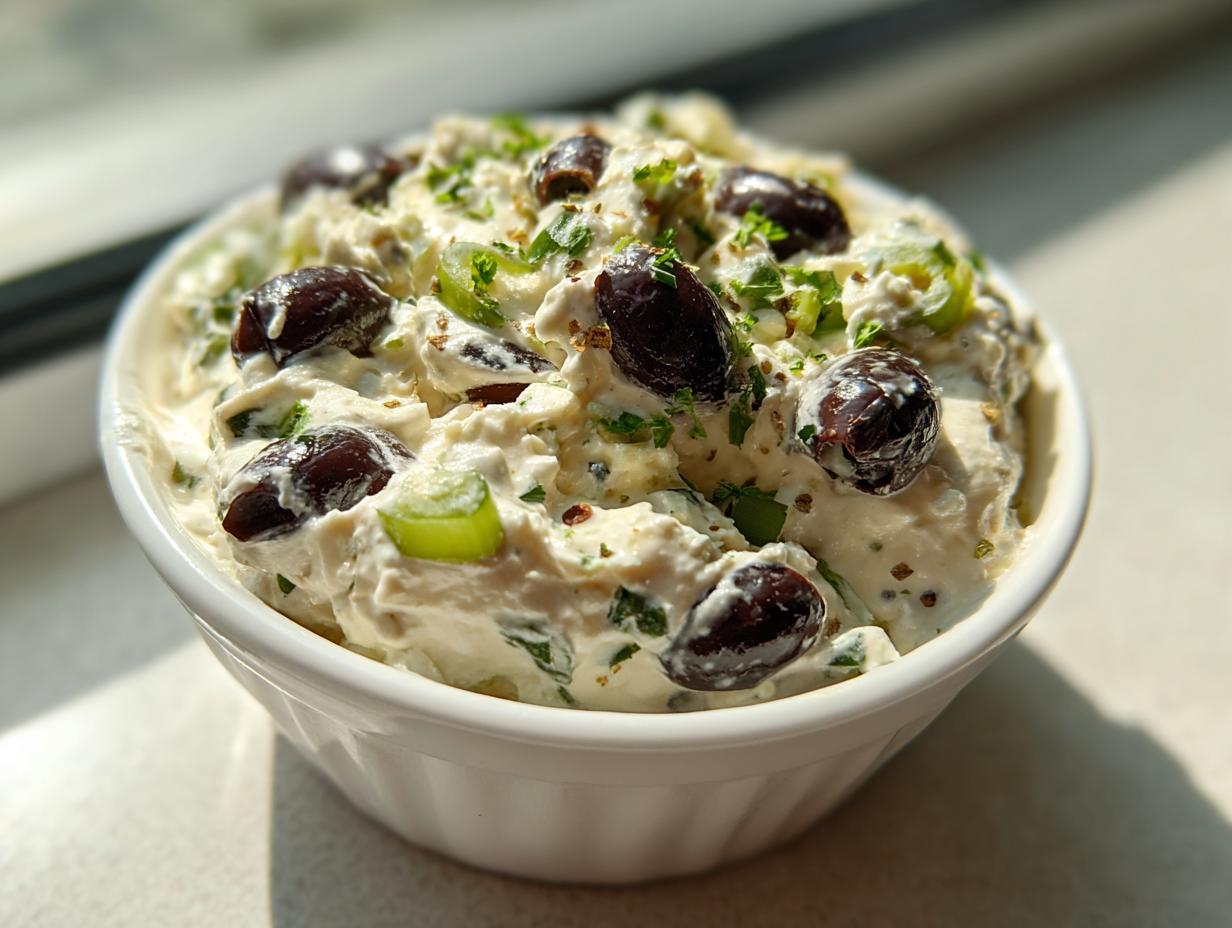
I don’t know about you, but sometimes the evening sneaks up on me, and suddenly I need an impressive appetizer *right now*. Maybe friends are dropping by unexpectedly, or I just need something savory to snack on while I wait for dinner to finish. Forget those complicated spreads! My grandmother, Daisy, always taught me that the best food is the simplest. That’s why this incredibly easy olive dip is my secret weapon. It’s vibrant, wonderfully creamy, and ready in the time it takes to find the serving platter. We’re talking about a flavor explosion for your next gathering, proving slow cooking isn’t the only way to create magic.
- Why This Creamy Olive Dip is Your New Go-To Party Food Spread
- Gathering Ingredients for Your 10-Minute Olive Dip
- Simple Party Dips: Step-by-Step Instructions for Olive Dip
- Tips for the Best Olive Dip for Crackers
- Serving Suggestions for This Mediterranean Appetizer Spread
- Storage and Enjoying Leftover Olive Dip
- Frequently Asked Questions About Quick Appetizer Dips
- Understanding the Nutrition in This Savory Dip Recipe
- Share Your Experience Making This Olive Dip
Why This Creamy Olive Dip is Your New Go-To Party Food Spread
If you’ve ever panicked realizing you have nothing substantial for unexpected guests, listen up! This olive dip recipe is a lifesaver. It’s unbelievably fast—we’re talking ten minutes, start to serving—and since there’s no oven involved, you don’t even have to heat up the kitchen! It’s the definition of a simple party dip that looks like you spent way more effort than you actually did. The blend of sharp, briny olives with a rich, cool base makes it instantly appealing on any platter.
Quick Appetizer Dips Ready in Minutes
Seriously, ten minutes is all you need. I made this last week when Mark called an hour before arriving. I was still grating the lemon zest when the food processor had already finished blending! Because it’s a no bake olive dip, you don’t waste time waiting for preheating or cooling down. It’s ready to go almost immediately, ticking all the boxes for last minute appetizer ideas we all desperately need.
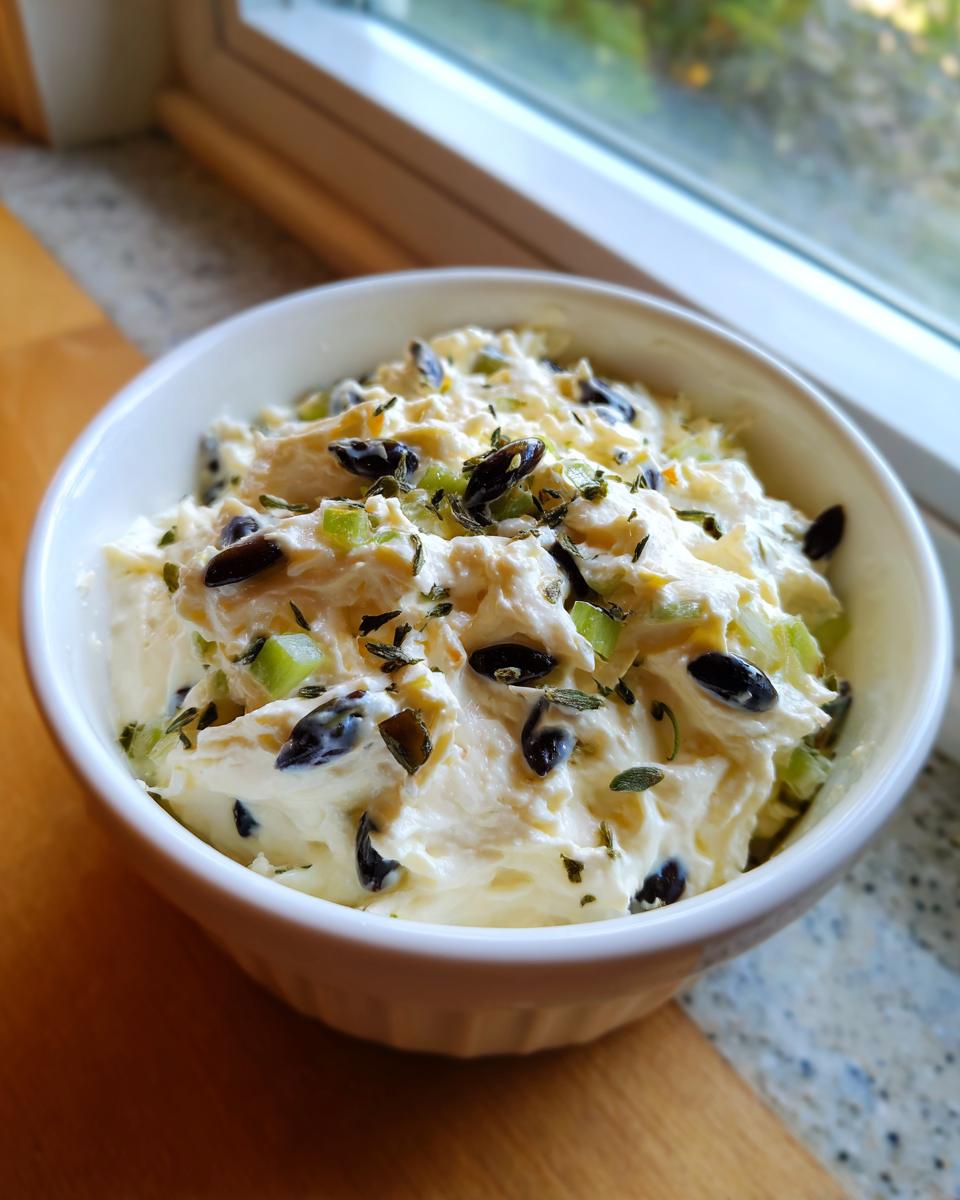
The Perfect No Bake Olive Dip Texture
The texture here is what sets it apart from a simple tapenade. I use softened cream cheese because it gives us that lush, thick base, and then I cut it slightly with Greek yogurt. That balance keeps it from being too heavy. It results in that dreamy, creamy olive dip consistency that clings perfectly to crackers without being runny. It’s luxurious, trust me!
Gathering Ingredients for Your 10-Minute Olive Dip
When the clock is ticking, you need ingredients you can quickly gather, and this recipe is fantastic because it relies mostly on pantry staples. We’re making this creamy olive dip with just seven main components—not counting the fresh parsley garnish, which technically makes it spring right into that crowd-pleasing ‘7 ingredient dip recipes’ category. I always keep good quality olives on hand just for this reason!
Here’s what you’ll need to pull together for this simple party dip:
- 8 ounces of cream cheese; make sure it’s softened up on the counter!
- About half a cup of Greek yogurt or sour cream, depending on how rich you like it.
- Your black olives and green olives—both pitted and nicely drained.
- Two cloves of garlic, ready to be minced up.
- A splash of fresh lemon juice to brighten everything up.
- Just a tiny bit of black pepper for a gentle kick.
That’s the whole list! Every part plays a role in achieving the best olive dip for crackers without any baking time required.
Simple Party Dips: Step-by-Step Instructions for Olive Dip
Alright, now that we’ve got our ingredients lined up, let’s put this olive dip together. Remember, the food processor is your best friend here, but you have to use it wisely! We want rough texture, not baby food, so don’t just walk away while it runs, okay? Patience in this short step makes all the difference for our savory dip recipes.
Creating the Creamy Base
First things first, get that softened cream cheese and whatever liquid base you chose—yogurt or sour cream—into the bowl of your machine. Pulse it a few times until it looks nice and smooth. This initial creaming step is essential because it makes sure the base of our best olive dip is light and evenly mixed before the olives even jump in. Scrape down the sides so nothing escapes that initial blend!
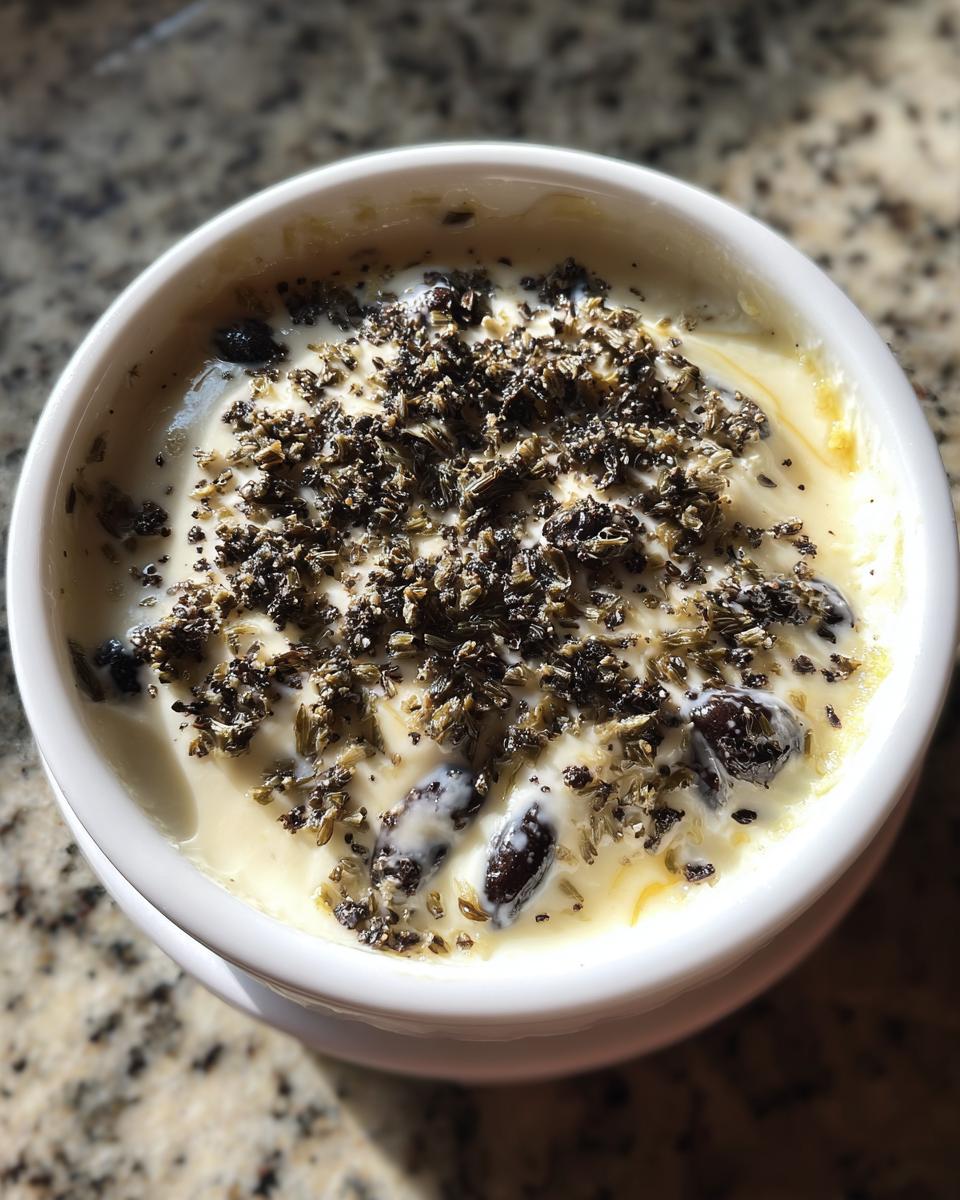
Adding Olives and Flavoring the Olive Dip
Now we toss in the olives, the garlic, the lemon juice, and just a dash of pepper. This is where you need to watch closely. You’re going to pulse this mixture, not blend it continuously. I pulse about four or five times, check it, and then maybe pulse a couple more times. You still want little bits of green and black olive visible! If you over-process, it turns into a uniform spread, and that’s just not what we want for this cold veggie dip option, right? Just until the olives are chopped finely—that’s the magic!
Tips for the Best Olive Dip for Crackers
Even though this is a super speedy recipe, Daisy always left little notes on her cards about ‘tweaking’ things just right. It’s all about making this savory dip recipe work for *your* party, not the other way around! These little tricks helped me perfect this specific olive dip over the years and ensure it’s always the star of the show when I’m pulling together last minute appetizer ideas.
Ingredient Swaps for Texture Control
You might have noticed I listed both Greek yogurt and sour cream as options for the liquid base. This isn’t just filler—it seriously affects the final texture! If you’re planning on serving this right away, or if you just love a really rich, dense mouthfeel that sticks perfectly to every single cracker, go ahead and use the sour cream. But if you prefer a slightly lighter, tangier version that feels more like an appetizer spread, use the Greek yogurt. My note says if you want it even thicker—like almost scoopable—just stick to only the yogurt. Don’t skip this step if you want the absolute best olive dip consistency for dipping!
Making This Olive Dip Without a Food Processor
Now, what if you’re making this amazing olive dip but your food processor decided to take an unexpected vacation? Don’t panic! Daisy never had a fancy machine, remember? You absolutely can make this by hand. You’ll want to finely mince those garlic cloves first, then chop your black and green olives really small with a sharp knife. It takes a little longer, maybe closer to 15 minutes total, but when you mix everything really well in a sturdy bowl with a whisk or a strong spoon, you get great results. It tends to give you slightly bigger, chunkier olive pieces, which some people actually prefer for this cold veggie dip option!
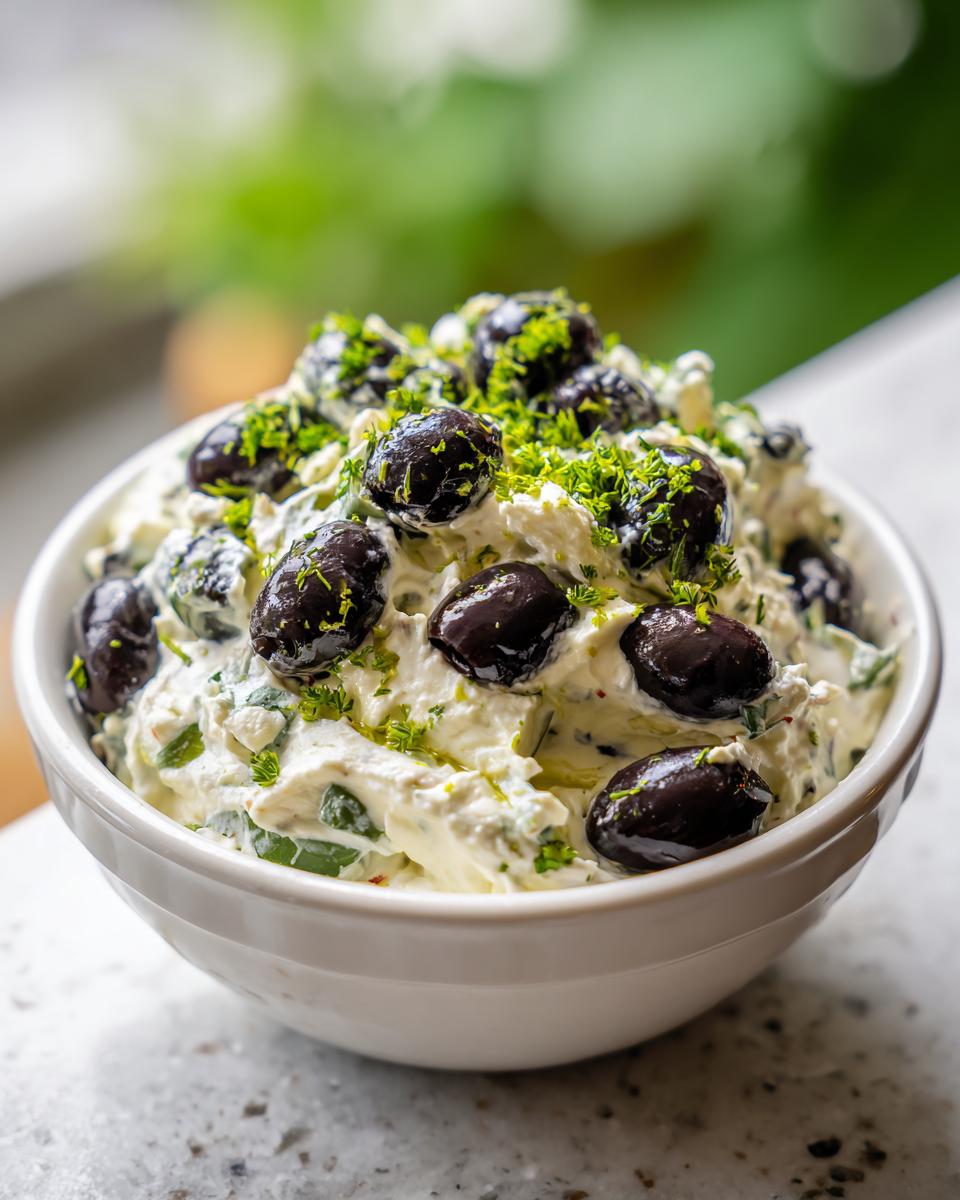
Serving Suggestions for This Mediterranean Appetizer Spread
I think the real test of a great olive dip is what you can scoop it up with! Since this is a cold veggie dip option, it loves fresh crunch. Plain, sturdy crackers are my absolute favorite—something without too much seasoning so the briney olive flavor really shines through. We also love tearing off chunks of crusty baguette or pita bread when we have it handy.
If you’re making a platter for a party, pile on the fresh veggies! Carrot sticks, celery, cucumber slices, and bell pepper strips are perfect vehicles for this savory dip. It truly pulls together any Mediterranean appetizer spread beautifully, and since it’s ready so fast, you can have everything assembled right before everyone arrives. It’s quick, it’s colorful, and everyone always reaches for it first!
Storage and Enjoying Leftover Olive Dip
I rarely have leftovers of this delicious quick appetizer dip, honestly, but if you manage to save any of this amazing olive dip, storage is super easy! Since it’s a no bake creation, you just need an airtight container. Keep it in the fridge for up to four days. When you pull it out later to serve again, it’ll be firm because that cream cheese gets stiff when cold. Give it about 20 minutes on the counter to soften up or give it five quick pulses in the food processor to bring that creamy texture right back. Trust me, leftover olive dip is still fantastic the next day!
Frequently Asked Questions About Quick Appetizer Dips
Can I use only black olives or only green olives in this dip?
Absolutely! While I love the complexity that comes from using both black and green olives in this olive dip, feel free to use just one type. If you use only black olives, the dip will be deeper and earthier. If you stick to green olives, the dip will have more of that tangy, salty brightness. Just remember to keep your total amount of olives the same as listed in the recipe so the cream cheese base isn’t too loose!
How long does this olive dip last in the refrigerator?
Because this is a very simple party dip made with dairy products, freshness is key. It lasts wonderfully for about three to four days when stored in a tightly sealed container in the fridge. That’s great if you planned ahead, but remember that it needs that little bit of time—maybe 20 minutes—to come back to a nice creamy olive dip texture before serving again.
Can I make this ahead of time for a party?
You definitely can make this ahead! It’s one of the best features of this no bake olive dip. Try to make it no more than a day in advance. While it holds up fine longer, the garlic and lemon flavors really meld optimally within 24 hours. For the absolute freshest taste, I usually mix it up the morning of the event. It’s certainly a fantastic option for streamlining your day when you need impressive party food spreads!
Would this work as a tapenade substitute recipe?
That’s a good question! A true tapenade is usually un-creamed and relies only on olives, capers, and oil—it’s much more intensely flavored. This recipe is definitely a creamy olive dip interpretation or a “Mediterranean appetizer spread,” but definitely *not* the same thing. If you served this alongside a true tapenade, people would notice the difference! This version is much milder and fluffier, making it much more universally appealing for crackers and vegetables.
What if I don’t want the dip to be quite so garlicky?
Daisy always said you can adjust the garlic to match the crowd. If you know your guests aren’t huge fans of raw garlic, try using just one clove instead of two, or even use half a teaspoon of garlic powder instead. You still get that savory dip flavor without the strong bite. Always start with less, especially when making quick appetizer dips, because you can always add more, but you can’t take it away once it’s pulsed in!
Understanding the Nutrition in This Savory Dip Recipe
I know some of you are tracking macros or watching your sodium intake, and since this is a quick appetizer dip made with cheese and olives, it’s good to have a general idea of what you’re serving. Now, please remember that since this recipe is so adaptable—you might use Greek yogurt one day and sour cream the next, or swap out the type of olives—these numbers are just trusty estimates based on the core ingredients I listed.
You won’t get this exact result if you start adding feta or anchovies, of course! But for the standard version, here’s a general snapshot of what you are looking at per serving (about 1/4 cup):
- Calories: Around 180
- Total Fat: About 16 grams (A good chunk of that is from the cream cheese and olives, naturally!)
- Protein: Roughly 6 grams
- Carbohydrates: Low at about 4 grams
- Sodium: This is one to watch, around 350mg, since olives are salty—that’s why I always tell people to drain them well!
It’s easy to keep things lighter, too. If you load up on veggie sticks instead of crackers, you’re keeping the overall carb count down while still getting a delicious taste of this Mediterranean appetizer spread. It’s all about balance in the kitchen, right?
Share Your Experience Making This Olive Dip
Now it’s your turn! I hope this incredibly quick olive dip becomes just as much of a staple in your home as it is in mine. Did you add a little feta like I thought about, or maybe some chopped sun-dried tomatoes? I’d absolutely love to hear how you customized this party food spread for your crew. Please leave a rating below, or better yet, share a picture!
If you need more inspiration for simple cooking after sharing your photos, check out my story! And if you enjoyed this recipe, you can see another great version of the olive dip online, too!
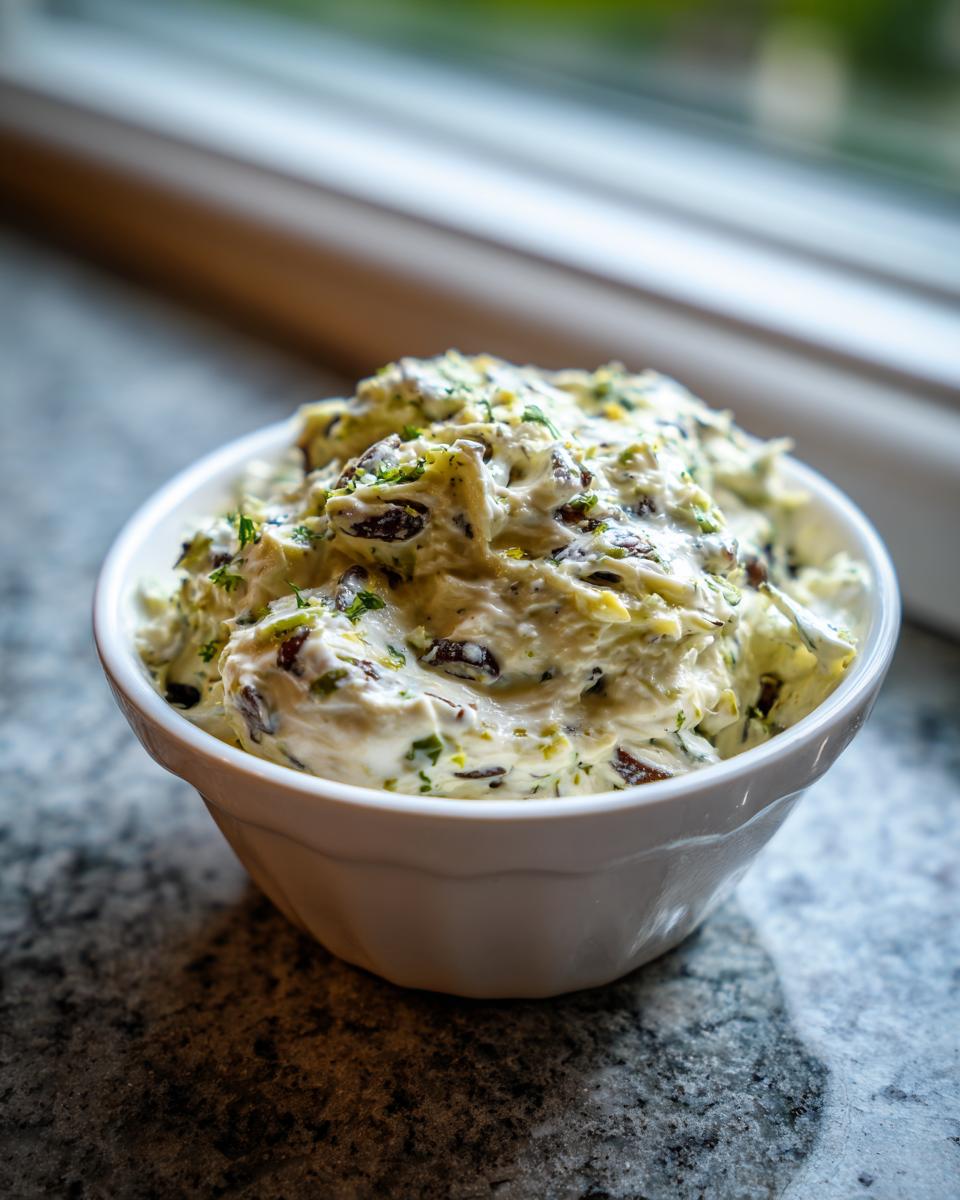
Print10-Minute Creamy Black and Green Olive Dip

Make this simple, cold olive dip in under ten minutes. It uses black and green olives for a tangy flavor, perfect as a last-minute appetizer for parties.
- Prep Time: 10 min
- Cook Time: 0 min
- Total Time: 10 min
- Yield: 4 servings 1x
- Category: Appetizer
- Method: No Bake
- Cuisine: Mediterranean
- Diet: Vegetarian
Ingredients
- 8 ounces cream cheese, softened
- 1/2 cup Greek yogurt or sour cream
- 1/2 cup pitted black olives, drained
- 1/2 cup pitted green olives, drained
- 2 cloves garlic, minced
- 1 tablespoon fresh lemon juice
- 1/4 teaspoon black pepper
- Optional: 1 tablespoon chopped fresh parsley for garnish
Instructions
- Place the softened cream cheese and Greek yogurt (or sour cream) into a food processor. Pulse until the mixture is smooth and creamy.
- Add the drained black olives, green olives, minced garlic, lemon juice, and black pepper to the food processor.
- Pulse the mixture several times until the olives are finely chopped but the dip still holds texture. Do not over-process into a smooth paste; you want small olive pieces remaining.
- Scrape down the sides of the bowl as needed. Taste and adjust seasoning if necessary.
- Transfer the creamy olive dip to a serving bowl. Garnish with fresh parsley, if using.
- Serve immediately with crackers, vegetable sticks, or crusty bread. This is a great cold veggie dip option.
Notes
- For a thicker dip, use only Greek yogurt or substitute sour cream for the yogurt.
- If you do not have a food processor, finely chop the olives by hand and mix all ingredients thoroughly in a bowl.
- This dip tastes best when served chilled, but it is ready to eat right away for last minute appetizer ideas.
Nutrition
- Serving Size: 1/4 cup
- Calories: 180
- Sugar: 2
- Sodium: 350
- Fat: 16
- Saturated Fat: 9
- Unsaturated Fat: 7
- Trans Fat: 0
- Carbohydrates: 4
- Fiber: 1
- Protein: 6
- Cholesterol: 35