
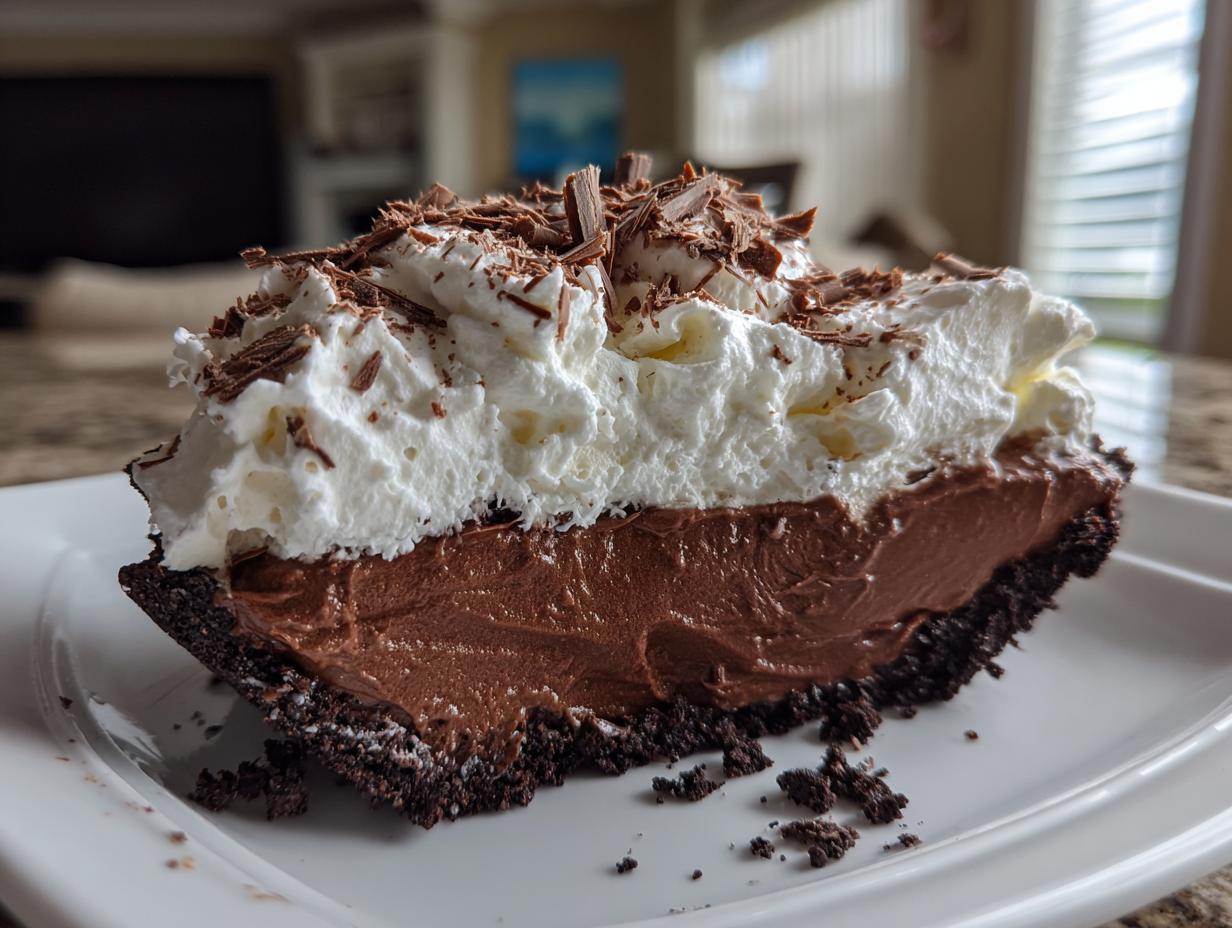
Oh, the holidays! Everyone’s running around like crazy trying to tie up loose ends, and the last thing we need is a dessert that demands our attention on Christmas Day. Trust me, I’ve been there. That’s why this Christmas chocolate cream pie is my secret weapon. It’s rich, it’s decadent, and the absolute best part? You make it completely ahead of time!
This recipe carries on my Grandma Daisy’s tradition of honest, simple cooking. She always believed holiday meals should be joyful, not stressful. This pie uses straightforward ingredients to create a truly stunning centerpiece. It’s deep, dark chocolate perfection that lets you breathe easy while everyone else is still wrestling with their oven timers.
- Why This Christmas Chocolate Cream Pie is Your Go-To Holiday Dessert
- Gathering Ingredients for Your Oreo Crust Chocolate Cream Pie
- Preparing the No-Fail Christmas Chocolate Cream Pie Filling
- Making Ahead Christmas Desserts: Chilling and Setting Your Christmas Chocolate Cream Pie
- Finishing Touches: Decorating Your Festive Christmas Dessert Ideas
- Serving Suggestions for Your Holiday Chocolate Pie Recipe
- Storage and Reheating Instructions for Leftover Christmas Chocolate Cream Pie
- Frequently Asked Questions About Making a Christmas Chocolate Cream Pie
- Estimated Nutritional Data for One Slice of Christmas Chocolate Cream Pie
- Share Your Festive Baking Moments
Why This Christmas Chocolate Cream Pie is Your Go-To Holiday Dessert
If you’re like me, you want that ‘wow’ factor without the midnight baking session. This pie delivers!
- Major Make-Ahead Perk: You can assemble the entire base and filling the day before. Seriously, set it and forget it until party time!
- No Oven Necessary: It’s a no-bake wonder, which means no fighting for oven space when you’re trying to roast the ham.
- Pure Chocolate Bliss: We’re using two types of pudding mix, so the flavor is layered and incredibly rich. It tastes heavenly, just like a fancy bakery pie.
Simple Steps for a Stunning Holiday Chocolate Pie Recipe
You don’t need to be a pastry chef for this either. The steps are so clear that you’ll look like a genius when you pull this out of the fridge. It truly is one of the simplest, most effective easy holiday pie recipes I’ve ever found for busy times of the year.
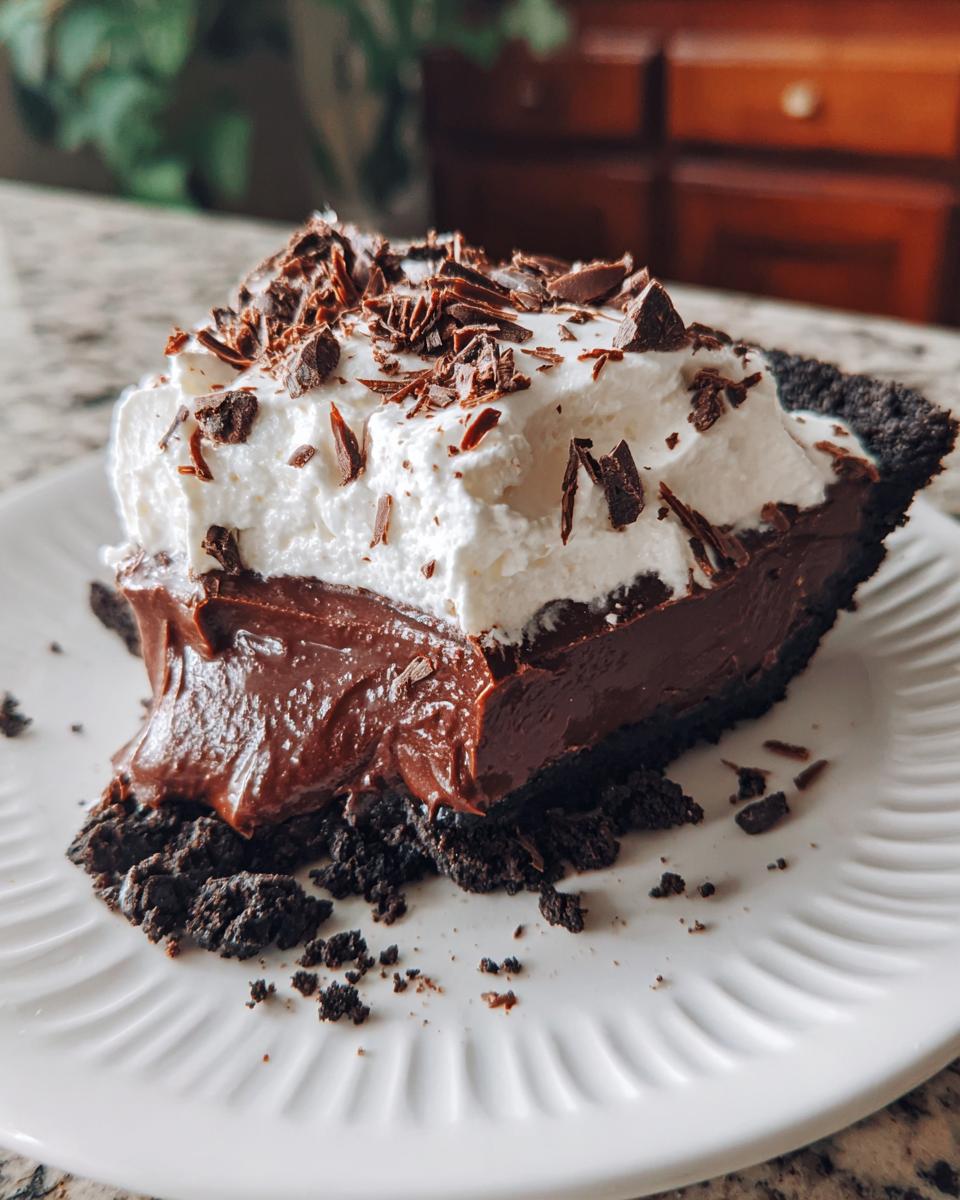
Gathering Ingredients for Your Oreo Crust Chocolate Cream Pie
Okay, let’s talk ingredients! This is where Grandma Daisy’s philosophy really shines—simple, quality stuff that does all the heavy lifting. When you look at this list, you’ll see we’re not messing around with crazy things; we’re just using what works best for a foolproof result. We need things for the crust and the filling, but since the filling uses boxed pudding mixes, it’s super quick to pull together. Remember, transparency is key; we want you to know exactly what you’re working with!
Here is what you need to grab from the pantry and fridge:
- 1 1/2 cups chocolate cookie crumbs (Oreo or similar—make sure they’re finely crushed!)
- 6 tablespoons unsalted butter, melted
- 1 package (3.4 oz) instant chocolate pudding mix
- 1 package (3.4 oz) instant vanilla or white chocolate pudding mix
- 3 cups cold milk (whole milk recommended, seriously!)
- 1 teaspoon vanilla extract
- 1 container (8 oz) frozen whipped topping, thawed (or homemade whipped cream)
- Chocolate shavings or holiday sprinkles for garnish
Ingredient Notes and Substitution Tips for Your Christmas Chocolate Cream Pie
Don’t stress if you’re missing one tiny thing! First off, that milk needs to be COLD. If it’s even slightly warm, those instant pudding mixes won’t set up right—and we absolutely cannot have a floppy pie, especially not for the holidays.
If you’re feeling extra fancy, you can skip the frozen whipped topping and make your own for the filling fold-in and the topping. The recipe notes mention that beating 1 1/2 cups of heavy cream with powdered sugar works perfectly. That homemade touch really makes this festive Christmas dessert idea feel polished, even though the base recipe is so easy. Just remember, if you make it homemade, make sure to fold it in very carefully so you don’t lose all that beautiful air!
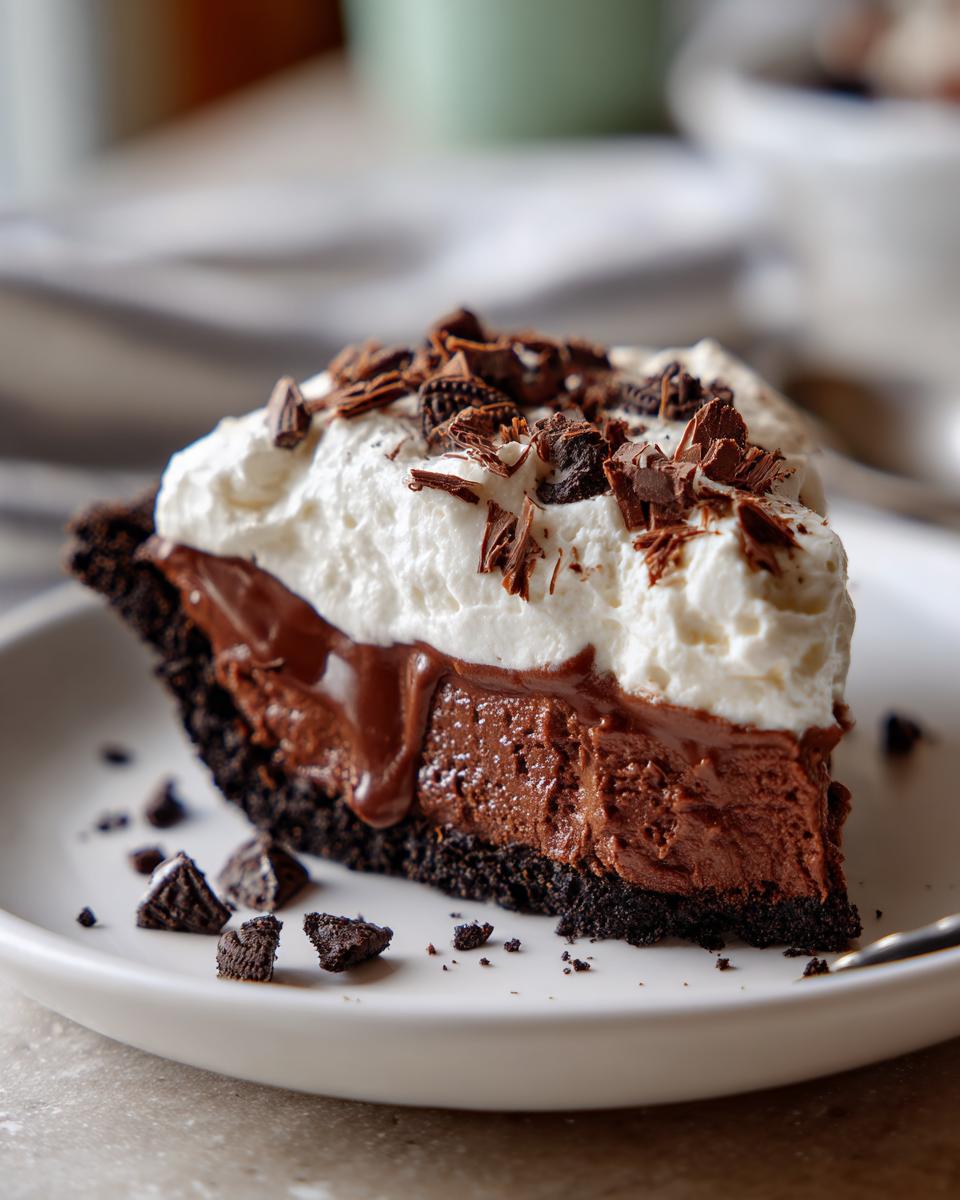
Preparing the No-Fail Christmas Chocolate Cream Pie Filling
Now we get to the fun part: mixing the filling itself! This is where we guarantee that “no fail chocolate cream pie” result. The absolute first thing you need to do is get those two different pudding mixes—the chocolate and the vanilla—in the bowl together before you add any milk. Trust me on this one! If you just dump the milk in, you risk getting streaks or clumps of unmixed powder, and we want silky smooth custard, not grainy lumps.
Whisk those dry mixes together until they look perfectly combined. Then, slowly pour in your three cups of ice-cold milk while you keep whisking steadily for about two full minutes. You’ll feel it start to grab and thicken right there. This is the magic of instant pudding, but don’t stop too soon! Once it’s thick, swirl in that teaspoon of vanilla extract for depth. You’re going to love how rich this looks before we even add the lightness.
Setting the Oreo Crust for the Holiday Chocolate Pie Recipe
While the pudding is starting to firm up, let’s make sure our crust is ready for its filling. Remember how we mixed those chocolate cookie crumbs with the melted butter? Now you need to press that mixture firmly into the bottom and right up the sides of your 9-inch pie plate. I use the bottom of a measuring cup to really pack it down—it needs to feel solid!
Crucially, you absolutely must chill that crust for at least 30 minutes. If you skip this, that buttery crumb mixture will just crumble when you try to scoop the filling in, and that’s how you ruin the presentation! A cold, sturdy base means no crumbling emergencies later.
Folding in the Whipped Cream for Lightness in Your Whipped Cream Chocolate Pie
Once the filling has started to thicken (after whisking in the milk), it’s time to lighten it up. Take half of your thawed whipped topping and drop it onto the thick chocolate. Now, you need to be gentle here—this is called folding! Use a big rubber spatula and cut down through the center, sweeping up the side of the bowl as you turn the mixture over. We are incorporating air, not beating the life out of it!
Overmixing at this stage deflates those tiny air bubbles we just created, and that makes your perfect whipped cream chocolate pie turn dense and heavy. Just mix until you no longer see white streaks. It should look light brown and beautifully fluffy.
Making Ahead Christmas Desserts: Chilling and Setting Your Christmas Chocolate Cream Pie
Okay, here is where we completely win the holiday cooking game! This pie truly shines when you treat it as a make ahead Christmas dessert. Remember how we gently folded in that whipped topping? Now it needs time to firm up so it holds its shape when guests admire it.
You must give this pie at least four solid hours in the refrigerator, but honestly, chilling it overnight is my strong recommendation—it makes the filling perfectly dense and sliceable. I always feel so much better knowing this step is done before the final Christmas rush begins.
When you cover it, use plastic wrap, but don’t seal it tight against the top. Lay it loosely over the surface so it doesn’t stick to the filling. This prevents that sad, rubbery ‘skin’ from forming. When you wake up on Christmas morning, all you have left to do is the fun part!
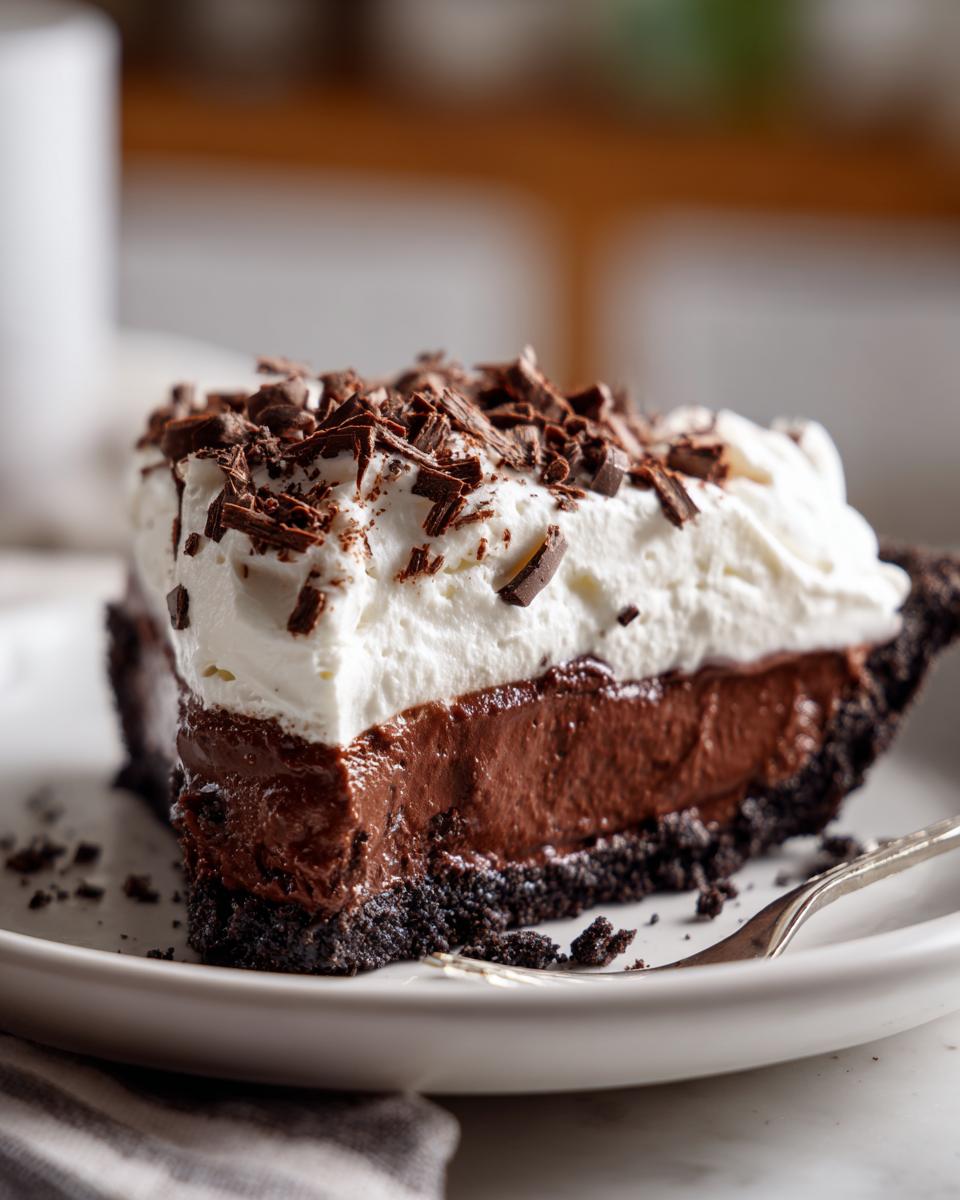
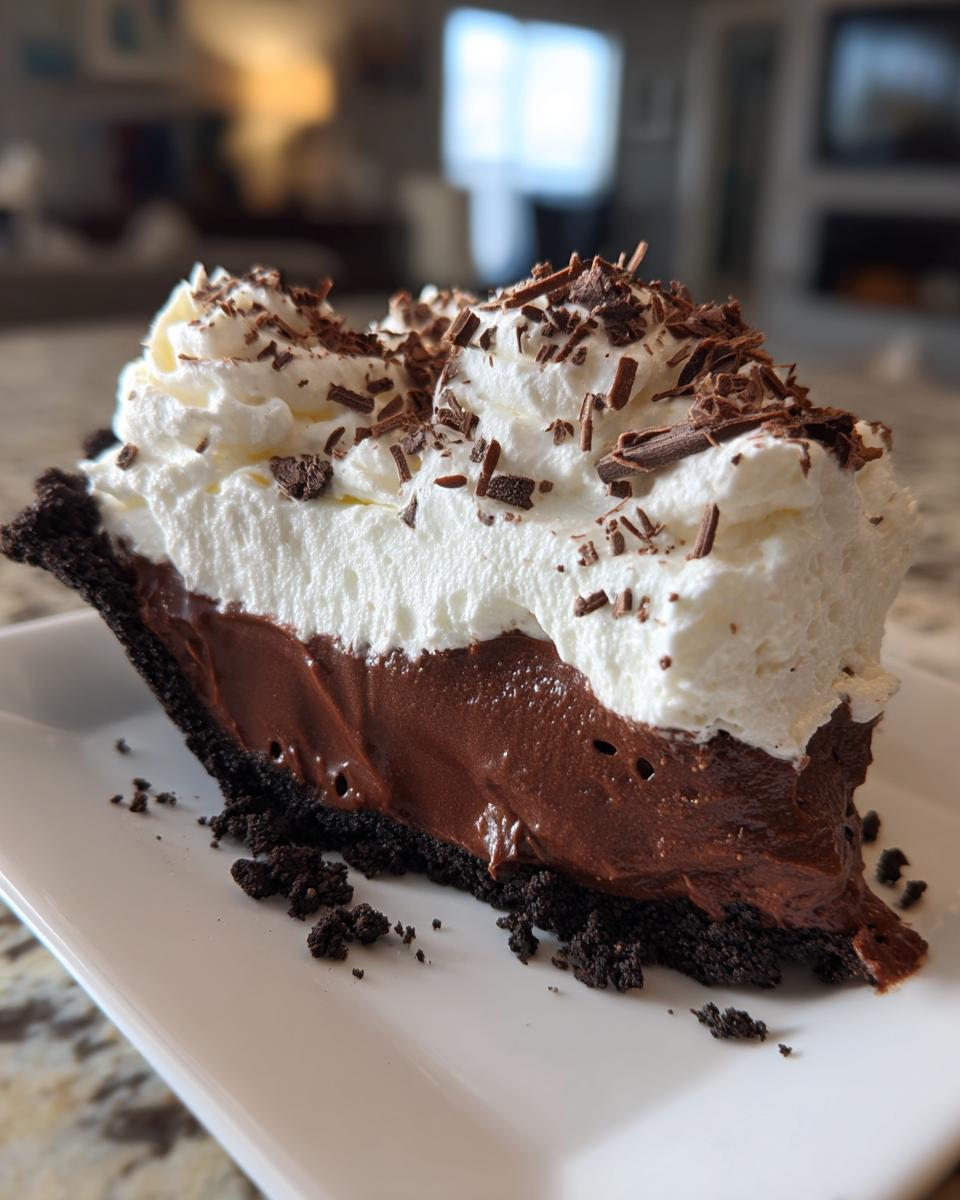
Finishing Touches: Decorating Your Festive Christmas Dessert Ideas
The pie is set! It’s chilled perfectly, smells incredible, and now we get to make it look like the star of your table. Remember, that final layer of whipped topping or homemade cream needs to go on right before you serve it. If you put it on too early, it starts releasing moisture and just looks sad by the time everyone gathers.
This is where you can really lean into the festive Christmas dessert ideas vibe. I love taking those red and green nonpareils—you know, the tiny little candy balls—and scattering them over the top. You could also use beautiful chocolate shavings if you made those yourself. A little bit of crunch and color on that smooth, dark chocolate canvas just ties the whole holiday presentation together. It’s simple, but everyone will think you fussed over it for hours!
Serving Suggestions for Your Holiday Chocolate Pie Recipe
This pie is so incredibly rich! Because it’s so decadent—hello, Oreo crust and double pudding—you don’t want to weigh guests down with heavy sides. I find it pairs beautifully with something light and perhaps a touch acidic just to cut through all that chocolate goodness.
My favorite way to serve this holiday chocolate pie recipe is alongside a simple bowl of fresh raspberries or maybe some sliced, slightly tart green apples. And you absolutely must offer a nice hot cup of coffee. The warmth of the coffee against that cold, creamy chocolate filling? Perfection. Honestly, sometimes the best complement is just a plain glass of cold milk, just like when we were little!
Storage and Reheating Instructions for Leftover Christmas Chocolate Cream Pie
Alright, let’s talk about what happens when, miraculously, you have some of this delicious pie left over! Since we used instant pudding and whipped topping, refrigeration is non-negotiable. Seriously, don’t even think about leaving it on the counter—that rich chocolate filling needs to stay cold!
It keeps really well for about three to four days in the fridge if you cover it tightly. I usually use plastic wrap right down over the top *after* I’ve served the initial layer of fresh whipped cream. If you are saving leftovers for more than a day, you might want to scoop off the old topping and add a fresh dollop before serving again.
And if you’re wondering about reheating? Nope! Don’t do it. Heat makes cream pie filling go runny, and nobody wants soup in a pie crust. The best way to enjoy leftovers is by pulling it out of the fridge about 15 minutes before you want a slice, just to take the chill off the chocolate a little bit.
Frequently Asked Questions About Making a Christmas Chocolate Cream Pie
I get so many questions when folks try this pie for the first time, especially around the holidays when everyone is juggling a hundred recipes. Honestly, most issues come down to just a couple of tiny steps, but don’t sweat it! We are making this Christmas chocolate cream pie foolproof, but I can answer those nagging worries right now.
Can I use a homemade chocolate crust instead of the Oreo crust chocolate cream pie base?
Oh, absolutely you can! If you have a favorite graham cracker or chocolate wafer recipe you adore, go for it. But here’s the small catch: my recipe relies on the simple butter-crumb mix because we aren’t baking anything. If you go homemade and bake it, you need to make sure it cools completely before you put the filling in. Chilling the crumb crust is key for stability, but a baked crust will always have a slightly different, crunchier texture than this no-bake base. Keep it simple for the holidays!
What is the longest I can make this ahead of time?
The absolute sweet spot for this make ahead Christmas dessert is overnight chilling. That lets the pudding firm up beautifully without compromising the crust integrity. Can you push it? Sure. If you make it the day before your party, it’ll probably still be delicious, but pushing past 24 hours starts to risk the crust getting a little soggy from that creamy filling. For the best slices, aim for a 12-to-18-hour window!
Why did my chocolate cream pie filling not set properly?
This is the most common concern with any no fail chocolate cream pie attempt! Usually, it comes down to temperature or time. Did you use milk that wasn’t completely cold? Cold milk activates the instant pudding thickener faster and better. You also need to whisk that milk mixture for the full two minutes, even if it looks thick already. And finally, if you folded in overly warm whipped topping—meaning it wasn’t fully thawed or it warmed up while you were folding—that warmth can prevent the pudding from seizing up tight. Be patient and keep everything cold!
Estimated Nutritional Data for One Slice of Christmas Chocolate Cream Pie
You know I always believe in being upfront about what goes into your body, even when we’re talking about a ridiculously delicious dessert like this Christmas chocolate cream pie. Since this recipe is adapted from my Grandma Daisy’s memories and uses shelf-stable pudding mixes alongside butter and cookies, these numbers give you a solid estimate, but they aren’t laboratory certified, of course!
I always recommend treating nutritional information as a general guide, especially since the exact brand of cookies or the amount of milk you use can change things slightly. But for a standard single slice of this rich, wonderful treat:
- Serving Size: 1 slice
- Calories: 380
- Sugar: 35g
- Sodium: 350mg
- Fat: 22g
- Saturated Fat: 12g
- Unsaturated Fat: 10g
- Trans Fat: 0g
- Carbohydrates: 45g
- Fiber: 2g
- Protein: 5g
- Cholesterol: 30mg
There you have it! A breakdown of our decadent holiday dream. It’s a dessert meant for enjoyment, not strict counting, but it’s good to know what’s in that incredible Oreo crust and creamy filling. Enjoy every single bite!
Share Your Festive Baking Moments
And that’s it! We’ve done it! We’ve created a show-stopping, stress-busting Christmas chocolate cream pie that is ready to chill while you focus on the rest of your holiday chaos. I truly hope this recipe becomes a simple, cherished tradition at your table just like it is at mine.
But I really, really want to see your results! Did you use those red and green sprinkles I suggested, or did you go ultra-fancy with chocolate curls? Don’t be shy! Please hop down into the comments right below and leave your star rating—five stars for Daisy’s legacy, wink!—and tell me how it went.
Sharing our baking wins makes the whole process sweeter. If you snapped a picture of your beautiful, perfectly set pie, tag me on social media! Seeing my recipes come to life in your homes is what makes all this work worthwhile. Happy holidays, friends, and please enjoy every creamy, chocolatey slice!
PrintMake-Ahead Christmas Chocolate Cream Pie

A rich, no-fail chocolate cream pie with an Oreo crust, perfect for making ahead of your holiday gathering.
- Prep Time: 20 min
- Cook Time: 0 min
- Total Time: 4 hr 20 min
- Yield: 8 servings 1x
- Category: Dessert
- Method: No Bake
- Cuisine: American
- Diet: Vegetarian
Ingredients
- 1 1/2 cups chocolate cookie crumbs (Oreo or similar)
- 6 tablespoons unsalted butter, melted
- 1 package (3.4 oz) instant chocolate pudding mix
- 1 package (3.4 oz) instant vanilla or white chocolate pudding mix
- 3 cups cold milk (whole milk recommended)
- 1 teaspoon vanilla extract
- 1 container (8 oz) frozen whipped topping, thawed (or homemade whipped cream)
- Chocolate shavings or holiday sprinkles for garnish
Instructions
- Prepare the crust: Mix the chocolate cookie crumbs and melted butter until combined. Press the mixture firmly into the bottom and up the sides of a 9-inch pie plate. Chill the crust for at least 30 minutes.
- Make the chocolate filling: In a large bowl, whisk together the chocolate pudding mix and vanilla pudding mix. Gradually whisk in the cold milk until smooth.
- Continue whisking for 2 minutes until the mixture begins to thicken. Stir in the vanilla extract.
- Gently fold half of the thawed whipped topping into the pudding mixture until just combined.
- Pour the chocolate filling into the chilled crust. Cover the pie loosely with plastic wrap and refrigerate for at least 4 hours, or preferably overnight, until the filling is completely set.
- Before serving, top the pie with the remaining whipped topping. Decorate with chocolate shavings or holiday sprinkles.
Notes
- You can prepare the crust and filling one day in advance. Keep the pie covered in the refrigerator. Add the whipped topping topping just before serving.
- For a festive look, use red and green holiday sprinkles on top of the whipped cream.
- If you prefer a homemade whipped cream topping, beat 1 1/2 cups heavy cream with 1/4 cup powdered sugar and 1/2 teaspoon vanilla until stiff peaks form.
Nutrition
- Serving Size: 1 slice
- Calories: 380
- Sugar: 35
- Sodium: 350
- Fat: 22
- Saturated Fat: 12
- Unsaturated Fat: 10
- Trans Fat: 0
- Carbohydrates: 45
- Fiber: 2
- Protein: 5
- Cholesterol: 30