
Oh, there’s just something about that crisp snap of a fresh apple hitting rich, chewy caramel, isn’t there? It instantly takes me back to my Grandma Daisy’s kitchen. Life got busy when I became Amelia, moving to the city and forgetting how to truly sit down and savor a simple, sweet moment. I felt disconnected until I started recreating her honest, straightforward cooking from scratch. That’s why I’m sharing this very special, totally foolproof recipe for caramel apple treats. Forget that store-bought stuff that slides right off—this caramel simply refuses to budge. Trust me, this method is how you get the magic right every single time, bringing that warmth of Grandma Daisy’s table right into your own home when you read about our story.
- Why This is the Best Homemade Caramel Apples Recipe
- Ingredients for Your Foolproof Caramel Apple Recipe
- Easy Caramel Apple Tutorial: Step-by-Step Instructions
- Tips for Success with Your Caramel Apple Dipping
- Autumn Sweet Treats: Variations and Additions
- Storage and Serving Suggestions for Caramel Apple Treats
- Frequently Asked Questions About Caramel Apples
- Estimated Nutritional Data for Your Caramel Apple
- Share Your Autumn Sweet Treats Success
Why This is the Best Homemade Caramel Apples Recipe
I’ve made enough batches to know what works and what results in a sticky mess on the counter! This recipe is my absolute go-to because it solves all those frustrating issues you run into when making caramel apple treats at home. We aren’t messing around with thin sauces here; we are aiming for gourmet results with simple steps.
Achieving the Perfect Chewy Caramel Apple
The best part about this sauce? It sets up perfectly—chewy, rich, and thick. You won’t end up with a runny disaster dripping everywhere. The absolute key here is accuracy. You must trust your candy thermometer when we hit that firm ball stage. That temperature measurement is our little secret weapon for perfect caramel texture every time!
The Secret to Making Caramel Apples Stick
We all know the heartbreak of a caramel coat that decides to abandon ship halfway through dipping! To make sure your beautiful caramel adheres like glue, you have to prep the apple first. A quick wipe down with a paper towel dipped in white vinegar removes any wax or residue left on the skin. Trust me on this one; it’s the simplest trick and it guarantees your caramel apple dipping goes off without a hitch.
Ingredients for Your Foolproof Caramel Apple Recipe
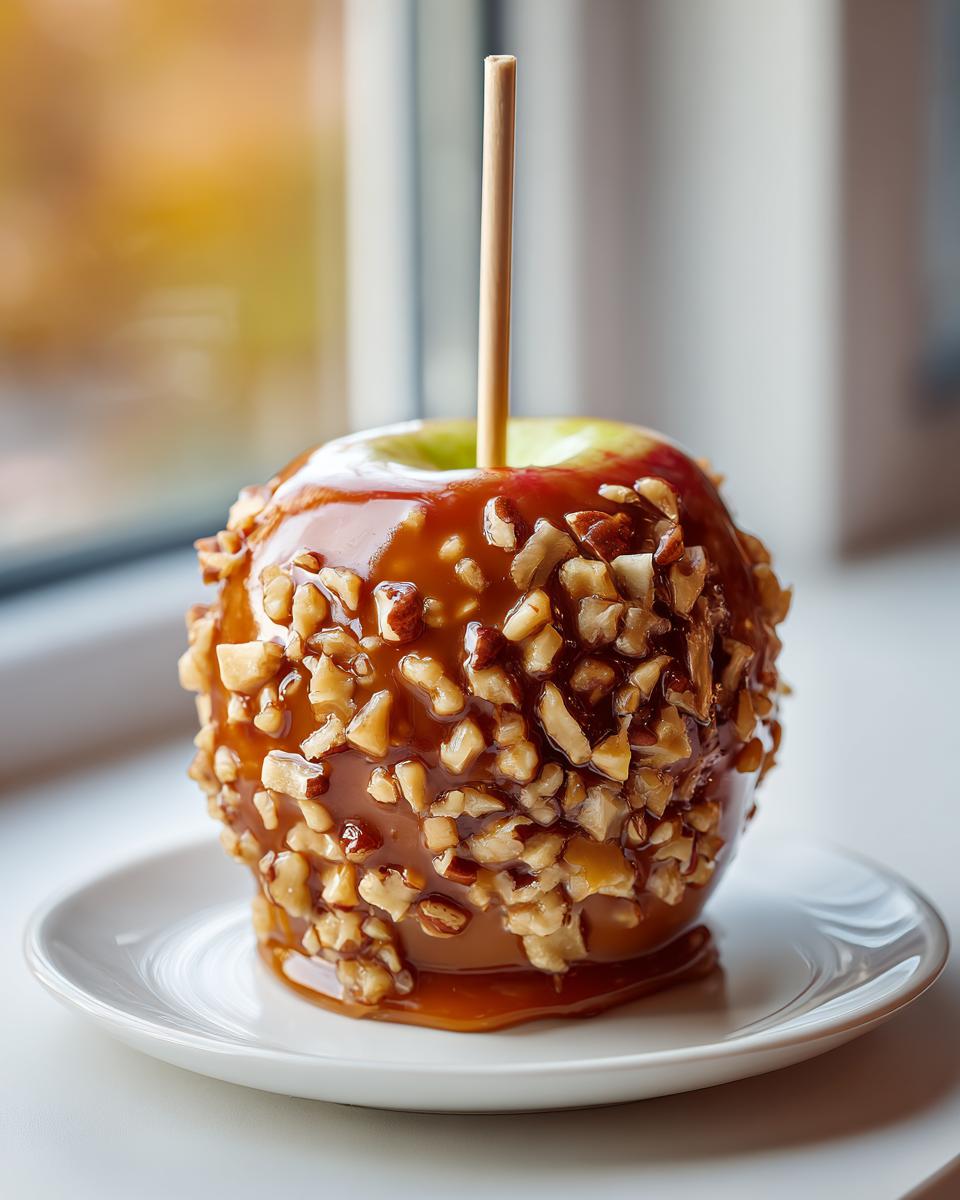
Okay, let’s get down to business. You need good ingredients for a phenomenal **caramel apple**! The apples are key here—I always grab Granny Smith because that tartness cuts through the richness of the caramel perfectly. But honey, if you love a sweeter crunch, Honeycrisp works great too. Having everything measured out before we start cooking is the real key to keeping things moving smoothly!
Essential Components for Gourmet Caramel Apples
You’ll need 12 apples, skewered up and ready to go. For the sauce itself, grab 1 cup of butter (two sticks!), 2 cups of light brown sugar, 1 cup of light corn syrup, and one whole 14-ounce can of sweetened condensed milk. Don’t forget the half teaspoon of salt and the vanilla extract at the very end. And listen, because this is crucial for success: make sure you have that candy thermometer ready for accuracy. That’s how we guarantee that perfect texture!
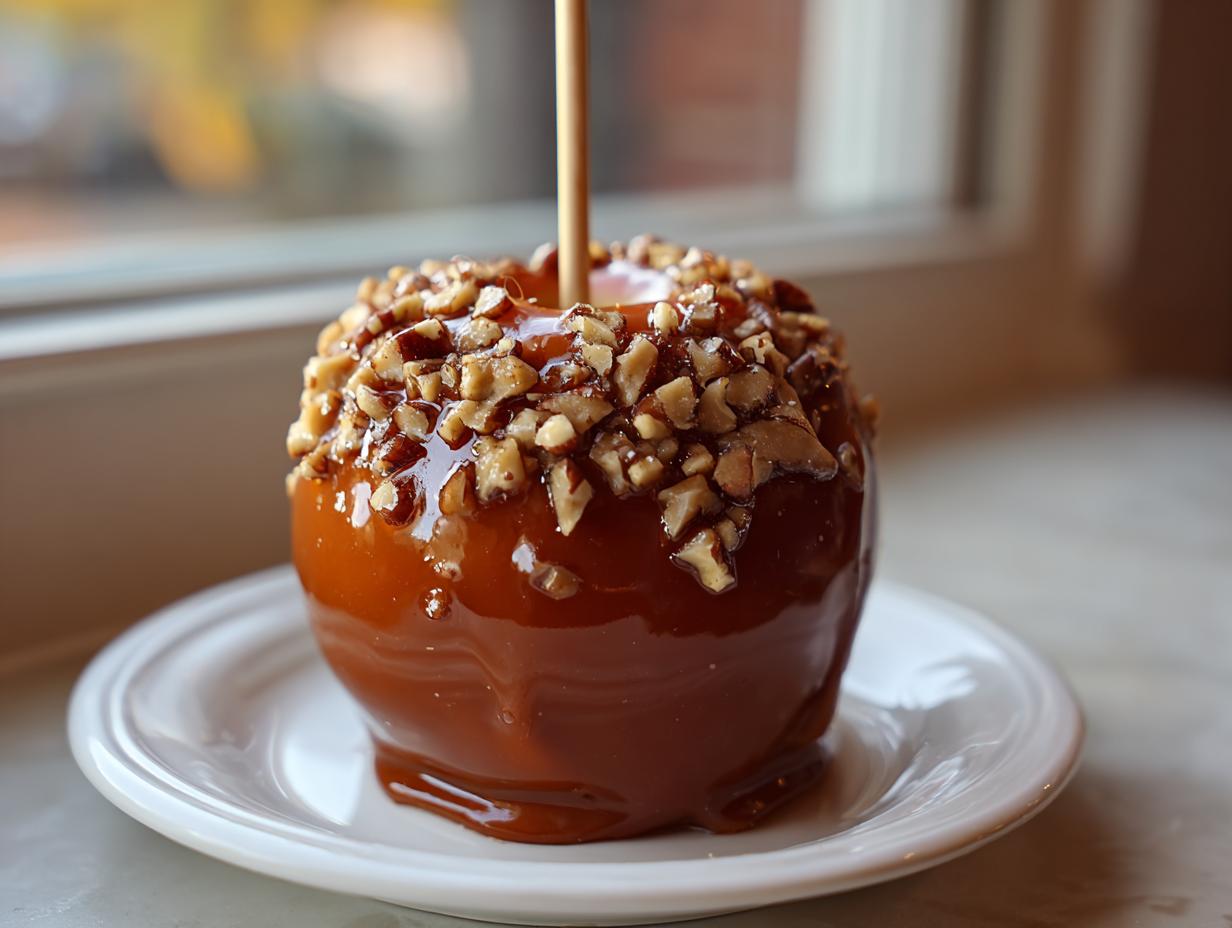
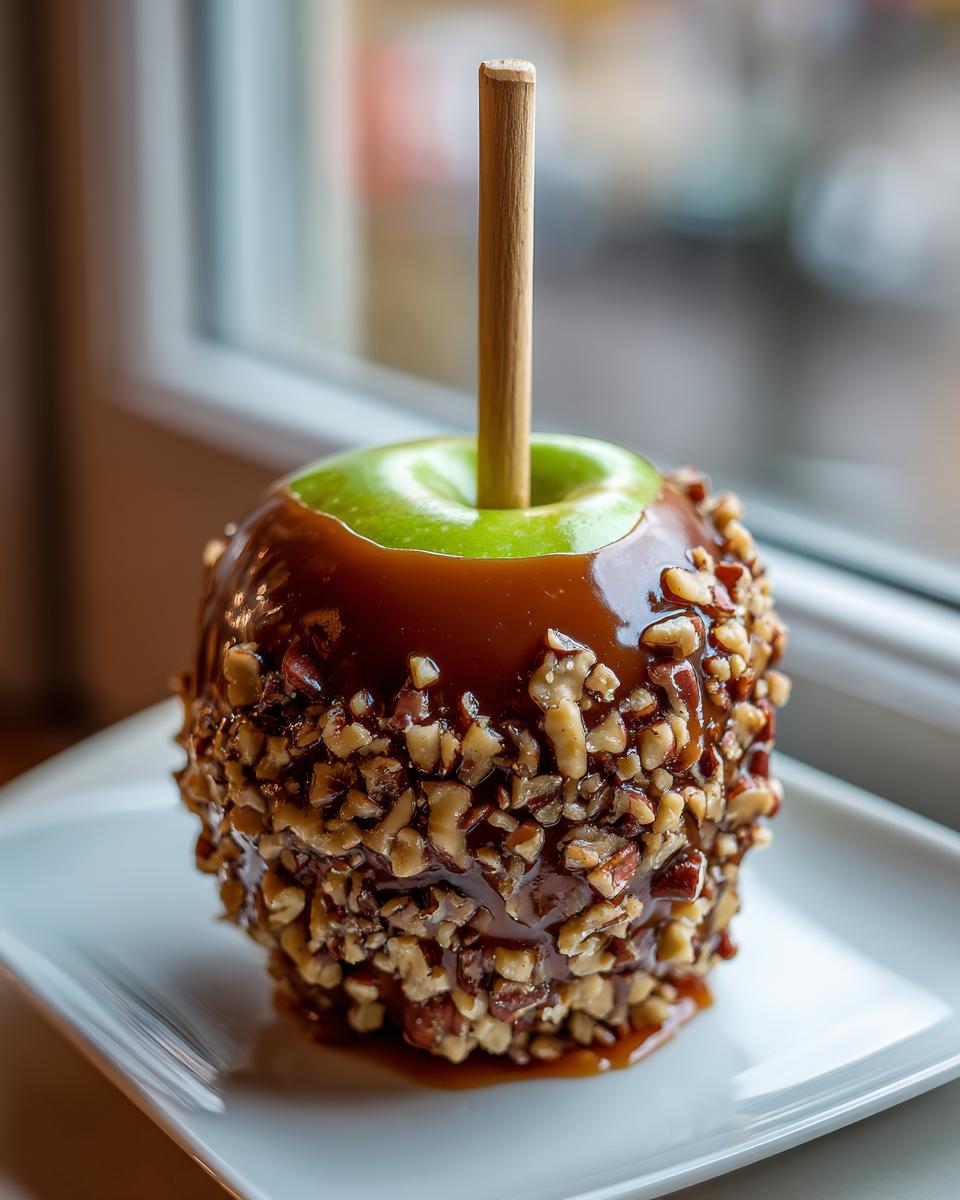
Caramel Apple Toppings Ideas
Once the caramel is set, that’s when the fun begins! You can leave them plain for a classic look, or you can get creative. I love rolling mine in crunchy stuff like chopped nuts or mini chocolate chips. Sprinkles work great too if you’re making these for the kids or for a party. It’s easy customization right there!
Easy Caramel Apple Tutorial: Step-by-Step Instructions
Alright, this is where we finally bring it all together! Making beautiful **caramel apple** treats doesn’t have to be scary, you just have to follow the rhythm. I’ve laid out the process exactly as I do it in my kitchen to make sure we get that beautiful, gooey coat that holds steady. Remember, Grandma always said patience during the process is what gives food its soul! If you’re looking for more inspiration on classic Fall treats, check out this great guide on caramel apples.
Preparation: Getting Apples Ready for Dipping
First things first, we have to properly prep the surface. Gather your 12 crisp apples. You need to wash them really well, and I mean *really* well, followed by drying them completely—no lingering water droplets allowed! Pop out the stems and firmly push your wooden skewers right into the top of each one. Now, here’s that secret handshake I told you about: take a paper towel, dip it in white vinegar, and wipe down the skin of every single apple. Trust me, this little step is non-negotiable for maximum adhesion.
Making the Best Caramel Apple Dipping Sauce
Time to build that sauce! In a heavy saucepan, melt your butter, brown sugar, and corn syrup over medium heat, stirring until the sugar dissolves. Once it’s all happy and melted, stop stirring. Let that mixture come to a full boil and let it roll gently for exactly five minutes—no more, no less! After those five minutes, lower the heat to low and whisk in that condensed milk. Keep stirring constantly until your candy thermometer screams “245 degrees Fahrenheit!” That’s firm ball stage; don’t rush the thermometer!
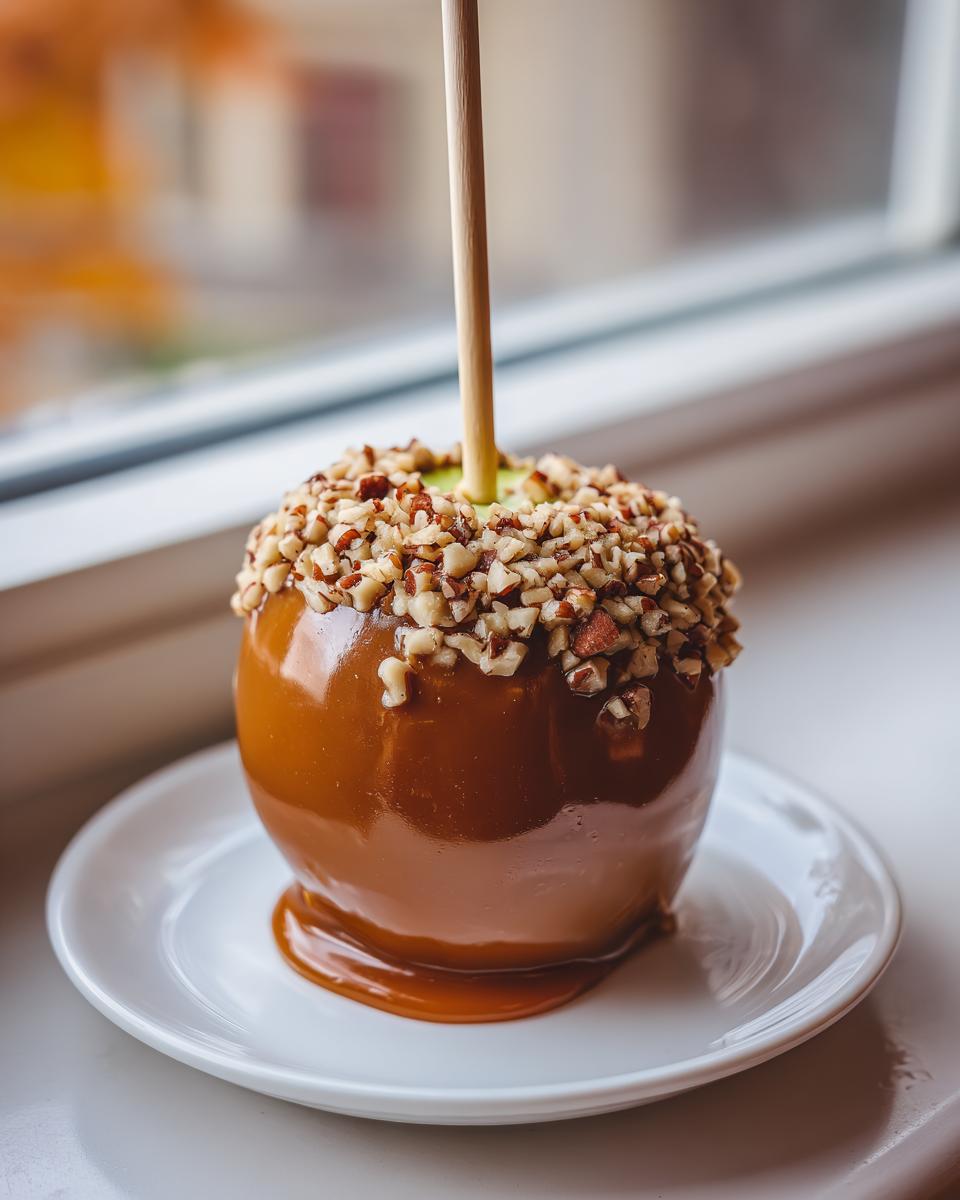
Dipping and Finishing Your Caramel Apple
Once it hits 245°F, take the whole pan off the heat immediately. Stir in the vanilla and salt. Now, you need to wait about five to ten minutes for it to cool down just a touch so it doesn’t run right off the apples. Dip an apple in, tilt the pan a little to coat the sides, and let the extra drip back in. If you’re using nuts or sprinkles, now is the moment to roll it! Set your finished **caramel apple** on the parchment paper. We let these cool completely on the counter—no fridge needed—for about one or two hours until they are firm enough to handle. If you have any questions while you’re working, feel free to reach out to me!
Tips for Success with Your Caramel Apple Dipping
So, you’ve got the apples prepped, the caramel cooked perfectly—but sometimes things shift while you’re in the dipping zone, right? Don’t panic! Even making caramel apple batches for parties, I hit snags occasionally. The beauty here is knowing how to adjust the caramel in that warm pot without ruining the whole batch. We want that perfect gooey consistency throughout.
Troubleshooting Common Issues
If you notice the caramel starting to get too stiff while you’re still going strong on your dipping, don’t throw it out! Just take the pan off the heat and set it on a very low burner for just a minute or two, stirring gently until it loosens up enough to coat the apple again. The biggest mistake people make is letting it boil again after you’ve added the condensed milk. Absolutely not! Re-boiling it will make your beautiful caramel seize up or turn hard and brittle instead of chewy. We just want slow, gentle warming to keep things flowing smoothly for all your delicious **caramel apple** treats.
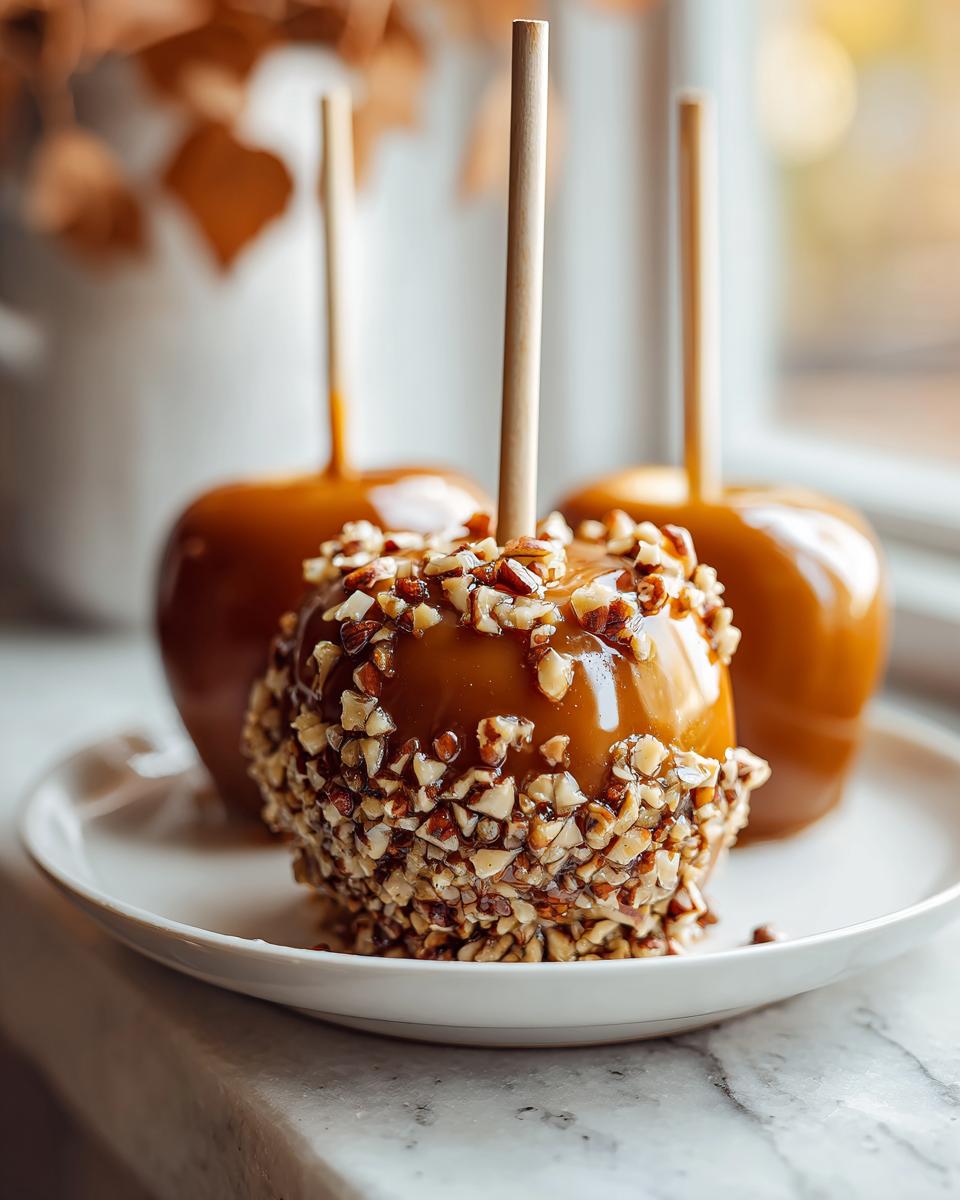
Autumn Sweet Treats: Variations and Additions
Once those caramel coatings are nice and firm, you have a perfect base layer for getting extra fancy! This is where we move from simple and classic to full-on gourmet goodness. I love how easy it is to customize these treats for holidays or just because you feel like something extra decadent. Think festive sprinkles, spicy pecans, or dipping them for a beautiful two-tone effect.
Drizzling with Chocolate
If I’m making these for a cozy evening treat, I always add a chocolate layer on top of the set caramel. It’s so satisfying! You just need a small dish of good quality semi-sweet chocolate chips melted down until it’s super smooth. Wait until your caramel layer is completely firm to the touch. Then, using a fork or a small spoon, drizzle that melted chocolate artfully all over the top. Check out this amazing guide for the ultimate chocolate caramel apples—it gives you all the ideas!
Storage and Serving Suggestions for Caramel Apple Treats
Once your beautiful **caramel apple** treats have set up and are looking perfect, you might wonder how long they stick around. Honestly, they are best eaten the day you make them when the apple is at its peak crunch! But if you have extras, place them in an airtight container. I tell people to leave them at cool room temperature for up to two days max. If your house is super warm, the fridge is okay, but the chilling can make the apple a little less crisp. Make sure they aren’t touching each other, or they’ll get stuck!
Frequently Asked Questions About Caramel Apples
I totally get it—sometimes the basic instructions aren’t quite enough when you’re diving into a project. Making treats like these for the holidays or fall parties always brings up a few questions, so I wanted to wrap up with the common ones I hear all the time. Don’t worry if you feel like you need an expert breakdown; cooking candy is chemistry, and it’s okay to ask!
What is the difference between candy apples and caramel apples?
This is a super common question! Candy apples are coated in a hard, shiny shell made mostly of boiled sugar and water, sometimes tinted bright red. They shatter slightly when you bite into them. Ours, however, are Homemade Caramel Apples Recipe style—we use butter, brown sugar, and condensed milk, which cooks to that wonderfully soft, chewy texture that never gets rock hard. It’s a completely different experience!
Can I make this a Caramel Apple Slices Recipe instead?
You absolutely can! If you want to make Caramel Apple Slices Recipe portions, my *Easy Caramel Apple Tutorial* works perfectly, but you might need to let the caramel cool down just a tiny bit longer before you start dipping. When you’re using an entire apple, the coolness helps keep the sauce from running immediately. For slices, letting it rest an extra five minutes means you get better, thicker dollops of caramel on each piece without it immediately running off the sides.
Estimated Nutritional Data for Your Caramel Apple
Now, let’s talk numbers for a minute. Since we are using all that rich butter, brown sugar, and the condensed milk, these are definitely an indulgence! The figures below are just my best estimate for one full serving using the ingredients listed in the recipe. Remember, if you skip the nuts or use lighter sugar alternates, those numbers will shift. We’re aiming for flavor, but it’s good to know what we’re working with!
- Serving Size: 1 apple
- Calories: 450
- Sugar: 65g
- Fat: 18g
- Protein: 4g
Please keep in mind these are just estimates based on the standard brands I use for this caramel apple recipe. They are intended for general guidance, not strict nutritional tracking!
Share Your Autumn Sweet Treats Success
Honestly, seeing your creations brightens my whole week! Making these **caramel apple** treats is one thing, but seeing how you decorate them or who you share them with is what it’s all about. Once you’ve let them cool and you take that first glorious, chewy bite, I really want to hear about it.
Did you stick to the basic salt and vanilla, or did you try some spicy pecans? Don’t be shy! Pop down below, leave me a rating—five stars if you think they’re the best **caramel apple** recipe out there, which I hope you do!—and tell me how it went. If you snapped a picture of your beautifully coated, glossy apples, tag me on social media. Sharing our food memories, just like Grandma Daisy taught me, is the best part of being in the kitchen!
PrintThe Best Homemade Caramel Apples
Make foolproof, chewy homemade caramel apples with a reliable dipping sauce that sticks perfectly to crisp apples. This recipe is simple enough for beginners and ideal for fall parties or holiday gifts.
- Prep Time: 20 min
- Cook Time: 25 min
- Total Time: 1 hour 45 min
- Yield: 12 servings 1x
- Category: Dessert
- Method: Stovetop Cooking
- Cuisine: American
- Diet: Vegetarian
Ingredients
- 12 medium crisp apples (like Granny Smith or Honeycrisp)
- 12 wooden or parchment-lined skewers
- 1 cup (2 sticks) unsalted butter
- 2 cups light brown sugar, packed
- 1 cup light corn syrup
- 1 (14 ounce) can sweetened condensed milk
- 1 teaspoon pure vanilla extract
- 1/2 teaspoon sea salt
- Optional Toppings: chopped nuts, mini chocolate chips, sprinkles
Instructions
- Wash and thoroughly dry the apples. Remove the stems and insert skewers firmly into the top of each apple.
- Line a baking sheet with parchment paper and set aside.
- In a heavy-bottomed saucepan, combine the butter, brown sugar, and corn syrup. Heat over medium heat, stirring until the butter melts and the sugar dissolves.
- Bring the mixture to a boil without stirring. Let it boil for exactly 5 minutes.
- Reduce the heat to low. Carefully whisk in the sweetened condensed milk. Continue to cook, stirring constantly, until the mixture reaches 245 degrees Fahrenheit on a candy thermometer (firm ball stage). This usually takes 8 to 10 minutes after adding the milk.
- Remove the pan from the heat. Stir in the vanilla extract and salt. Let the caramel cool for 5 to 10 minutes until it thickens slightly.
- Dip each apple into the warm caramel, tilting the pan to coat evenly. Lift the apple and allow excess caramel to drip off back into the pan.
- Immediately roll the dipped apple in your chosen toppings, if using.
- Place the coated apples on the prepared baking sheet. Let them cool completely at room temperature until the caramel is firm, about 1 to 2 hours.
Notes
- For best adhesion, wipe the apples with a paper towel dipped in white vinegar before inserting the sticks. This removes any wax or residue.
- If the caramel becomes too stiff while dipping, return the pan to low heat briefly to soften it. Do not let it boil again.
- For a chocolate layer, melt semi-sweet chocolate chips and drizzle over the set caramel layer.
Nutrition
- Serving Size: 1 apple
- Calories: 450
- Sugar: 65g
- Sodium: 150mg
- Fat: 18g
- Saturated Fat: 11g
- Unsaturated Fat: 7g
- Trans Fat: 0g
- Carbohydrates: 75g
- Fiber: 2g
- Protein: 4g
- Cholesterol: 45mg