
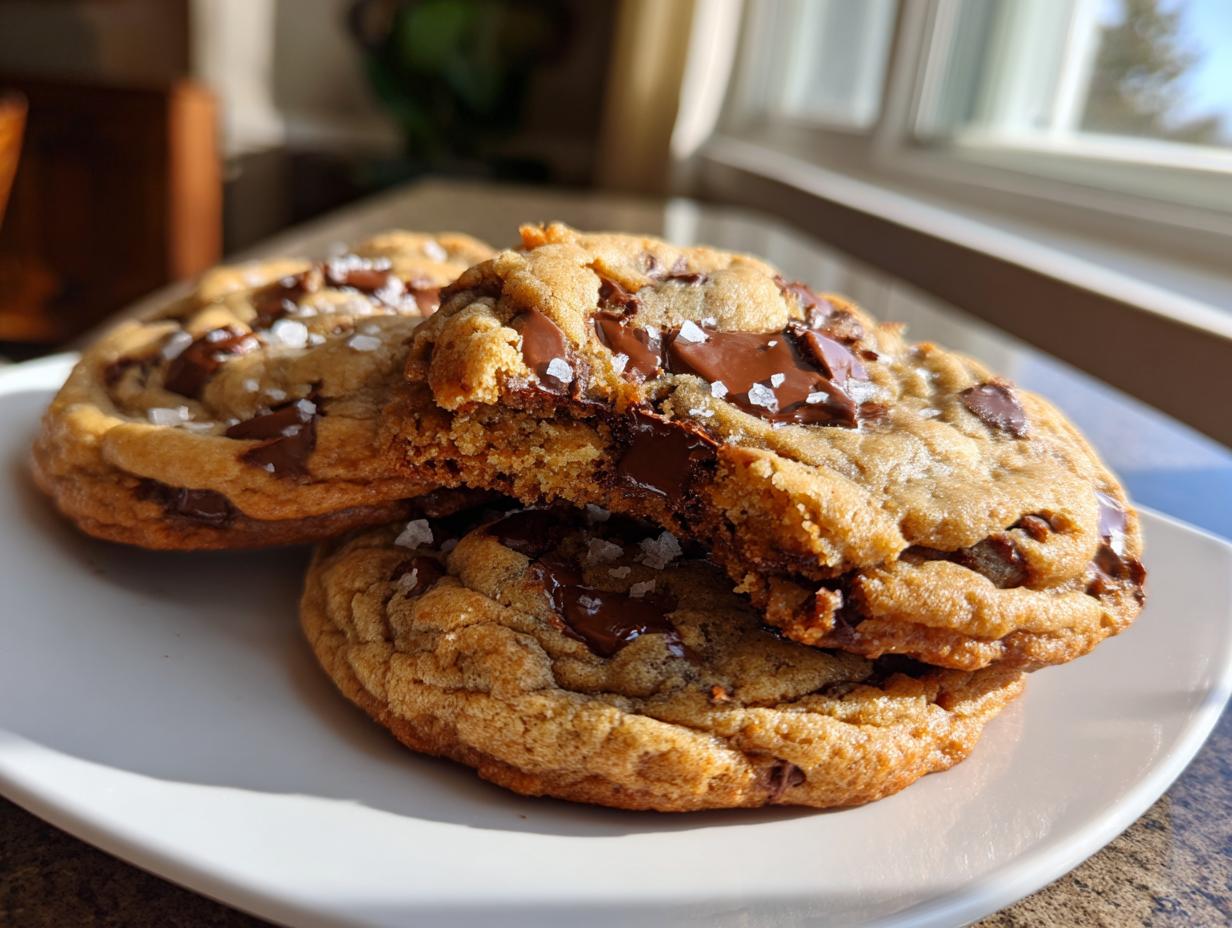
It’s National Chocolate Chip Day, and you know what that means, right? Forget those flat, store-bought hockey pucks. Today, we celebrate with the ultimate indulgence: thick, gooey, Bakery style chocolate chip cookies that taste like they were wrapped in fancy paper at the most exclusive shop in town. This is the recipe I keep coming back to because it connects me instantly to my Grandma Daisy. She taught me that even simple things, like a cookie, deserve patience and honest ingredients. We’re going to capture that artisanal bake feeling right here in your kitchen, resulting in the perfect balance of salty bliss and deep chocolate flavor. If you’re looking for the best cookie recipe out there, trust me, this is it.
- Why Our Bakery style chocolate chip cookies Are the Best Cookie Recipe
- Gathering Ingredients for Your Bakery style chocolate chip cookies
- Step-by-Step Instructions for Bakery style chocolate chip cookies
- Tips for Success to Master Bakery style chocolate chip cookies
- Ingredient Notes and Substitutions for Artisanal Bakes
- Storing and Reheating Your Bakery style chocolate chip cookies
- Frequently Asked Questions About These Cookies
- Serving Suggestions for Your Artisanal Bakes
- Sharing Your Daisy's Recipes Creations
Why Our Bakery style chocolate chip cookies Are the Best Cookie Recipe
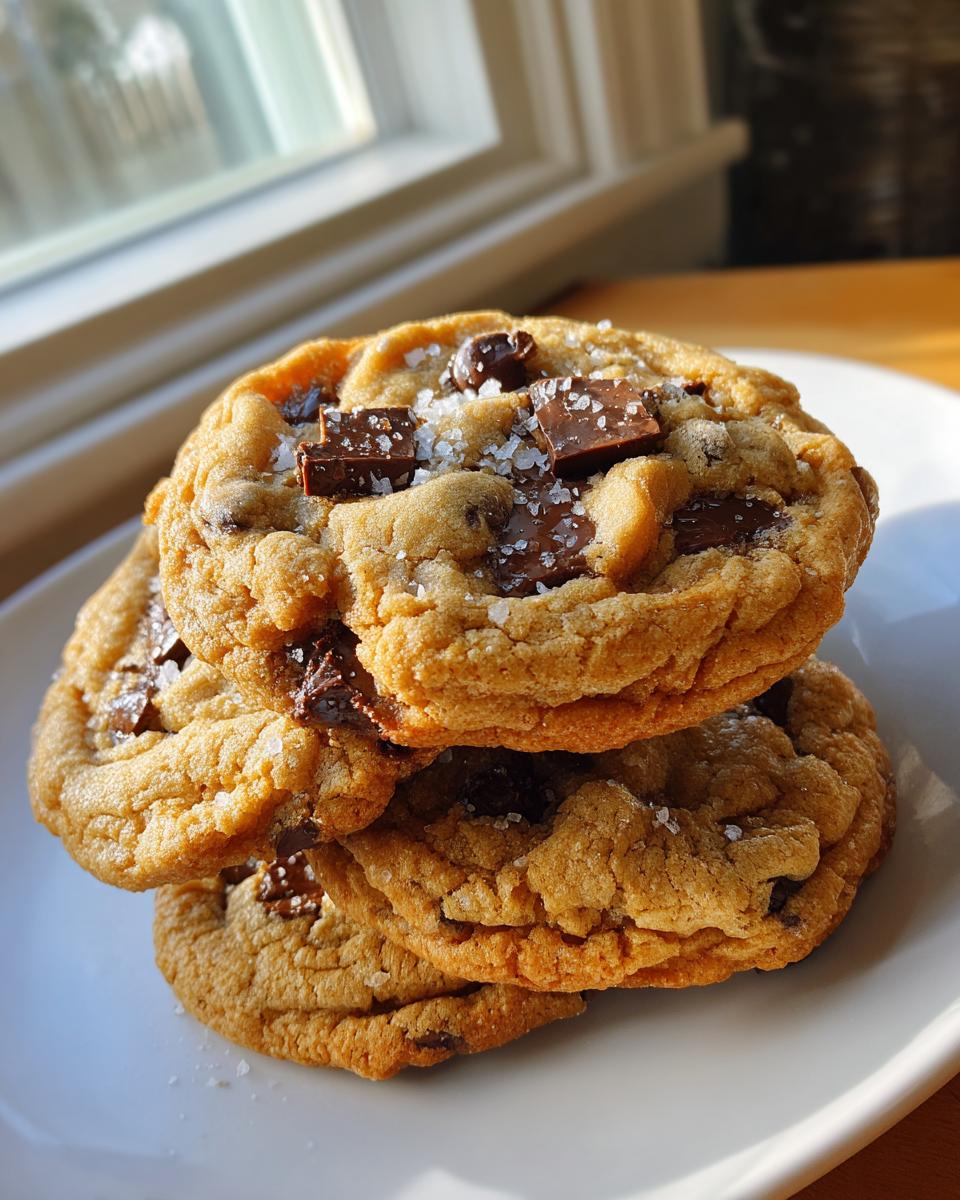
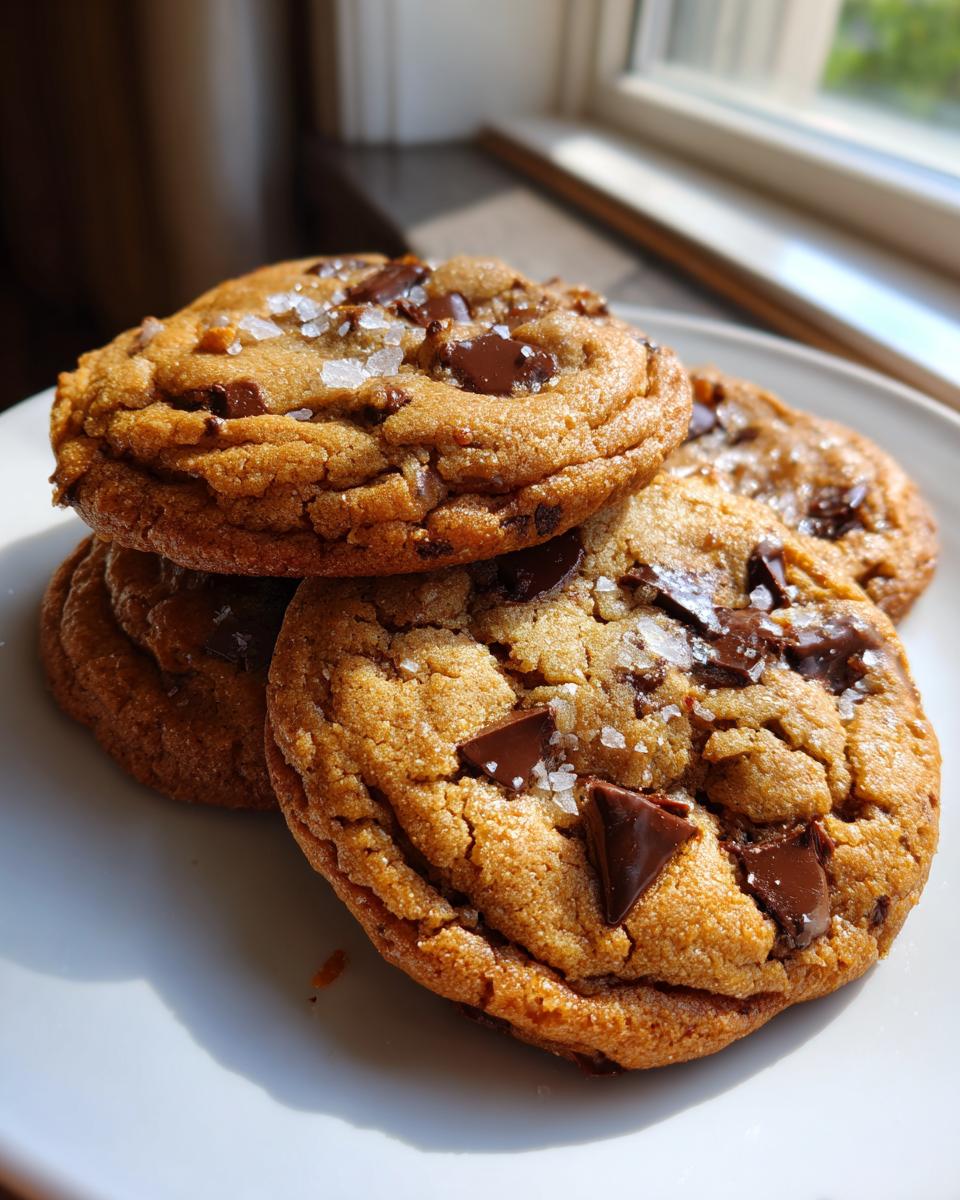
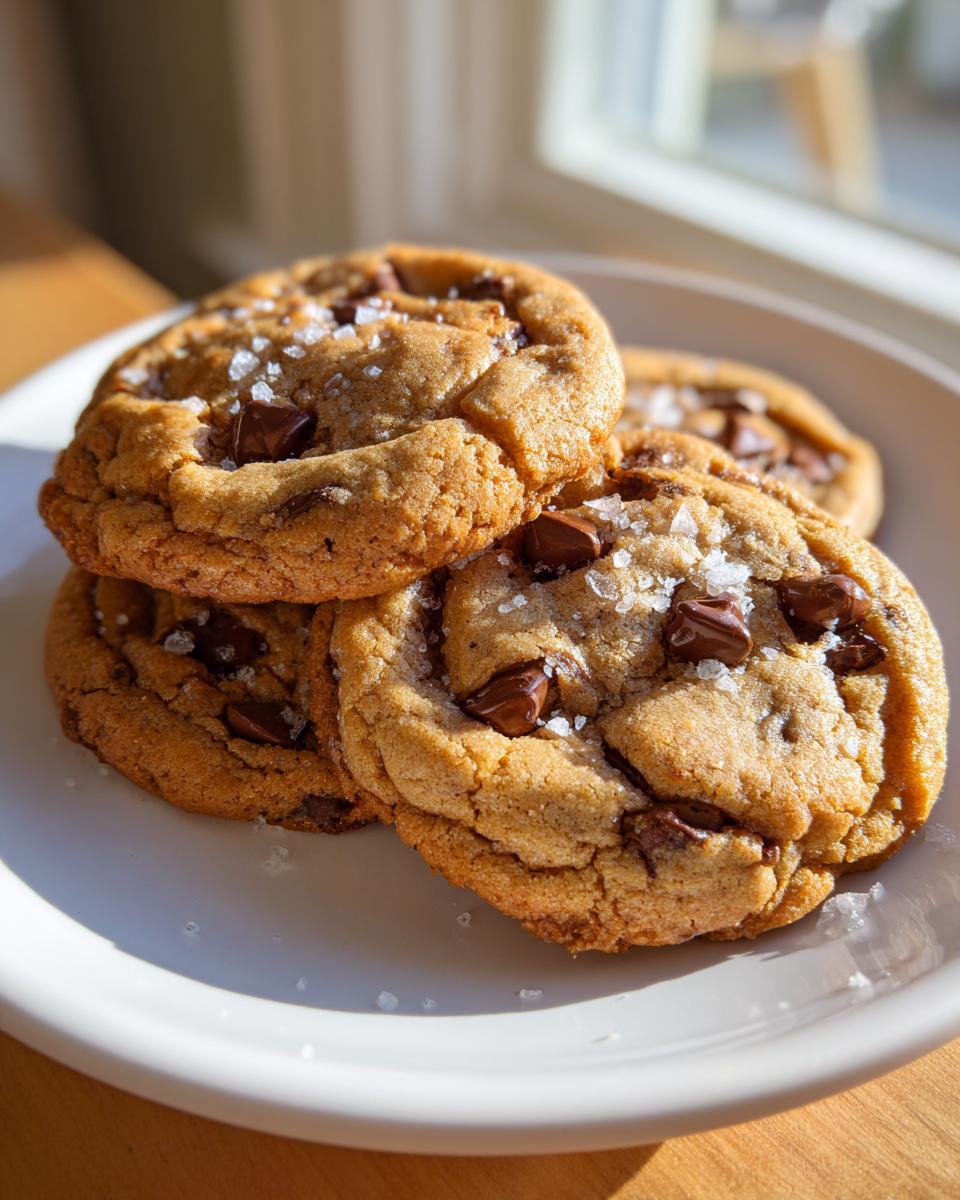
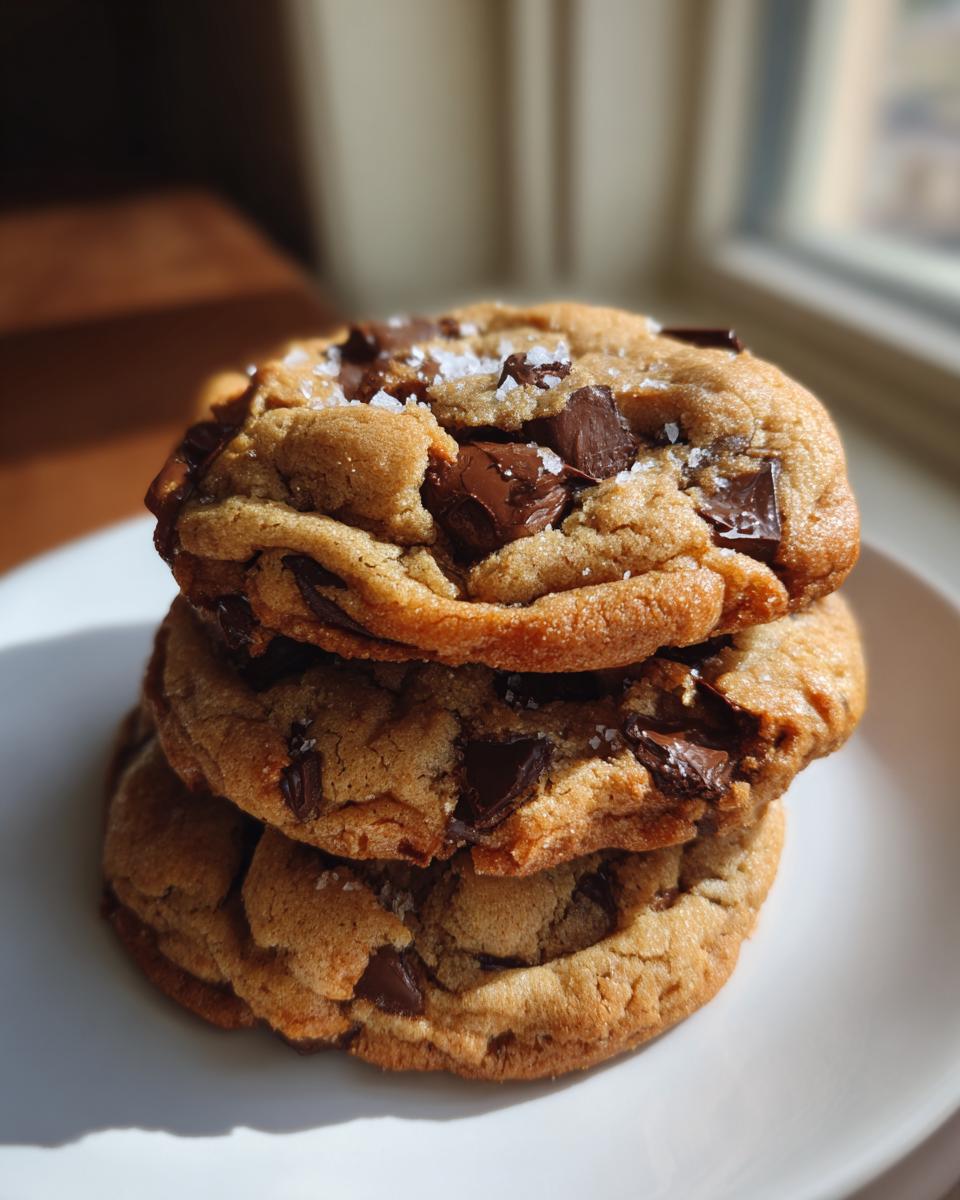
Why bother making these when you can grab a bag off the shelf? Because these cookies are an experience! They aren’t just sweet; they hit that deep, satisfying note that you only get from true artisanal bakes. We are aiming for that textural contrast Grandma always sought when feeding her neighbors. They are substantial—truly thick!—and gloriously messy in the best way possible.
- They spread just enough, setting up with those gorgeous, crinkly edges while keeping the middle gloriously soft.
- The balance is spot on: rich, buttery dough enhanced dramatically by a sprinkle of salt right at the end.
- Every bite offers pockets of melted chocolate depth, not just uniform sweetness.
Achieving the Perfect Thick and Gooey Texture
Listen, thickness doesn’t happen by accident. It’s the ratio of those sugars and, honestly, chilling the dough for at least thirty minutes. When the dough is cold, it doesn’t flatten out immediately in the heat. That little bit of patience locks in the height and guarantees you get that amazing, slow, gooey melt when you bite in.
The Secret to Artisanal Bakes: Chocolate Mix
Don’t just grab one type of chocolate! That’s rookie move territory. For real artisanal cookies, you need variety. I use standard semi-sweet chips for structure, but I fold in chunks of a nice milk chocolate bar, too. When they melt, the chips hold their shape a bit, giving you that contrast against the puddles of smooth, melted chunk chocolate. It’s magic, I tell you!
Gathering Ingredients for Your Bakery style chocolate chip cookies
Okay, let’s talk supplies. Good cookies start with good habits, and that means getting your ingredients ready exactly how they’re listed. We need the butter softened—not melted, just soft enough to dent with your finger. And pay attention to the sugars; make sure that brown sugar is packed tightly into the cup, which adds all that crucial molasses flavor. We’re using two kinds of chocolate because this is a serious treat!
You’ll need 1 cup (2 sticks) of unsalted butter, softened. Then we use 3/4 cup each of granulated sugar and that lovely, packed light brown sugar. Don’t forget your two large eggs and a full tablespoon of vanilla extract—I refuse to skimp on vanilla, it makes all the difference! For the dry team, grab 2 1/4 cups of all-purpose flour, 1 teaspoon of baking soda, and 1 teaspoon of salt. Finally, the stars: 1 1/2 cups of semi-sweet chocolate chips mixed with 1/2 cup of milk chocolate chunks. Remember, the quality of that melted chocolate is what pushes these into the artisanally baked category!
Step-by-Step Instructions for Bakery style chocolate chip cookies
Alright, let’s get baking! This process is straightforward, but you have to respect how the ingredients come together. First thing: crank that oven up to 375 degrees Fahrenheit. Line those baking sheets; trust me, parchment paper is your friend when dealing with chocolate that really likes to ooze. Once that’s done, we move straight into the mixing bowl, which is where the real flavor development starts happening. This is the part that separates the homemade from the truly special.
Creaming Butter and Sugars for Air
Get your softened butter, white sugar, and brown sugar into a big bowl. You need to beat this hard for at least three full minutes until it looks pale and seriously fluffy. This isn’t just stirring; this is whipping air into the mixture, and that trapped air is what keeps these bakery style chocolate chip cookies from turning into flat discs. Once creamy, add the eggs one by one, beating well after each. Don’t forget that big splash of vanilla extract!
The Importance of Not Overmixing the Dough
In a separate bowl, whisk your flour and baking soda together—this just ensures the leavening is spread out evenly. Now, here’s the crucial part for great texture: gradually add the dry stuff to the wet stuff, mixing only on low speed until you see the last streaks of flour disappear. If you keep beating it once the flour is in, you’ll develop too much gluten, and we will end up with tough cookies, not the gooey centers we want. Fold that mixture of semi-sweet chips and milk chocolate chunks in gently by hand. If you decided to chill the dough for thirty minutes—smart move—do it now before scooping! If you are trying to elevate your baking game beyond cookies, you might even want to check out just how to make sourdough starter from scratch for another level of baking!
Tips for Success to Master Bakery style chocolate chip cookies
If you want these beauties to look exactly like the ones in the fancy shops, you need to treat them right right when they come out of the oven. Remember how I stressed chilling the dough? Well, I once skipped that step because I was running super late for a party, and while they tasted amazing, they baked up like flat puddles! Never again. Chilling gives you that height we are obsessed with. Also, don’t you dare bake them until they look totally done. We are pulling them out when the edges are golden brown, but the middle still looks a little wet. That slight under-baking is what guarantees the gooey center when they cool down.
Using Flaky Sea Salt for the Sweet and Salty Finish
This step is non-negotiable for that artisanal bake feeling. Forget regular table salt mixed into the dough—that just makes them salty all over. When you sprinkle on flaky sea salt immediately after they exit the oven, you get these little pops of intense salinity that cut through the richness of the chocolate. It’s the perfect contrast! If you are interested in experimenting with other sourdough-based recipes, check out my thoughts on sourdough chocolate chip cookies for a slight tang!
Ingredient Notes and Substitutions for Artisanal Bakes
When we talk about achieving those truly stellar bakery style chocolate chip cookies, the quality of what goes in matters so much more than speed. I know sometimes shelves are sparse, or maybe you just don’t have that exact item Grandma Daisy used. That’s okay! But listen to me on the chocolate: you absolutely must use a combination. If you only have semi-sweet chips, chop up a really nice dark chocolate bar or even a high-quality milk chocolate bar to mix in. The varying melt points create those incredible chocolate windows when the cookie cools.
If you happen to be out of brown sugar—oops!—you can substitute the granulated sugar and brown sugar total amount with something like a mix of granulated sugar and maple syrup, though you’ll need to reduce the overall liquid somewhere else, which gets complicated fast. My go-to hack is this: if you only have light brown sugar, you can use that for both amounts, but add about half a teaspoon of molasses to the creaming step to deepen that rich flavor. It mimics what the dark brown sugar usually brings! For more creamy decadence in doughs, take a peek at my recipe for cream cheese chocolate chip cookies, but for this recipe, stick close to the butter measurement for structure.
Storing and Reheating Your Bakery style chocolate chip cookies
Part of the joy of making small-batch bakery style chocolate chip cookies is having them around for a few days, right? They store beautifully! Just make sure they are completely cool after baking. Pop them into an airtight container—no plastic bags where moisture can get trapped—and they’ll last up to four days at room temperature. They hold up so well!
Now, if you want one mid-week that tastes like it just came out of the oven, here’s the trick: zap a single cookie for about 10 to 15 seconds in the microwave. That just warms up those chocolate chunks perfectly, bringing back that glorious, fresh-baked gooey texture. If you love rich peanut butter flavors, check out my recipe for peanut butter cup cookies as another great make-ahead treat!
Frequently Asked Questions About These Cookies
I always get a ton of questions when folks try this recipe for the first time, especially around National Chocolate Chip Day, because everyone wants that perfect result. People worry about the texture, the size, and the best way to manage the dough—it’s just natural when you’re aiming for something this incredibly rich! Don’t stress; these recipes are built to be forgiving, but a few pointers can really solidify your status as the neighborhood baker.
Can I make the dough ahead of time for these Bakery style chocolate chip cookies?
Yes, absolutely! Making the dough ahead is actually one of my top tips for great results. I find that if I wrap the dough tightly and let it rest in the fridge for up to 48 hours, it develops even deeper flavor. The extra chill time helps them stay thick when baking. Honestly, I think overnight is the sweet spot for the absolute best cookie recipe execution!
What makes this the best cookie recipe for a gooey center?
It all comes down to two things we talked about: chilling and pulling them early! If you chill the dough, the edges set slower, preventing total spread. Then, you must pull them out when the edge is golden but the middle still looks slightly sunken or unset. They finish cooking on the hot pan outside the oven, leaving you with that perfect, just-melted interior required for true artisanal bakes.
Why do I need milk chocolate chunks *and* semi-sweet chips?
This is key for texture! The semi-sweet chips hold a bit of their shape, giving you substance when you bite down. The milk chocolate chunks melt down into those glorious, flowing puddles. If you only use one, you lose that wonderful textural complexity that defines these cookies. It makes them feel truly special for any celebration!
Serving Suggestions for Your Artisanal Bakes
Now that you’ve pulled these magnificent, thick bakery style chocolate chip cookies out of the oven, we have to talk about how to enjoy them! Seriously, don’t just eat them standing over the sink (though I’ve definitely done that). These cookies are rich enough to stand up to some serious company. Since they have that perfect salty kick, they pair beautifully with simple accompaniments that let that chocolate sing.
Of course, a tall, icy glass of whole milk is the classic move; nothing beats that childhood comfort. But if you are serving these after dinner, have a pot of strong black coffee ready. The bitterness of the coffee cuts right through the richness of the butter and chocolate. For a real treat that screams celebration, try making an Irish coffee—the warmth and spice are just incredible alongside a warm, gooey cookie like this! If you’re feeling fancy, you can even stack them up on a nice plate to give away; they honestly look like gifts straight from a professional bakery.
Sharing Your Daisy’s Recipes Creations
Seeing all those trays of gorgeous, thick cookies makes me so happy! Grandma Daisy always said that baking was meant to be shared, that food tastes better when it’s given away. So, now that you’ve mastered these Bakery style chocolate chip cookies, I want to see what you’ve been up to!
If you made these beauties for National Chocolate Chip Day or just because it was Tuesday, please snap a photo and share it with the community. You can tag us online—it keeps that spirit of simple, honest baking alive for everyone. And hey, if you’ve got feedback or want to drop a rating on the site, that helps me know I’m honoring Daisy’s legacy the right way. If you need to reach out with a specific question, you can always use the contact page. Happy baking, friends!
PrintBakery Style Chocolate Chip Cookies

Make thick, gooey, bakery style chocolate chip cookies with a perfect balance of sweet and salty flavor.
- Prep Time: 20 min
- Cook Time: 12 min
- Total Time: 32 min
- Yield: 24 cookies 1x
- Category: Dessert
- Method: Baking
- Cuisine: American
- Diet: Vegetarian
Ingredients
- 1 cup (2 sticks) unsalted butter, softened
- 3/4 cup granulated sugar
- 3/4 cup packed light brown sugar
- 2 large eggs
- 1 tablespoon vanilla extract
- 2 1/4 cups all-purpose flour
- 1 teaspoon baking soda
- 1 teaspoon salt
- 1 1/2 cups semi-sweet chocolate chips
- 1/2 cup milk chocolate chunks
- Flaky sea salt, for topping
Instructions
- Preheat your oven to 375 degrees Fahrenheit. Line baking sheets with parchment paper.
- In a large bowl, cream together the softened butter, granulated sugar, and brown sugar until light and fluffy. This takes about 3 minutes.
- Beat in the eggs one at a time, mixing well after each addition. Stir in the vanilla extract.
- In a separate medium bowl, whisk together the flour and baking soda.
- Gradually add the dry ingredients to the wet ingredients, mixing on low speed until just combined. Do not overmix.
- Fold in the semi-sweet chocolate chips and milk chocolate chunks by hand.
- Scoop rounded tablespoons of dough onto the prepared baking sheets, leaving about 2 inches between each mound for spreading. For thick cookies, chill the dough for 30 minutes before baking.
- Bake for 10 to 12 minutes, or until the edges are set and golden brown, but the centers still look slightly underdone.
- Immediately sprinkle the tops of the hot cookies with flaky sea salt.
- Let the cookies cool on the baking sheet for 5 minutes before transferring them to a wire rack to cool completely.
Notes
- For an artisanal bake, use a mix of high-quality chocolate chips and chopped chocolate bars for varied melt texture.
- If you prefer a chewier cookie, slightly reduce the baking time.
- Store cooled cookies in an airtight container at room temperature for up to 4 days.
Nutrition
- Serving Size: 1 cookie
- Calories: 220
- Sugar: 18g
- Sodium: 150mg
- Fat: 13g
- Saturated Fat: 8g
- Unsaturated Fat: 5g
- Trans Fat: 0g
- Carbohydrates: 25g
- Fiber: 1g
- Protein: 3g
- Cholesterol: 35mg