
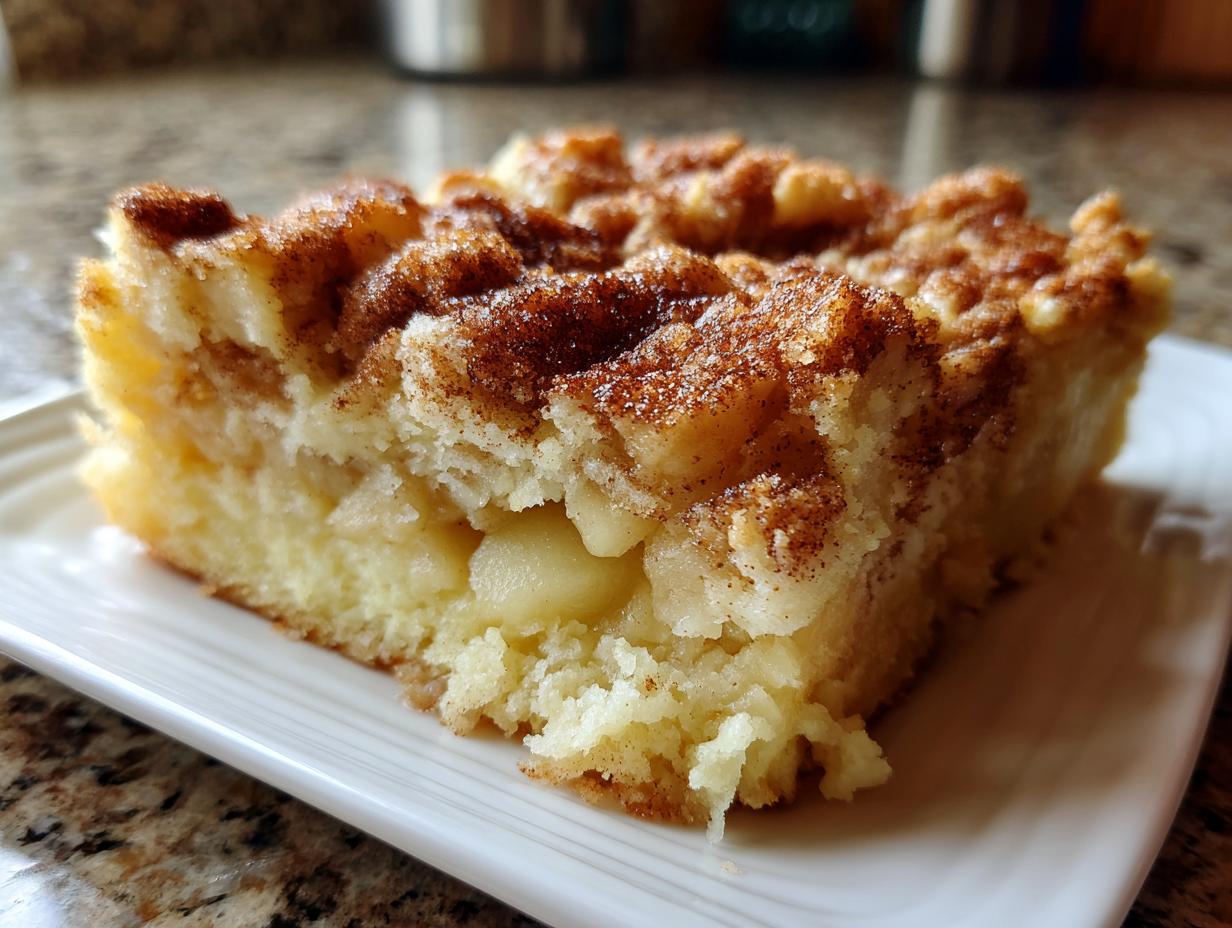
There is nothing quite like opening the oven door and being hit with that warm, sweet cloud of cinnamon and baked fruit, is there? That scent just screams ‘home’ to me. It takes me right back to Grandma Daisy’s kitchen, where every gathering needed a big pan of something bubbly coming out of the oven. You might think finding the best easy apple cobbler is hard, but trust me, after years perfecting my grandmother’s approach, I’ve landed on pure gold. What we have here is the absolute best apple cobbler you will ever make—our signature recipe featuring tender, spiced apples hidden under a topping that tastes exactly like a soft snickerdoodle cookie. It’s simple enough for a busy Tuesday but special enough for the holidays! If this smell reminds you of other comforting baked goods, you might love my recipe for soft cinnamon applesauce cookies too.
- Why This Buttermilk Apple Cobbler Is Your New Favorite Fall Baking Recipe
- Gathering Ingredients for Your Homemade Apple Cobbler
- Step-by-Step Instructions for the Best Apple Cobbler
- Tips for Success with Your Apple Cobbler
- Serving Suggestions for This Comfort Food Dessert
- Storage and Reheating Instructions for Your Apple Cobbler
- Frequently Asked Questions About Making Apple Cobbler
- Estimated Nutritional Data for This Classic Apple Dessert
- Share Your Homemade Apple Cobbler Creations
Why This Buttermilk Apple Cobbler Is Your New Favorite Fall Baking Recipe
Honestly, when the weather starts getting crisp, I don’t want fuss. I want comfort food baking that delivers big flavor without needing half the day. This apple cobbler is the answer! It feels completely classic and old-fashioned, but the process is surprisingly straightforward. If you usually shy away from baking because it feels complicated, this is the recipe that will change your mind. It’s a guaranteed crowd-pleaser, whether you’re serving it after a big Sunday dinner or just craving something warm and sweet in the evening.
You know how much I love turning out desserts that feel special, and this one always gets rave reviews. It’s a truly beloved classic in my rotation now. You can see from my guides on things like gooey cinnamon buns that I cherish those comforting baked smells!
Key Features of This Easy Apple Cobbler Recipe
- It’s genuinely quick to assemble—we’re talking about 20 minutes prep time for tons of deliciousness later.
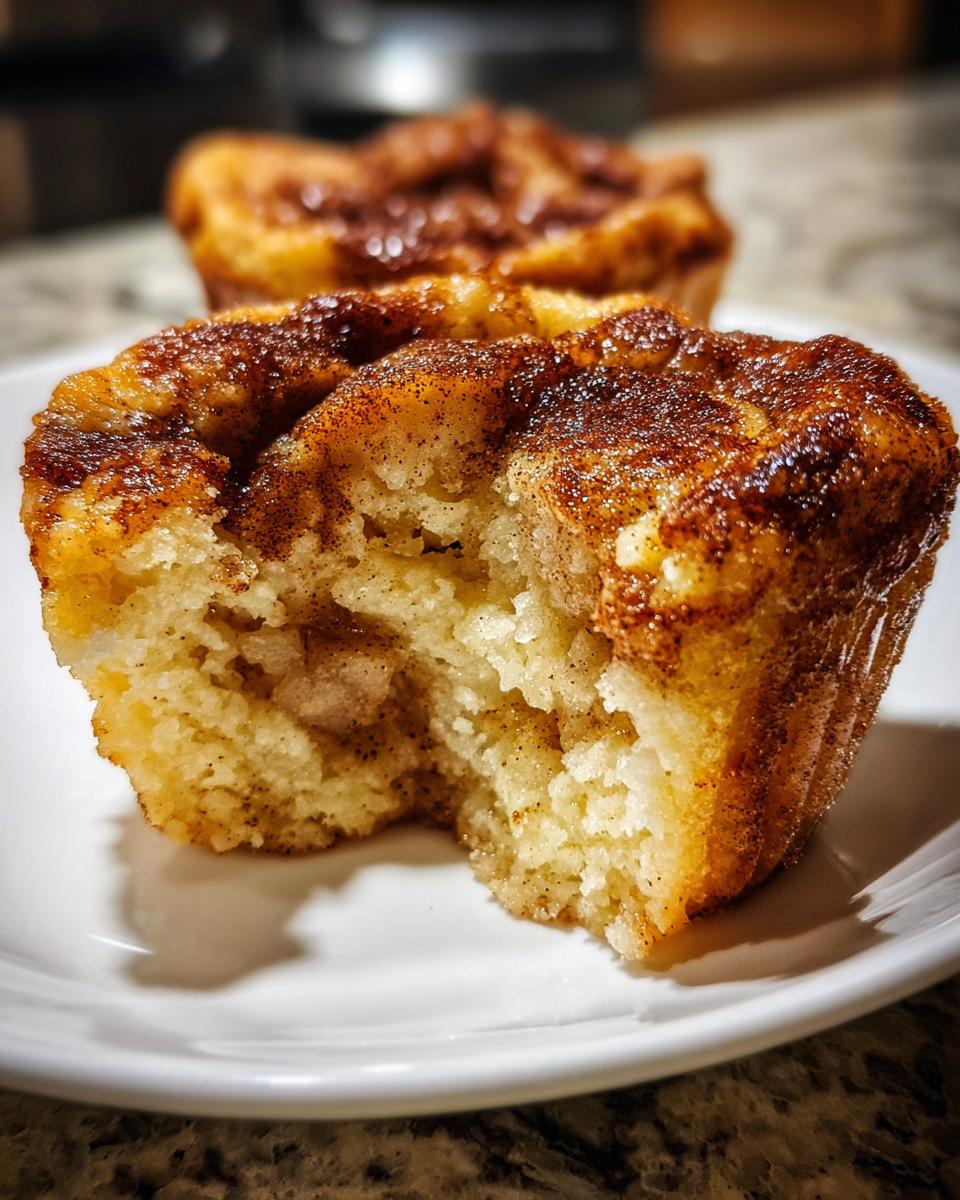
- The topping is unique! It’s not a crisp, it’s not a pure biscuit; it’s that lovely, tender cake-like texture reminiscent of a Snickerdoodle cookie.
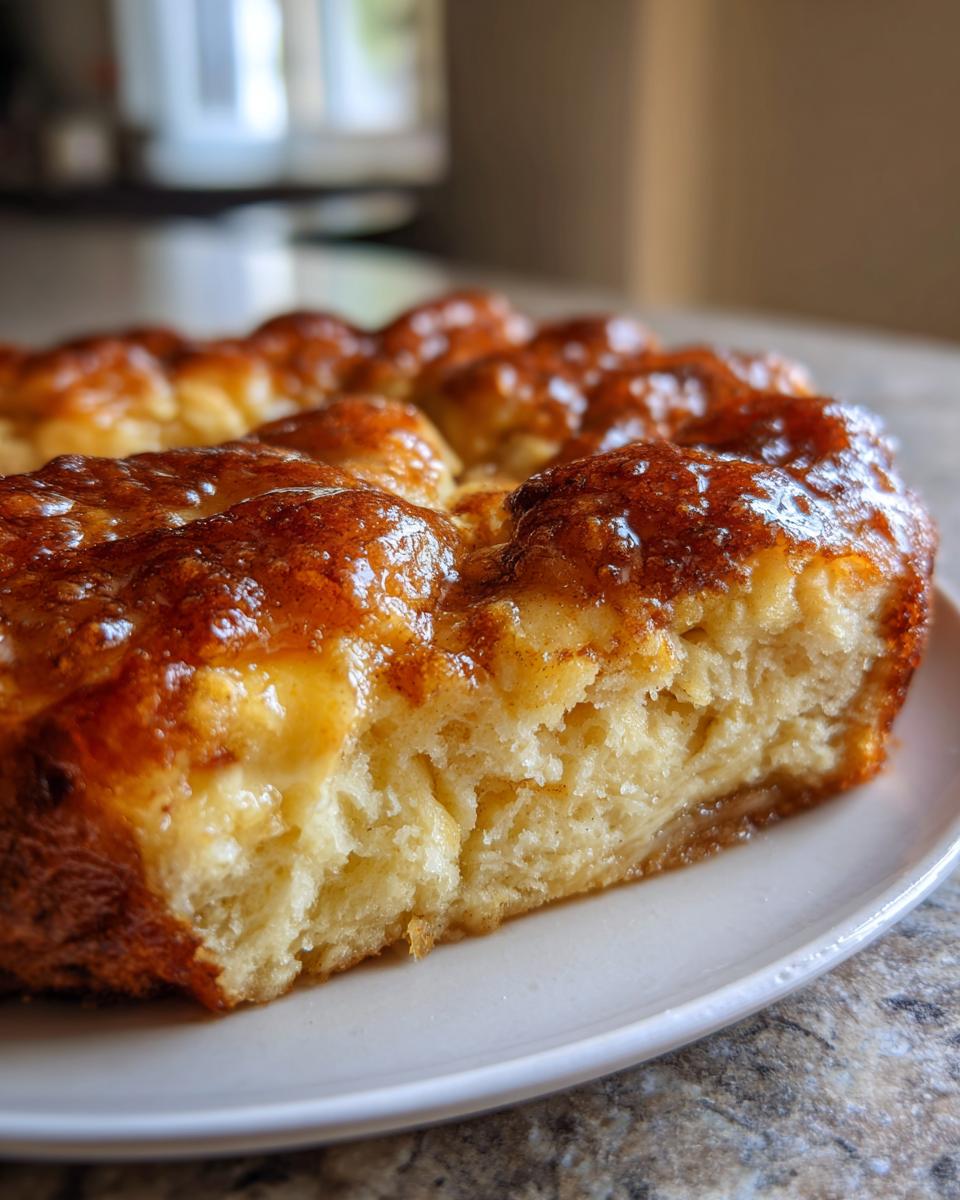
- We use buttermilk, which reacts perfectly with the baking powder to give the topping lift and a slight tang.
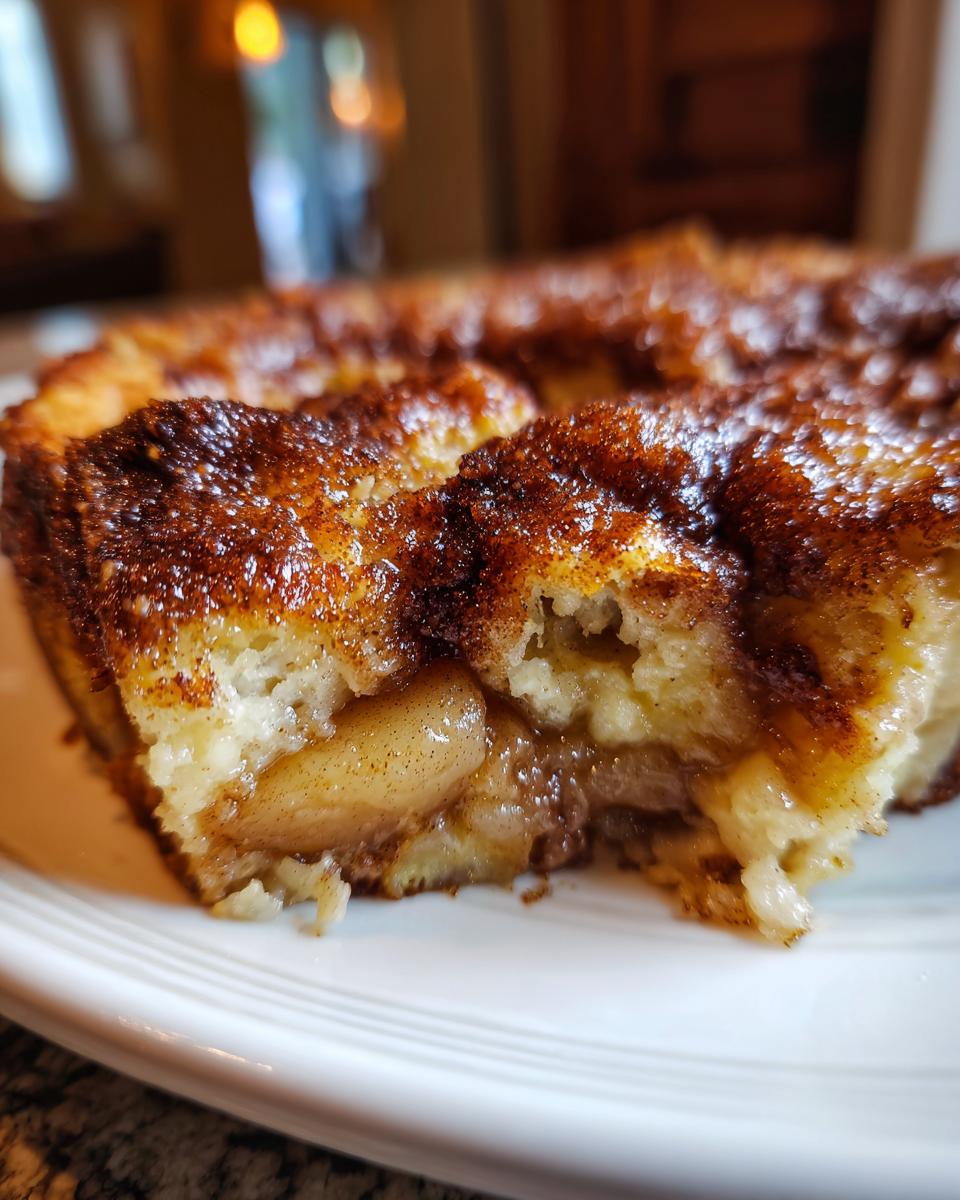
- The apples cook down to be incredibly tender in that cinnamon-spiced bath, creating the perfect base for that buttery topping.
Gathering Ingredients for Your Homemade Apple Cobbler
Okay, before we get to the mixing magic, let’s talk ingredients. When you’re making a homemade apple cobbler, the quality of what goes in really shines through the crust! I always tell folks that you don’t need a million fancy things here, but you do need fresh, good-quality basics for that perfect flavor. This recipe is divided simply between what goes with the apples and what makes up that amazing topping.
If you’re looking for more ways to celebrate fall flavors, check out my recipe for homemade old-fashioned apple cider donuts!
For the Tender Apple Filling
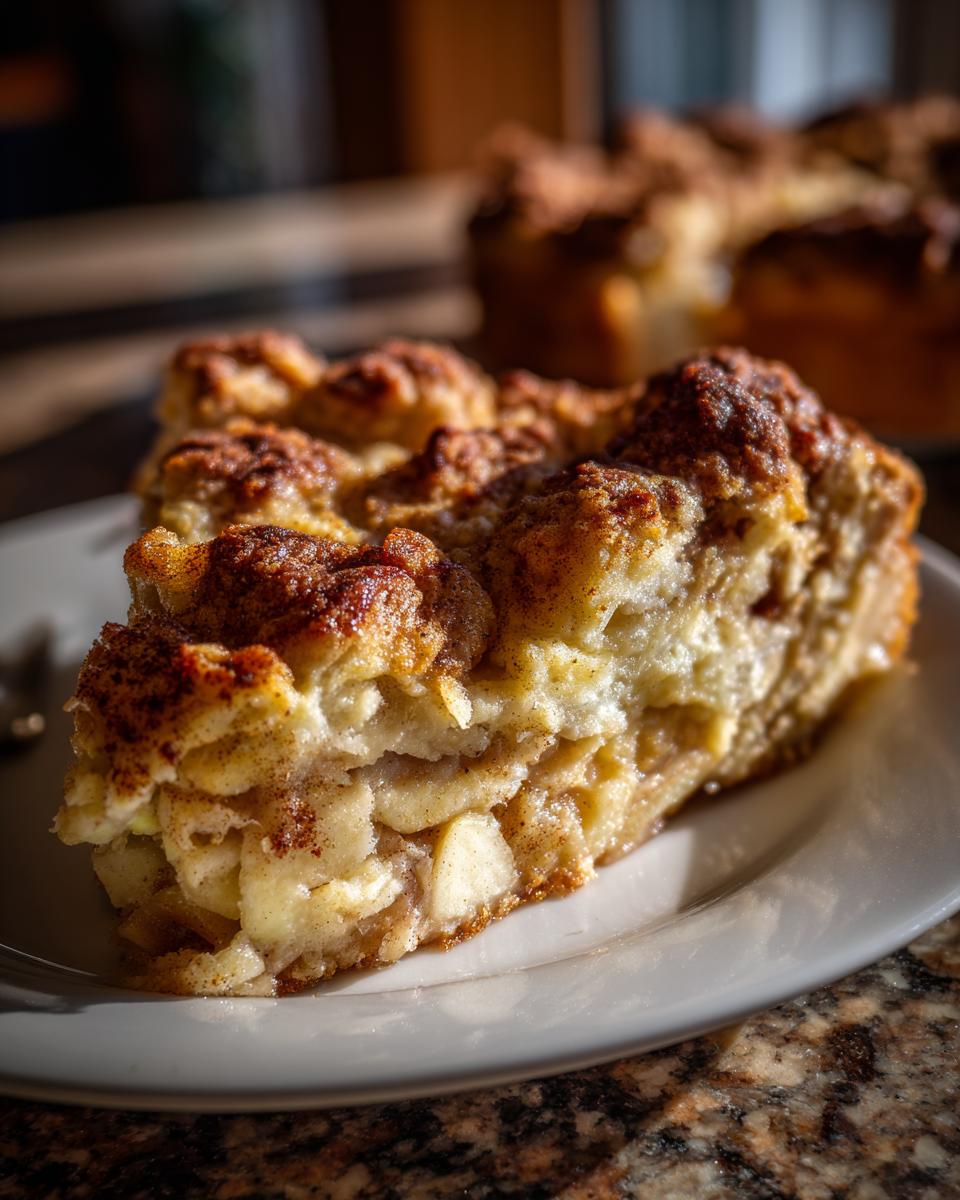
The star here is the apple! You must use tart apples, or the whole thing will taste just sickly sweet. Granny Smiths are non-negotiable for me because they hold their shape beautifully while baking down to that meltingly tender texture. Don’t forget the spices—cinnamon and nutmeg are the backbone of any great cinnamon apple dessert, giving you that signature warmth.
- 6 large Granny Smith apples, peeled, cored, and sliced thinly
- 1/2 cup granulated sugar
- 1/4 cup packed light brown sugar
- 1 tablespoon all-purpose flour (to help thicken the juices)
- 1 teaspoon ground cinnamon
- 1/4 teaspoon ground nutmeg
- 1 tablespoon lemon juice (keeps them bright!)
For the Buttery Cobbler Topping Batter
This is where the magic happens and we get that beautiful cake-like texture that leans toward a snickerdoodle! The buttermilk is key here—it adds richness and reacts with the leavening to keep the topping soft, not dense. Make sure your butter is nice and cold for later!
- 1/2 cup (1 stick) unsalted butter, cold and cut into small pieces
- 1 1/2 cups all-purpose flour
- 1/2 cup granulated sugar
- 2 teaspoons baking powder
- 1/2 teaspoon salt
- 1 teaspoon ground cinnamon
- 1/2 cup buttermilk
- 1 large egg, lightly beaten
- 1 teaspoon vanilla extract
- 1 tablespoon coarse sugar, for sprinkling (totally optional but fun!)
Step-by-Step Instructions for the Best Apple Cobbler
Seeing the golden crust form on this apple cobbler is one of my favorite parts of baking! I’ve broken this process down into manageable chunks so you don’t feel rushed. Remember, baking is supposed to be fun, not a race. If you follow these steps exactly, especially focusing on keeping that topping batter loose, you’ll end up with a spectacular dessert. If you struggle with crusts, check out my guide for the flakiest old-fashioned apple pie crust—though this cobbler topping is much easier!
Preparing the Apples and Oven Setup
First things first, let’s get serious about heat. Preheat your oven right now to 375 degrees Fahrenheit. While that’s warming up, take a 9×13 inch baking dish and lightly grease it—don’t skip this, nobody wants a stuck cobbler!
In a big bowl, combine all those beautifully sliced apples with both sugars, the tablespoon of flour, cinnamon, nutmeg, and the lemon juice. Get in there and toss everything until those slices are completely coated in spice. Pour this entire apple mixture into your prepared dish evenly. Now, take that cold stick of butter and cut it into small cubes. Dot the top of the apples with these butter pieces—don’t try to spread it, just drop them evenly across the surface. This melts right into the apples while baking!
Mixing the Buttery Cobbler Topping
Time for the snickerdoodle part! Grab a separate medium bowl. Whisk together all the topping’s dry stuff first: the rest of the flour, granulated sugar, baking powder, salt, and that last teaspoon of cinnamon.
In a tiny bowl, quickly whisk your buttermilk, the beaten egg, and the vanilla extract together. Now, pour those wet things into the dry mix. Here is the most important tip for that light texture: You only stir until *just* combined. Seriously! You are going to see streaks of flour, and that is okay. If you stir until it’s perfectly smooth, you’ll lose that cake-like tenderness we are aiming for. Don’t overmix!
Assembly and Baking the Apple Cobbler
Take that thick, slightly lumpy batter and gently spoon it right over the buttered apples in the pan. Don’t worry if it doesn’t cover everything perfectly; this batter is going to spread out as it bakes up nice and golden brown. If you want a little extra sparkle and crunch, sprinkle that coarse sugar right on top now.
Bake this beauty for about 40 to 50 minutes. You’ll know it’s done when the topping looks golden and you can see the apple filling bubbling up around the edges like crazy. Once it’s out, resist the urge! Let the best apple cobbler rest on the counter for at least 15 minutes before you even think about scooping out a piece. Those juices need a moment to settle down.
Tips for Success with Your Apple Cobbler
Listen, I know baking can feel stressful when you’re trying to nail that perfect texture. But this apple cobbler recipe is pretty forgiving, as long as you remember Grandma Daisy’s golden rules! My expertise truly comes from learning the little things that make a huge difference when you’re using simple ingredients for a big payoff. Don’t be afraid to experiment, but these core tips will ensure you get that amazing, comforting result every time. If you need a break from fall baking, you can always hop over and bake my cider donuts!
Achieving the Perfect Tender Apple Filling
You absolutely have to stick with Granny Smith apples, or something very similar like a firm Cortland! They have that necessary tartness to cut through all the brown sugar and cinnamon, and most importantly, they don’t turn to mush when they bake. You want tender, yes, but still identifiable slices in your filling. Also, make sure you toss those apples really well with the spices and sugar. I saw someone once just sprinkle the cinnamon on top, and their filling ended up pale—no thanks! We want every single apple slice saturated in flavor. For more inspiration on great fruit pairings, check out what the folks at Celebrations Sweets are doing!
Buttermilk Substitution for the Cobbler Topping
This is my favorite little trick because nobody wants to run to the store just for buttermilk when they get a sudden craving for a warm apple dessert. If your fridge is empty of it, don’t panic! It’s so easy to fake that tang. Just take your regular milk—any kind works—and stir in about half a teaspoon of plain white vinegar or lemon juice for every half cup of milk you need. Give it a quick stir and just let it sit on the counter for about five minutes. It will start to look a little curdled, and that’s exactly what you want! That slightly soured milk mimics buttermilk perfectly for this buttery cobbler topping.
Serving Suggestions for This Comfort Food Dessert
How you serve this apple cobbler is almost as important as how you bake it! This is truly the ultimate warm apple dessert, and it begs for something cold and creamy to balance that spiced, bubbly filling and soft, buttery topping. My go-to, forever and always, is a huge scoop of good vanilla bean ice cream. The contrast of the hot cobbler melting the ice cream into a sweet, milky sauce? Perfection!
If you aren’t a big ice cream fan, a dollop of fresh, softly whipped cream works beautifully too. We serve this classic apple dessert warm, never piping hot—remember, we let it rest for those 15 minutes! It’s gorgeous in a simple white bowl. If you are looking to round out your dessert menu, you might want to pair this with a slice of my homemade chocolate cake sometime!
Storage and Reheating Instructions for Your Apple Cobbler
You are going to have leftovers—I guarantee it! Even though this apple cobbler vanishes quickly, it stores like a dream if you handle it right. Cover the dish tightly with plastic wrap or foil once it has cooled down fully, or just scoop the remaining portions into an airtight container. You can keep it on the counter for about a day if your kitchen isn’t too warm, but I always feel safer putting my leftovers in the fridge.
When you want to eat it later, you absolutely must reheat it to get that buttery cobbler topping back to its glorious texture. A few minutes in the microwave is easy, but it makes the topping soft. For the best results, pop individual servings onto a baking sheet and warm them in a 350-degree oven for about 10 minutes until they are hot and the edges are just starting to crisp up again. If you’re looking for other easy make-ahead treats, my no-bake cheesecake bites are freezer-friendly!
Frequently Asked Questions About Making Apple Cobbler
I know you might have questions whirling around after seeing all these delicious instructions for the best apple cobbler! That’s wonderful, because it means you’re ready to bake. I’ve pulled together the questions I get asked most often from folks trying out this recipe for the first time. My goal is to make this process as stress-free as possible for you!
Can I use different apples in this easy apple cobbler recipe?
While I swear by Granny Smith for that perfect tartness that cuts through the sugar, you absolutely can mix them up if you prefer a slightly sweeter flavor profile. If you decide to swap out some of those tarts, I suggest pairing them with something firm like Honeycrisp or Fuji. Never use a mushy apple, even if you think it sounds good! The key to a great classic apple dessert is apples that hold their shape, so keep that mix tart and firm!
How do I prevent the topping from getting soggy?
Soggy topping failure is usually down to two things, trust me. First, make sure that half-cup of butter in the topping mixture is genuinely cold and cubed right before you mix it into the dry ingredients. If it melts, you won’t get that light, buttery lift. Second, and this is crucial for any easy apple cobbler recipe: Do not, under any circumstances, overmix that batter! Stir it just until the flour disappears. A few lumps are your friends here—they are the secret weapons that keep the topping from sinking into the apples.
Is this a good option for quick apple dessert preparation?
When I call this an easy apple cobbler recipe, I mean it in prep time! You can get the apples sliced and the batter mixed in about 20 minutes flat, which is super quick for a comfort food dessert. However, remember that you do need that full bake time—around 40 to 50 minutes—to get the apples cooked through and that beautiful golden crust. So, it’s *quick to prep*, but it does need that necessary oven time to turn into that perfect warm apple dessert you deserve!
If you’re looking for more tips on baking basics, make sure you read my post on getting the flakiest pie crust—many of those foundational techniques cross right over into cobbler topping success!
Estimated Nutritional Data for This Classic Apple Dessert
Now, I always tell people that when you’re baking from scratch, the numbers are just a guideline, especially when serving this wonderful classic apple dessert warm with ice cream! These figures are just estimates based on the recipe ingredients alone. You already know that how much sugar made it onto your plate versus how much stayed in the beautiful, bubbly caramel sauce makes a difference. But here is the general scoop for each serving, around 410 calories. We need to remember this is true comfort food baking, folks!
- Calories: 410
- Fat: 18g
- Carbohydrates: 60g
- Protein: 5g
- Sugar: 35g
If you’re counting beans during the week, maybe try pairing this with something lighter, like my easy creamy pumpkin soup instead!
Share Your Homemade Apple Cobbler Creations
Oh, I really hope you enjoyed making this apple cobbler! Truly, that’s why I share everything in Grandma Daisy’s style—I want you to feel that same sense of accomplishment and warmth when you pull that golden dish out of your own oven. When you nail that buttery, snickerdoodle-style topping, you absolutely have to come back and tell me all about it!
Did you serve it warm with ice cream, just like I always do? Did your kids ask for seconds immediately? Drop a comment below and give the recipe a quick rating so other bakers know this is the real deal when they’re searching for the best apple cobbler. It means the world to me to hear how the recipe fits into your kitchen and your family gatherings. And if you managed to snap a gorgeous photo of your bubbly, spiced masterpiece, please share it on social media and tag me! If you ever need anything else or just want to say hello, you can reach out anytime through my contact page. Happy baking, friend!
PrintBest Easy Buttermilk Apple Cobbler with a Snickerdoodle-Style Topping
This recipe delivers a classic, comforting apple cobbler featuring tender, cinnamon-spiced apples beneath a buttery, cake-like topping reminiscent of a snickerdoodle cookie. It is a simple, satisfying dessert perfect for any gathering.
- Prep Time: 20 min
- Cook Time: 50 min
- Total Time: 70 min
- Yield: 8 servings 1x
- Category: Dessert
- Method: Baking
- Cuisine: American
- Diet: Vegetarian
Ingredients
- 6 large Granny Smith apples, peeled, cored, and sliced
- 1/2 cup granulated sugar
- 1/4 cup packed light brown sugar
- 1 tablespoon all-purpose flour
- 1 teaspoon ground cinnamon
- 1/4 teaspoon ground nutmeg
- 1 tablespoon lemon juice
- 1/2 cup (1 stick) unsalted butter, cold and cut into pieces
- 1 1/2 cups all-purpose flour
- 1/2 cup granulated sugar
- 2 teaspoons baking powder
- 1/2 teaspoon salt
- 1 teaspoon ground cinnamon
- 1/2 cup buttermilk
- 1 large egg, lightly beaten
- 1 teaspoon vanilla extract
- 1 tablespoon coarse sugar, for sprinkling (optional)
Instructions
- Preheat your oven to 375 degrees Fahrenheit. Lightly grease a 9×13 inch baking dish.
- In a large bowl, combine the sliced apples, granulated sugar, brown sugar, 1 tablespoon of flour, 1 teaspoon of cinnamon, nutmeg, and lemon juice. Toss gently to coat the apples evenly. Pour this mixture into the prepared baking dish.
- Dot the top of the apple mixture evenly with the cold pieces of butter.
- In a separate medium bowl, whisk together the 1 1/2 cups of flour, 1/2 cup of sugar, baking powder, salt, and 1 teaspoon of cinnamon for the topping.
- In a small bowl, whisk together the buttermilk, egg, and vanilla extract. Pour the wet ingredients into the dry ingredients and stir just until combined. Do not overmix; the batter will be thick.
- Spoon the batter evenly over the buttered apples. You do not need to cover the apples completely; the batter will spread as it bakes.
- Sprinkle the top evenly with coarse sugar, if using.
- Bake for 40 to 50 minutes, or until the topping is golden brown and the apple filling is bubbly and tender when pierced with a fork.
- Let the apple cobbler cool for at least 15 minutes before serving warm with vanilla ice cream.
Notes
- For the best texture, use firm, tart apples like Granny Smith.
- If you do not have buttermilk, mix 1/2 cup of regular milk with 1/2 teaspoon of white vinegar or lemon juice and let it sit for 5 minutes before using.
- This dessert is best served warm, straight from the oven.
Nutrition
- Serving Size: 1 serving
- Calories: 410
- Sugar: 35g
- Sodium: 250mg
- Fat: 18g
- Saturated Fat: 11g
- Unsaturated Fat: 7g
- Trans Fat: 0.5g
- Carbohydrates: 60g
- Fiber: 3g
- Protein: 5g
- Cholesterol: 55mg