
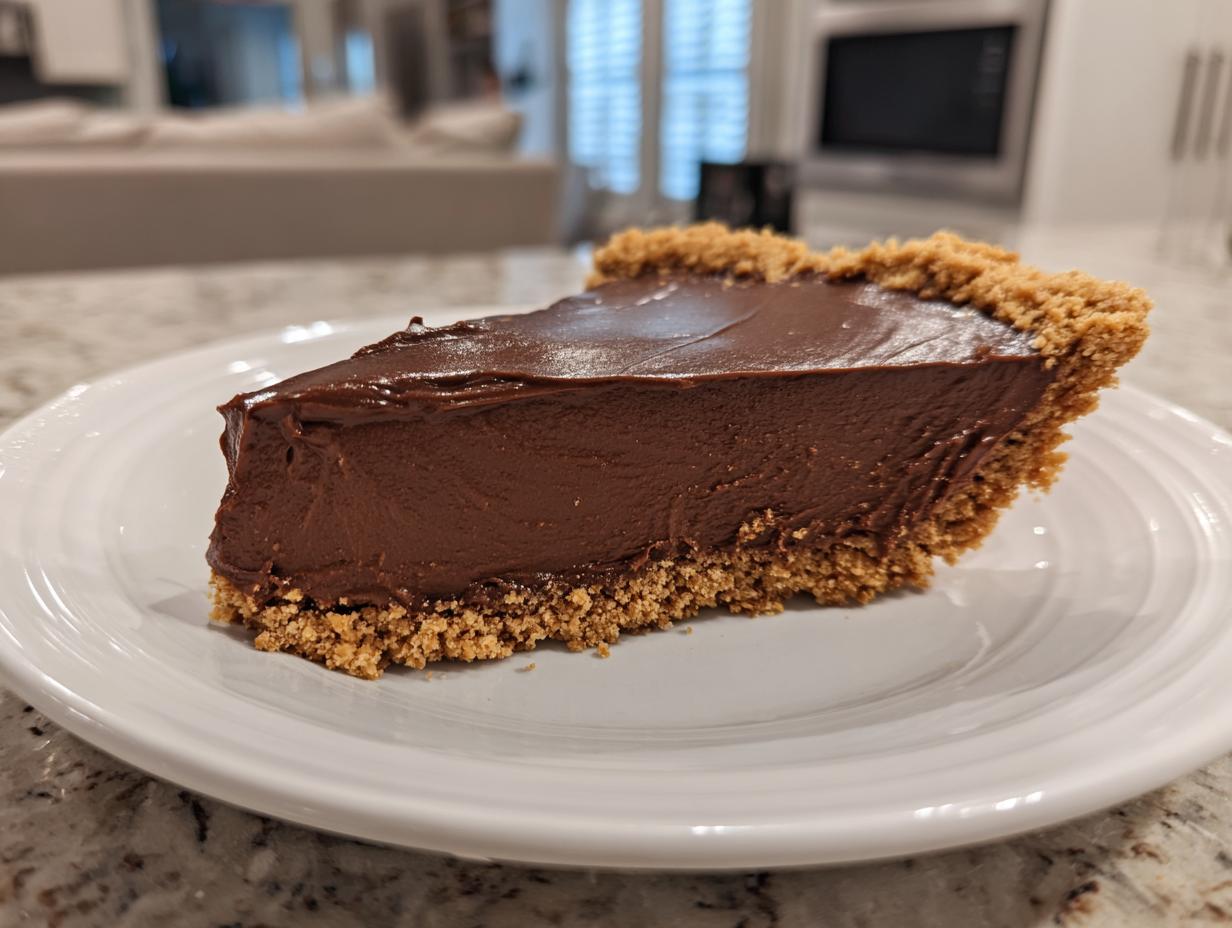
There’s just something about a perfect slice of dessert that seems to stop the world for a minute, right? When I was learning to cook, my Grandma Daisy taught me that the best things don’t need fussy ovens or hours of whisking. That’s why I am so thrilled to share my absolute favorite, most reliable homemade chocolate dessert recipes: this chocolate pie.
This isn’t just any pie; it’s a rich, no-bake treat that captures the velvety texture of a classic silk pie but uses my grandmother’s philosophy of simple, honest ingredients. It’s the kind of incredibly decadent chocolate pie recipe that seems complicated but is genuinely easy to pull together. When I’m back in my kitchen, trying to recapture that feeling of Daisy’s bustling home, this creamy concoction is what always brings me back.
- Why This Decadent Chocolate Pie Recipe Works (E-E-A-T Focus)
- Ingredients for the Best Homemade Chocolate Pie
- How to Make Chocolate Pie From Scratch: Step-by-Step Instructions
- Tips for the Perfect Chocolate Pie Texture and Flavor
- Ingredient Notes and Substitutions for Your Chocolate Pie
- Make Ahead Chocolate Desserts: Storing Your Chocolate Pie
- Serving Suggestions for This Chocolate Pie
- Frequently Asked Questions About Making Chocolate Pie
- Share Your Homemade Chocolate Dessert Recipes
Why This Decadent Chocolate Pie Recipe Works (E-E-A-T Focus)
This decadent chocolate pie recipe is my go-to because it cuts straight to the satisfying part: pure, rich chocolate bliss. Since it’s a creamy chocolate pie without baking, we skip the stress and just focus on flavor. The texture is unbelievably silk-like, which is no accident!
Here’s my biggest tip for guaranteed smoothness: your cream cheese must be completely at room temperature. If it has any cold lumps, your filling will be grumpy! Softened cheese incorporates flawlessly with the melted chocolate, ensuring that rich, dense-but-creamy finish that makes this one of the best homemade desserts ever.
Ingredients for the Best Homemade Chocolate Pie
Now, let’s talk supplies. You know I love keeping things simple, but simple doesn’t mean low quality! Getting the ingredients exactly right is what makes this chocolate pie shine. For the absolute best results, use a good brand of chocolate chips; it really makes a difference in the final decadent quality. Trust me on this one!
Crust Component Ingredients
We need three things to make that perfect, sturdy base for our pie. Make sure that butter is melted completely, but don’t let it get too hot before mixing it with the crumbs!
- 1 1/2 cups graham cracker crumbs
- 1/4 cup granulated sugar
- 6 tablespoons unsalted butter, melted
Rich Dark Chocolate Pie Filling Ingredients
This is where the magic happens! Remember that the cream cheese absolutely must be soft—take it out about an hour ahead of time. And the boiling water is key for melting the chocolate properly for that deep flavor.
- 2 cups heavy whipping cream
- 1 cup powdered sugar
- 1 teaspoon vanilla extract
- 8 ounces cream cheese, softened
- 1 cup semi-sweet chocolate chips
- 1/2 cup milk chocolate chips
- 1/4 cup boiling water
How to Make Chocolate Pie From Scratch: Step-by-Step Instructions
Okay, friend, this is where we actually build that phenomenal chocolate pie! It’s incredibly straightforward, but we need to respect the chilling times. If you rush the crust or the final set, you risk a sloppy mess instead of that perfect silk texture. I always treat these steps like little meditative moments; they’re fast, but they matter!
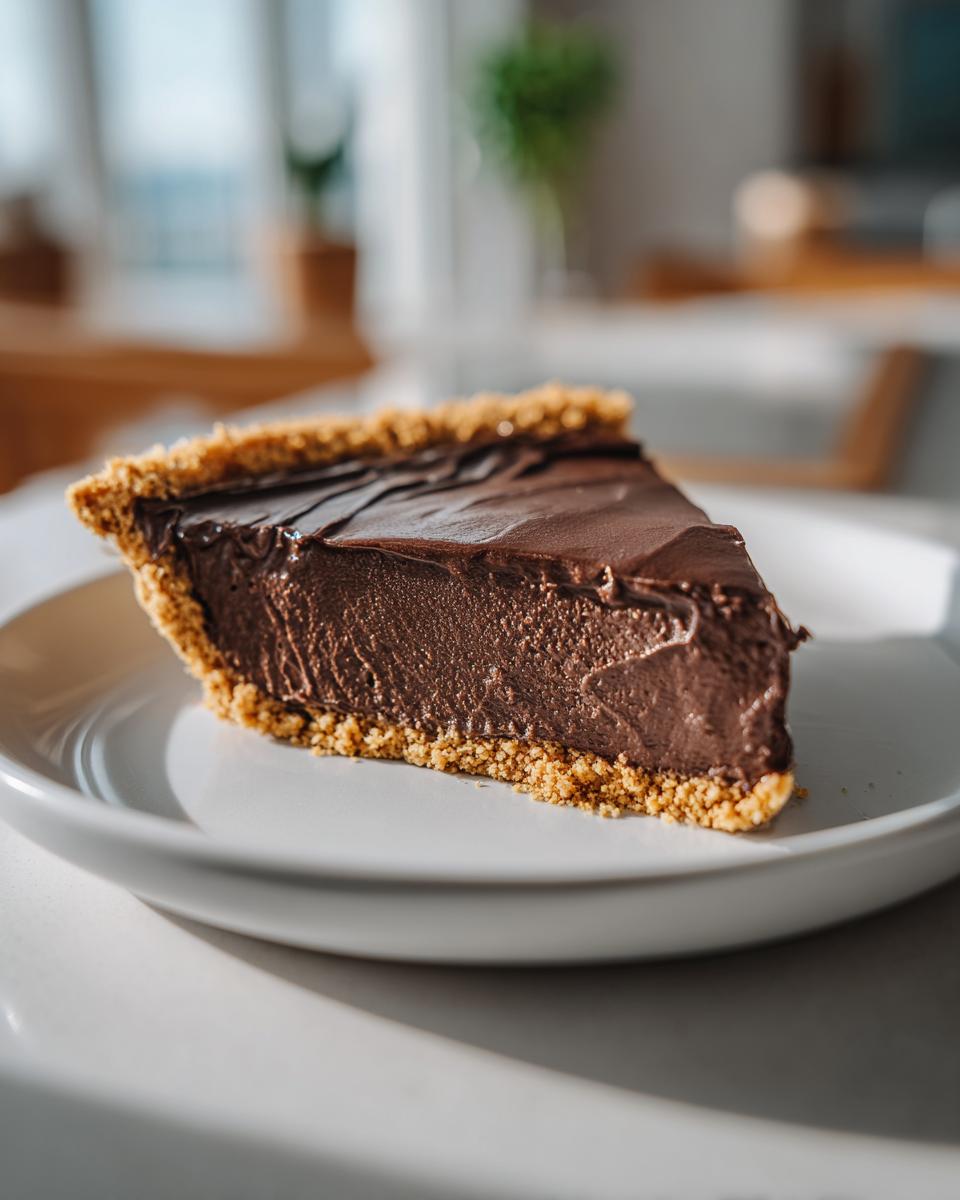
Preparing the Graham Cracker Crust Chocolate Pie Base
First things first: the base. Grab your graham crumbs, that touch of sugar, and the melted butter. Just toss them together in a bowl until everything is evenly moistened—it should resemble wet sand. Press that mixture firmly into your 9-inch pie plate. Really pack it down on the bottom and make sure you push it up the sides evenly. This firmness is essential for holding all that creamy filling! Once it’s packed tight, tuck it into the fridge for at least 30 minutes. Seriously, don’t skip this chill time or your crust might get crumbly when you slice it later.
Creating the Easy Chocolate Pie Filling
While the crust chills, we tackle the filling in a few easy stages. Start by melting your chocolate chips. Put both the semi-sweet and the milk chocolate into a heatproof bowl, and gently pour that boiling water over them. Don’t touch them for two minutes, then whisk until it’s glossy and smooth. Let that chocolate cool down a bit so it doesn’t melt our beautiful whipped cream later!
Next, whip your heavy cream with the powdered sugar and vanilla until you get nice stiff peaks—that’s volume we need! In another bowl, beat your softened cream cheese until it’s totally smooth, then slowly beat in that cooled, melted chocolate mixture until it’s one gorgeous brown color. Now for the secret: gently fold the whipped cream into the chocolate base in three batches. Use a spatula and go easy! We don’t want to knock the air out. Once it’s just combined, pour that lovely, light filling into your chilled crust. Smooth the top, and now for the hardest part: chill it for a minimum of six hours, but honestly, overnight makes the best homemade chocolate pie.

Tips for the Perfect Chocolate Pie Texture and Flavor
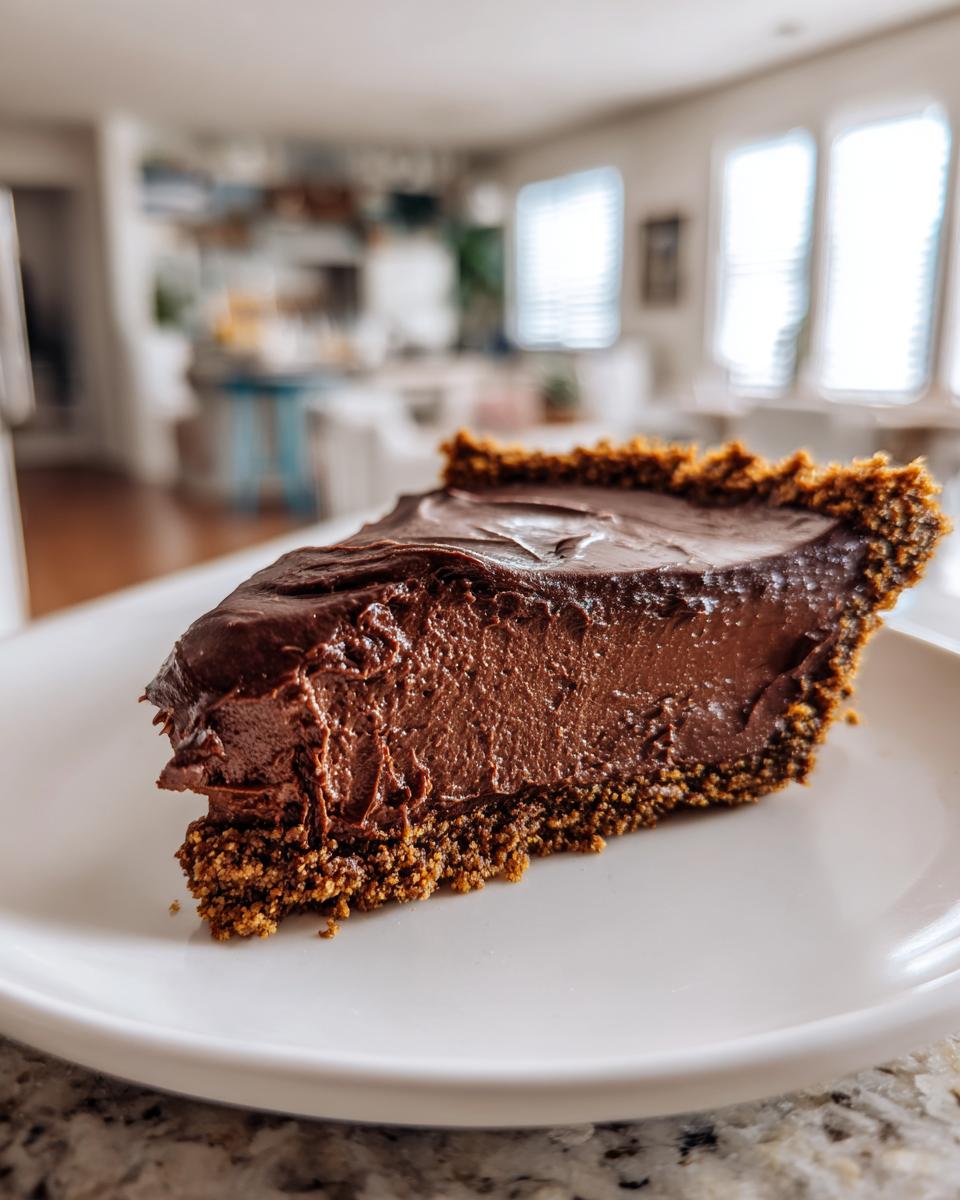
Getting that perfect, melt-in-your-mouth texture is all about balancing the chocolate intensity. If you want something bordering on deeply rich, almost like a dark truffle, try swapping out four ounces of those semi-sweet chips for a good quality unsweetened baking chocolate. This gives you those wonderfully intense flavor notes that go beyond a standard sweet filling. That’s my tip for those who love deeply satisfying, almost fudgy chocolate pie ideas!
I learned the hard way what happens when you rush the chill time. The first time I made this chocolate pie, I was impatient after about four hours, and when I sliced it, the center just sort of slumped out. It tasted fine, of course (it’s chocolate!), but it wasn’t the silk! We need that full 6 hours, or preferably overnight, so the cream cheese and chocolate can fully set up. Respect the chill, and you get a perfect slice every single time. If you’re curious about other textures, remember that swapping to an Oreo crust changes the whole feel, too!
Ingredient Notes and Substitutions for Your Chocolate Pie
When you’re diving into any great recipe, especially one like this no-bake dream, understanding your ingredients is half the battle. I often get asked, “Amelia, can I use something else for the crust?” Absolutely, you can tweak it! If you want to swap the graham cracker base for something with a bit more crunch, try using finely crushed Oreo cookies instead. It makes for a fantastic graham cracker crust chocolate pie alternative, or rather, an Oreo crust chocolate pie base—it’s delicious!
Also, let’s talk about the chocolate. If you’re aiming for that deeper, richer flavor profile, remember what I mentioned earlier: sneak in some unsweetened baking chocolate alongside your chips. It pulls the sweetness back slightly and adds beautiful complexity to your filling.
Make Ahead Chocolate Desserts: Storing Your Chocolate Pie
This is truly one of my favorite make ahead chocolate desserts because it forces you to slow down! Since this is a delicate mix, you really need that minimum of six hours of chill time, but honestly, leaving it overnight gives you the most perfect, sliceable texture for that classic chocolate silk pie result.
When you store leftovers, cover the plate gently with plastic wrap—but don’t let the wrap touch the surface of the pie! That way, the chocolate doesn’t pick up any weird fridge smells. It stays perfect for about three days, but I doubt it will last that long in my house!
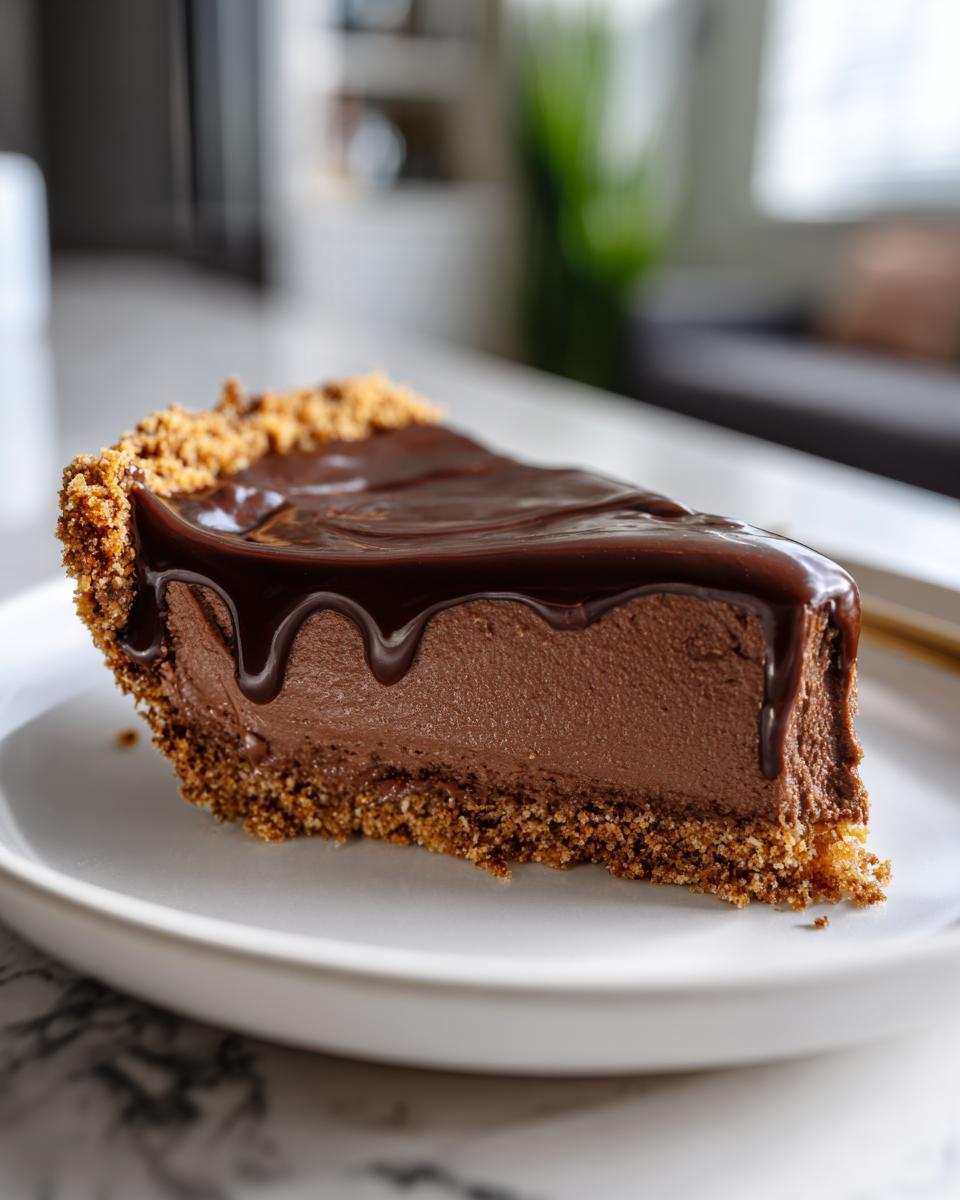
Serving Suggestions for This Chocolate Pie
You’ve made the perfect **chocolate pie**; now we need to dress it up just a touch! Since the filling is so rich, I keep the toppings really classic. A generous swirl of homemade whipped cream is absolutely mandatory; it cuts through the richness beautifully. I’ve shared my recipe for fluffy whipped cream if you want to whip some up!
For a little flair, a light dusting of chocolate shavings is lovely. On a warm night, though, I like topping a slice with a few fresh raspberries or maybe a single, bright red cherry. Simple, elegant, and lets that creamy chocolate filling do the talking!
Frequently Asked Questions About Making Chocolate Pie
I always get questions after sharing this recipe! It’s usually about texture, since everyone wants that perfect slice of **chocolate pie**. Here are the things I hear most often about making this creamy dessert!
Can I use a traditional pastry crust instead of graham cracker?
Oh, you certainly can! If you prefer a traditional baked pastry crust for your chocolate pie, you’ll need to bake and cool it completely before adding this no-bake filling. But just whispering a secret: baking a crust takes time, and part of the joy here is that it’s a quick, no-bake summer pie solution! For this filling, the graham cracker crust just works so well.
My filling didn’t set up right! What went wrong?
Don’t sweat it! This is common if you rush things. The two main culprits are usually: one, the melted chocolate mixture wasn’t fully cooled before folding into the whipped cream and cream cheese (it melts the air right out!), or two, you didn’t chill it long enough. You really need those six hours. I always suggest leaving it overnight if you can manage it—it guarantees you get that perfect silk texture.
Is this considered a French silk pie recipe easy version?
That’s a great question! It’s very close! A true, classic French silk pie often uses raw eggs, which this recipe avoids completely, making it safer and my preferred route for an easy French silk pie recipe style. Because we use cream cheese and whipped cream for structure instead of eggs, it’s much more stable and faster to assemble. It gives you that incredible airy mouthfeel without the fuss!
Share Your Homemade Chocolate Dessert Recipes
I truly hope making this **chocolate pie** brought a little bit of that cozy, no-fuss joy back into your kitchen, just like it does for me every time I pull it out of the fridge! My goal with Daisy’s Recipes is always about connection, not perfection, so I really want to hear how it turned out for you.
Did you stick to the graham cracker crust, or did you sneak in those Oreo crumbs? Leave me a rating below—it helps other cooks know just how good this simple dessert is! If you snap a picture of your slice, tag me on social media. Sharing these easy, wonderful homemade chocolate dessert recipes is how we keep those beautiful kitchen traditions alive and well. Enjoy every last creamy bite!
PrintClassic Chocolate Silk Pie: A Rich, No-Bake Dessert
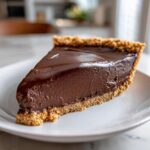
Make this decadent chocolate pie using a simple graham cracker crust and a creamy, rich filling. This is the best homemade chocolate pie for any occasion.
- Prep Time: 25 min
- Cook Time: 0 min
- Total Time: 6 hr 25 min
- Yield: 8 servings 1x
- Category: Dessert
- Method: No Bake
- Cuisine: American
- Diet: Vegetarian
Ingredients
- 1 1/2 cups graham cracker crumbs
- 1/4 cup granulated sugar (for crust)
- 6 tablespoons unsalted butter, melted
- 2 cups heavy whipping cream
- 1 cup powdered sugar
- 1 teaspoon vanilla extract
- 8 ounces cream cheese, softened
- 1 cup semi-sweet chocolate chips
- 1/2 cup milk chocolate chips
- 1/4 cup boiling water
Instructions
- Prepare the crust: Mix graham cracker crumbs, 1/4 cup sugar, and melted butter. Press the mixture firmly into the bottom and up the sides of a 9-inch pie plate. Chill for 30 minutes.
- Melt the chocolate: Place semi-sweet and milk chocolate chips in a heatproof bowl. Pour boiling water over the chips and let stand for 2 minutes. Whisk until smooth. Set aside to cool slightly.
- Make the filling base: In a large bowl, beat the heavy whipping cream, powdered sugar, and vanilla extract until stiff peaks form. Set aside.
- Combine cream cheese and chocolate: In a separate bowl, beat the softened cream cheese until smooth. Gradually beat in the cooled melted chocolate mixture until fully combined and smooth.
- Fold together: Gently fold the whipped cream mixture into the chocolate-cream cheese mixture in three additions until just combined. Do not overmix.
- Fill and chill: Pour the easy chocolate pie filling into the prepared, chilled crust. Smooth the top with a spatula.
- Chill the chocolate pie for at least 6 hours, or preferably overnight, until firm.
- Serve cold. Top with whipped cream and chocolate shavings if desired.
Notes
- For an extra rich dark chocolate pie flavor, substitute 4 ounces of the semi-sweet chips with unsweetened baking chocolate.
- If you prefer an Oreo crust, substitute 1 3/4 cups of finely crushed Oreo cookies for the graham cracker crumbs.
- This creamy chocolate pie without baking sets best when chilled completely; plan ahead for make ahead chocolate desserts.
Nutrition
- Serving Size: 1 slice
- Calories: 450
- Sugar: 35g
- Sodium: 280mg
- Fat: 30g
- Saturated Fat: 18g
- Unsaturated Fat: 12g
- Trans Fat: 0.5g
- Carbohydrates: 40g
- Fiber: 2g
- Protein: 5g
- Cholesterol: 95mg