
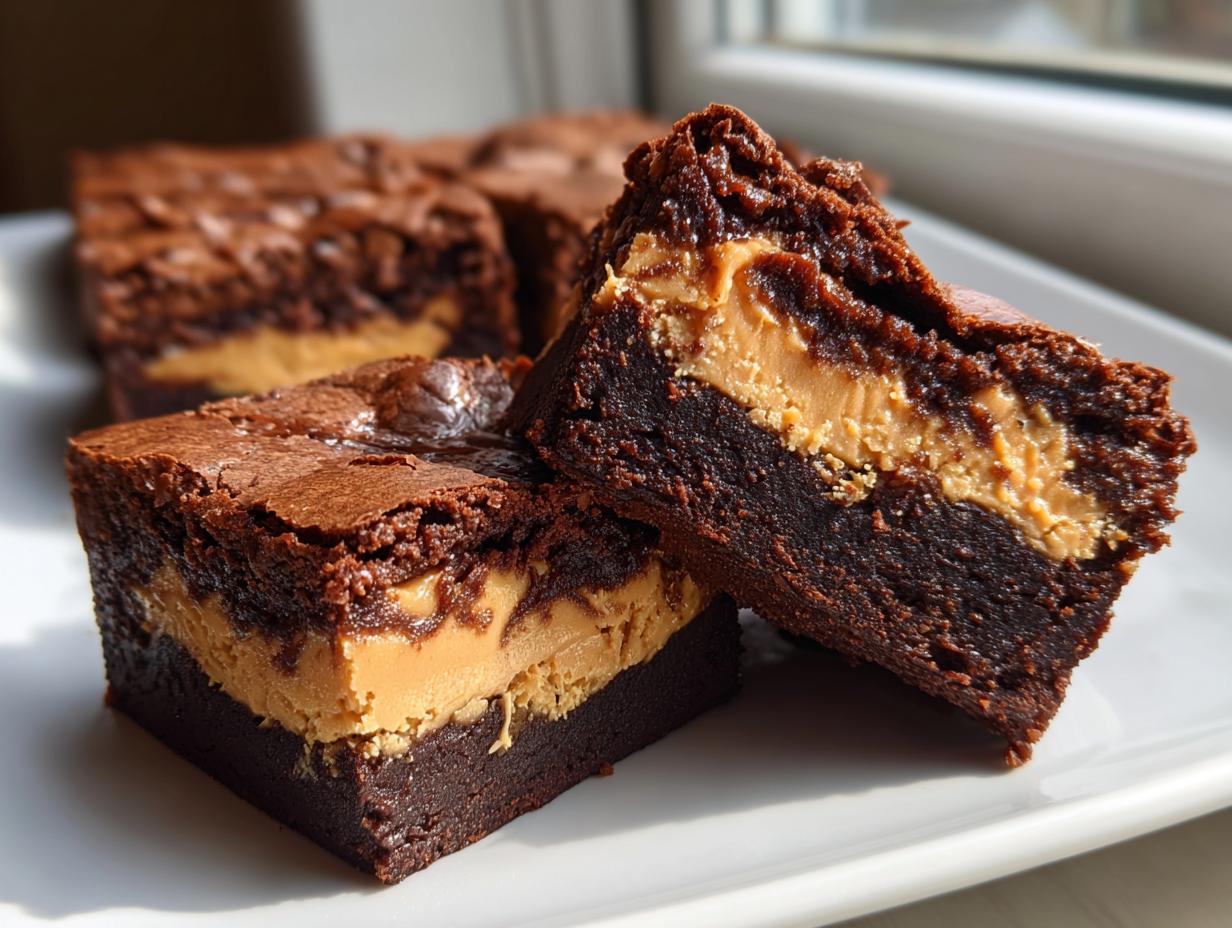
Oh, friends, if there is one thing my grandmother Daisy taught me, it’s that some desserts aren’t just food—they are an experience. And nothing says pure, decadent joy like biting into something truly rich. Forget those thin, dry squares you sometimes find; we are making the ultimate peanut butter stuffed brownies today, where a thick, creamy peanut butter core hides inside the fudgiest dark chocolate shell you’ve ever tasted.
This recipe feels like coming home. It takes me right back to my small apartment kitchen years ago, trying to recapture the warmth of Daisy’s simple, honest baking against the chaos of city life. This layered bar is my way of sharing that piece of home with you. If you love that perfect textural contrast, you should also check out my notes on getting shiny, crackly tops on your fudgy brownies! Trust me, once you master the layering technique, you’ll never go back to a plain brownie again. We’re aiming for gooey perfection here!
- Why This is the Best Peanut Butter Brownie Recipe (EEAT Focus)
- Gathering Ingredients for Your Peanut Butter Stuffed Brownies
- How to Make Stuffed Brownies: Step-by-Step Instructions
- Tips for Perfect Peanut Butter Stuffed Brownies Success
- Making Variations of Your Homemade Stuffed Brownie Recipe
- Serving Suggestions for Irresistible Chocolate Peanut Butter Squares
- Storage and Reheating Instructions for Peanut Butter Stuffed Brownies
- Frequently Asked Questions About Peanut Butter Stuffed Brownies
- Sharing Your Decadent Dessert Bars
Why This is the Best Peanut Butter Brownie Recipe (EEAT Focus)
What makes this our go-to? It’s all about fighting off the dreaded cakey texture. We are aiming for that dense, almost truffle-like fudge quality that only comes from the right ratio of butter and sugar. Grandma Daisy always said, “A brownie should fight back a little when you bite it!” We nail that rich chocolate structure beneath the filling.
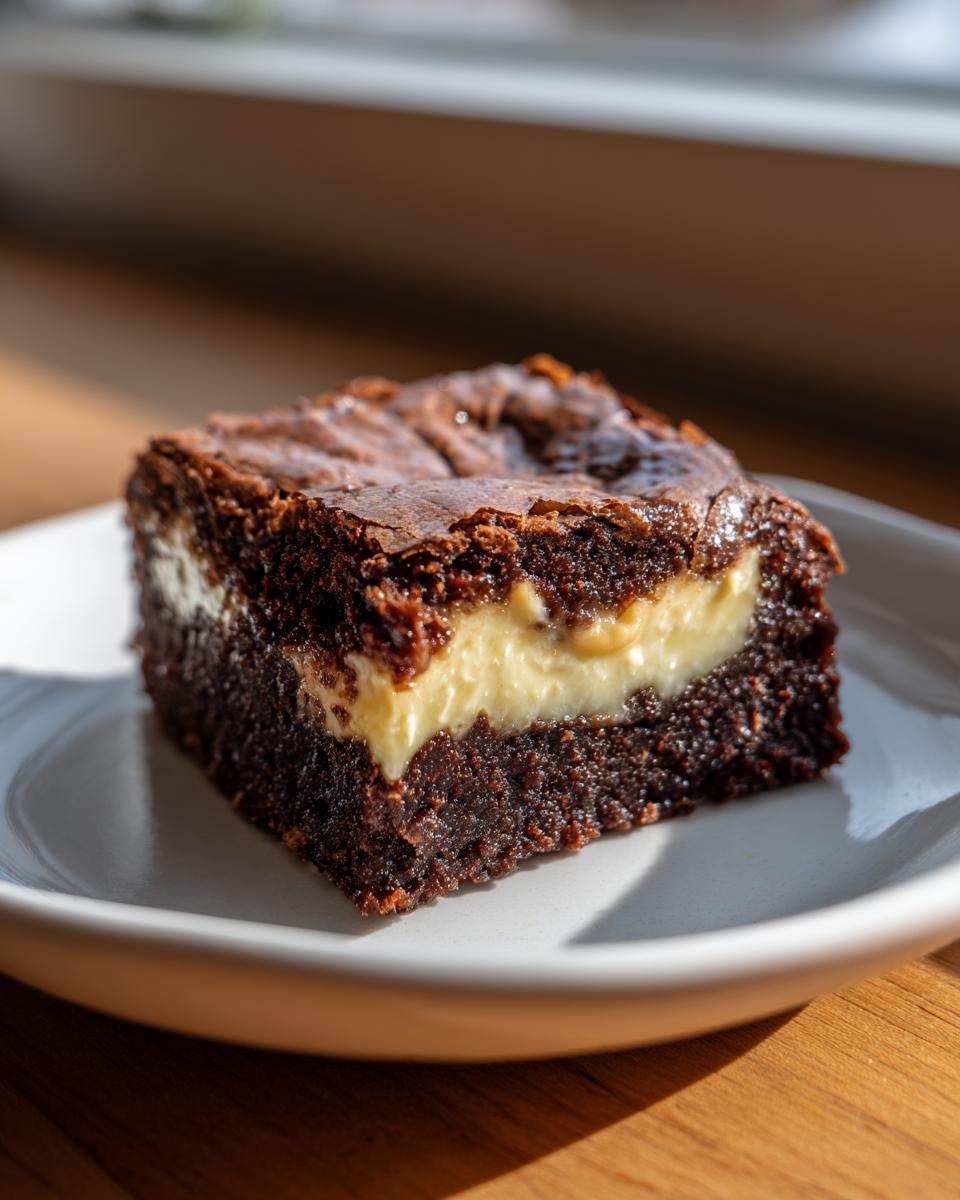
This isn’t just any recipe; this is hands-down the Best Peanut Butter Brownie Recipe because the filling stays perfectly centered and creamy, thanks to a very specific butter and peanut butter blend. It separates beautifully from the chocolate during baking, giving you that distinct two-layer satisfaction. If you want to perfect that shiny top, make sure you look at my tips for shiny, crackly tops!
Achieving Decadent Brownies with Creamy Center
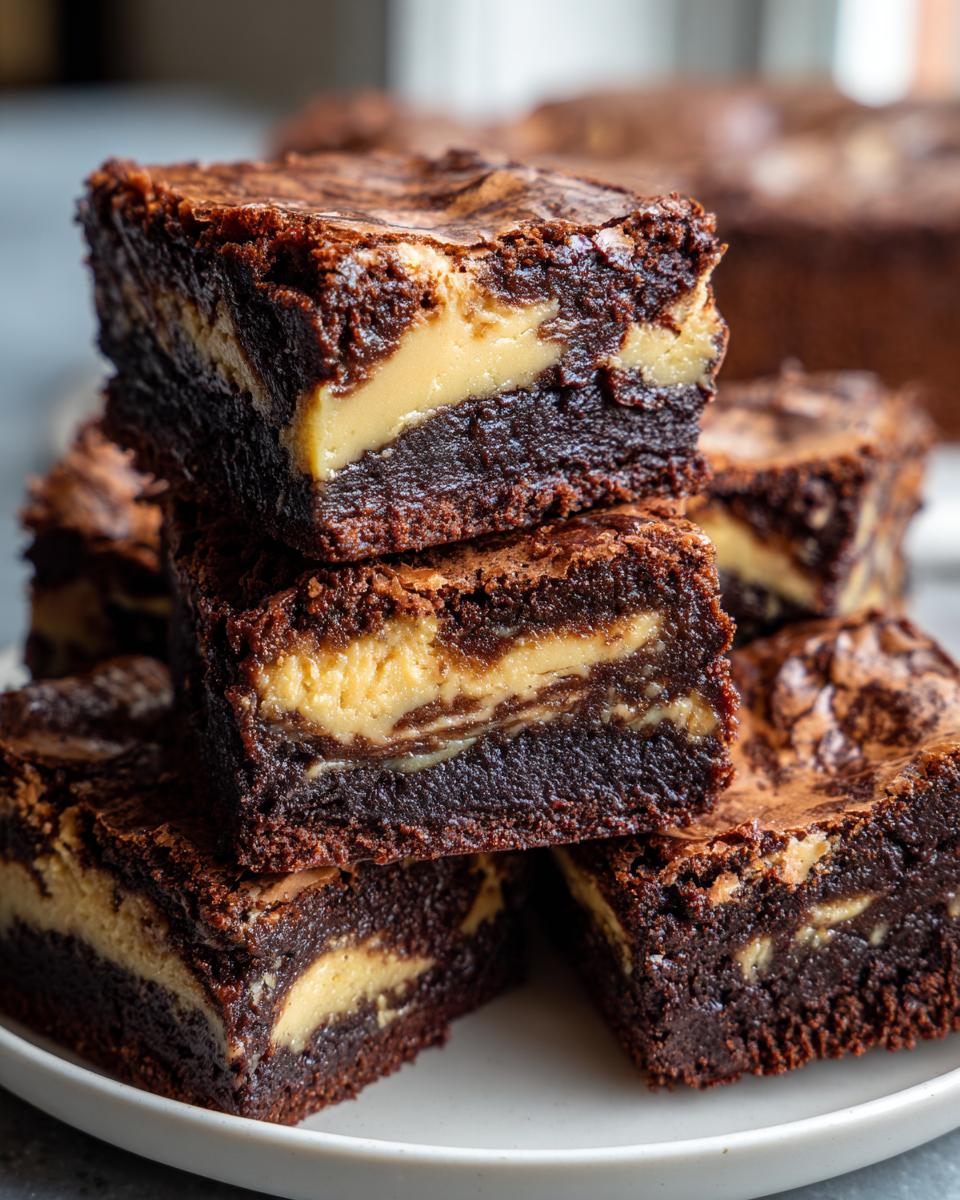
The magic here is the textural tug-of-war happening in your mouth. You get the intense, slightly bitter fudginess from the cocoa-heavy batter, which is immediately soothed by that sweet, salty, and unbelievably smooth peanut butter layer. It creates Decadent Brownies with Creamy Center that truly feel like they came from a high-end bakery, not just your oven.
Gathering Ingredients for Your Peanut Butter Stuffed Brownies
Before we dive into the layering, we need to make sure our components are perfect. Remember what I said about honesty in baking? Well, these ingredients have to be handled properly to get that amazing result! You’ll notice the ingredients are split into two simple groups: the powerhouse peanut butter stuffing and the deep, dark brownie batter that holds it all together. It’s amazingly straightforward, provided you stick to the right kind of peanut butter—and you’ll see why in a minute!
For all my best tips on getting that perfect filling consistency, peep my guide here on creamy peanut butter fudge; it uses the same principle!
For the Peanut Butter Filling for Brownies
This mixture is where structure matters most. You absolutely must use regular, creamy peanut butter here—the kind that seems slightly oily when you first open it. The natural separation in the organic styles will just cause your filling to sink right through the batter, and we definitely don’t want that!
- 1 cup creamy peanut butter (no natural separation styles!)
- 1/2 cup powdered sugar
- 1/4 cup (1/2 stick) unsalted butter, softened just right
- 1/4 teaspoon salt
For the Rich Chocolate Dessert Bars Batter
This is the fudgy shell! We want rich chocolate, so don’t skim on the cocoa powder. Make sure you whisk all the dry stuff completely before adding it to the wet ingredients—that step keeps the gluten development low and keeps our bars super tender underneath all that chocolate goodness.
- 1 cup (2 sticks) unsalted butter, melted
- 2 cups granulated sugar
- 4 large eggs
- 1 teaspoon vanilla extract
- 3/4 cup unsweetened cocoa powder
- 1 cup all-purpose flour
- 1/2 teaspoon salt
- 1/4 teaspoon baking powder
- 1 cup semi-sweet chocolate chips
How to Make Stuffed Brownies: Step-by-Step Instructions
Alright, this is where the magic happens! Following these steps is key to ensuring your peanut butter layer doesn’t decide to escape during baking. Read everything through once before you start mixing, and pull out your 9×9 pan; we need parchment paper with an overhang so we can lift these heavy beauties out later!
Preparing the Peanut Butter Filling for Brownies
First things first, get that creamy core ready. In a medium bowl, we just combine the peanut butter, powdered sugar, that softened butter—make sure it’s truly soft!—and a little pinch of salt. You need to beat this until it’s totally smooth and creamy. Don’t leave any lumps behind! Once it’s looking perfect, just set that bowl aside and resist the urge to sneak a taste.
Mixing the Fudgy Brownie Batter
Now for the chocolate drama! Start with your whisk and combine the melted butter and sugar until they look happy together. Then, beat in those four eggs, one by one, followed by the vanilla. Next, grab your dry ingredients—the cocoa, flour, salt, and baking powder—and slowly mix them in until you *just* see the last few streaks of flour disappear. Stop mixing immediately! We aren’t making cake here; we want fudgy. Fold in those chocolate chips gently. For a great guide on making other easy fudge-like bases, check out my easy 3-ingredient chocolate fudge recipe for inspiration.
Layering and Baking Your Peanut Butter Stuffed Brownies
Here’s How to Make Stuffed Brownies that stack perfectly. Spread half of your rich batter straight into that prepared 9×9 pan. Next, dollop that entire peanut butter filling mixture right over the top. Use a small offset spatula or a knife to coax that filling into an even layer, but try to keep it about a half-inch away from the edges. Now, be gentle! Carefully spoon the rest of the brownie batter over the top. Spread it slowly to cover the filling completely—no peanut butter leaks allowed! Bake at 350 degrees F for about 30 to 35 minutes. Test near the edge: you want moist crumbs, not wet goo.
Tips for Perfect Peanut Butter Stuffed Brownies Success
Okay, listen up, because getting these layers to cooperate is half the battle with any good stuffed dessert. My experience tells me that a few small checks before and after baking make all the difference between a beautiful bar and a messy casserole. We aren’t just throwing things together; we are engineering perfection here! If you want an extra guarantee of fudginess, double-check my methods for getting those shiny, crackly tops on the outside layer.
Preventing the Peanut Butter Center from Sinking
I need to stress this again: skip the natural, stir-and-serve peanut butter! The oil separates out too much, and gravity wins every time; that runny filling just sinks right down into the bottom layer of batter. Also, ensuring your brownie batter is thick—that’s why we don’t use too much liquid—means the batter has enough body to support the weight of the entire center layer of Peanut Butter Filling for Brownies while it bakes. It’s structural support, folks!
Cooling and Cutting Thick Stuffed Brownies Tutorial
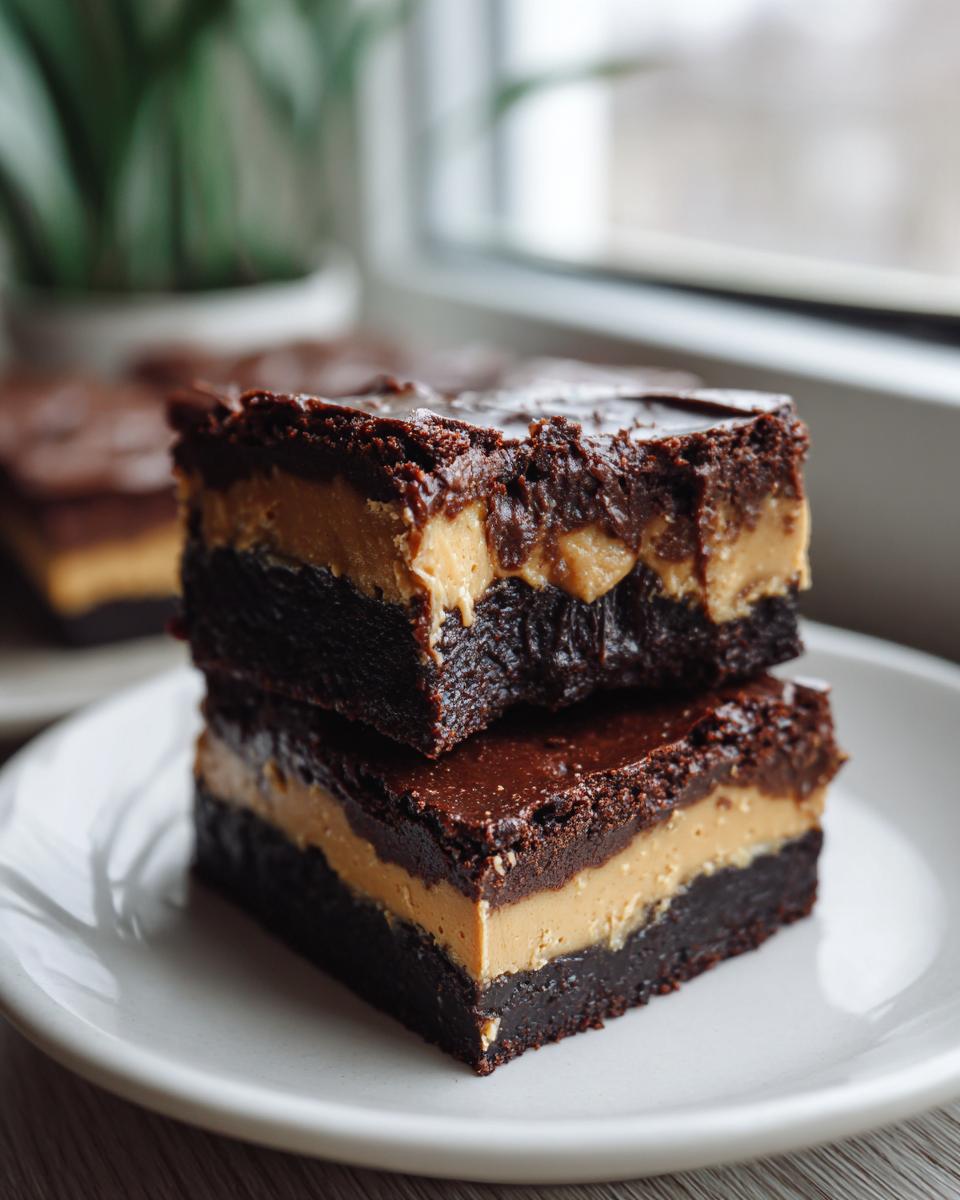
This is the hardest part—waiting! You absolutely cannot rush cooling. If you try to slice these while warm, the creamy center will smoosh out everywhere, and your beautiful, tall bars will look like a melted puddle. Seriously, let them cool completely on the rack first. If you aren’t patient enough for that, wrap the whole cooled slab tightly in plastic wrap and stick it in the fridge for an hour. Chilling solidifies everything, giving you those gorgeous, clean slices you see in pictures. It makes cutting Thick Stuffed Brownies Tutorial so much easier!
Making Variations of Your Homemade Stuffed Brownie Recipe
This Homemade Stuffed Brownie Recipe is brilliant as is, but sometimes you just need to shake things up! If you’re feeling adventurous, stop being so rigid with the layering. Instead of spreading the filling neatly, try dropping spoonfuls all over the bottom layer of batter, then use a butter knife to gently swirl it around a bit before topping it with the remaining batter. That gives you the creamy texture without the strict separation—it turns it into a beautiful peanut butter swirl brownie!
Also, don’t feel like you’re limited to just peanut butter. Almond butter works magnificently, and it adds a slightly different, nuttier flavor profile. And if you want texture in your filling, mix in some crushed pretzels or flaky sea salt right before you dollop it into the center. For more cookie-style inspiration using peanut butter, take a peek at my classic soft and chewy peanut butter blossoms!
Serving Suggestions for Irresistible Chocolate Peanut Butter Squares
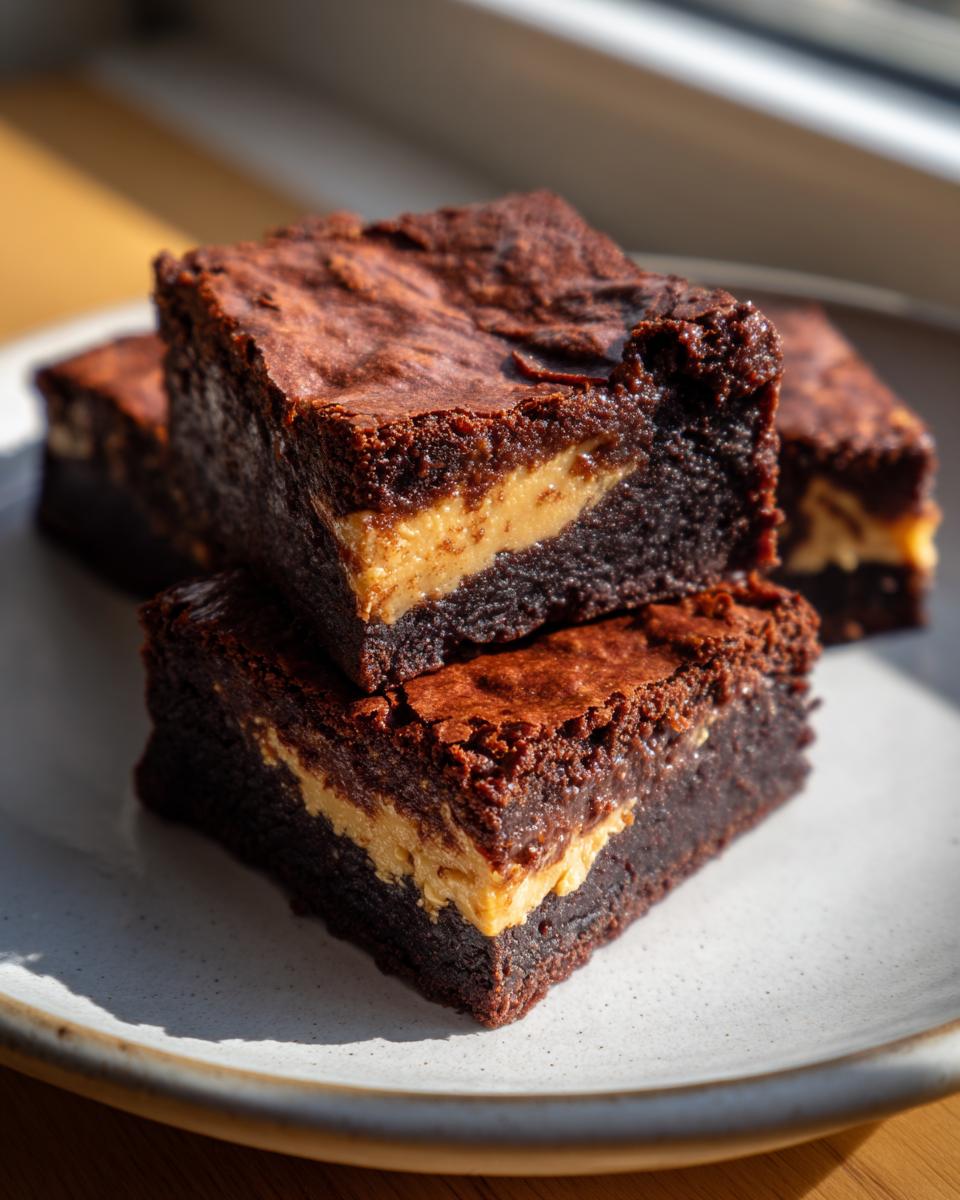
Now that you’ve managed to wait for these beauties to cool—which, let’s be honest, is the hardest part of this entire process—it’s time to serve them up! These Irresistible Chocolate Peanut Butter Squares are so rich they honestly don’t need much, but I have a few ways I love to dress them up for company.
A scoop of vanilla bean ice cream melting slowly over a warm square? Pure heaven. If you’re having them with coffee in the afternoon, a simple glass of cold milk is perfection. For an extra fancy touch, you can pipe a little swirl of my ultra-fluffy vanilla buttercream right on top. Honestly, just handing someone a napkin and pointing to the pan is usually enough to get rave reviews!
Storage and Reheating Instructions for Peanut Butter Stuffed Brownies
These rich bars are actually fantastic the next day—the flavors really meld together! You can keep them covered tightly at room temperature for about three days. Because of that creamy center, though, I prefer chilling them in the fridge, especially if your kitchen gets warm. They last nearly a week wrapped up tight in the cool air.
When you want to bring that fudgy texture back? Don’t microwave the whole batch! Just take one square and hit it with 8 to 10 seconds in the microwave. It warms the chocolate just enough to soften it up without turning that peanut butter filling into soup. Trust me, that brief warming is the secret to leftover perfection!
Frequently Asked Questions About Peanut Butter Stuffed Brownies
I get so many questions about how to manage these layered beauties! It’s normal to have a few snafus when you’re creating a dual-texture bar like this. Here are the things people ask me about most often when they are trying to nail the perfect gooey chocolate peanut butter bars at home. Don’t worry if you have one of these issues the first time; baking is all about learning the little quirks!
Can I use natural peanut butter in the filling?
Oh, I wish you could, but please don’t! Natural peanut butter separates way too easily because of the different oil consistency. If you use it, that lovely peanut butter layer will just separate and sink right down into the bottom of your batter, meaning you won’t get that distinct stuffed layer. Stick to the creamy (Jif, Skippy style) stuff for the core!
How do I make these peanut butter swirl brownies instead of stuffed?
That’s an easy switch if you prefer a less defined center! Instead of spreading the filling in one solid layer on the bottom, you’ll just dollop spoonfuls of the filling randomly over the first layer of batter. Then, take a thin knife and gently drag it through the batter a few times—just a quick swirl—before adding the top layer of batter. That gives you beautiful ribbons of peanut butter throughout your peanut butter swirl brownies.
What is the best way to get a shiny top on my peanut butter stuffed brownies?
That glorious, thin, crackly top comes from how you handle the initial wet/dry mix! We achieved a rich fudgy base by making sure we didn’t overmix the flour, which keeps the structure dense. But for the sheen, make sure you are whisking that melted butter and sugar together really well before adding the eggs—you’re building up a slight meringue effect that results in that high-gloss finish. If you struggle there, definitely check out my full guide on shiny brownie tops for more in-depth technique!
Sharing Your Decadent Dessert Bars
Honestly, when you manage to pull these thick, chocolatey, peanut butter-stuffed masterpieces out of the oven—and more importantly, get them cooled down—I really want to hear about it! This recipe carries the warmth of my grandmother’s kitchen, and seeing it make its way into yours is the best part of my day.
Did you manage to keep your layers perfectly separate? Was the center gooey but not runny? Don’t be shy! Head over to the comments below and tell me how they turned out. Did you serve yours warm with ice cream or chill them for that perfect bakery-style slice?
If you snapped a picture of your beautiful peanut butter stuffed brownies, I’d love to see them! You can always reach out to me directly through my contact page if you have specific questions or want to share a photo. Happy baking, and thank you for letting Daisy’s legacy live on at your table!
PrintBest Peanut Butter Brownie Recipe: Gooey Chocolate Peanut Butter Bars

Make thick, fudgy brownies with a creamy peanut butter filling center. This homemade stuffed brownie recipe yields rich chocolate dessert bars.
- Prep Time: 15 min
- Cook Time: 35 min
- Total Time: 50 min
- Yield: 16 squares 1x
- Category: Dessert
- Method: Baking
- Cuisine: American
- Diet: Vegetarian
Ingredients
- 1 cup (2 sticks) unsalted butter, melted
- 2 cups granulated sugar
- 4 large eggs
- 1 teaspoon vanilla extract
- 3/4 cup unsweetened cocoa powder
- 1 cup all-purpose flour
- 1/2 teaspoon salt
- 1/4 teaspoon baking powder
- 1 cup semi-sweet chocolate chips
- For the Peanut Butter Filling:
- 1 cup creamy peanut butter (not natural style)
- 1/2 cup powdered sugar
- 1/4 cup (1/2 stick) unsalted butter, softened
- 1/4 teaspoon salt
Instructions
- Preheat your oven to 350 degrees F. Line a 9×9 inch baking pan with parchment paper, leaving an overhang on two sides for easy removal. Lightly grease the paper.
- Prepare the peanut butter filling: In a medium bowl, beat together the peanut butter, powdered sugar, softened butter, and salt until smooth and creamy. Set aside.
- Prepare the brownie batter: In a large bowl, whisk the melted butter and granulated sugar together until combined.
- Beat in the eggs one at a time, mixing well after each addition. Stir in the vanilla extract.
- In a separate bowl, whisk together the cocoa powder, flour, salt, and baking powder. Gradually add the dry ingredients to the wet ingredients, mixing only until just combined. Do not overmix. Fold in the chocolate chips.
- Spread half of the brownie batter evenly into the prepared pan.
- Dollop the peanut butter filling mixture over the batter. Use a knife or offset spatula to gently spread the filling into an even layer, leaving a small border around the edges.
- Carefully spoon the remaining brownie batter over the peanut butter layer. Gently spread the top layer of batter to cover the filling completely.
- Bake for 30 to 35 minutes. The edges should look set, and a toothpick inserted near the edge should come out with moist crumbs, not wet batter. The center should still look slightly soft.
- Let the brownies cool completely in the pan on a wire rack before lifting them out using the parchment overhang. Cut into squares.
Notes
- For cleaner cuts, chill the cooled brownies for at least one hour before slicing.
- Do not use natural style peanut butter for the filling; the oil separation will cause the filling to sink.
- If you prefer a slightly more cakey texture, add 1/4 teaspoon of baking soda to the dry ingredients instead of baking powder.
Nutrition
- Serving Size: 1 square
- Calories: 310
- Sugar: 30
- Sodium: 150
- Fat: 19
- Saturated Fat: 8
- Unsaturated Fat: 11
- Trans Fat: 0
- Carbohydrates: 33
- Fiber: 2
- Protein: 6
- Cholesterol: 65