
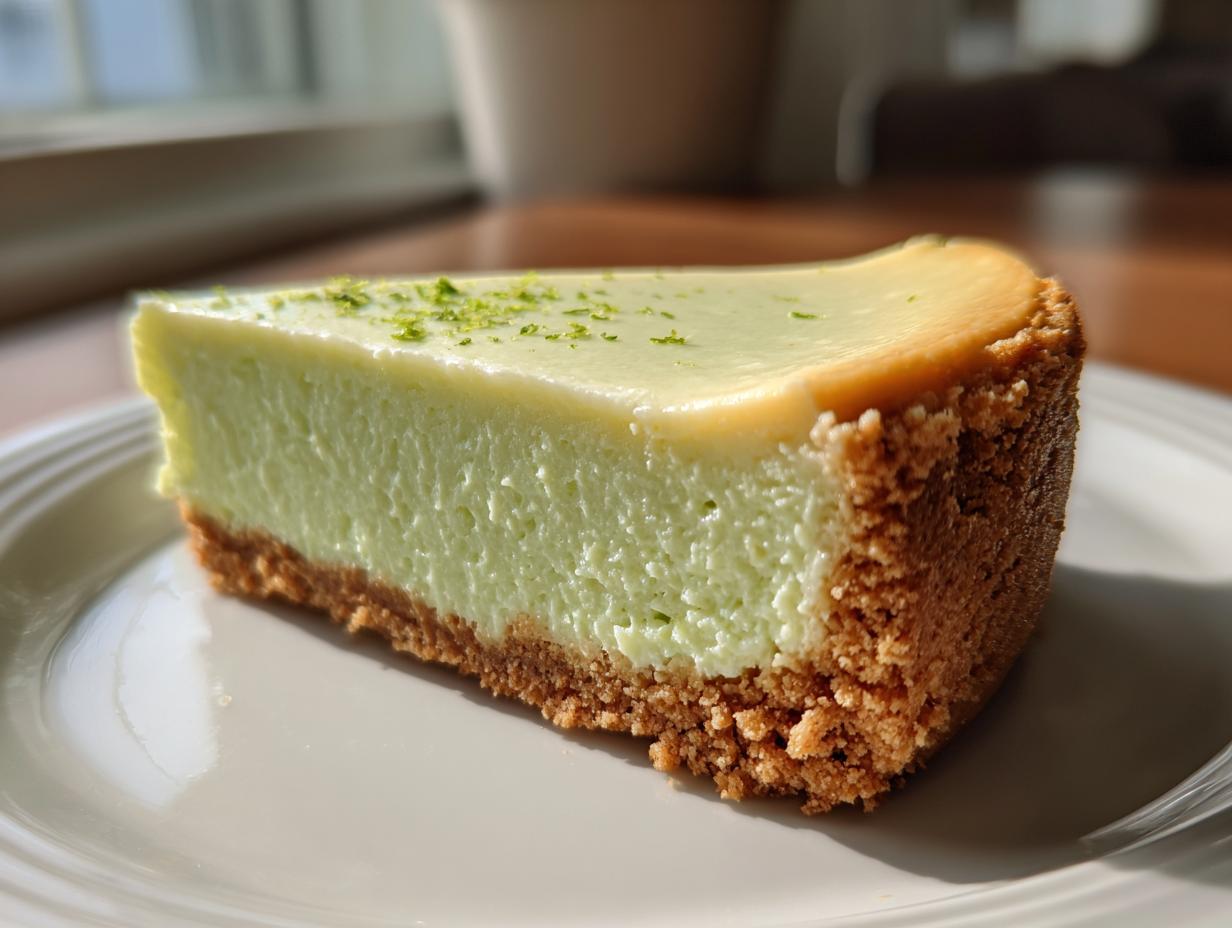
Oh, you know those sweltering summer days when you just crave something bright, cold, and utterly irresistible? That’s when I turn to this recipe. Forget those flimsy, gelatinous desserts; we are making the definitive, gloriously **creamy key lime cheesecake** here. This is a baked version, and trust me, the water bath method is worth the tiny bit of effort because it locks in a texture so smooth it practically melts. Baking this takes me right back to Grandma Daisy’s kitchen. She always said simple, honest food made with love is the best nourishment, and whipping up this tangy treat feels like reclaiming that piece of heritage. It’s sunshine in a slice, and you are going to nail that perfect texture!
If you’re looking for other rich textures, you simply must check out my recipe for the ultimate creamy white chocolate cheesecake next time!
- Why This Baked Key Lime Cheesecake Recipe Stands Out
- Gathering Ingredients for Your Key Lime Cheesecake
- Step-by-Step Instructions for Baked Key Lime Cheesecake
- Tips for the Best Key Lime Cheesecake Success
- Serving Suggestions for Your Tangy Lime Dessert
- Storing and Reheating Your Homemade Key Lime Cheesecake
- Addressing Common Questions About Key Lime Cheesecake
- Nutritional Estimates for Your Key Lime Cheesecake Slice
- Share Your Perfect Key Lime Cheesecake Creation
Why This Baked Key Lime Cheesecake Recipe Stands Out
We’ve all had those summer desserts that look pretty but taste… flat. Not this time! This baked **key lime cheesecake** beats the no-bake versions because it achieves that deep, velvety richness you just can’t get from chilling only. It truly delivers the absolute best, most *crack-free* slice you can imagine. It’s the recipe I trusted when I needed something truly special for a gathering.
- It guarantees that signature creamy texture that folks rave about when they try it.
- The baked method ensures a superior, stable structure underneath that bright topping.
- It strikes that perfect, craveable tangy balance of citrus and sweet cream cheese—not too sour, never boring!
For other incredible baked textures, you have to see how I manage that caramelized top on my Basque cheesecake!
Achieving a Perfectly Creamy Key Lime Cheesecake
There’s a science to creamy, and it lives right here! First, never, ever put cold cream cheese into the mixer—room temperature ingredients blend silkier. Second, the water bath is non-negotiable! It steams the edges gently, stopping the outside from cooking too fast. And the big rule? Once those eggs are in, you mix minimally. Just until it barely comes together. Overmixing whips in air, and air creates cracks when it tries to cool down. That’s how we get that ideal, Perfectly Creamy Cheesecake finish.
The Ideal Tangy Lime Dessert Flavor Profile
This is where fresh key lime juice earns its keep. The sheer tartness of real key limes cuts through the richness of the cream cheese beautifully. If you use standard bottled lime juice, you often end up just tasting sweet, which misses the point entirely! We are looking for a bright, assertive jolt of citrus that dances with the sugar. It shouldn’t taste like a lime candy; it needs that authentic, zesty punch! That careful pairing is what makes people ask for the recipe for this Tangy Lime Dessert.
Gathering Ingredients for Your Key Lime Cheesecake
Okay, listen up! Since this is a baked cheesecake, the quality of what goes into it really shouts loud and clear in the final product. If you want that superior, unbelievably bright flavor that defines a truly great **key lime cheesecake**, you’ve got to treat your ingredients right. I’ve learned the hard way that room temperature matters more than anything else here—it stops us from getting those frustrating little lumps we’re trying to avoid! Don’t skip the special notes next to the ingredients; they are my secrets to silky perfection.
When you’re ready to move on, my super stable vanilla buttercream recipe is the perfect partner for topping this later!
For the Graham Cracker Crust Cheesecake Base
- 1 1/2 cups graham cracker crumbs (I use store-bought crumbs, but you can crush your own!)
- 1/4 cup granulated sugar (for the crust, just enough to bind it)
- 6 tablespoons unsalted butter, melted (you need the melted fat to hold those crumbs together!)
For the Creamy Key Lime Cheesecake Filling
Remember, room temperature for the dairy and eggs is crucial here, people!
- 3 (8 ounce) packages cream cheese, fully softened
- 1 1/2 cups granulated sugar (for the main filling)
- 1 tablespoon all-purpose flour (just a tiny bit for stability, I promise!)
- 1 teaspoon vanilla extract
- 4 large eggs, all at room temperature
- 3/4 cup key lime juice (Please try to use freshly squeezed! It makes a world of difference against the store-bought stuff)
- 1 teaspoon lime zest
- 1/2 cup sour cream, at room temperature
- Optional Topping: Whipped cream and extra lime zest
Step-by-Step Instructions for Baked Key Lime Cheesecake
Alright, deep breath! We’re heading into the main event. I know that water bath sounds intimidating, like something only professional bakers bother with, but trust me, it is the silent hero that gives us that impossibly smooth, creamy key lime cheesecake. It’s all about controlling the environment so your careful mixing pays off! We handle the crust quickly, mix the filling gently, and then we let the oven do the heavy work—but only after we set up that little steamy bath for our beauty.
If you want to practice treating your crusts right, my graham cracker toffee is a wonderfully crunchy alternative!
Preparing the Graham Cracker Crust Cheesecake Base
First thing: get that oven warming up to 325 degrees Fahrenheit. While it’s heating, take your 9-inch springform pan and wrap the outside bottom really well—I mean, seriously sealed—with heavy-duty foil. Use two or even three layers. This keeps any rogue water from our bath seeping in. Mix your crust ingredients (crumbs, sugar, melted butter) until it looks like damp sand, press it firmly into the bottom of the pan, and bake it for exactly 10 minutes. Once that time is up, pull it out to cool down a little bit while we get started on the wonderful filling.
Mixing the Perfectly Creamy Cheesecake Filling
This is where patience is your best friend! Grab your softened cream cheese and beat it first until it looks like soft silk—no chunks allowed. Then, slowly add your 1 1/2 cups of sugar and the flour until it’s just combined. Now, remember our rule about air? Add those four room-temperature eggs in one by one. Mix only until the yellow disappears after each addition. Seriously, stop mixing once it’s incorporated! Finally, gently stir in your key lime juice, zest, and that sour cream until you have a smooth, pale green dream.
Baking the Key Lime Cheesecake with a Water Bath
Now for the magic trick: Place your foil-wrapped pan inside a large roasting pan. Carefully pour hot water into the roasting pan until the water is about halfway up the sides of your springform pan. Don’t splash any water into the cheesecake! Place the whole setup gently into the oven. Bake it for about 55 to 65 minutes. You’ll know it’s almost done when the edges look set and firm, but if you nudge the pan, the very center still has a tiny, almost noticeable wobble—a gentle jiggle!
The Essential Slow Cooling Process for Your Key Lime Cheesecake
Do not rush this part! This step is the #1 defense against a cracked top, which is just a sad sight on a perfect key lime cheesecake. Once the baking time is up, turn the oven OFF completely. Leave the cheesecake inside, but crack the oven door open just a tiny bit—prop it open with a wooden spoon if you need to. Let it sit in that gradually cooling environment for a full hour. This slow cooldown allows the temperature to equalize gradually, minimizing shrinkage and cracks. After that hour, *then* you can take it out to cool fully on a rack before chilling.
Tips for the Best Key Lime Cheesecake Success
Now that you’ve mastered the technique—the water bath, the gentle mixing—we need to talk about nailing the supporting details. Because honestly, achieving that top-tier, bakery-quality texture in your home kitchen sometimes comes down to the tiny things you do before you even turn the mixer on! If you follow these couple of golden rules, your **key lime cheesecake** will come out picture-perfect every single time, promising that tangy, creamy slice you deserve.
Ingredient Temperature: A Key to Creamy Key Lime Cheesecake
I cannot stress this enough: Cold ingredients are the enemy of smooth cheesecake batter! When your cream cheese, eggs, and that crucial sour cream all hit the bowl still chilled, they just don’t incorporate nicely. You end up beating the mixer harder, which means you’re adding air—and air leads to lumps, or worse, cracks later on. Take everything out at least an hour, maybe even two if your kitchen is cool, before you plan on mixing. They should feel soft and yielding when you touch them. This simple act of waiting is the closest thing to magic I know for getting a truly uniform, smooth filling.
Making Key Lime Cheesecake Bars or Mini Key Lime Cheesecakes
Sometimes I don’t want to mess with the springform pan and the whole water bath drama, and that’s totally fair! If you want a change of pace, adapting this recipe for different sizes is super easy. If you swap out the round pan for a 9×13 inch pan—hello, **Key Lime Cheesecake Bars**!—you just press that crust into the different shape. Because the bars are thinner, the bake time drops way down, usually finishing up around 30 to 35 minutes. You might not even need the water bath when baking bars, though I often still recommend it for the very best results on a rich **key lime cheesecake**!
If you’re looking for another great pan recipe, my easy cheesy potato casserole is perfect for a 9×13 pan!
Serving Suggestions for Your Tangy Lime Dessert
Once that beautiful, creamy canvas has chilled overnight—and yes, you have to wait, it’s worth it!—it’s time to dress it up. Presentation makes all the difference, doesn’t it? I always go for simple elegance here. A good dollop of freshly whipped cream works wonders; it cuts through the tartness just enough. Speaking of tartness, grab a zester and give a final shower of bright green lime zest right over the top just before serving. It smells incredible! If you want something rich, a drizzle of orange juice cake glaze would be an interesting, bright pairing too.
Storing and Reheating Your Homemade Key Lime Cheesecake
The hardest part about this amazing key lime cheesecake is waiting for it to chill, but trust me, you absolutely cannot skip this step if you want that signature creamy slice. The recommended time is at least six glorious hours in the fridge, but honestly? Overnight is when the flavors really settle in and the texture firms up perfectly. That waiting time is crucial for setting up the beautiful structure we worked so hard to achieve!
When it comes to storing leftovers, just cover the cheesecake loosely—I usually use plastic wrap that I drape gently over it, or just put the whole pan (with the springform ring taken off, of course!) into a large sealed container. It stays fantastic in the refrigerator for about four or five days. It’s so refreshing, I doubt you’ll have many leftovers, but knowing you can pull out a slice of that key lime cheesecake tomorrow is always comforting!
If you’re looking for something that lasts a long time without any chilling, you could try my super simple 3-ingredient chocolate fudge recipe instead.
Addressing Common Questions About Key Lime Cheesecake
It’s funny how everyone has a few tricks up their sleeve for that perfect slice, right? I get so many messages asking about tweaks, substitutions, and why my cheesecake might look different than others. My goal here is to give you all the confidence in baking this so you get that rich, creamy key lime cheesecake every single time. Don’t worry if you’re missing one tiny thing—we can usually improvise! But first, let’s tackle the big ones, like those elusive key limes.
If you ever want to dive into a completely different type of indulgence, check out my recipe for the mud pie dessert! It’s pure decadence. And hey, if you’re trying to get that exact Martha Stewart flavor profile, you might want to see how her famous recipe compares—you can check out more details on her Martha Stewart Key Lime Cheesecake Recipe while you’re here!
Can I make a No Bake Key Lime Cheesecake using this method?
That’s a great question! This recipe is totally dedicated to the baked method because that’s how you get that dense, velvety texture that mimics the best bakery versions. If you’re looking for a super speedy, chilled version, a no bake lime dessert will skip the oven and the water bath entirely. But for this specific texture we’re aiming for? You need the oven heat to set those eggs correctly!
What is the best substitute if I cannot find Key Lime Juice?
I totally get it; sometimes those tiny key limes aren’t sitting in your grocery store. The best work-around for a Tangy Lime Dessert is to use regular fresh Persian lime juice—you know, the big ones! You’ll probably need to triple the amount of zest, maybe even a little extra zest than the recipe calls for, because the standard lime just doesn’t have that potent, sharp flavor key limes pack. It won’t be 100% identical, but you’ll still get a beautiful, zesty result.
How does this compare to a Cheesecake Factory Copycat Dessert?
Oh, you are speaking my language! People constantly ask about getting that iconic taste, and yes, if you look around, there are tons of recipes out there trying to nail that Cheesecake Factory Copycat Dessert flavor. This recipe is certainly inspired by that high standard! We use the full amount of cream cheese and the specific combination of lime juice and sour cream to mimic that signature richness and perfect tang. I think you’ll find this homemade version is creamy, satisfying, and honestly, easier to manage than ordering takeout!
For another classic approach to cheesecake, my classic New York-style cheesecake is essential learning, too!
Nutritional Estimates for Your Key Lime Cheesecake Slice
I always feel a little weird talking about numbers when we are focused on pure, comforting enjoyment, but I know some of you track things, so here are the estimates for a single, glorious slice of this dessert. Please remember that these figures are based on the ingredient amounts listed in the recipe. If you decide to go heavy on the whipped cream topping, well, those numbers might scoot up a bit! Baking is about love, but it’s also smart to have an idea of what you’re digging into. If you’re chasing lighter fare after this heavy treat, you can always browse my ideas for healthy breakfast ideas!
- Serving Size: 1 slice
- Calories: 450
- Sugar: 35g (That graham cracker crust adds up!)
- Sodium: 300mg
- Fat: 30g
- Saturated Fat: 18g
- Carbohydrates: 40g
- Protein: 7g
- Cholesterol: 120mg
It’s rich, yes, because it’s cheesecake, but that decadence is exactly what makes it worth the effort, isn’t it? Don’t sweat the small stuff; just enjoy that perfectly creamy profile!
Share Your Perfect Key Lime Cheesecake Creation
Now that you’ve successfully navigated the water bath, conquered the slow cooling, and waited patiently for that overnight chill, I really want to see what you made! Seriously, there is nothing better than hearing from you folks about how this recipe turned out in *your* kitchen. Did you get that perfect, unwavering slice? Did the homemade whipped cream hold up? Tell me everything!
Jump right down into the comments below and give this recipe a star rating—it really helps other bakers know this **key lime cheesecake** is worth their weekend efforts. If you snapped any gorgeous photos of that wonderfully creamy texture or that vibrant green hue, please tag me on social media! I absolutely love seeing your success stories. Hearing how Daisy’s legacy of simple, good food lives on in your home is why I keep baking and sharing here. Let’s chat about your tropical cheesecake treats!
If you ever have questions about technique or need any help at all, don’t hesitate to reach out directly through my contact page. Happy baking!
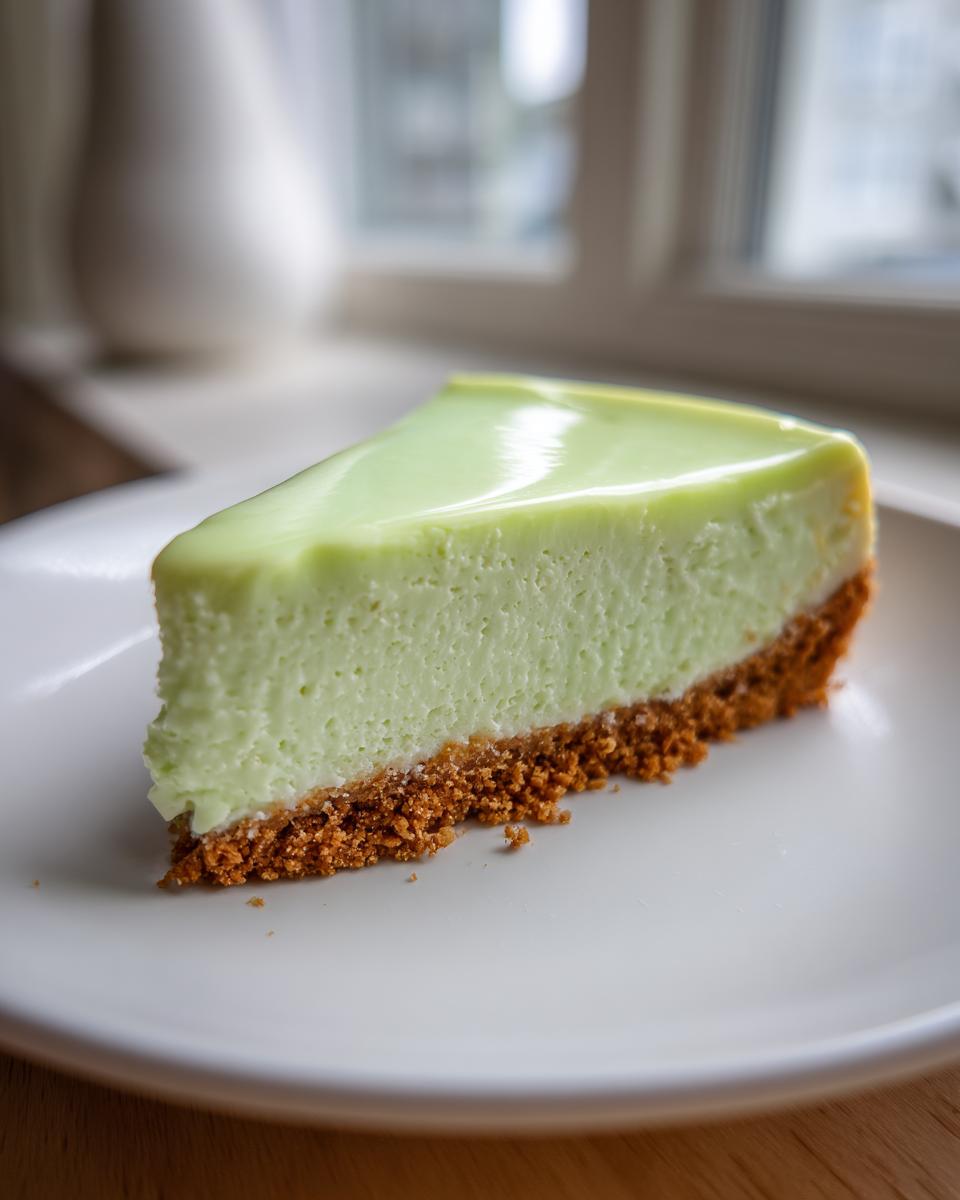
PrintThe Ultimate Creamy Baked Key Lime Cheesecake with Graham Cracker Crust

You will make this creamy, tangy key lime cheesecake with a buttery graham cracker crust. This baked recipe delivers the perfect sweet and tart balance for a refreshing dessert.
- Prep Time: 25 min
- Cook Time: 65 min
- Total Time: 8 hours 30 min
- Yield: 12 servings 1x
- Category: Dessert
- Method: Baking
- Cuisine: American
- Diet: Vegetarian
Ingredients
- 1 1/2 cups graham cracker crumbs
- 1/4 cup granulated sugar (for crust)
- 6 tablespoons unsalted butter, melted
- 3 (8 ounce) packages cream cheese, softened
- 1 1/2 cups granulated sugar (for filling)
- 1 tablespoon all-purpose flour
- 1 teaspoon vanilla extract
- 4 large eggs, room temperature
- 3/4 cup key lime juice (freshly squeezed is best)
- 1 teaspoon lime zest
- 1/2 cup sour cream, room temperature
- Optional Topping: Whipped cream and extra lime zest
Instructions
- Preheat your oven to 325 degrees Fahrenheit. Wrap the outside bottom of a 9-inch springform pan tightly with heavy-duty aluminum foil. Set a large roasting pan nearby for the water bath.
- Prepare the crust: In a medium bowl, mix the graham cracker crumbs, 1/4 cup sugar, and melted butter until evenly moistened. Press the mixture firmly and evenly into the bottom of the prepared springform pan. Bake the crust for 10 minutes. Remove from the oven and let it cool slightly.
- Prepare the filling: In a large bowl, use an electric mixer to beat the softened cream cheese until smooth. Gradually beat in the 1 1/2 cups sugar and flour until combined. Mix in the vanilla extract.
- Beat in the eggs one at a time, mixing only until each egg is just incorporated. Do not overmix the batter once the eggs are added.
- Gently stir in the key lime juice, lime zest, and sour cream until the filling is smooth and uniform in color.
- Pour the filling over the cooled crust in the springform pan.
- Create the water bath: Place the foil-wrapped springform pan inside the large roasting pan. Carefully pour hot water into the roasting pan until the water reaches about halfway up the sides of the springform pan.
- Bake for 55 to 65 minutes, or until the edges are set but the center still has a slight jiggle when gently nudged.
- Turn off the oven, crack the oven door open slightly, and let the cheesecake cool inside the oven for 1 hour. This slow cooling prevents cracking.
- Remove the cheesecake from the water bath and foil. Let it cool completely on a wire rack at room temperature.
- Once cool, cover the cheesecake and chill in the refrigerator for at least 6 hours, or preferably overnight, before serving.
- Before serving, remove the springform ring. Top with whipped cream and extra lime zest if desired.
Notes
- Use room temperature ingredients for the cream cheese, eggs, and sour cream; this prevents lumps in your filling.
- For a crack-free cheesecake, do not skip the slow cooling process inside the turned-off oven.
- If you prefer Key Lime Cheesecake Bars, press the crust into a 9×13 inch pan and bake for 30-35 minutes.
Nutrition
- Serving Size: 1 slice
- Calories: 450
- Sugar: 35g
- Sodium: 300mg
- Fat: 30g
- Saturated Fat: 18g
- Unsaturated Fat: 12g
- Trans Fat: 0.5g
- Carbohydrates: 40g
- Fiber: 1g
- Protein: 7g
- Cholesterol: 120mg