
Oh, my friends, is there anything that smells more like spring kicking into high gear than baking with rhubarb? That wonderful, challenging tartness just sings when you mix it with sugar! I’m Amelia, and I’m so happy you stopped by. For me, cooking is all about honoring the simple, honest food my Grandma Daisy used to make, and this rhubarb crisp is exactly that—pure comfort without any fuss. It’s the recipe I turn to when I need something deeply satisfying but don’t have all day to fuss. Trust me, even if you’ve never successfully made a fruit dessert before, this recipe for rhubarb crisp is so straightforward, you’ll end up with a bubbly, jammy filling and the most incredible crunchy oat topping.
- Why This is the Best Rhubarb Crisp Recipe for Seasonal Baking
- Ingredients for Your Easy Homemade Rhubarb Crisp
- How to Make Rhubarb Crisp: Step-by-Step Instructions
- Tips for Success with Your Rhubarb Crisp
- Serving Suggestions for Warm Crisp with Ice Cream
- Storage and Reheating Instructions for Homemade Rhubarb Desserts
- Frequently Asked Questions About Rhubarb Crisp
- Estimated Nutritional Data for This Rhubarb Crisp
- Share Your Simple Rhubarb Dessert Experience
Why This is the Best Rhubarb Crisp Recipe for Seasonal Baking
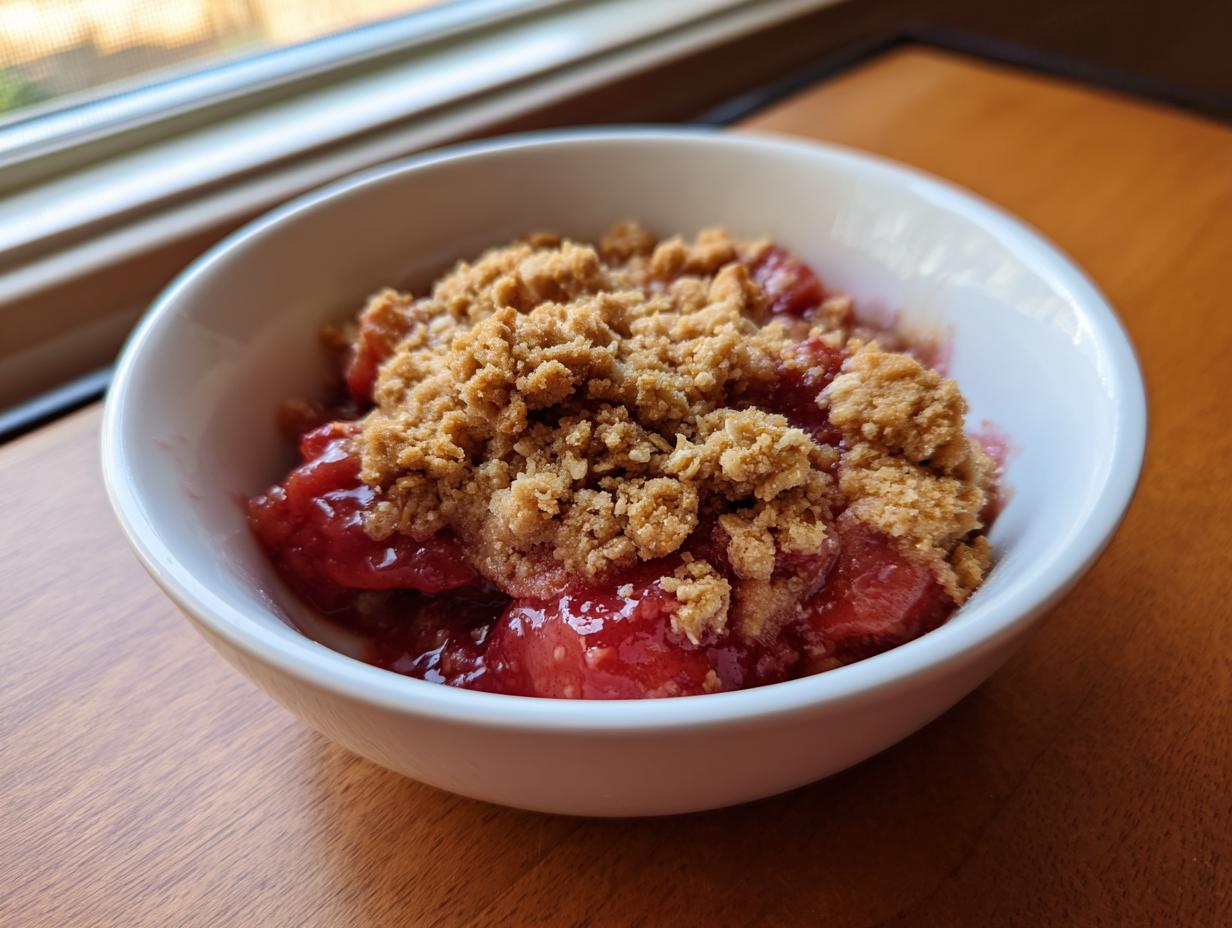
When that first tender stalk of rhubarb shows up at the market, you know it’s time to bake something special. This isn’t just any dessert; this is truly the Best Rhubarb Crisp Recipe if you ask me! What makes it stand out in the world of Spring Fruit Crisp Recipes is the texture contrast. Grandma Daisy always taught me that a great crisp needs that perfect battle between components.
You get the wonderfully jammy, tart filling, which pools up beautifully while it bubbles under the heat. But then you hit that topping! It’s rich with brown sugar and oats, providing a buttery crunch that doesn’t get soggy halfway through baking. That’s the magic right there! It uses seasonal fruit practically and delivers huge flavor without needing complicated pastry skills. It’s satisfying, rustic, and so easy to whip up when company drops by unexpectedly. You’ll want to make sure you save this one, perhaps right next to my other favorite dessert recipes.
Ingredients for Your Easy Homemade Rhubarb Crisp
Whenever I write out ingredients, I channel Grandma Daisy peering over my shoulder, insisting I measure that brown sugar just right! Having everything ready before we start mixing is the secret to keeping this an Easy Homemade Rhubarb Crisp. We break this down into two simple parts: the filling that gets wonderfully jammy, and the topping that stays irresistibly crunchy.
Take a look at what you need before you begin. Pay close attention to the butter for the topping—cold is crucial!
For the Sweet Tart Rhubarb Filling
- 4 cups fresh rhubarb, chopped into 1-inch pieces
- 1 cup granulated sugar (You can tweak this slightly based on how tart your rhubarb is—taste a tiny piece if you’re unsure!)
- 2 tablespoons all-purpose flour
- 1 teaspoon vanilla extract
- 1/4 cup water
For the Buttery Crumble Topping Dessert
This is where the texture magic happens! You need something substantial here for that perfect Buttery Crumble Topping Dessert.
- 1 cup all-purpose flour
- 1 cup rolled oats (only use old-fashioned, please! Quick oats get mushy.)
- 3/4 cup packed brown sugar
- 1/2 teaspoon ground cinnamon
- 1/4 teaspoon salt
- 1/2 cup (1 stick) cold unsalted butter, cut into small pieces
Remember, that butter for the topping must be cold, even colder than room temperature. It’s what keeps your topping from dissolving into the filling and ensures you get that amazing, Crunchy Oat Topping Dessert everyone fights over!
How to Make Rhubarb Crisp: Step-by-Step Instructions
Okay, now that all our ingredients are lined up—and trust me, having them ready makes this whole process feel like a dream—we can dive into the actual baking! This is where we turn simple things into something truly special. This whole process proves just how wonderfully easy this Beginner Baker Crisp Recipe truly is. You just need patience for the few minutes needed to mix everything perfectly.
Preparing the Sweet Tart Rhubarb Filling
First thing’s first: get that oven humming! You want to preheat it right now to 375°F (190°C). Grab your 8×8 or 9-inch baking dish and give it a quick grease. In a medium bowl, dump in all your rhubarb, the granulated sugar, those two tablespoons of flour, the water, and the vanilla. Don’t just stir wildly—Grandma Daisy always said to toss everything gently, almost like you’re fluffing a pillow. We don’t want to bruise the rhubarb too much! Once it’s all coated evenly, pour that beautiful, colorful mix right into your prepared dish. Spread it out so the bottom layer is even.
Achieving Crisp Topping Perfection
Time for the best part: that golden crown! Grab the bowl with all your topping dry ingredients—the flour, oats, brown sugar, cinnamon, and salt. Now, take those cold, cubed butter chunks you set aside. You need to incorporate that butter into the dry mix. I usually sneak my fingers in there—it’s faster than a pastry blender, though I won’t judge if you use one! Pinch and rub the butter into the dry stuff until you see coarse crumbs form. You absolutely need some pea-sized clumps of butter left untouched. Those are your guarantee for Crisp Topping Perfection!
Once you have that lovely, uneven crumb mixture, sprinkle it evenly over your rhubarb filling. Important note here: don’t press it down! Just let it fall naturally. If you pack it down, it steams instead of bakes crunchy. I always suggest setting your dish on top of a larger baking sheet, just in case that delicious filling bubbles over a bit while it bakes. You can find more tips for perfect toppings on my apple crisp topping article, too!
Baking and Setting the Rhubarb Crisp
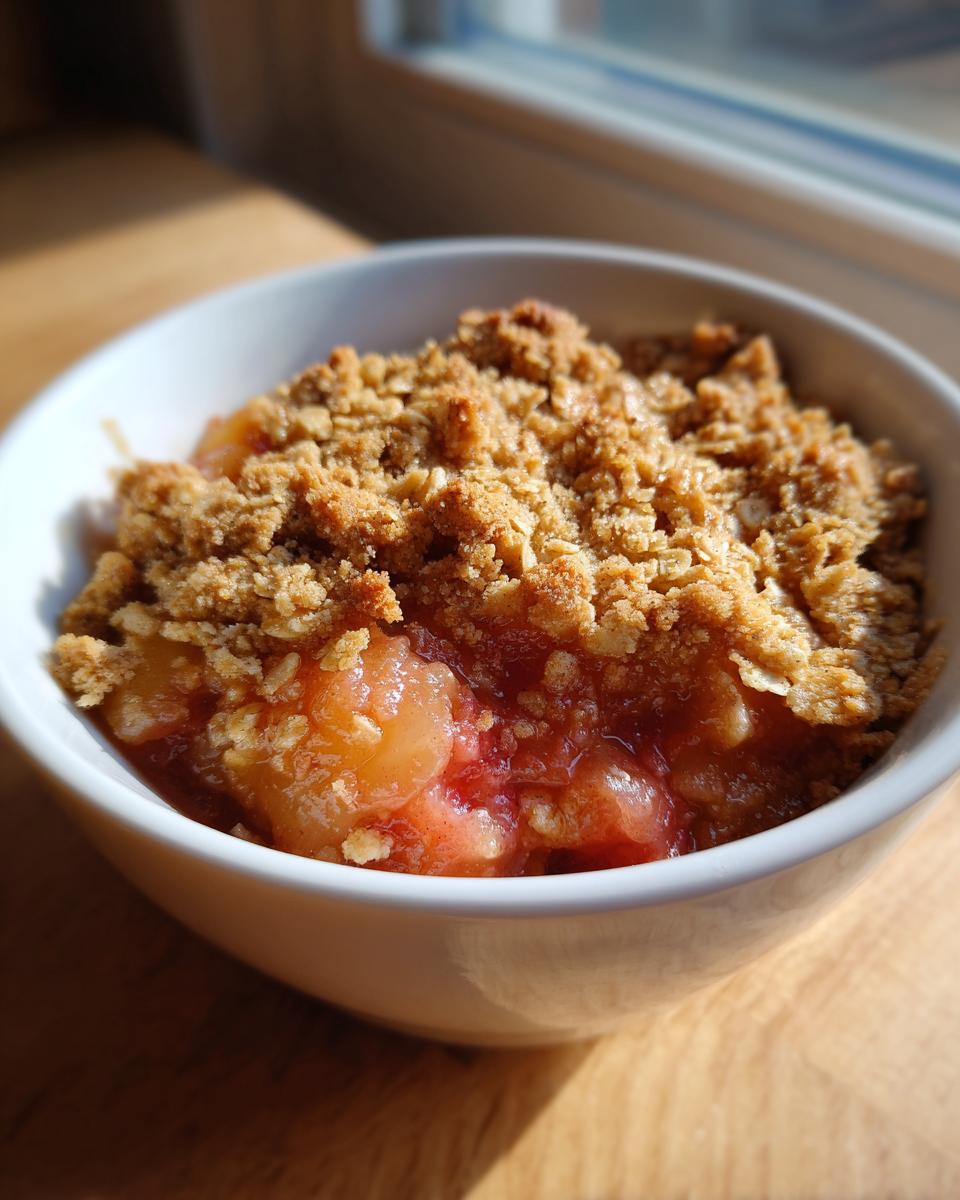
Pop that tray into the hot oven! You’re looking at 35 to 45 minutes total. How do you know it’s done? Simple cues: the topping should be a gorgeous golden brown color, and you MUST see the filling bubbling thick and heavy around the edges. That bubbling means the sugar has activated the fruit juices just right. This guide on classic crisp agrees that the bubbling is key!
Now, hold your horses before you cut into it! This is non-negotiable, trust me. Once it comes out, you need to let this rhubarb crisp cool on a wire rack for a minimum of 15 minutes. If you cut it immediately, all your beautifully set, jammy filling will just run out onto the plate. Those 15 minutes let it firm up just enough so every serving holds its shape. Patience earns you the best dessert!
Tips for Success with Your Rhubarb Crisp
Making this classic dessert is easy, but a few tricks that Grandma Daisy taught me really take it over the top. We want that amazing flavor complexity and that signature crunch, right? Keeping these pointers in mind will guarantee Crisp Topping Perfection every single time you bake.
Strawberry Rhubarb Crisp Ideas
If you look at what everyone asks for during spring, it’s usually a combination! If you want to make a Strawberry Rhubarb Crisp, it’s a simple swap. Just take about two cups of your chopped rhubarb out and put in two cups of strawberries, fresh or frozen. The strawberries add a lovely softness that balances the rhubarb’s bite beautifully.
Adding Brown Butter Flavor to Your Rhubarb Crisp
If you want to elevate this from excellent to absolutely unforgettable, you can try using brown butter in the topping—it adds such a nutty, deep flavor! The trick is you have to melt the full 1/2 cup of butter for the topping in a small saucepan first until it smells nutty and turns a light brown color. Then, you must chill that butter back down until it’s firm again before you cut it into your dry ingredients. That way, you get the flavor without turning the topping into mush! You can find some great insights on why texture matters so much over at Tina’s site.
Always remember to check out my other thoughts on delicious dessert recipes for more inspiration!
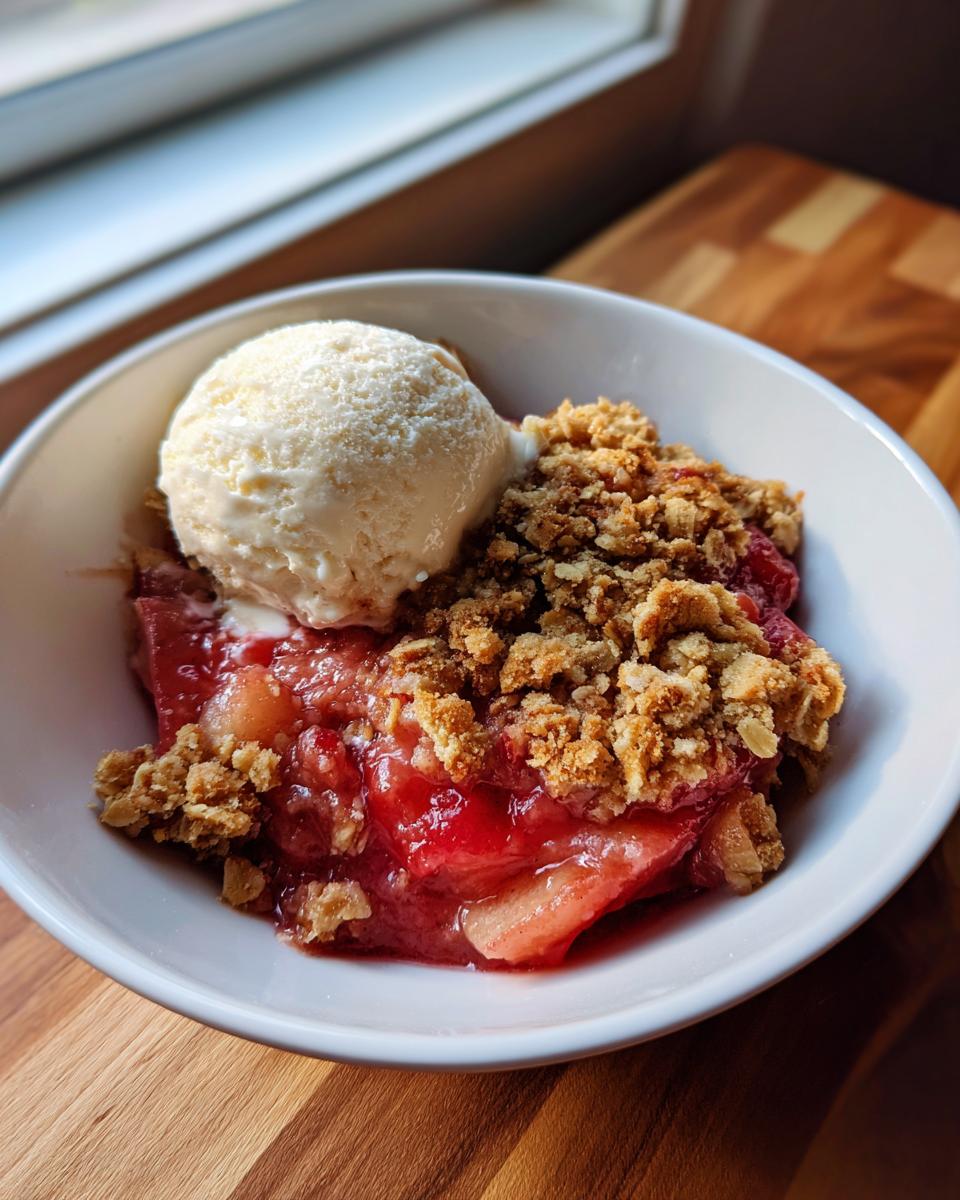
Serving Suggestions for Warm Crisp with Ice Cream
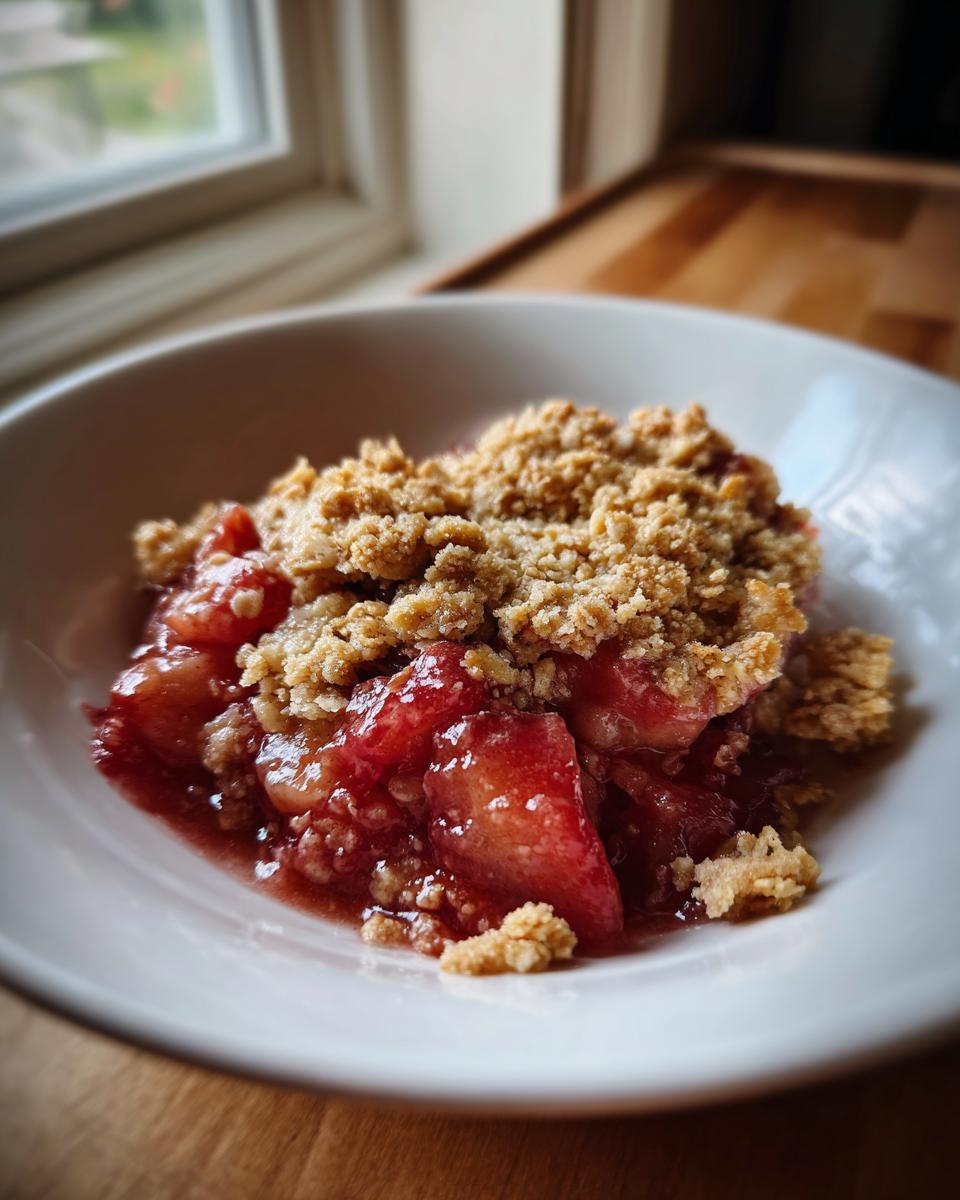
Honestly, a crisp is just begging for something cold and creamy to go with it, right? This is one of those Tart Fruit Desserts where the hot/cold contrast is everything. Serving this Warm Crisp with Ice Cream is, in my opinion, the only way to do it justice.
If you have vanilla bean ice cream, use that! It’s classic for a reason. But Grandma Daisy sometimes had heavy cream she’d whipped stiff with a tiny bit of sugar instead. That works wonderfully too! For an extra decadent treat, which I save for special summer evenings, I love drizzling a bit of homemade caramel sauce right over the top. You can find my simple recipe for easy, chewy caramel here. Just a small amount of that sweet sauce over the tart rhubarb? Perfection!
It’s also divine with fresh whipped cream or even a spoonful of good crème fraîche if you want a little tang. Don’t forget to check out how they serve delicious strawberry variations over at Donil Tao’s site for more topping inspiration!
Storage and Reheating Instructions for Homemade Rhubarb Desserts
Now, if you manage to have any Homemade Rhubarb Desserts left over—which, let’s be honest, is a feat in itself—storage is simple. You just cover the dish tightly with plastic wrap or foil once it’s completely cooled down. It keeps beautifully on the counter or in the fridge for about three days max. That’s the great thing about a robust crisp; it holds up!
Reheating is where you need to pay attention if you want to keep that crunch! Don’t even think about microwaving the whole thing unless you love soggy topping. If you chill it, just scoop out the portion you want and pop it back into a 350°F oven for about 10 minutes. That dry heat re-crisps the topping perfectly. For more general tips on saving baked goods, you can look at my thoughts on my banana bread storage, as the principles are similar.
If you are storing it long-term, say a week, Grandma Daisy suggested separating the topping and the fruit layer into separate airtight containers. Then, when you reheat, you crisp the topping separately on a sheet pan before pouring it over the warm fruit base. It keeps the texture impeccable! You can find some handy tips on freezing leftovers from beginner bakers over at Scarlett’s corner.
Frequently Asked Questions About Rhubarb Crisp
It’s funny how many little questions pop up once you start baking seasonally! I know I had a million when I first started trying to recreate Grandma Daisy’s recipes. These are the ones I hear most often about this rhubarb crisp, especially since we are aiming for that perfect Crunchy Oat Topping Dessert. If you have other questions while you are cooking up some of my weeknight dinner ideas, just let me know!
Can I use frozen rhubarb in this rhubarb crisp recipe?
Oh yes, you absolutely can, especially if you are craving it outside of peak spring season! The important thing here is not to thaw it first. Throw the frozen rhubarb right into the filling bowl straight from the freezer. Because it’s already got more liquid content than fresh, you might need to add just 5 to 10 minutes to that baking time until it’s bubbling happily. It still works beautifully for a Delicious Spring Baking treat!
What is the difference between rhubarb crisp and classic rhubarb crumble dessert?
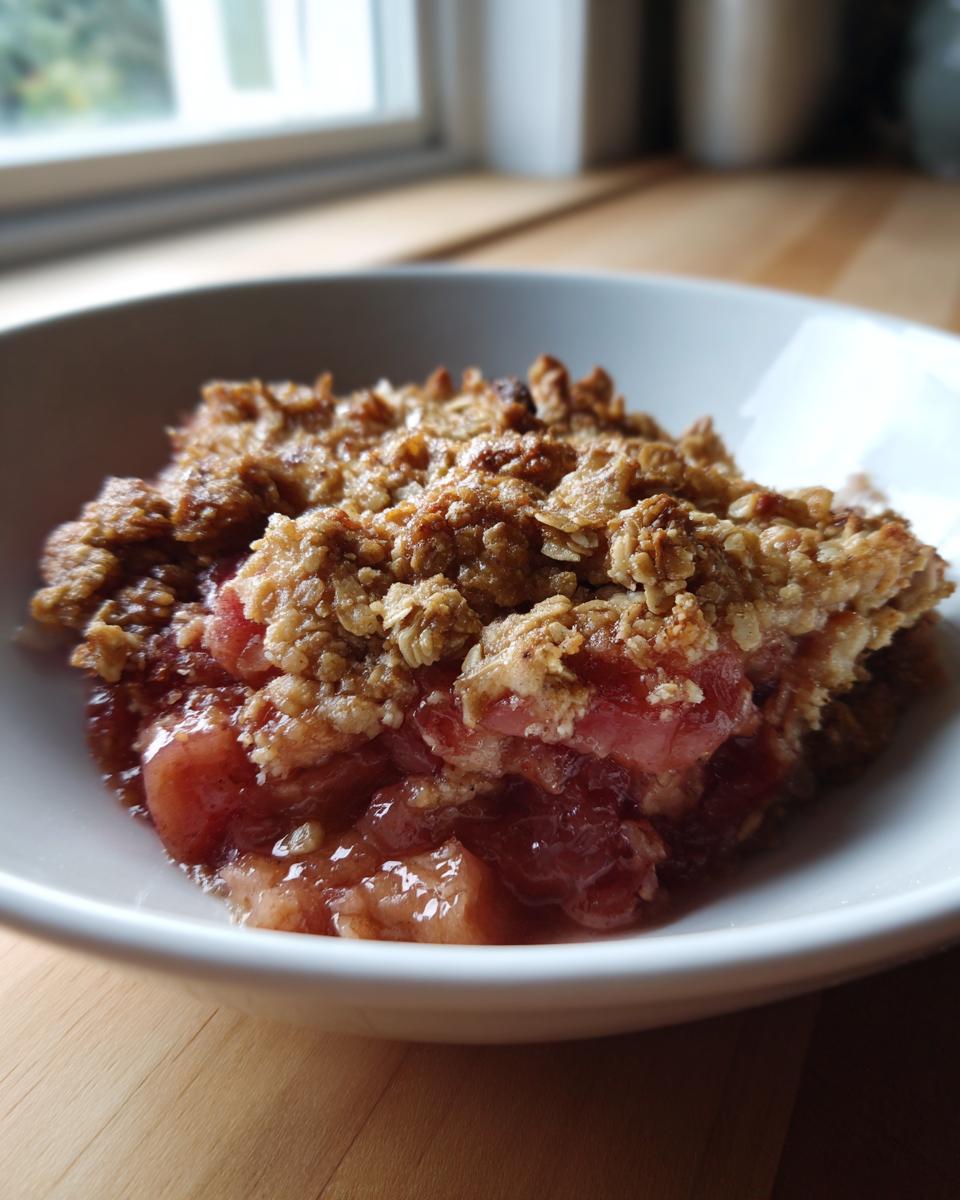
That’s a really common confusion! In my family, the terms are used almost interchangeably sometimes, but usually, the distinction comes down to the topping. A traditional classic rhubarb crumble dessert often relies on a simpler topping made just from flour, sugar, and butter rubbed together. For this recipe, we call it a crisp because we specifically add the rolled oats, which creates a nuttier, chewier, and generally crunchier texture when baked golden brown. The oats are what give you that fantastic crunch!
My topping did not get crunchy. What went wrong with my rhubarb crisp?
Don’t get discouraged! A soggy topping is usually two things: either your butter was too warm when you mixed it into the dry topping ingredients, or you pressed the topping down too firmly when you assembled the dessert. If the butter is soft, it coats the flour too much and basically fries instead of bakes up crisp. Also, remember what I said in the steps—don’t pack it down! We want lots of little air pockets so the heat can circulate and dry it out into a perfect crunch.
Estimated Nutritional Data for This Rhubarb Crisp
Now, I want to be super clear here—Grandma Daisy never worried about calories or macros when she was baking; she worried about whether everybody around the table was happy and full! But since we live in a modern world, I’ve provided the estimated nutritional breakdown for a single serving of this rhubarb crisp, based on the ingredients listed above. This information is just here to give you a baseline, okay? The actual numbers can change drastically depending on how sweet your rhubarb is or if you decide to use extra butter for that topping!
For reference, this estimate is based on 6 servings of the final baked dessert:
- Serving Size: 1 serving
- Calories: Approximately 350
- Sugar: Roughly 35g (That tart rhubarb needs a good bit of sweetness to balance it!)
- Fat: About 15g
- Carbohydrates: Around 55g
- Protein: About 4g
- Cholesterol: Near 35mg
It’s a dessert, friends, so enjoy it! Especially when you’re pairing it with that scoop of vanilla ice cream we talked about. That’s what these Simple Rhubarb Dessert recipes are all about—a little indulgence during the best season for fruit!
Share Your Simple Rhubarb Dessert Experience
Seeing this rhubarb crisp come out of the oven and fill my kitchen with that wonderful sweet-tart steam just makes me so happy. It is the easiest way to celebrate spring produce, and I truly hope you loved making this as much as I do. Now that you’ve had a taste of this wonderful Simple Rhubarb Dessert, I would absolutely love to hear what you thought!
Your feedback is how we keep the legacy of these honest recipes alive. Did you stick to the classic version, or did you try adding those strawberries? Did you go for the brown butter option in the topping? Don’t be shy! Let me know how it turned out in the comments below. Rating the recipe really helps other new bakers feel confident trying it out.
If you snapped a picture of your perfectly golden, bubbling creation—especially if you caught it right before you dropped that scoop of vanilla ice cream on top—please share it! Tag me on social media so I can see your success. Seeing your bakes is honestly the reward for sharing kitchen secrets passed down through generations.
If you need to reach out with specific questions, or perhaps share a story about your own family recipes, you can always get in touch over on my Contact Page. And if this crisp was a total hit, you might want to check out Alice’s truly irresistible version noted over at her site for another fantastic take on why we love this treat!
PrintClassic Rhubarb Crisp: Easy Homemade Dessert with Crunchy Oat Topping
Follow this simple recipe to make a classic rhubarb crisp featuring a sweet-tart filling and a buttery, crunchy oat topping. This beginner baker recipe is perfect for showcasing seasonal spring fruit.
- Prep Time: 15 min
- Cook Time: 40 min
- Total Time: 55 min
- Yield: 6 servings 1x
- Category: Dessert
- Method: Baking
- Cuisine: American
- Diet: Vegetarian
Ingredients
- 4 cups fresh rhubarb, chopped into 1-inch pieces
- 1 cup granulated sugar (adjust based on rhubarb tartness)
- 2 tablespoons all-purpose flour
- 1 teaspoon vanilla extract
- 1/4 cup water
- 1 cup all-purpose flour (for topping)
- 1 cup rolled oats (old-fashioned)
- 3/4 cup packed brown sugar
- 1/2 teaspoon ground cinnamon
- 1/4 teaspoon salt
- 1/2 cup (1 stick) cold unsalted butter, cut into small pieces
Instructions
- Preheat your oven to 375°F (190°C). Lightly grease an 8×8 inch baking dish or a 9-inch pie plate.
- Prepare the filling: In a medium bowl, combine the chopped rhubarb, granulated sugar, 2 tablespoons of flour, vanilla extract, and water. Toss gently to coat. Pour this mixture evenly into your prepared baking dish.
- Prepare the topping: In a separate bowl, whisk together the 1 cup of flour, rolled oats, brown sugar, cinnamon, and salt.
- Cut in the butter: Add the cold, cubed butter to the dry topping mixture. Use your fingers, a pastry blender, or two knives to cut the butter into the dry ingredients until the mixture resembles coarse crumbs, with some pea-sized pieces remaining.
- Assemble the crisp: Sprinkle the topping mixture evenly over the rhubarb filling. Press lightly, but do not pack it down.
- Bake: Place the dish on a baking sheet (to catch any drips) and bake for 35 to 45 minutes. The crisp is done when the topping is golden brown and the rhubarb filling is bubbling thickly around the edges.
- Cool: Let the rhubarb crisp cool on a wire rack for at least 15 minutes before serving. This allows the filling to set properly.
- Serve warm, perhaps with vanilla ice cream or a dollop of whipped cream.
Notes
- For a Strawberry Rhubarb Crisp, substitute 2 cups of the rhubarb with 2 cups of fresh or frozen strawberries.
- If you want a brown butter flavor, melt the 1/2 cup of butter for the topping in a small pan until it browns slightly, then chill it until firm before cutting it into the dry ingredients.
- If your rhubarb is very tart, you may add up to 1/4 cup more granulated sugar to the filling.
Nutrition
- Serving Size: 1 serving
- Calories: 350
- Sugar: 35g
- Sodium: 150mg
- Fat: 15g
- Saturated Fat: 9g
- Unsaturated Fat: 6g
- Trans Fat: 0g
- Carbohydrates: 55g
- Fiber: 4g
- Protein: 4g
- Cholesterol: 35mg