
Oh, friends, let me tell you about the magic hidden inside a humble bag of yellow onions! You see, in my grandmother Daisy’s kitchen, we learned that the most luxurious flavors don’t come from expensive shortcuts; they come from patience. Rushing onions is the quickest way to make them bitter or burnt, and trust me, I learned that lesson the hard way when I first moved to the city and tried to rush through dinner prep.
But now, I’m sharing Daisy’s secret with you today. This isn’t just about cooking onions; it’s about transformation. We are going to take those sharp, raw slices and coax them (with low heat and time, mostly!) into the most beautifully sweet, jammy, and deeply golden caramelized onions you have ever tasted. This guide holds the definitive technique, steeped in the slow cooking legacy I inherited, ensuring you get perfection every single time.
- Why Slow Cooked Onions Are a Weeknight Flavor Booster
- Ingredients Needed for Perfect Caramelized Onions
- The Best Way to Caramelize Onions: The Slow Method
- Quick Hacks for Faster Caramelized Onions
- Tips for Success When Making Caramelized Onions
- Caramelized Onion Uses: From Savory Onion Topping to Homemade Onion Jam
- Make Ahead Onion Prep and Storage for Caramelized Onions
- Estimated Nutritional Data for Caramelized Onions
- Share Your Sweet Caramelized Onions Recipe Success
Why Slow Cooked Onions Are a Weeknight Flavor Booster
I know, I know. When you’re staring down a long workday, taking an hour to cook onions sounds completely insane. Why bother when you can just blast them on high heat? But trust me on this one—the transformation that happens during that slow cook is pure culinary gold. That low-and-slow approach encourages the Maillard reaction, building layers of rich savory onion flavor that you just can’t replicate otherwise.
Think of these beauties as your personal secret weapon. They are incredible weeknight flavor boosters! A dollop of these jammy onions on a plain chicken breast or your average grilled cheese sandwich instantly makes it feel gourmet. Once you have a batch ready, you’re halfway to a fantastic meal. Be sure to check out some of my favorite ways to repurpose them on busy nights over at my weeknight inspiration page!
Ingredients Needed for Perfect Caramelized Onions
The beauty of making the very best caramelized onions is that you only need a few simple things from your pantry. Daisy always kept her ingredient list short because she believed the onions themselves should be the real star. Transparency here is important, because using the right fat makes a huge difference in texture!
Here’s what you’ll need for about 1.5 cups of jammy goodness:
- 3 large yellow onions, thinly sliced (we’re talking paper-thin, folks!)
- 2 tablespoons unsalted butter (Don’t be tempted to substitute this! Real butter brings the flavor.)
- 1 tablespoon olive oil (This helps keep the butter from burning too quickly.)
- 1 teaspoon kosher salt (Crucial for drawing out the moisture right away.)
- 1 teaspoon granulated sugar (This is totally optional, but I sometimes add it if I feel my onions are newer or less intensely flavored. It just gives them a little head-start on that deep brown color, cutting down your total time by maybe five minutes—a small hack for those who can’t wait!)
That’s it! No vinegar, no beef broth—we are trusting the natural process here. Preparation is key, so make sure those onions are sliced evenly before you even think about turning on the stove.
The Best Way to Caramelize Onions: The Slow Method
If you want that incredible depth—the kind that feels like it took days, not an hour—you have to commit to the slow method. This technique is how we draw out the natural sweetness and achieve those truly caramelized onions, the kind that melt beautifully into anything you add them to. Remember how I mentioned my fear of burning them? That fear vanishes when you respect the low heat. I vividly remember the first time I followed my grandmother’s method exactly; the kitchen filled with this sweet smell, and when I saw those deep mahogany pools forming in the pan, I literally gasped! You’ll want to grab a heavy-bottomed pan for this, as it distributes the heat much better, preventing those scary hot spots that lead to burning. You can see a fantastic example of the technique, which aligns perfectly with what Daisy taught me, over at Serious Eats’ recipe.
If you want to learn more about building flavor foundations like this one, check out my guide on creating a wonderful flavorful mushroom sauce base—it requires a similar patience!
Initial Softening: Cooking Onions Until Soft
This initial phase is critical, and it feels slow, but it’s necessary. You put all your sliced onions and that salt into the warm fat, and you just stir them around. For the first 15 to 20 minutes, your goal is just cooking onions until soft. The salt is key here; it literally pulls the water out of the onions so they start to steam down rather than fry up hard. Don’t worry about any color yet! Keep the heat medium-low and just stir every few minutes so nothing sticks and starts to scorch prematurely. This step releases all the water so the sugar can come out later.
Achieving Golden Brown Onions Technique
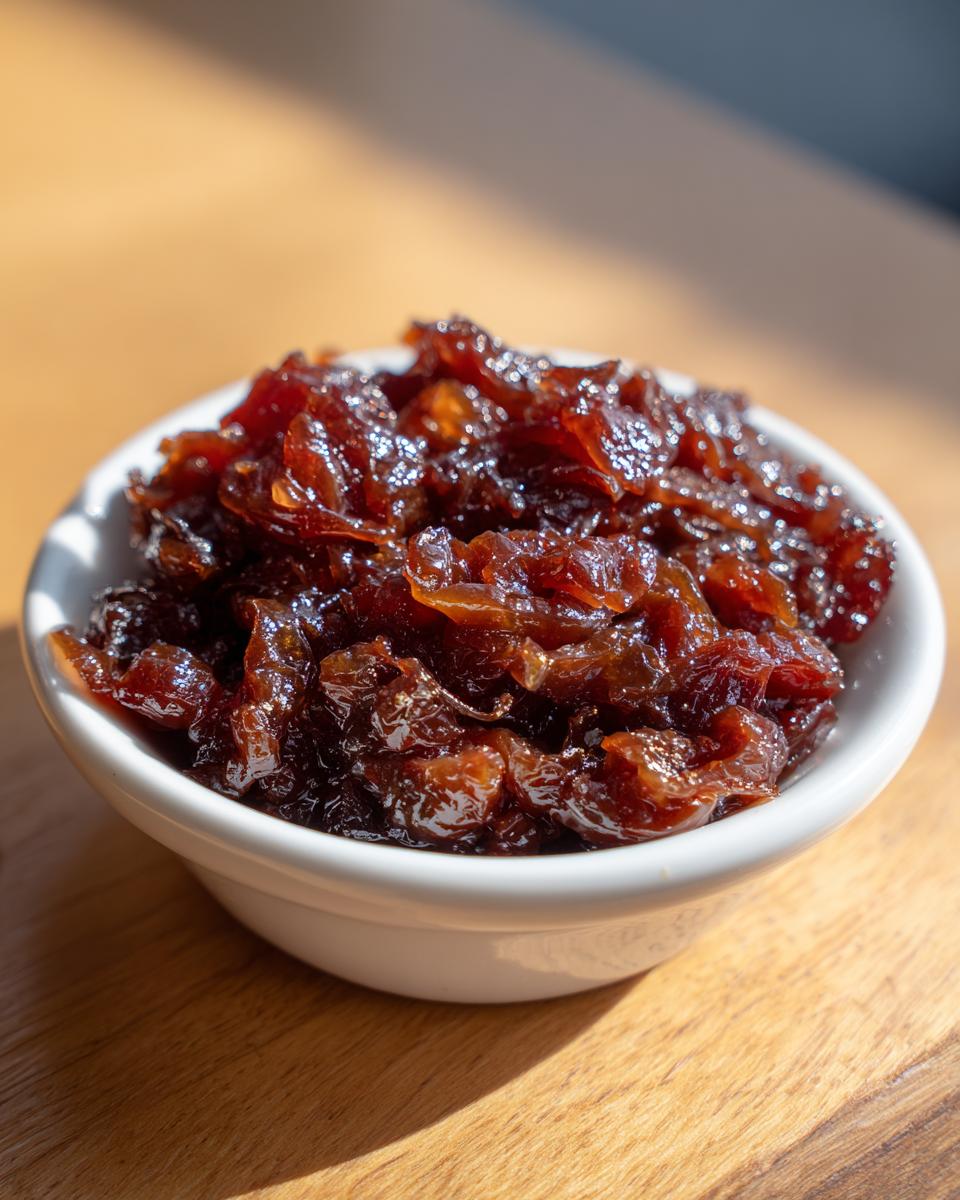
Once the onions have surrendered their liquid and are truly soft, reduce the heat down to low—this is where the real work begins! Now we are focusing on achieving golden brown onions technique. You’ll stir them every 5 to 8 minutes. As they start turning light tan, you’ll notice those lovely little brown sticky things forming on the bottom of your pan. Those are flavor gold! Don’t let them burn, but do scrape them up when you stir! Those browned bits become the foundation for an incredible rich onion sauce base if you ever decide to deglaze the pan later. Keep monitoring them until they look like dark, wrinkled jewels.
Quick Hacks for Faster Caramelized Onions
Alright, let’s be real. Sometimes, even when I’m craving that deep flavor, I just don’t have 75 minutes to stand devotedly over a skillet. I totally get it! You need flavor, and you need it before the kids start asking if dinner is ready every five minutes. That’s where my slightly faster method comes in handy—consider these my trusted easy cooking hacks onions swear by when time is tight.
This quick sauté method will get you beautifully soft, sweet onions in about 30 minutes total, but I have to be upfront: it won’t have that deep, complex, mahogany color and jammy texture that the hour-long version gives you. We are trading depth for speed here, which is a perfectly acceptable trade-off sometimes!
The trick is simple: medium heat instead of low, and we use steam to help us out. For the first 15 minutes, you cook them normally to get them soft. Then, instead of just letting them caramelize slowly, you add about one tablespoon of water every ten minutes. The water hits the hot pan, instantly steams the onions, and starts loosening up those stuck bits right away without scorching them. It speeds up the softening process immensely.
It’s a compromise, but it works wonders when you need a flavor boost fast! If you want more ideas on whipping up fast, flavorful toppings, check out this quick onion guide—it talks about how to make them work in a pinch!
Tips for Success When Making Caramelized Onions
Even with the best recipe, technique is everything when you’re trying to coax all that sweetness out of an onion without turning it into charcoal. Daisy always said that the tools and raw materials matter just as much as the stirring. Having the right foundation makes avoiding that terrible burnt taste so much easier!
First off, let’s talk about your onions. While you *can* use sweet onions like Vidalia, they often have higher water content and sugar, which means they brown faster but can sometimes turn mushy or burn before they truly caramelize deeply. For the absolute best, most reliable result—the kind you want for your homemade onion jam—stick to standard yellow onions. They have the perfect balance of sugars and firmness to hold up to that long, slow cook we talked about.
And please, for the love of flavor, use a heavy-bottomed pan! A thin aluminum skillet will heat unevenly, creating hot spots that scorch one section of onions while leaving others raw. A sturdy cast iron or good stainless steel pan distributes heat evenly across the bottom, which is absolutely essential for achieving that uniform, jammy texture you’re aiming for.
The Importance of Uniform Slicing for Caramelized Onions
This might sound fussy, but it is perhaps the most overlooked step when people try to make sweet caramelized onions recipe at home. If your onions are sliced randomly—some thick, some thin—they will cook at different rates, guaranteed. The thin pieces will char and turn bitter while the fat, thick pieces in the same pan are still stubbornly resisting the sugar release.
You need consistency! Take your time when slicing them thinly, and aim for about an eighth of an inch thick, if you can manage it. When every piece is the same size, they all soften, wilt, and caramelize perfectly in unison. That uniformity is what locks in that beautiful, even color and that perfect, silky texture that makes these the best savory onion topping around.
Caramelized Onion Uses: From Savory Onion Topping to Homemade Onion Jam
Okay, once you have achieved that sweet perfection—and trust me, you will!—the next big question is: what on earth do I do with this incredibly rich batch of flavor? My grandmother Daisy never stopped at just one use; she saw these deep brown jewels as the ultimate base for transforming any simple meal. They feel gourmet, but they are so easy to incorporate into your regular rotation.
The applications are just endless! You absolutely must try them as a luxurious savory onion topping on a simple burger or piled high on a grilled cheese sandwich—it tastes completely different when you use true caramelized onions instead of raw ones. They also melt seamlessly into dishes that need that slow-cooked depth, like meatloaf or shepherd’s pie. If you want to get fancy, they are the star in a beautiful tart or even mixed into a marinade for richer meats.
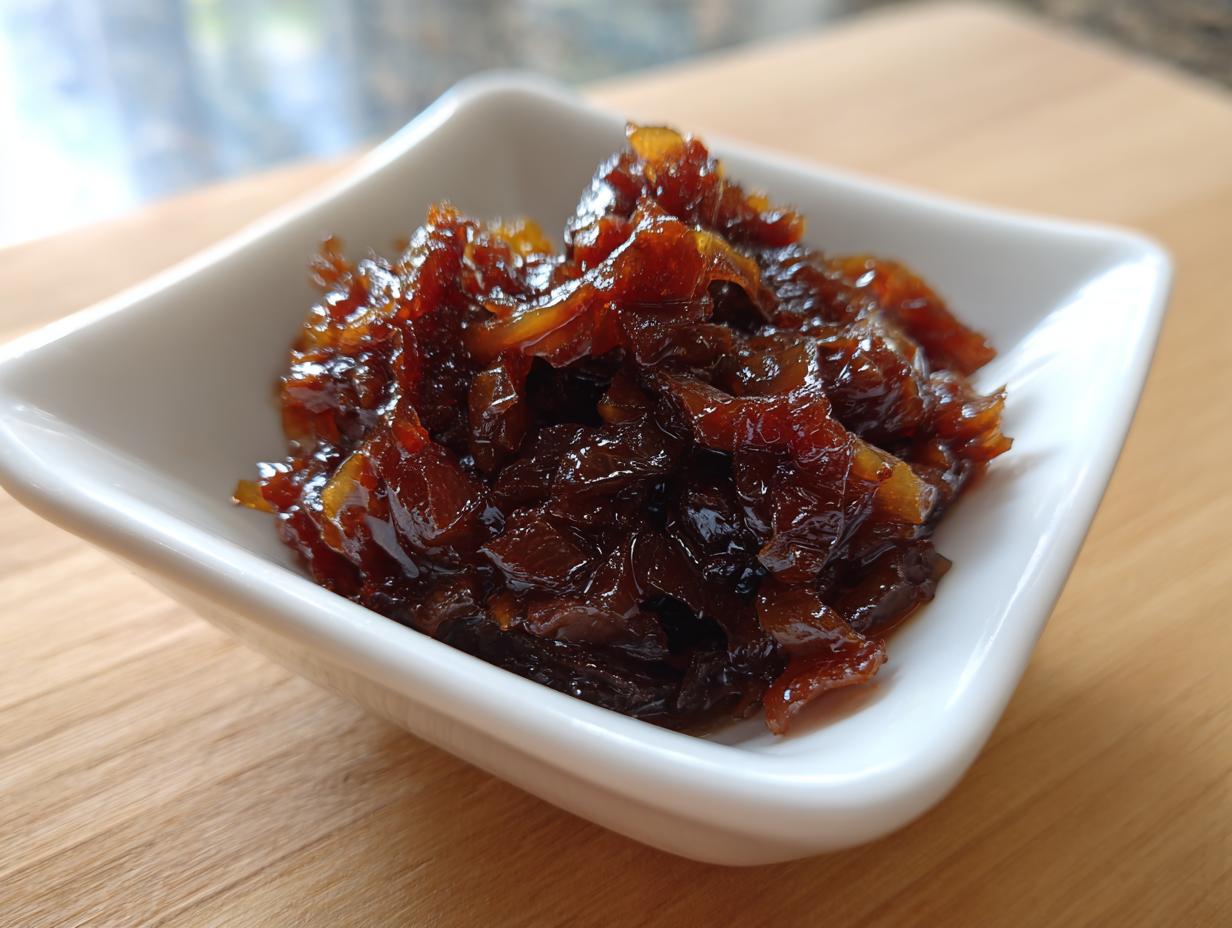
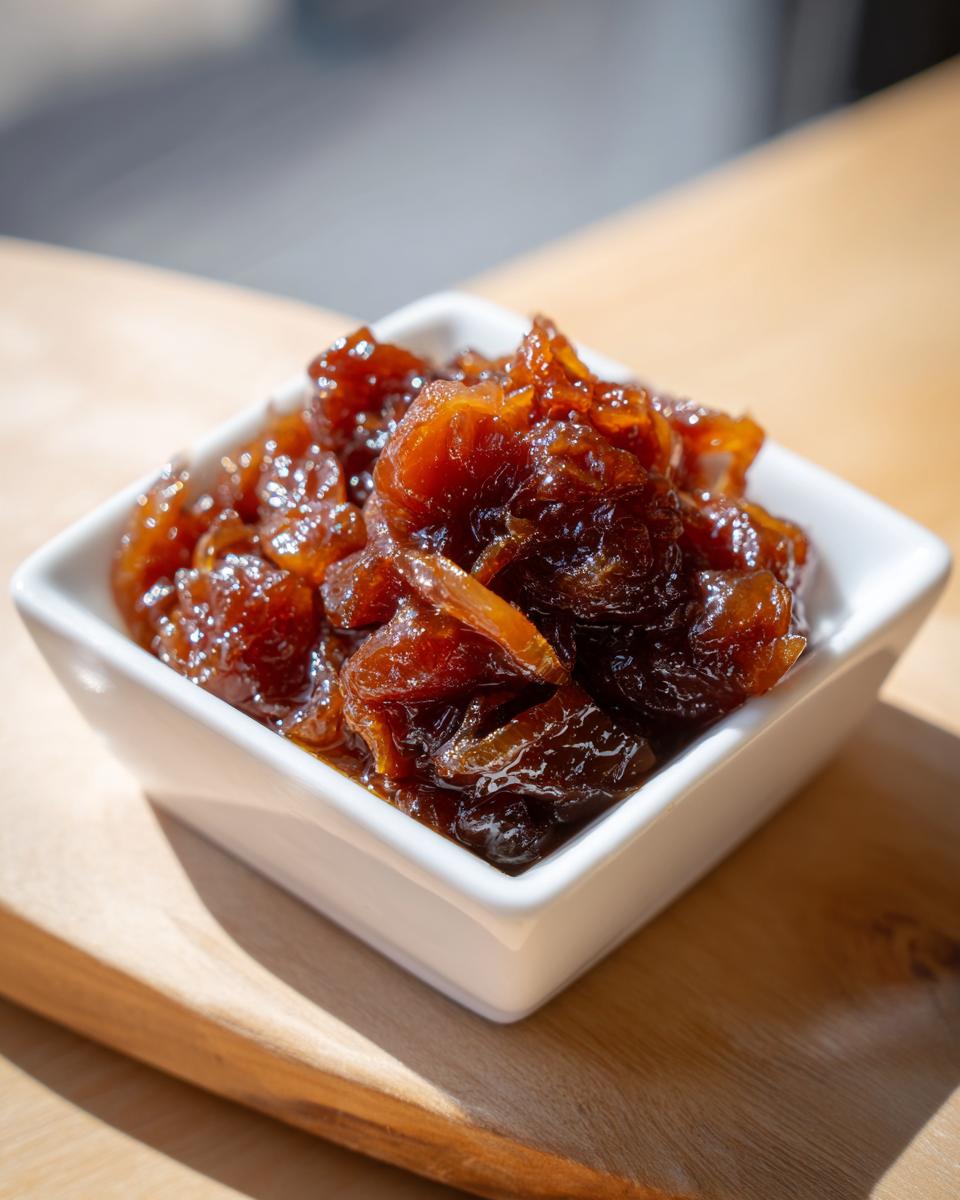
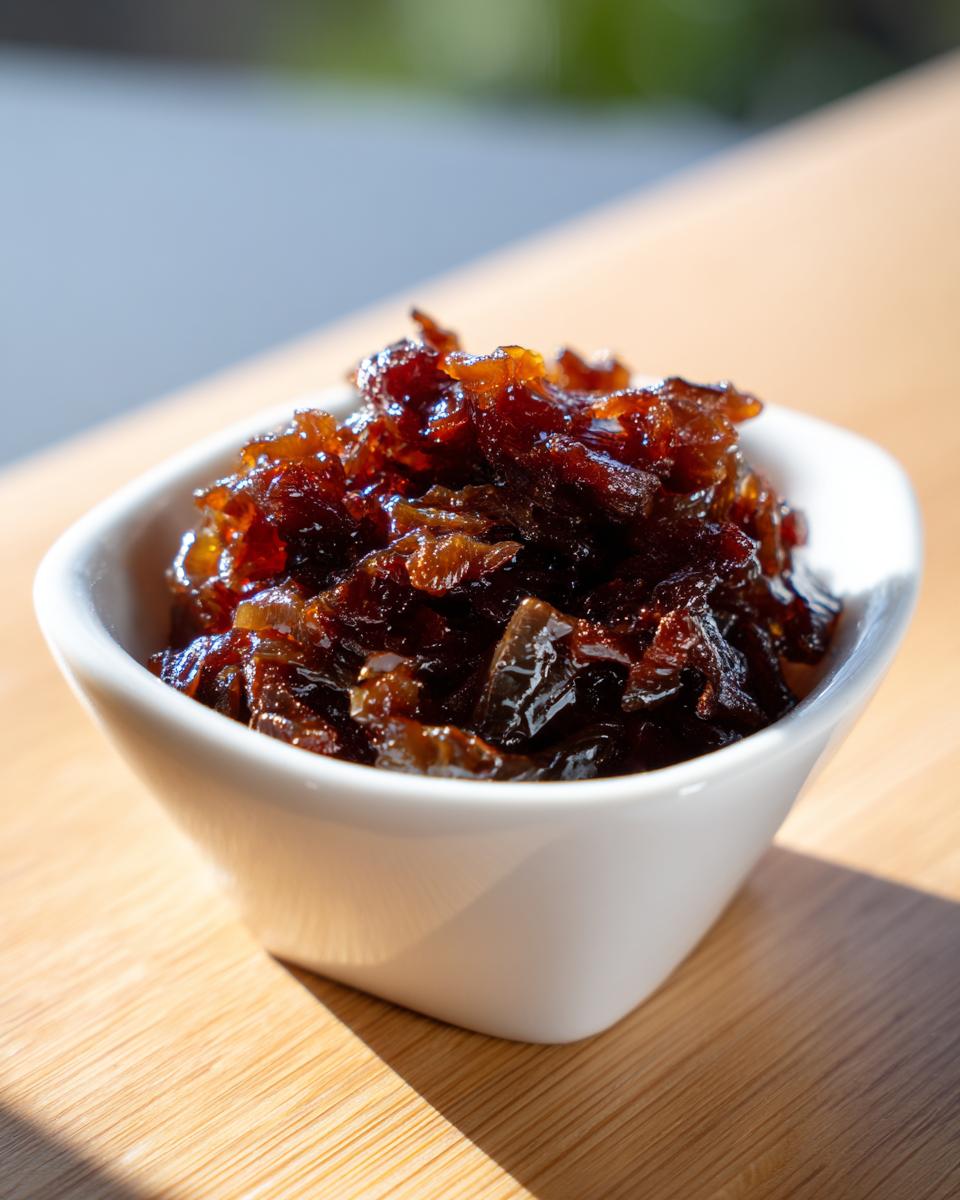
If you are looking to dress up a weeknight dinner, remember that these mix beautifully into creamy sauces. You can take your usual creamy pasta to a whole other level—just imagine how divine they’d be stirred into a creamy garlic parmesan sauce! You can find my baseline recipe for that rich sauce right here. Of course, if you don’t use them right away, you can turn your batch into a thick homemade onion jam by simmering them down with a splash of balsamic vinegar until they are almost spreadable.
For tons of inspiration on how to use these gems on everything from dips to pizzas, take a look at what my friends at Feastly Home suggest for creative caramelized onion uses. Honestly, once you master this simple technique, your cooking vocabulary just expands immediately!
Make Ahead Onion Prep and Storage for Caramelized Onions
Now this, this is where the real convenience comes in! Because making the onions takes time, doing a big batch of caramelized onions ahead of time means you get to enjoy that incredible depth of flavor all week long without committing to an hour on a Tuesday night. This is the ultimate commitment to being a smart home cook—we do the long, slow work once, and then reap the flavor rewards repeatedly.
Once your onions are cooled completely—and I mean totally cool to room temperature, don’t try to store them warm—you can stash them away. For short-term use, airtight containers in the refrigerator work perfectly. They stay moist and delicious for up to a full week. I always make a double batch just for this reason; they become the best grab-and-go base for quick dinners.
If you are truly planning ahead, you can absolutely freeze them, and they freeze beautifully! Portion them into small, freezer-safe zip-top bags or ice cube trays (if you want tiny flavor bombs for soups later). In the freezer, they will keep well for about three months. When you need them, just pull out one baggie or pop a few cubes into a warm pan, and they’ll thaw in minutes, ready to be the star of your meal. That’s real make ahead onion prep magic right there!
Estimated Nutritional Data for Caramelized Onions
Now, I always feel a little strange talking about nutrition when we’re dealing with something as pure and simple as onions, butter, and time. Daisy certainly never worried about calorie counting; she was focused on feeding us well! But for those of you who like to keep track, I pulled the best estimations available based on our recipe yields. Please remember these figures are just estimates based on the final product divided into our serving size of about 1/4 cup.
Even with the butter, because we are using such a high ratio of onion to fat, they remain surprisingly reasonable for the giant flavor upgrade they provide!
- Serving Size: 1/4 cup (Approximate)
- Calories: 95
- Sugar: 10g (Mostly the natural sugars from the onions!)
- Fat: 5g (This includes the butter, remember!)
- Carbohydrates: 12g
- Protein: 1g
- Sodium: 390mg (This is mostly from the teaspoon of salt we added.)
I always joke that the real nutritional benefit is the boost in happiness you get from eating something so deeply flavorful! Enjoy them guilt-free; they are packed with real food goodness.
Share Your Sweet Caramelized Onions Recipe Success
Well, that’s it! We’ve turned those tear-inducing raw onions into the sweetest, silkiest, most incredible gems for your kitchen. Now the fun part begins: using them! I genuinely cannot wait to hear what you decide to whip up first with your batch of homemade caramelized onions.
Did you pile them high on a juicy burger? Maybe you folded them into a creamy sauce for pasta, or perhaps you’re using them as a luxurious topping for a soup tonight? Please, don’t be shy!
Drop a comment below and let me know how the slow-cook method worked for you. Did you achieve that deep, mahogany brown, or did you have to use the quick hack? I love hearing all your kitchen stories! And if you found this guide finally calmed your fear of burning onions, please feel free to give this recipe a rating!
If you have any lingering questions or want to share pictures of your creations (I LIVE for these updates!), you can always head over to my contact page and send me a message directly. Happy cooking, and enjoy bringing that rich, sweet flavor into your home!
PrintThe Ultimate Guide to Perfectly Caramelized Onions
Learn the patient technique to transform sharp raw onions into sweet, golden, jammy caramelized onions. This guide covers the slow method for deep flavor and a quicker option for weeknight meals.
- Prep Time: 10 min
- Cook Time: 75 min
- Total Time: 85 min
- Yield: About 1.5 cups 1x
- Category: Side Dish
- Method: Slow Sautéing
- Cuisine: American
- Diet: Vegetarian
Ingredients
- 3 large yellow onions, thinly sliced
- 2 tablespoons unsalted butter
- 1 tablespoon olive oil
- 1 teaspoon salt
- 1 teaspoon granulated sugar (optional, for faster browning)
Instructions
- Slice the onions thinly and uniformly. Uniformity helps them cook evenly.
- Place a large, heavy-bottomed skillet over medium-low heat. Add the butter and olive oil. Allow the butter to melt completely.
- Add all the sliced onions and the salt to the skillet. Stir well to coat the onions evenly with the fat.
- Cook the onions uncovered for 15 minutes, stirring every few minutes. The onions will soften and release moisture.
- Reduce the heat to low. Continue cooking, stirring every 5 to 8 minutes. This slow process draws out the natural sugars. If you are using sugar, add it now.
- After 30 to 40 minutes, the onions will start to turn light golden brown. Scrape up any brown bits stuck to the bottom of the pan; these add flavor.
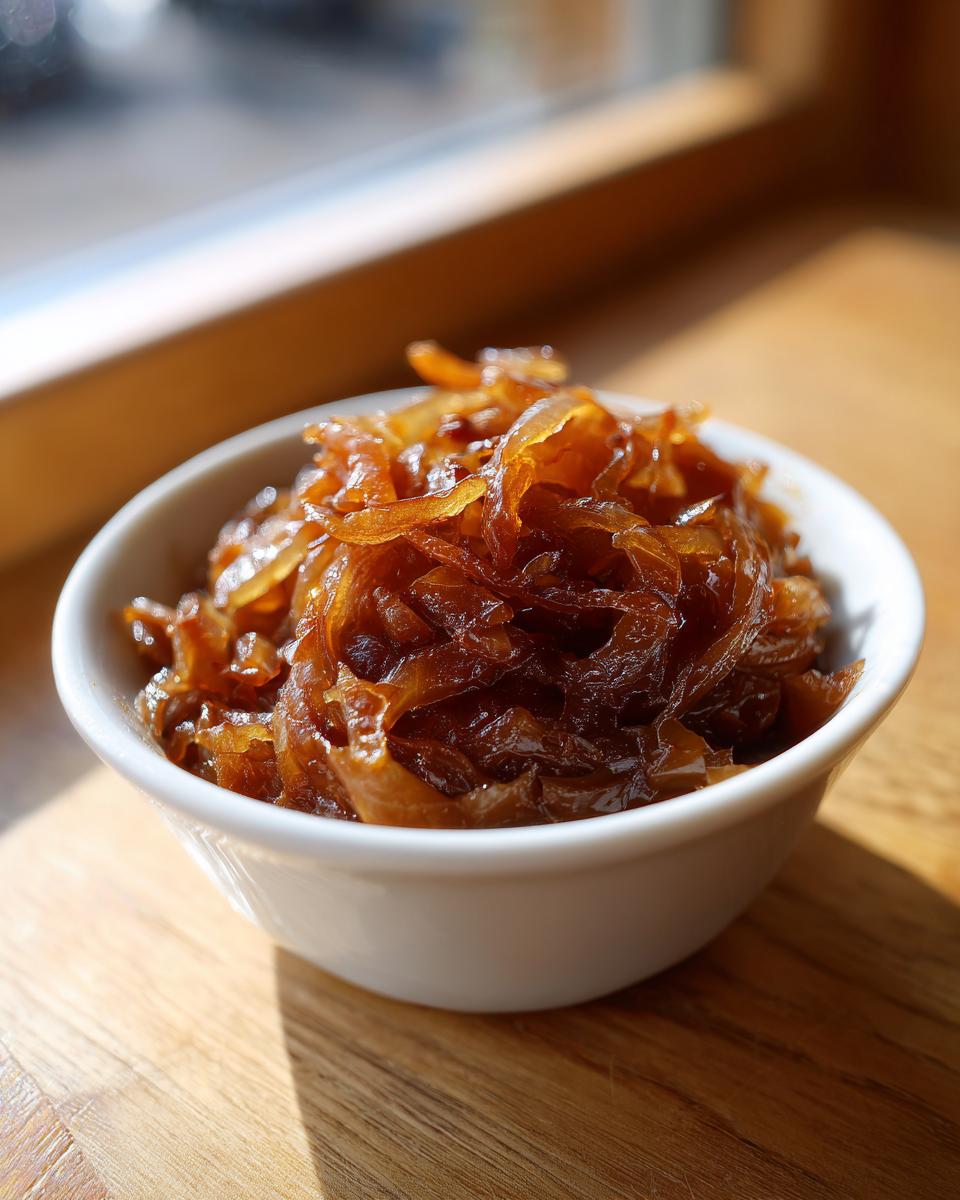
- Continue cooking, stirring more frequently as they darken, for another 20 to 30 minutes, until they reach a deep, rich, mahogany brown color and have a jammy texture. Total cooking time is usually 60 to 75 minutes for the deepest flavor.
- Remove from heat. Use these rich savory onion flavors immediately or store them for later use.
Notes
- For a quicker method, use medium heat and add 1 tablespoon of water every 10 minutes to prevent sticking and encourage steaming, which speeds up softening. This will take about 30 minutes total but results in less deep caramelization.
- These onions are a fantastic weeknight flavor booster for burgers or grilled cheese sandwiches.
- You can make a batch ahead of time and store them in the refrigerator for up to one week.
Nutrition
- Serving Size: 1/4 cup
- Calories: 95
- Sugar: 10
- Sodium: 390
- Fat: 5
- Saturated Fat: 3
- Unsaturated Fat: 2
- Trans Fat: 0
- Carbohydrates: 12
- Fiber: 2
- Protein: 1
- Cholesterol: 10